Mount
Mountain height:
3107 m
Total elevation gain:
approx.1675 m
Ascent time:
9:25
Descent time:
3:40
Scrambling with Kevin.
I’m sure I’m not the only person to look left when
passing Dead Man’s Flat to see the striking profiles of The Windtower and the
four peaks of
The first peak probably had the best scrambling of the three. We took a slight variation from the described route and found some steep scrambling on good rock. I was surprised to find an old school piton with ring at the top of one section. The best part of the first peak was scrambling east on the ridge to the summit – good scrambling with a very mild dose of exposure and terrific views.
The second peak and true summit looked quite daunting from the first and admittedly, I would have been very weary to even try it, had I not been privy to some inside information. Fortunately, as we approached the summit, the route became less and less daunting, until only one short section right before the summit remained “scary-looking”. The crux rockband was short, but almost vertical and after picking out a couple of potential weaknesses, we decided to look further down the mountain for something else. We found a pretty easy looking gully and started up. It was easier, but it was also much longer, quite steep and a little exposed at the top and worst of all, dangerously loose. This factor was even more pronounced by the fact the gully was narrow and walled on both sides – a natural shooting gallery.
I ascended the gully but near the top, accidentally unleashed a volley of rocks on unsuspecting Kevin below. Luckily, he was behind a rock wall and sheltered from the onslaught. I reached the top and Kevin followed. At one point, I watched in horror as a huge rock that Kevin was holding onto suddenly crumbled in front of him and went sailing down the mountain along with half of the mountain around him. I thought for sure that Kevin was going to be pulled down with the rockslide, but he managed to stay put. Shortly after, he arrived at the top of the gully and we both breathed a sigh of relief. The summit was only a minute from there.
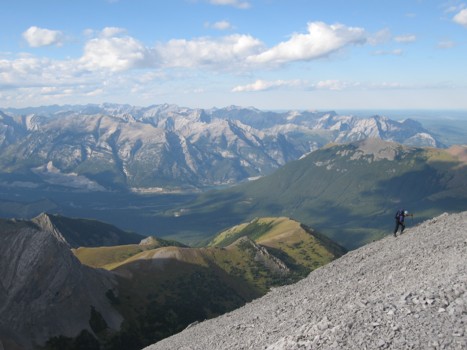
The summit panorama was spectacular, especially looking
towards the other three peaks of Lougheed and the awesome north face
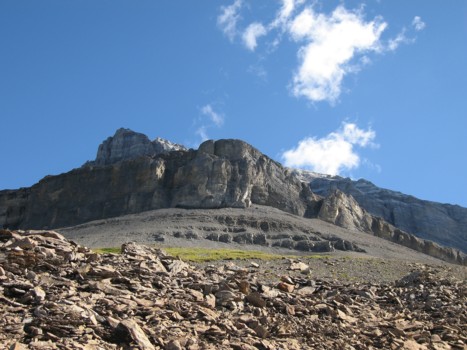
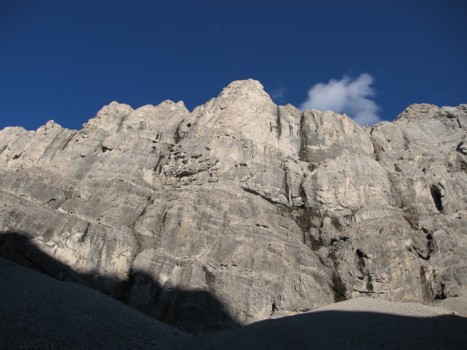
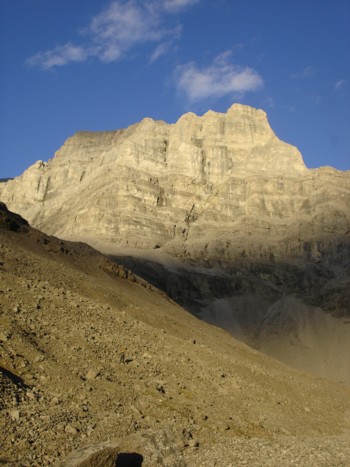
The lower cliffs of Peak 1
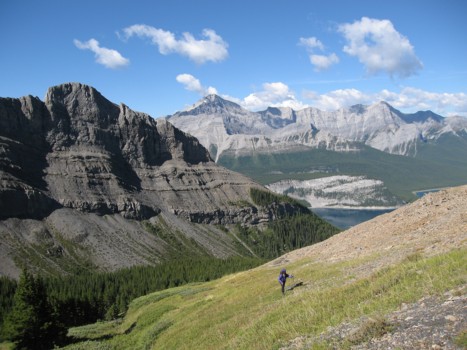
Kevin ascends grassy slopes below Peak 1; Old Goat Mountain in the centre
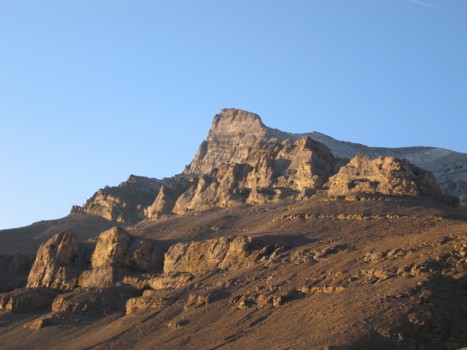
The very "cliffy" scenery of Peak 1(photo by Kevin)
Looking back at a pinnacle
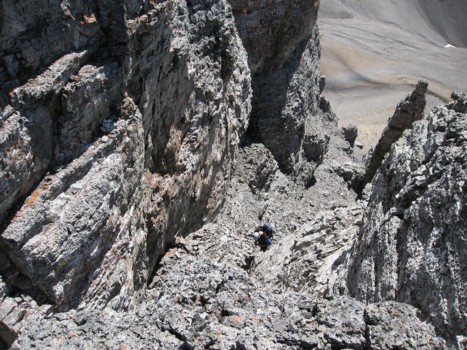
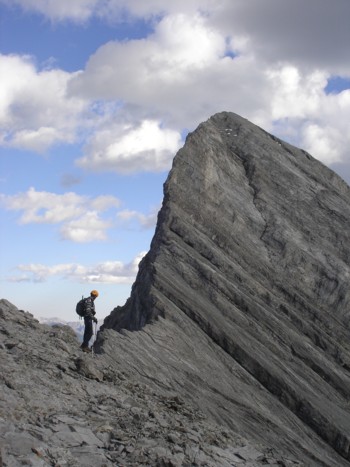
Kevin prepares to ascend steep terrain

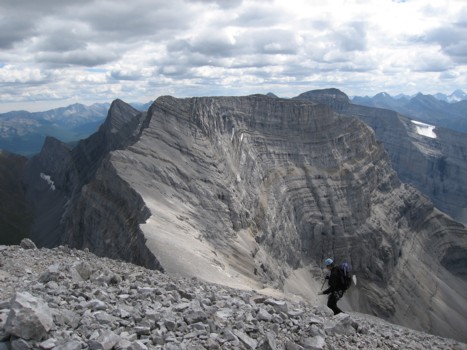
Kevin makes his way of Peak 1
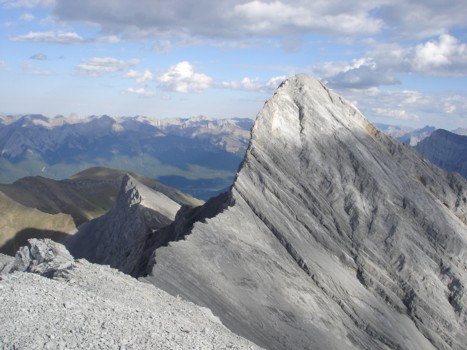
Looking at the true summit (Peak 2) from the ascent slopes of Peak 1
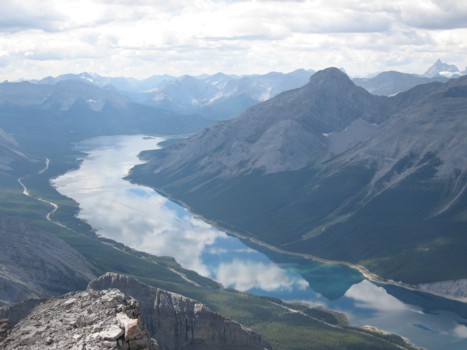
Mount Nestor (right) is reflected in the Spray Lake; the pointy peak at the far right is Eon Mountain
The west ridge of Peak 1

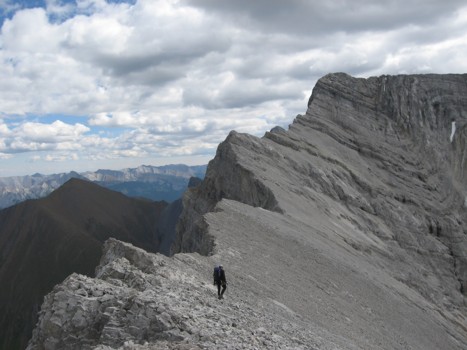
Kevin ascends the west ridge

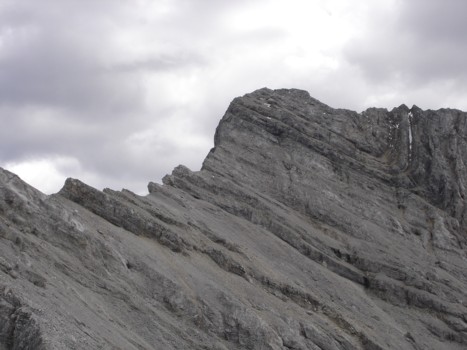
More of the west ridge
Kevin starts towards Peak 2
At the col between 1 and 2

Looking back at Peak 1 (photo by Kevin)
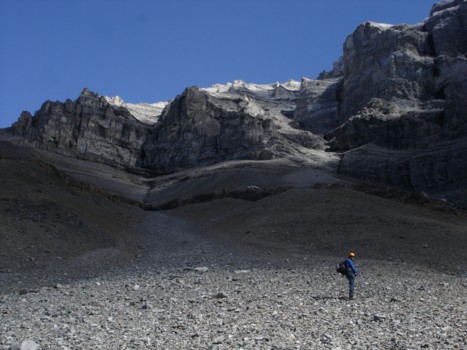
The upper slopes of Peak 2 (photo by Kevin)
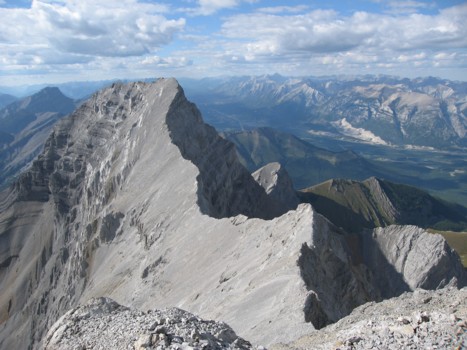
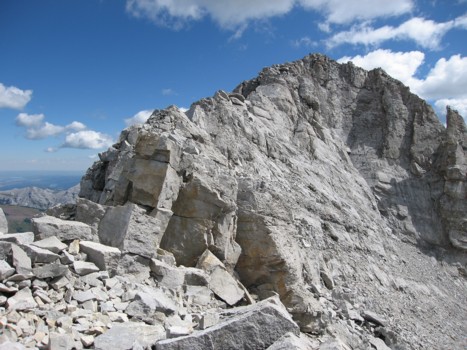
Looking back at Peak 1 from 2
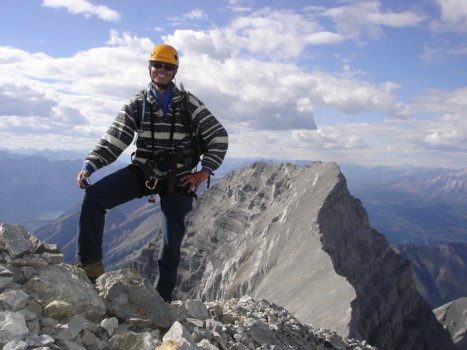
Me at the true summit, with Peak 1 behind (photo by Kevin)

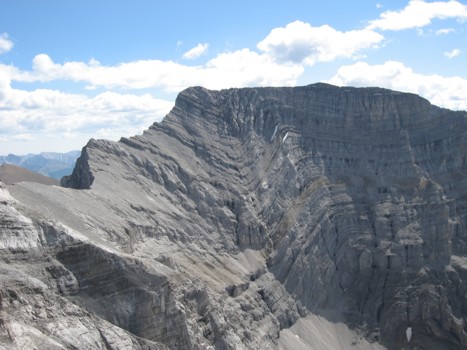
The impressive north face of Mount Sparrowhawk (photo by Kevin)
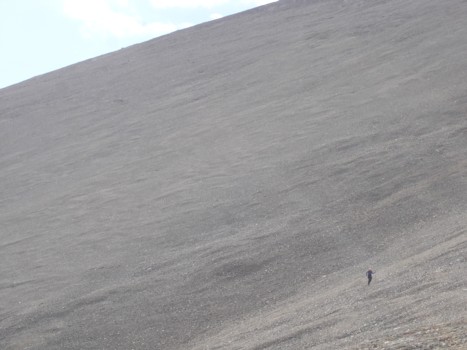
The rather large scree slopes going from 2 to 3 (photo by Kevin)
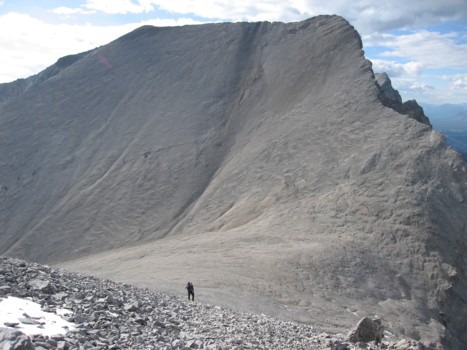
Looking back at Peak 2
At the summit of Peak 3, looking over to Peak 4 (Wind Mountain)
Kevin ascends the final few metres of Peak 3
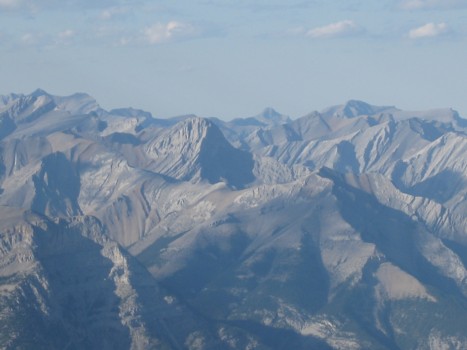
The view to the northeast; Mount Fable near the middle
At the col between 3 and 4 (photo by Kevin)
The north walls of Wind Mountain
Same as above in late evening light (photo by Kevin)
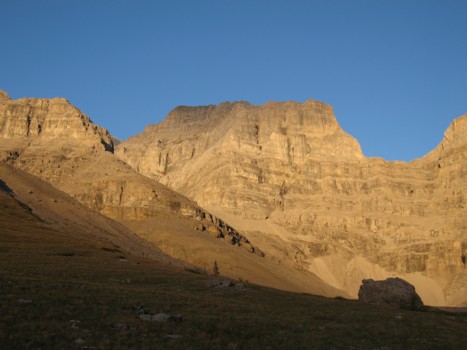
The lower slopes of Peak 2
Again, looking back to Wind Mountain