Arethusa
Cirque I, II, and III
and Little Arethusa III
July 7, 2018
Solo hikes.
I forgot
how beautiful this cirque is. I would describe it as being infinitely more
scenic than its far more popular counterpart in the valley to the north –
Ptarmigan Cirque. Certainly a hidden gem….for now!
I was
surprised to see an abundance of larches. Gillean Daffern suggests this trip as
a larch season one and I can see why.
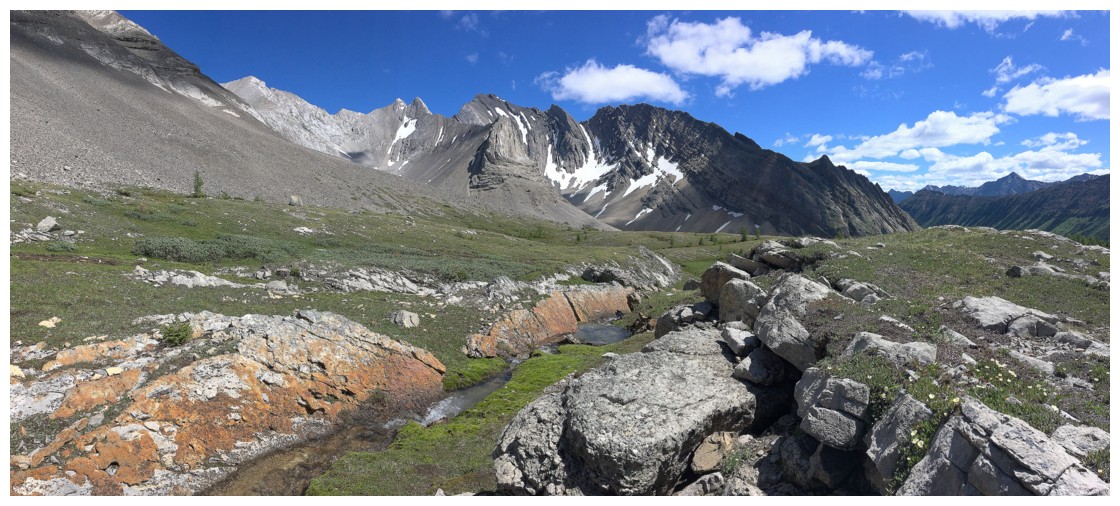
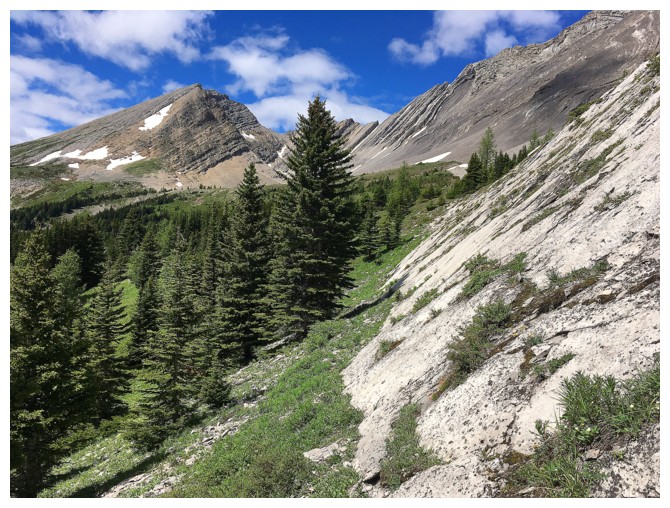
After a little exploration of the stunning south
side of the valley I traversed to the north side, where lies an idyllic stream
below Mount Arethusa and Little Arethusa. Of course, an unplanned ascent of
Little Arethusa followed and then I returned to the south side of the valley,
given the improving weather and amazing scenery over there. This is one you’d
definitely want to do during larch season, with sunny skies.
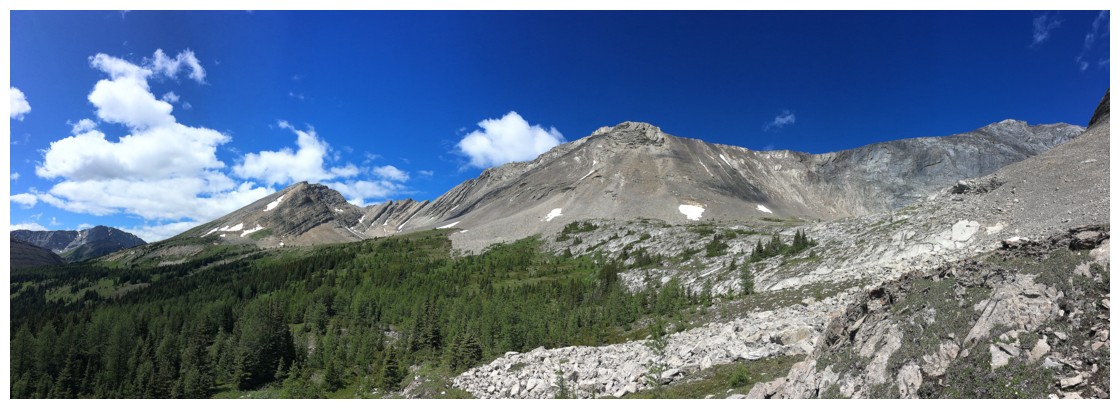
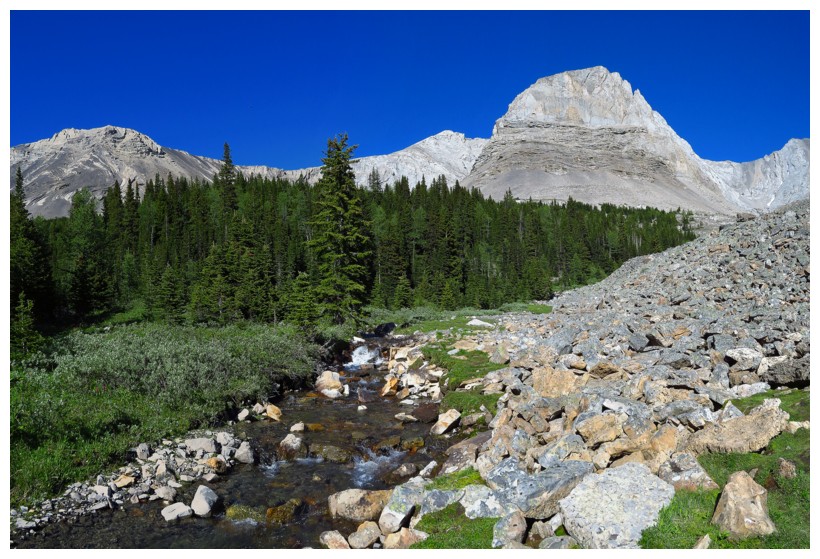
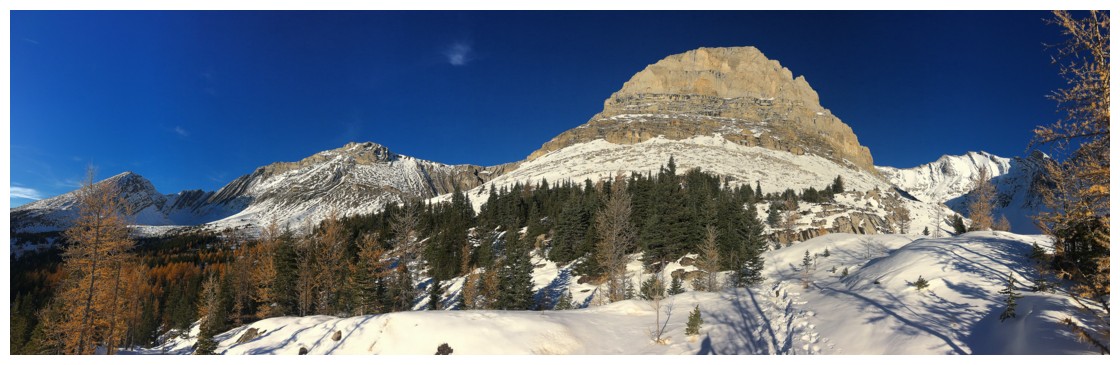
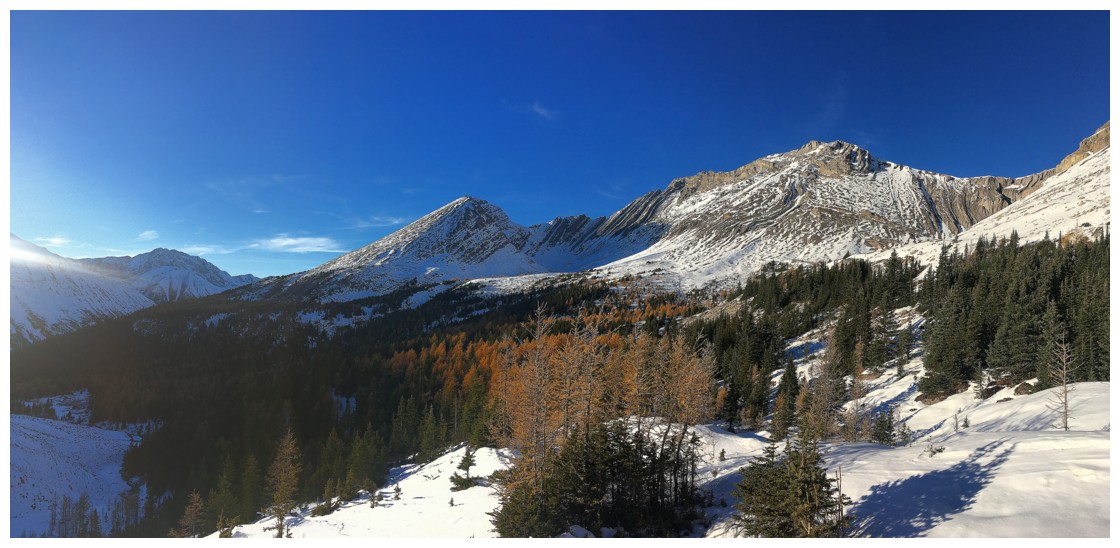
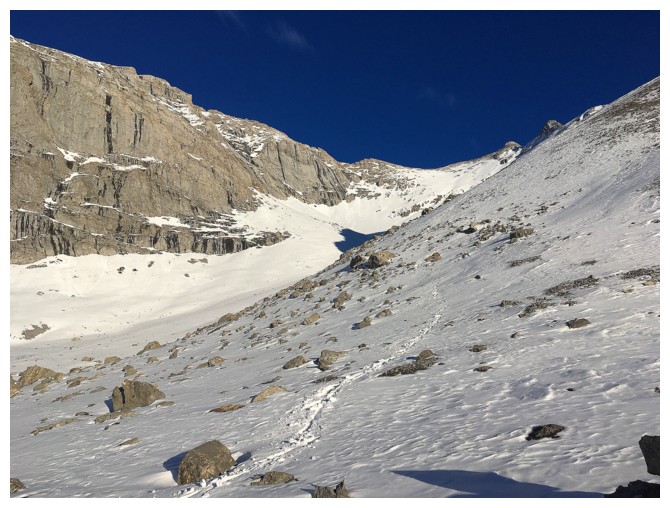
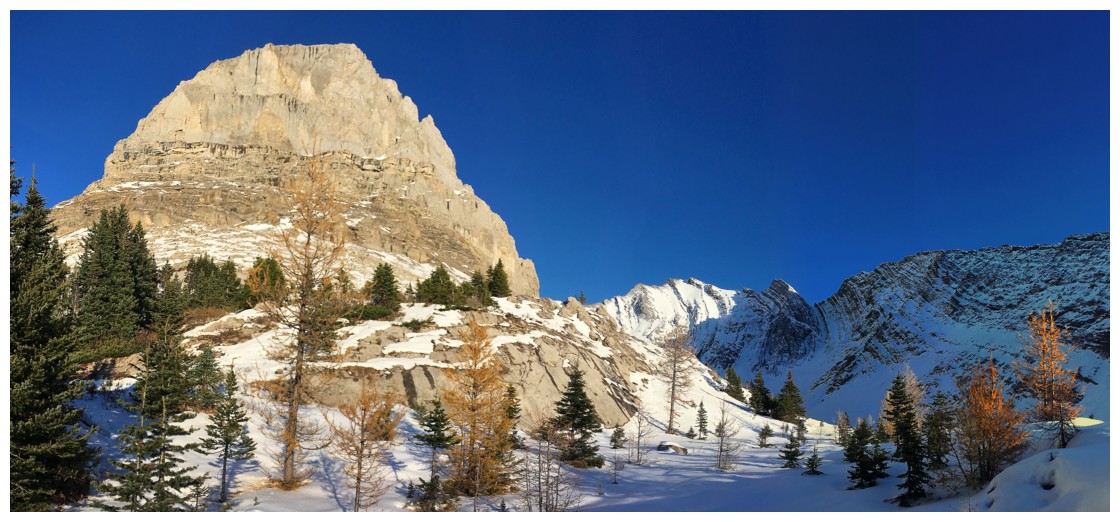
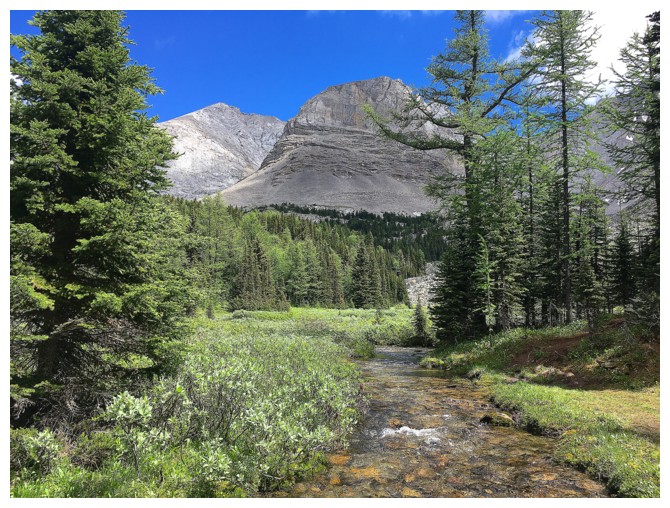 Heading into the south side of the cirque
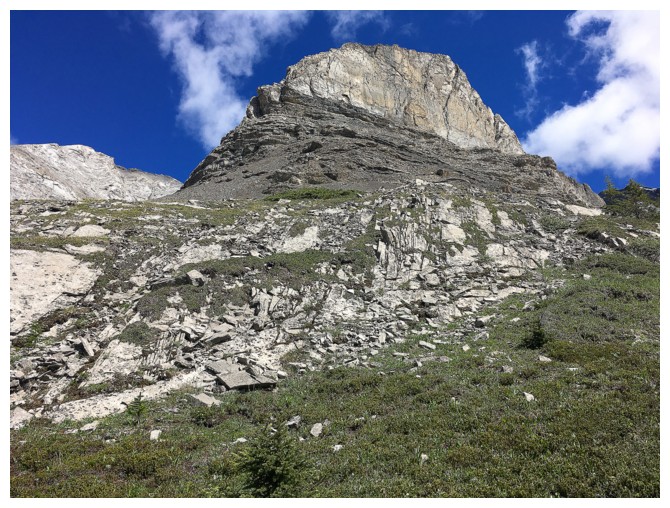
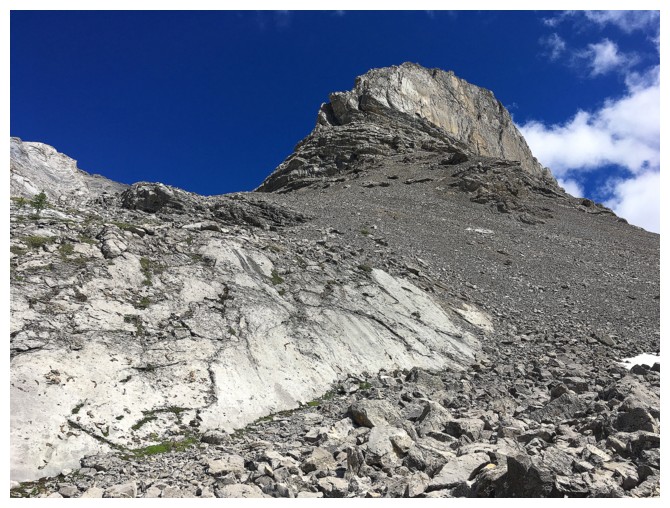
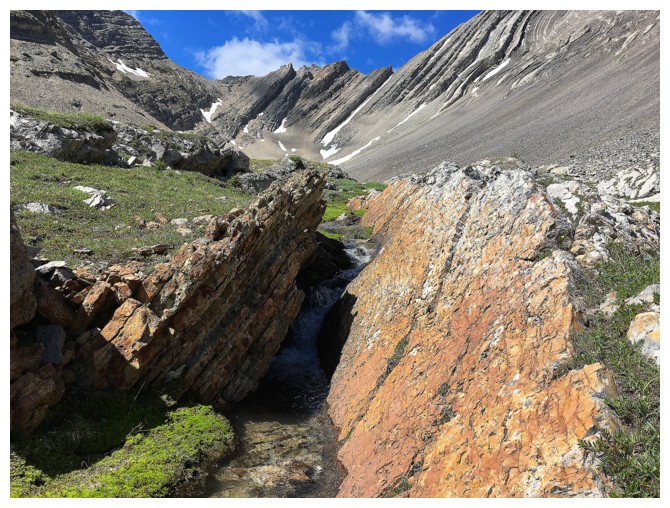
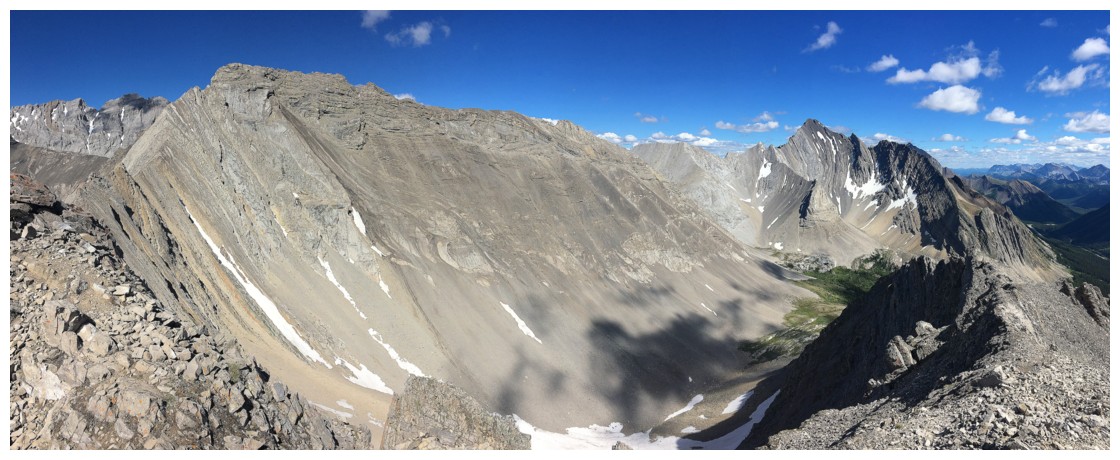
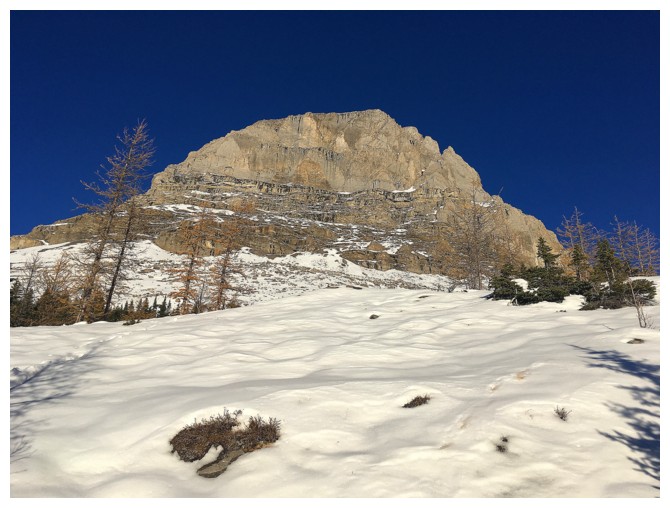
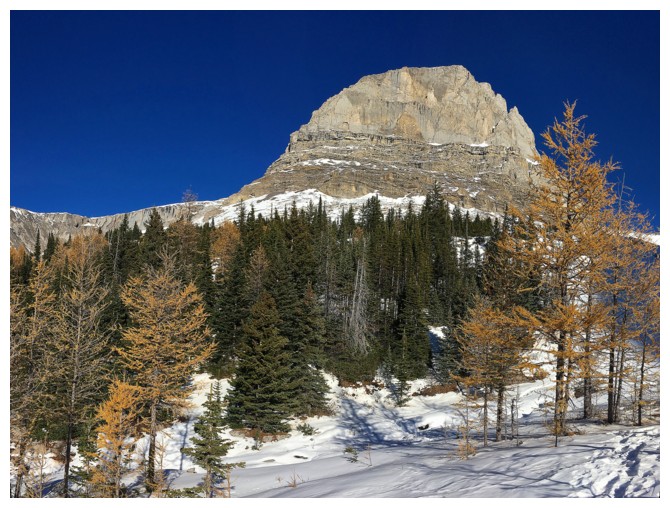
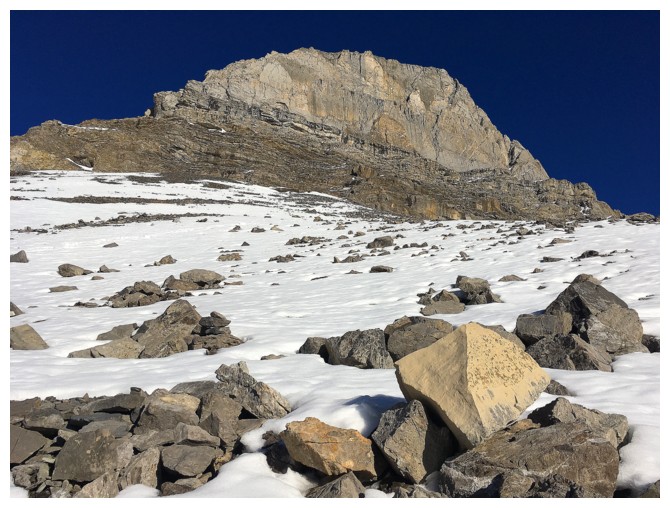
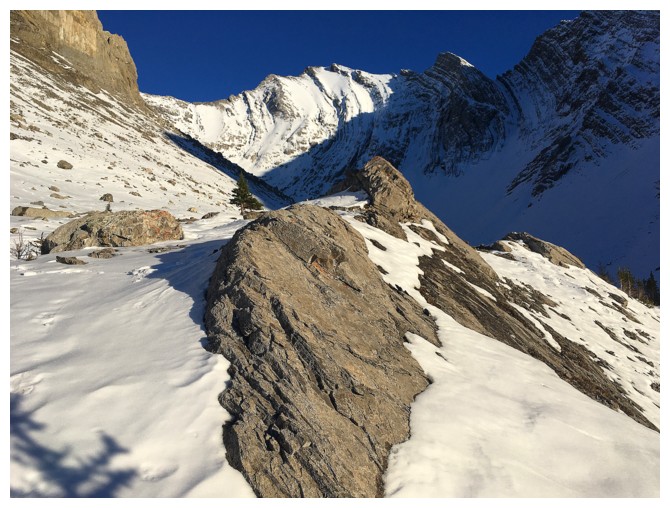
Following this stream is one of the early highlights of the hike. The
massive buttress at the right is the main focus of this side of the
valley.
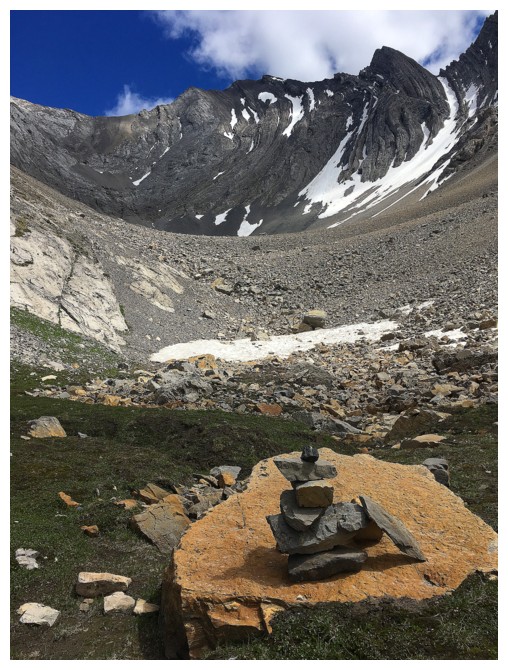
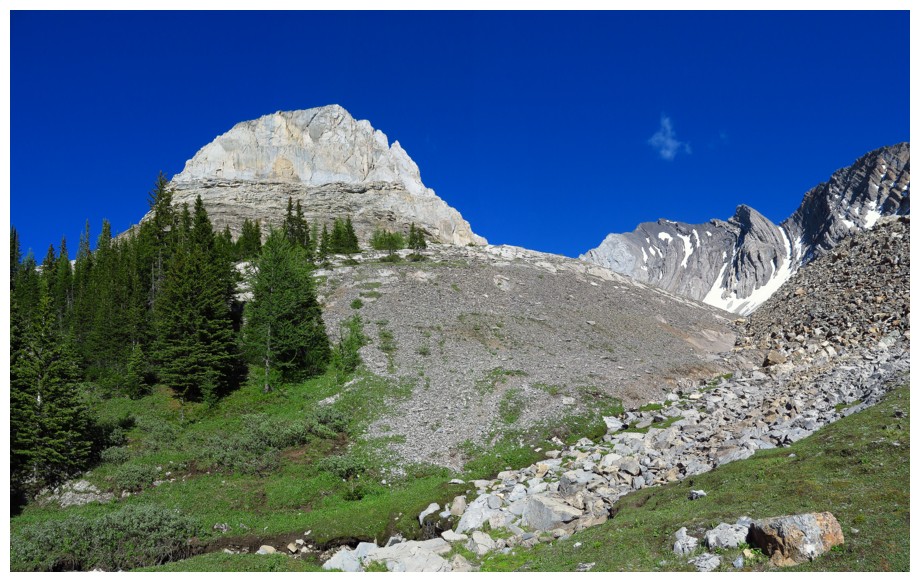
Cairn in the valley under Storm Mountain
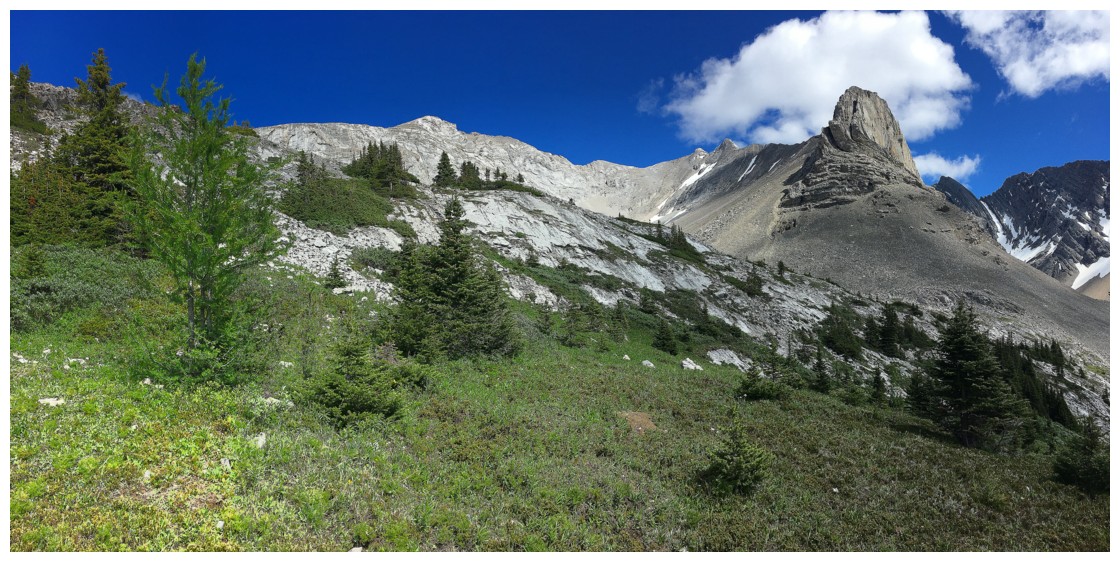
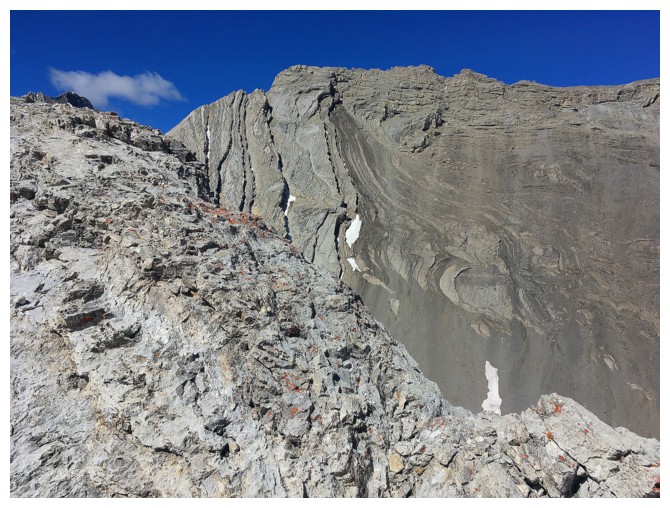
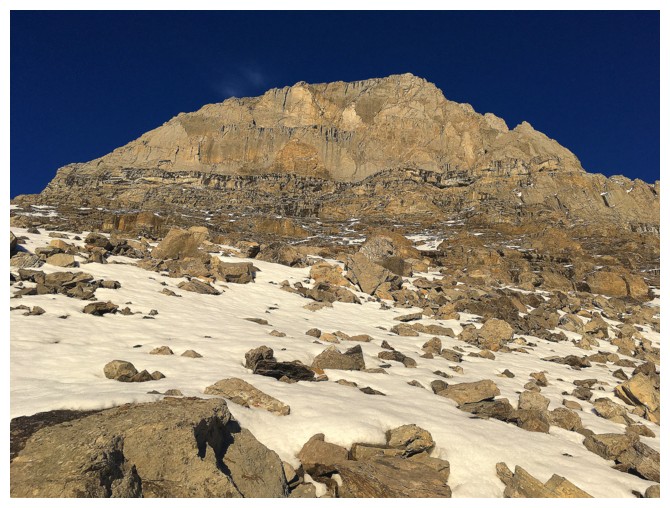
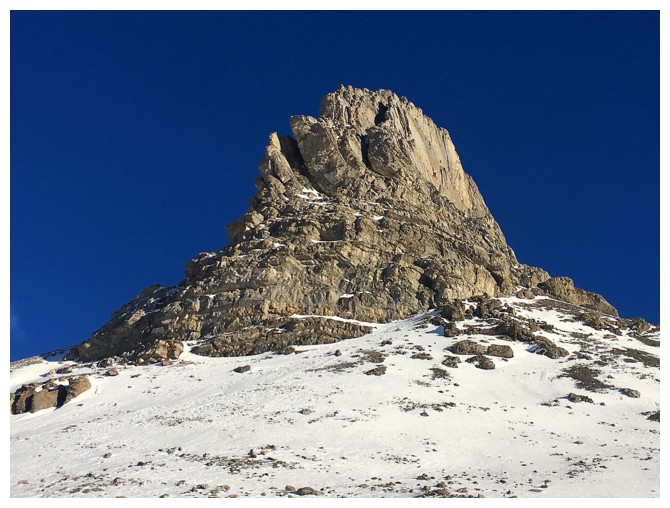
The south side of the buttress
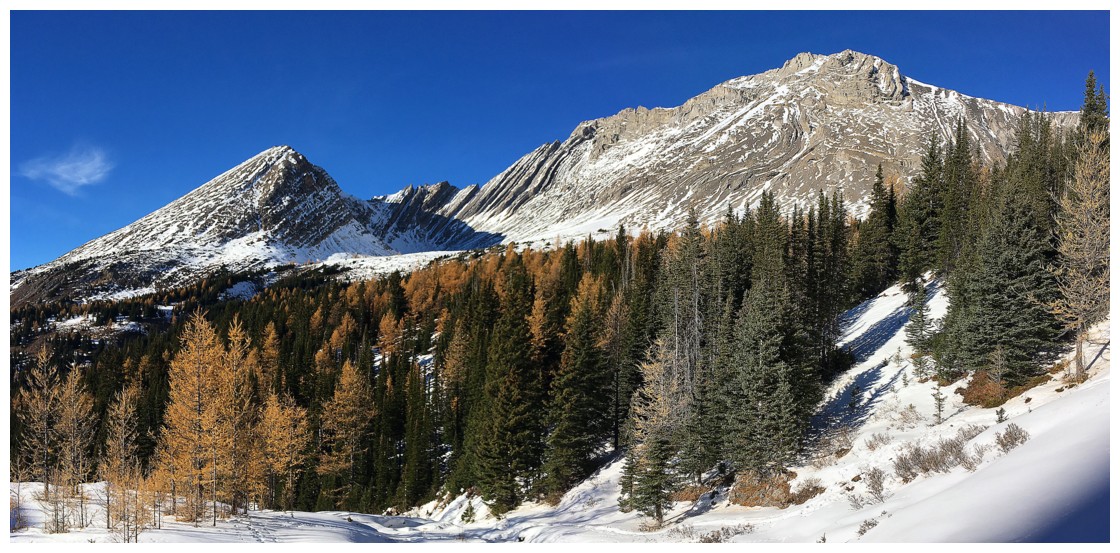
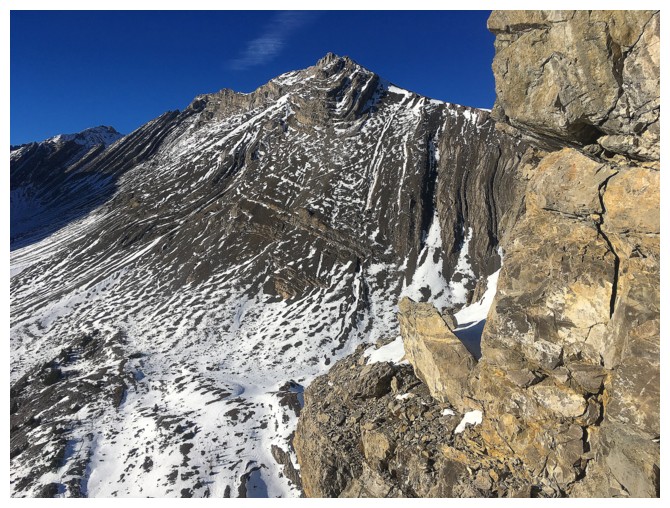
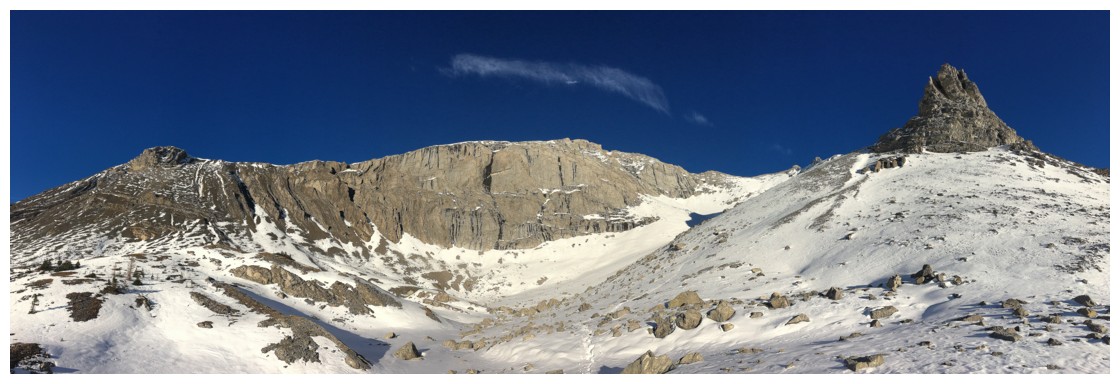
Looking towards the north part of the valley and Little Arethusa (left)
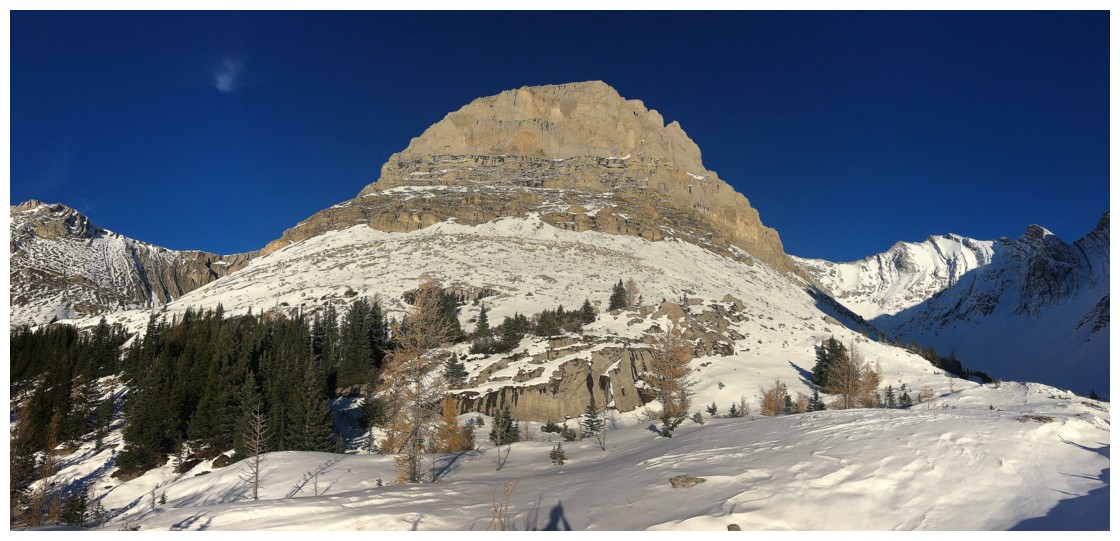
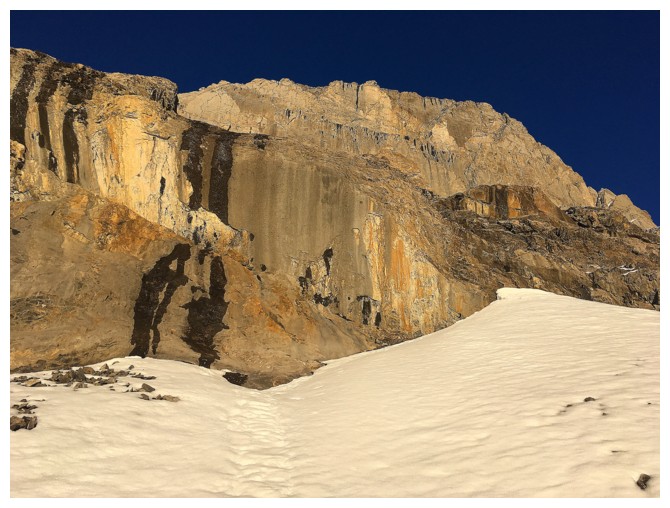
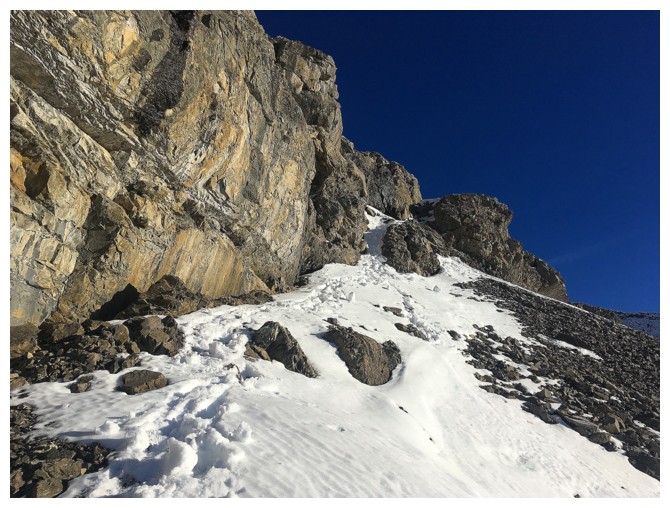
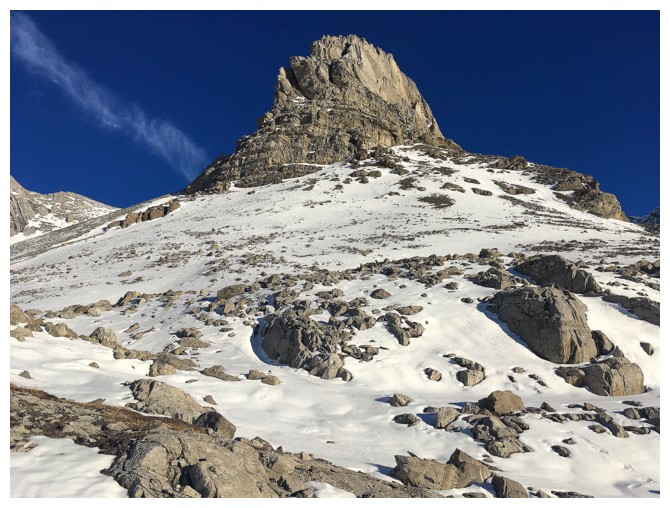
The buttress again
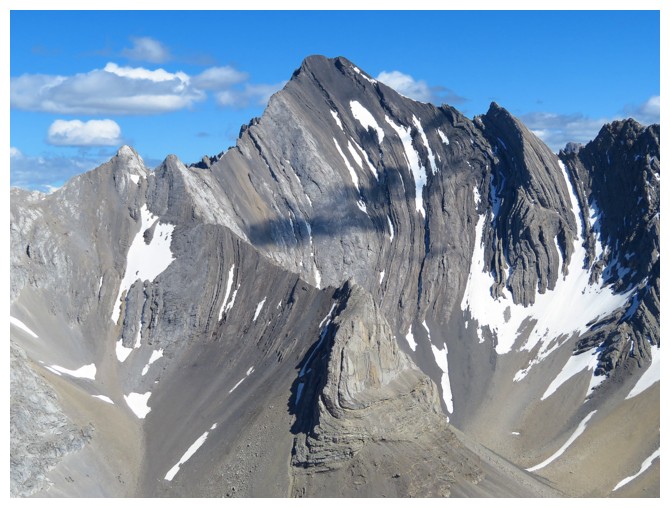
Mount Arethusa in the centre
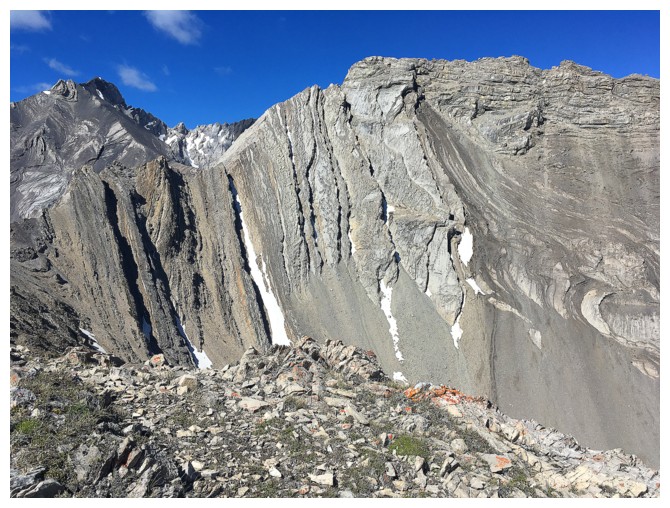
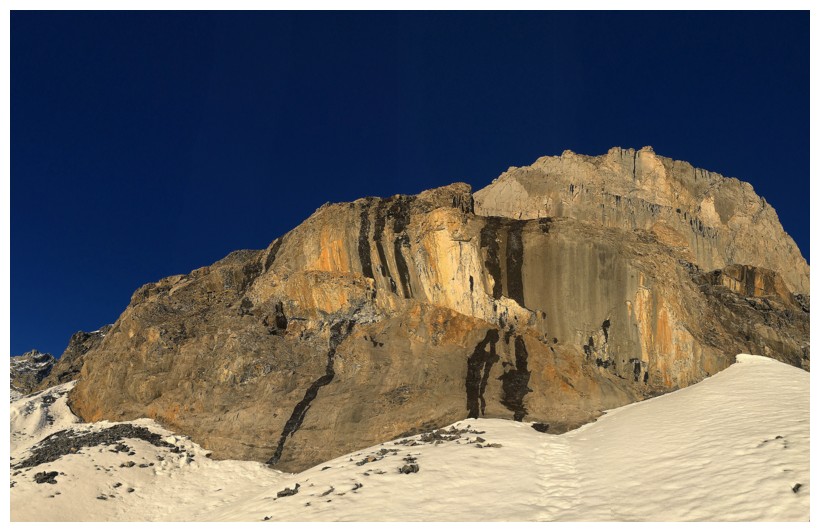
The northwest side of the buttress
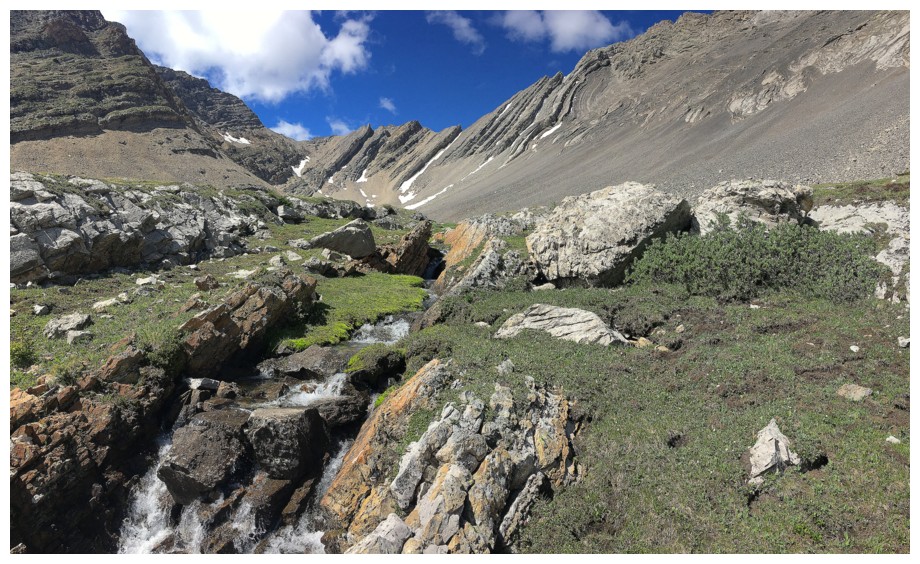
The idyllic stream that separates Mount Arethusa and Little Arethusa
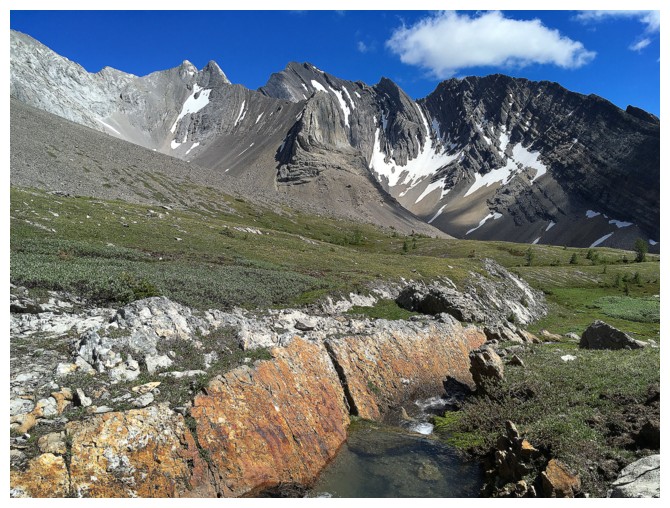
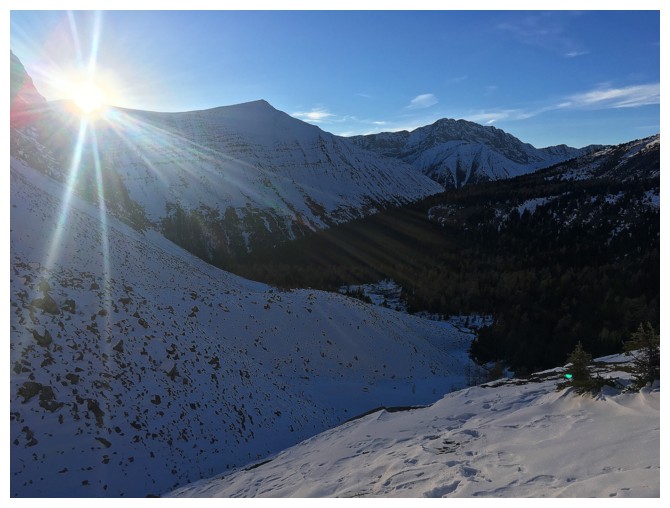
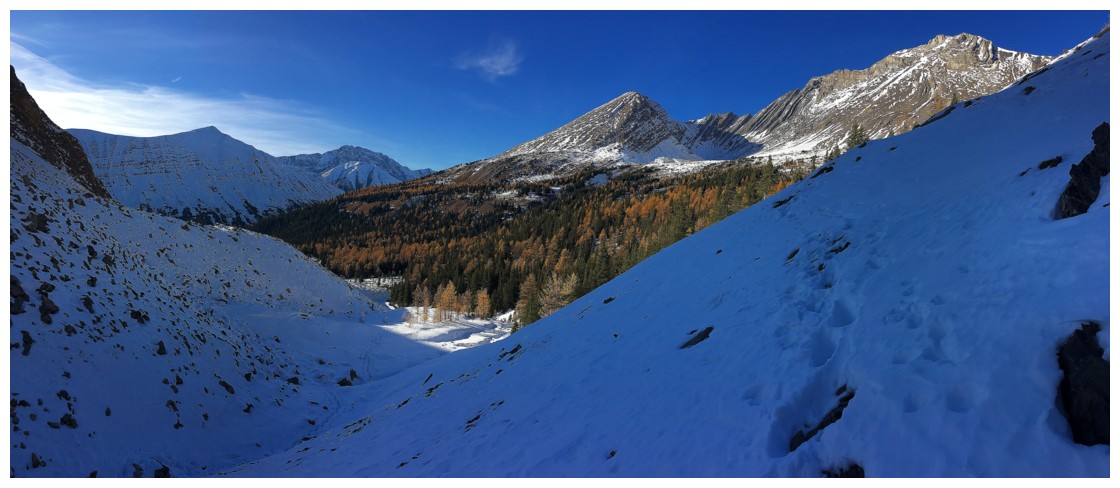
Looking back to Storm Mountain and the south side of the valley
Storm and a hoary marmot - can you see him/her?
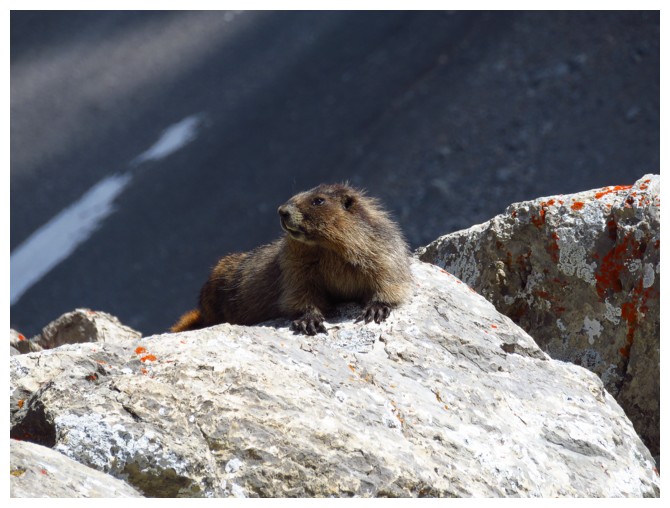
There he/she is!
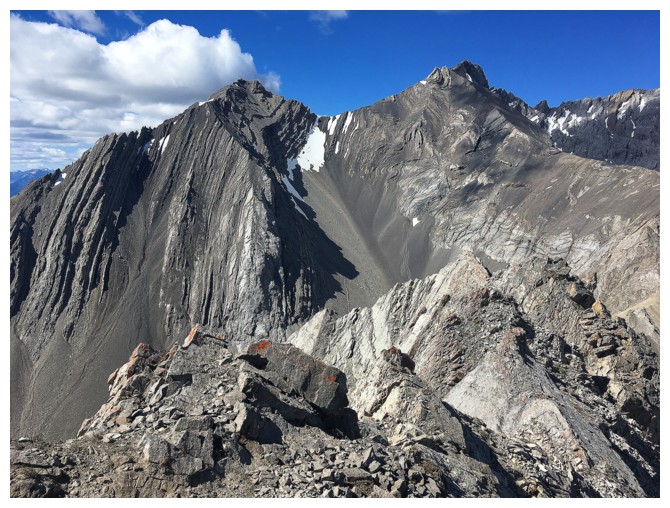
On the upper ridge of Little Arethusa, looking at the summit of Mount Arethusa
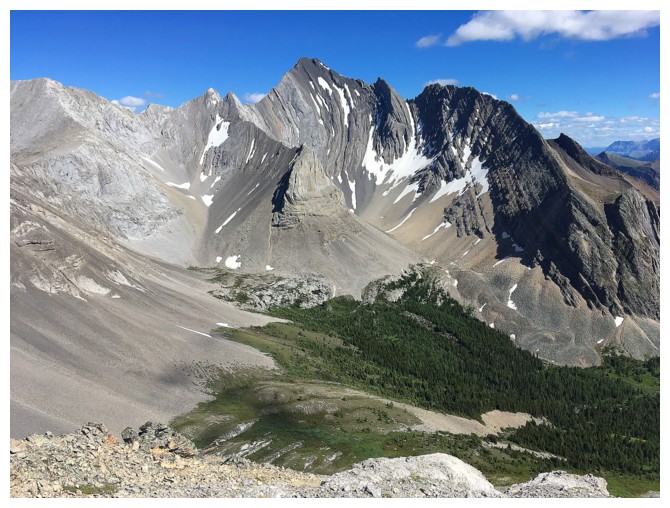
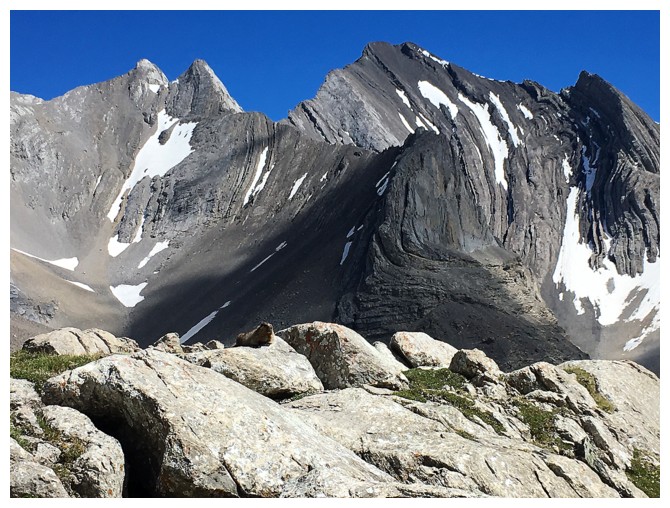
Storm is one beautiful mountain
Arethusa and Mount Rae
Summit view to the southeast
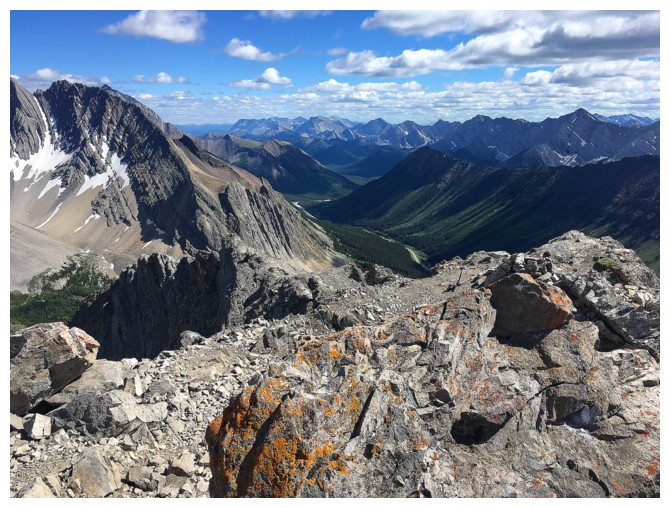
Summit view to the south
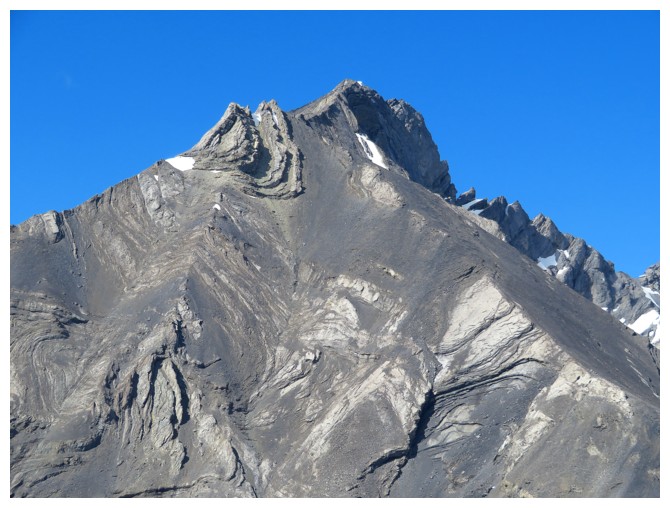
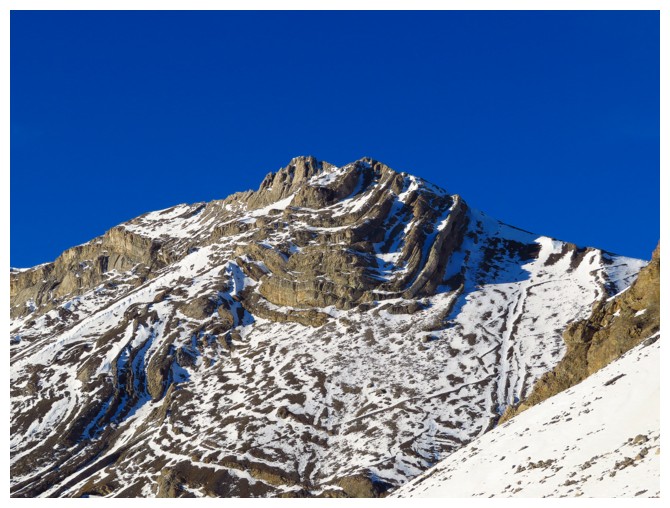
The distinctive rock-folding on Mount Rae
Rae
Storm again

Back down in the valley
... and then back over to the south side
Last look at the buttress
October 17, 2018
Mid-October was the first chance I got to revisit
Arethusa Cirque with the aforementioned criteria: sunny skies and during larch
season. The recent near records amounts of snow for early fall would hopefully
add to the already amazing scenery in the valley.
The 17th of the month was also a week(work)day and so I didn’t
start the hike until 5:15 pm. This was a race against the setting Sun that I’d
say ended in a tie. I did get to experience much of the upper valley in full
sunshine, but the lower valley (with most of the larches) was in shadow by the
time I reached it. Nevertheless, what an incredible valley!
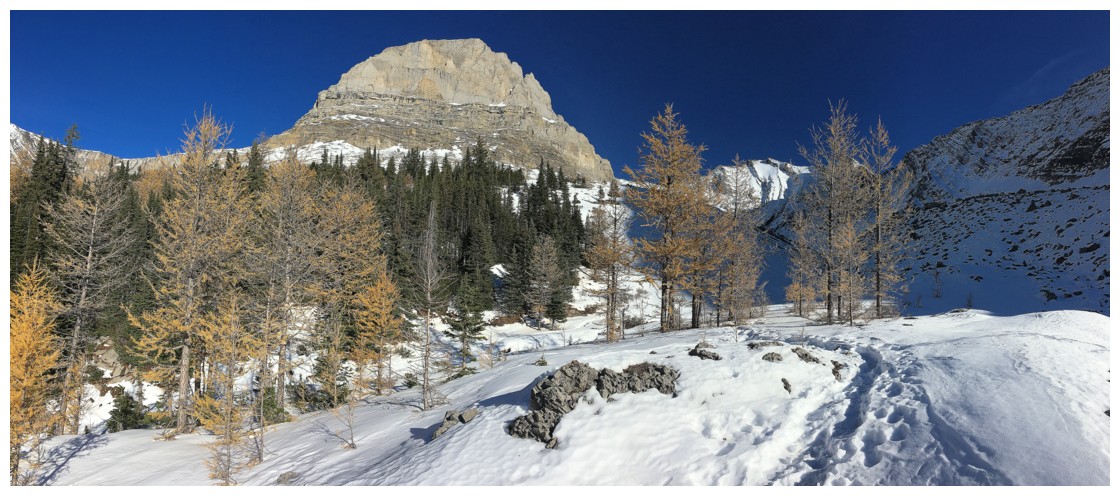
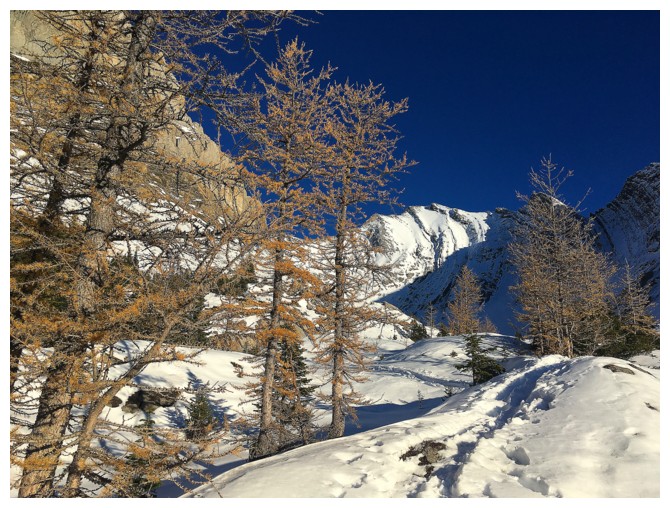
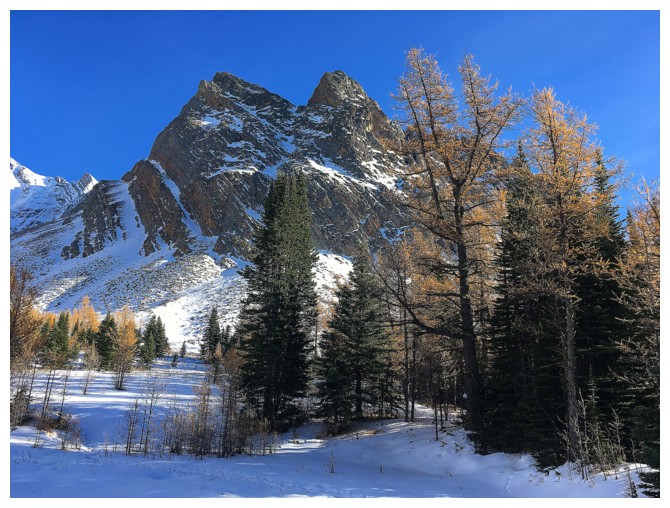
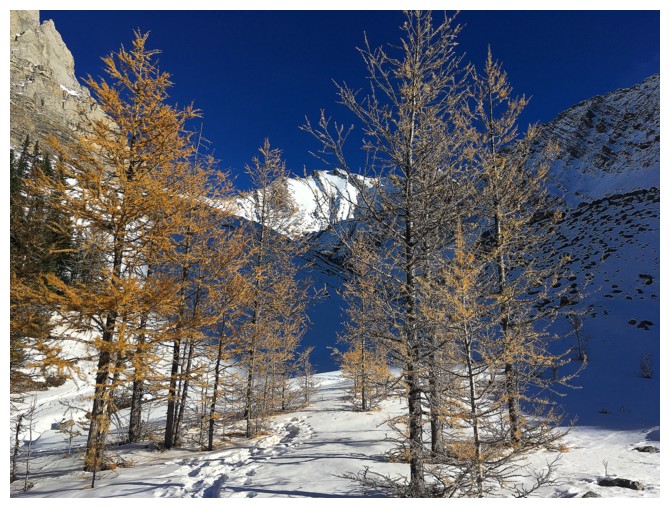
The added bonus of snow and yellow larches, but the Sun is already reaching only the upper valley
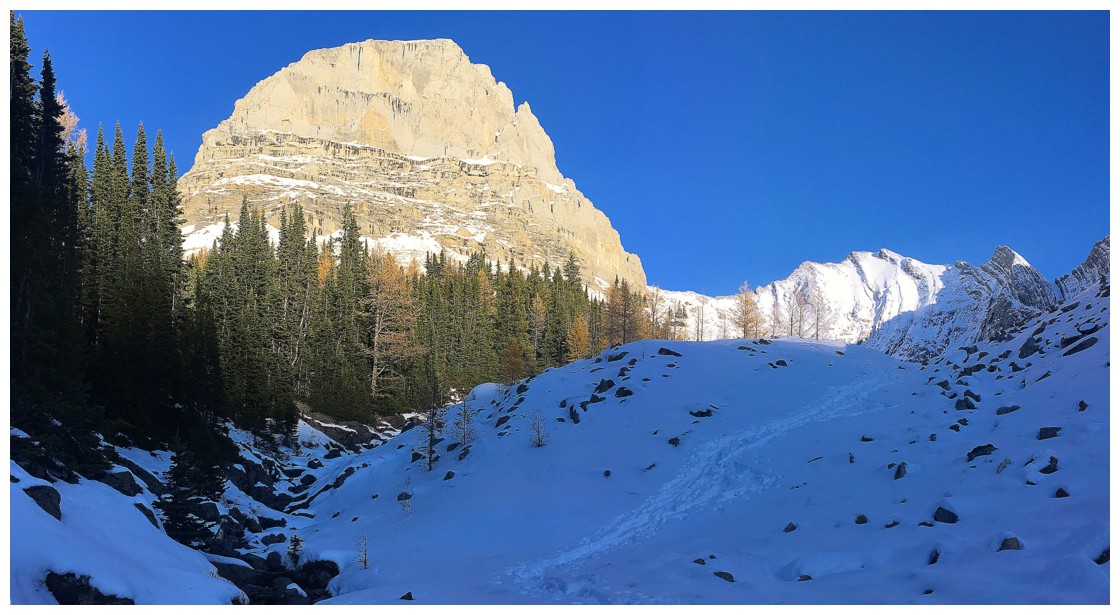
The buttress is certainly getting some Sun!
The larches are definitely on their last legs, but still looking good
Heading up towards the base of the buttress
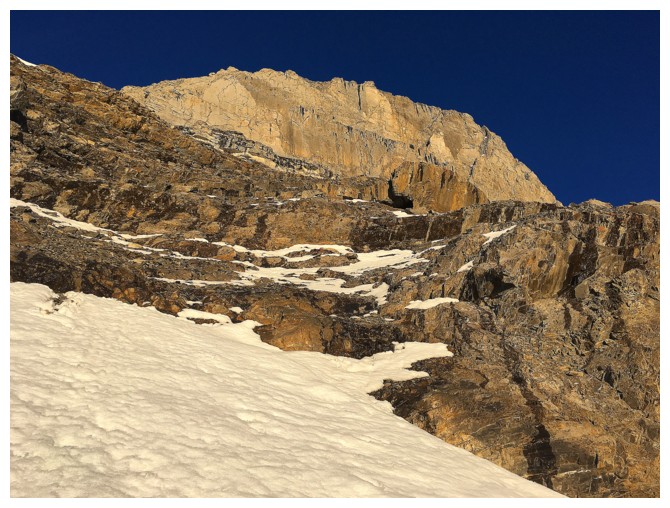
The south end of Mount Arethusa
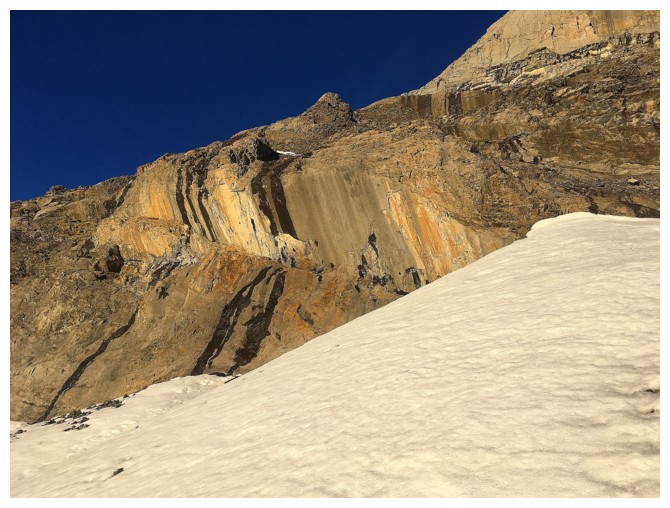
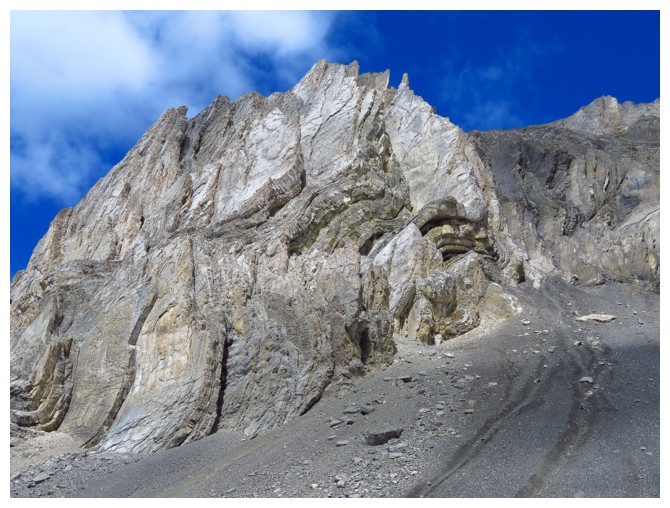
This section of rock on the buttress was spectacular
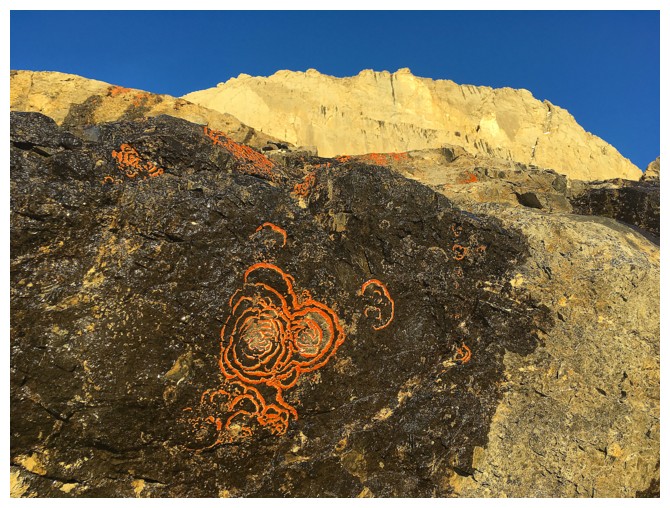
Strange shapes of lichen
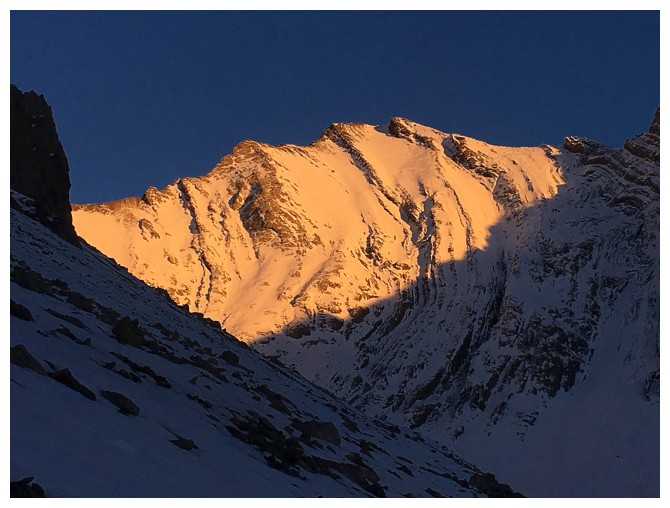
The Sun setting part of Storm Mountain
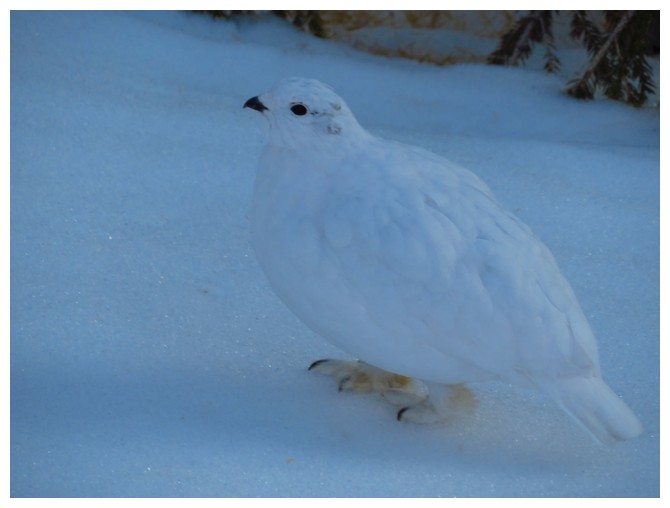
Superb camouflage
A tie is as good as a loss and so two days after
reaching a stalemate in a race against the setting Sun I set out to see if I
could win. Of course, I had an Ace in my pocket. Work finishes 1.75 hours
earlier on Fridays and so the fix was in!
The big question was would the larches still be in
full form – October 19 is pretty late in the season. Answer: well, not quite. They were
definitely in the last stages of losing all their needles.
After seeing what I came to see, I explored the
valley between Storm Mountain and “Storethusa
Ridge” a little and then enjoyed a leisurely stroll back as the Sun set.
Three
visits to the same
place in less than four months - I guess we could call the Obsession #2
for 2018 (see Pincher Ridge). Nevertheless, each trip was magnificent
and I'd repeat Arethusa Cirque in a heartbeat!
Back for Round 3. The larches are still hanging on and the Sun is high!
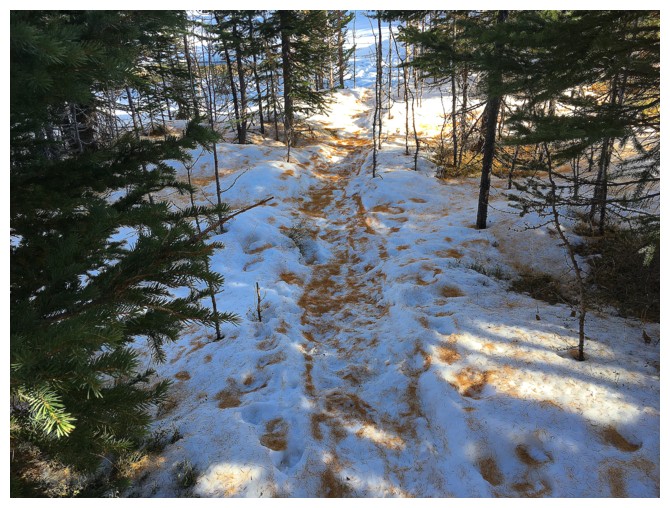
Larch needles on the trail
The northwestern outlier of Storm Mountain
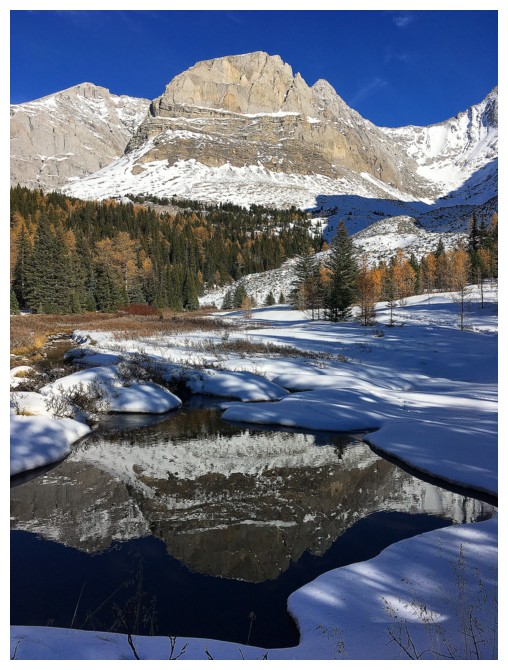
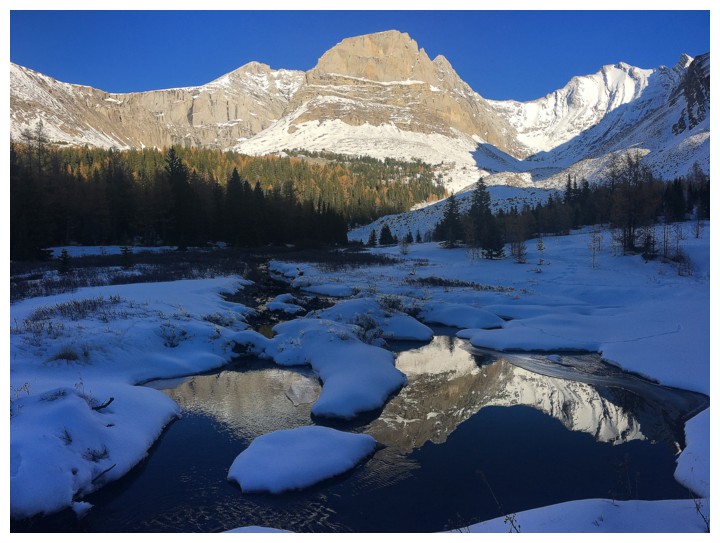
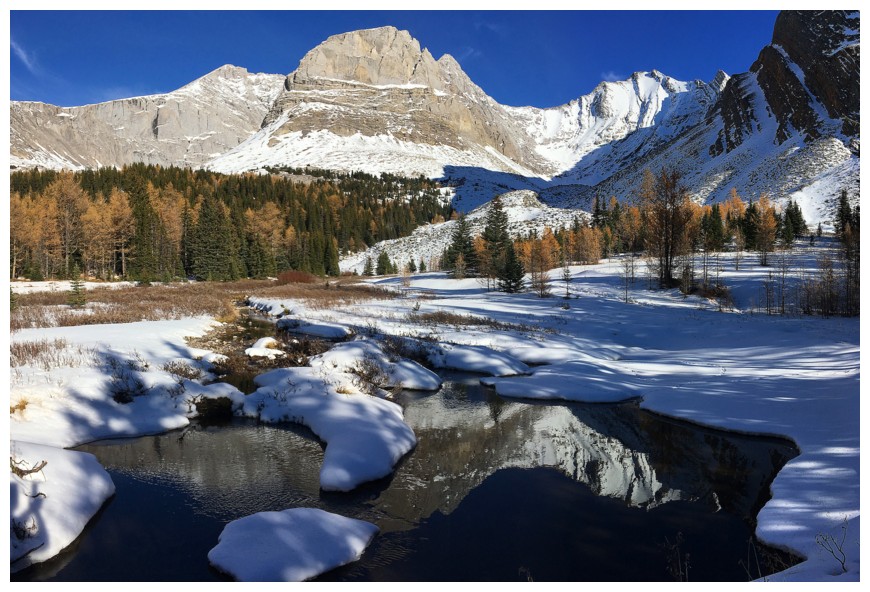
I'll never tire of water reflections
Little Arethusa (left) and Mount Arethusa reflections
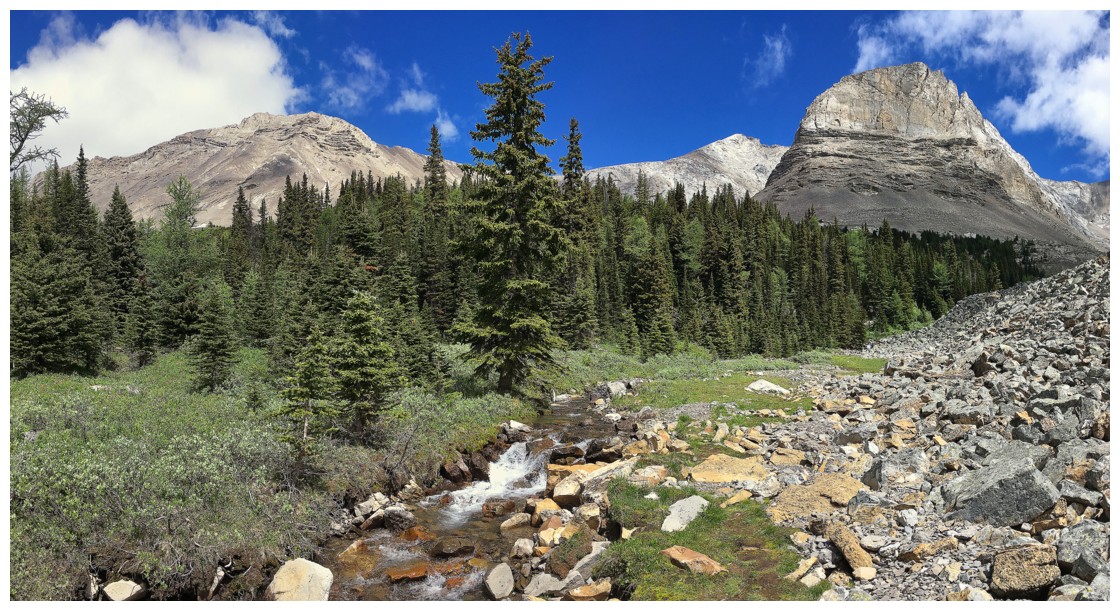
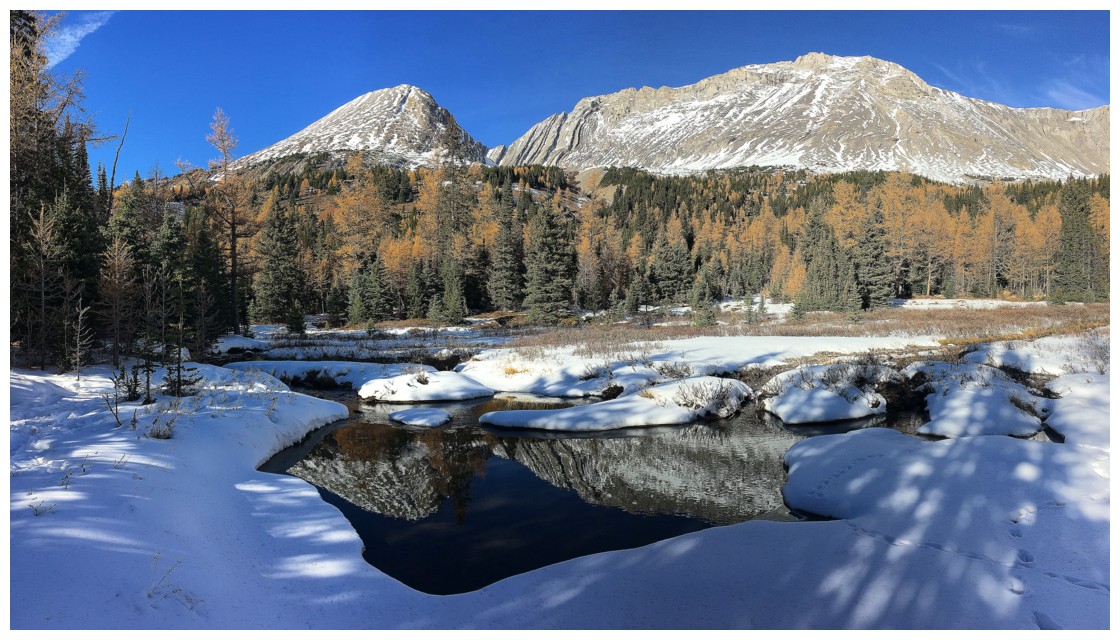
Another scene I'll never tire of
Circumventing the buttress

Mount Arethusa
More circumnavigation

"Storethusa Ridge" - one of the coldest days we have ever experienced, way back in 2007
Arethusa and Storethusa
This valley appears to give good access to Storethusa and the north ridge of Storm Mountain
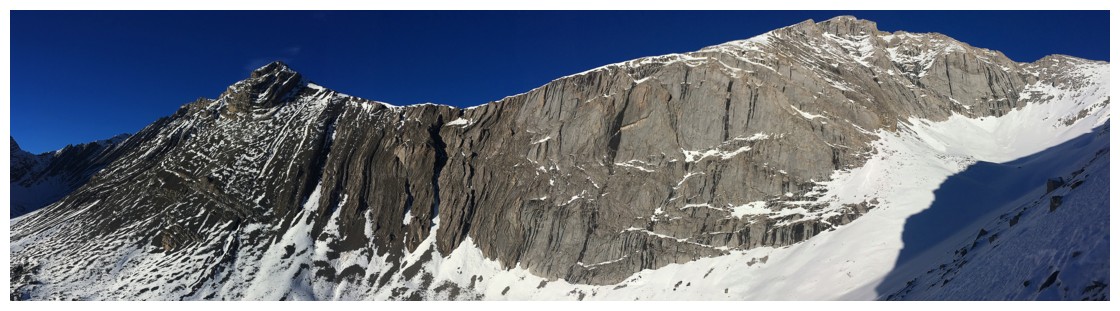
Definitely one of the most photogenic buttresses in the area!
The south side of the buttress also appears to offer access to Storm Mountain
A final parting look at one of my new favourite hikes in the Rockies
The End