Boom Mountain
August 2, 2019
Mountain height: 2760 m
Elevation gain: 1090 m
Ascent time: 4:20
Descent time: 3:15
Solo scramble.
 Had
the summit weather cooperated, I probably would have raved about this trip.
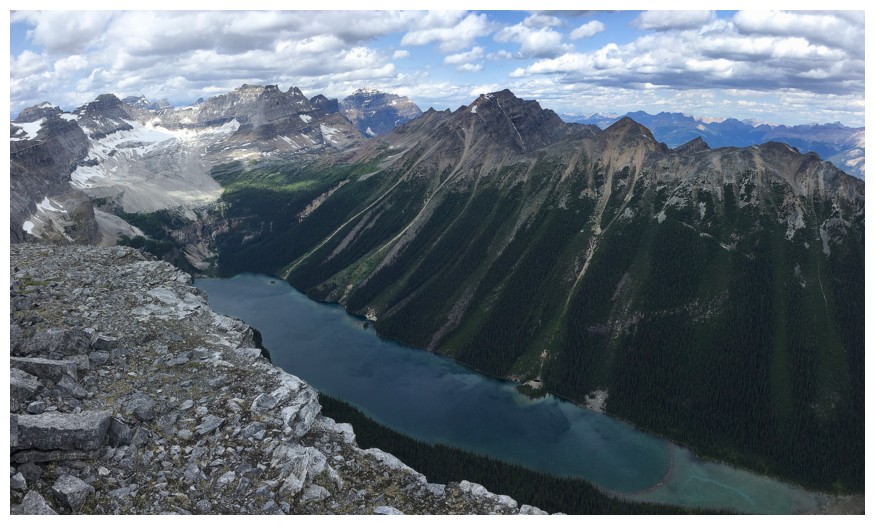
Unfortunately, the skies clouded over exactly when I wanted them to be clear. The
view of Boom Lake from the ridge of Boom Mountain is simply one that requires
the Sun to be shinning on the lake and an untimely arrival to that viewpoint
ensured I would not be privy to the spectacle in full form.
Had
the summit weather cooperated, I probably would have raved about this trip.
Unfortunately, the skies clouded over exactly when I wanted them to be clear. The
view of Boom Lake from the ridge of Boom Mountain is simply one that requires
the Sun to be shinning on the lake and an untimely arrival to that viewpoint
ensured I would not be privy to the spectacle in full form.
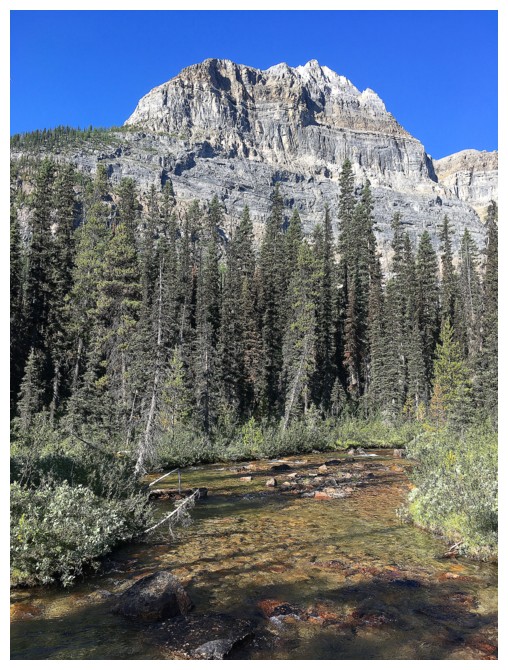
A
somewhat bushwhacky (but not intolerable) approach preceded the actual ascent.
Once out of the trees and on my way up, I took a wandering route up the steep
ascent gully – wandering because the upper part of the mountain is littered
with colourful rock and its lure was too hard to resist.
Perhaps
my circuitous route up the mountain was also my downfall as far as the views go. By
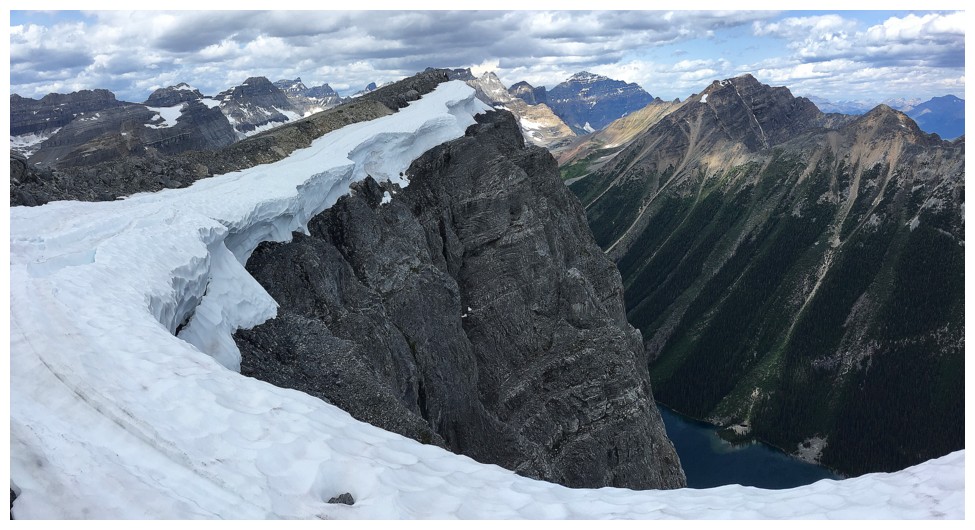
the time I reached the ridge (where Boom Lake becomes visible) the weather had
started to deteriorate, clouds pouring in from the west. This was certainly disappointing
but were I to repeat the ascent, I would probably do exactly the same thing.
I
took my time plodding up to the summit, enjoyed a pretty decent summit view and
then did some exploration, in hopes the weather might improve. It did not and
so I left, taking a more direct line down the mountain. The bushwhack out to
the road was much better, now going a little downhill.
Overall,
an excellent trip, but one I would not repeat unless the weather was guaranteed
to be perfect from start to finish.
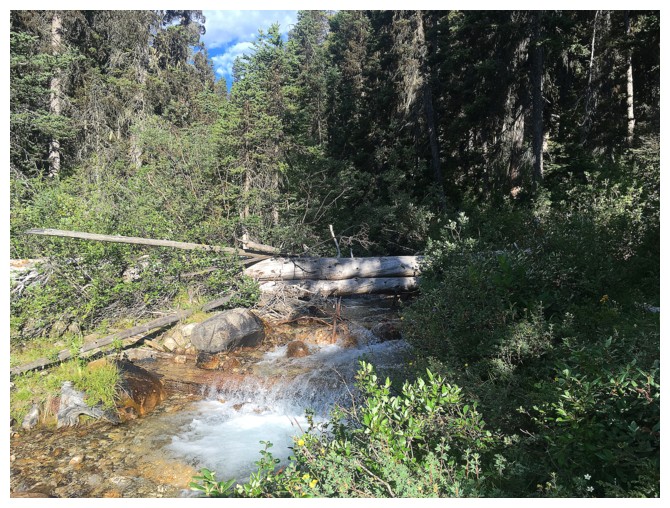
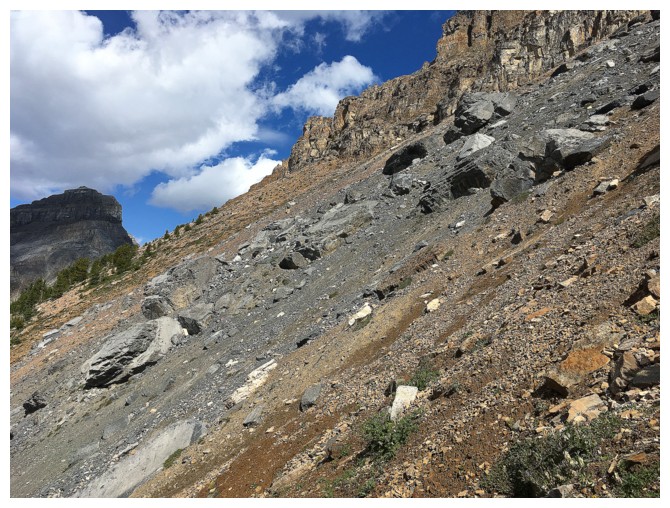
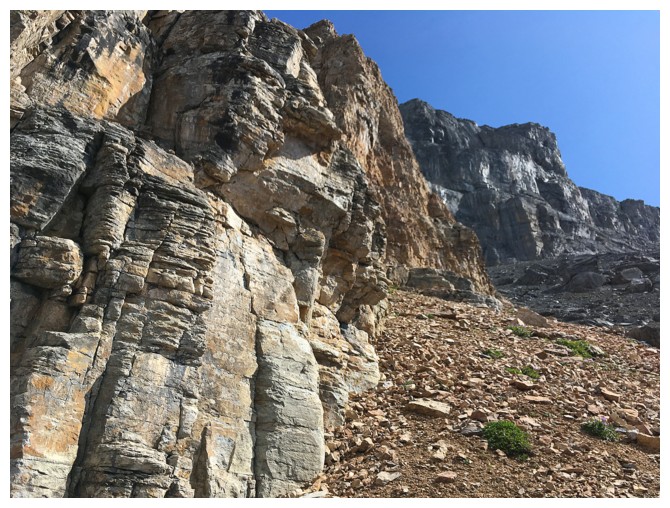
Typical terrain on approach
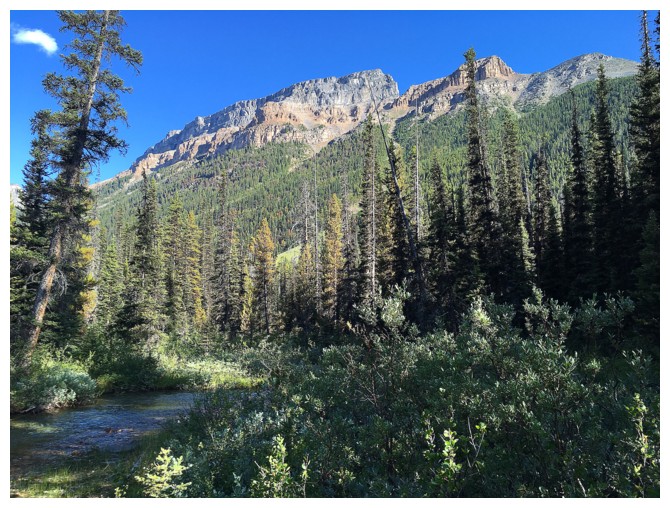
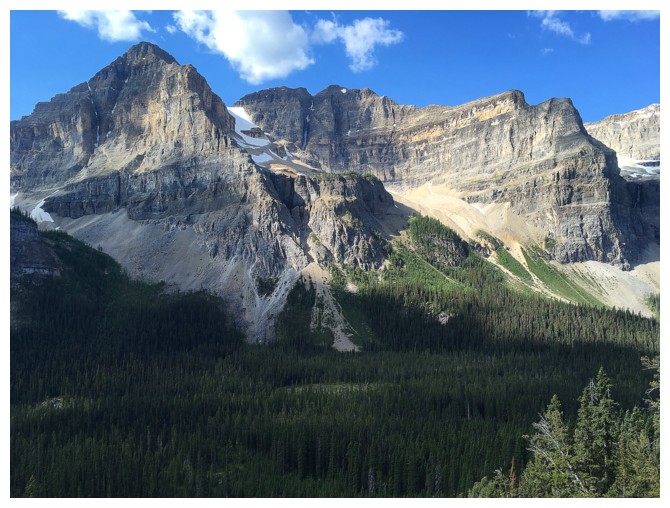
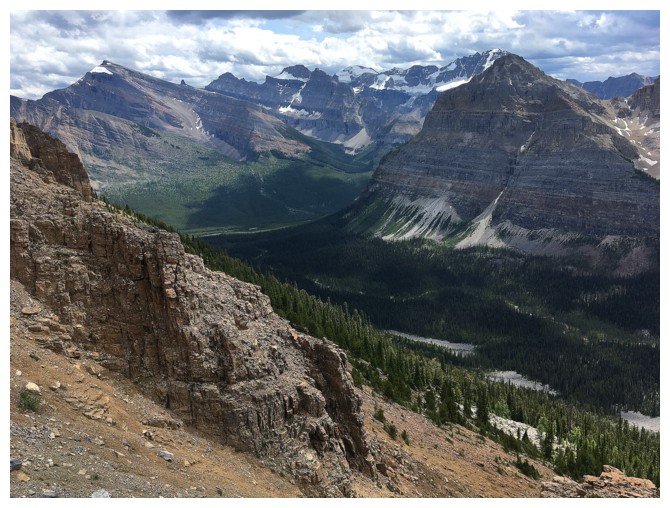
An outlier of Mount Whymper provided much interest throughout
Boom Mountain. The route is way over at the left side.
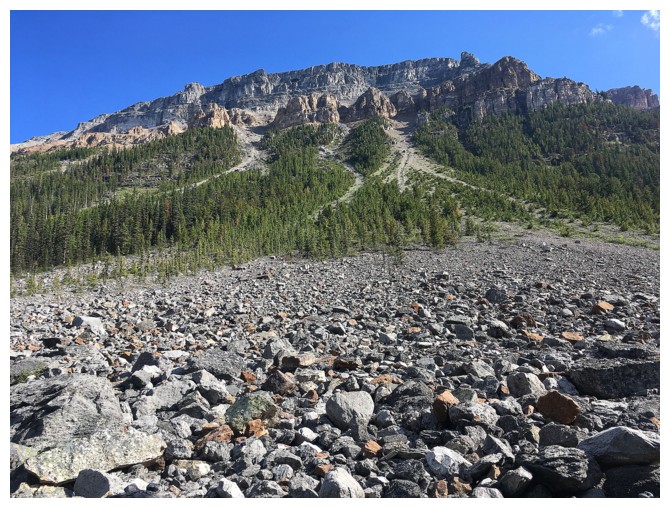
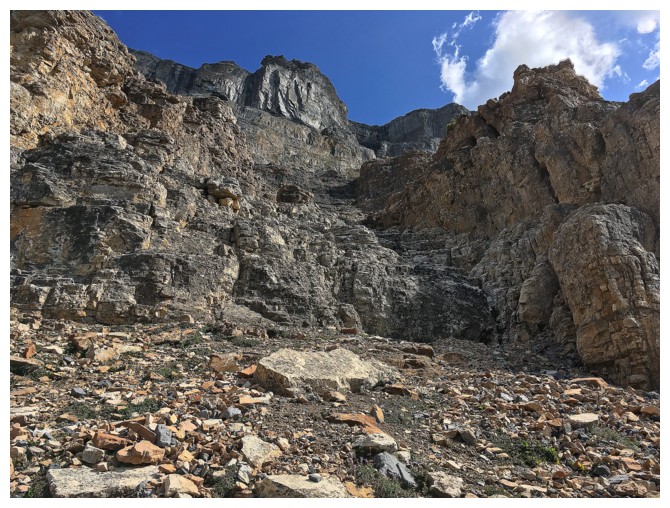
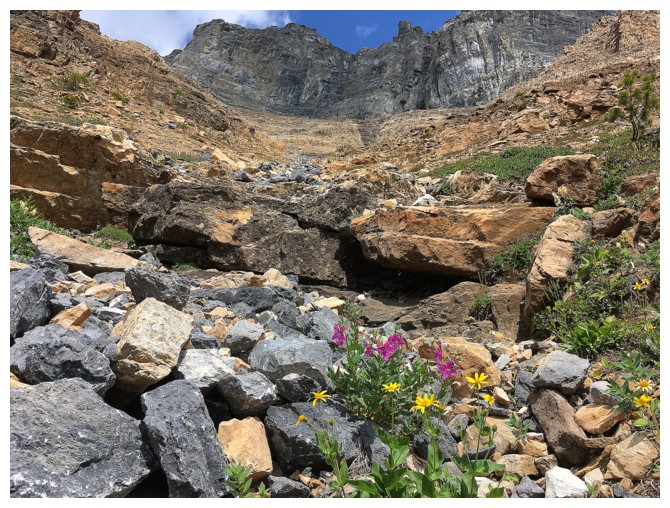
Lots of gullies going up the mountain.
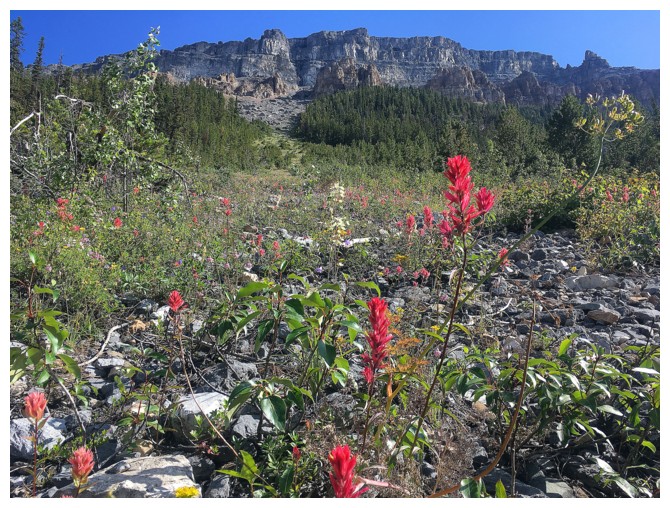
...and some wildflowers near the bottom
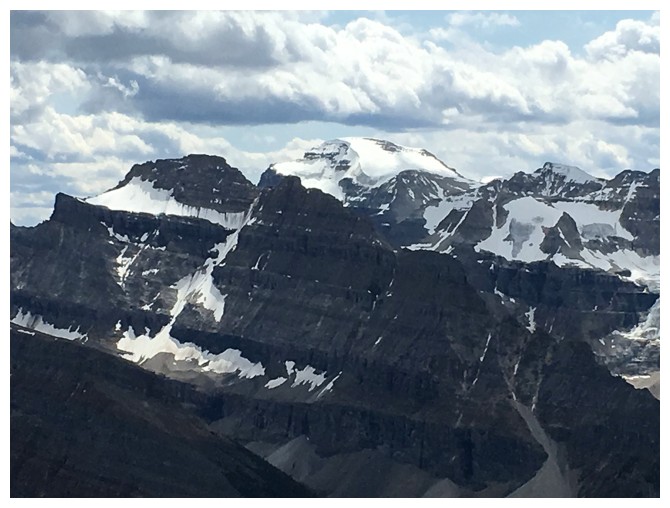
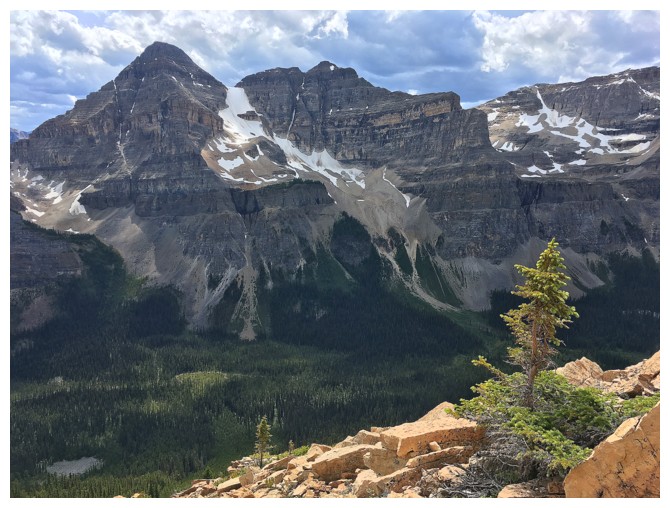
The outlier and Mount Whymper (terrific Kane scramble)
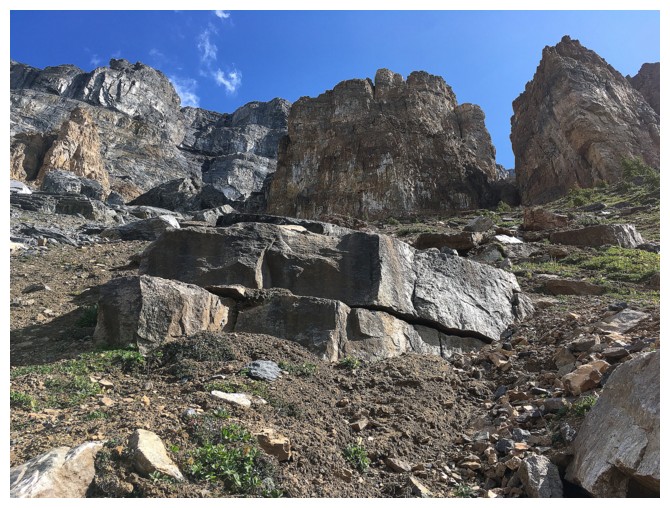
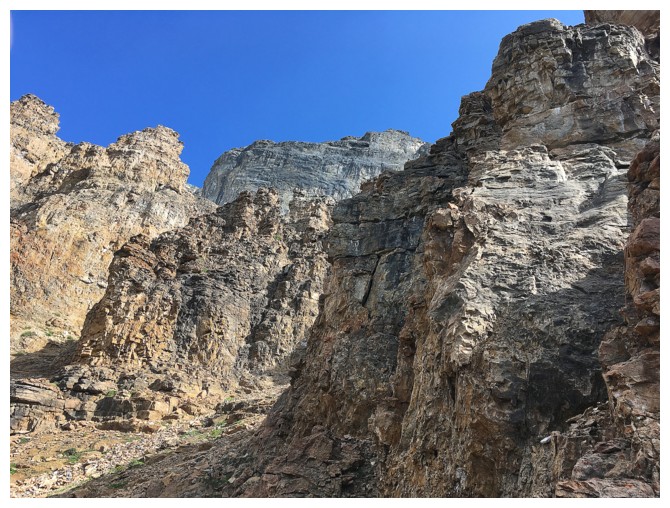
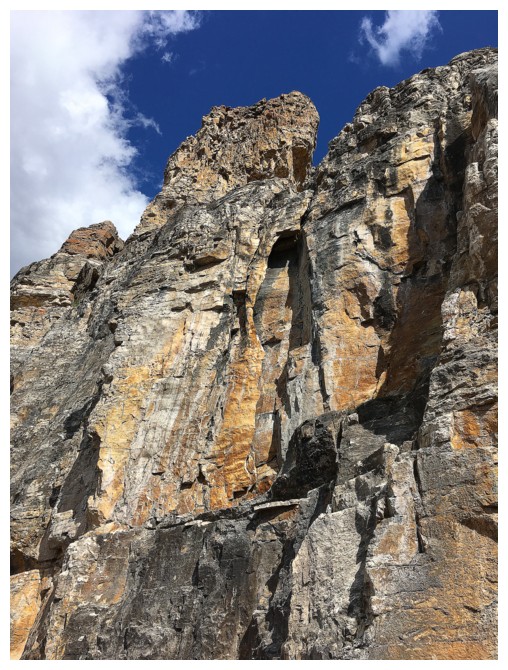
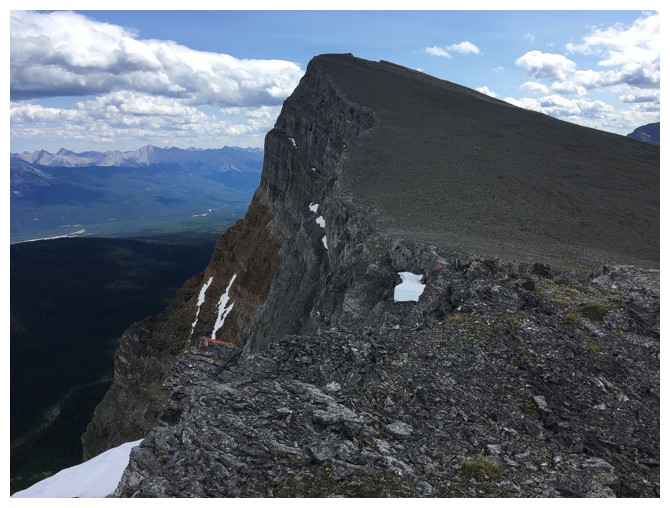
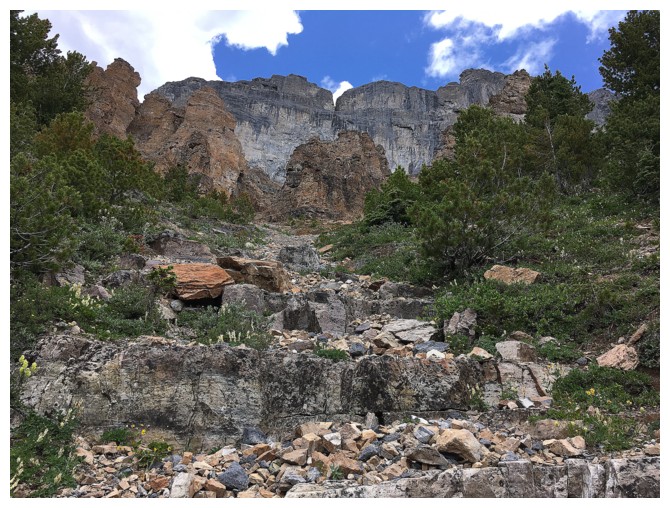
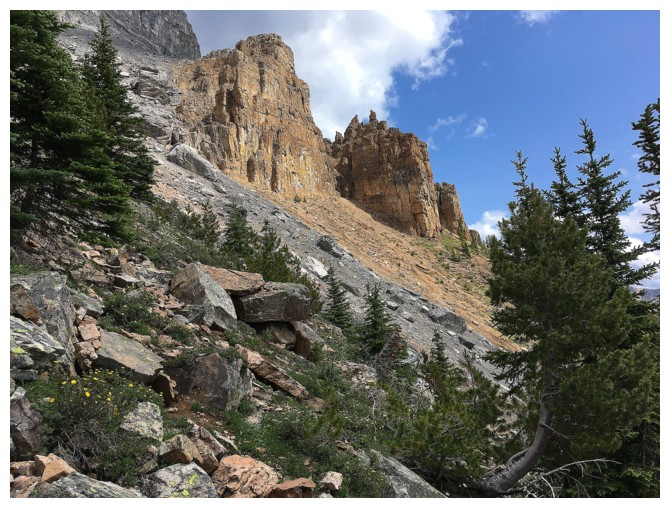
Heading up to the superb rock faces that line the southwest side of Boom
The ascent route is way over there
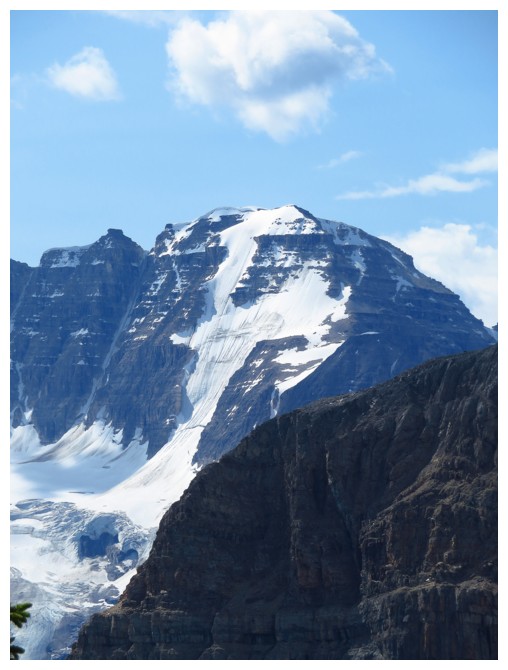
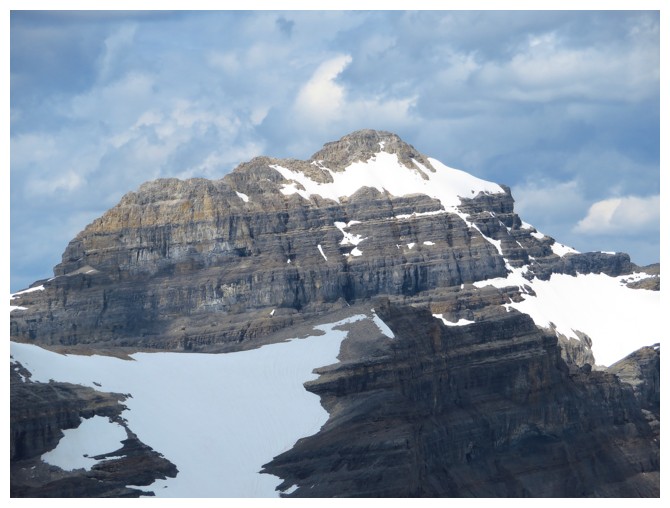
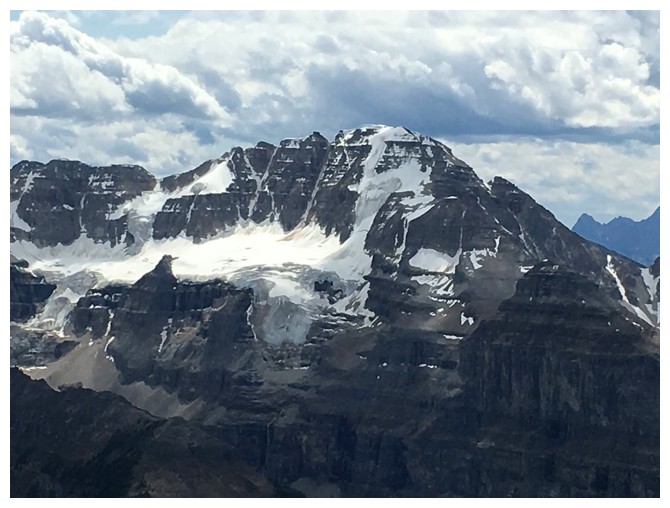
Stanley Peak and the famous Kahl snow-ice route to the summit

Lots of interesting rock to see here
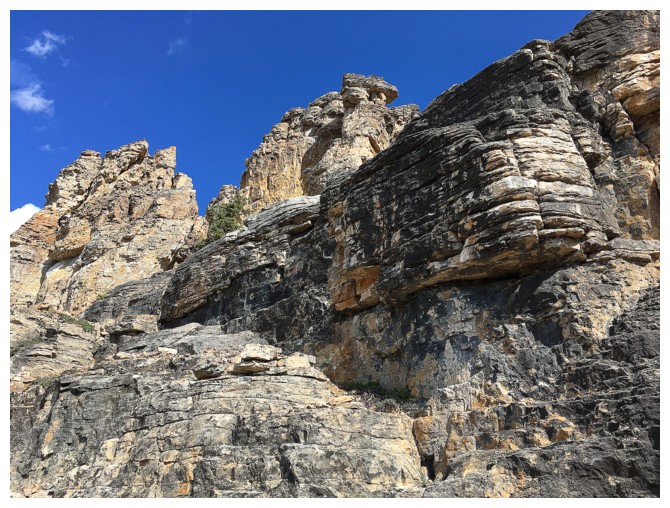
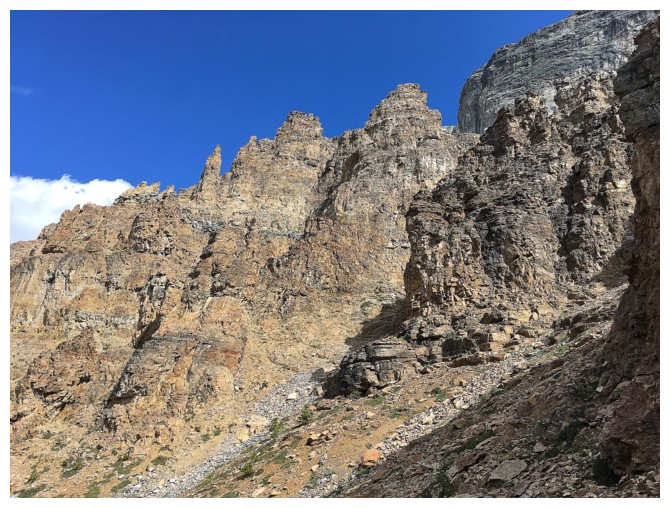
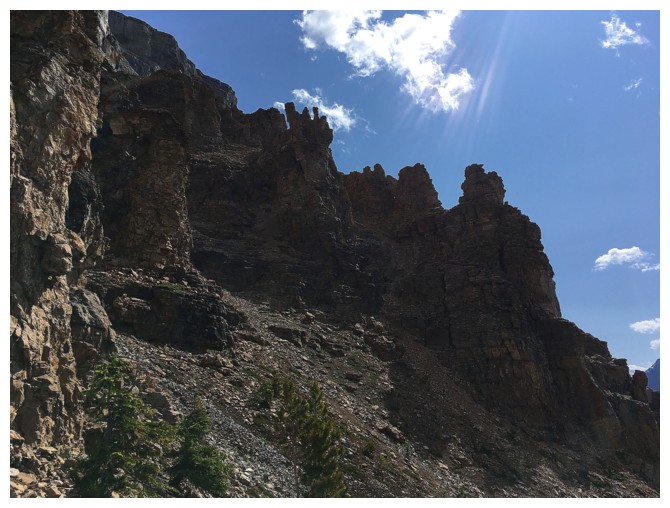
These three little pinnacles in the centre reminded me a little of Ancient Art
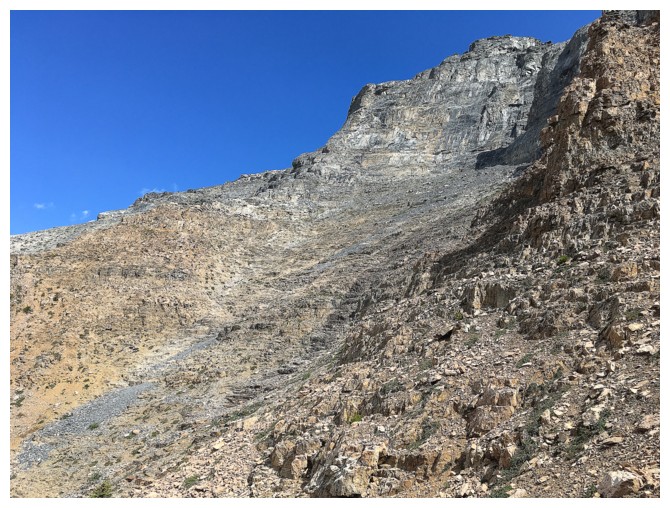
The route ahead - lots of traversing!
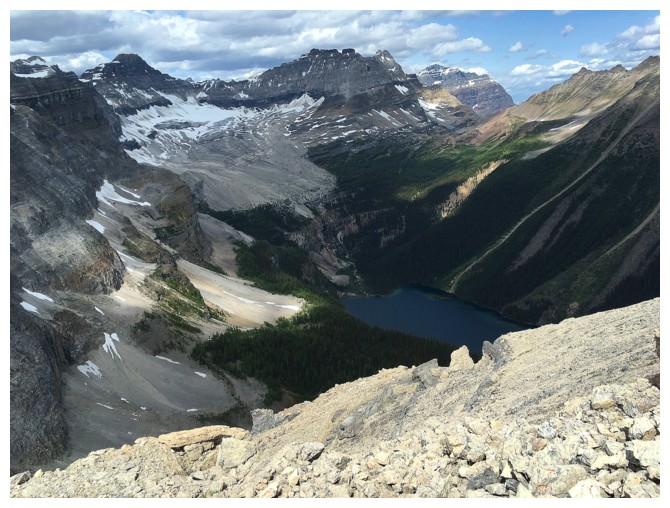
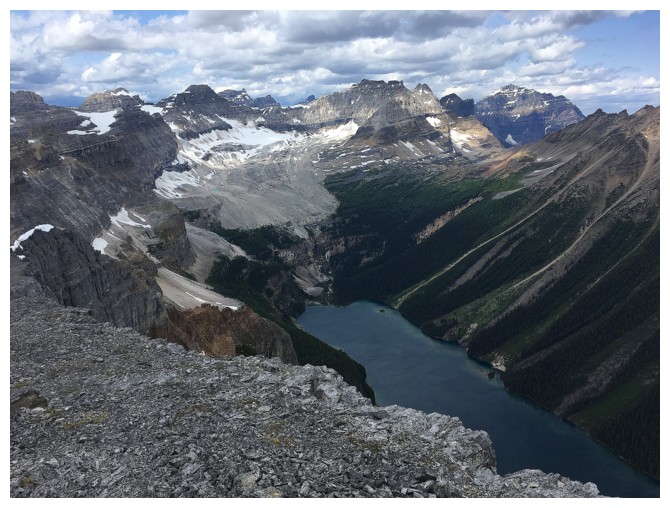
First view of a small section of Boom Lake
Easy slog to the summit
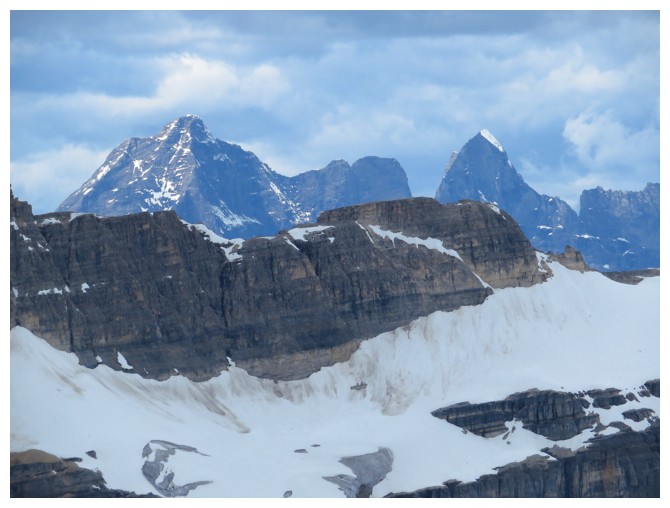
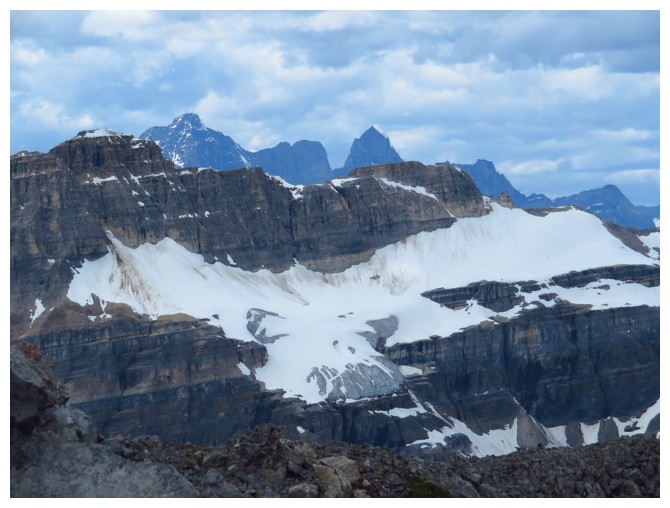
The Goodsirs make an appearance
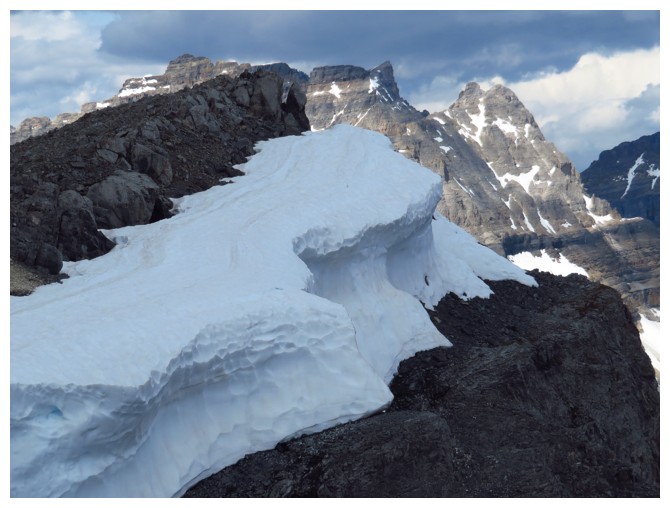
Chimney Peak
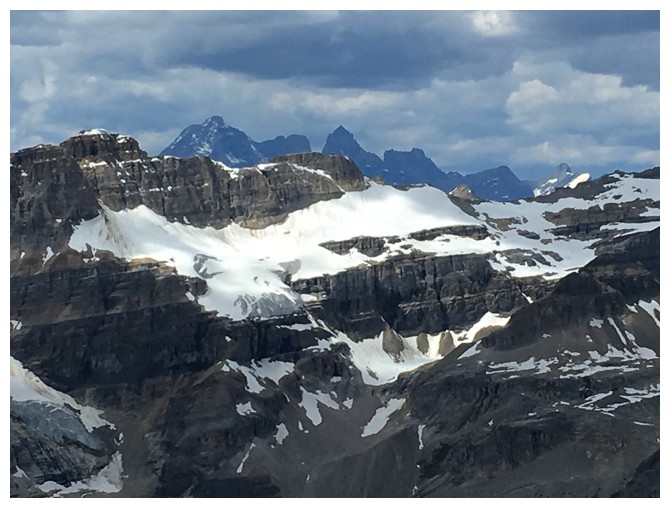
The Goodsirs again
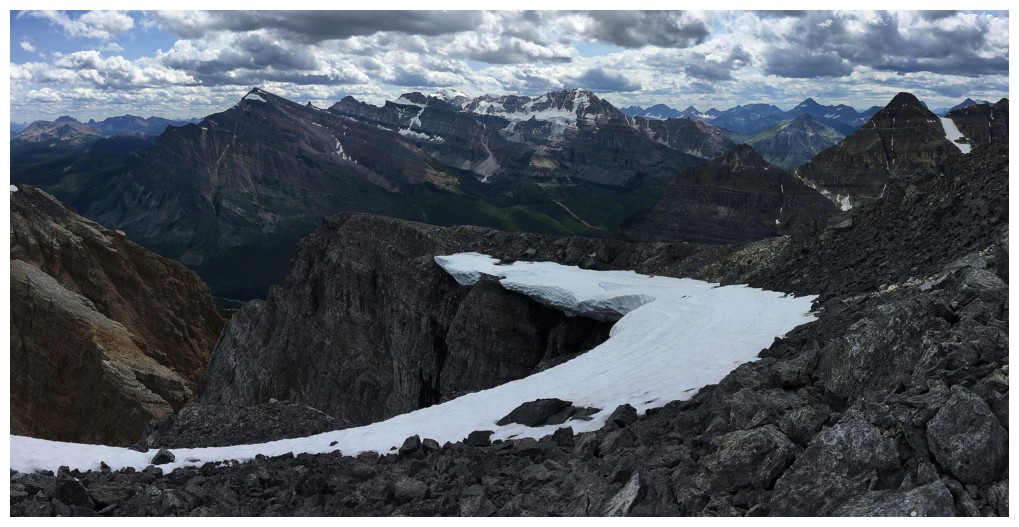
Stanley Peak again
Mount Ball
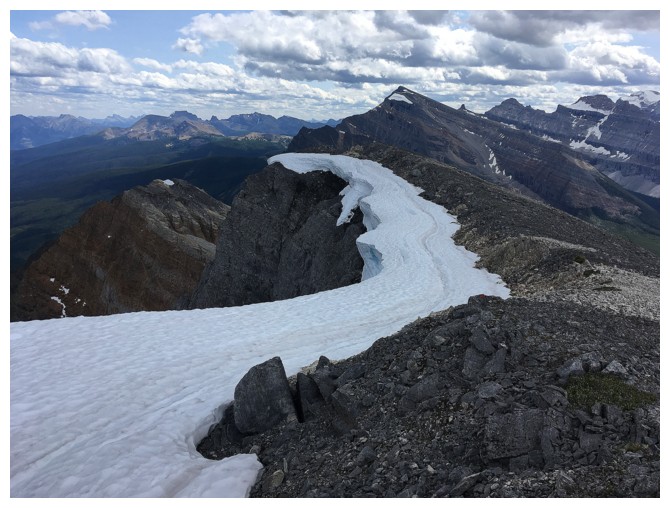
A little stroll east, along the ridge
Chimper Peak at the left
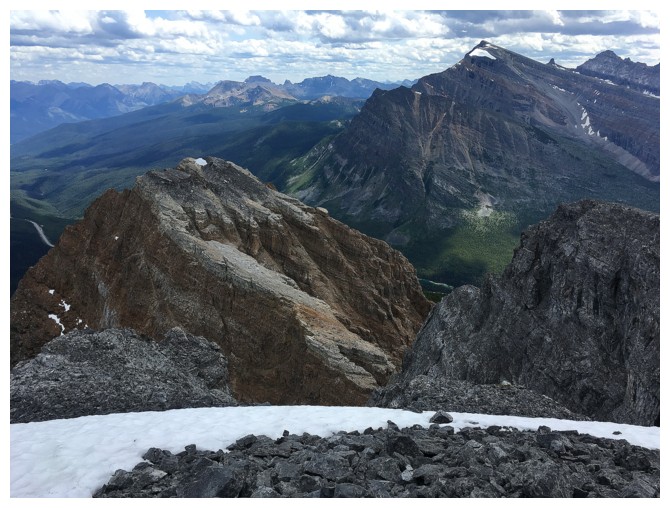
Pleasant views to the east
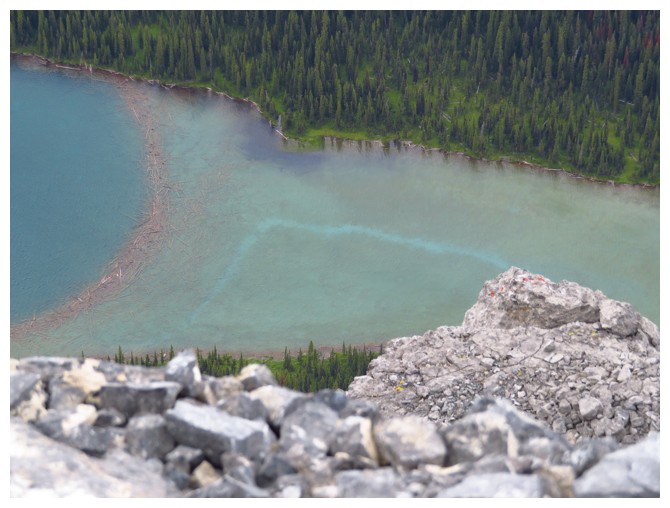
Log jam near the east end of Boom Lake
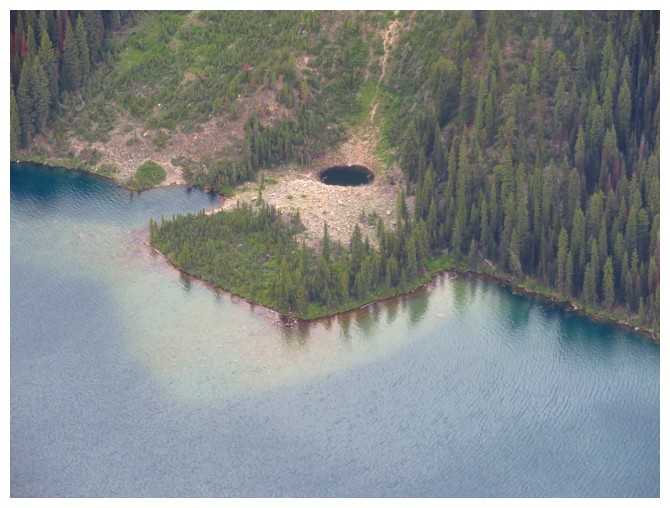
...and a little tarn
View to the north includes many prominent peaks around Lake Louise
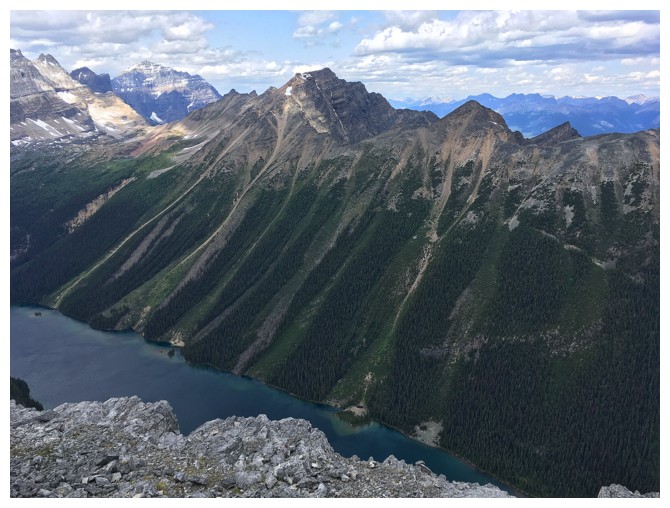
Mount Bell on the other side of Boom Lake
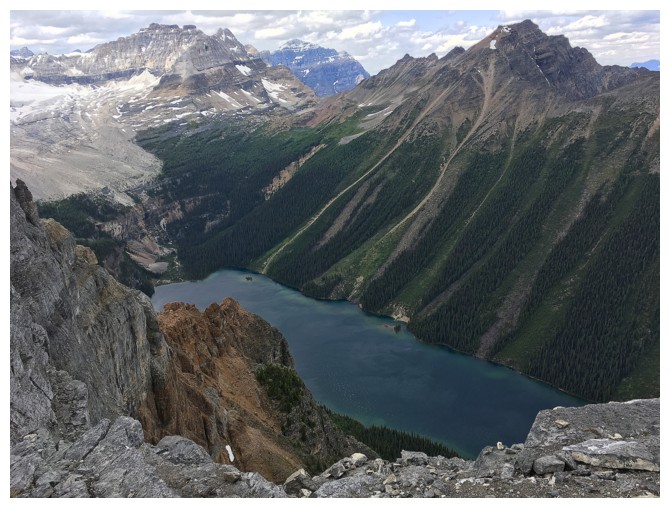
See Matt and Matt's reports for a Sunlit view of the lake
Heading down
Still quite taken by Whymper and it's outlier
Another small but colourful patch of wildflowers and the wild vertical rock of Boom above
So much interesting terrain to explore on this mountain

Last look before the bushwhack back to the road
The End