Commonwealth Lake II and Pig's Back II
April 20, 2015
Mountain
height: 2433 m
Elevation gain: 564 m
Ascent time: 2:20
Descent
time: 1:30
Solo
snowshoe.
 I really
cannot get enough of this area. Commonwealth Ridge
continues to be one of my favourite trips in Kananaskis and so I thought it was
time to return to Commonwealth Lake and possibly Pig’s Back – an ascent Mark
and I had completed in our very early days of mountain travels.
I really
cannot get enough of this area. Commonwealth Ridge
continues to be one of my favourite trips in Kananaskis and so I thought it was
time to return to Commonwealth Lake and possibly Pig’s Back – an ascent Mark
and I had completed in our very early days of mountain travels.
A trail
was broken most of the way to Commonwealth Lake and therefore it took only 40
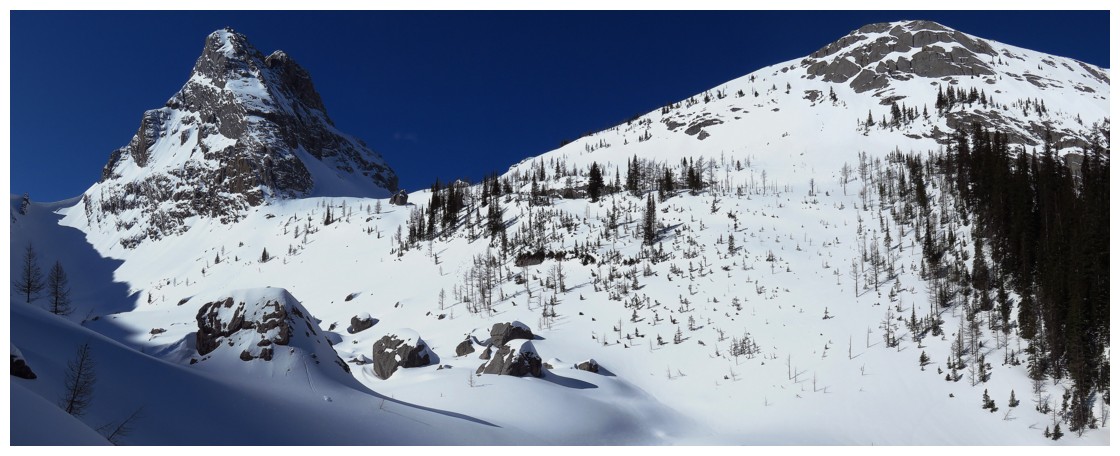
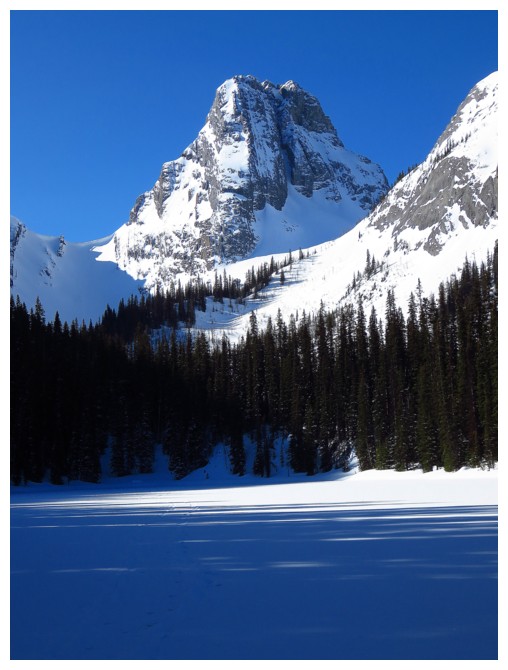
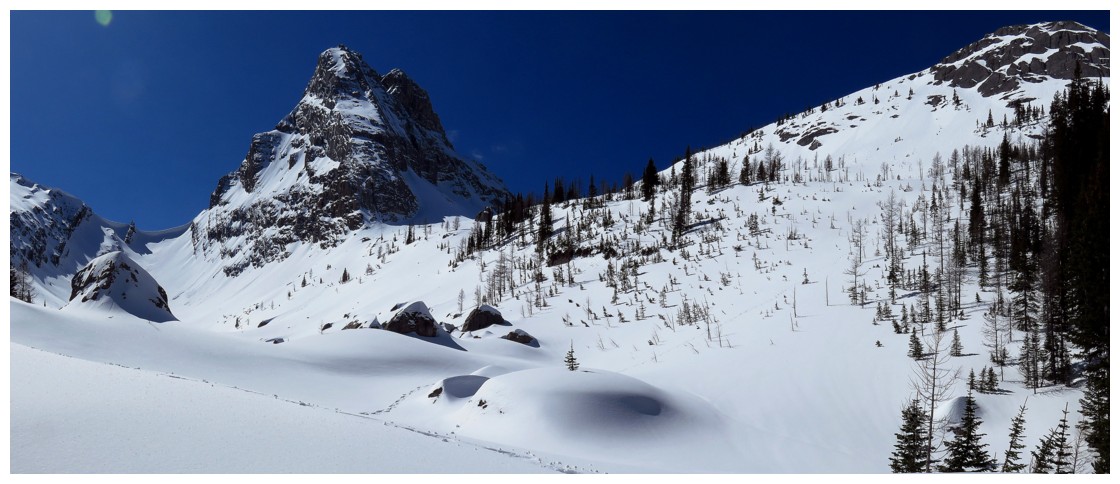
minutes to reach that destination from the car. The view of Commonwealth Peak
above its namesake Lake was outstanding in perfect weather conditions.
 More
stunning scenery awaited, as I made my way over the lake and up the valley
towards Pig’s Back. A boulder field below the east side of Pig’s Back had me
running all over the place, trying to explore every nook and cranny!
More
stunning scenery awaited, as I made my way over the lake and up the valley
towards Pig’s Back. A boulder field below the east side of Pig’s Back had me
running all over the place, trying to explore every nook and cranny!
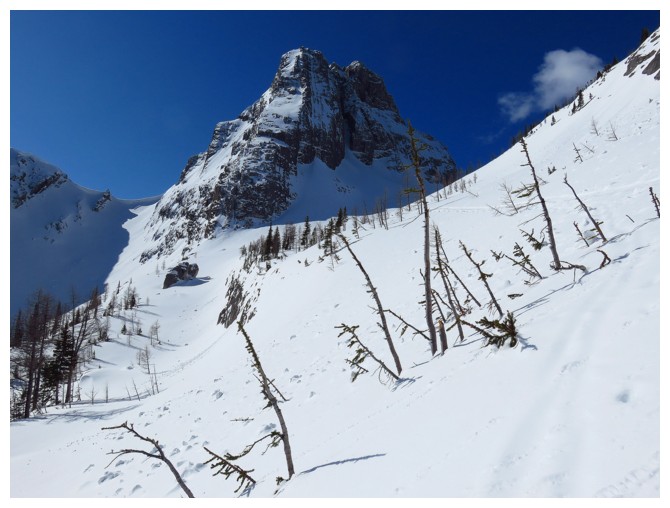
The
ascent of Pig’s Back, up a classic avalanche slope and then to the col it
shares with Commonwealth Peak, was steep but straightforward. As expected, the
surrounding scenery continued to improve. The final push to the summit required
a little care – steep slopes falling away to the right and a severe drop down
the left side of the mountain – but of course ended with a magnificent view
summit view.
For
descent, I did consider attempting the loop route via Commonwealth Creek.
However, the thought of several kilometres of trail-breaking through deep snow
quickly quelled that option. I settled for a wonderfully easy and scenic return
via my ascent route - almost. Once back at Commonwealth Lake I descended the
creek that drains the lake – great route for snowshoes – fast, easy and avoids
any elevation gains that may be necessary for the normal route.
A superb
day!
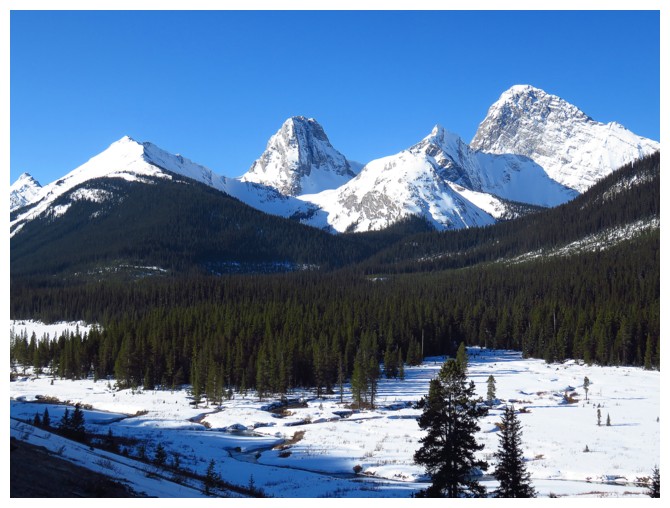
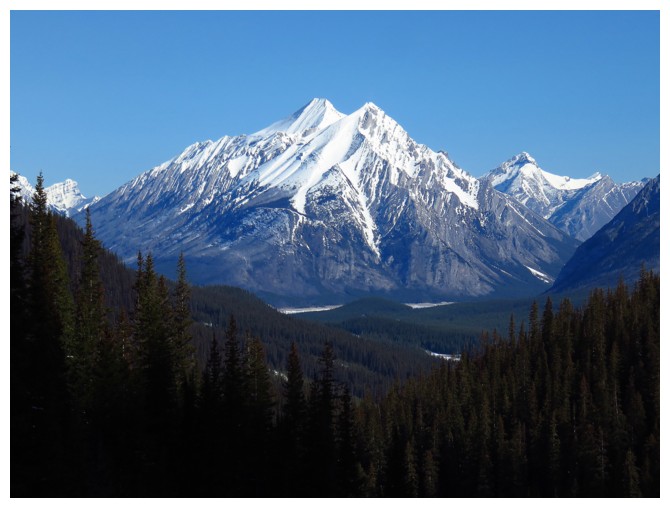
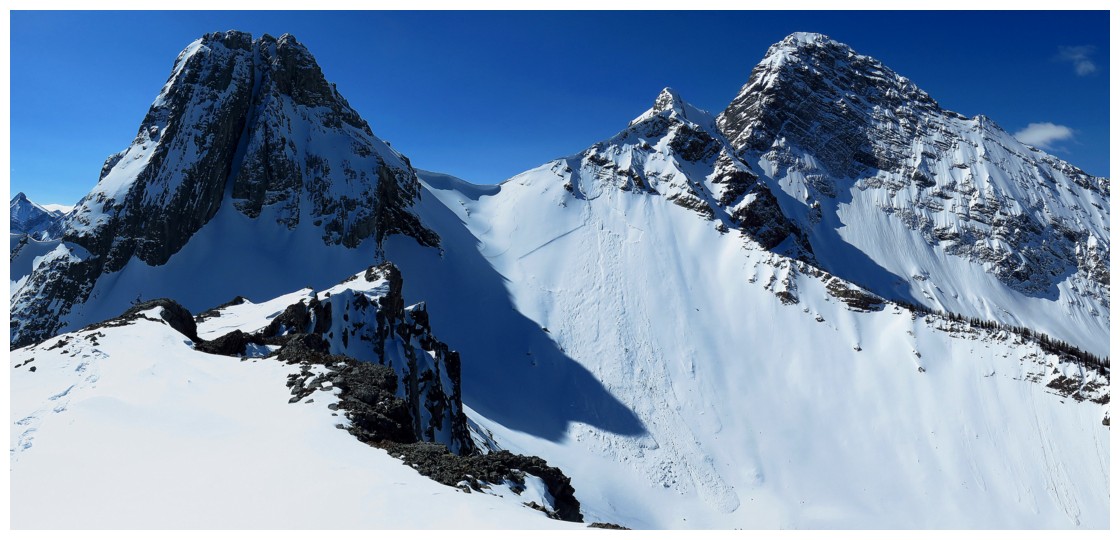
Left to right: Commonwealth Ridge, Commonwealth Peak,
Pig's Back (in front of pointy Pig's Tail), Pig's Tail, and Mount Birdwood
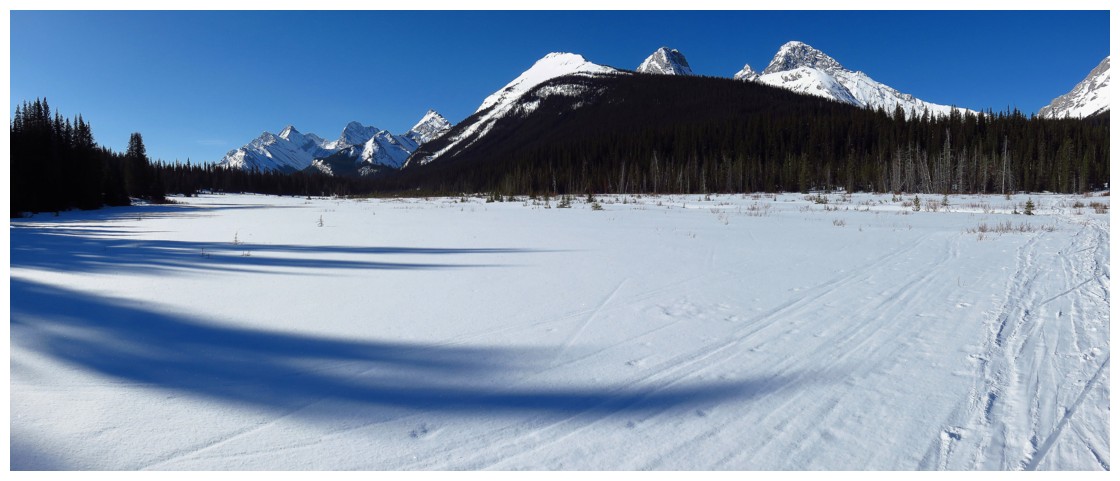
Crossing the flats of Smuts Creek
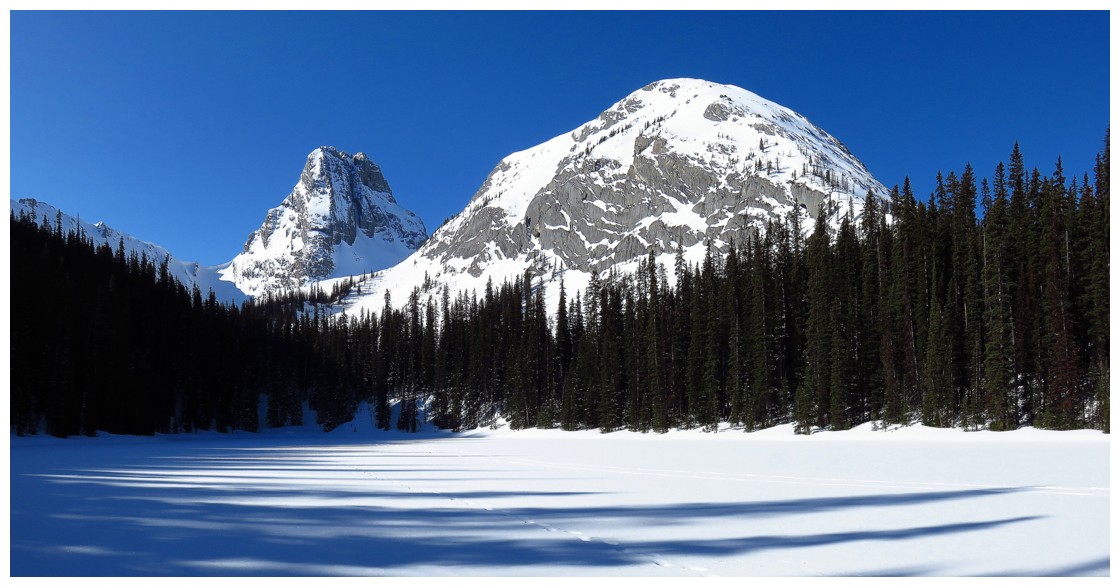
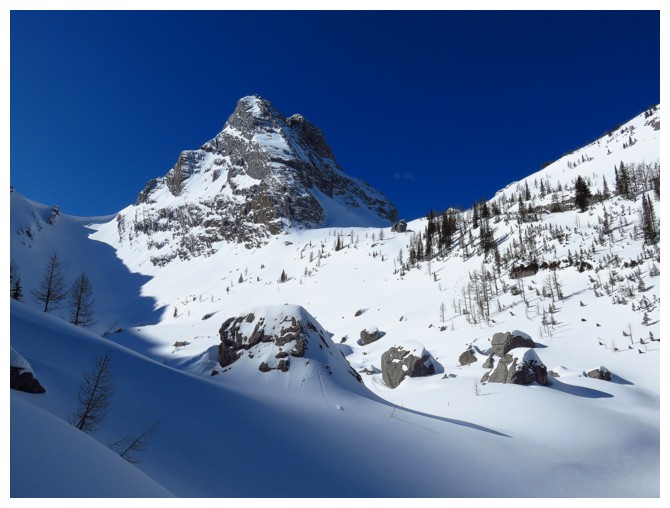
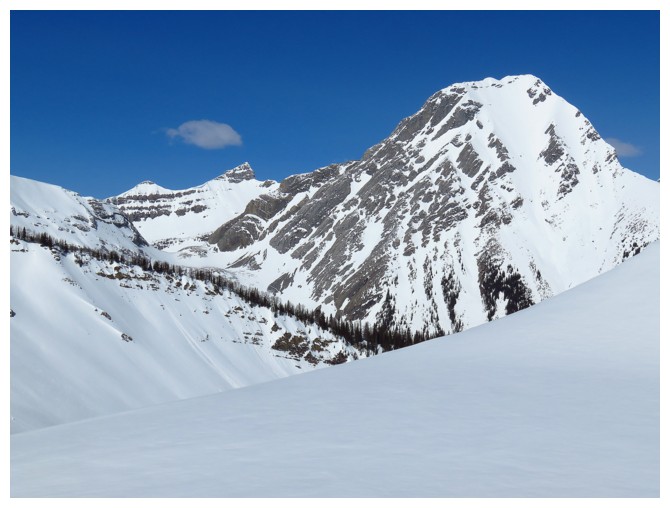
Commonwealth Lake, with Commonwealth Peak and Pig's Back
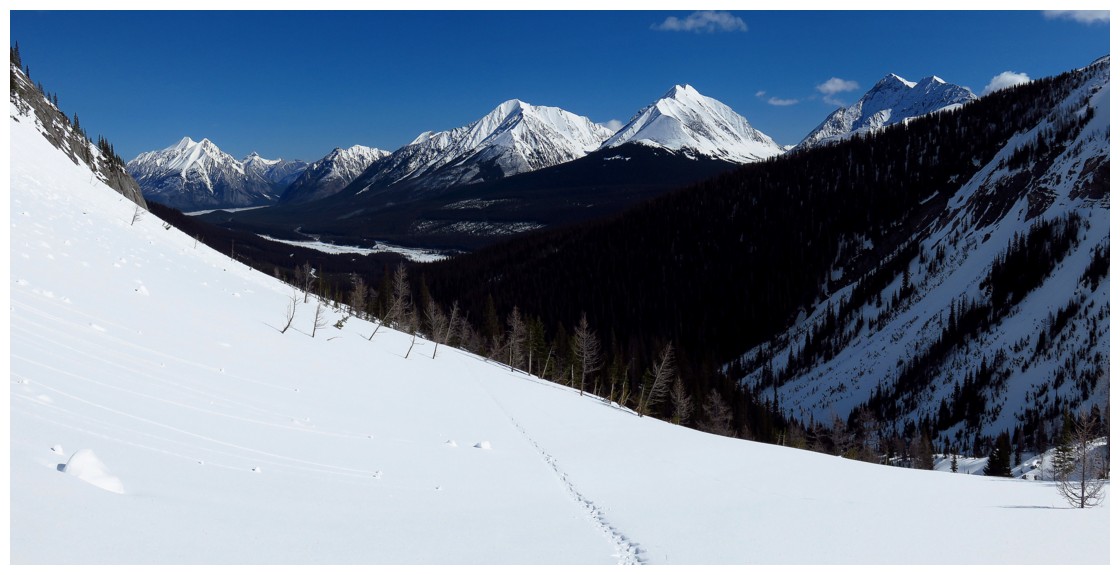
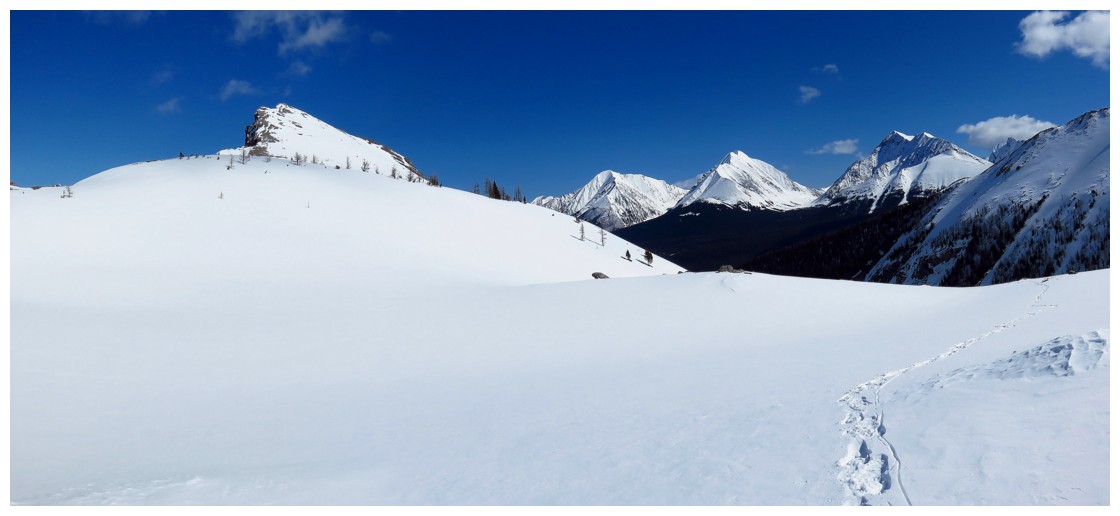
Turn around to see Old Goat Mountain and Mount Nestor
Approaching the boulder field
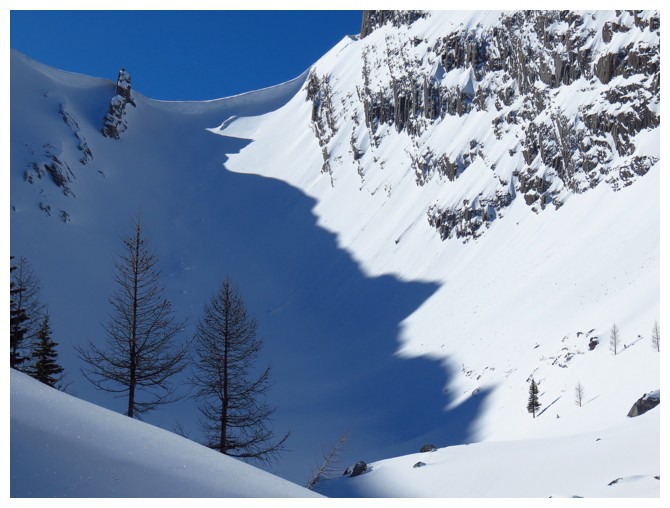
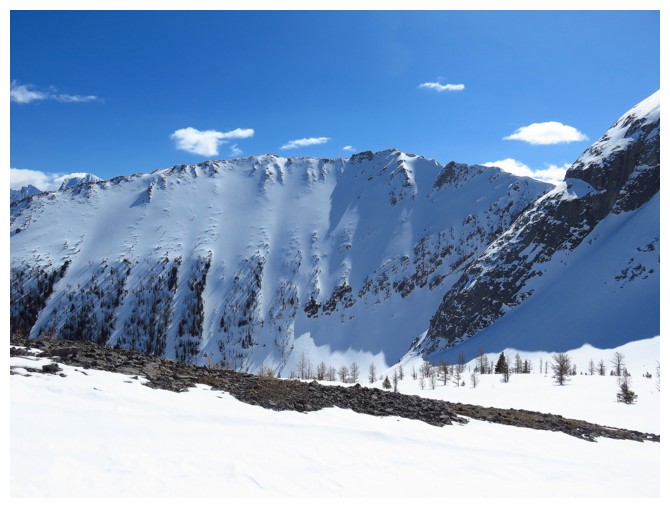
The cornice between Commonwealth Ridge and Peak looks quite threatening
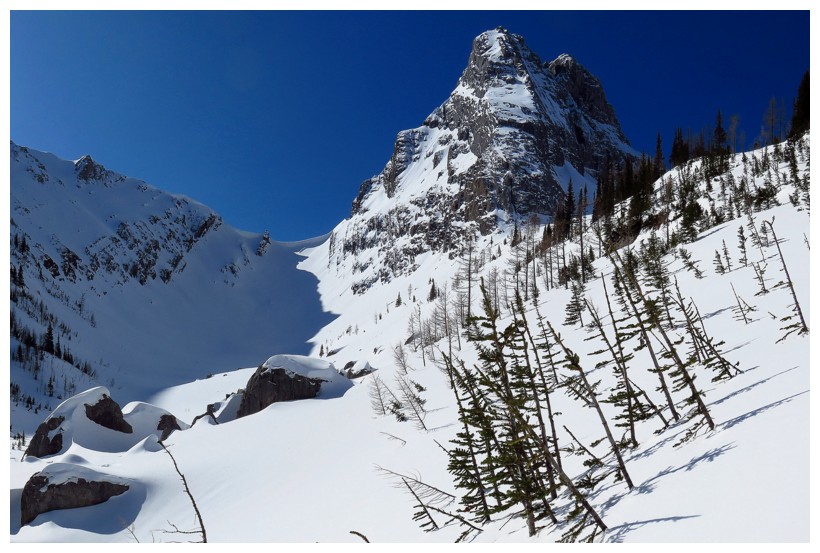
Superb scenery throughout the ascent
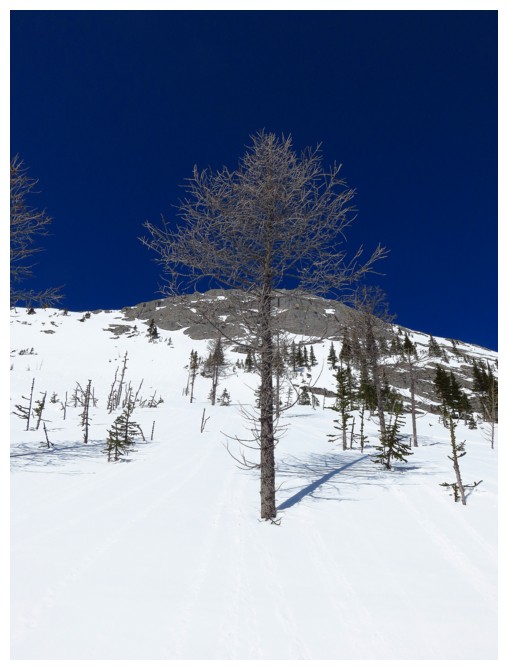
Random tree
Engadine, The Tower, and Galatea join the show
Distant Smutwood Peak (left) and daunting Mount Smuts
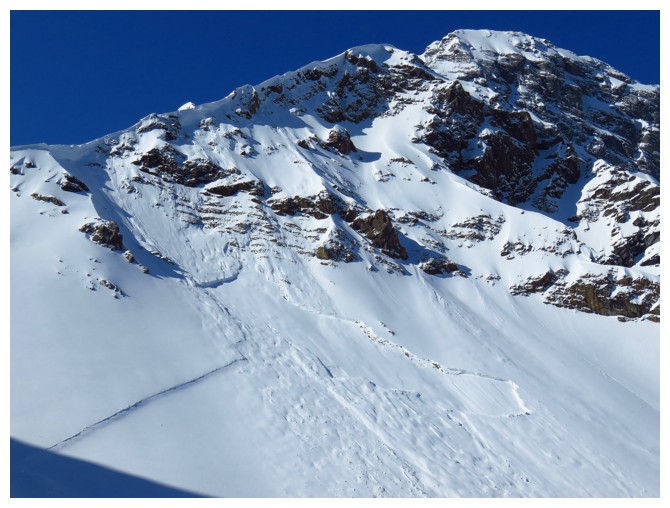
Avalanches off Pig's Tail
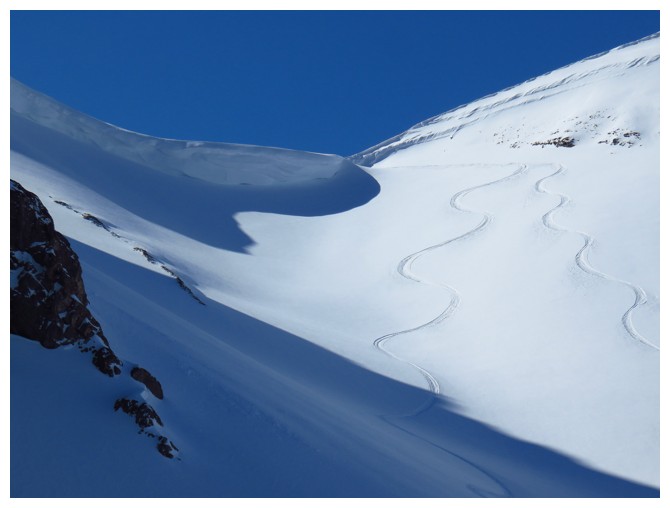
Ski tracks
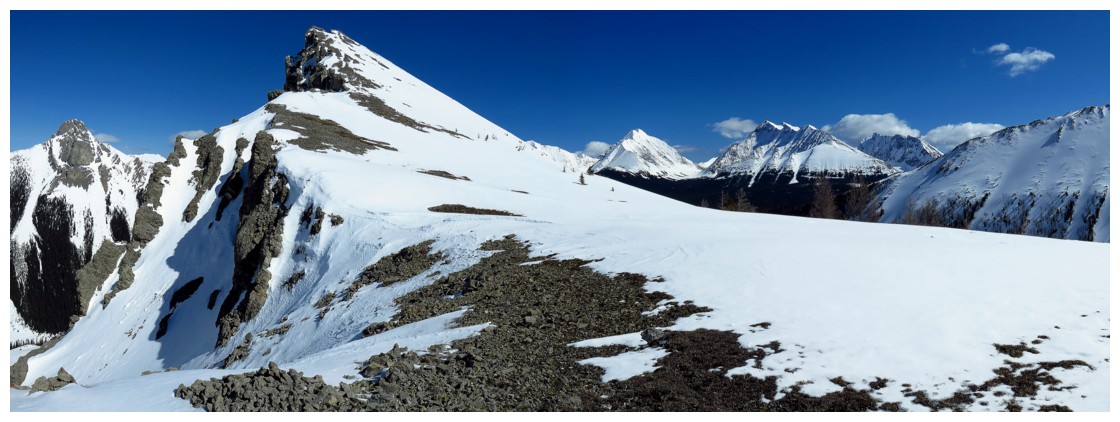
At the col, looking towards the summit of Pig's Back (left)
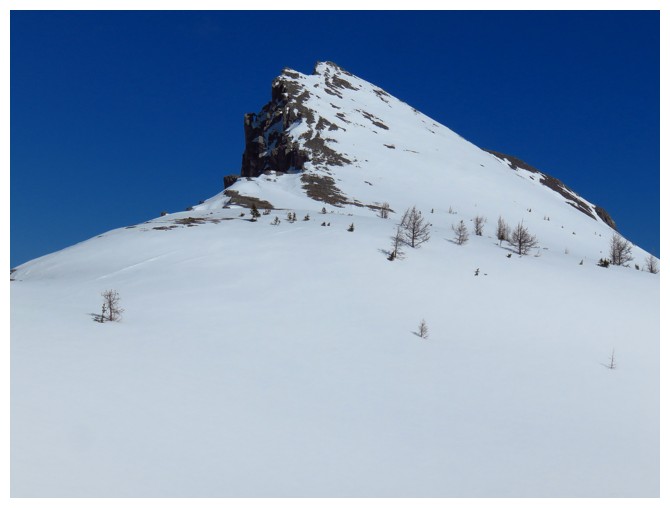
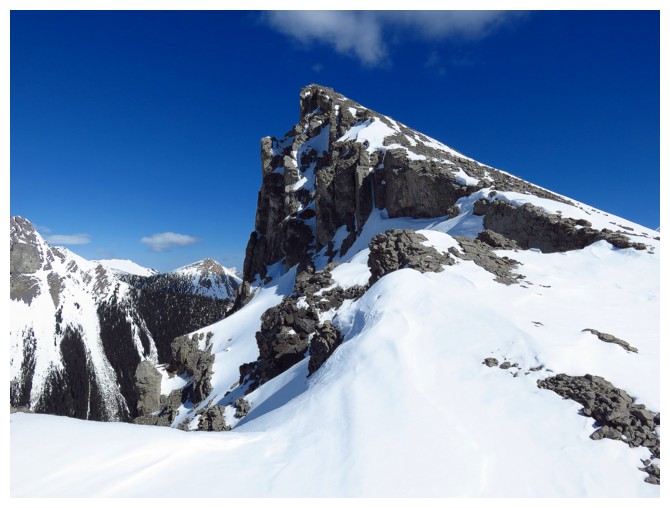
Close-up of the summit block
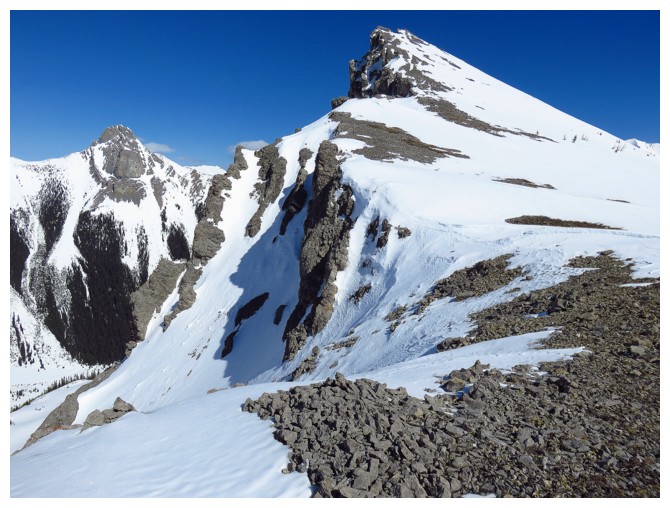
Commonwealth Ridge looks straightforward from this angle, but it does have a sting at the end
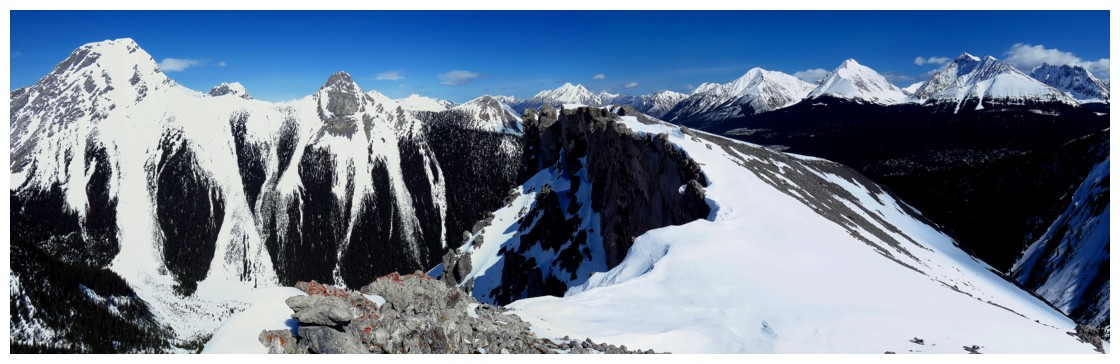
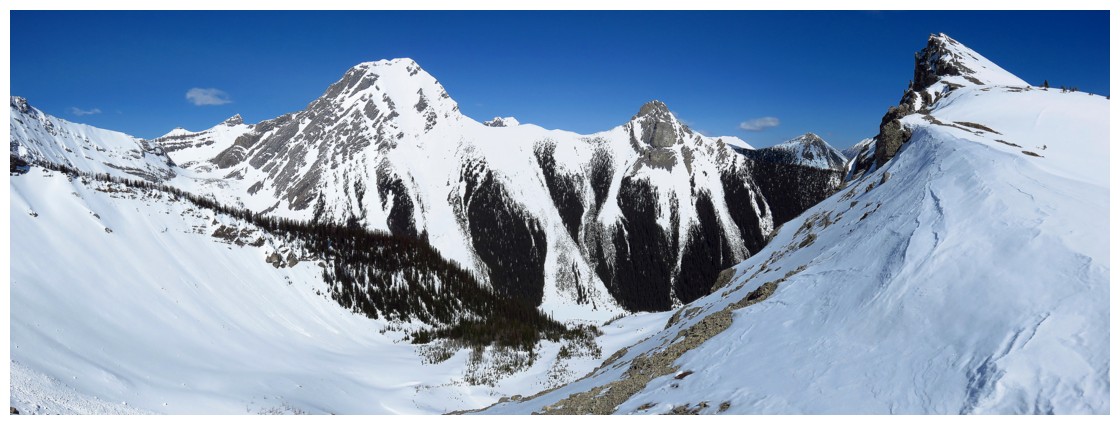
Summit view to the north
Summit view to the south
Last look at Commonwealth Peak

Maybe one more!
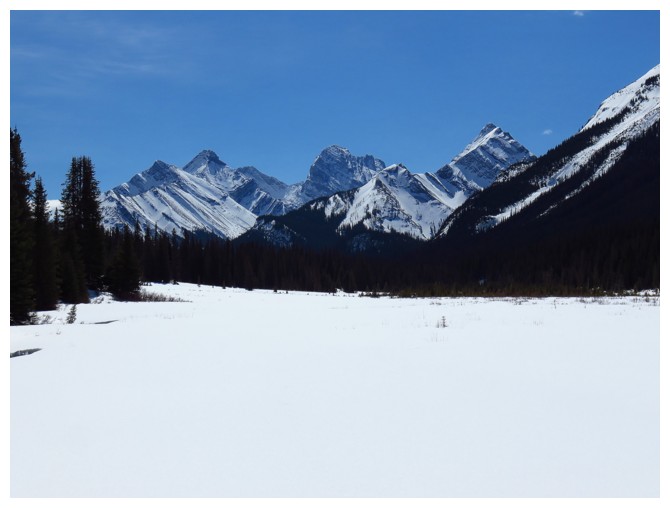
Back out on the flats, with Murray, Prairie Lookout, and Burstall in the background. The End