September 10, 2017
Mountain
height: 2420 m
Elevation gain: 1070 m
Ascent time: 6 hours
Descent
time: 4 hours
Scrambling/climbing
with Mark.
 I miss the good old days when Mark and I would jump into
the car at 5 am and drive to the mountains, having absolutely no idea what we
would be getting up to that day. And so it was with nostalgic fervor that we
left Calgary in exactly that way.
I miss the good old days when Mark and I would jump into
the car at 5 am and drive to the mountains, having absolutely no idea what we
would be getting up to that day. And so it was with nostalgic fervor that we
left Calgary in exactly that way.
After the usual bout of indecision we settled on a second
ascent of Goat Mountain, for reasons that are obvious if you check out the
photos from our first ascent.
Given
the relative ease of that trip, our goal for this ascent was to climb
the
mountain via the Yam/Goat and then return the same way we came, thus
negating the
need to leave bikes near Jura Creek (since we didn’t have bikes with us
that was a moot point). And so ten years and one month after skipping
joyfully
up this mountain, we would now do the same!
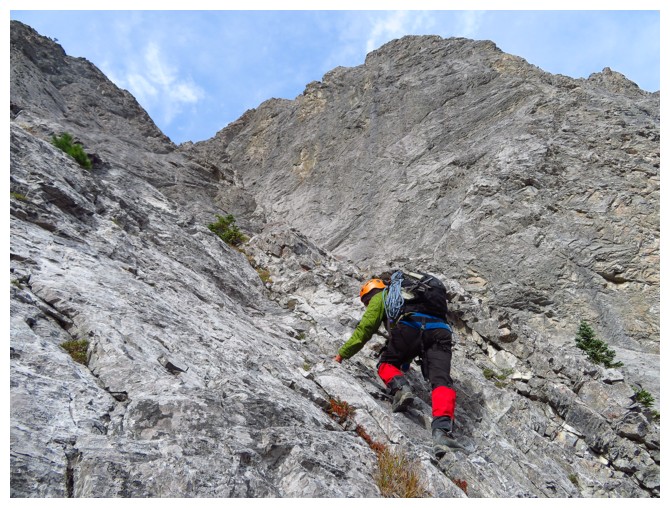
The hike to the Yam/Goat col was, as predicted,
nostalgic, fondly recalling a couple of ascents up the Yamnuska face and
many trips to the summit, via Kane’s scramble routes. Shockingly for both of us
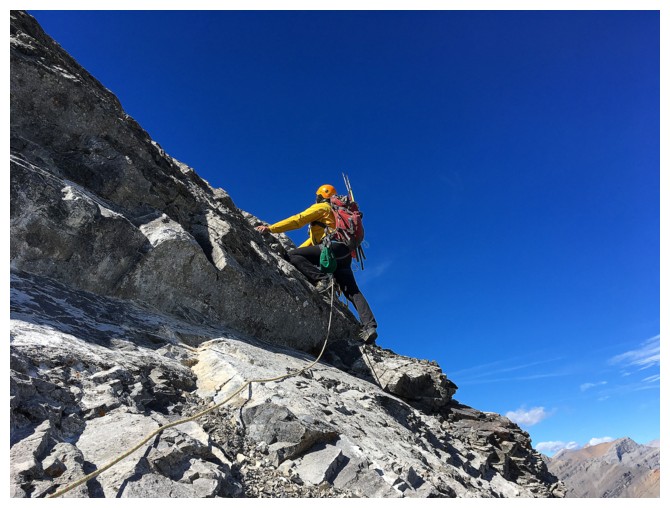
“nostalgic” was quickly replaced with “dumbfounded”, as we ascended the face to
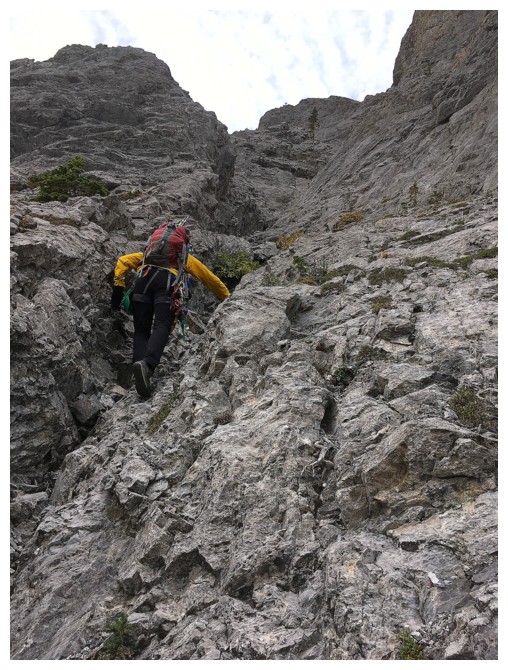
the ridge. Our first ascent involved a steep but straightforward scramble to
the ridge – the high end of difficult scrambling. On this day we struggled with
route-finding and ended up on terrain that was downright terrifying! I was so
relieved to find a solid tree to use as a belay station to get Mark up the last part of the face
– the tree or two shiny rappels/belay rings bolted into the rock a metre away
from the tree!
Now
on the ridge, we agreed that we had taken the wrong line up the face and the
rest of the trip would unfold with the predictable ease of our first ascent –
it did not!!
 On
August 13, 2007 I joked that the white-out conditions probably
prevented us
from truly experiencing the exposure on this route. Perhaps there was
more truth to this statement than we thought. I found the exposure to
be significantly more intense this
time. What was far more shocking to both of us was that we found the
climbing to be WAY more intense than we remembered. We recalled our
first
ascent to be a moderate scramble with a few difficult moves. Apparently
10
years have softened us because I would now definitely rate the route as
a
“climber’s scramble, with severe exposure and low 5th class climbing
throughout”! This route is also not downclimable by most, and therefore not
really a scramble at all, even though an easy descent route off the summit does
exist. Several sets of double rappel rings along the route attest to this fact.
On
August 13, 2007 I joked that the white-out conditions probably
prevented us
from truly experiencing the exposure on this route. Perhaps there was
more truth to this statement than we thought. I found the exposure to
be significantly more intense this
time. What was far more shocking to both of us was that we found the
climbing to be WAY more intense than we remembered. We recalled our
first
ascent to be a moderate scramble with a few difficult moves. Apparently
10
years have softened us because I would now definitely rate the route as
a
“climber’s scramble, with severe exposure and low 5th class climbing
throughout”! This route is also not downclimable by most, and therefore not
really a scramble at all, even though an easy descent route off the summit does
exist. Several sets of double rappel rings along the route attest to this fact.
Having
said all that, we did see two young fellows, moving with great efficiency,
follow us up to the summit. They had not used a rope at all and were continuing
on to do the whole traverse – we had short-roped the route thus far and did two
belays – as stated, “soft”!
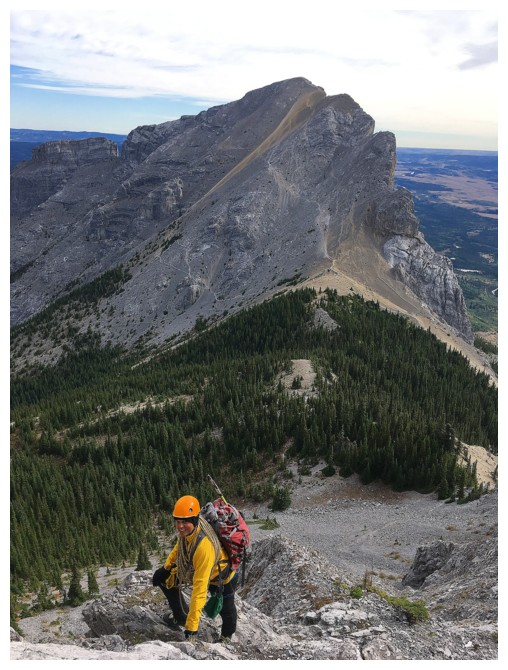
Of
course, not all was doom and gloom, as the ascent had been very
enjoyable. It was also incredibly scenic throughout – a far cry from
our first trip. And the summit
view was terrific.
For
descent we decided to follow the pair that had scrambled up. This didn’t last
long. A short ways along, the two downclimbed a severely exposed section with
ease while we watched in amazement. Knowing there was more technical terrain
along ridge, we opted to repeat the unplanned descent of our first trip, down
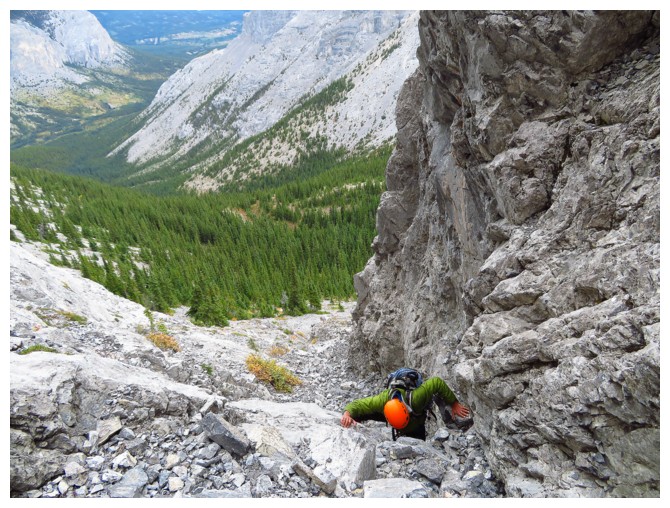
into Jura Creek. Though tedious in parts, this turned out to be a very scenic
descent, with great views of “Little Goat” and the valley below.
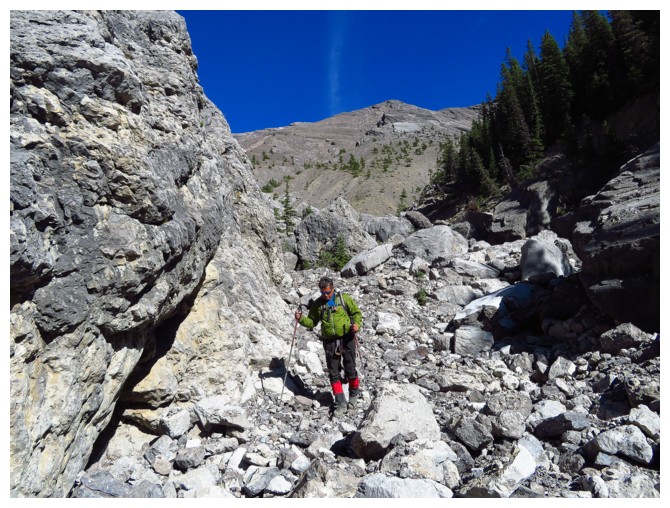
A
long plod down Jura Creek followed and then we were left with the unenviable
task of walking about 8 km back to the Yamnuska parking lot. We must have
looked pretty pathetic, as within 20 seconds of stepping out onto the shoulder
of the road, an incredibly generous young man, named AJ (a West Jet pilot) pulled over and offered
us a ride. Praise the Lord!!!
Overall,
an amazing but very humbling day out. Biggest thanks go to AJ for saving our
butts at the end of a long trip!
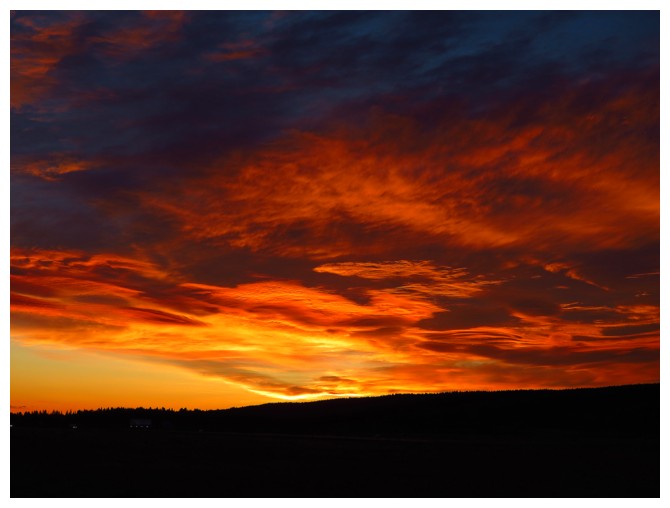
Nice sunrise to start the day
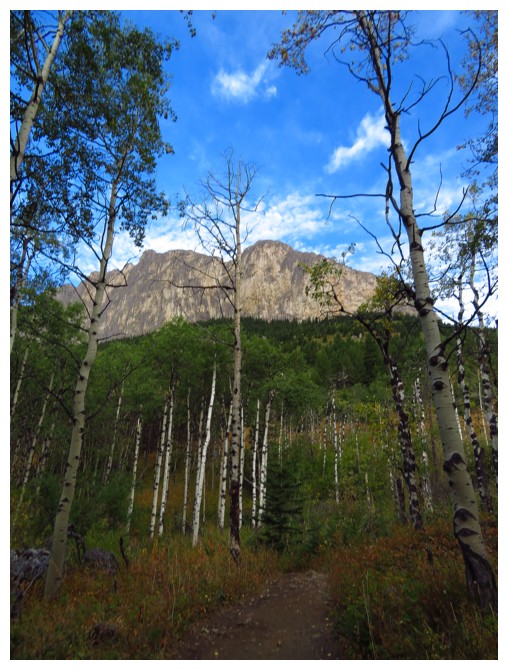
Mount Yamnuska through the trees

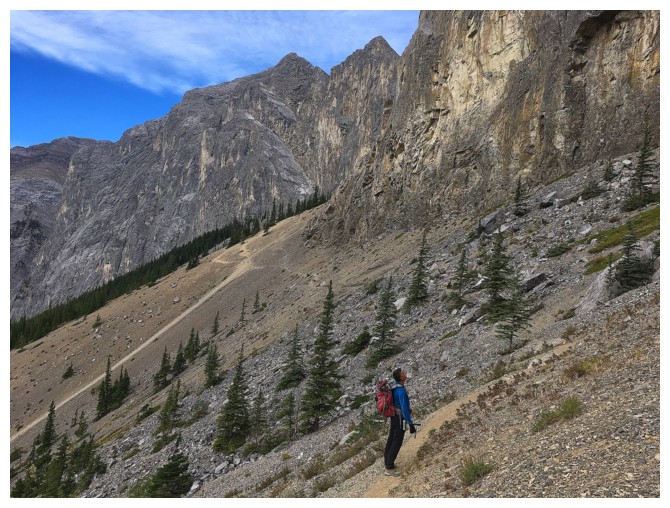
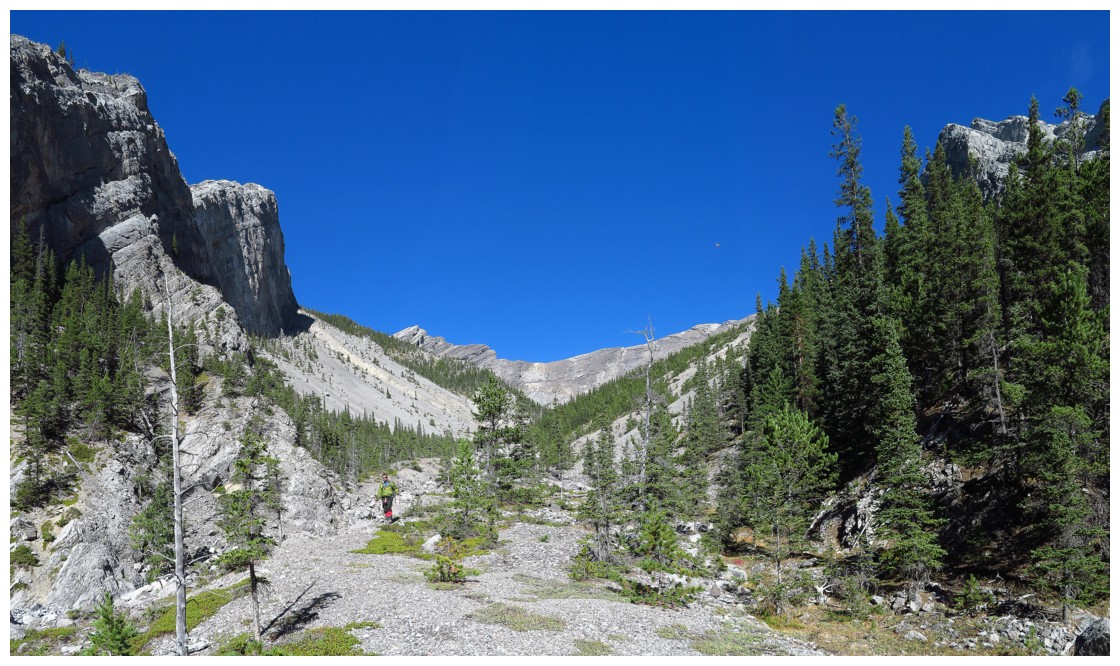
The trail to the west end of Yamnuska
The famous Grillimair Chimney route
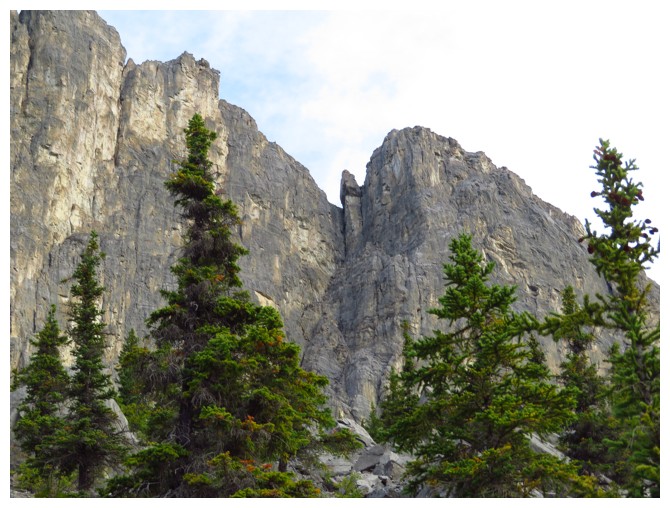
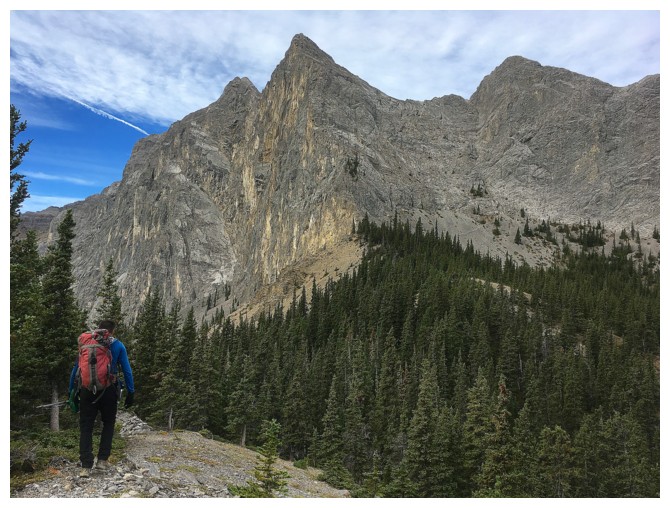
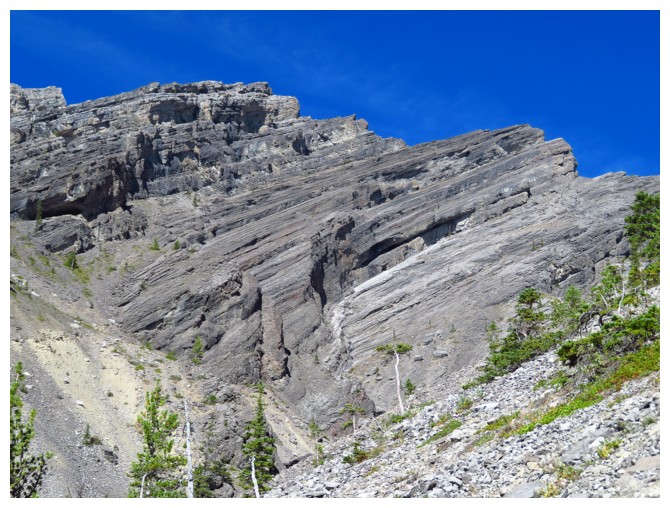
Checking out the amazing face of Yamnuska
The west end
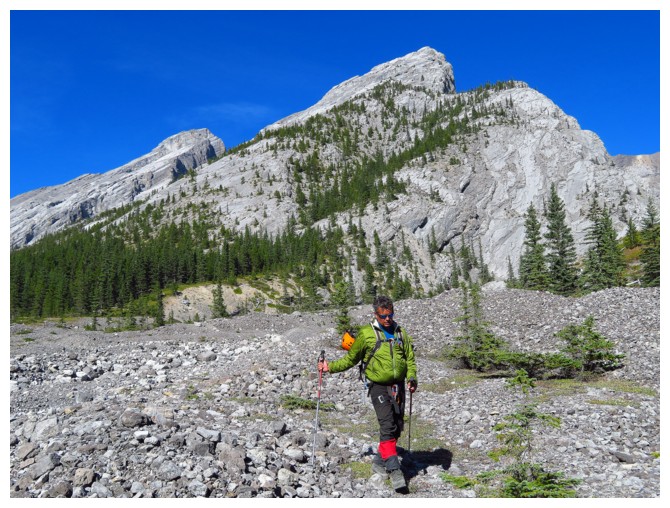
At the Yam/Goat col, heading to the face climb
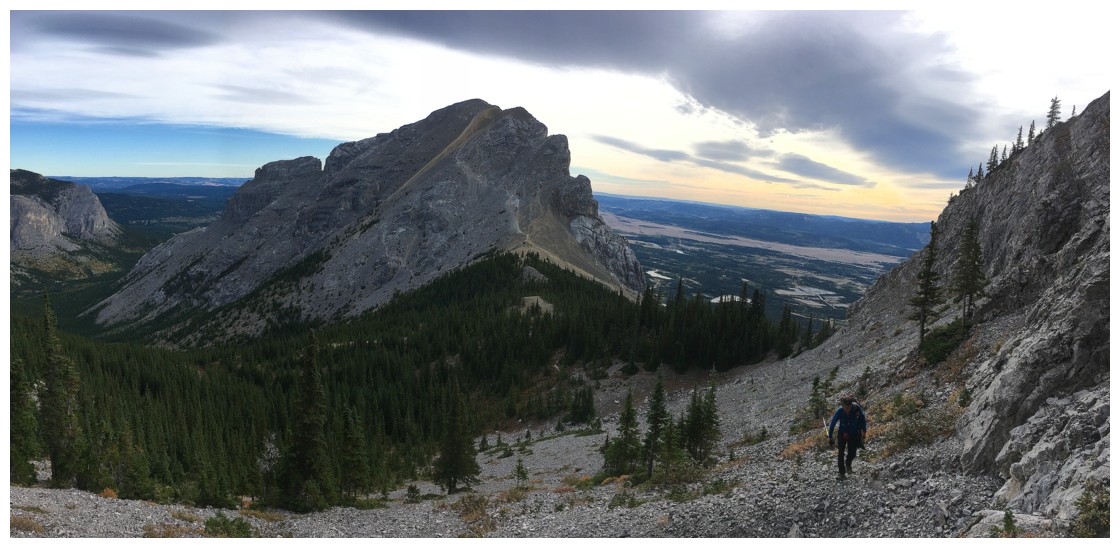
Looking back at Mount Yamnuska
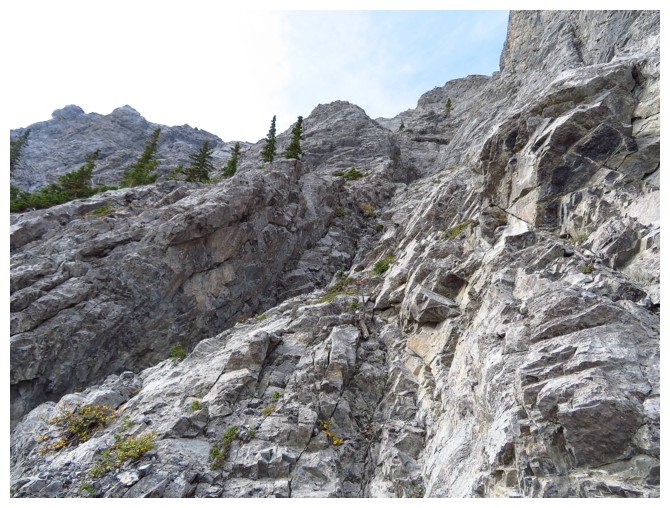
Looking up the route. Doesn't look too bad from this vantage point
Here we go!
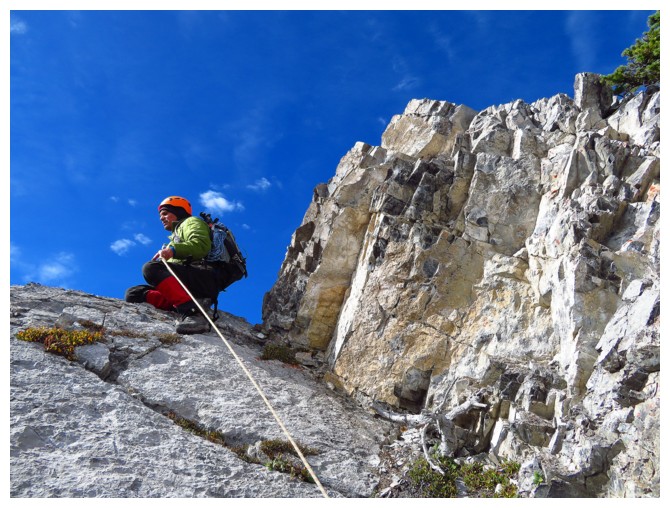
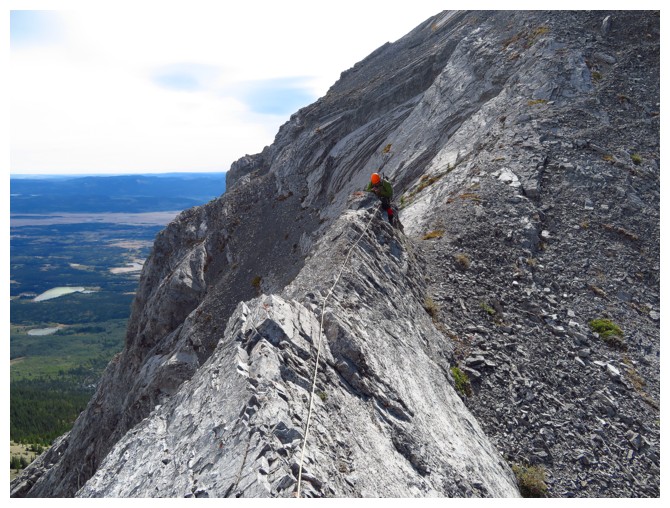
Mark comes up the route
Given the increasingly steep terrain here we went left at this point
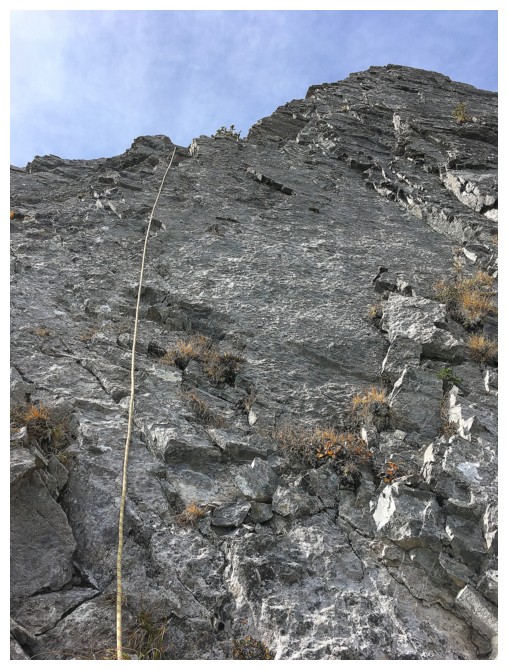
The steepest part of the climb to the ridge
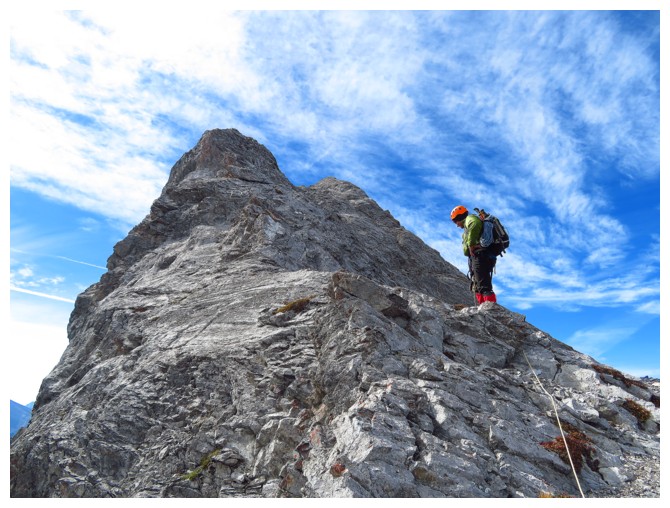
Mark at the ridge
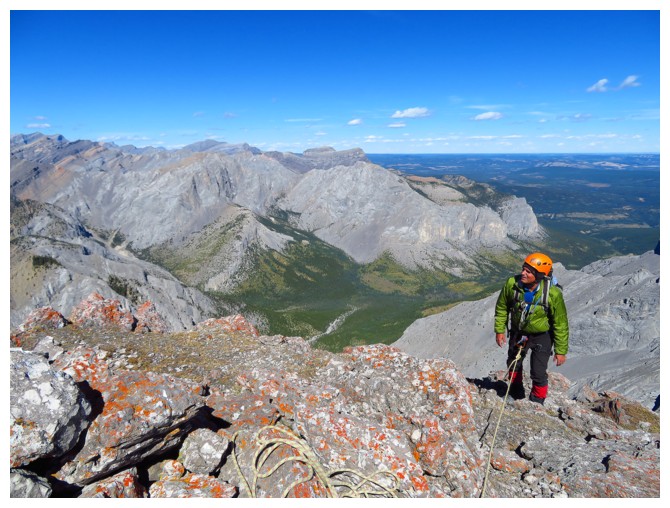
Me at the belay station
On the ridge
Mark on the ridge
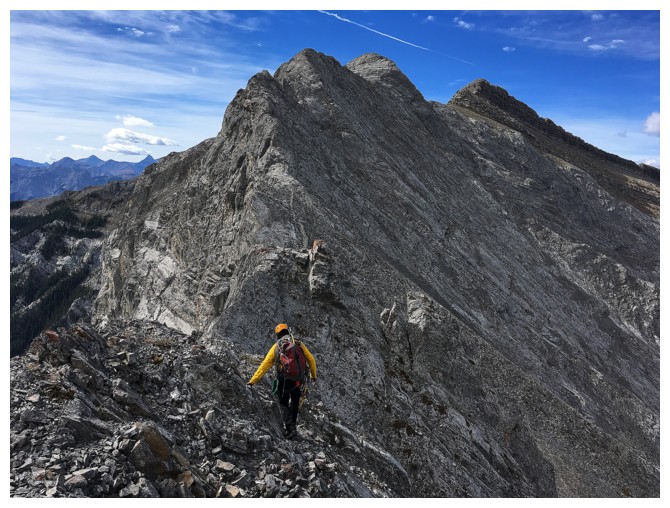
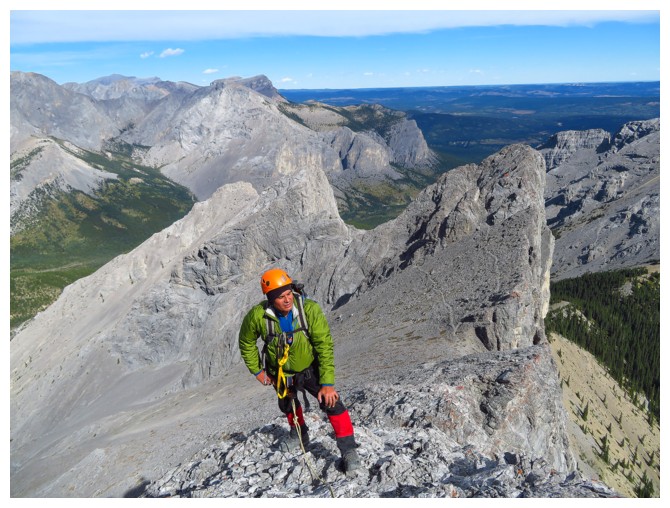
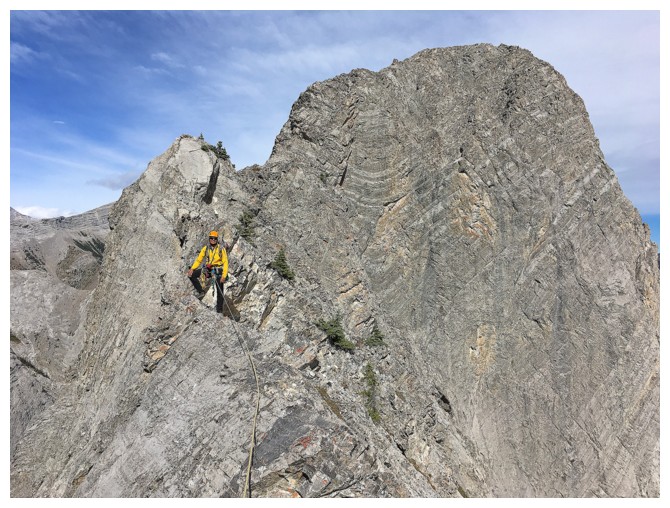
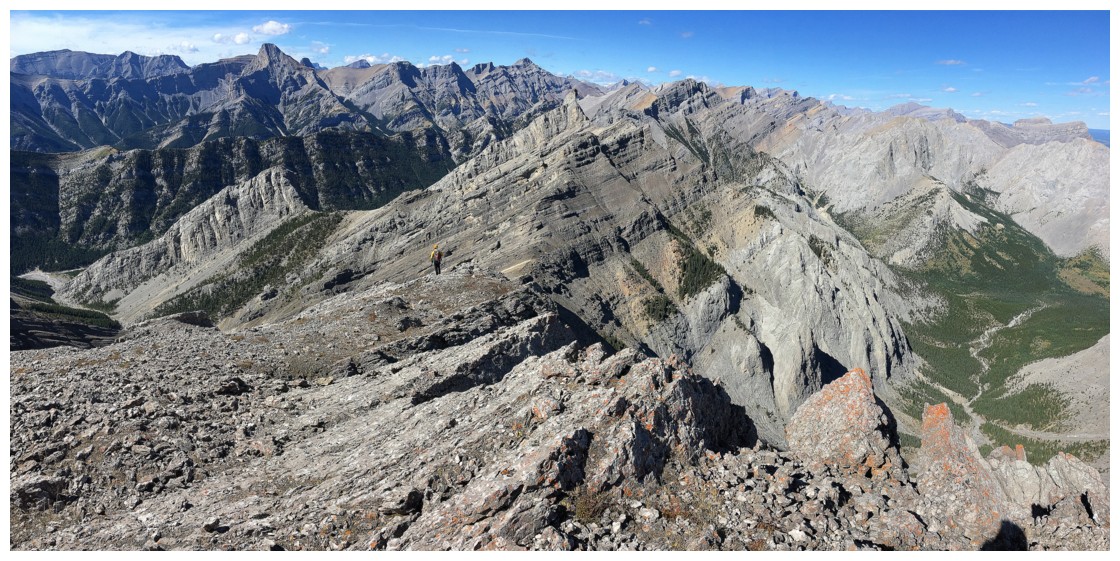
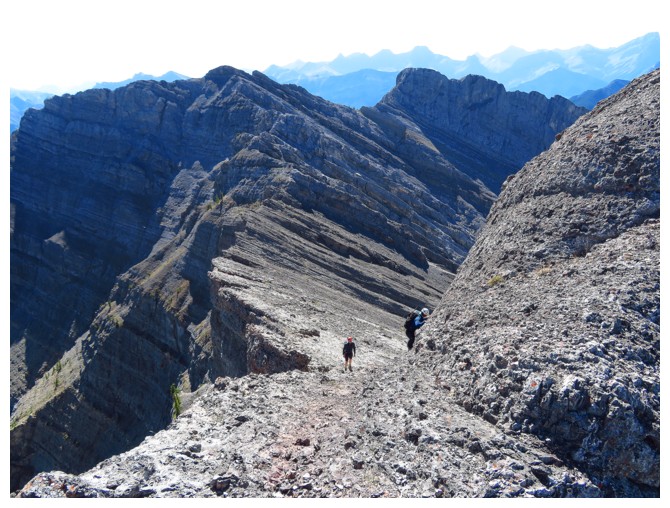
The long, but interesting traverse to the summit begins
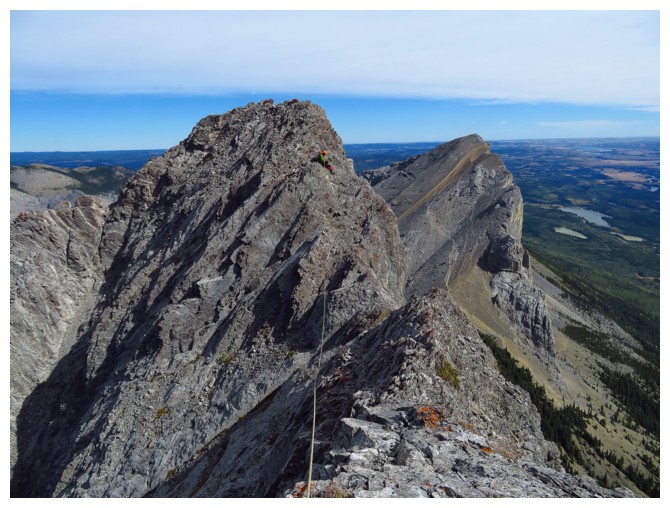
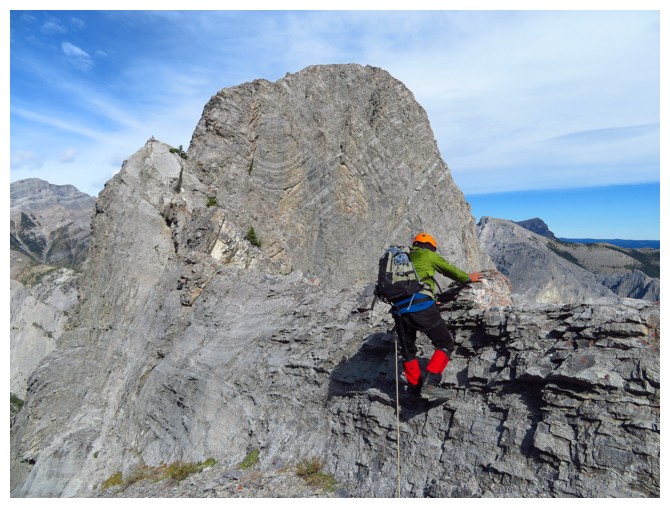
Encountering steeper terrain

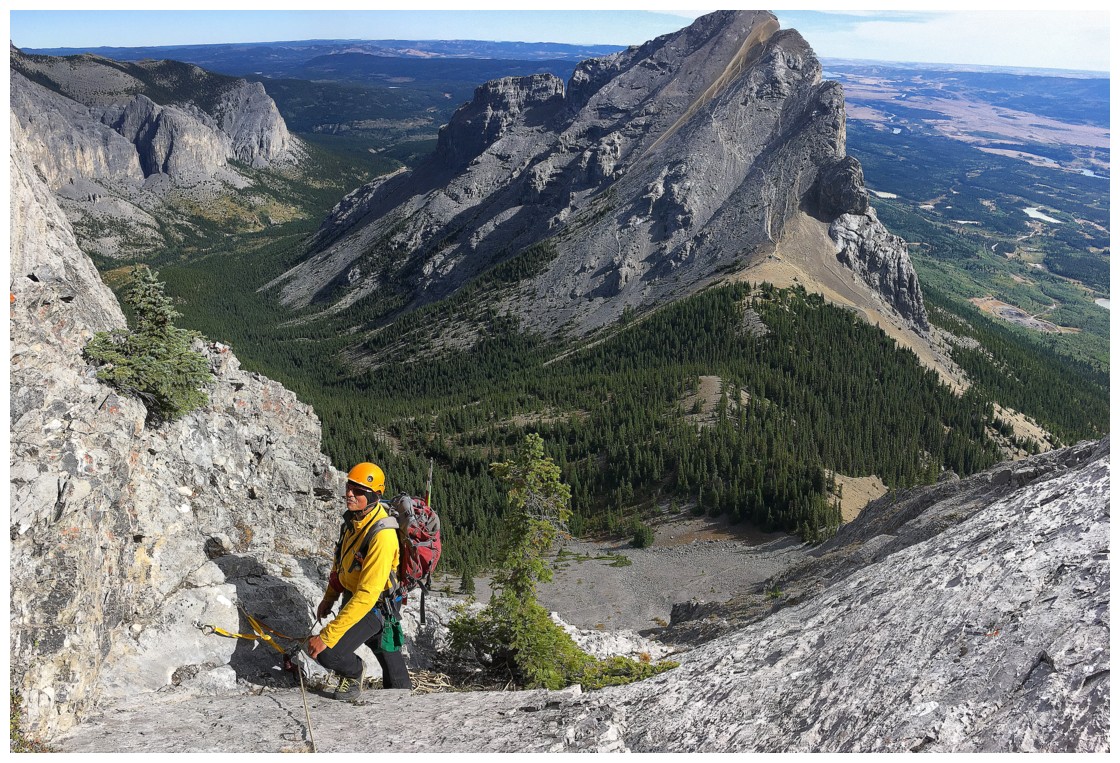
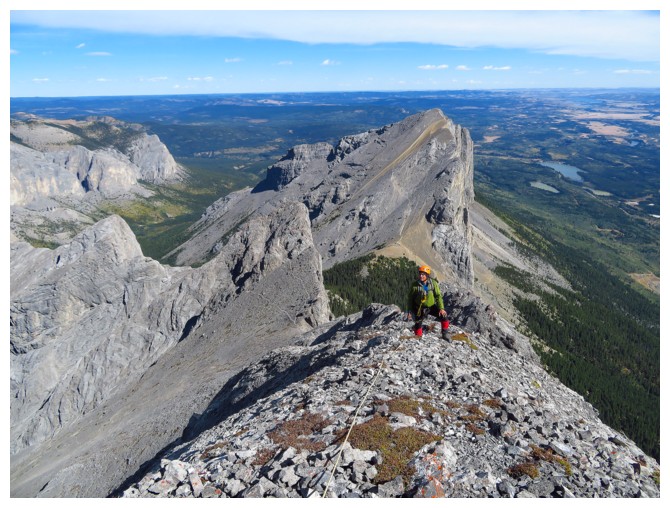
Terrific view back down the ridge and towards Yamnuska
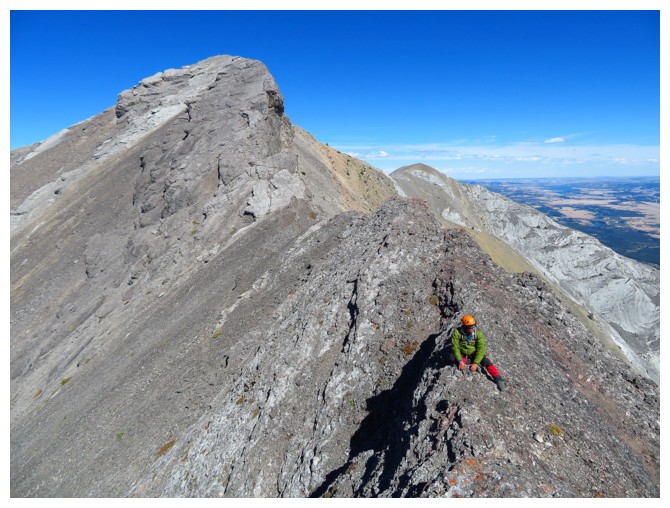
Another steep section
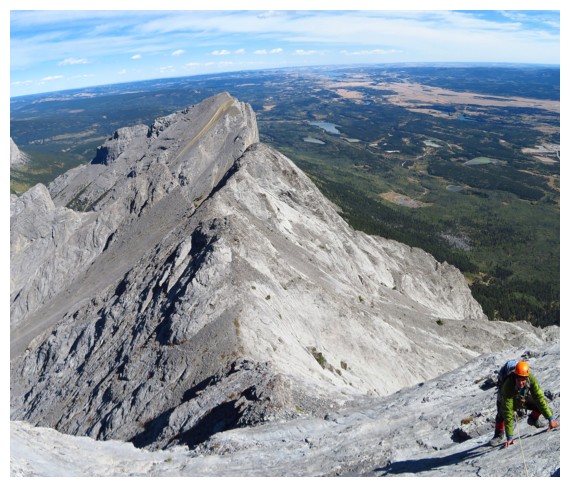
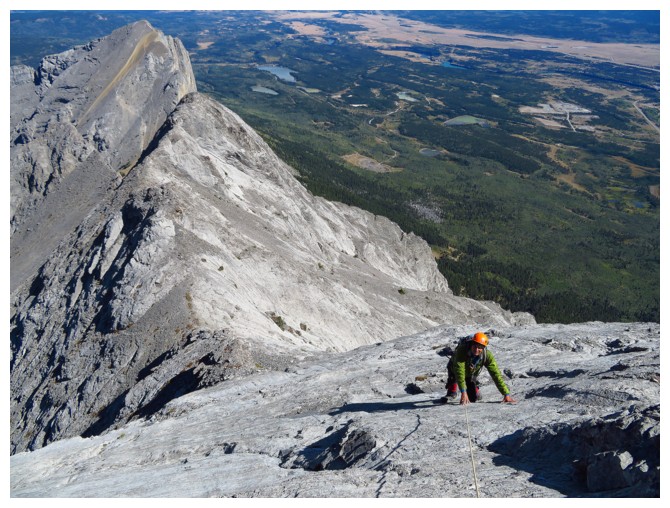
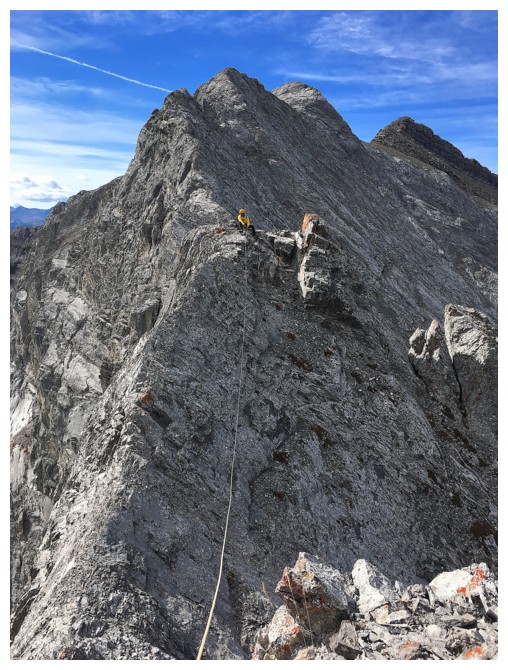
Mark comes up the major slab as we near the summit
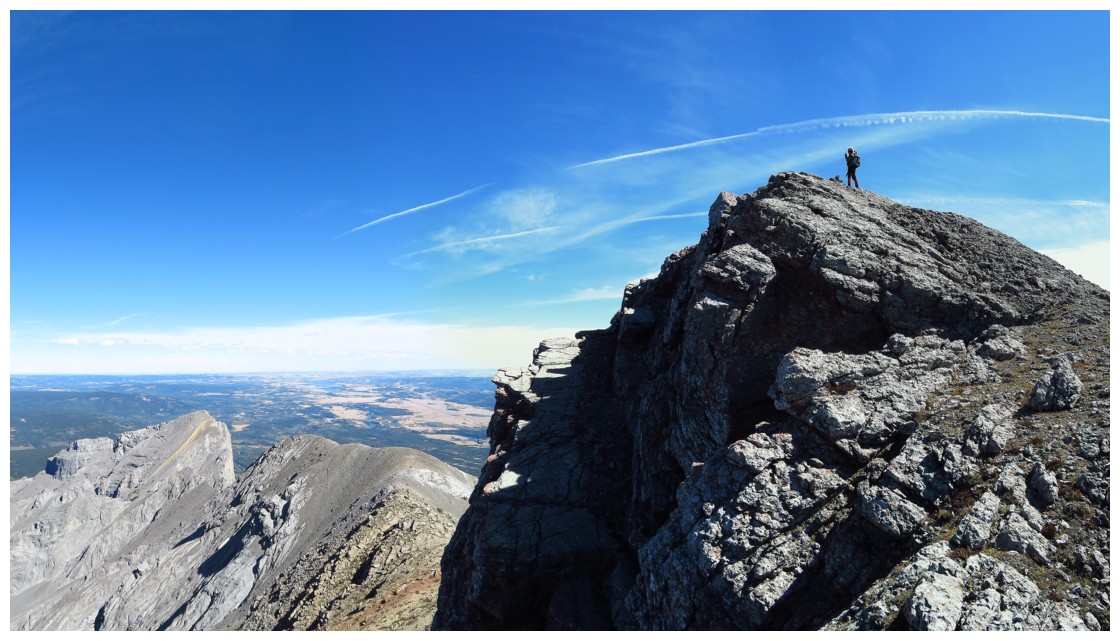
Approaching the summit
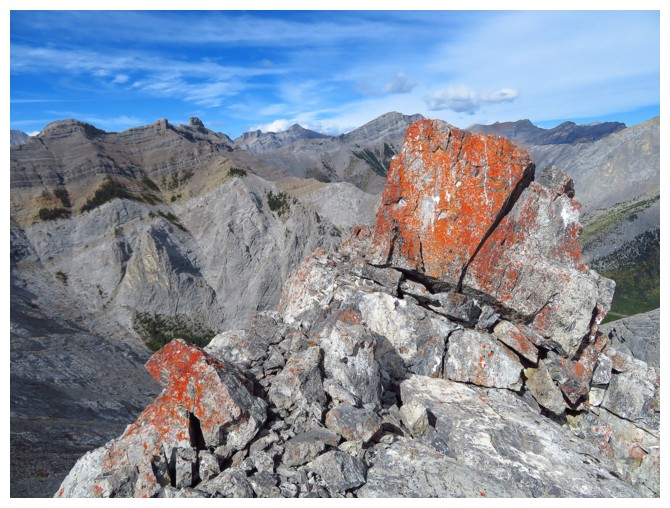
A surprising line a red rock
The last few steps to the summit
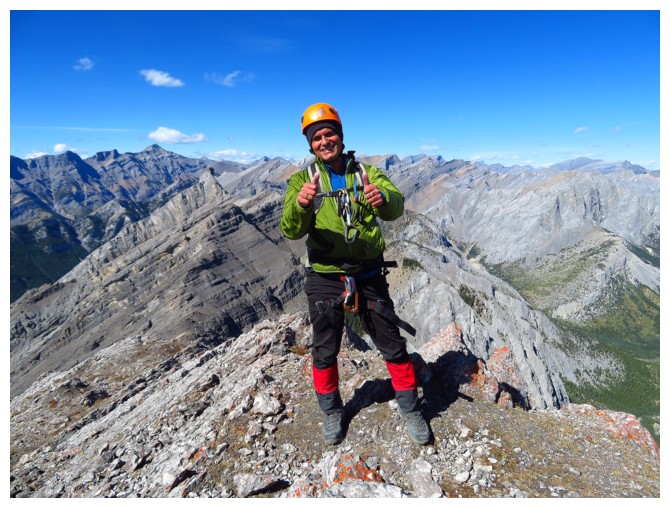
Tough ascent, but it still gets two thumbs up!
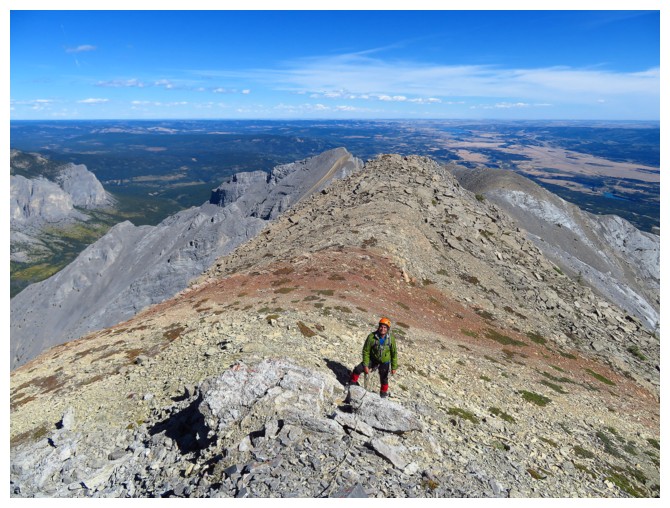
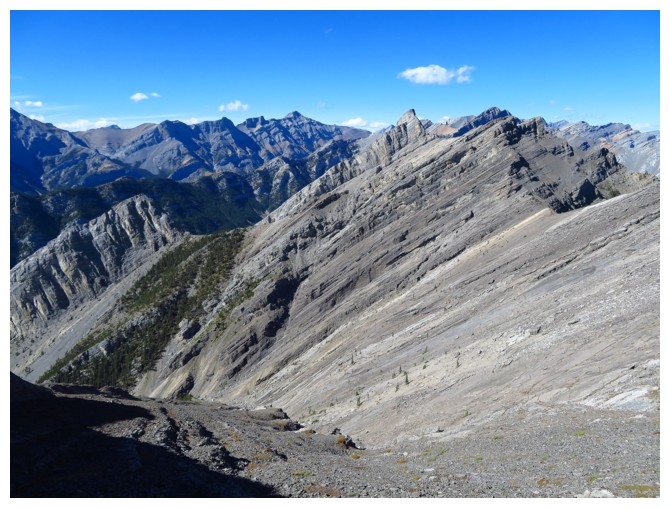
Looking along the next section of the traverse
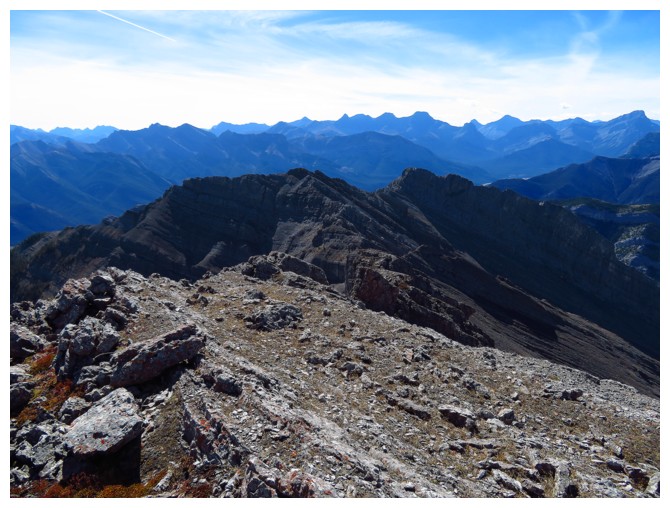
The view to the northwest
Mark enjoys the summit view
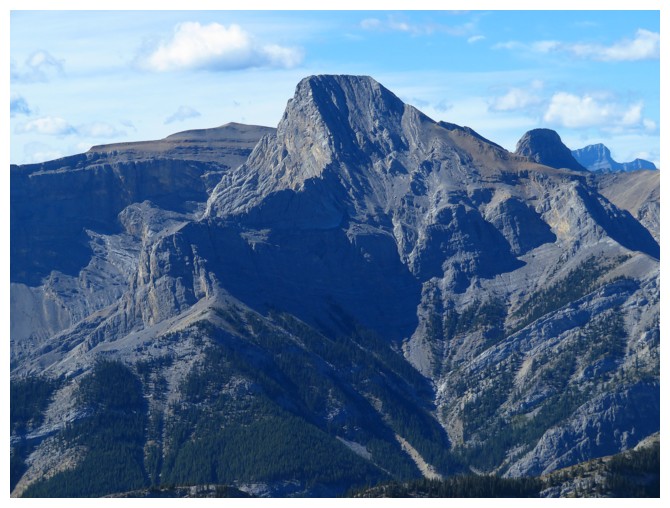
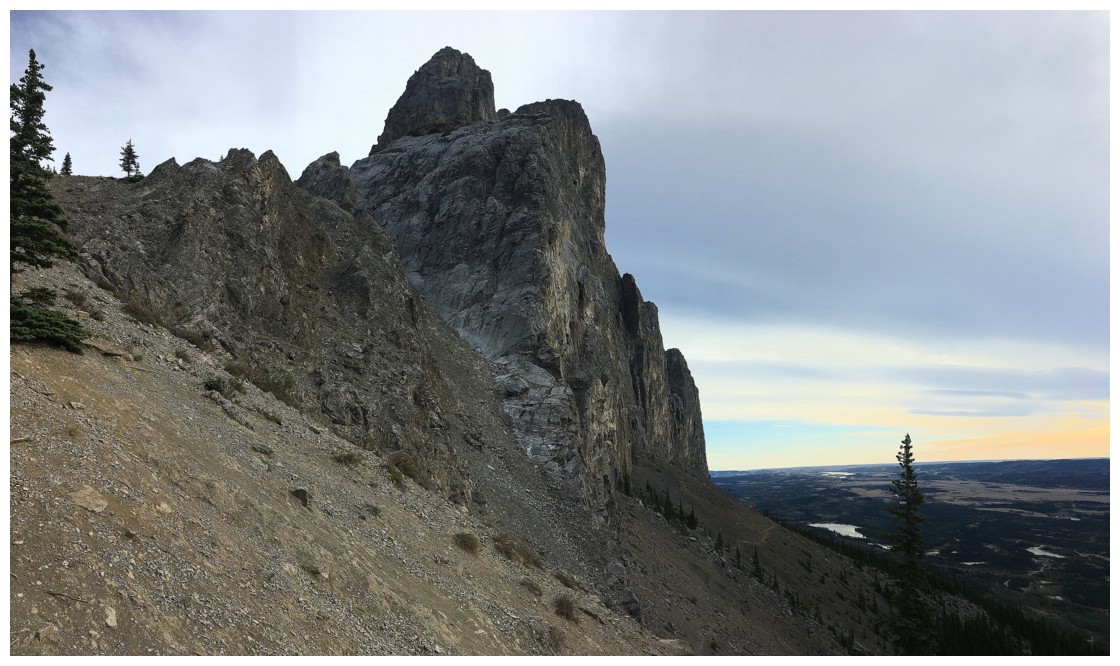
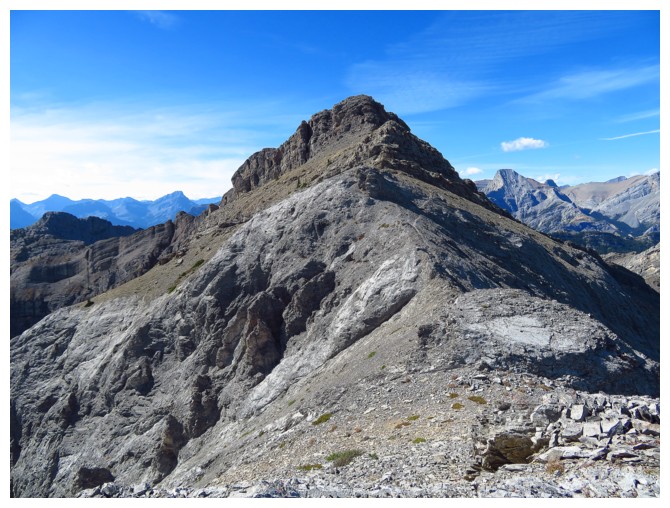
Mount Fable
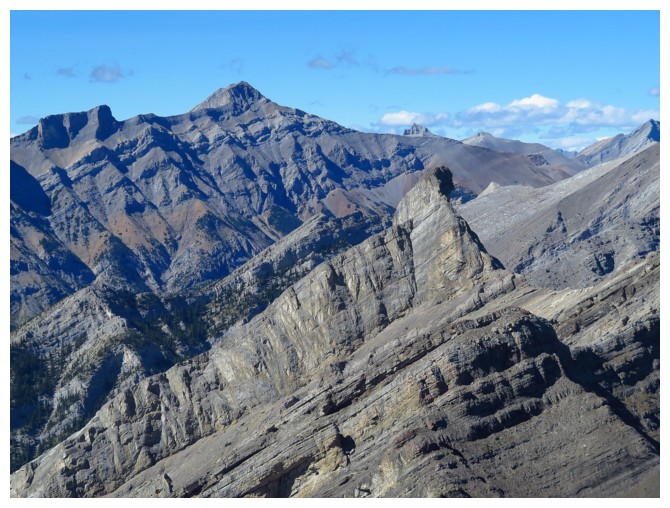
Hassel Castle in front
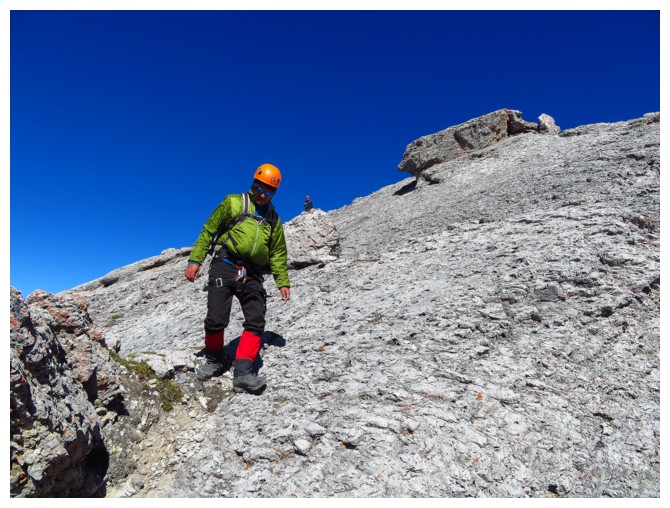
Start of the descent
The two others climbers traverse an exposed section. Unseen is the severe drop down the east side
Mark sits on the ridge as we contemplate our descent
Looking down the easy descent route
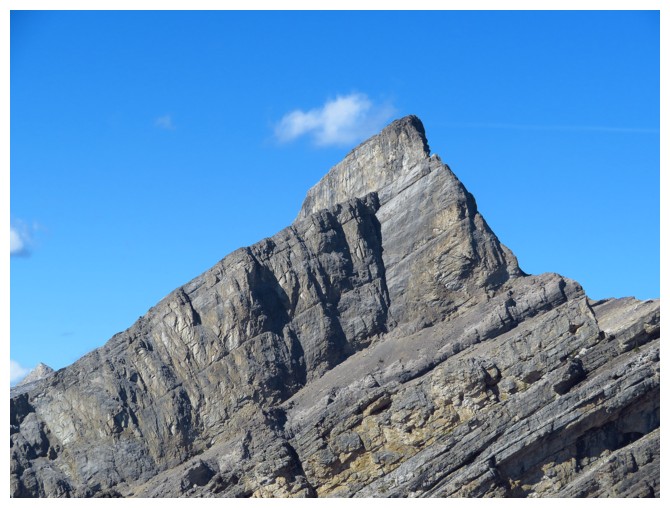
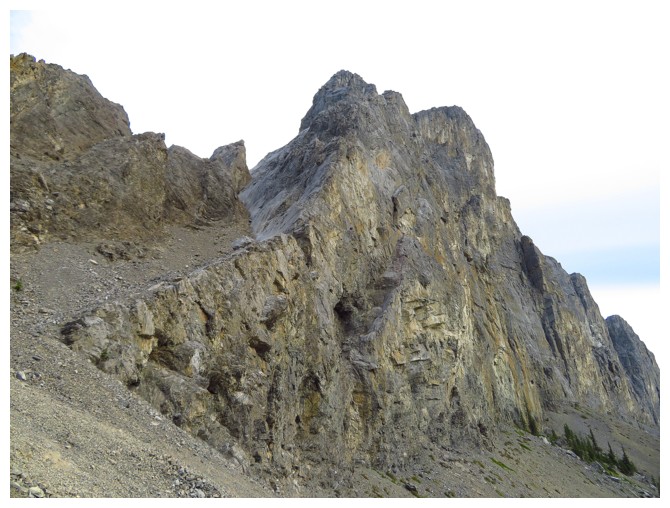
Hassel Castle
Part of "Little Goat"
Looking back up the valley and our descent route
"Big Goat"
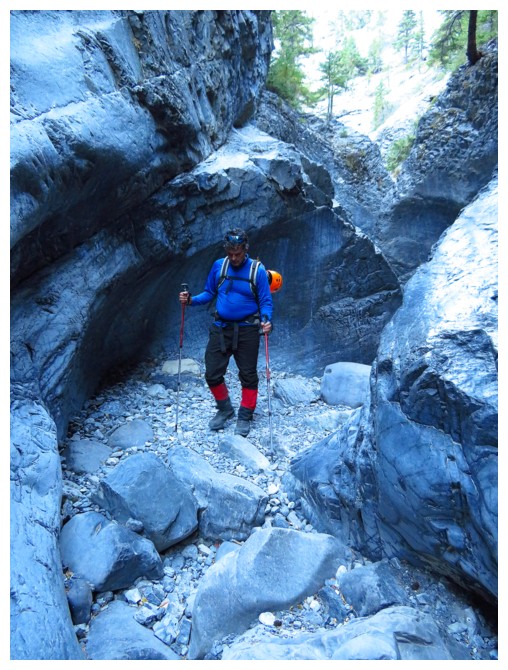
The famous canyon at the end of Jura Creek. Not a drop of water in it!