Grotto Mountain II
April 22, 2018
Mountain
height: 2725 m
Elevation gain: 1400 m
Ascent
time: 5:30
Descent
time: 3:15
Scrambling
and snowshoeing with Mark.
 Having
ascended the “normal” route up Grotto Mountain, way back in 2002, I had no
intention of repeating the trip. It’s a good trip, with a decent amount of elevation
gain, but there are many other objectives ahead in line.
Having
ascended the “normal” route up Grotto Mountain, way back in 2002, I had no
intention of repeating the trip. It’s a good trip, with a decent amount of elevation
gain, but there are many other objectives ahead in line.
 However,
Alan Kane’s third edition of Scrambles in the Canadian Rockies advertised a new
route up Grotto – the East Route – and since Mark had never been up the massive
peak, we chose this mountain and route as the day’s objective.
However,
Alan Kane’s third edition of Scrambles in the Canadian Rockies advertised a new
route up Grotto – the East Route – and since Mark had never been up the massive
peak, we chose this mountain and route as the day’s objective.
The route
uses the same approach to that of Rat’s Nest Cave and so the trail was
initially well worn and easy to follow. That changed when the snow appeared (insanely
deep in places for late April) and therefore the trail disappeared. We soon reached
a significant rock band that also proved to be a little troublesome. Scrambling
up it looked to be more climbing than scrambling and so we went around the
right side. Good choice, as this did eventually lead to the main ascent ridge
and, as Kane promises, a fine view of the Canmore Corridor. Along the way, the
snowshoes came out. An unsupportive crust atop several feet of sugary,
unconsolidated snow (resulting in extreme post-holing) was not conducive to easy
travel and the ‘shoes would quickly remedy that issue.
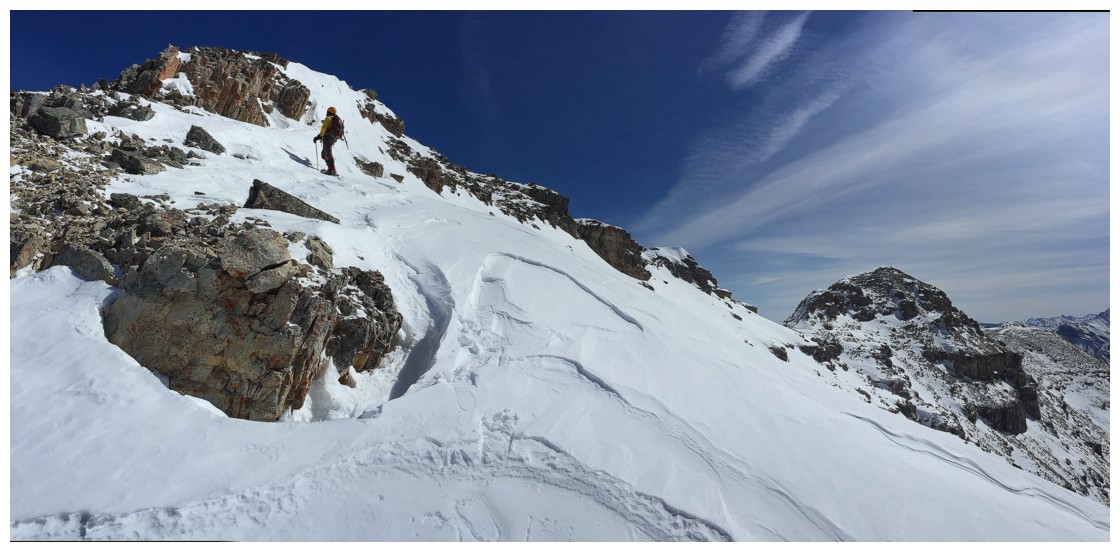
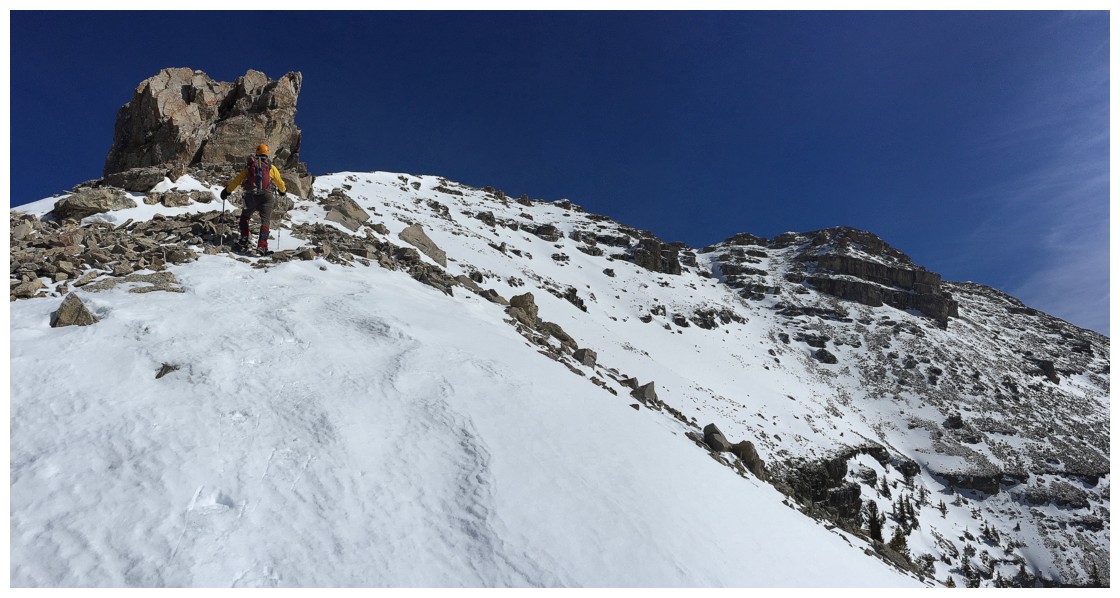
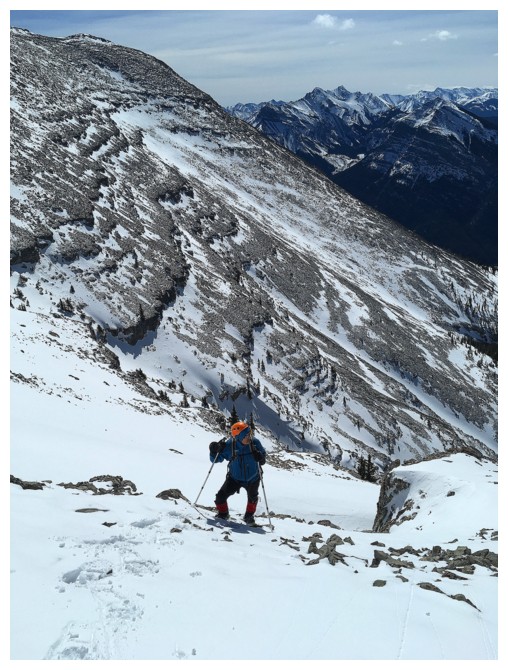
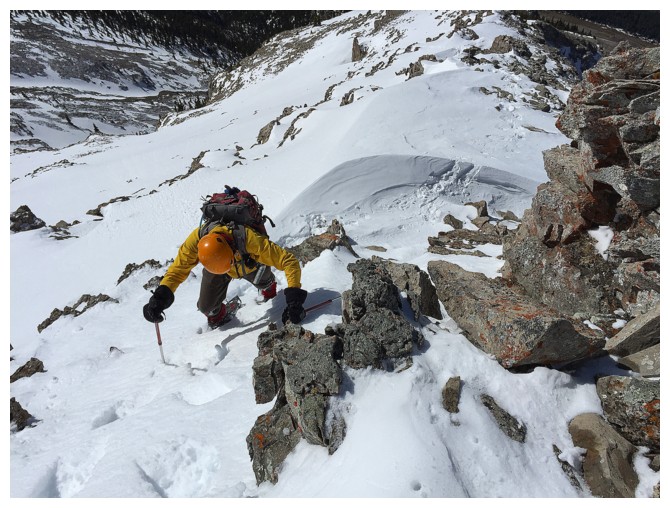
 Ascending
the ridge to the false summit became one of several highlights of the new
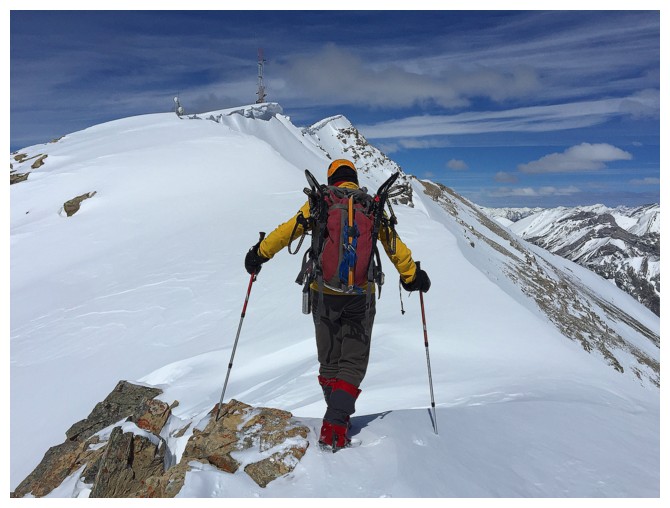
route, with terrific rock and snow scenery throughout. The other highlight was
the ridgewalk from the false summit to the true summit, featuring awesome
cornice scenery, more reminiscent of mid-winter than mid-spring.
Ascending
the ridge to the false summit became one of several highlights of the new
route, with terrific rock and snow scenery throughout. The other highlight was
the ridgewalk from the false summit to the true summit, featuring awesome
cornice scenery, more reminiscent of mid-winter than mid-spring.
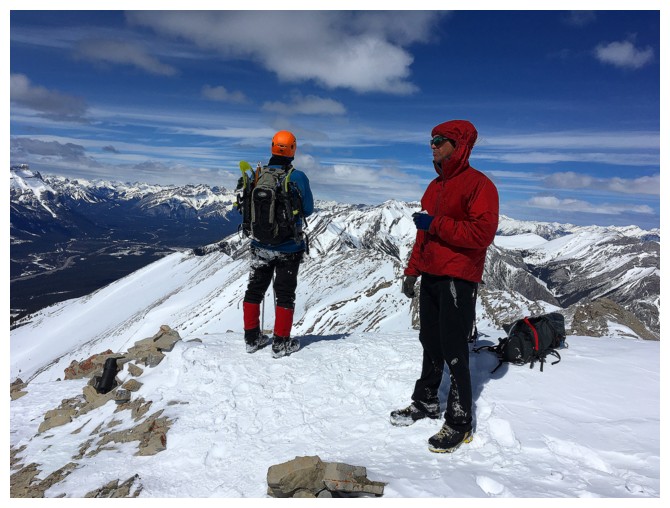
Five and
a half hours after leaving, we dragged our fatigued carcasses up to the summit –
a very satisfying, but long and tiring ascent. Mark immediately collapsed at
the summit to take a brief nap! Very brief, as the air temperature was bitterly
cold.
Taking in
the excellent view we suddenly noticed a figure coming up the mountain from
directly below the summit – turned out to be Alan from Canmore. He had come up
the direct route and informed us that the route would offer the quickest way
down the mountain. Our ascent had been excessively long and so we opted to try
the direct route. While the descent was straightforward, the snow and ice also
made it a slow and tedious one in places. It took us about four hours to get
back to the road and then we were confronted with a 4 km walk back to the car.
Thankfully, Mark was able to “thumb” me a ride. Thanks to Dan from Exshaw for
saving me an hour of walking at the end of an already long day.
Overall,
I would recommend this route up Grotto Mountain over the less interesting
normal route. A long, but terrific day out.
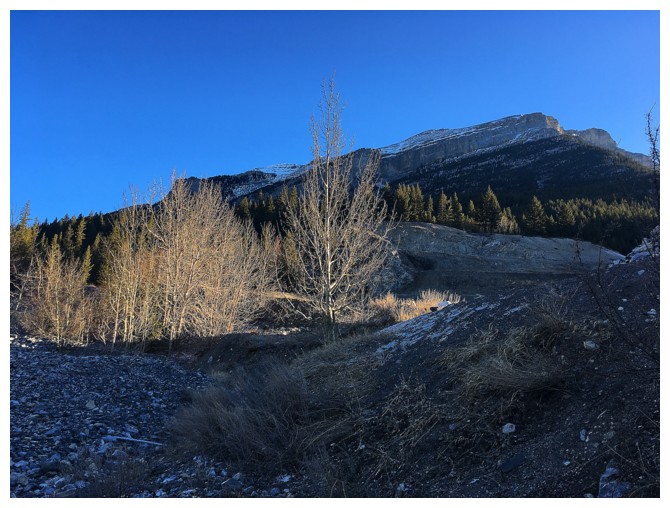
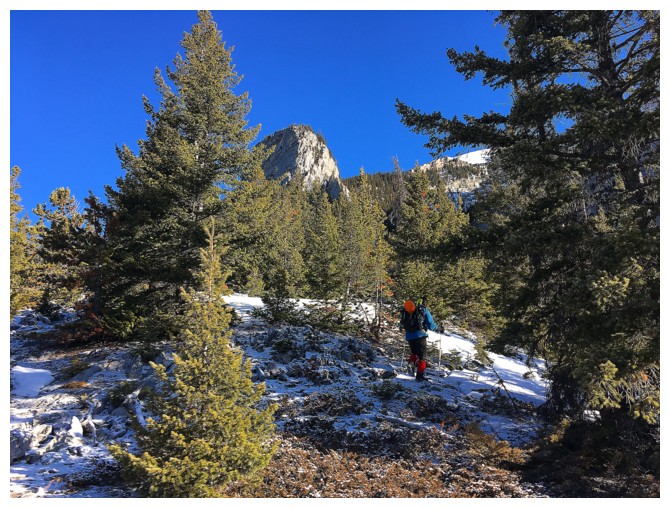
The east route from near the parking lot. The route goes up, just left of centre
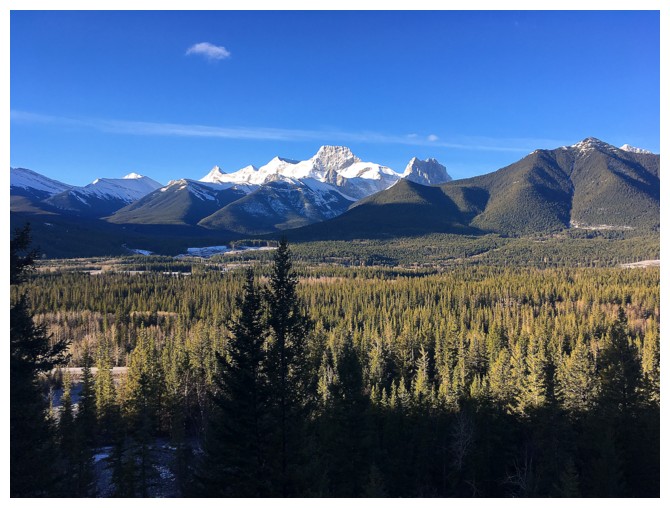
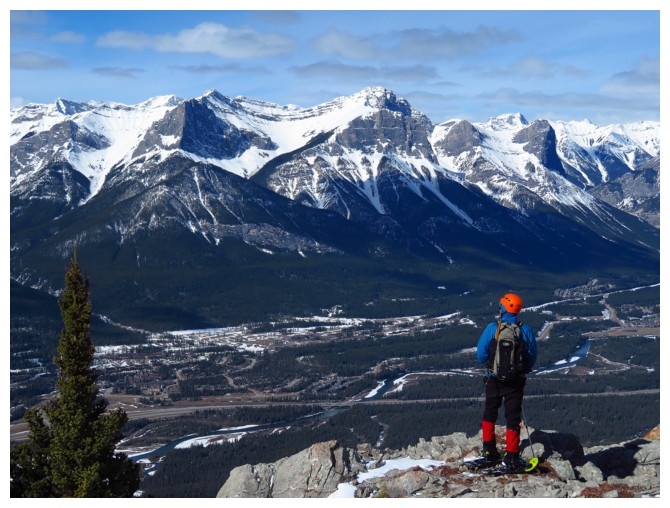
Mount Lougheed is still holding lots of snow
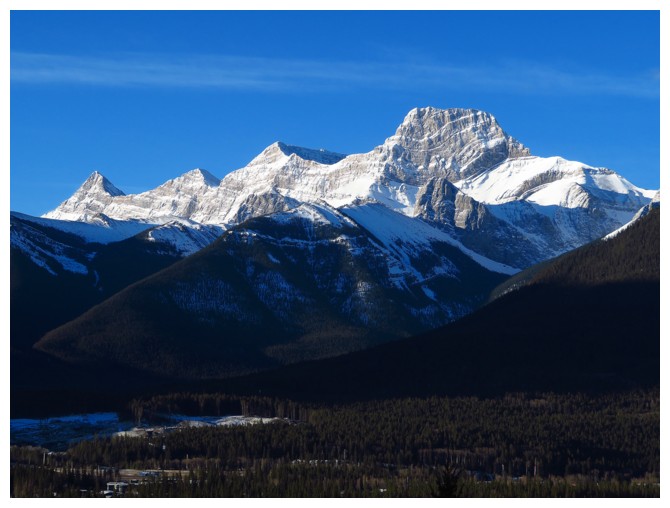
Closer look at Lougheed and Wind Mountain (far left)
Approaching the significant rock band that must be circumvented

We scrambled up this section, but then went around to the right
Heading right
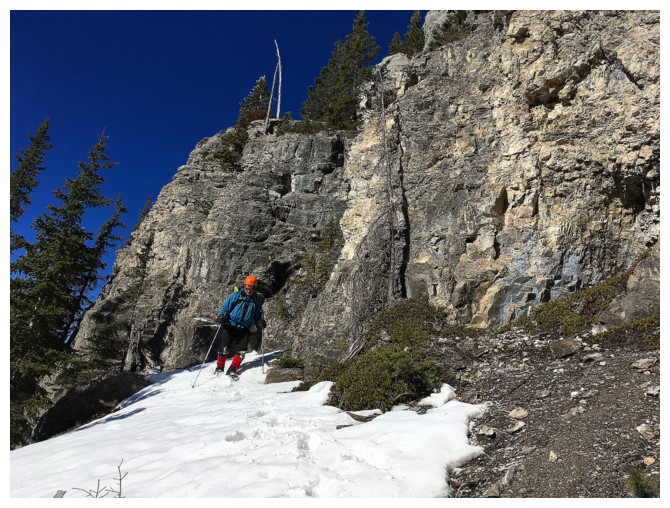
Circumventing the rock band
Same as above
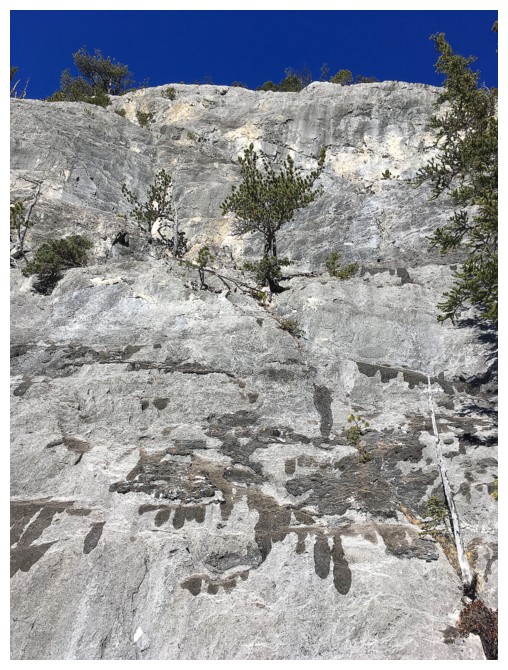
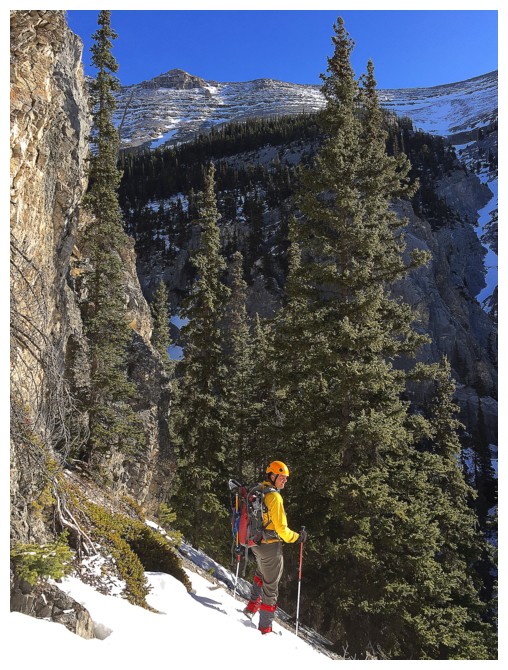
Looking up at the impressive rock
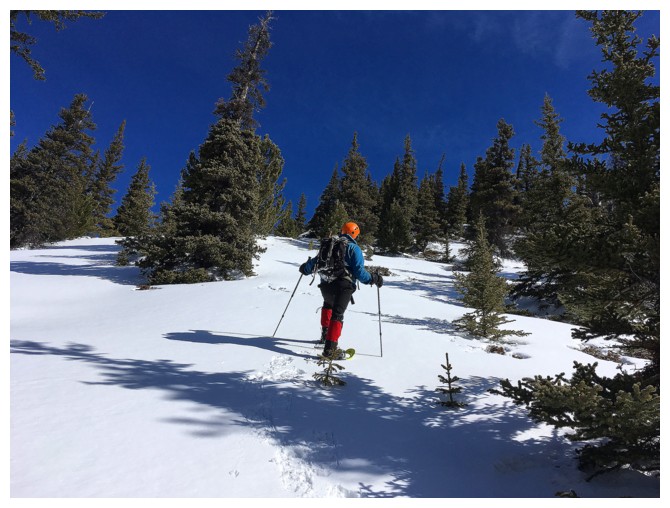
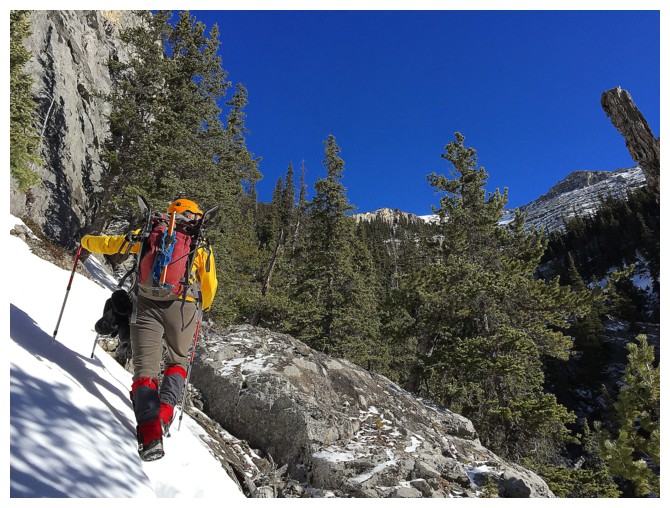
Much easier travel with snowshoes
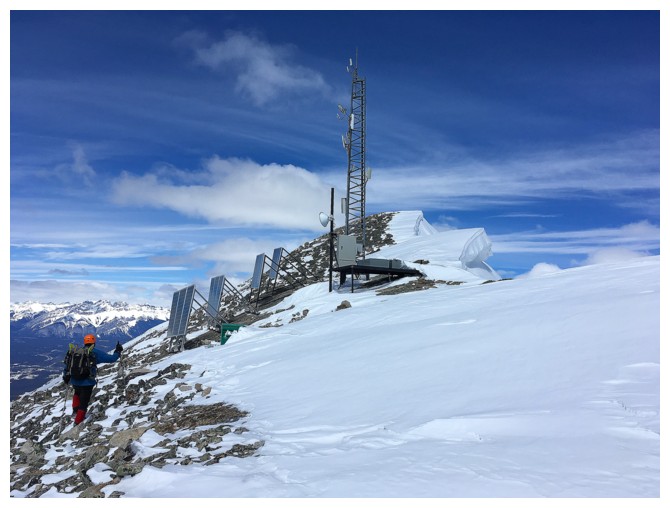
First glimpse of the summit
Heel lifts - not standing on my tippy-toes!!
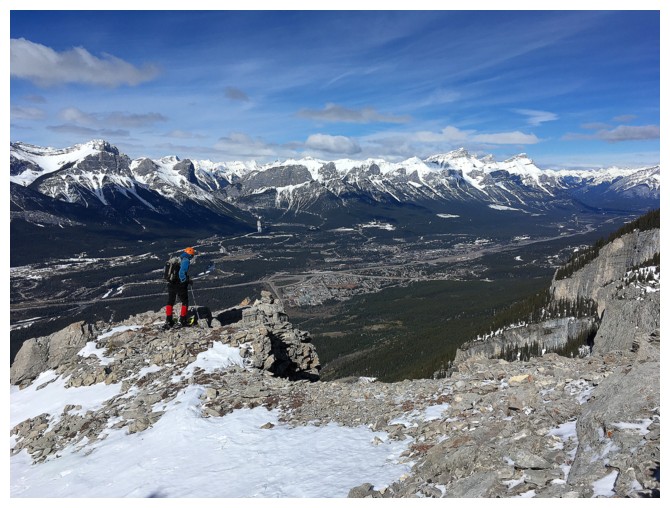
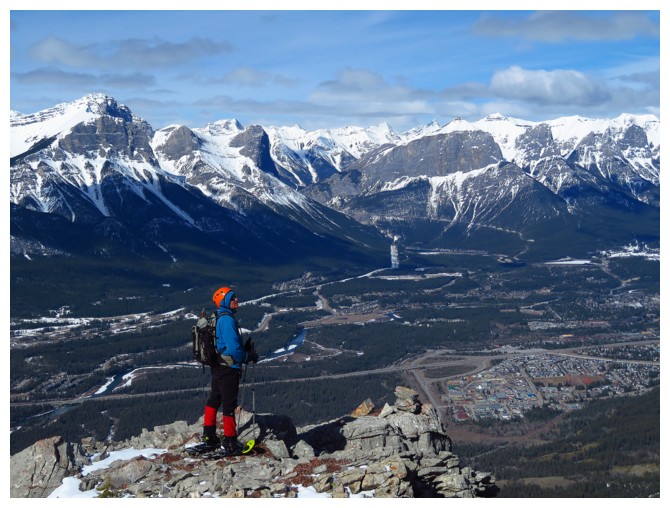
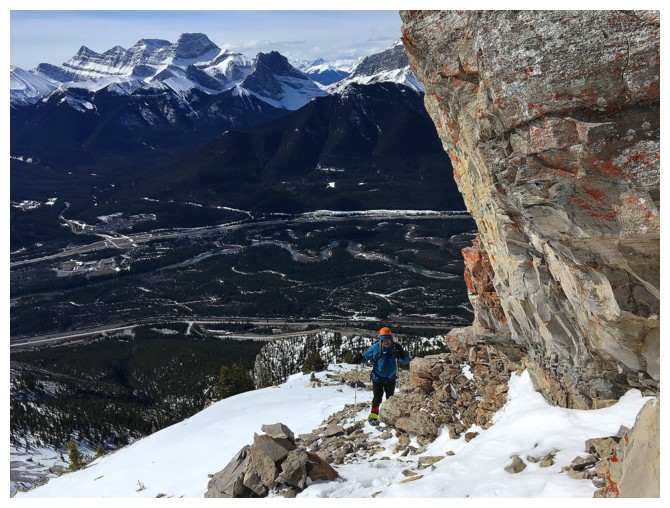
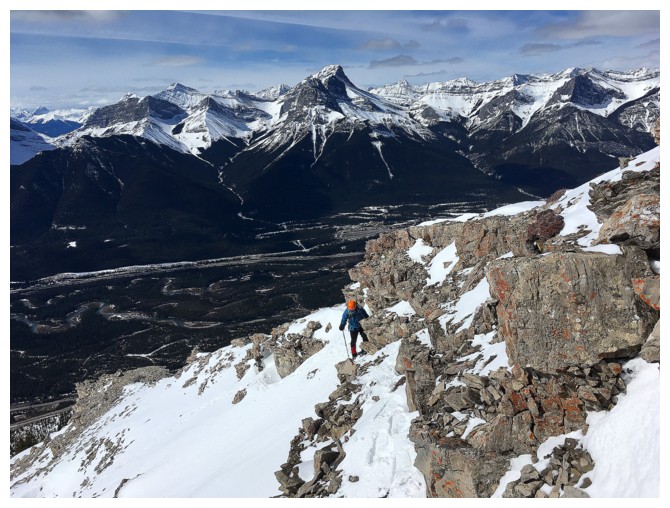
Mark checks out the terrific view of the Canmore corridor
Mount Lawrence Grassi and Ha Ling Peak lie across the valley
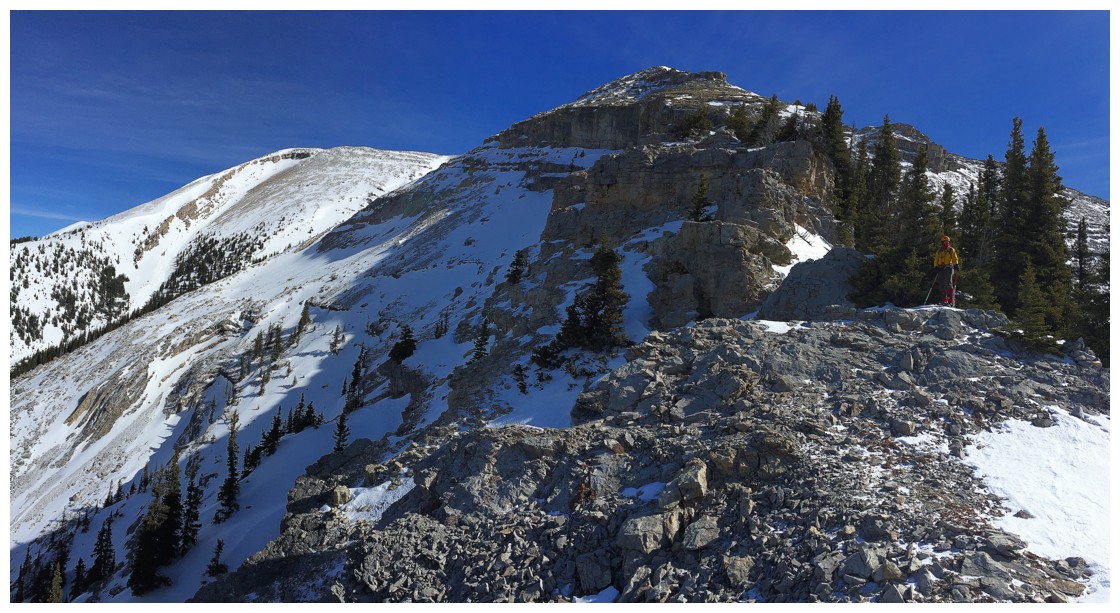
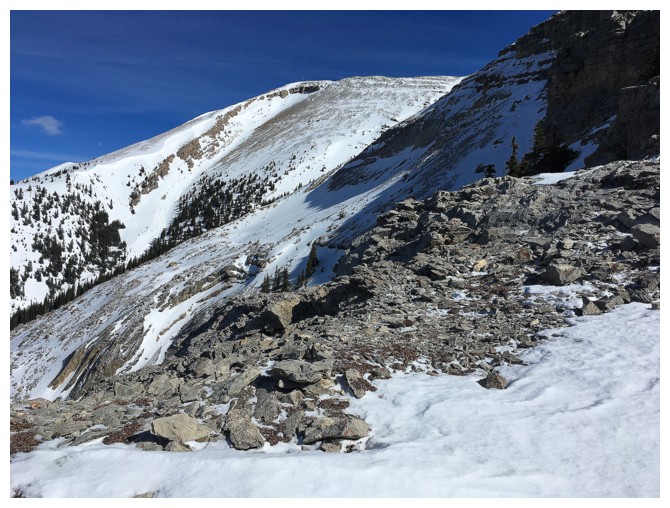
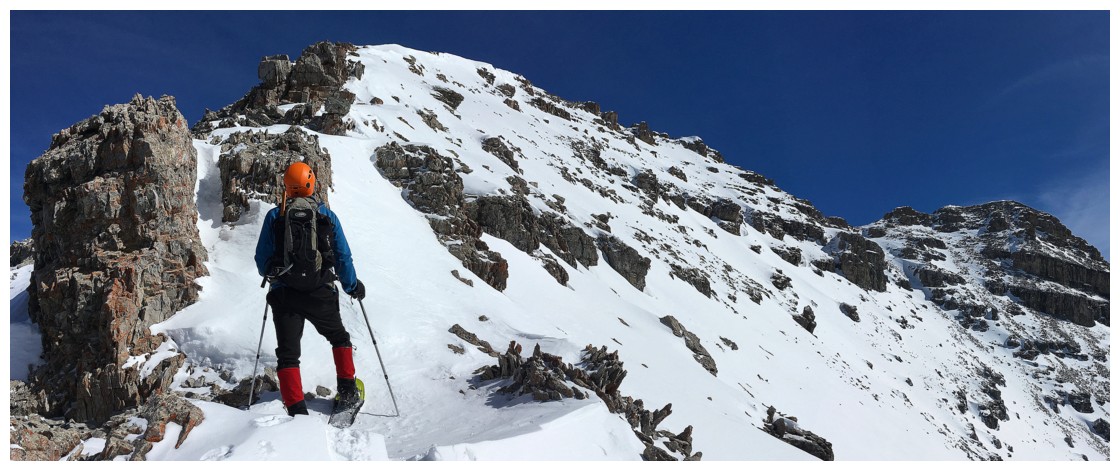
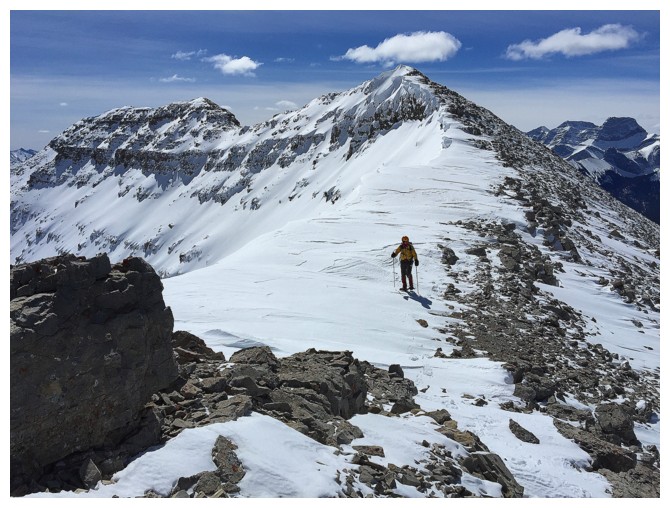
The interesting ridge that must be ascended
Up comes Mark
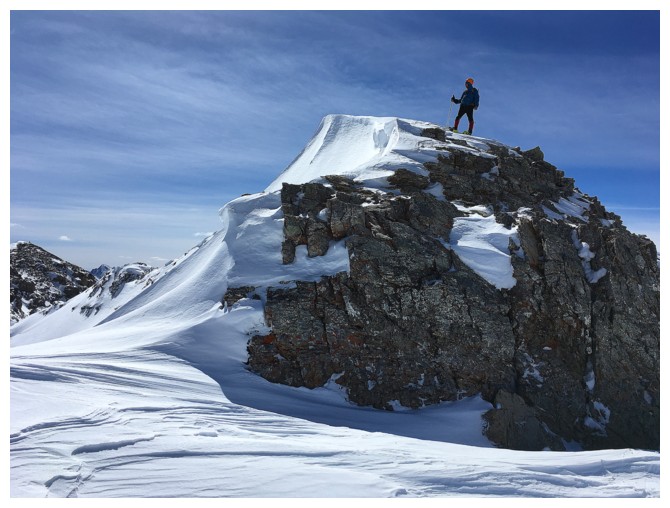
Approaching a cool rock outcrop
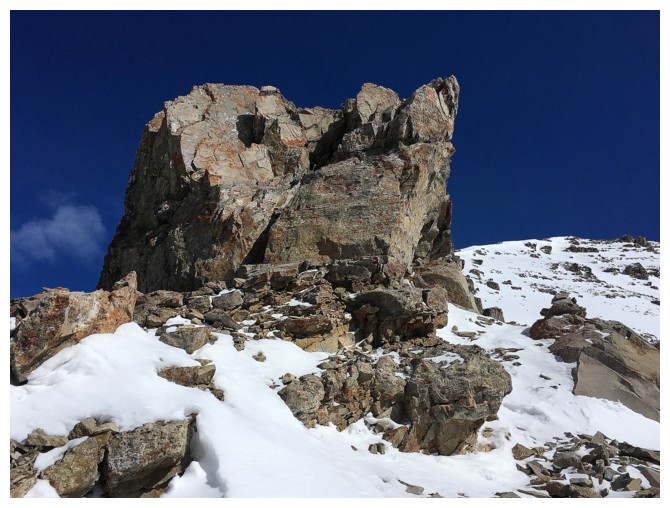
There is it
Mark goes around it
And then regains the ridge
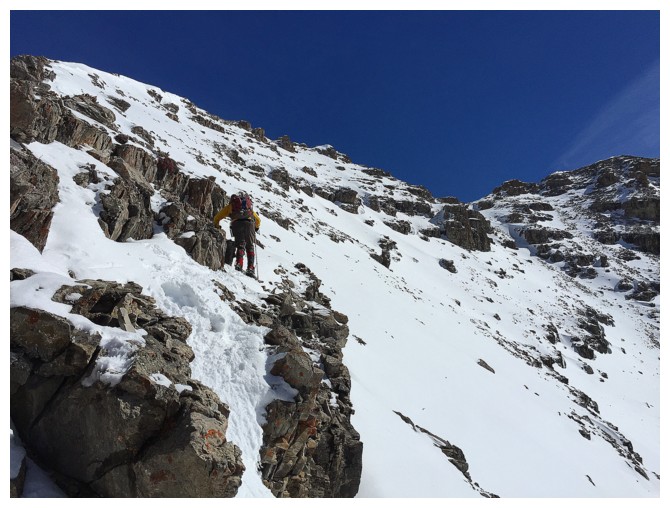
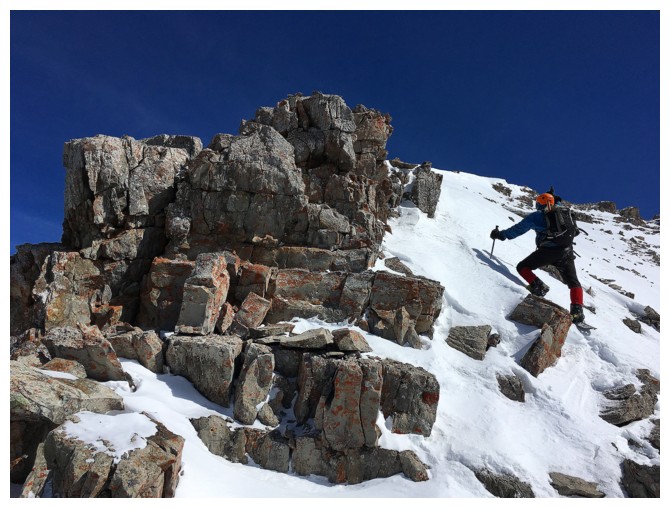
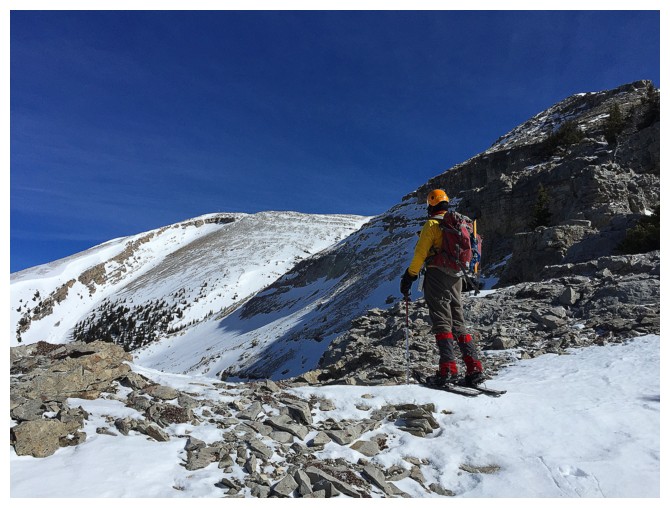
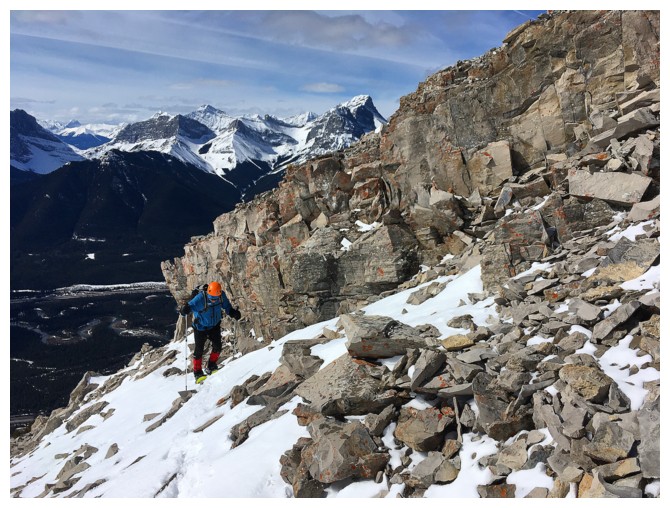
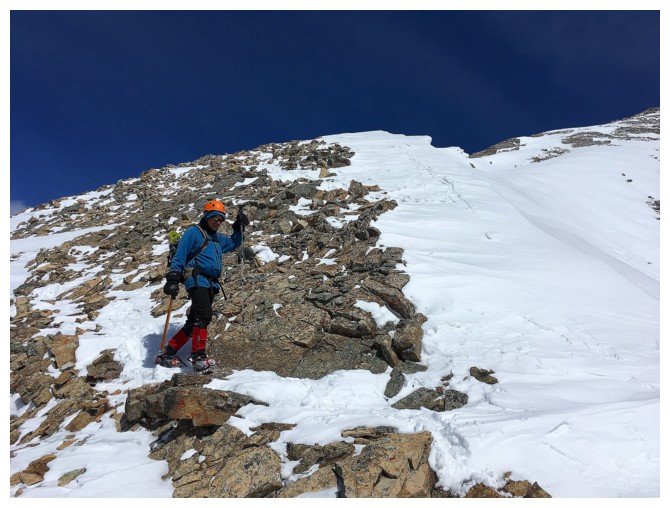
Some fairly steep terrain to ascend here
Mark eyes up the next section

And then kick steps up a steep section
I follow
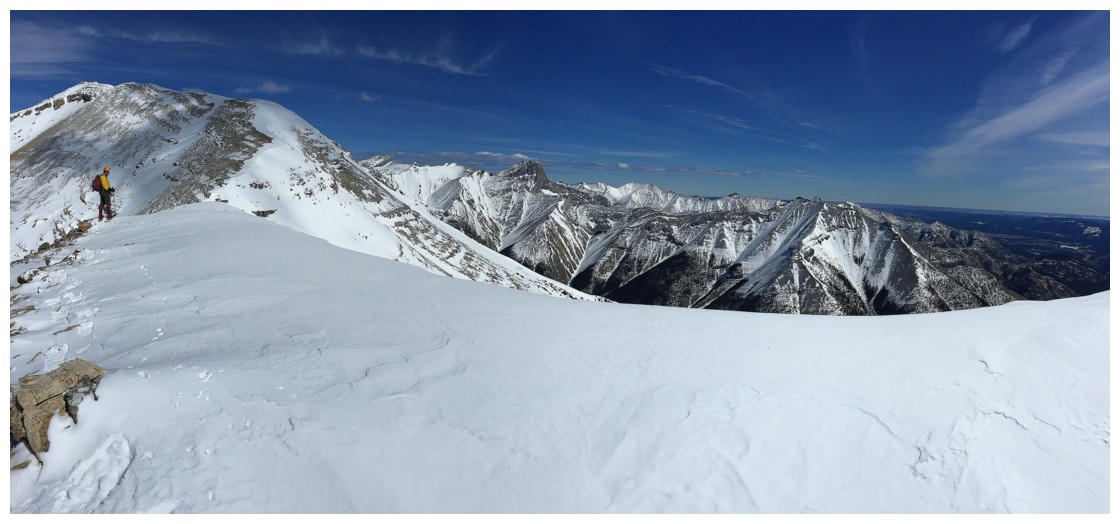
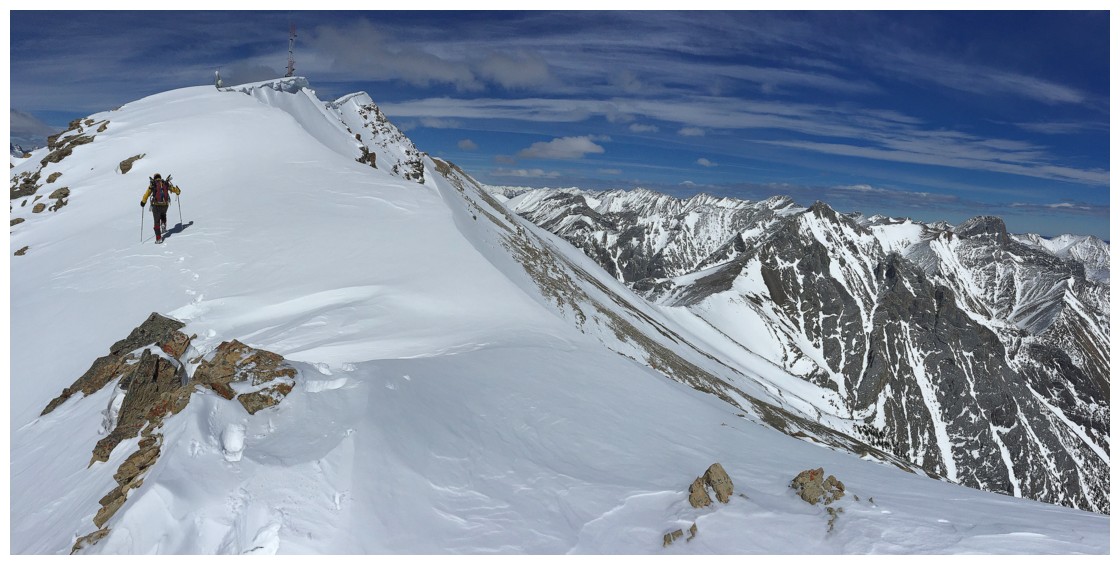
On the ridge and heading towards the summit
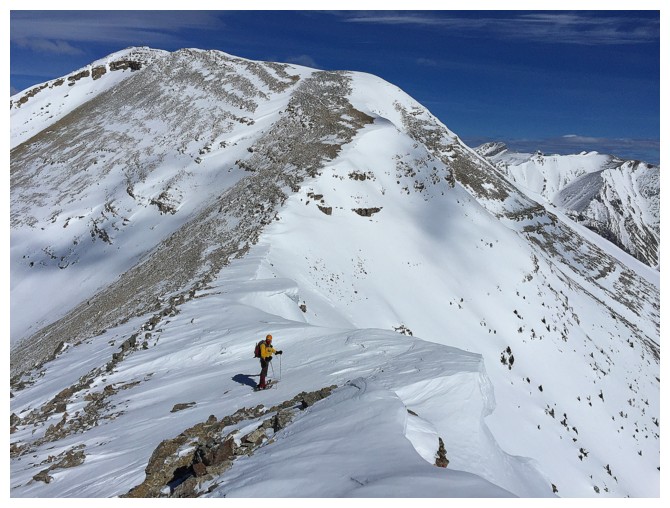
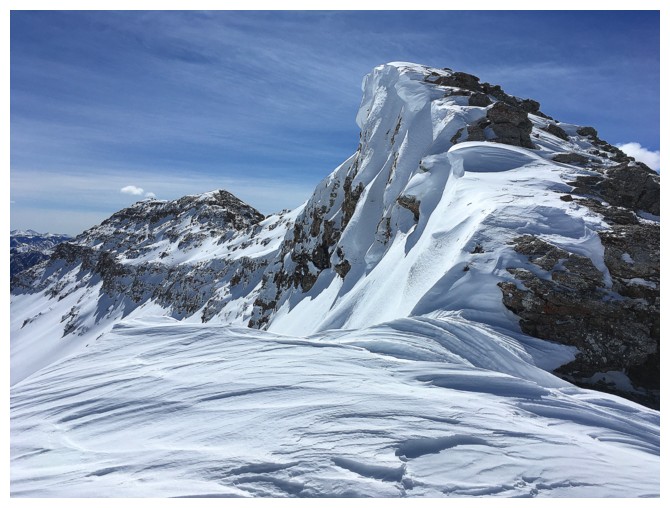
Great snow scenery along this ridge

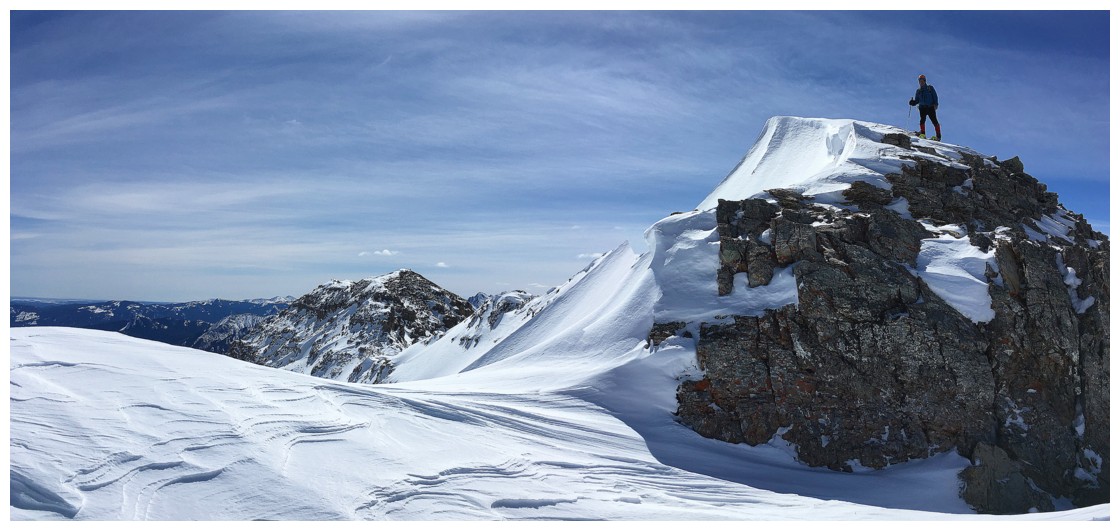
Looking along the backside of Grotto Mountain
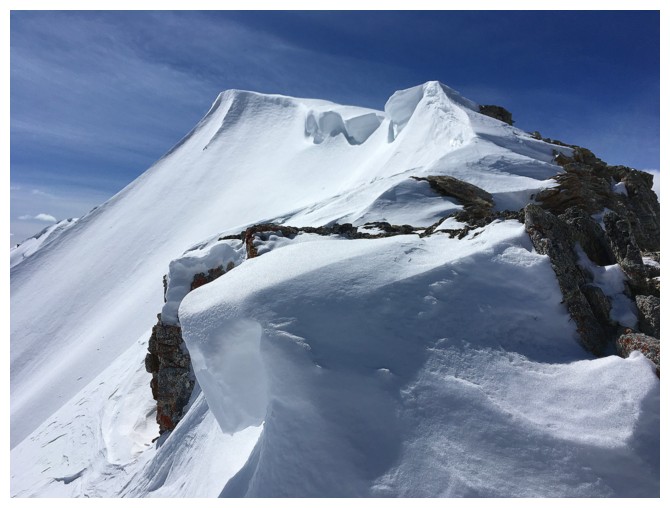
Terrific cornice scenery
Losing elevation before gaining it back and more
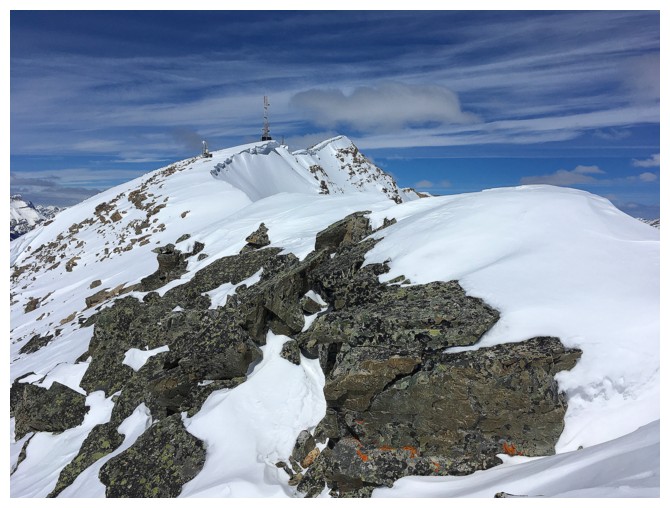
The summit finally becomes visible

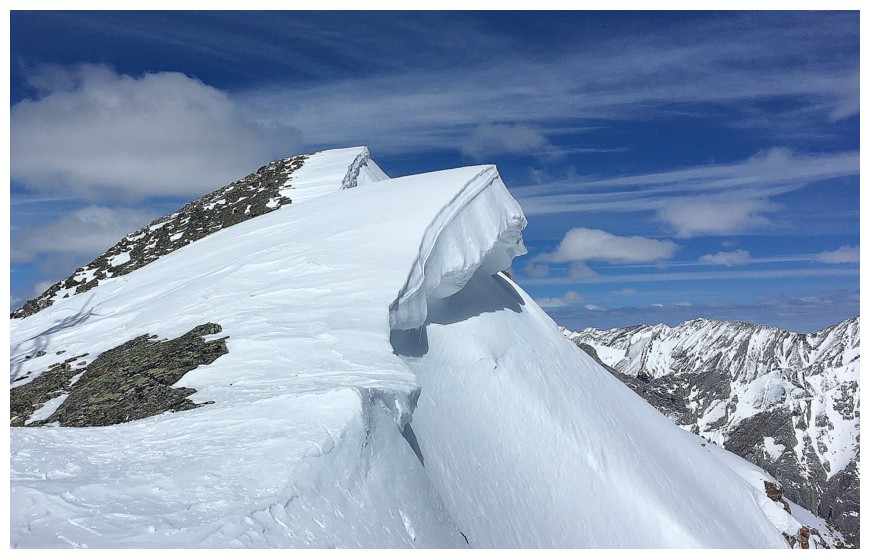
One of the coolest cornices of the day
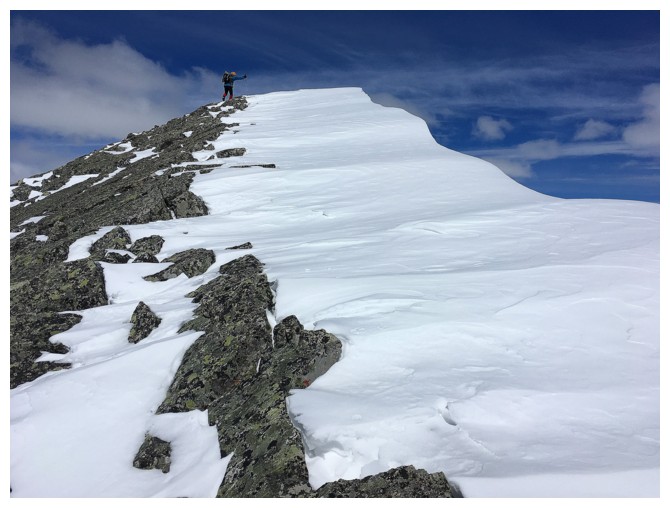
Mark alongside another cornice right before reaching the summit

Last few steps for me
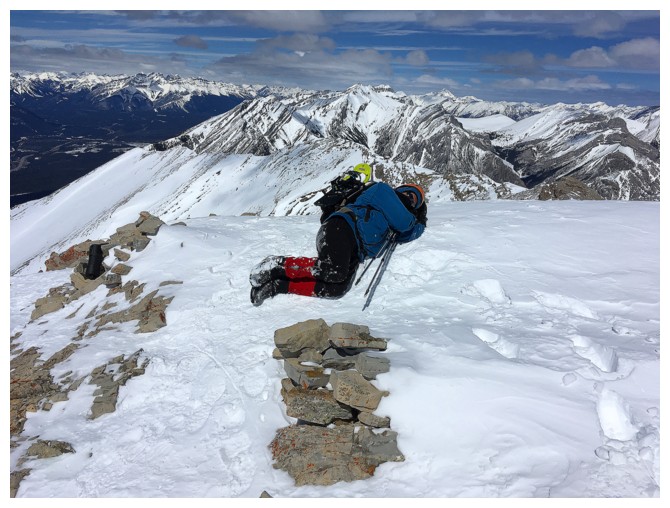
After a 5.5 hour ascent it's nap time!
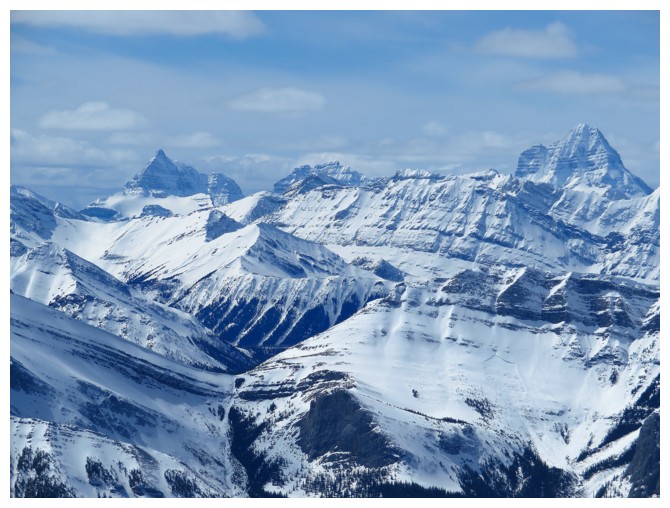
Eon Mountain (far left) and Mount Assiniboine (far right) are distant, but clearly visible
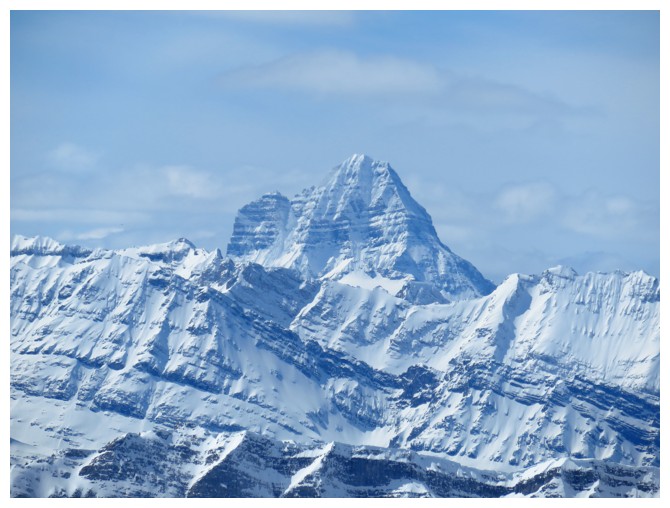
Assiniboine
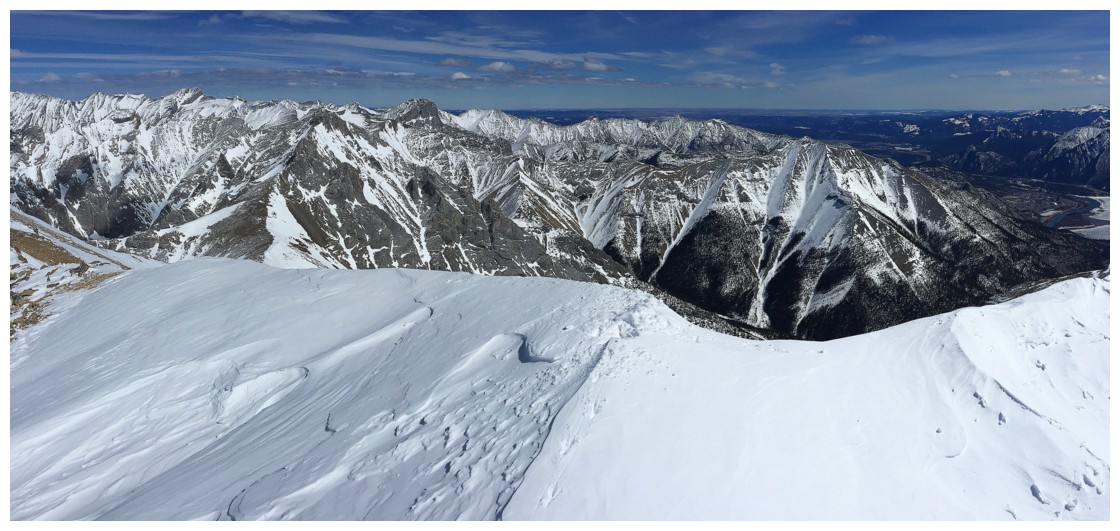
The summit view to the east
Mark and Alan at the summit
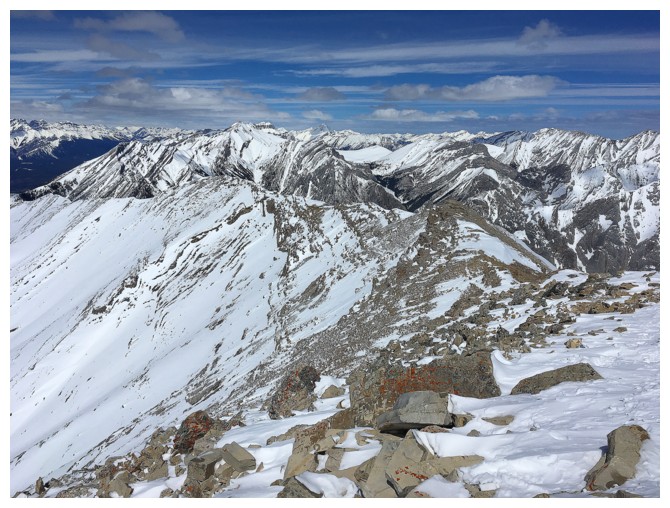
View to the northwest
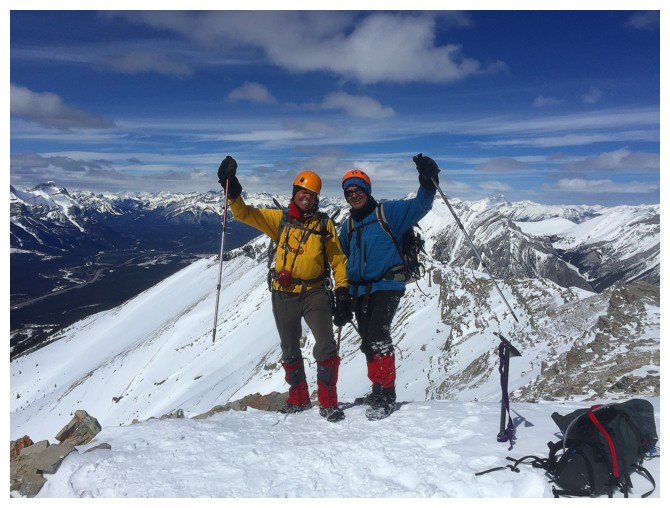
Alan graciously takes a photo of us
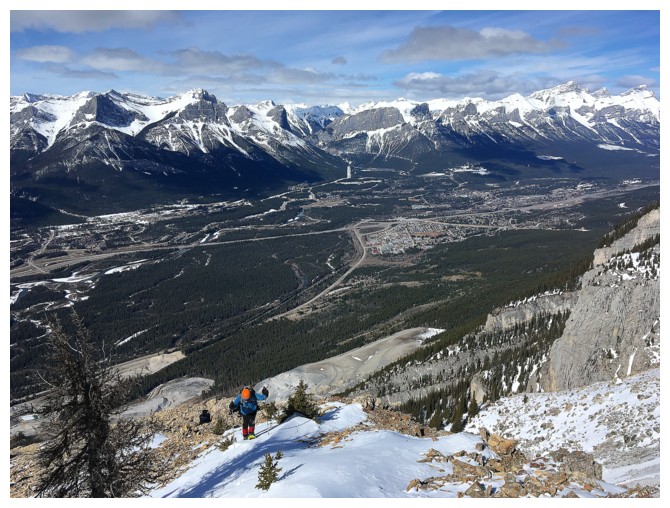
Heading down
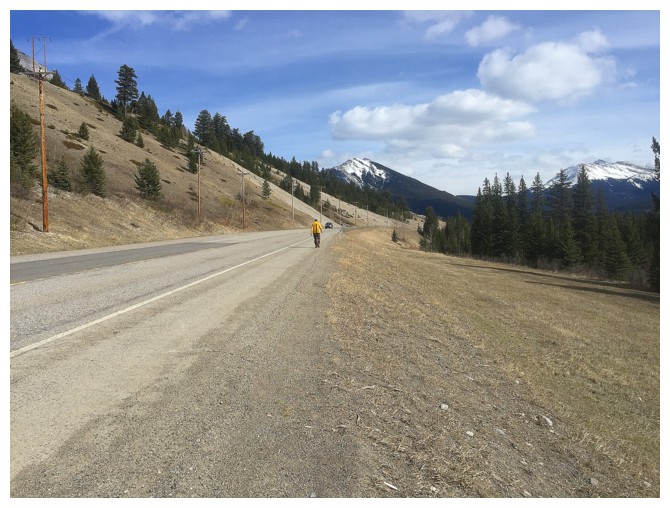
Starting the long walk back to the car. Dan picked me up a little farther down the road
The End