Maze Peak
August 25, 2018
Mountain
height: 2400 m
Elevation gain: 834 m + approximately
500 m for several failed alternate descent routes!
Ascent
time: 3:00
Descent
time: 3:50
Scrambling
with Mark.
 Having
never been to the increasingly popular Ya Ha Tinda area, west of Sundre, we set
out to complete one of the easier and shorter ascents the area has to offer –
Maze Peak – terrific trip reports by Bob Spirko and Vern Dewit providing lots
of motivation.
Having
never been to the increasingly popular Ya Ha Tinda area, west of Sundre, we set
out to complete one of the easier and shorter ascents the area has to offer –
Maze Peak – terrific trip reports by Bob Spirko and Vern Dewit providing lots
of motivation.
Unfortunately,
the major unmotivating factor was the insanely thick fire forest smoke –
definitely the worst August I can remember. Nevertheless, short of finding a
climb on another continent, there was no avoiding the smoke and so off we went.
After the
surprisingly long drive to the trailhead (possibly because I missed the
turn-off and ended up at a gas-well, surrounded by cows, in the middle of
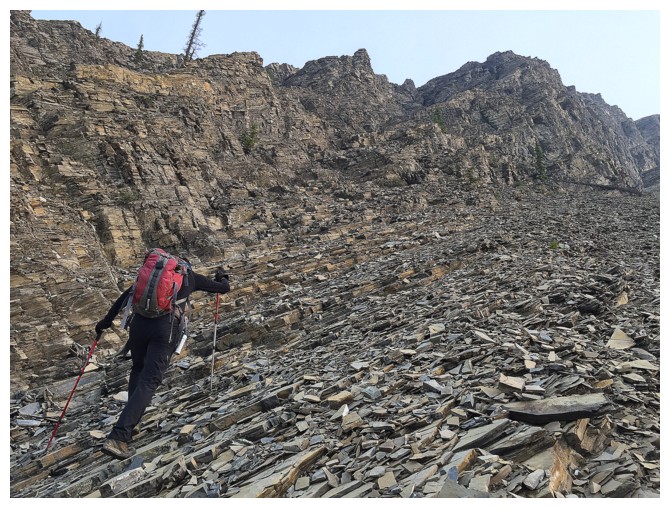
nowhere!), we started up route suggested by Bob and Vern. Once out of the trees
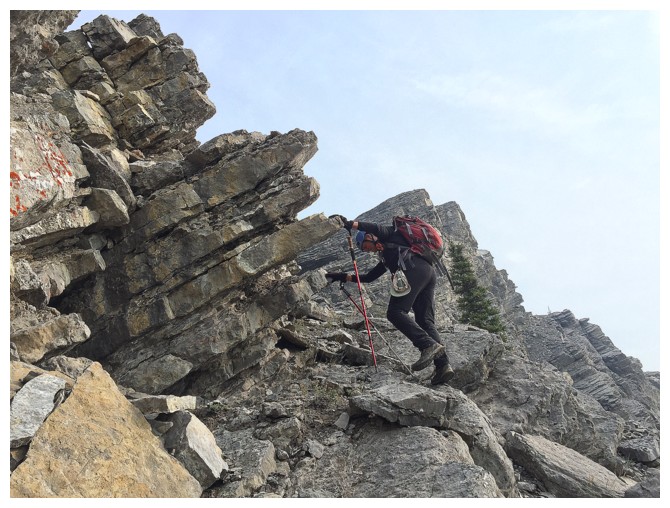
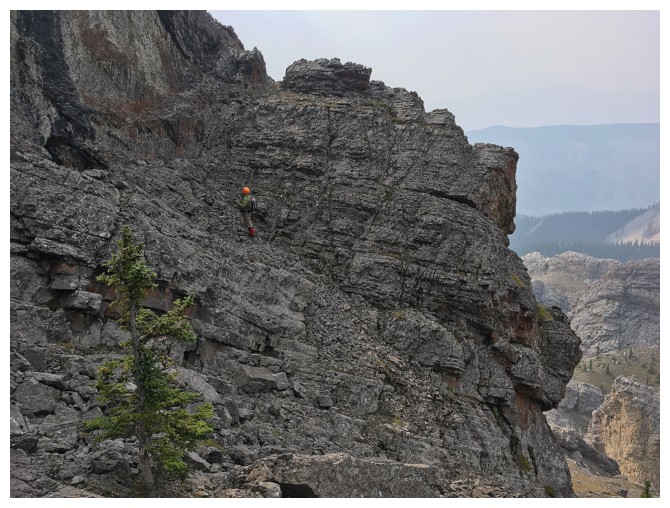
we did choose to scramble up through the prominent shale rockband directly to
the ridge. This yielded some fun scrambling and some precarious (not so fun)
scrambling. I was once again reminded of how much I prefer the nasty, loose
horizontally oriented rock of southern Alberta to the nasty, loose downsloping
rock farther north.
 As Bob
states, this trip is full of surprise twist and turns. We both thoroughly
enjoyed the terrific rock scenery, taking several detours to check it out en
route. Above the shale, lay a wonderfully solid band of limestone that provided
fun scrambling only! Needless to say, the very limited views around us were
very disappointing, however, the scenery on the mountain itself kept us moving
and motivated.
As Bob
states, this trip is full of surprise twist and turns. We both thoroughly
enjoyed the terrific rock scenery, taking several detours to check it out en
route. Above the shale, lay a wonderfully solid band of limestone that provided
fun scrambling only! Needless to say, the very limited views around us were
very disappointing, however, the scenery on the mountain itself kept us moving
and motivated.
The best
part of the summit view (the only part, really!!) was the south side of Maze
Peak. Tons of interesting rock formations and gullies prompted us to attempt
descending the mountain via that side. It would be a somewhat circuitous route,
but we had the time.
In
general, this route was outstanding. It did provide exactly what we were
looking for in terms of fantastic and interesting scenery. The route-finding
was a significant (and fun) challenge, however, and we ended up re-ascending
parts of the mountain on three separate occasions, after reaching huge
drop-offs in the gullies and canyons of the south face.
Eventually
we ended up on the far south ridge of the mountain and had to make a decision:
to go back up to the summit and use the ascent route or gamble that the south
ridge would go all the way to the creek below, which we could then follow out
to the road. We gambled and it paid off – sorta!
The ridge
was a treat to descend, with terrific views and generally good footing. We then
found the creek and thought the walk out was in the bag. The creek provided
additional beautiful scenery, but also an additional drop-off that could not be
downclimbed. Once again we had to re-ascend a section of the mountain and then
side-slope through varying degrees of heavy deadfall and bush. Thankfully we
were close to the road at that point and soon found our way back to the car.
A
surprisingly terrific trip, even with the heavy smoke and limited views.

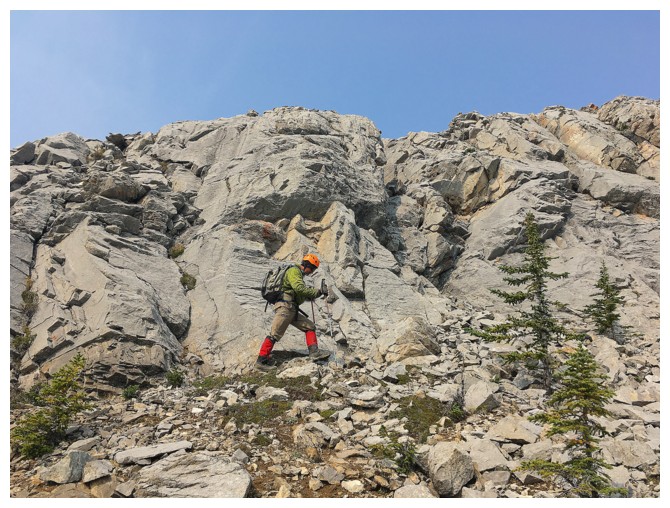
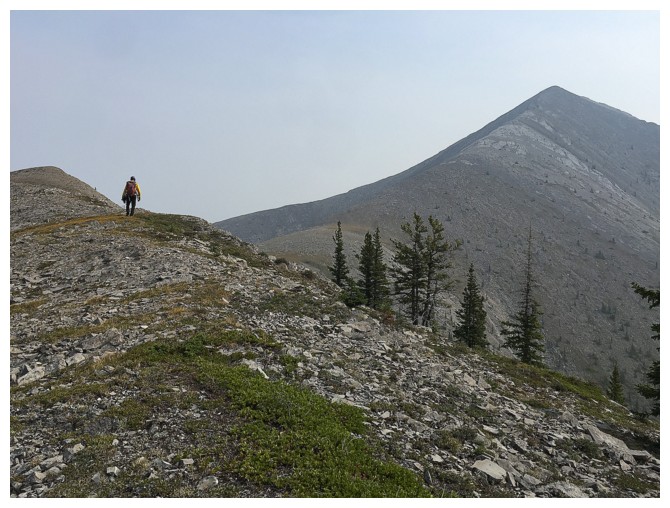
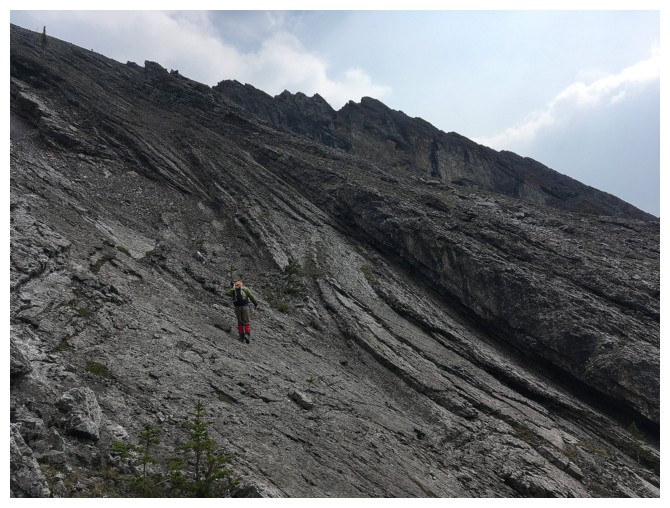
Approaching the rock band near the ridge
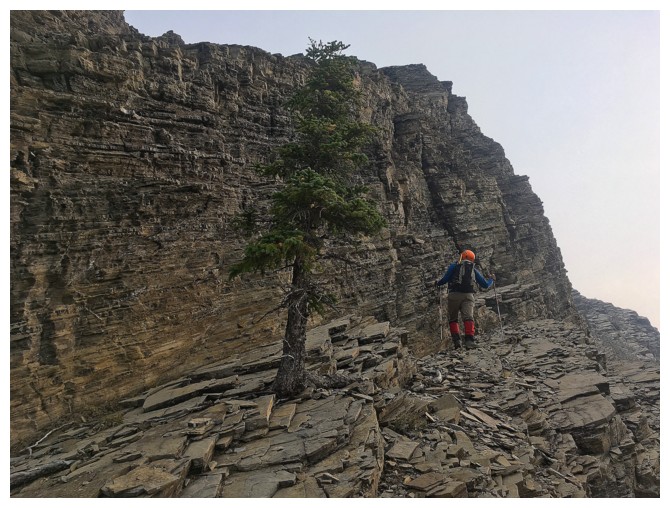
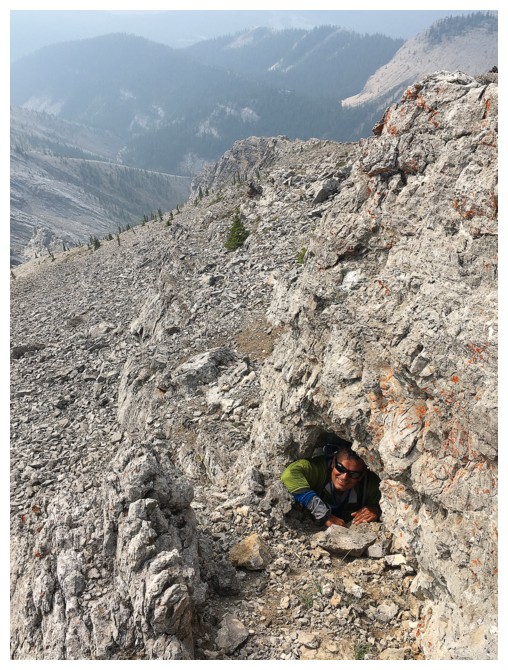
Heading for a weakness in the rock band
Searching.....
Found one
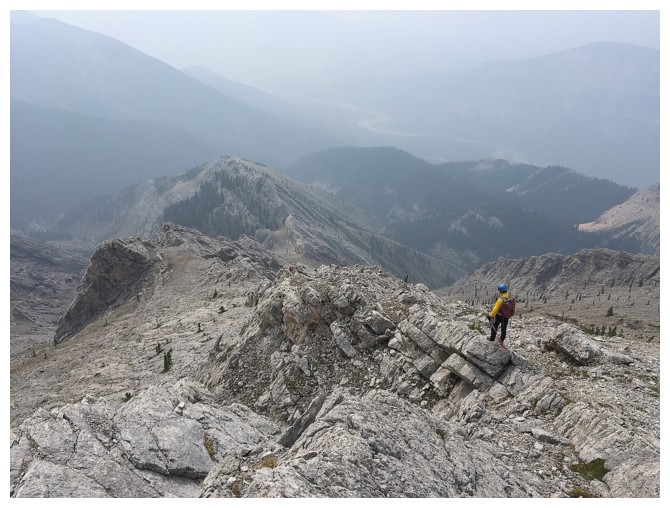
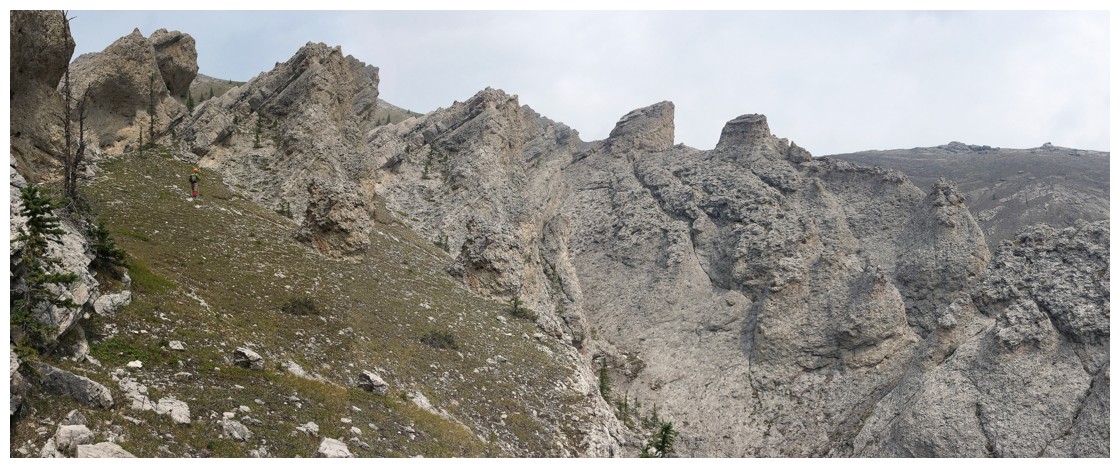
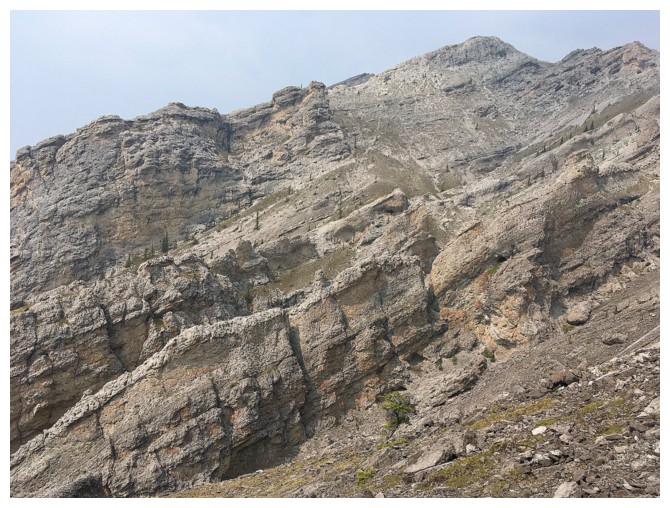
Near the ridge, there is lots of interesting rock to explore
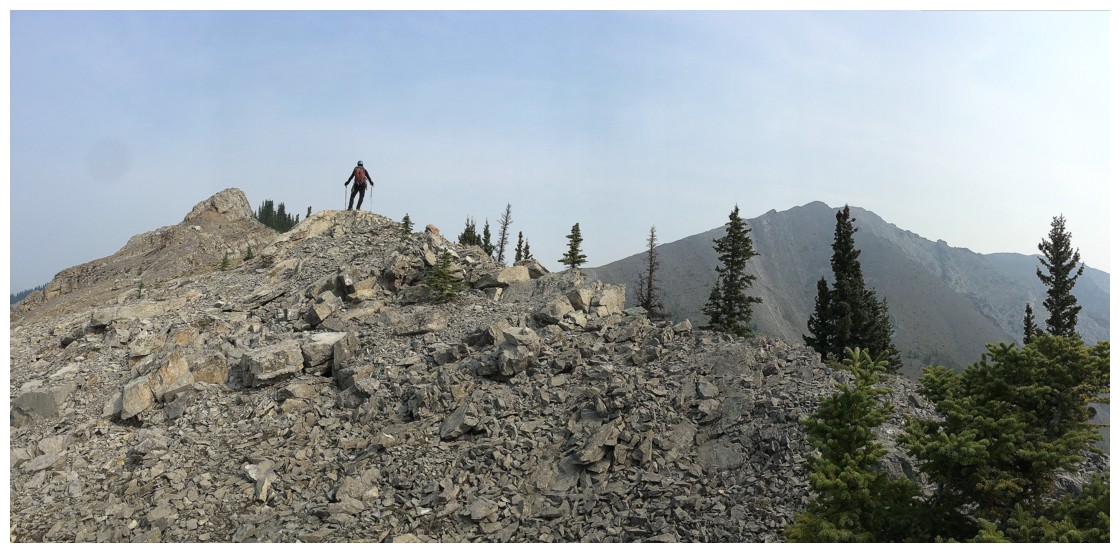
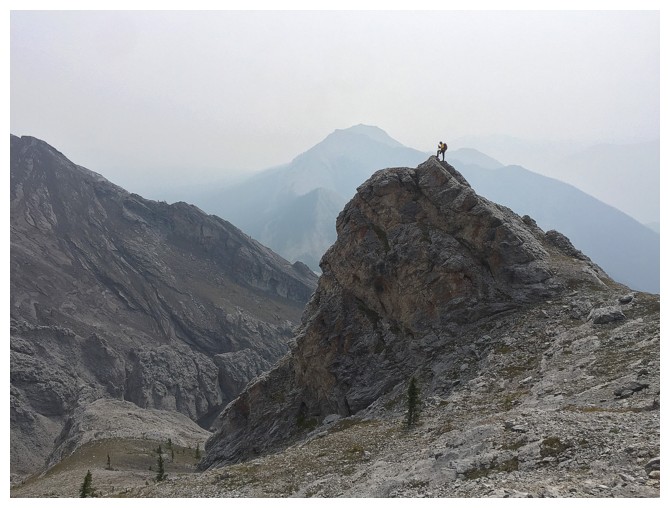
On the ridge, with the summit of Maze to the right
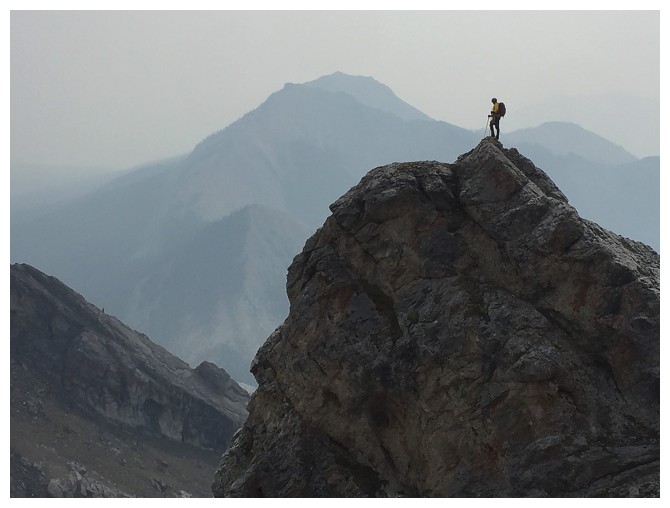
Getting closer
More opportunities to have some fun
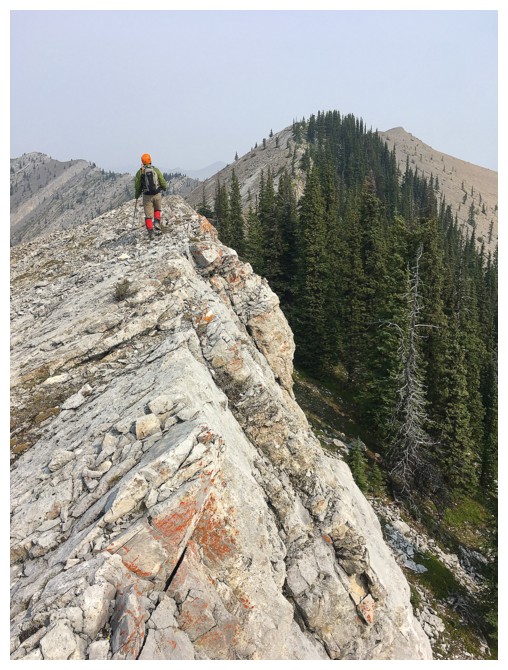
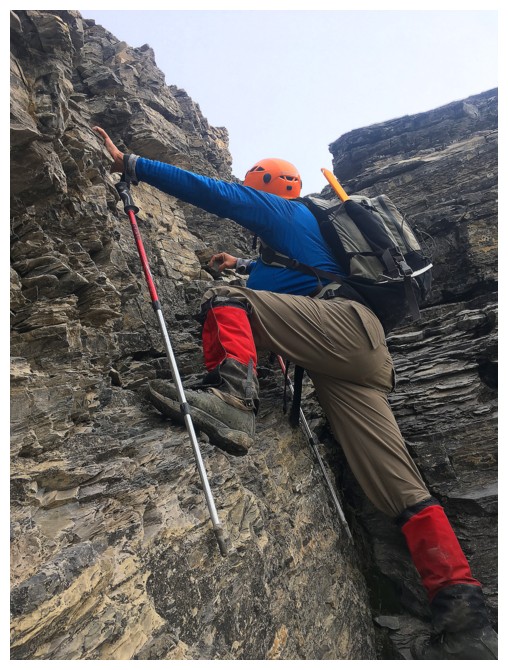
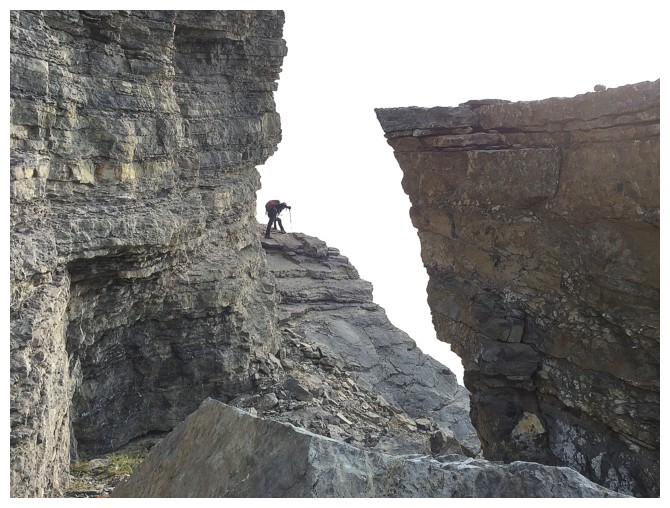
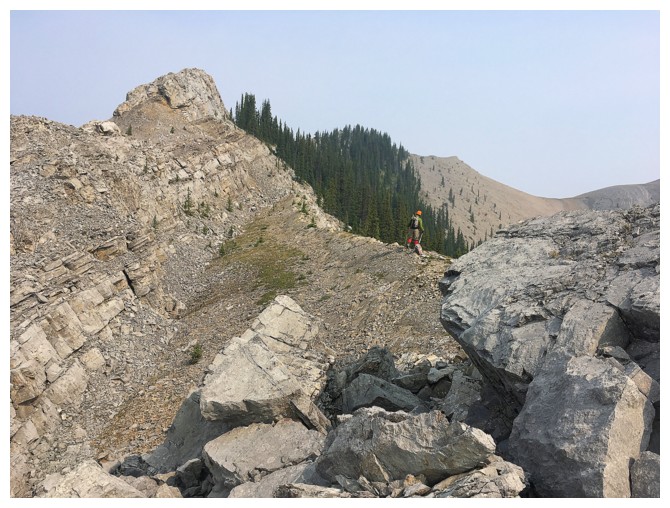
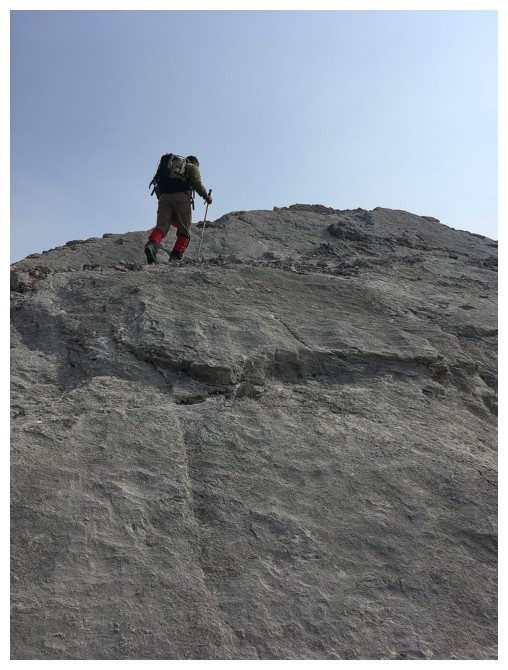
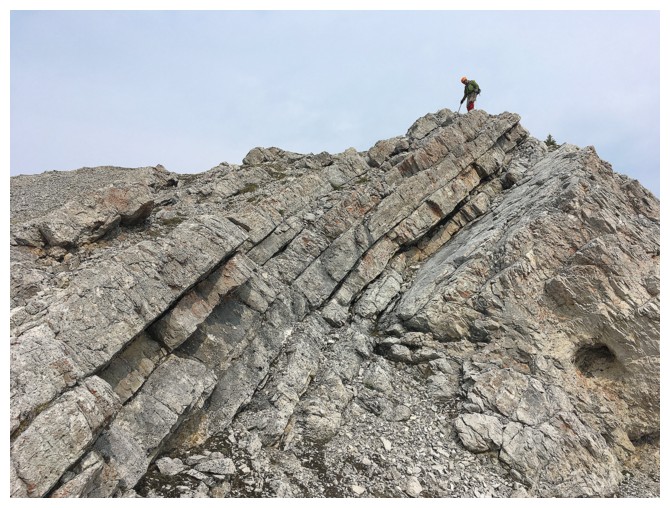
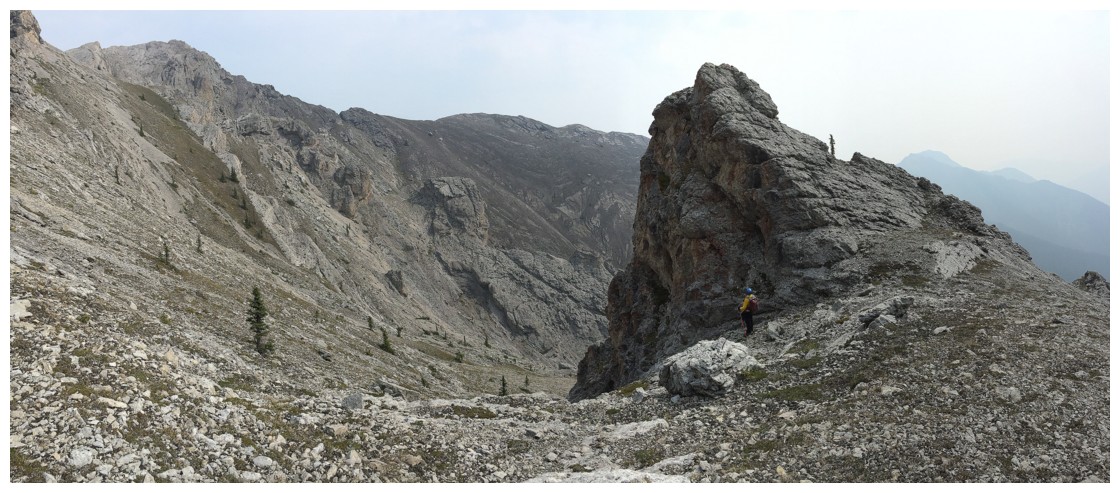
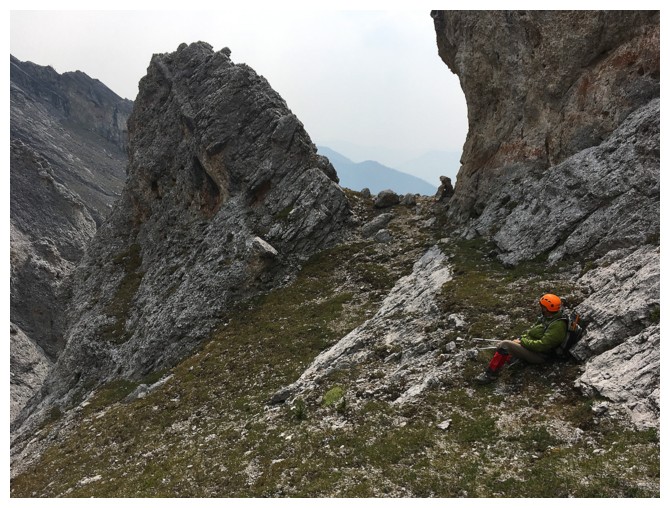
Traversing below the ridge so that we can....
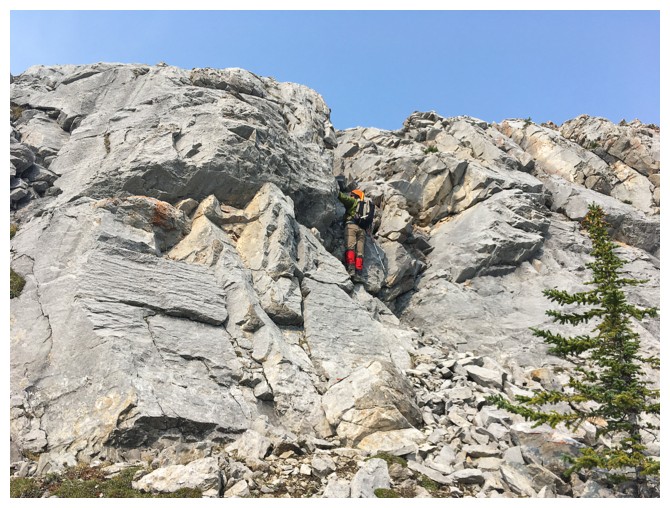
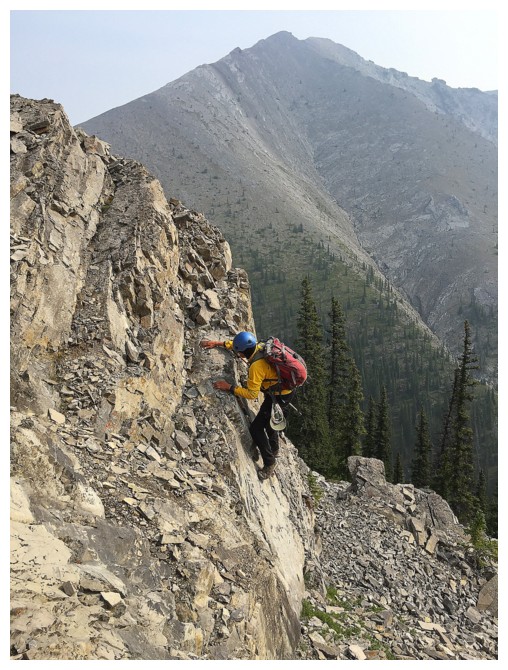
...climb back up to it. The rock here was very solid.
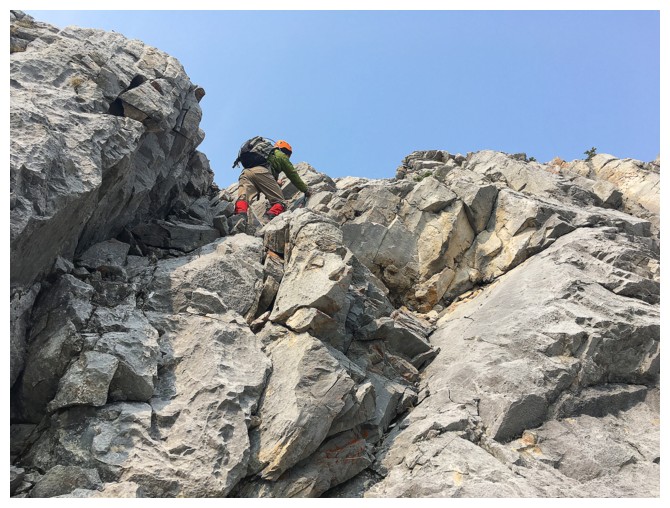
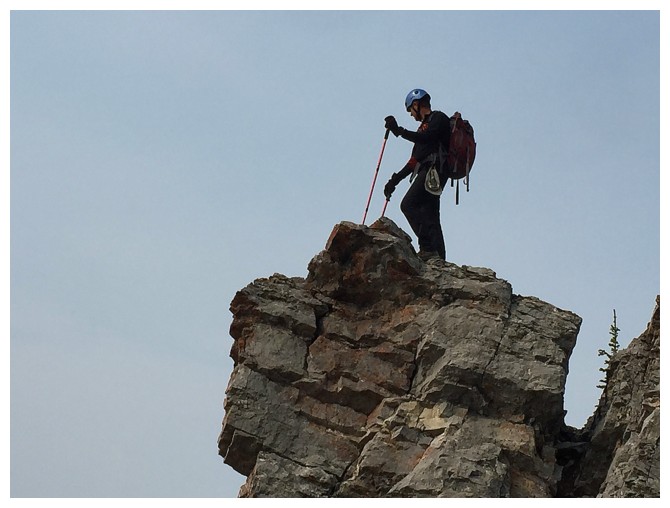
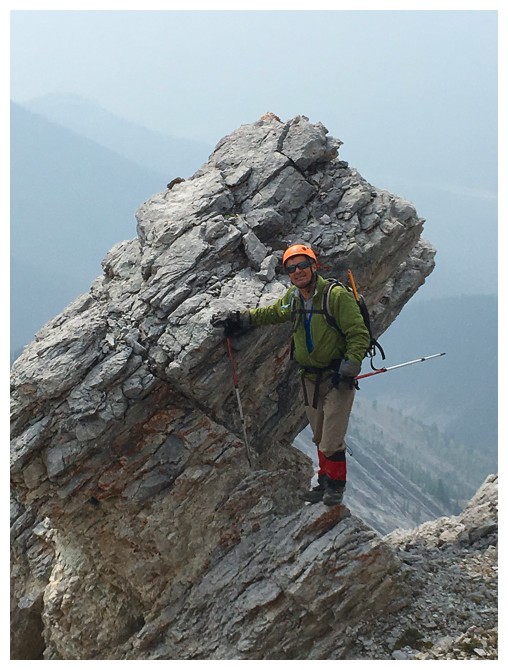
Mark finishes the short ascent
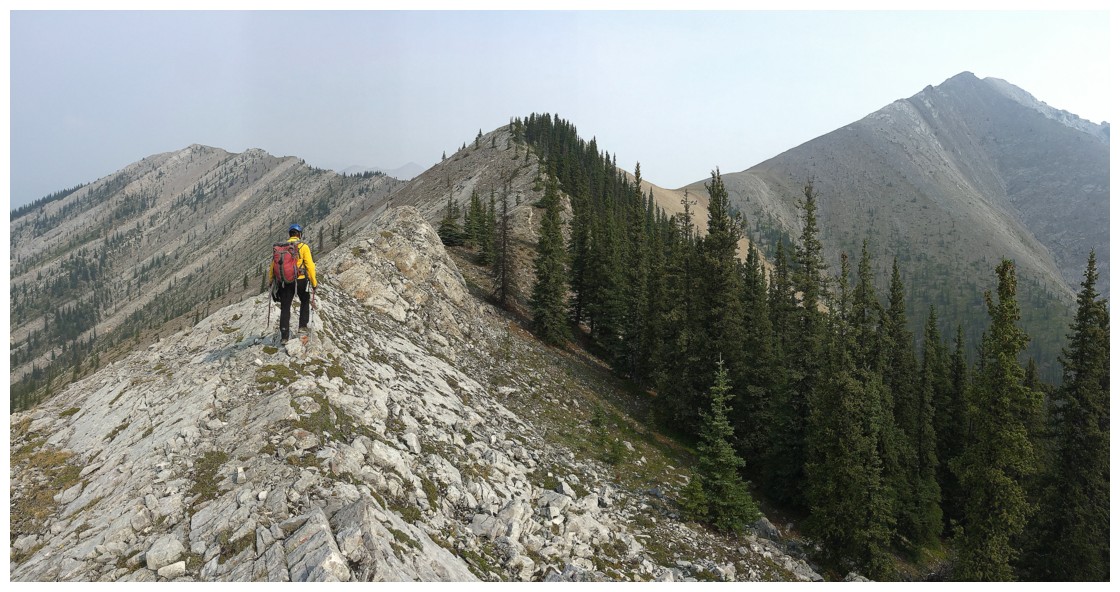
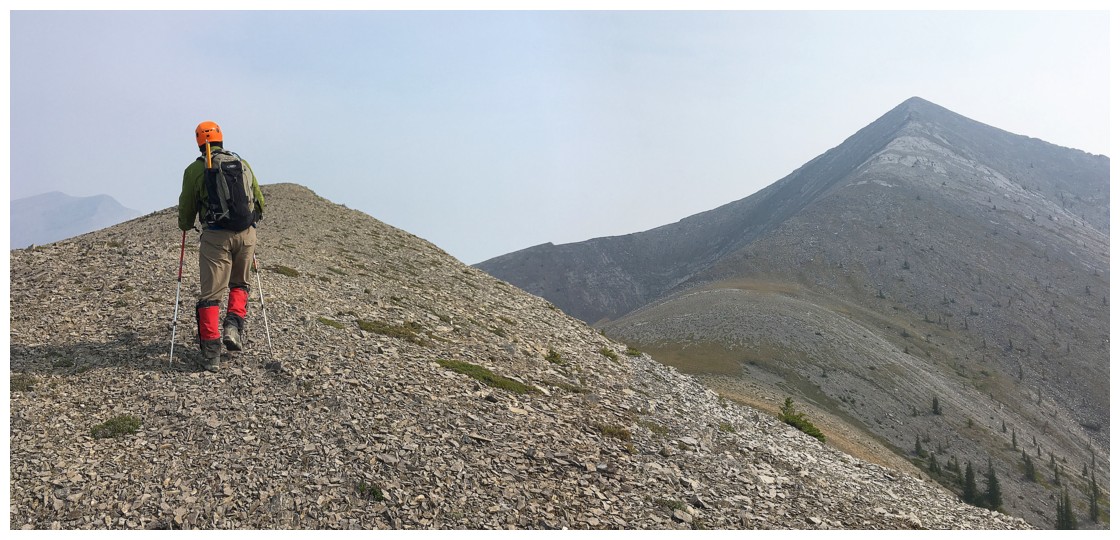
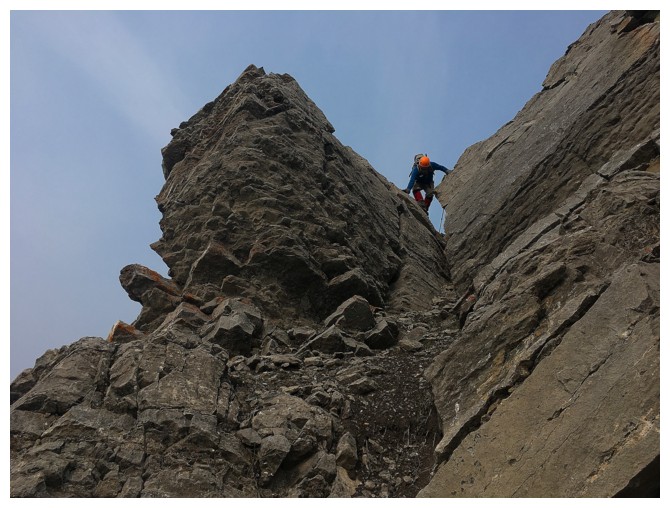
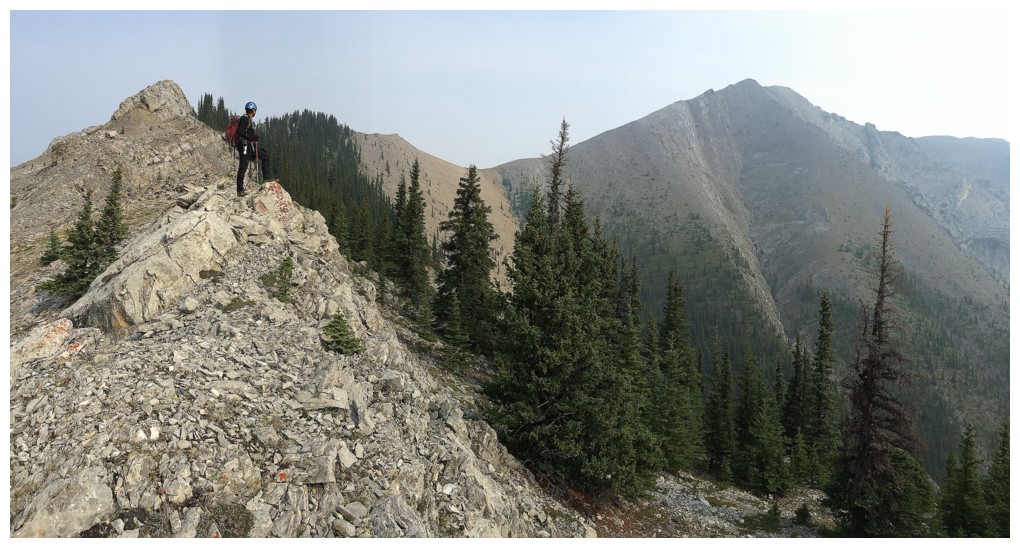
And then more highly enjoyable ridgewalking

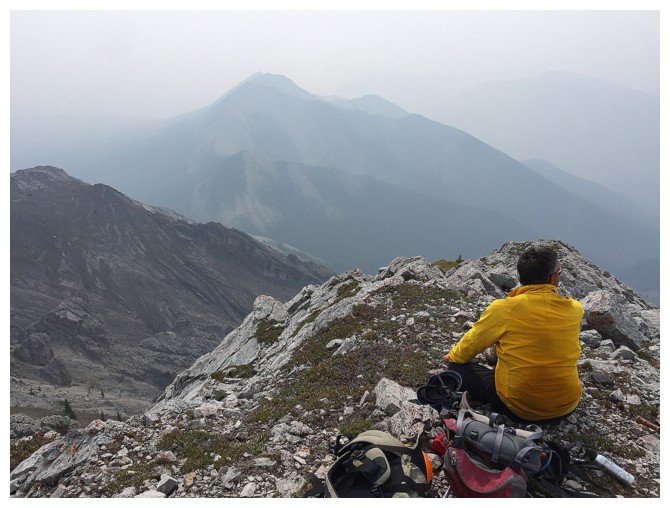
The smoke to the southwest was very thick
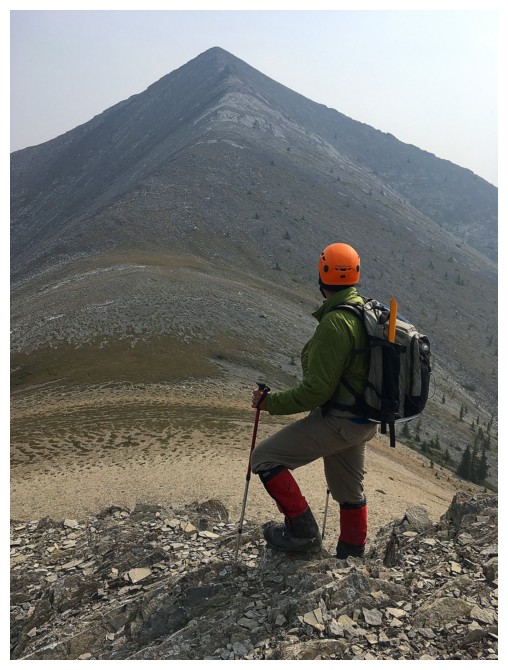
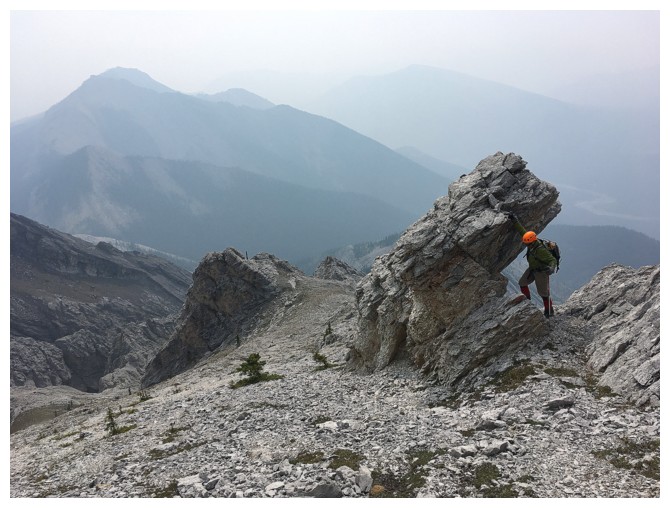
Mark inspects the final push to the summit
Some terrific slabs en route
And a small rock arch

And a little downclimbing
Crazy, hazy view from the summit!
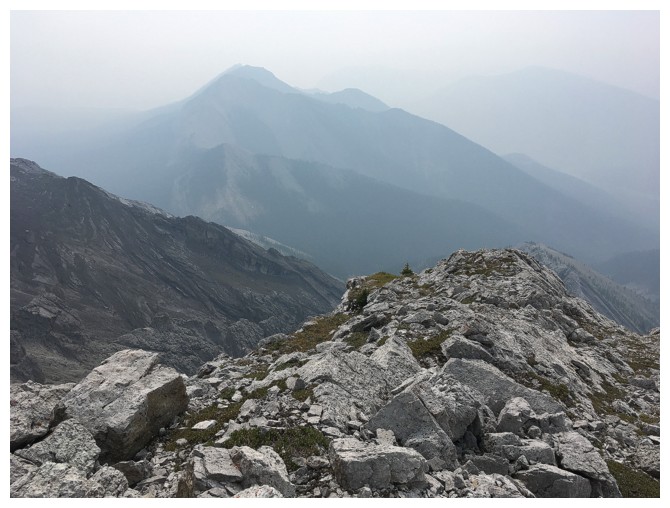
Eagle Peak is close by but highly obscured by the smoke
The view to the east wasn't any better
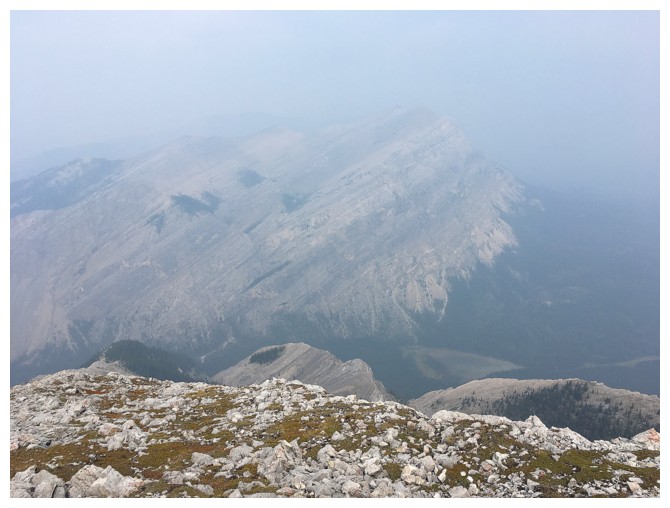
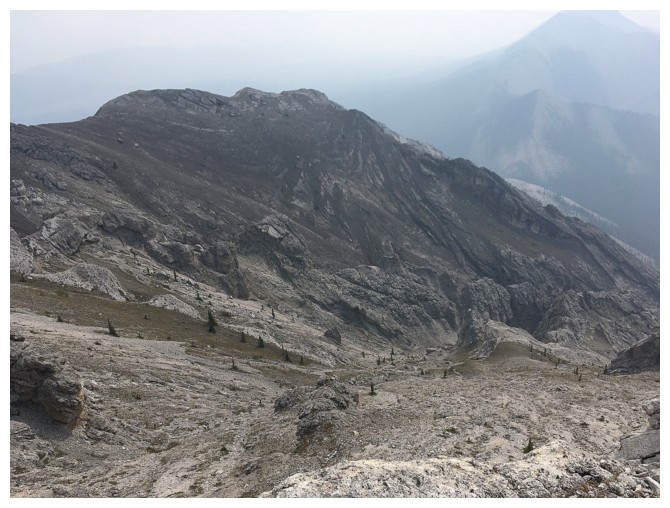
Wildhorse Ridge lies to the south and is an incredibly interesting mountain in its own right
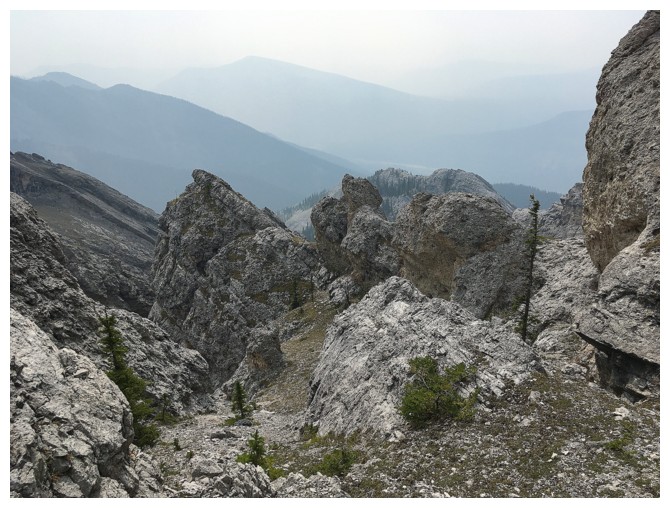
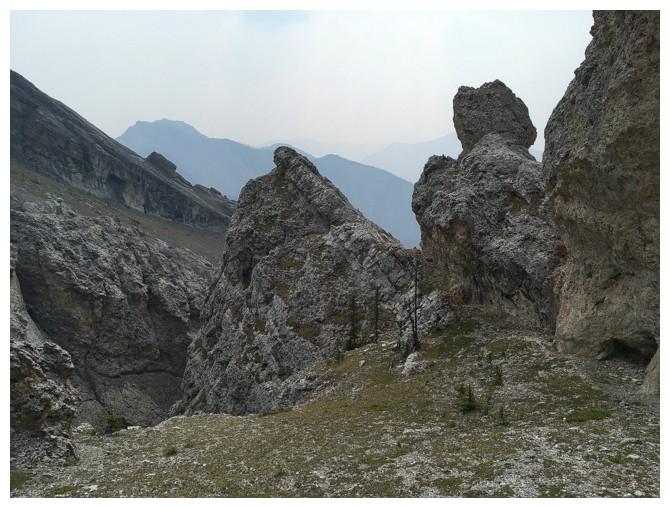
Heading down the south ridge. The Red Deer River is just visible.
Interesting rock
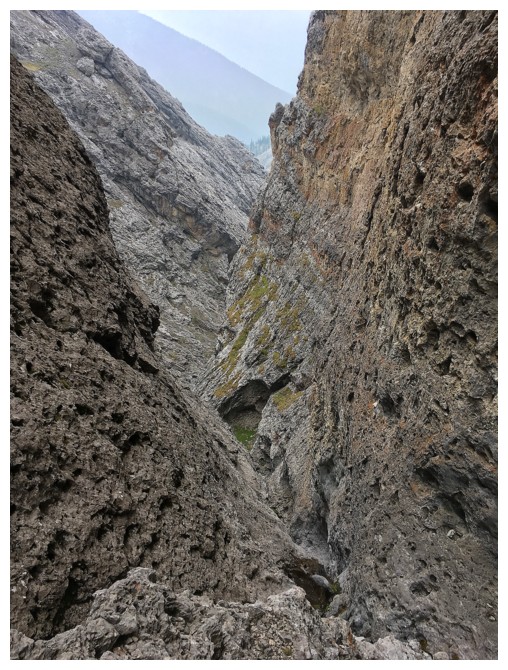
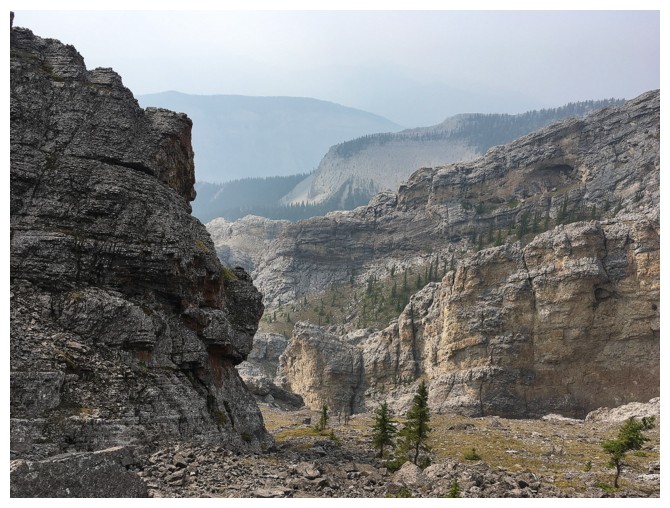
The complex south face. There are many gullies and several narrow canyons down there but none offer a way down.
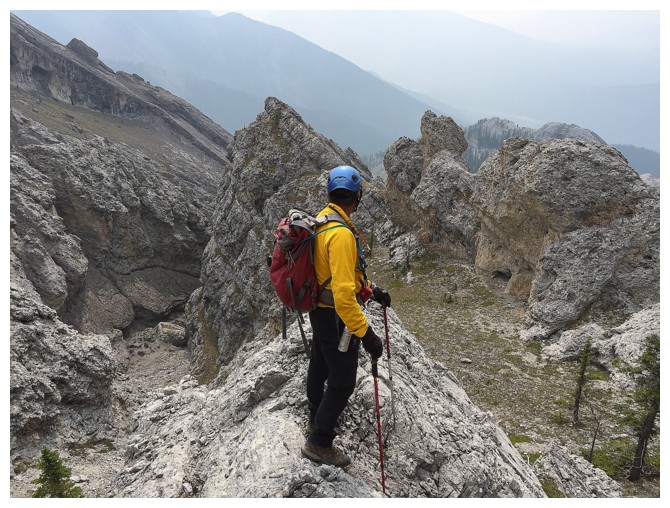
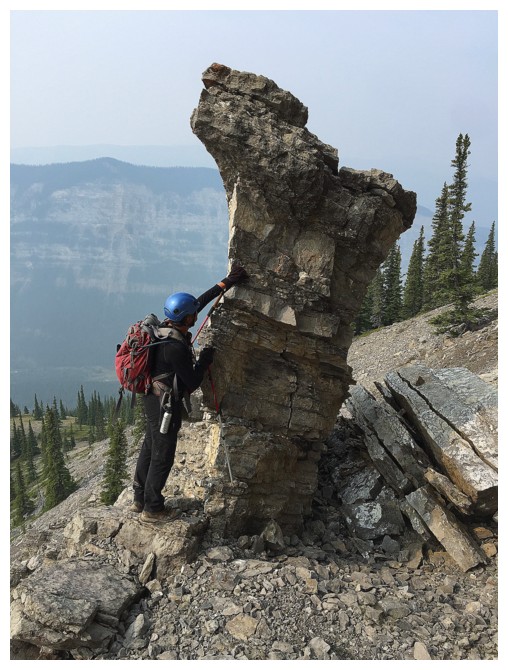
The south face is a smorgasbord of interesting rock formations, pinnacles and small caves
Descending into a wide gully that leads to a narrow canyon and a dead end!
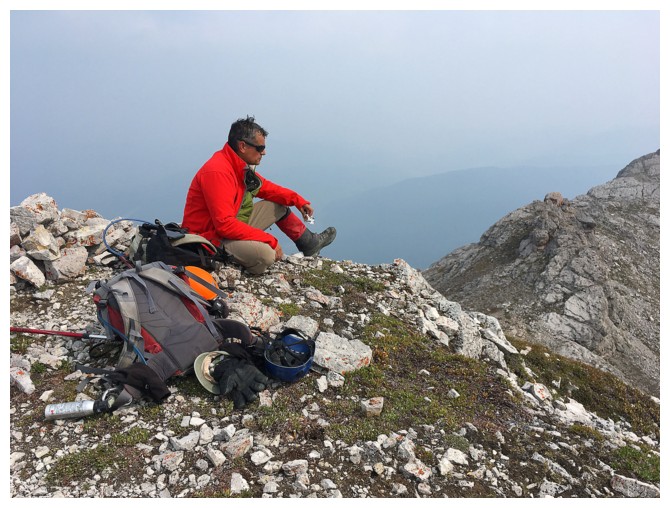
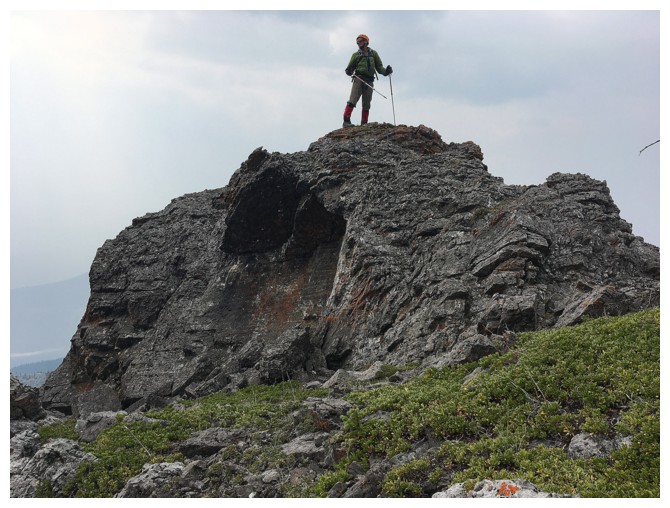
Mark admires the great scenery
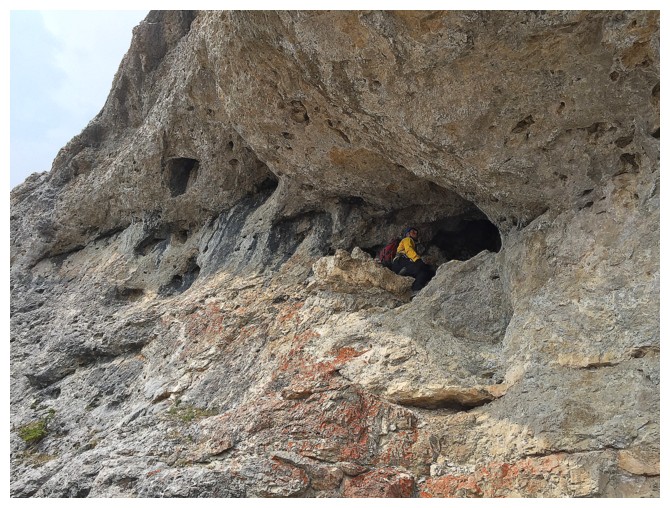
A small but deep cave
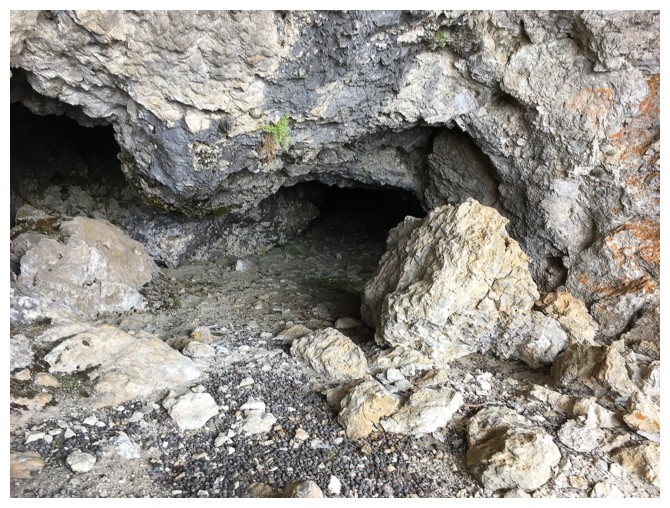
Looking into the cave
We couldn't get down here but found a route around and then into the canyon at the left
Re-ascending magnificent terrain to get into that canyon
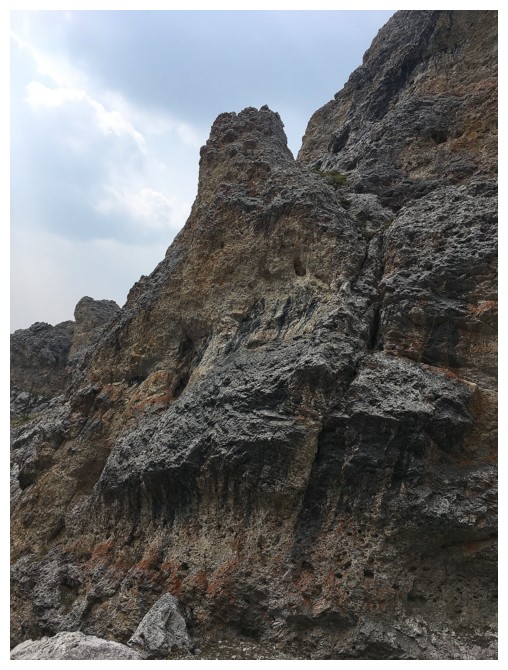
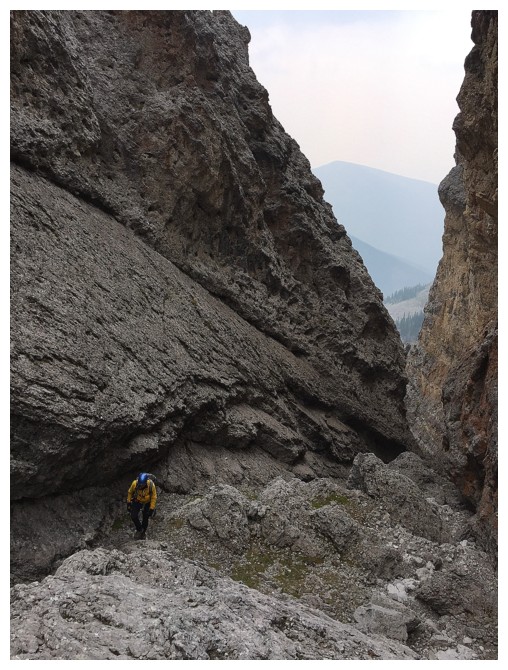
The drop-off in the canyon and retreat
After trying another canyon we retreated again and then made our way up
to the far south ridge (there are several south ridges on Maze)
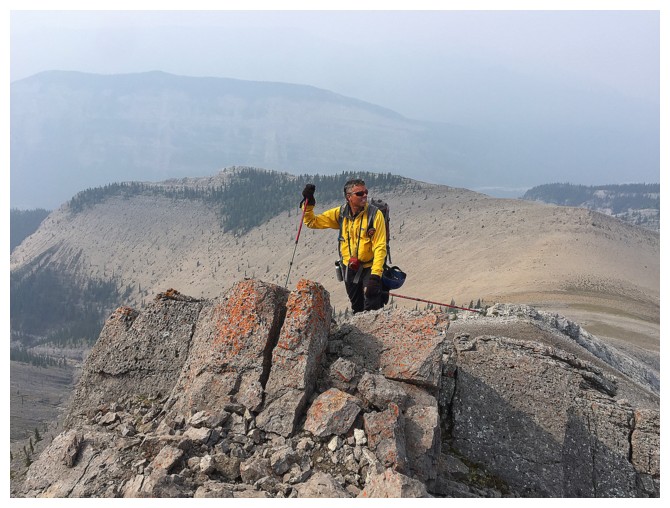
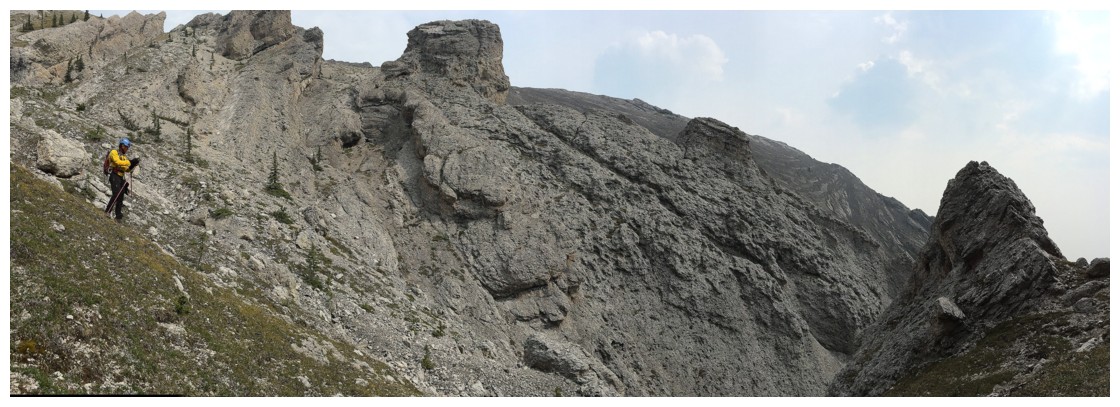
Looking back at the summit and we terrain we traversed
Mark leads us through this weakness up towards the ridge
On the south ridge
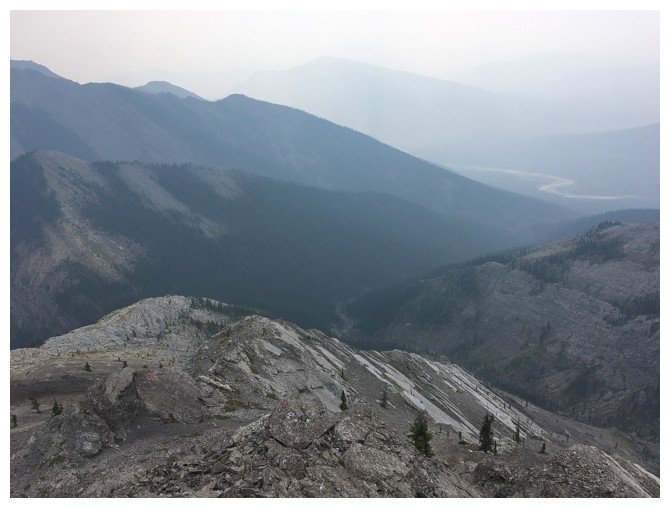
Looking down the ridge and the creek we were aiming for
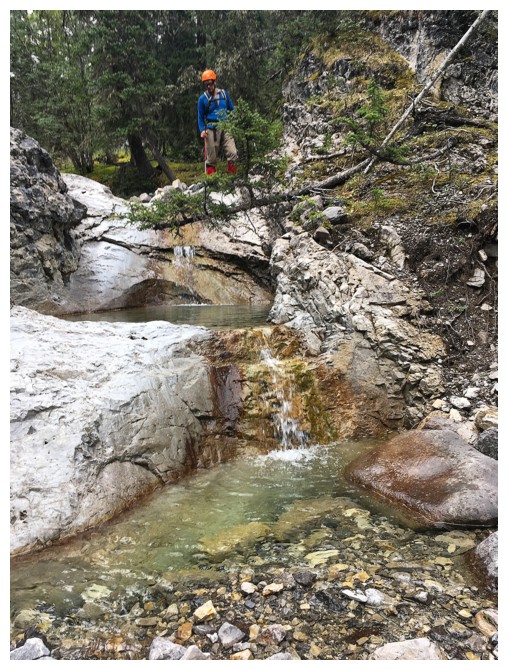
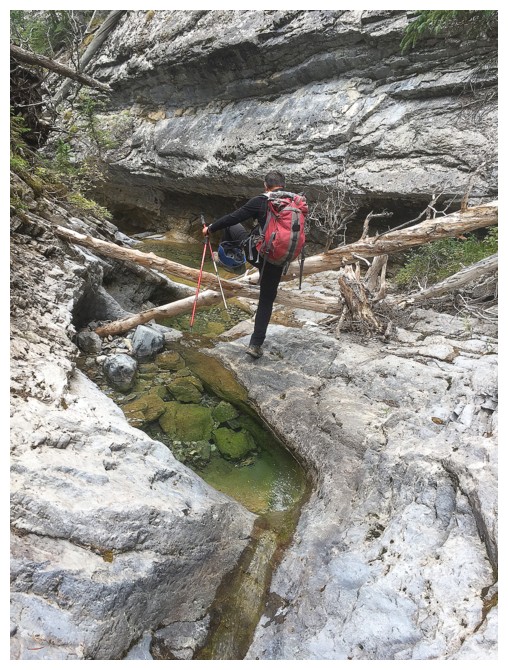
Beautiful terrain in the creek. Shortly after the last photo, we had to re-ascend to bypass another drop-off
The End