Mount Aberdeen
Haddo Peak
June 26, 2021
Mountain heights: 3152 m, 3070 m
Elevation gain:
1150 m
Ascent time: 6:30
Traverse time to
Haddo: 3:20 (return)
Descent time: 3:40
Scrambling and mountaineering with Mark.
Simply one of the best mountain experiences we’ve ever had
About a month after a failed attempt at this
classic duo, we were geared up and ready for another try. A very lengthy
discussion near Lake Louise preceded the attempt. We really wanted to try the
north glacier route, but on what looked to be a perfect weather, we REALLY
wanted to achieve the summit. The scramble route up was almost a guarantee; the
north glacier route not so much. In the end we decided that we could always
come back to try the far more challenging glacier route another day; the
prospect of reaching the summit with blue skies was far too big a carrot to
resist!!
 Needless to say, the snow-less approach was
infinitely easier than our May attempt, with the added bonus that we didn’t
have to walk the first 2.4 km of the Moraine Lake Road. Thankfully, the Matt’s
trip reports prepared us for the 1 km bushwhack and in no time we were in the
ascent gully and ready for a long but scenic ascent to the top.
Needless to say, the snow-less approach was
infinitely easier than our May attempt, with the added bonus that we didn’t
have to walk the first 2.4 km of the Moraine Lake Road. Thankfully, the Matt’s
trip reports prepared us for the 1 km bushwhack and in no time we were in the
ascent gully and ready for a long but scenic ascent to the top.
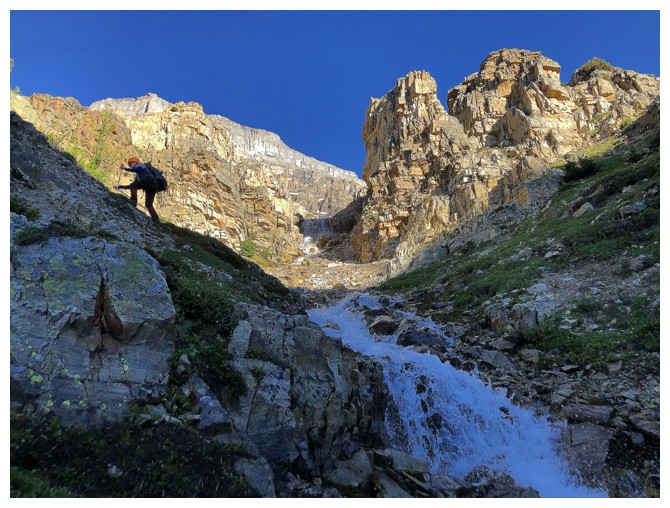
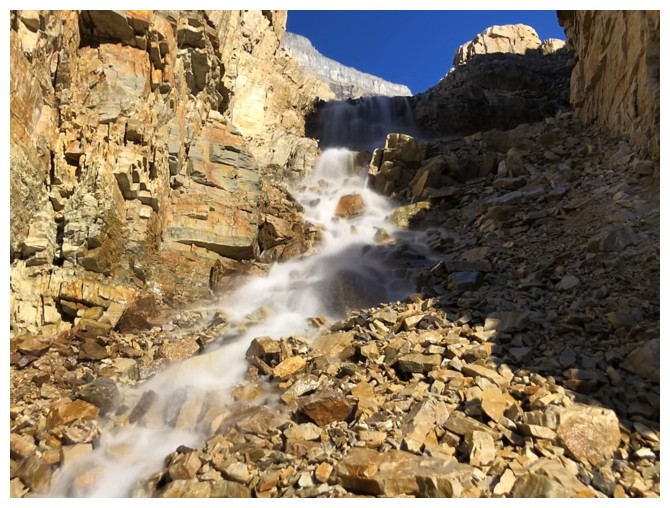
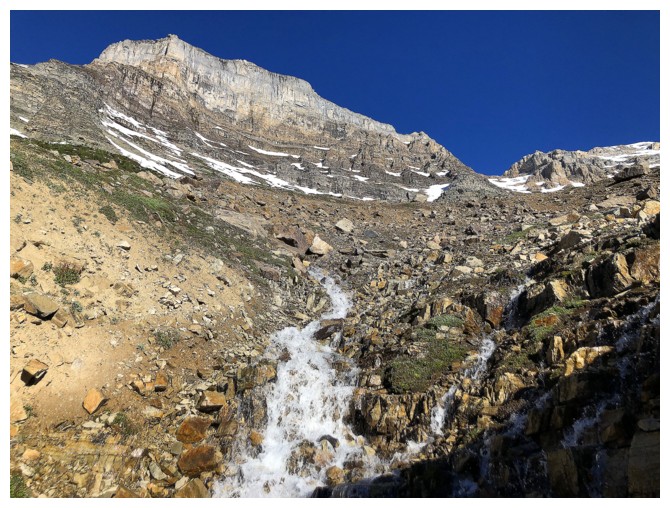
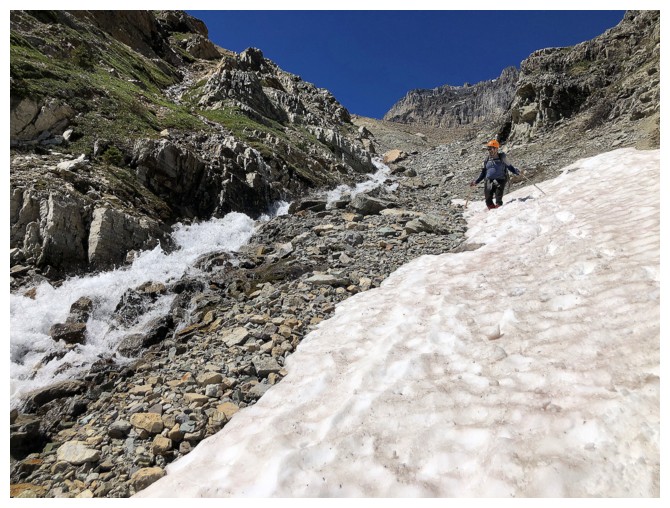
Every section of the gully ascent was
stupendous! First, a snow-free section alongside a raging stream of meltwater,
with stunning rock on either side (a few side-trips were definitely required
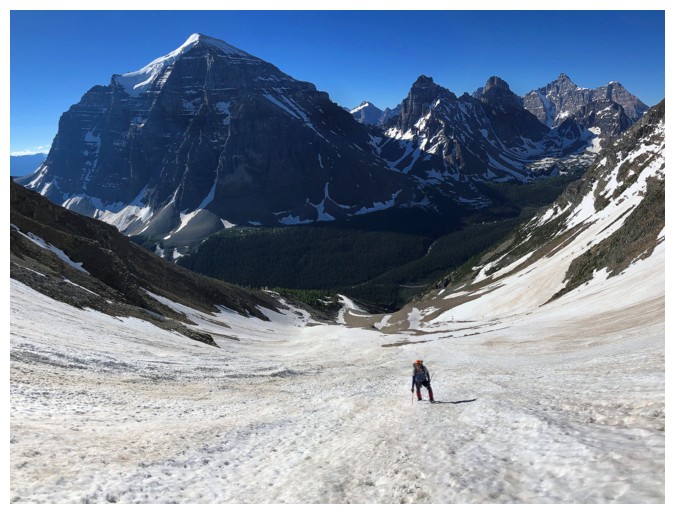
here to check it all out); the next and longest section, a straightforward snow
ascent, featuring exponentially improving views of the mountains of The Valley
of the Ten Peaks (and of course Mount Temple).
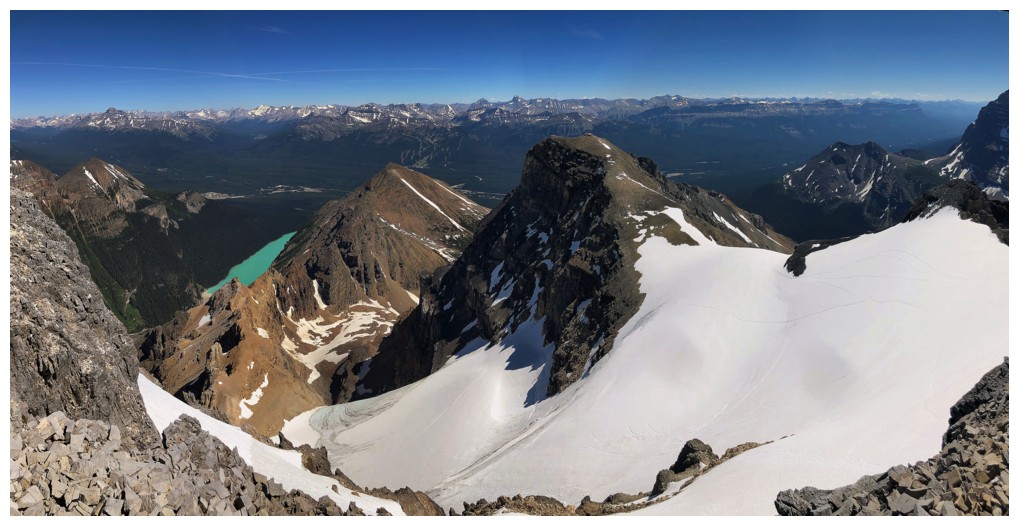
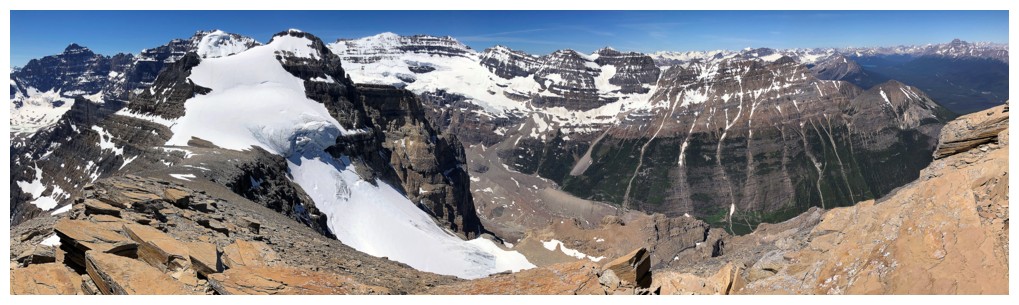
 Of course, we knew that a great view of the
Lake Louise area awaited at the top of gully. “Great” would be a serious
understatement – it was (as foreshadowed) stupendous - striking, glaciated
peaks everywhere! We took an extended break here to enjoy the spectacle and
then trudged up steep rubble to the summit for another miraculous view.
Of course, we knew that a great view of the
Lake Louise area awaited at the top of gully. “Great” would be a serious
understatement – it was (as foreshadowed) stupendous - striking, glaciated
peaks everywhere! We took an extended break here to enjoy the spectacle and
then trudged up steep rubble to the summit for another miraculous view.
As Alan Kane points out in his 3rd
edition of Scrambles in the Canadian Rockies, losing lots of elevation and then
gaining a little to the summit of lowly Haddo Peak is somewhat illogical and
almost a non-event. However, we were riding high from the ascent, enjoying perfect
weather, and it was probably now or never for Haddo. Let’s go!
This part of the trip was fantastic! Since
we had a rope for potential glacier travel, we roped up here and set off for
the lower summit. Getting down a rock band to the glacier looked to present a
challenge, but big holds and steps made easy work of it. We then followed some
old tracks towards Haddo, but decided to take a minor detour along the way to
check out Aberdeen’s north glacier. Even in its depleted state the parts of the
glacier we could see were awe-inspiring and reignited a desire to try the
glacier route sometime in the future – not too far in the future however, as
that glacier is definitely in full recession mode!
After taking a long break here, we continued
easily to the summit of Haddo and another wonderful panorama. Of course,
Aberdeen blocked some of the view, but the vista was stunning, nonetheless.
Besides the aforementioned motivations to
descend/ascend Haddo, we also wanted to see if we could find a shortcut down
Haddo, via the (almost) ascent route we had used a month earlier. Hopefully, without
snow an easy way down would reveal itself. Unfortunately, it didn’t. We could
see the highpoint we reached in May, but from above all routes down to that
point looked very steep and very sketchy at best. Neither Mark nor I were
terribly disappointed by this; returning to Aberdeen, on what continued to be a
perfect weather day, was not an unpleasant prospect in the least!
 It also turned out to be quite serendipitous,
as, to our surprise, we suddenly spotted three figures descending Aberdeen
towards us. We stopped for a brief chat with the group, one of whom appeared to
be incredibly young. As the brief chat became less brief, one of the climbers asked
if my name was Andrew Nugara and of course I said yes. He then identified
himself as Grant Myers, a fellow school teacher and scrambler, with whom I had
been in contact with for many years, but never met. Some of Grant’s epically
long and Herculean trips are the stuff of legends for me – his single day
ascent of Castle Mountain, Helena Ridge, Stuart Knob, Television Peak, and
Mount Pulsatilla, a shining example.
It also turned out to be quite serendipitous,
as, to our surprise, we suddenly spotted three figures descending Aberdeen
towards us. We stopped for a brief chat with the group, one of whom appeared to
be incredibly young. As the brief chat became less brief, one of the climbers asked
if my name was Andrew Nugara and of course I said yes. He then identified
himself as Grant Myers, a fellow school teacher and scrambler, with whom I had
been in contact with for many years, but never met. Some of Grant’s epically
long and Herculean trips are the stuff of legends for me – his single day
ascent of Castle Mountain, Helena Ridge, Stuart Knob, Television Peak, and
Mount Pulsatilla, a shining example.
 I was delighted to meet Grant face and face
and even more amazed to find out his young-looking climbing partner was his
11-year-old son, Etienne. 11 years old and about to complete ascents of Mount
Aberdeen and Haddo Peak – now that’s impressive!! Paul Hochhausen, an accomplished mountaineer, completed the trio.
I was delighted to meet Grant face and face
and even more amazed to find out his young-looking climbing partner was his
11-year-old son, Etienne. 11 years old and about to complete ascents of Mount
Aberdeen and Haddo Peak – now that’s impressive!! Paul Hochhausen, an accomplished mountaineer, completed the trio.
Resuming
travel, after the excellent encounter
with Grant, Etienne, and Paul, we returned to the summit of Aberdeen,
took another
quick array of photos, and then started down the potentially long
return route.
Had it not been for the remaining snow, the descent would have been
much
longer. Fortunately, the snow was in perfect conditionfor glissading.
Sliding down approximately 500 vertical metres of terrain was an
absolute blast, taking mere minutes! The remainder of the gully
descent, though
considerably slower, rewarded us with more stunning views of Temple and
company
and could not have been more gratifying.
Needless to say, the hike out via Paradise
Creek went on for much longer than we would have liked, but we were pretty darn
pleased with ourselves at this point and even the long, gradual uphill section
couldn’t dampen our spirits.
What a day! Perfect everything: the weather,
the scenery, the views, the chance meeting with Grant, Etienne, and Paul, and the
exhilarating glissade. Definitely a trip that makes it into the Top 20 to date and
one that will stick with us for a very long time.
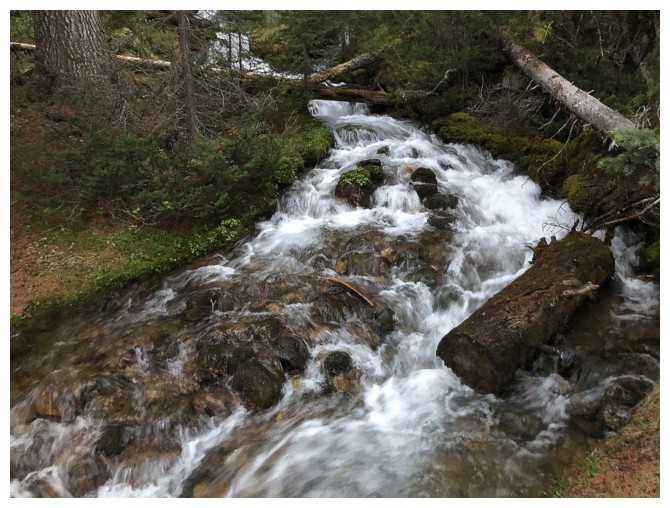
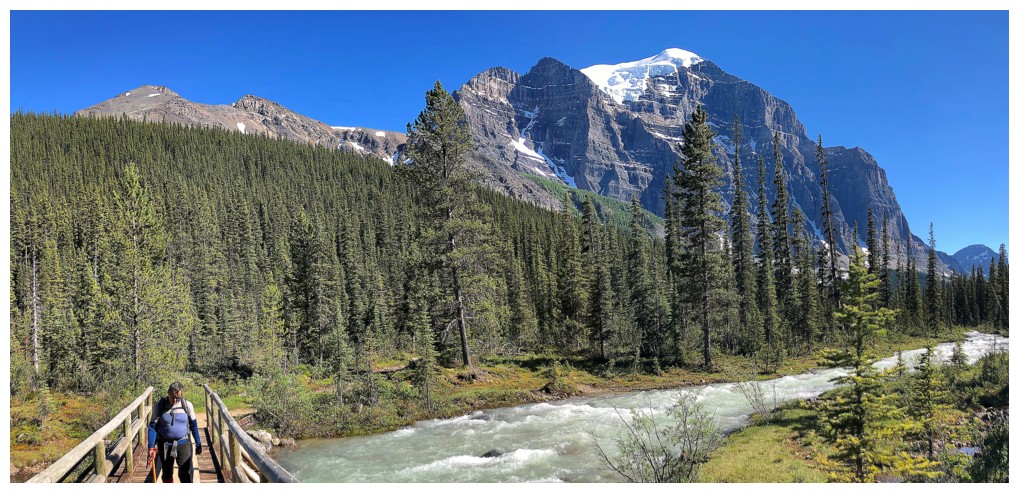
A little water scenery along the sometimes "not so exciting" Paradise Creek trail, to whet our appetites for what's to come
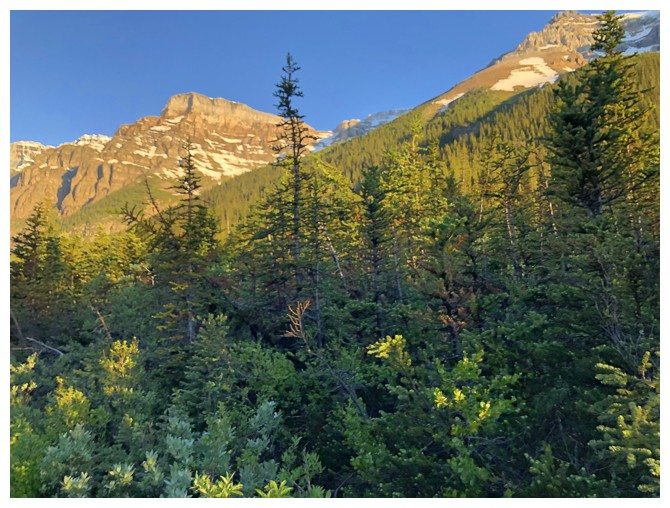
A little bushy terrain again to whet our appetites!
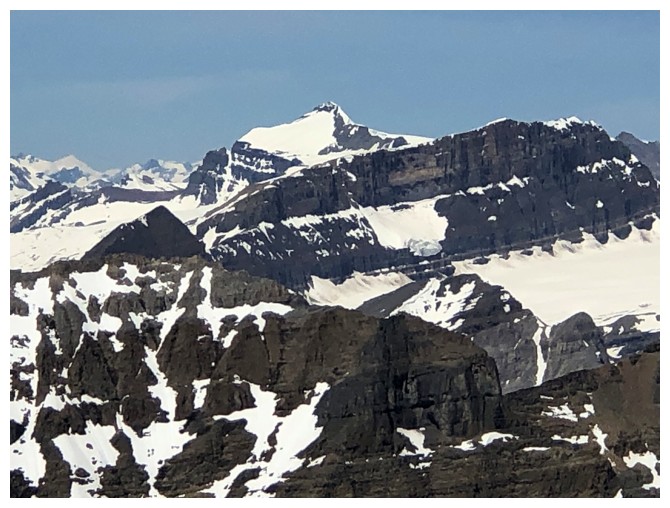
The beautiful and complex northwest side of Mount Temple
First look at massive Mount Hungabee
Part of the 1 km bushwhack
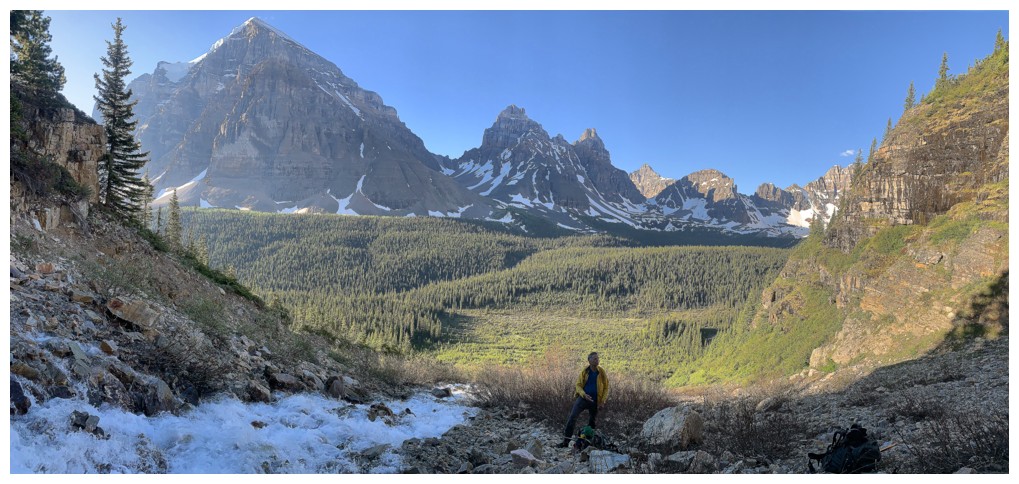
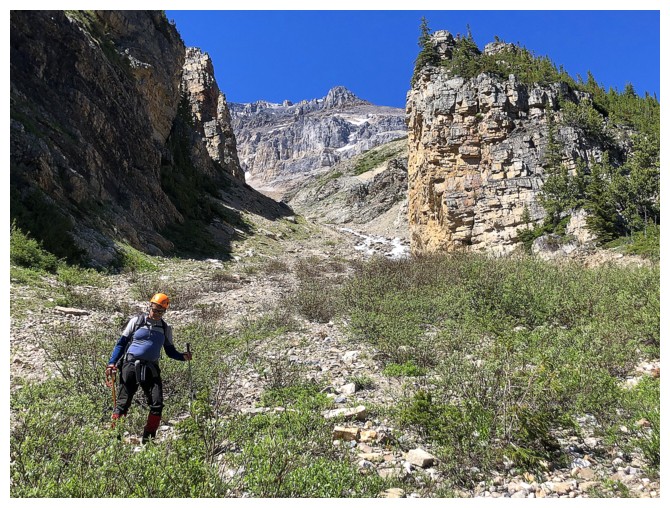
Out of the bush and ready to hit the main ascent gully at the right
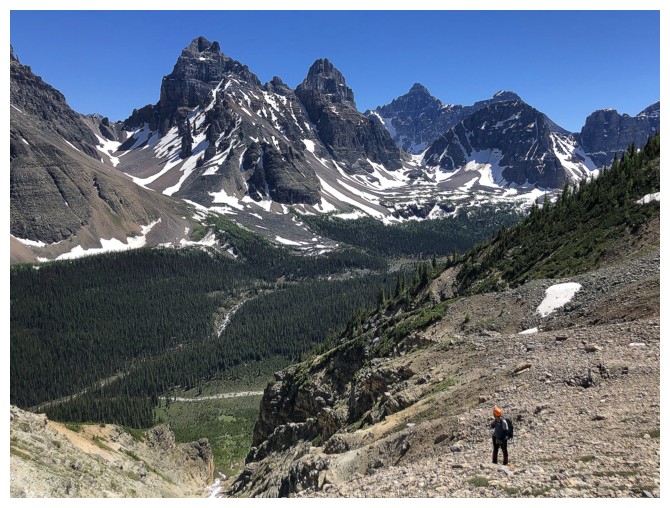
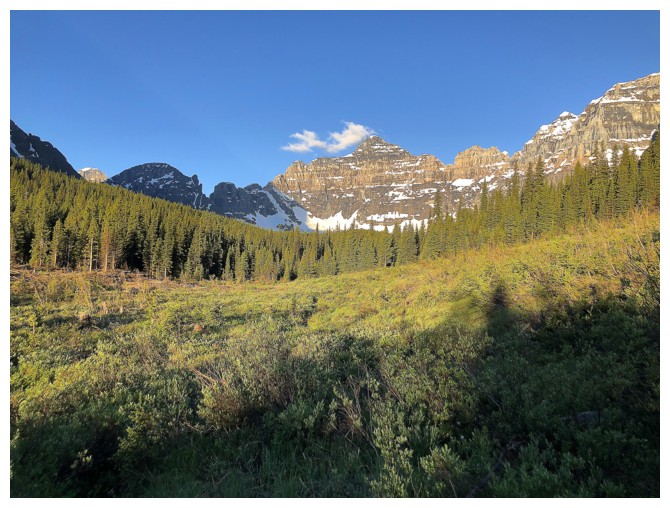
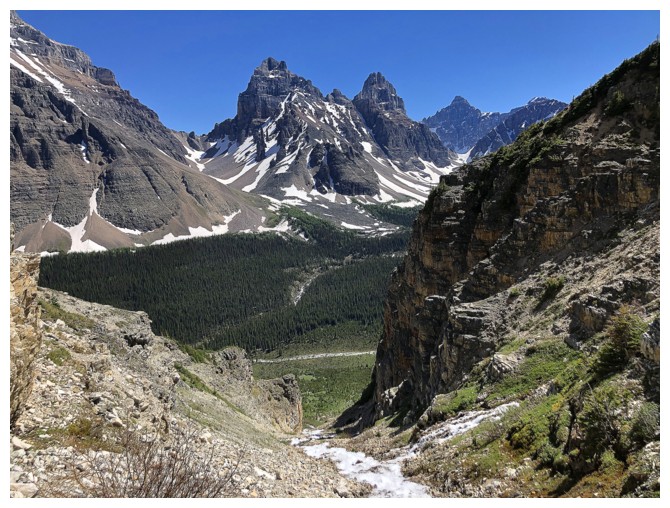
One of the terrific views that gets better and better during the ascent
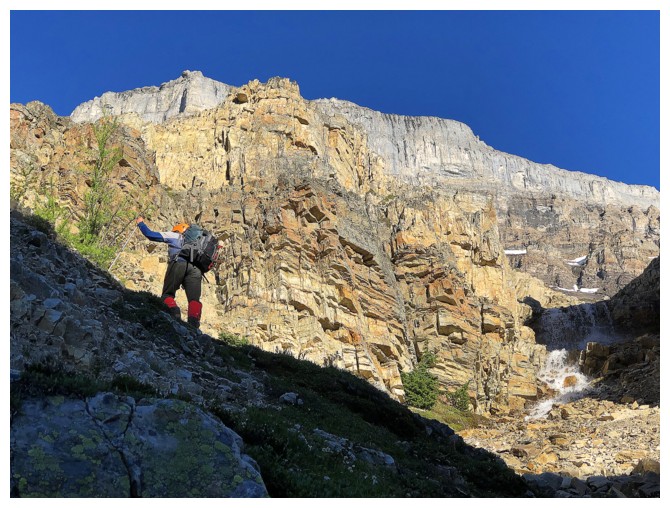
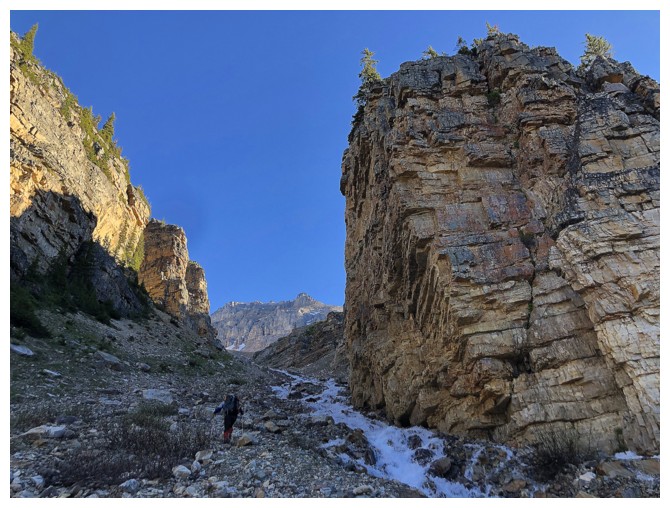
In the main gully
Colourful rock, but not looking so without the Sun shining on it
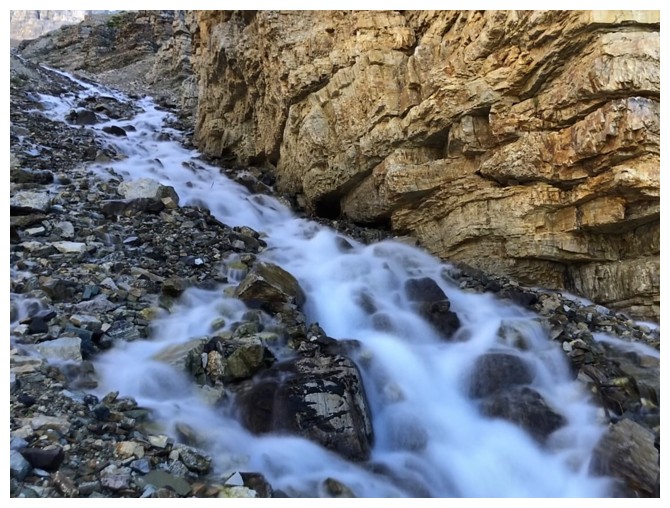
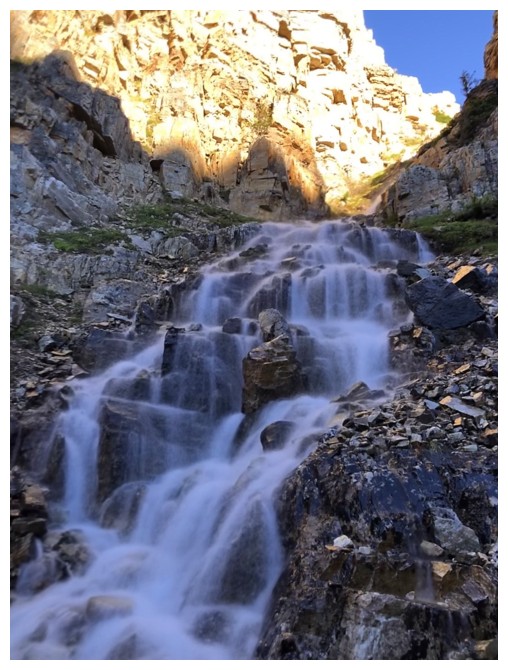
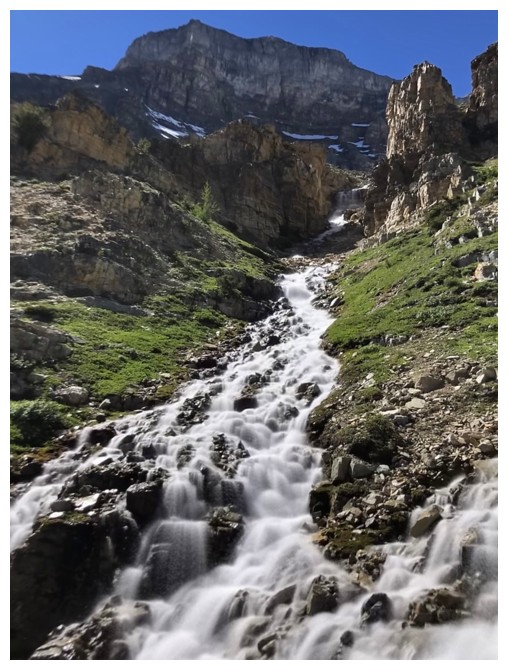
The main meltwater stream pouring down the gully
"Here Comes the Sun"
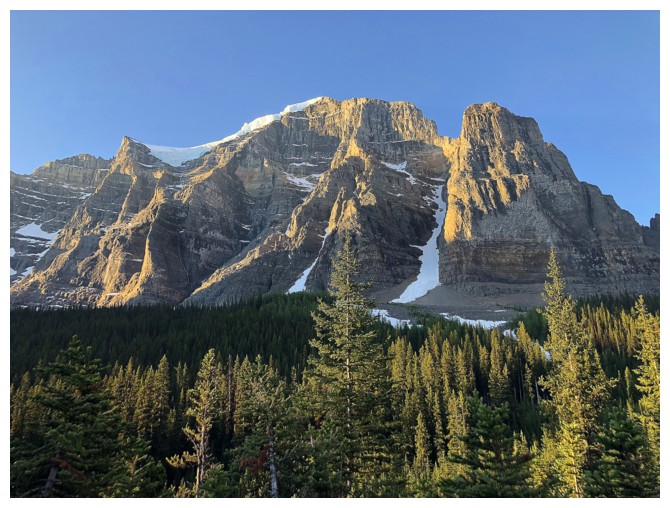
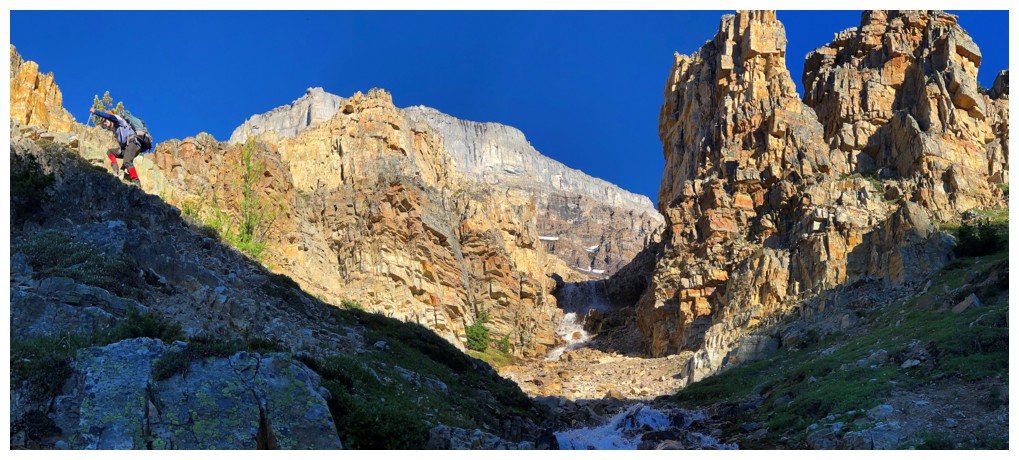
The quartzite rock in the Lake Louise/Moraine Lake area is spectacular!
The main gully is at the right, but we went left here
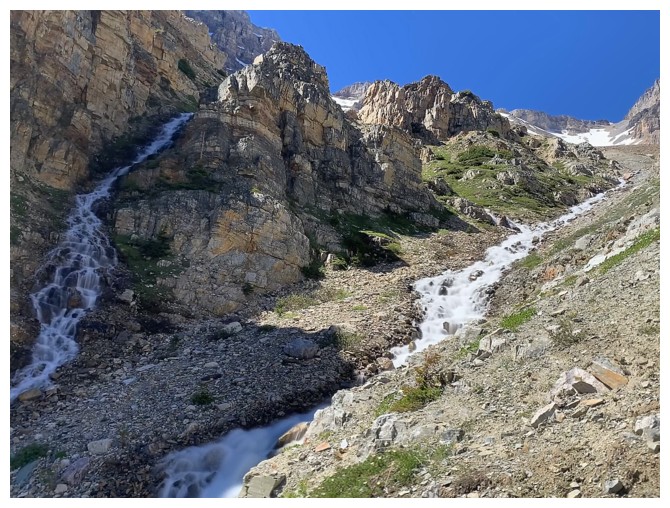
One of the subsidiary meltwater streams
Took a detour here is see this stream and the surrounding rock
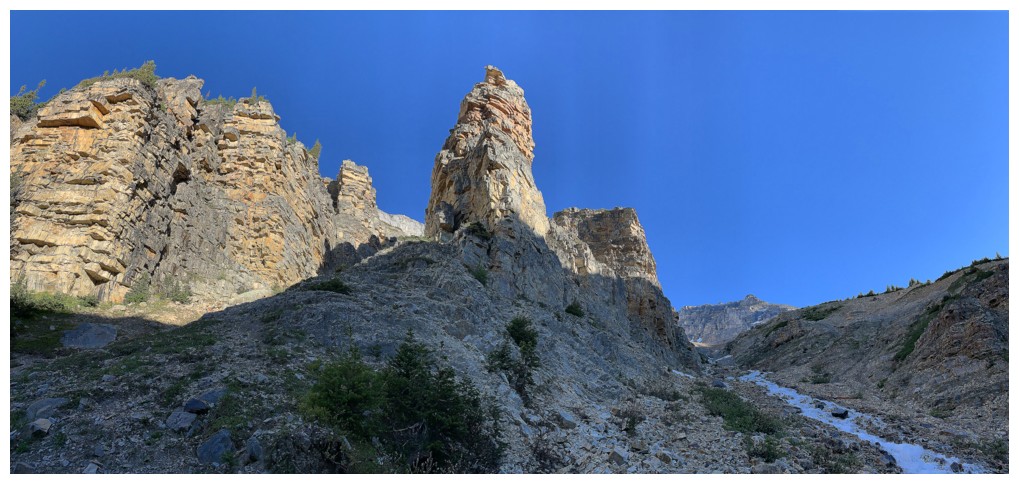
Waiting for the Sun to catch this super interesting area
This scene instantly became one of my favourite in all of the Rockies
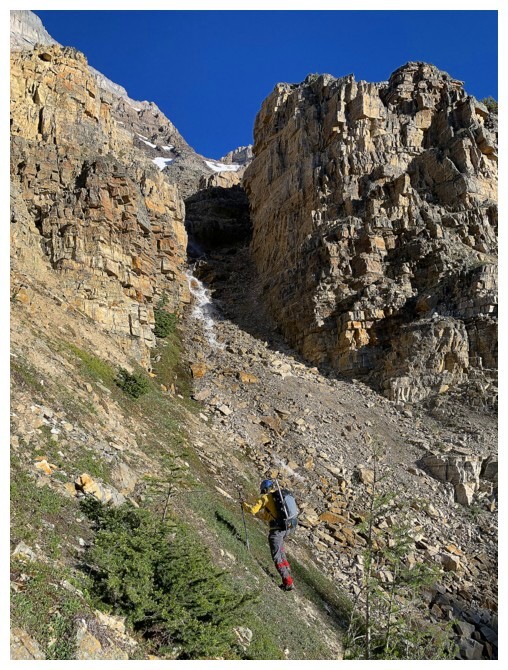
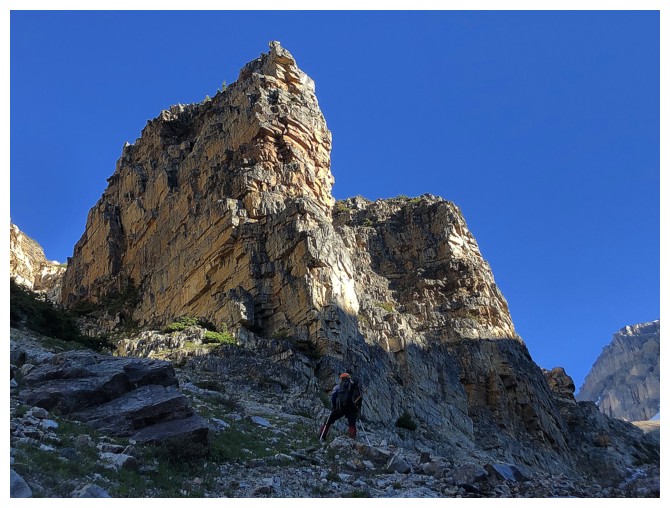
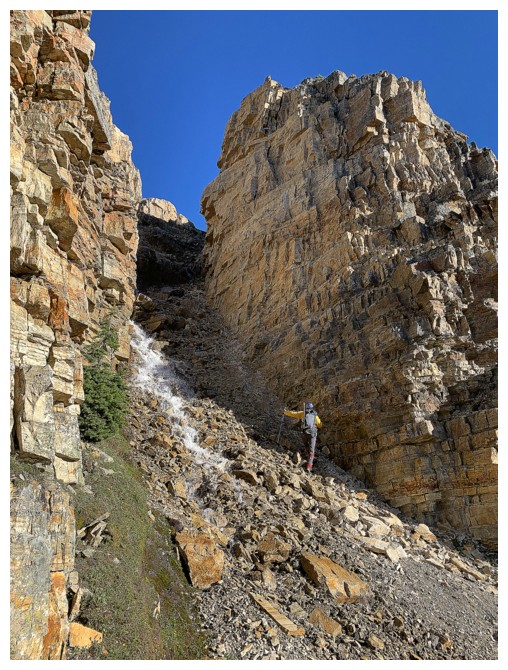
Aiming for the steep gully between the rock faces
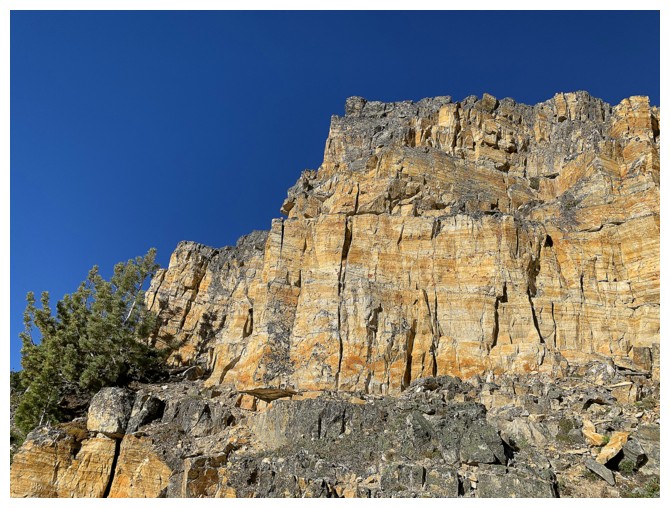
Quartzite
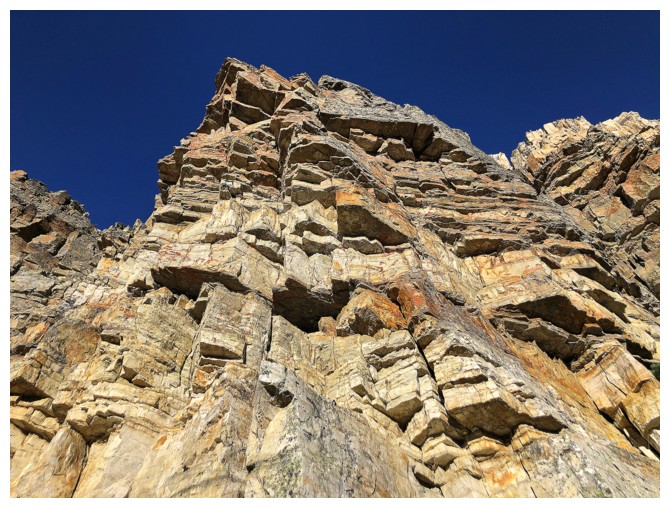
and more quartzite
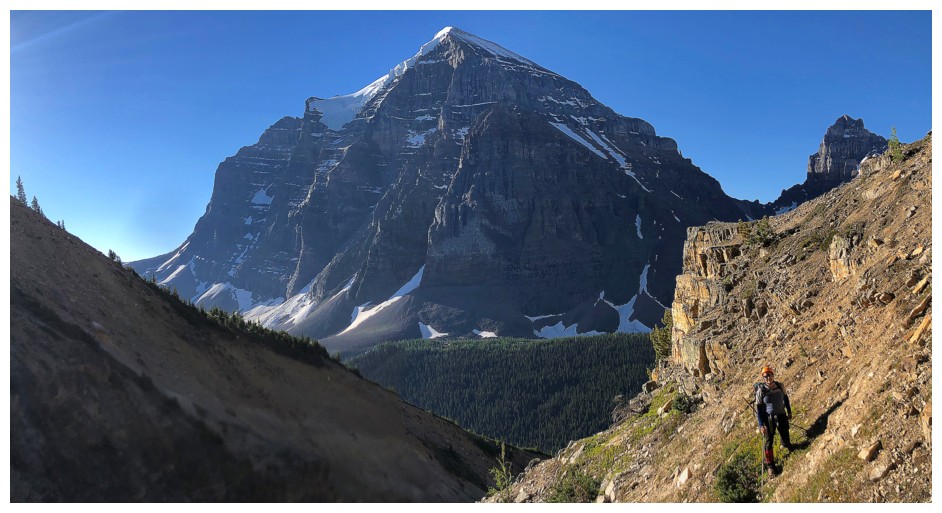
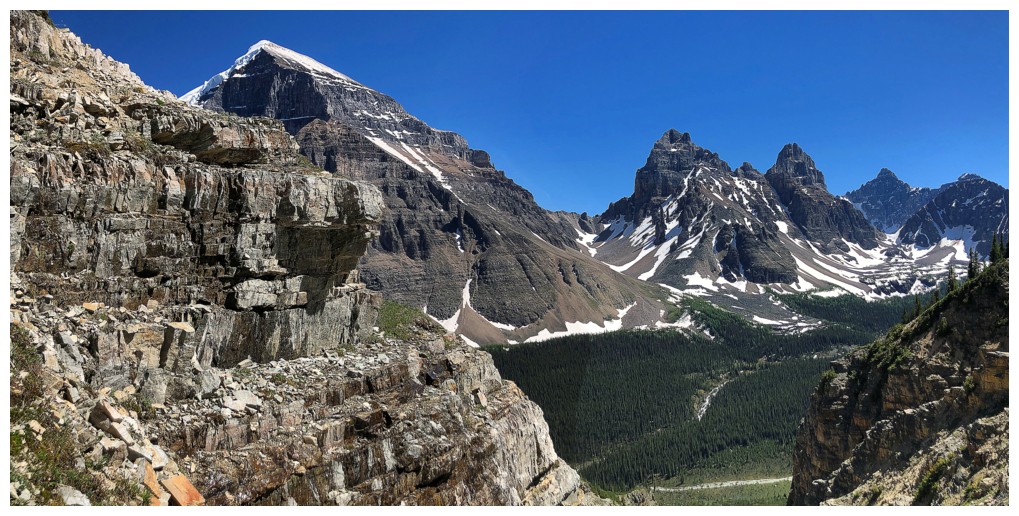
Mount Temple - there are no words
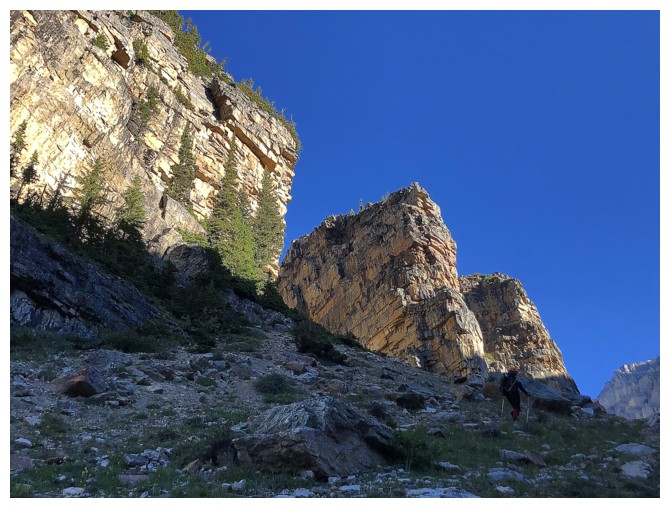
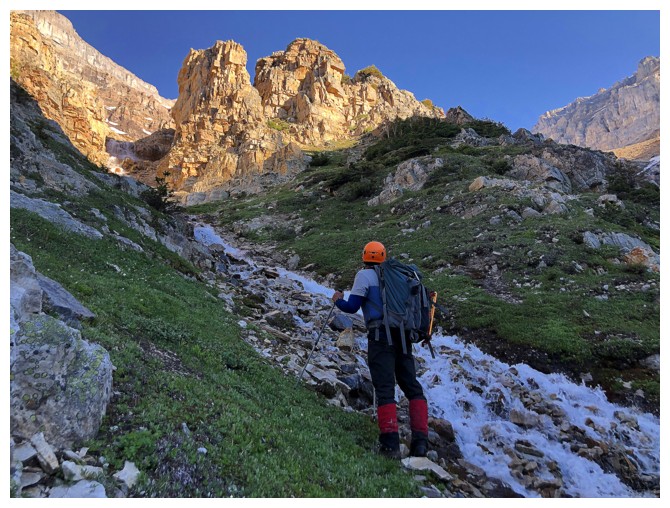
Up the side gully
Mark's view

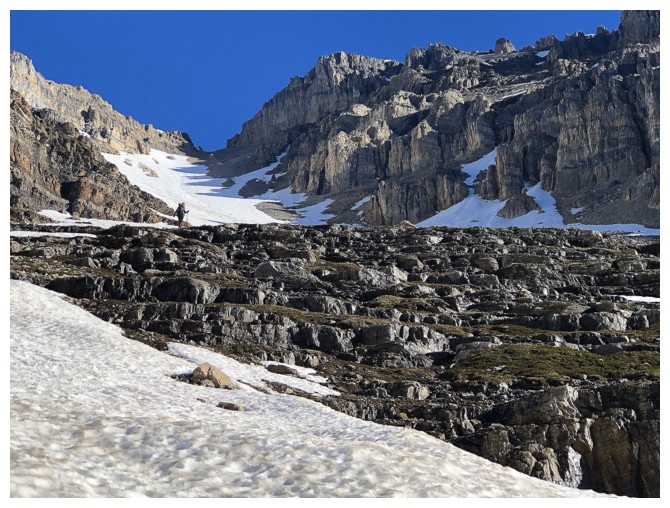
Steep and rubbly near the top, but what an amazing place!
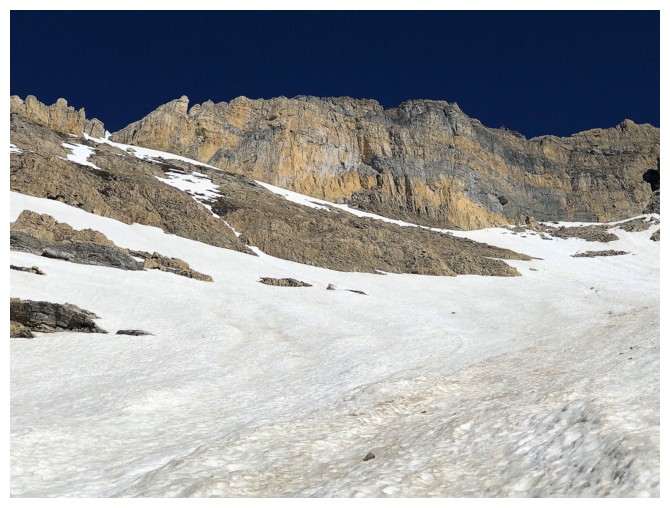
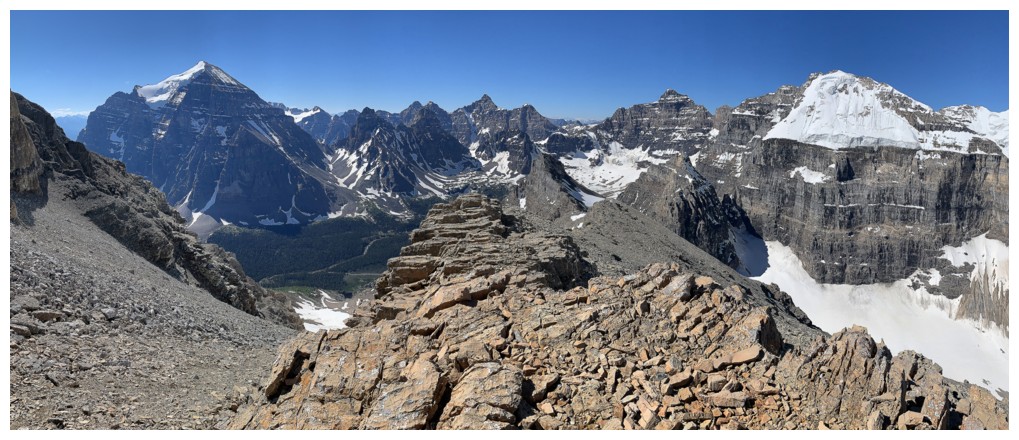
More scenic terrain at the top of the gully
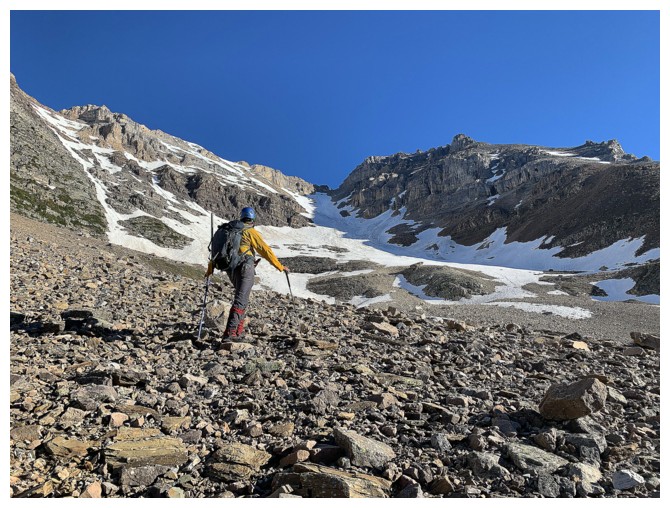
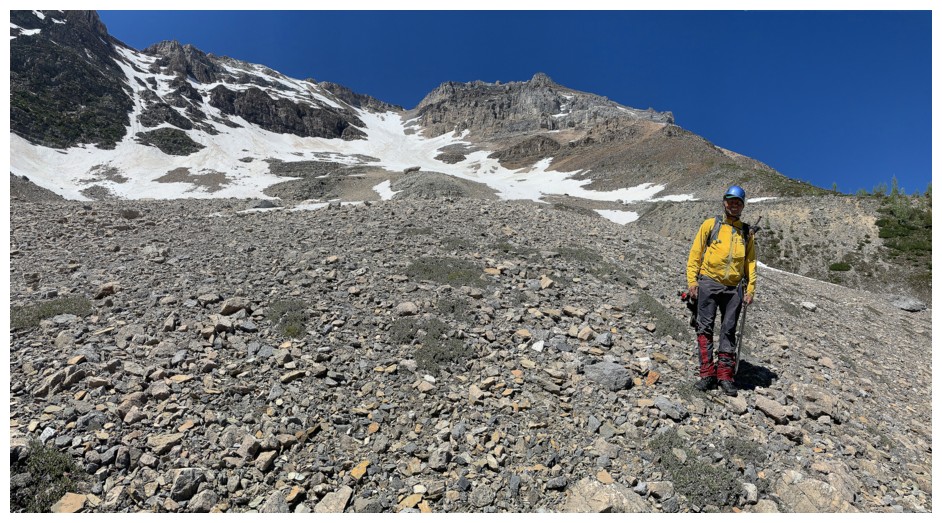
Looking up the long and foreshortened route to the ridge in the centre
Long and foreshortened is less of a concern with this kind of scenery, in this kind of weather

Same as above
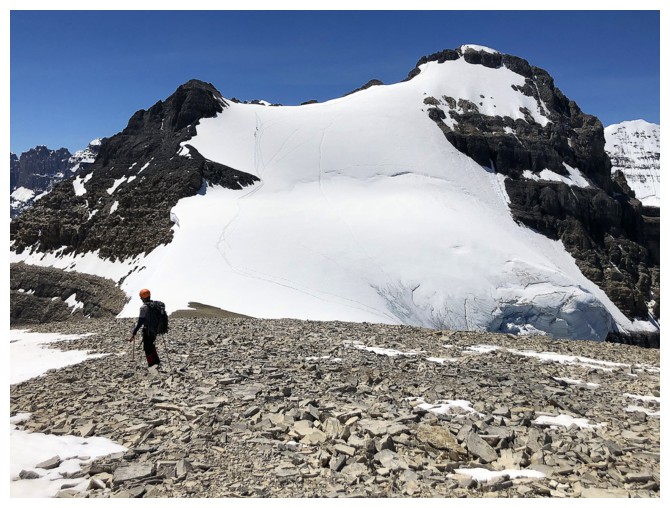
The end of the rocky terrain before the crampons and ice axes come out
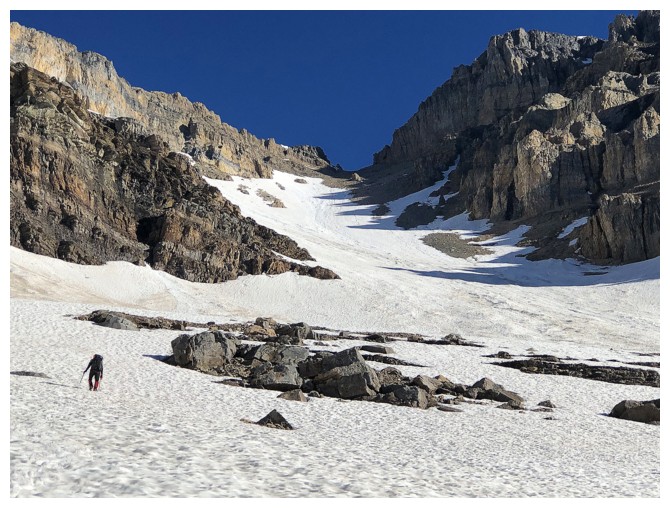
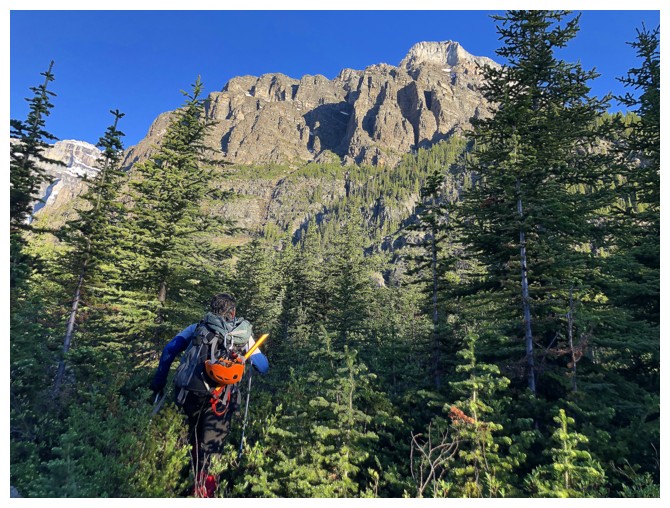
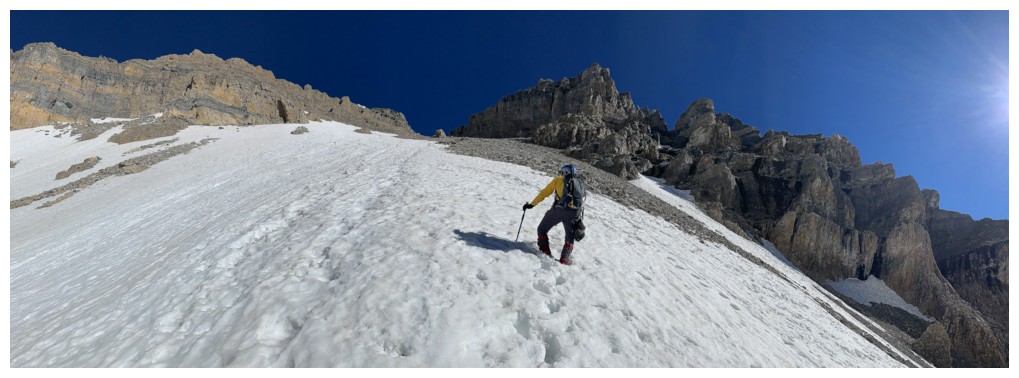
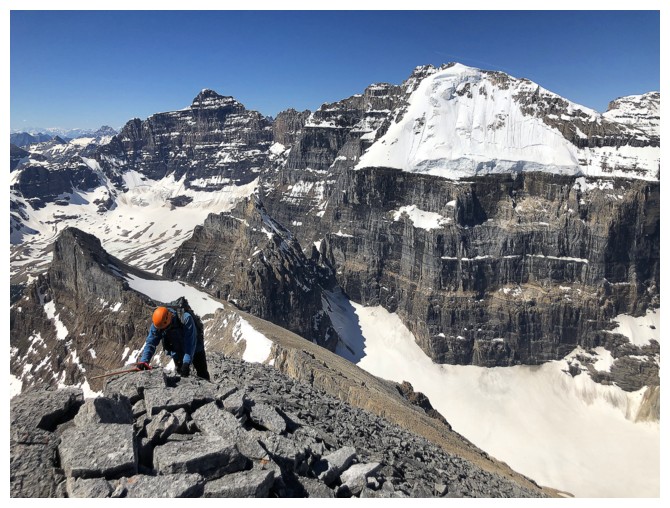
Mark leads the way. It's still a long way to the ridge from here.
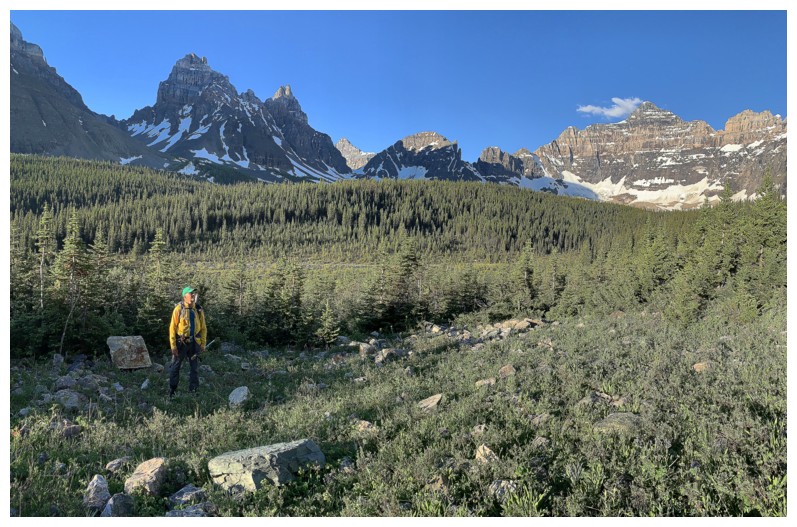
Temple, Pinnacle, Eiffel, Deltaform, and lowly Wastach are omnipresent to keep us entertained
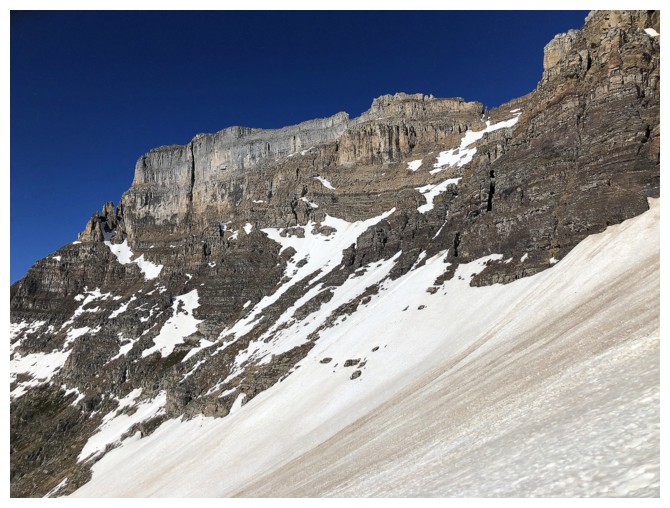
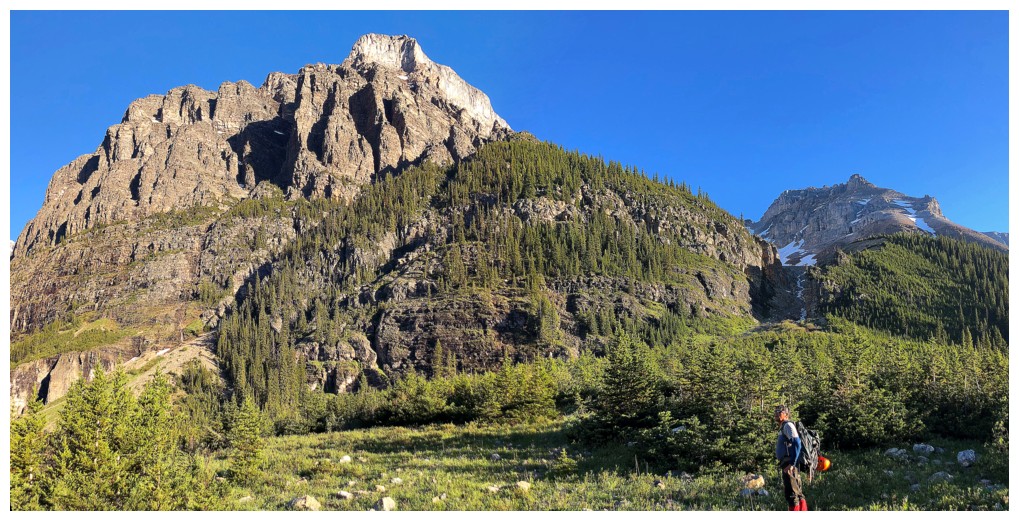
The impressive southwest ridge of Aberdeen
Another colourful section of Aberdeen's southwest ridge
Still slogging, but still entertained
Closing in on the ridge
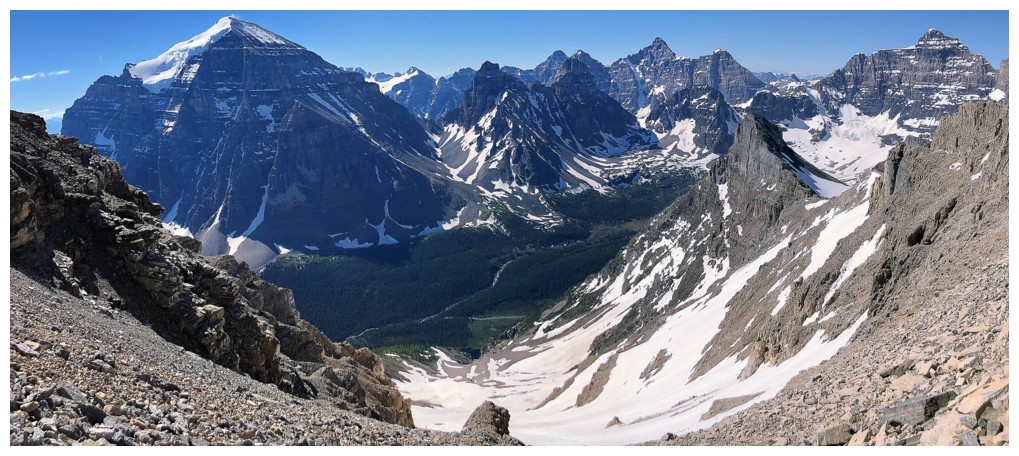
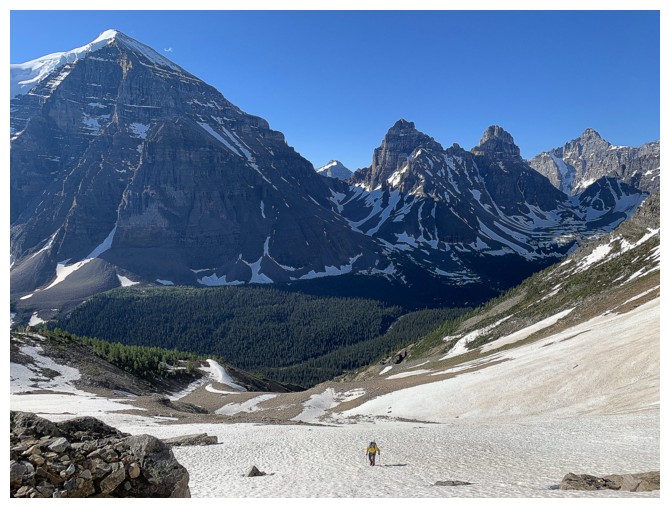
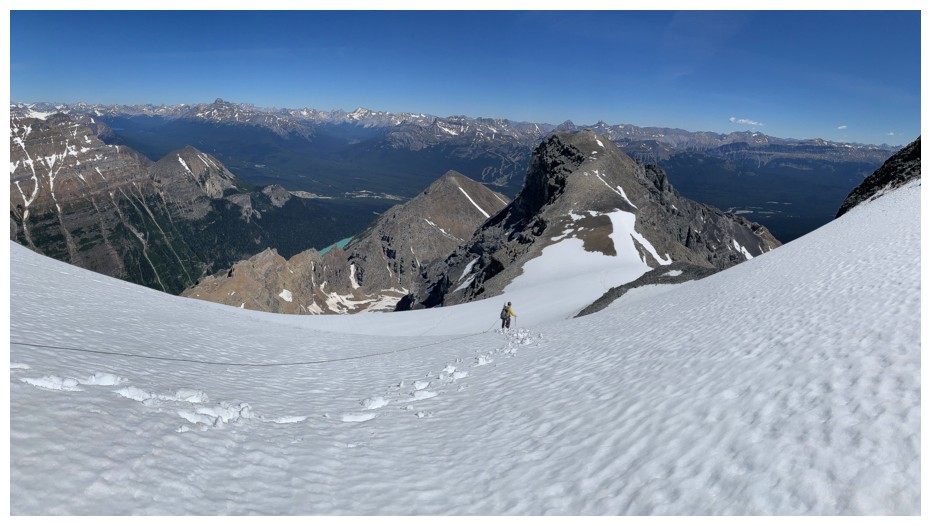
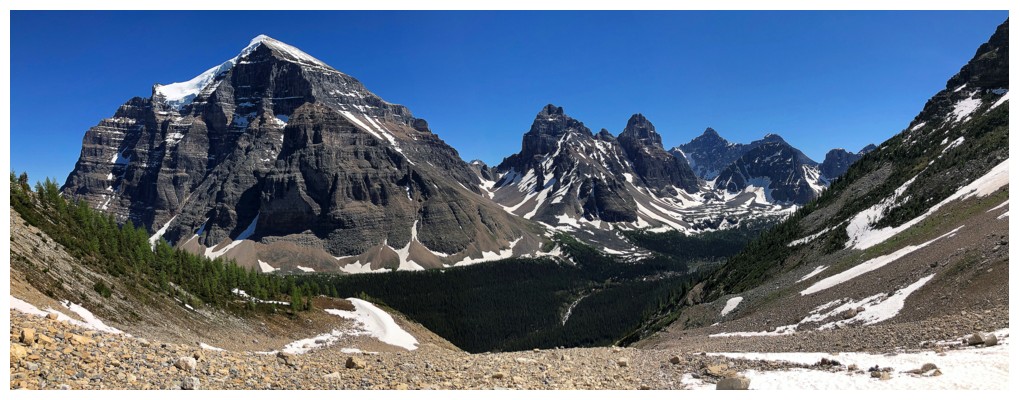
Many of the mountains of The Valley of Ten Peaks surrounding Moraine Lake are now visible
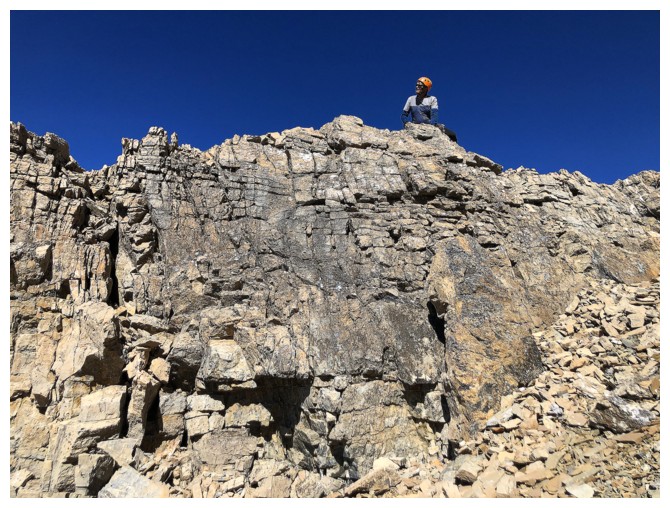
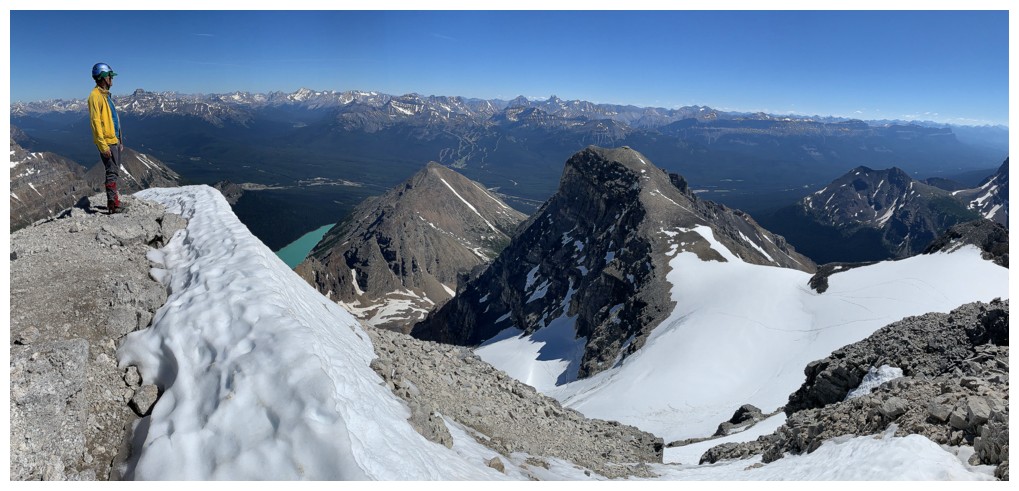
Mark finds a perch on the ridge
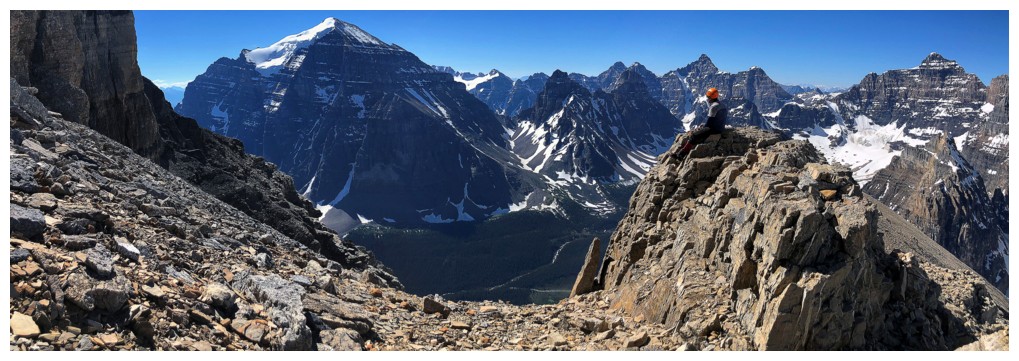
His perch and the view to the south
 The view now includes peaks surrounding Lake Louise
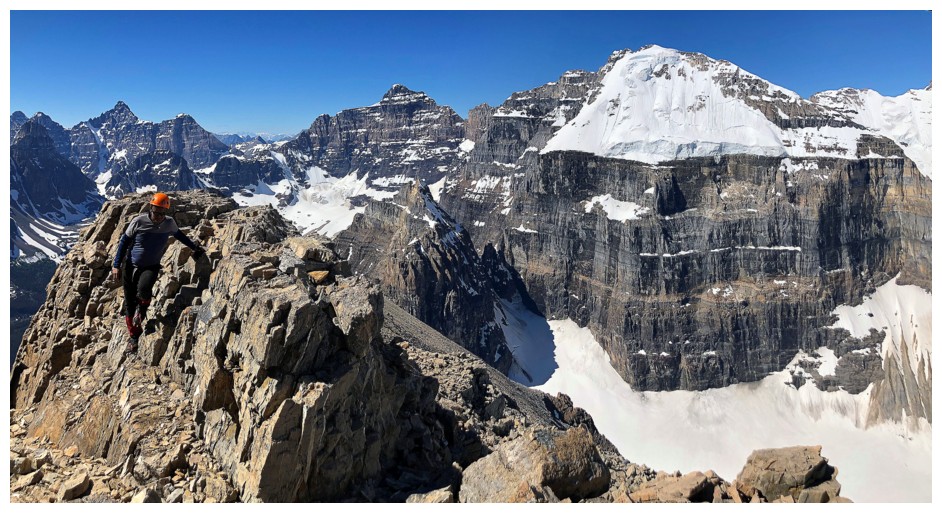
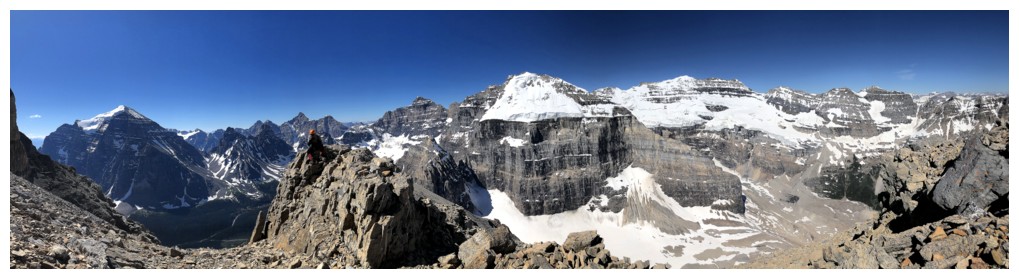
Mount Lefroy (right) is particularly impressive from the ridge
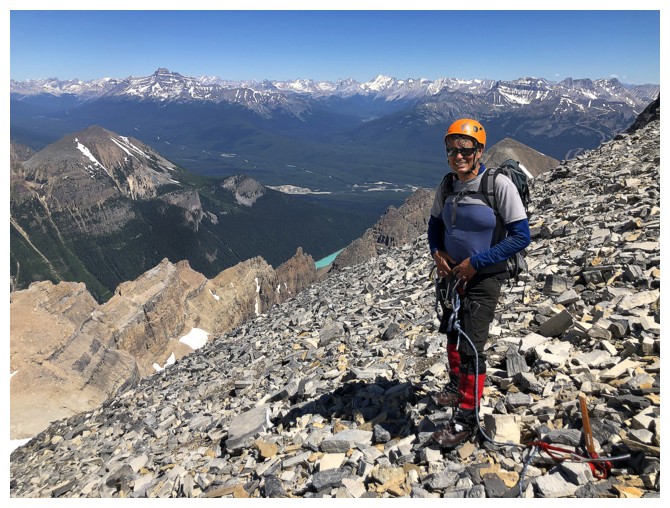
Taking a break and enjoying views of the Louise group
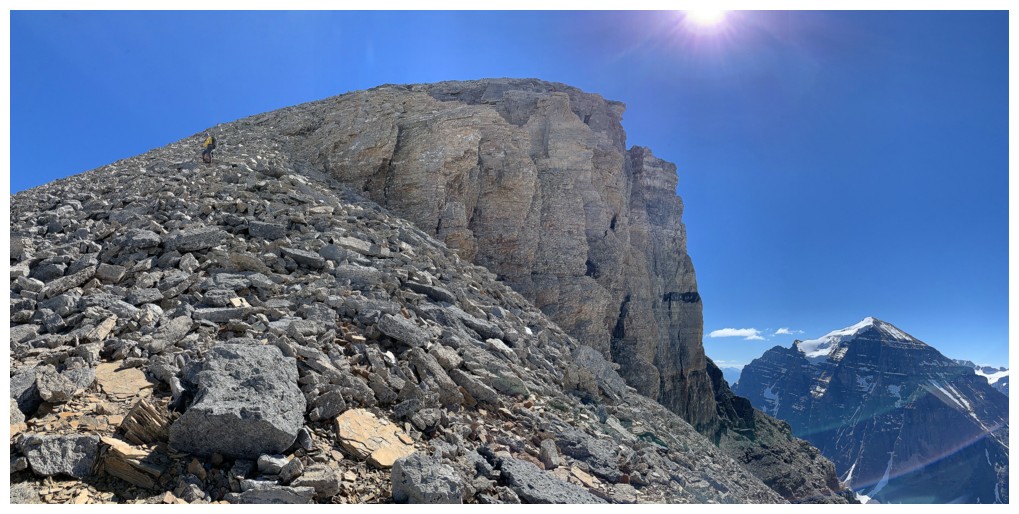
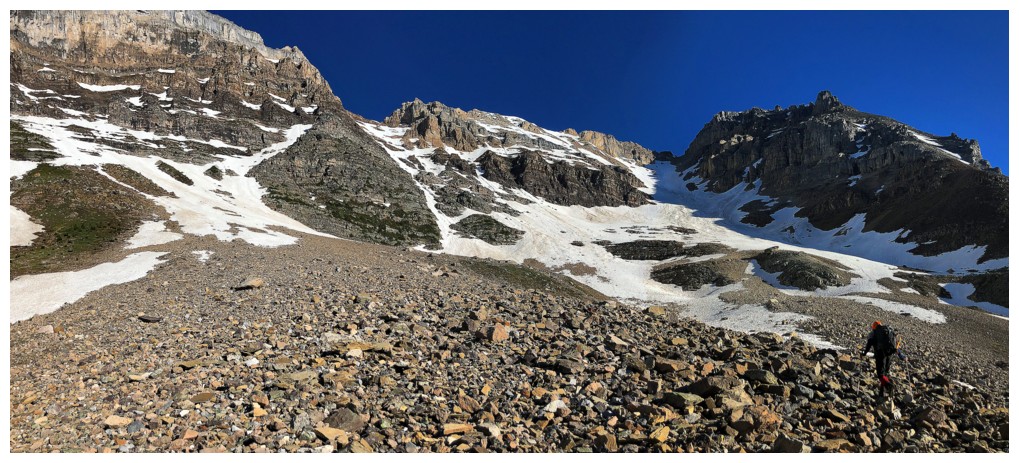
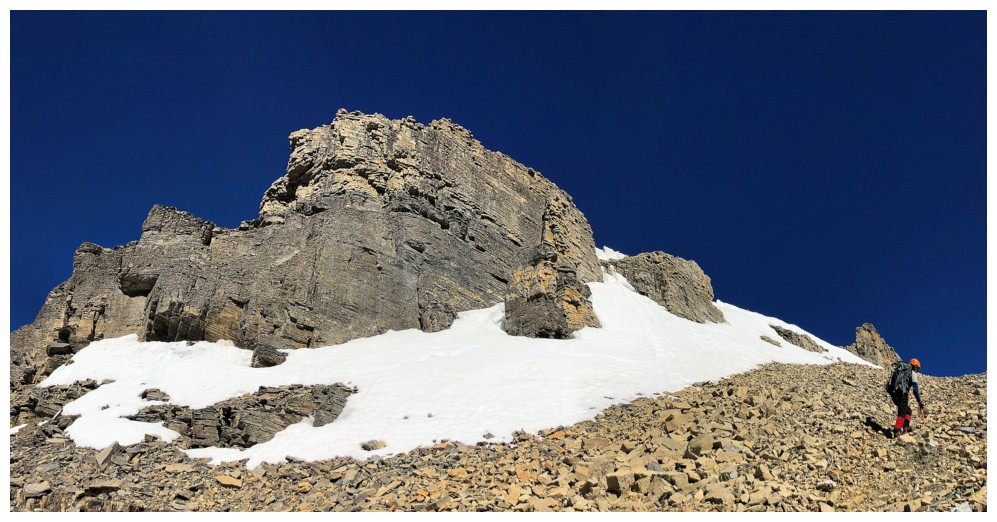
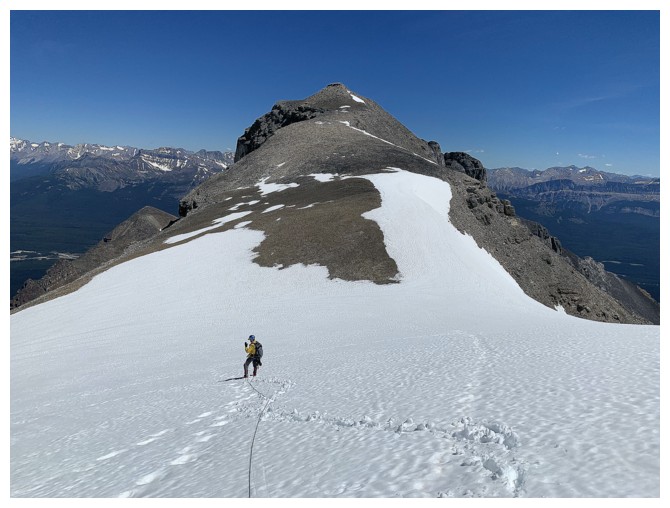
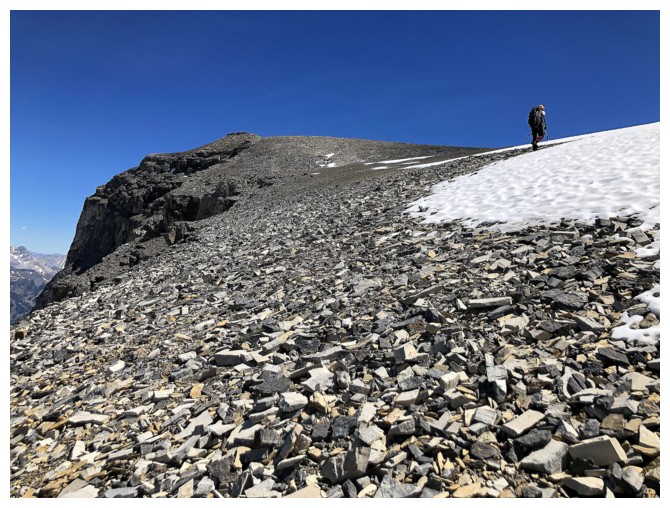
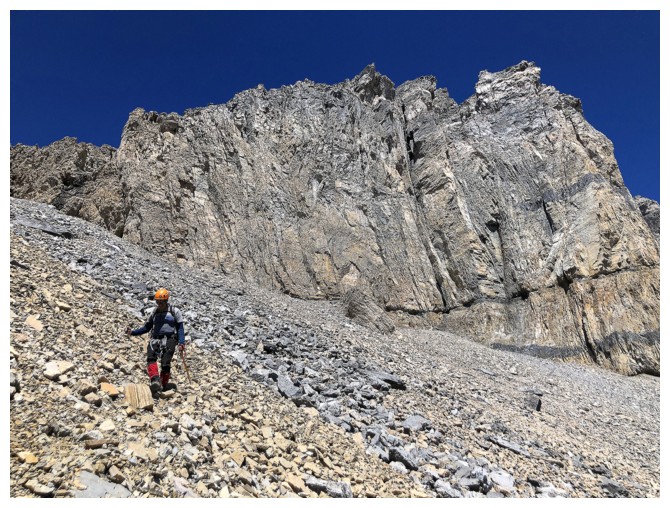
The remainder of the ascent is a short slog up classic Rockies rubble
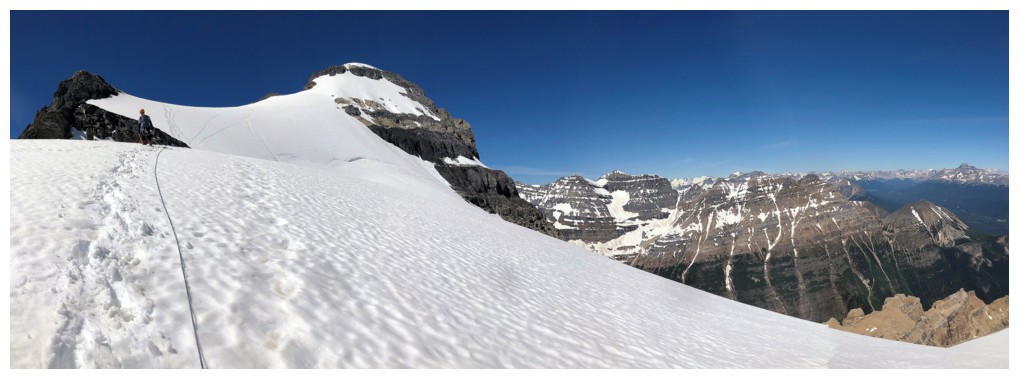
Mount Victoria is likewise an impressive sight from here. The true summit is usually accessed from the BC side, whereas the north peak is accessed from Lake Louise.
The view just gets better and better
Mark completes the last few metres of the ascent
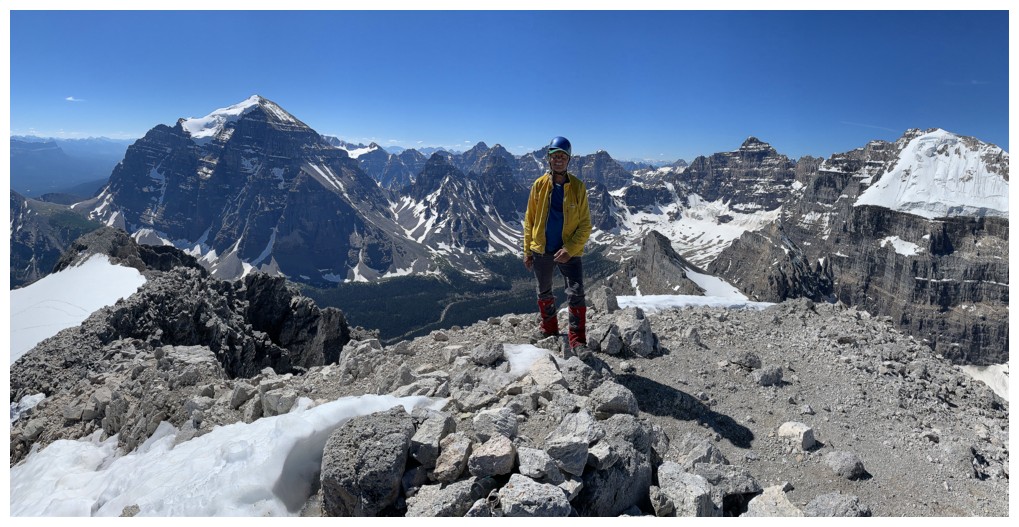
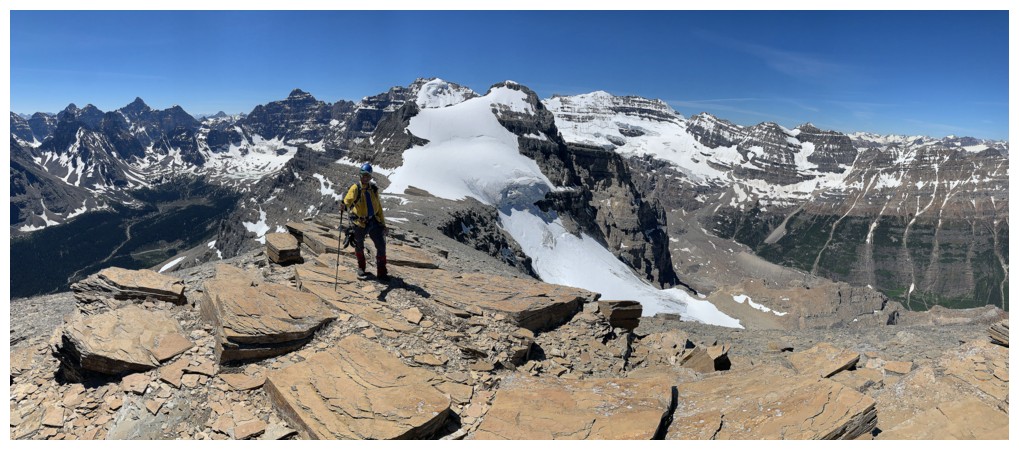
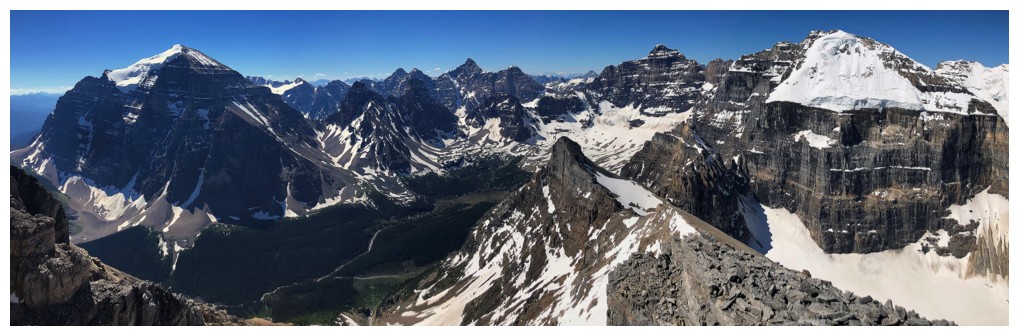
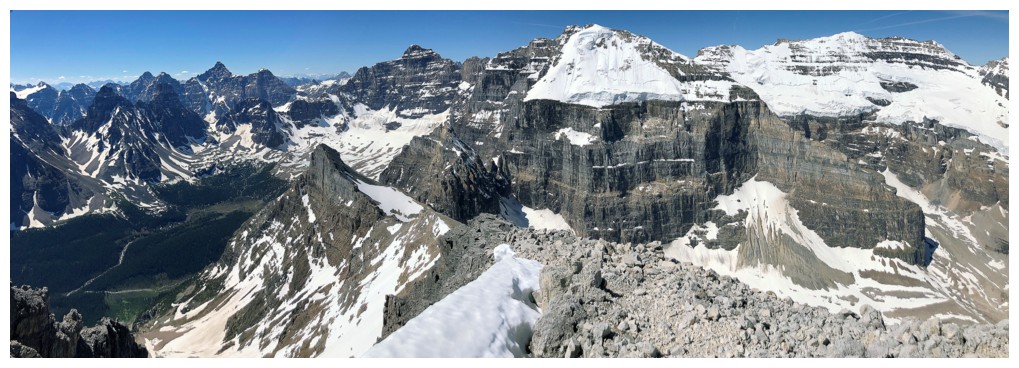
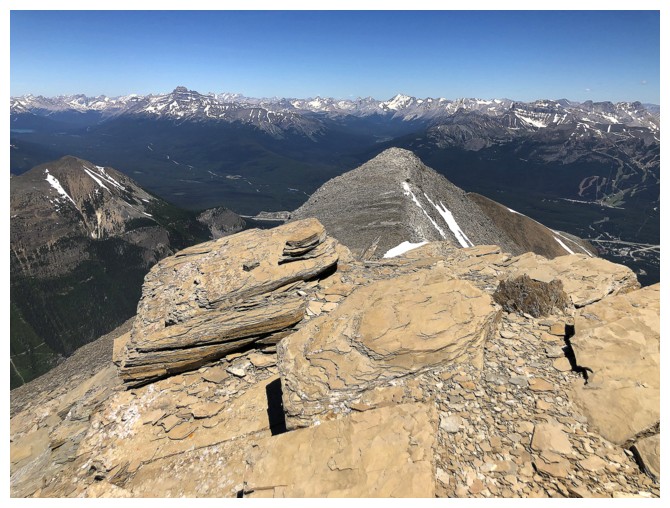
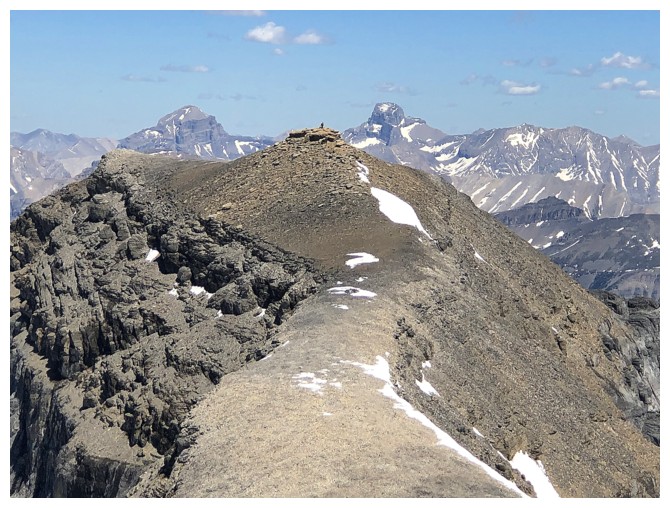
Summit view to the east
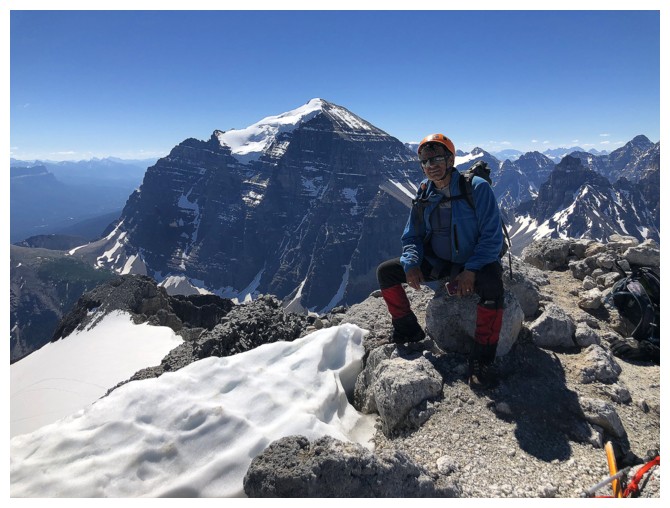
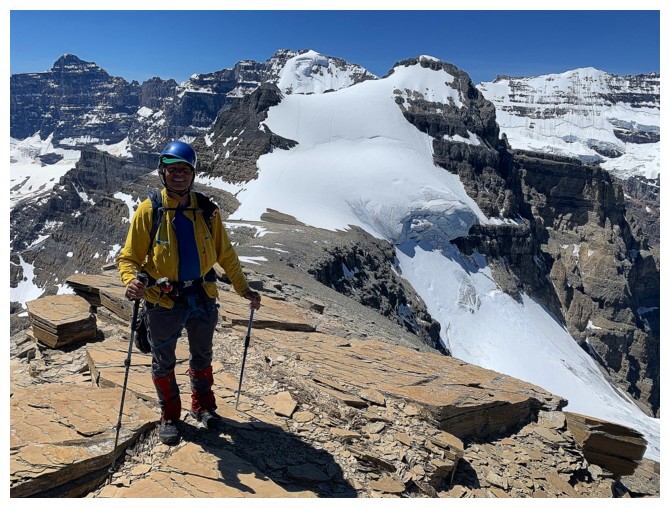
Mark at the top
View to the west
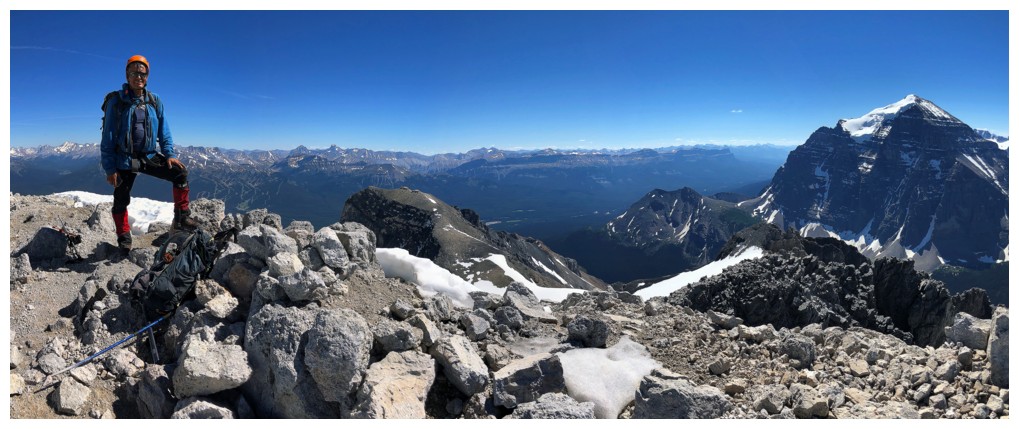
View to the southeast
Another view to the west
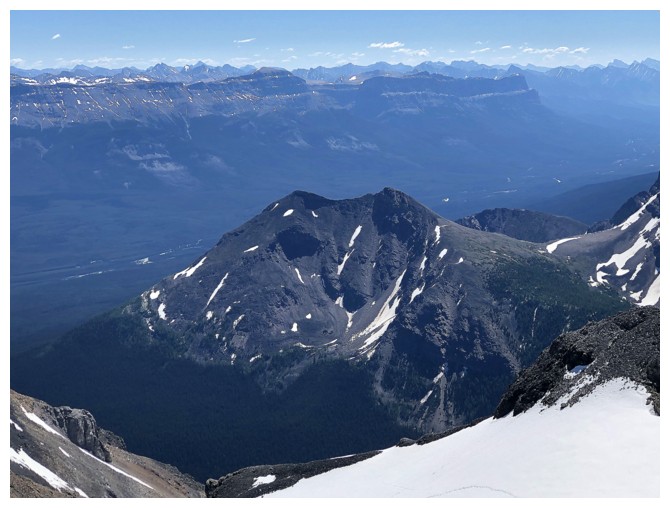
Looking way down on Little Temple

Leaving the summit for Haddo Peak
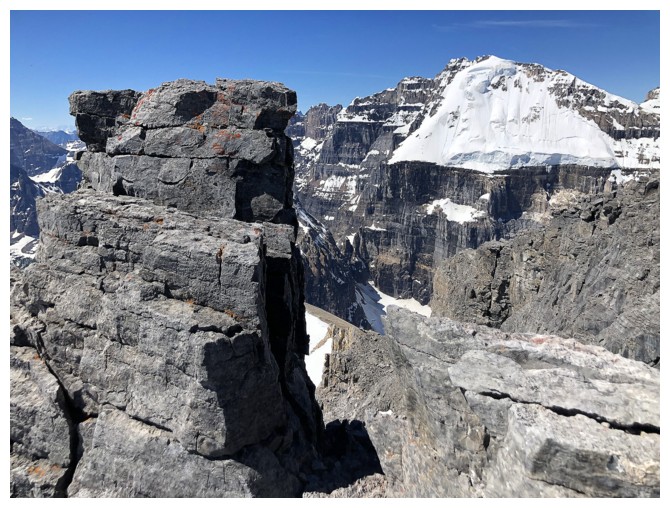
Blocky rock on the summit ridge
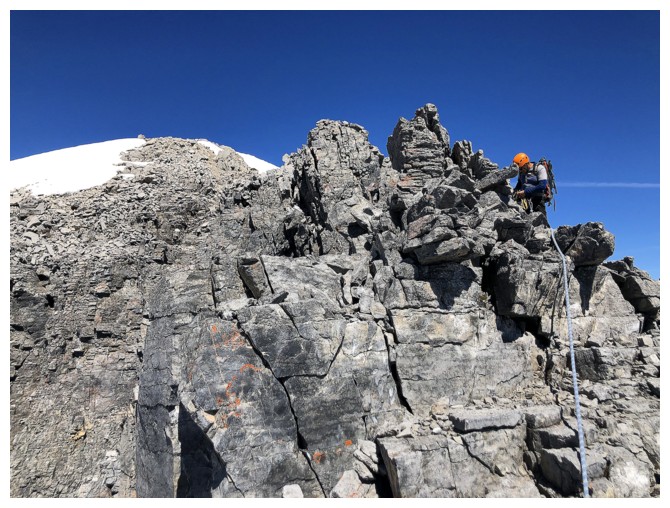
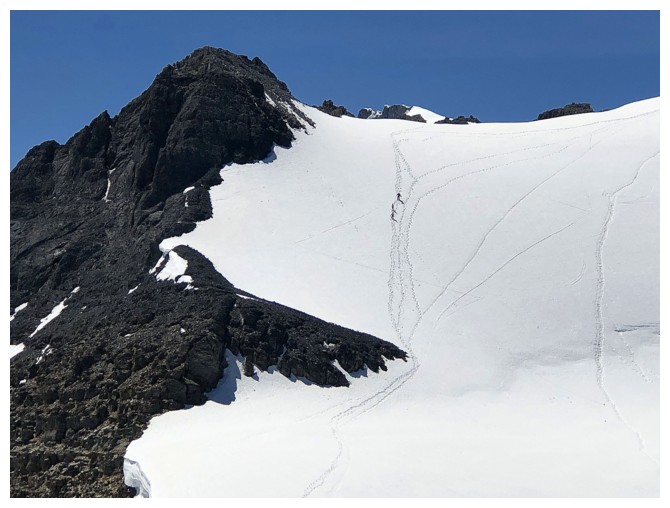
Mark descends the crux
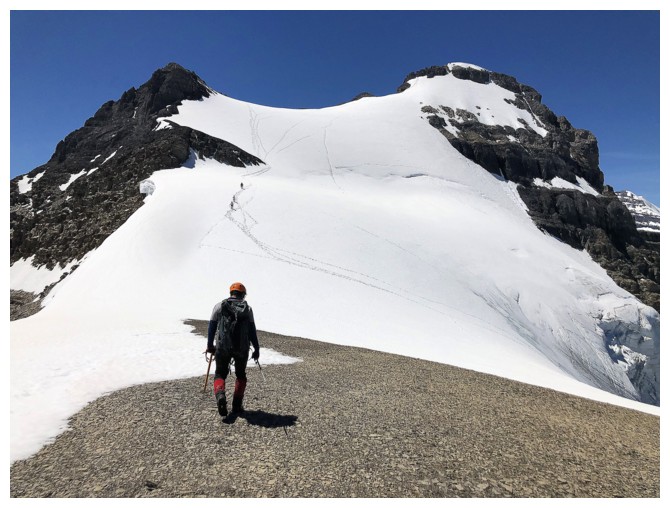
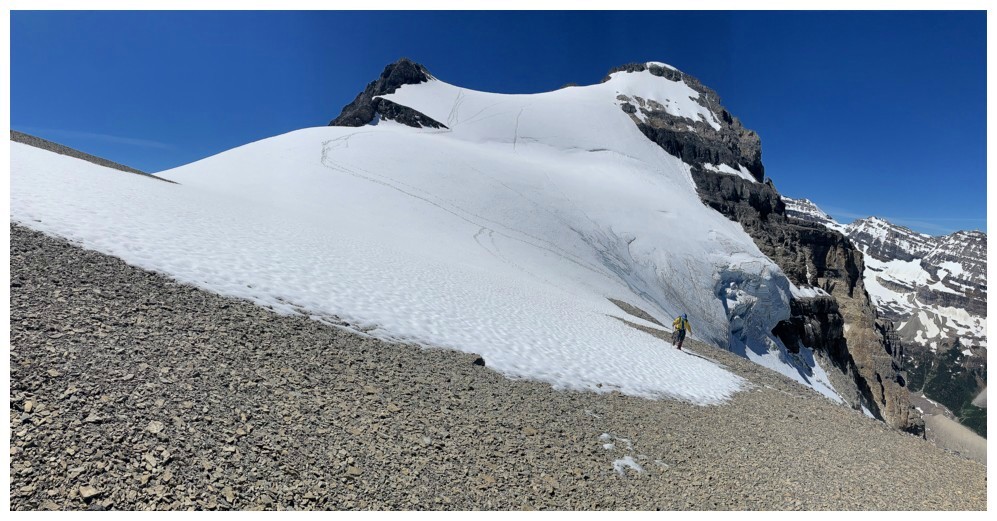
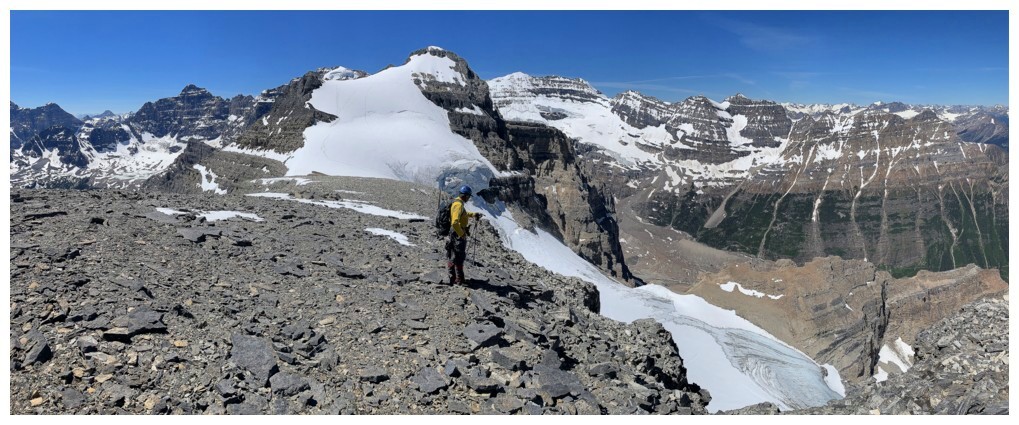
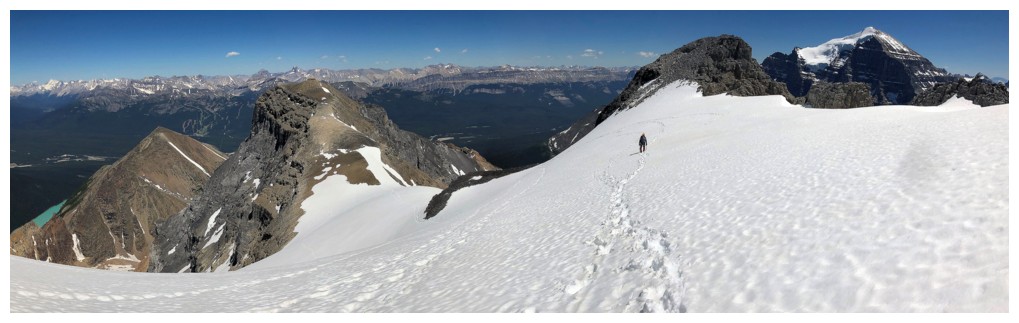
Onto the glacier/snow
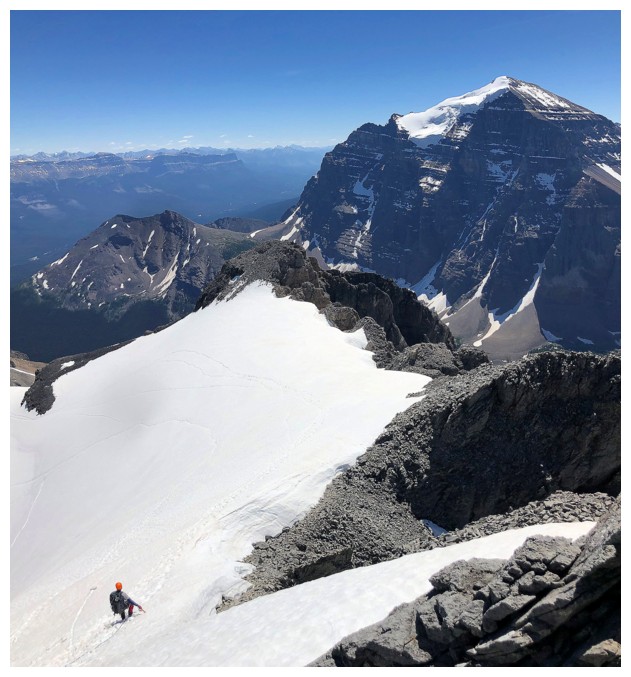
Staying near the ridge is the best strategy to avoid the glacier
There is some steep terrain
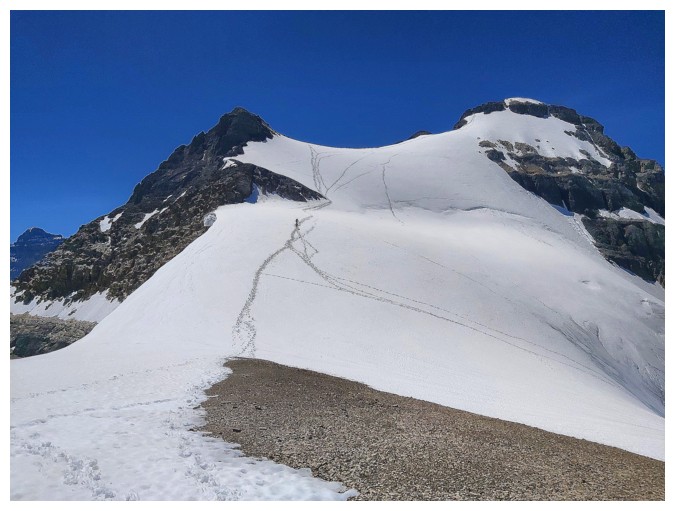
Then it levels off
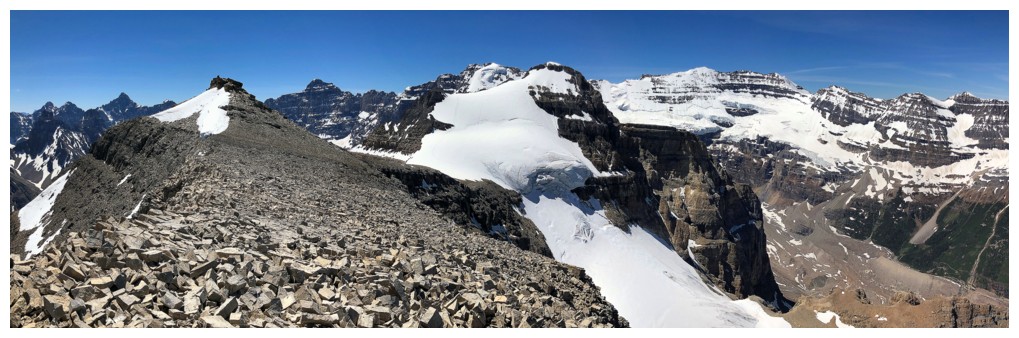
Looking back to Aberdeen
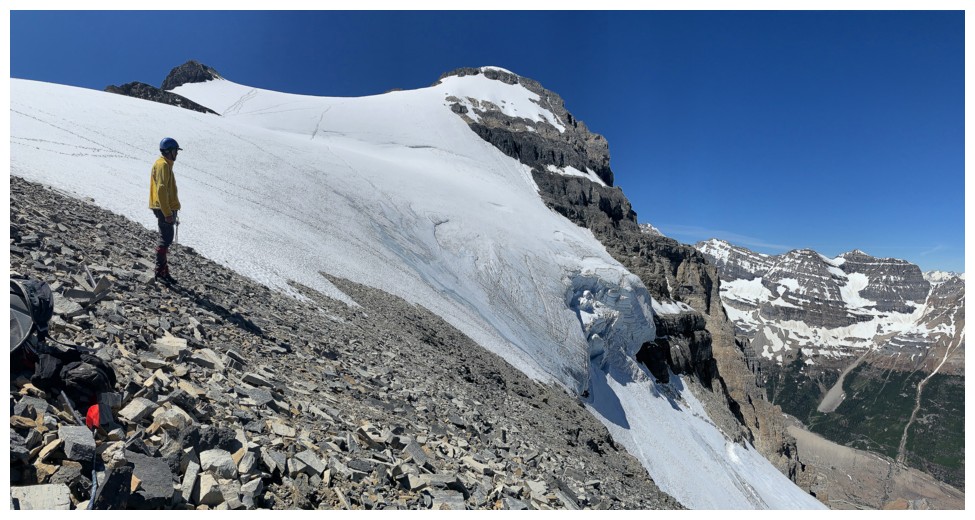
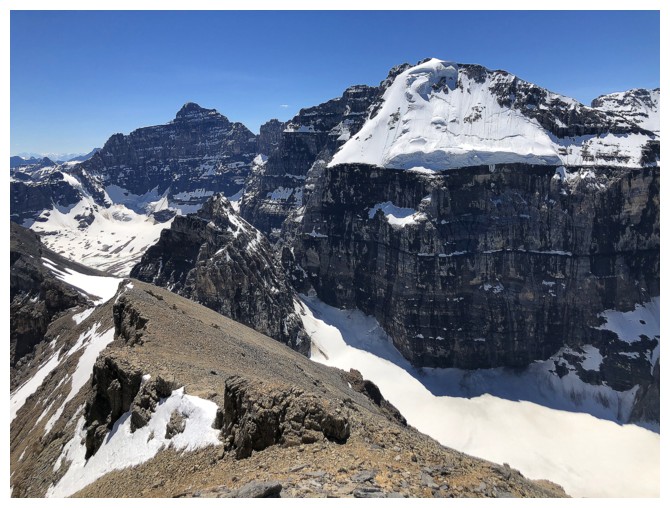
Heading left to check out the glacier
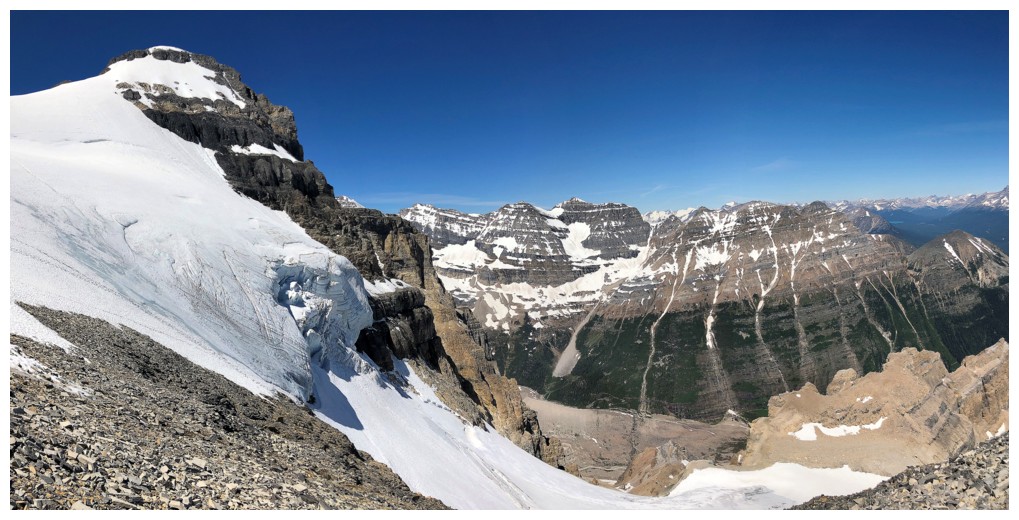
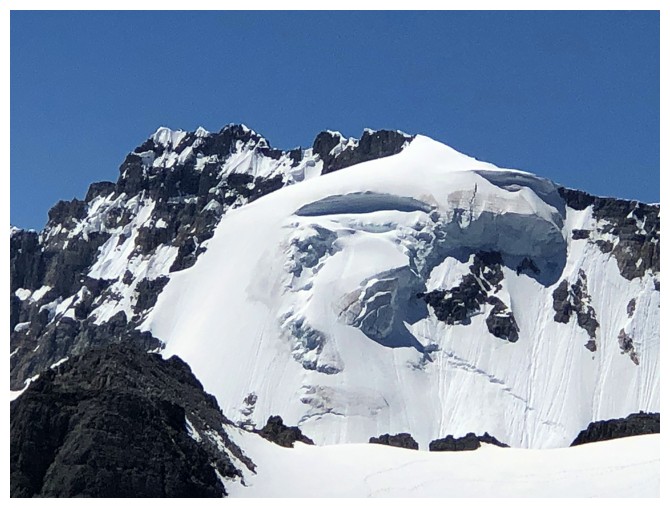
The upper section of Aberdeen's infamous north glacier
Mark is always happy to see a glacier up close
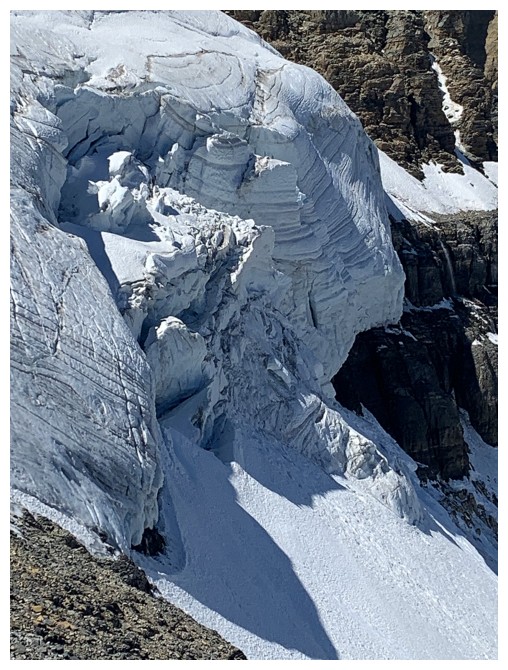
Close-up of the glacier
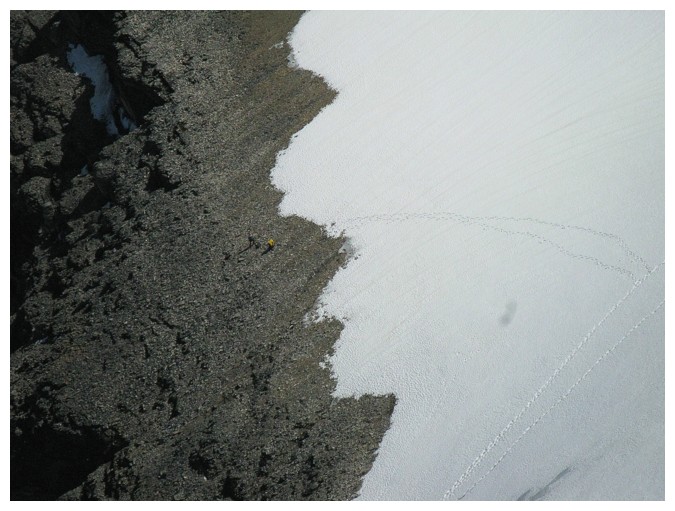
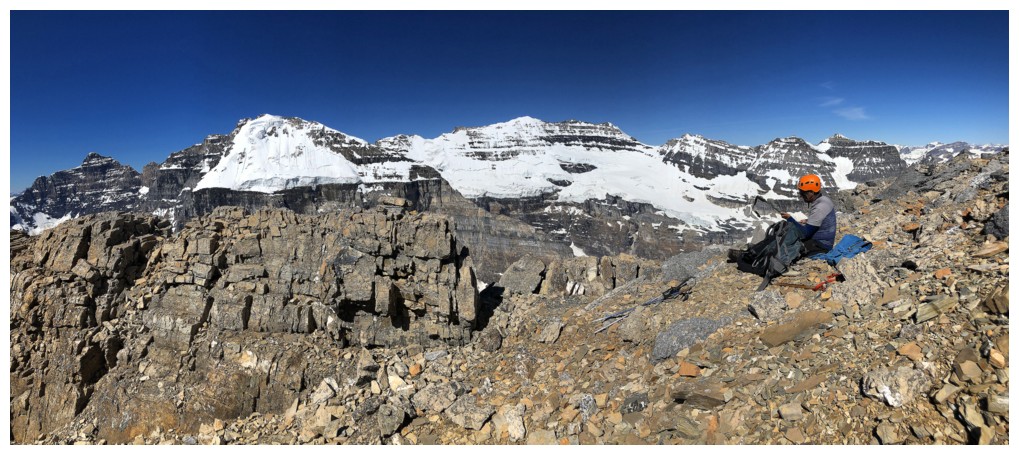
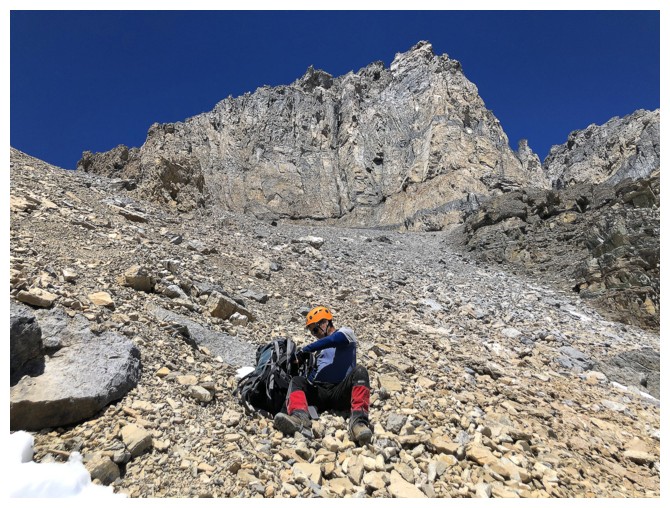
From the summit of Aberdeen, Grant captured a photo of us at our rest spot (photo by Grant)
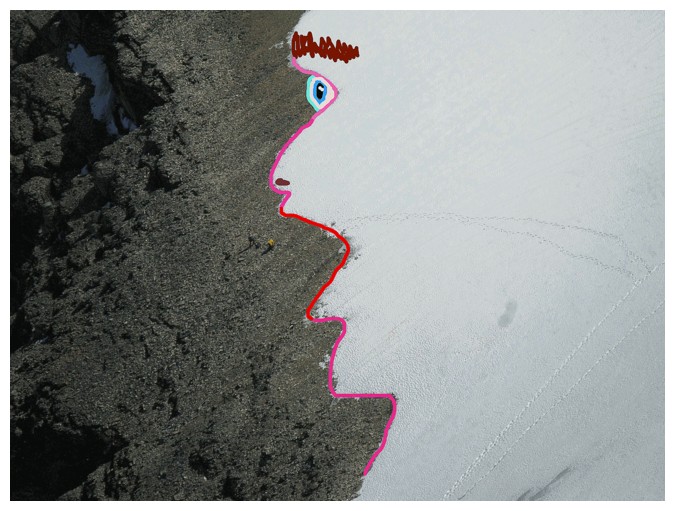
Luckily
we narrowly escaped an unexpected encounter with a snow giant!
(undoctored photo by Grant - someone has a good sense of humour!)
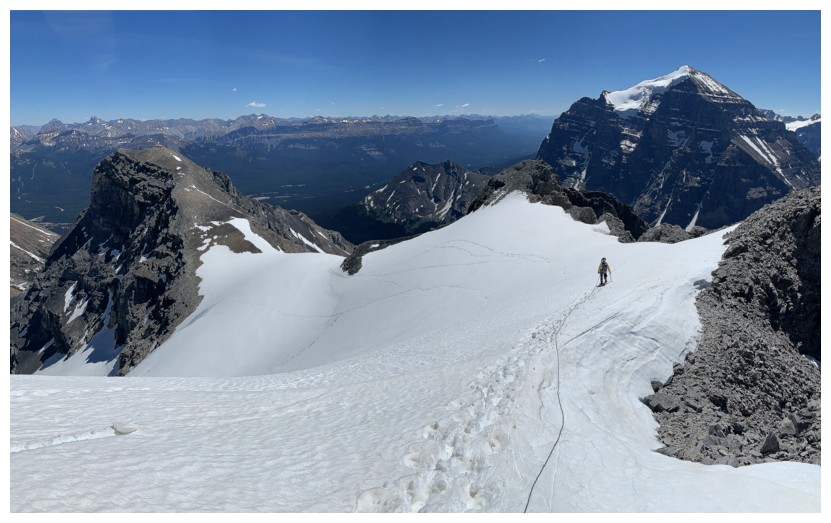
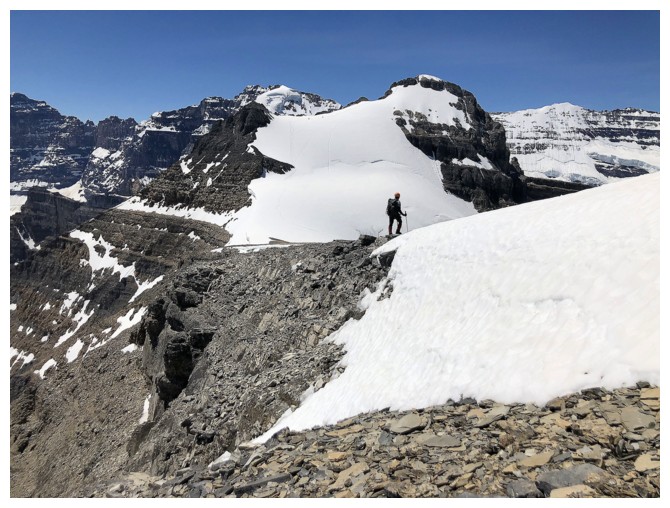
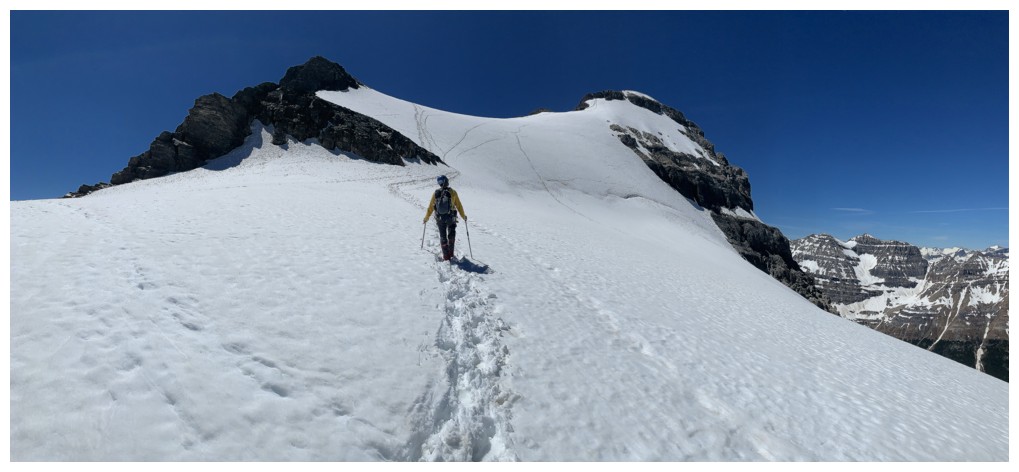
Resuming travel to the summit of Haddo
Same as above
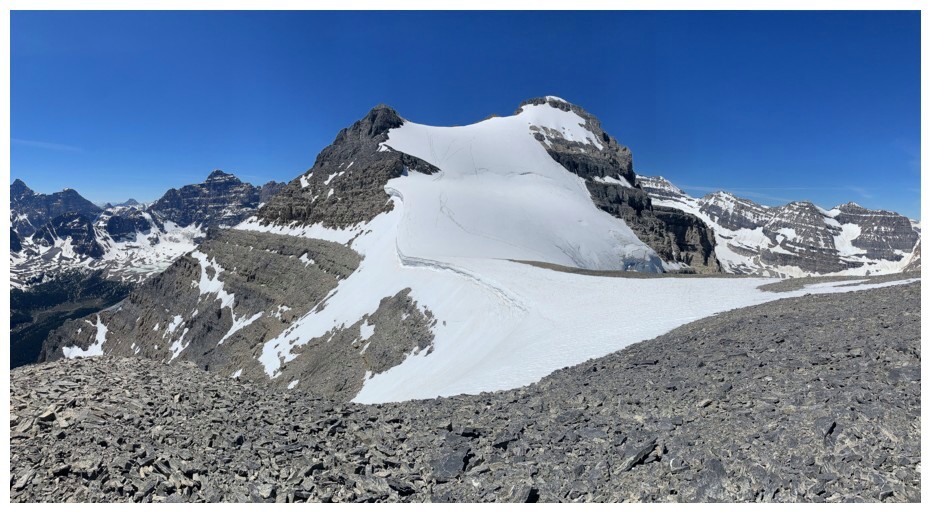
Looking back to Aberdeen is irresistible

Mark and the glacier of Temple
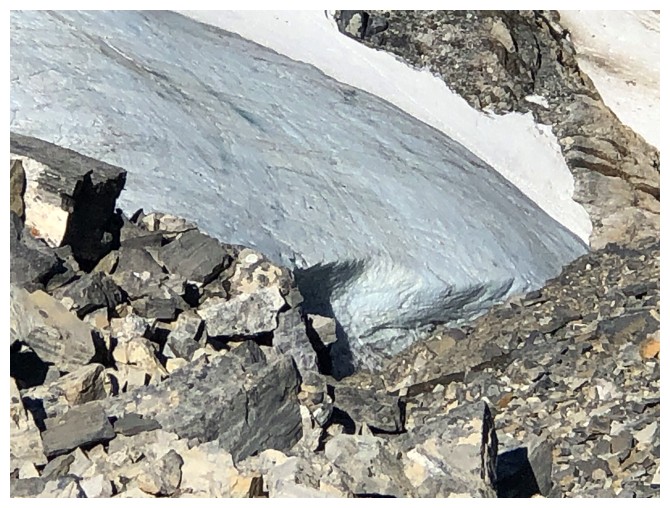
Still getting views of the glacier, but the lower section this time
Enamoured by the glacier
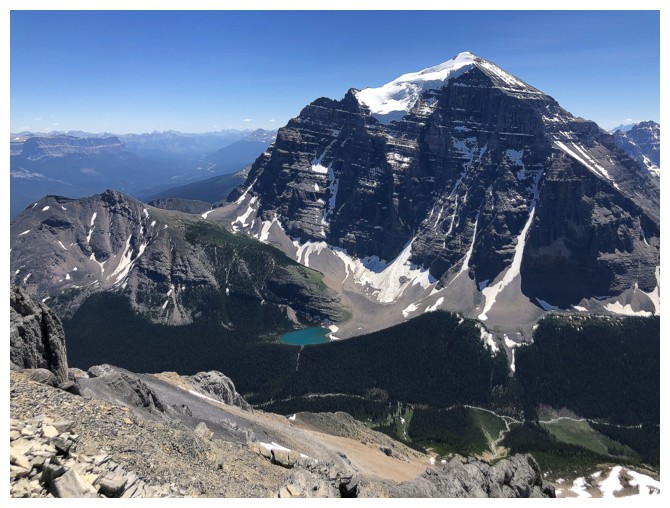
Lake Annette under Mount Temple
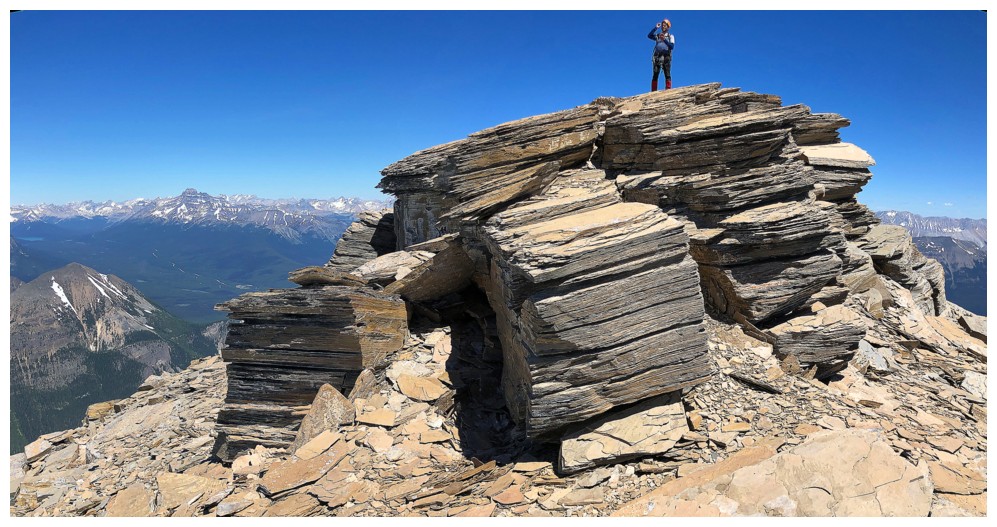
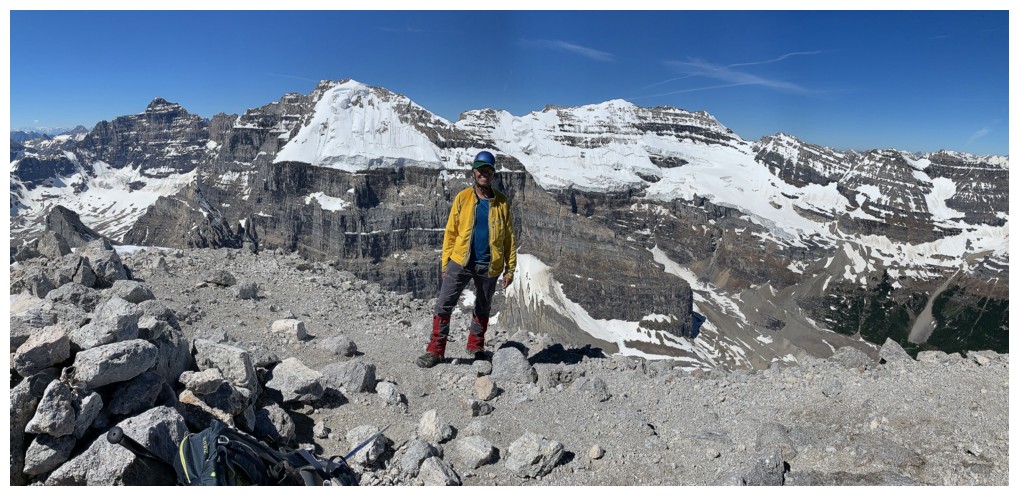
Summit of Haddo
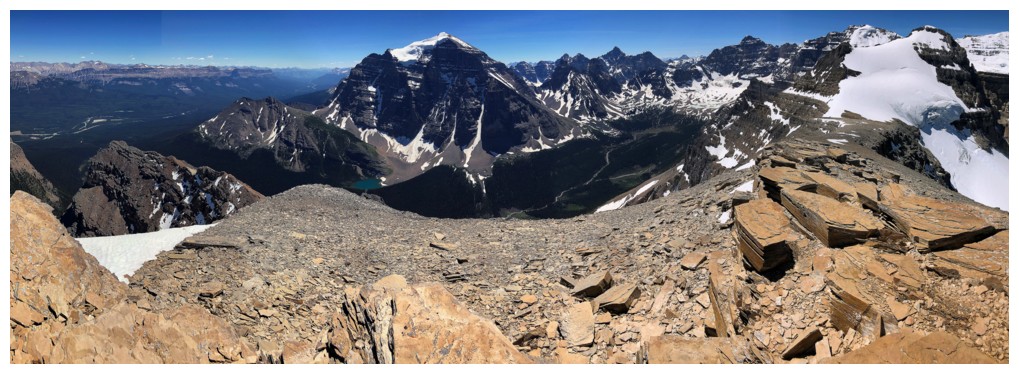
Haddo's summit view is nothing to sneeze at!
Same as above
Summit with Aberdeen behind
I quickly ran down to the lower point in front to check our Haddo's fierce northeast side
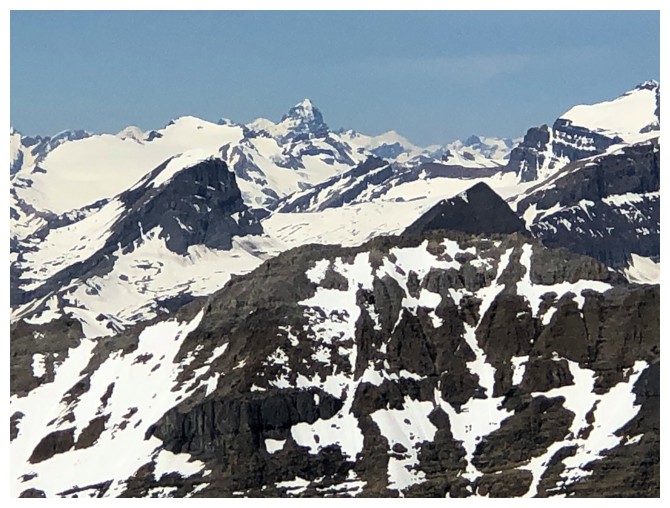
Distant but huge Mount Forbes. What a trip that was!
Mount Balfour
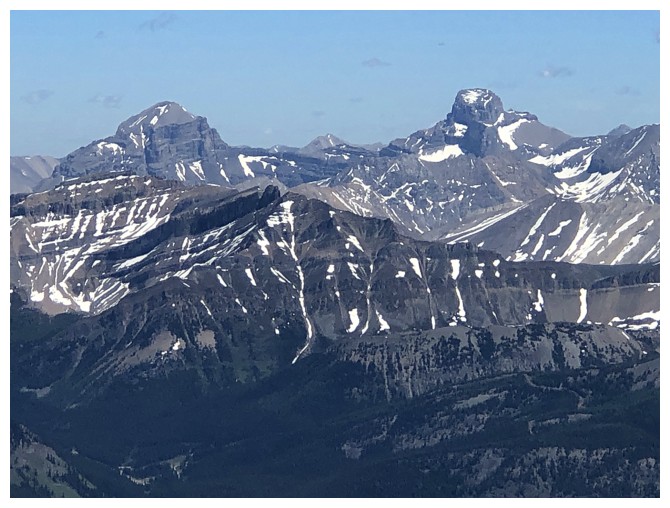
Douglas and St. Bride
Looking back at Mark at the summit
View from the lower point
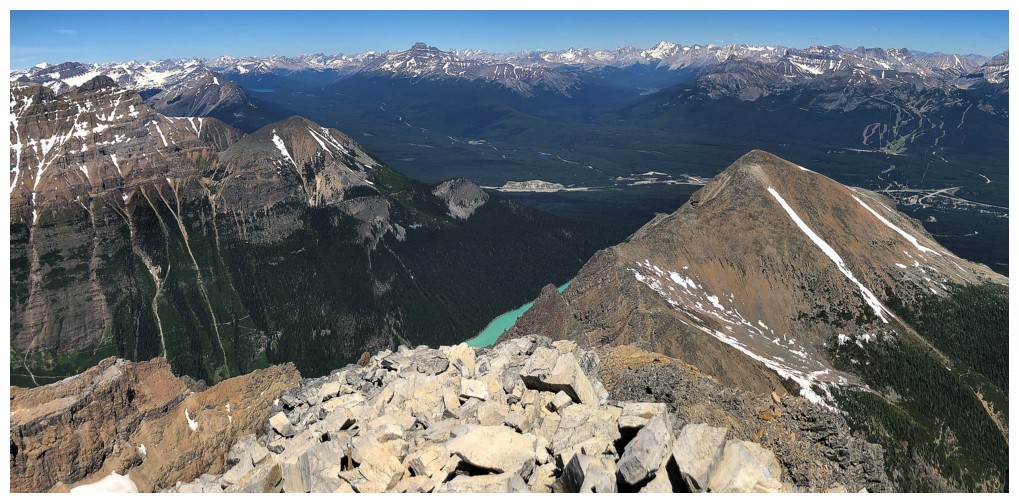
A slither of Lake Louise, Mount Fairview (right), and the view to the north

Heading back up to Haddo
The impressive glacier, high on Mount Lefroy
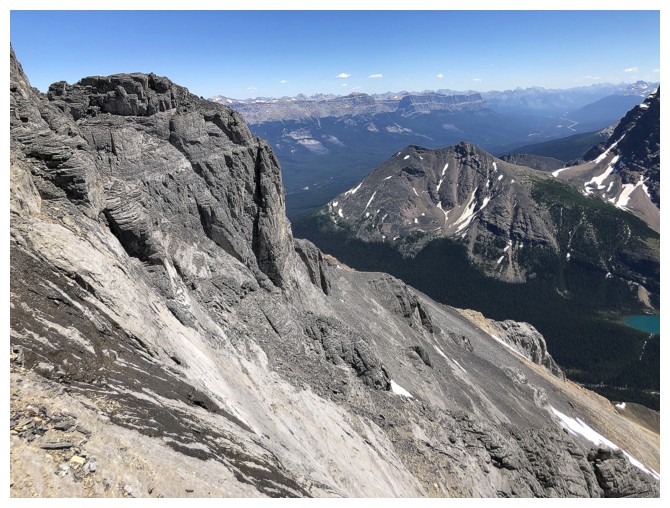
Searching for a shortcut route down Haddo. We reached the point in the middle of the photo a month earlier.
Bailing on the shortcut (because there wasn't one) and heading back towards Aberdeen
Where we first spotted three people descending Aberdeen
Grant, Etienne, and Paul make their way down
Resuming travel after an awesome chat with Grant, Etienne and Paul. Regrettably, no one thought to get a group photo!
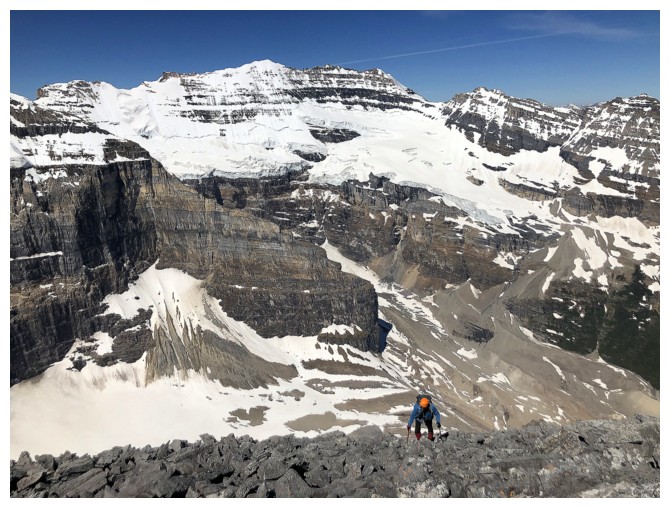
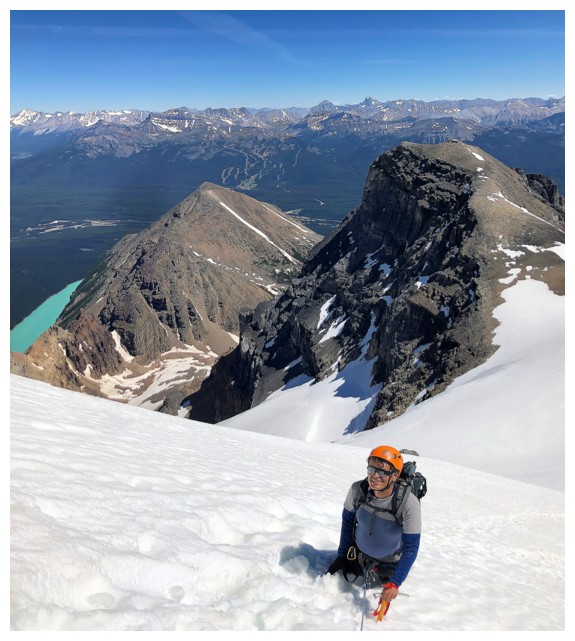
Paul managed to snap a photo of our return (photo Paul Hochhausen)

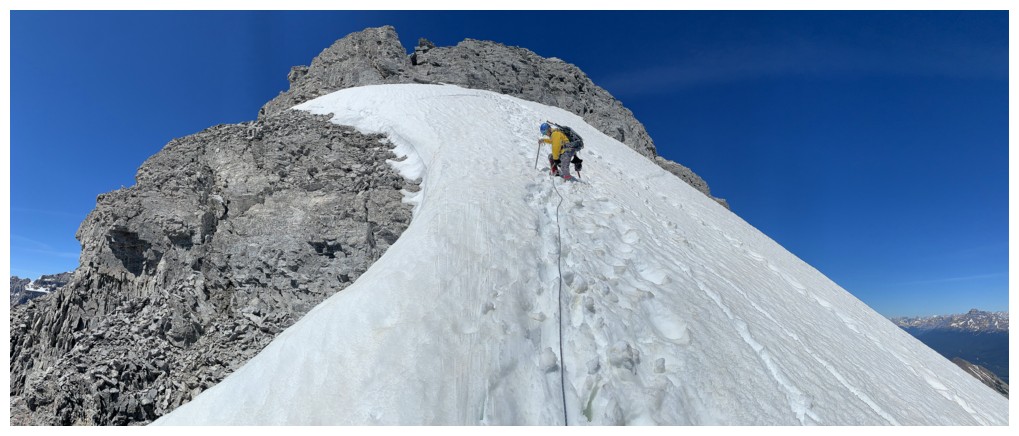
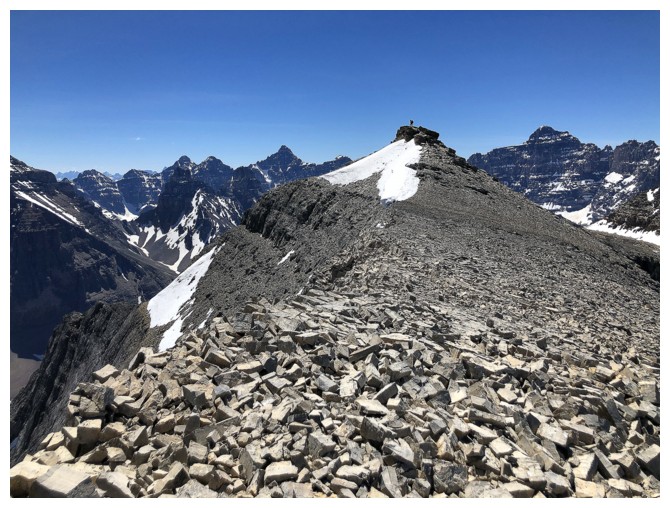
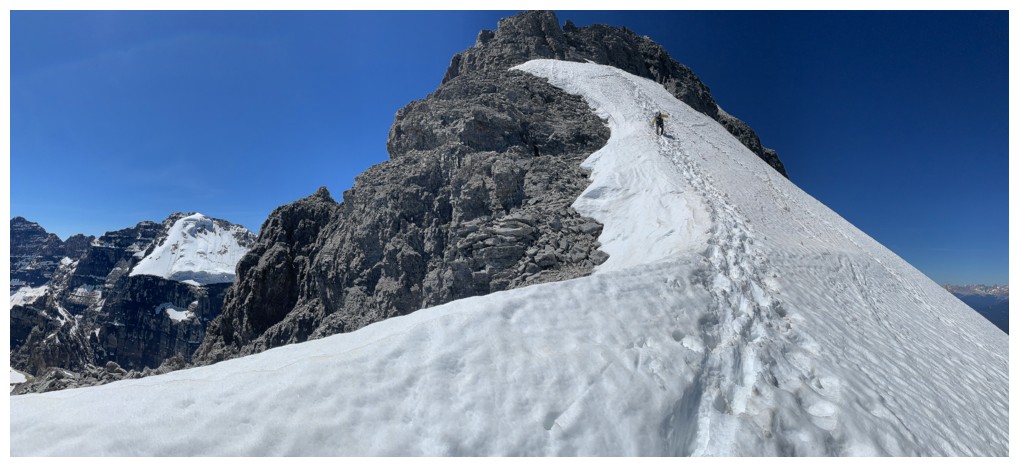
The bucket steps made easy work of reascending the peak
The GEP trio is visible at the summit of Haddo
The scenery was just too good not to re-photograph everything on return!
Case in point
At the summit again, enjoying a last look at Lefroy
Annoying rubble, but great rock behind
Mark trades hiking poles for an ice axe, in preparation for one of the best glissades we have ever experienced
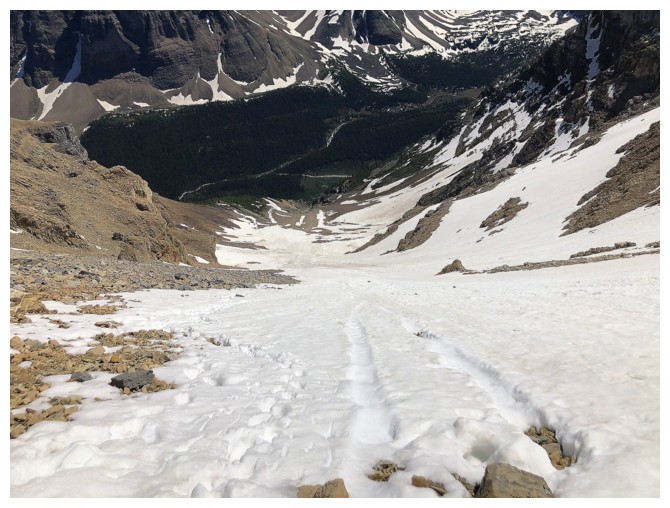
Looking down what we are about to glissade - 500 vertical metres on exhilarating bliss!
That was fast! Back down to the snow-less section of the trip
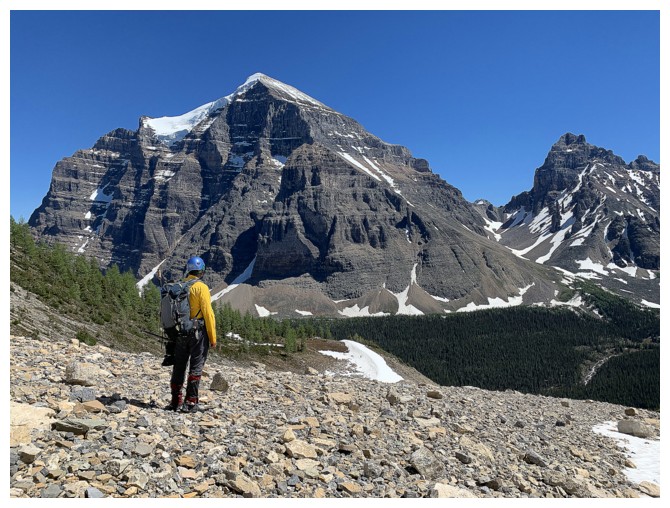
With the Sun now in the west, the views of Temple and company are even better than they were in the morning
Looking back up the ascent route
Continuing a minor obsession with the beautiful quartet of Temple, Pinnacle, Eiffel, and Deltaform.
Speaking of beautiful quartets, this is unquestionably one of musical history's finest movements: Beethoven, String Quartet in A minor, Op. 132, Mvt III
If you are not affected by the music from 15:10 to the end you are a robot (sorry to be the bearer of bad news!)
We missed this part in the morning because we took a detour
Quartet becomes Trio
(you'll need 40 minutes for this one!)
One of only a few scenes that was more striking in the morning because of the position of the Sun
"Meltwater! Meltwater! Everywhere!
And many drops to drink"
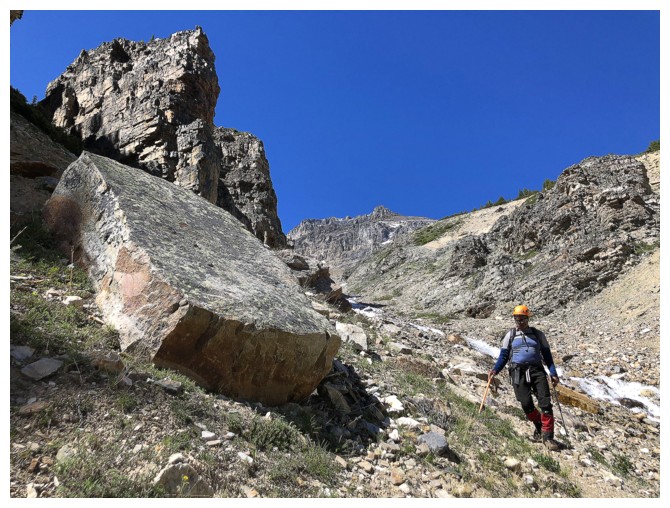
Glad we weren't around when that slab of rock decided to come down the mountain!
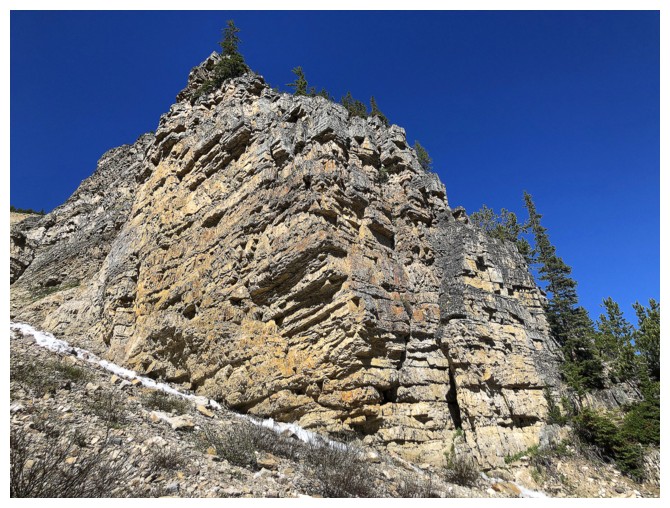
The rock that was "not so colourful-looking" in the morning sure looks better with the Sun's rays on it
Exiting the gully

The umpteenth photo of Temple
Final crossing of Paradise Creek for a trip that literally was "Paradise"
The End
LOG