Commonwealth Ridge VI
March 12, 2023
Mountain height: 2400 m
Elevation gain: 550 m
Roundtrip time: 4 hours
Snowshoeing with
Kaye and Paul.
I was delighted
to do another snowshoe trip with Kaye and a first one with Paul. I met Paul and
his son at the climbing gym. Paul was on a mission to complete 50,000 m of
elevation gain before his upcoming birthday and was, at the time, sitting at 34,000
m. 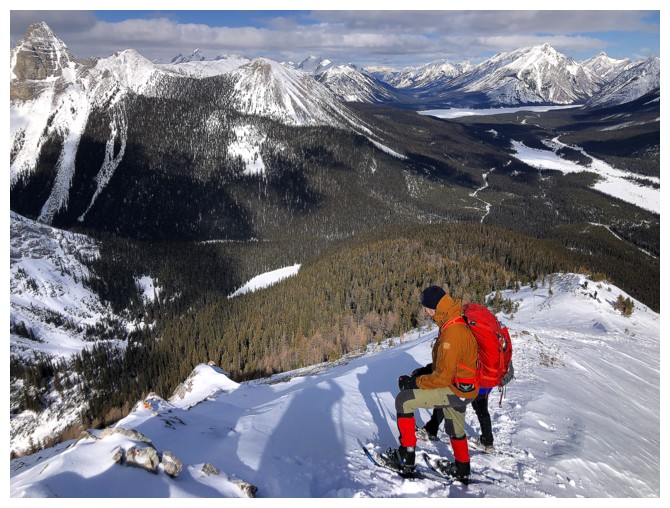 Hopefully we could add to that total.
We picked the increasingly
popular destination of Commonwealth Ridge for our trip. The ridge has three highpoints:
the North Plateau, the Centre Summit, and the True Summit. 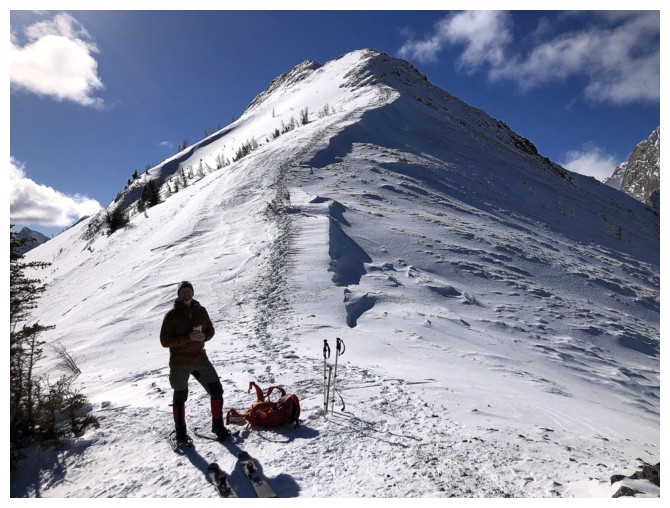 Our goal would be
the North Plateau, the Centre Summit and beyond requiring more technical gear
than we were taking.
Our goal would be
the North Plateau, the Centre Summit and beyond requiring more technical gear
than we were taking.
As expected, the
snow trail was excellent throughout. We did veer off onto a single snowshoe
track early on, just for the adventure. That track eventually joined up with
the main one, where the footing was a little better. From that point on, we cruised
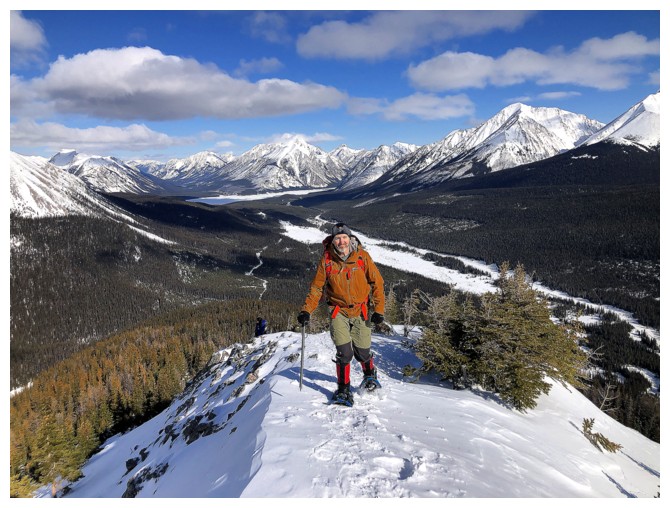
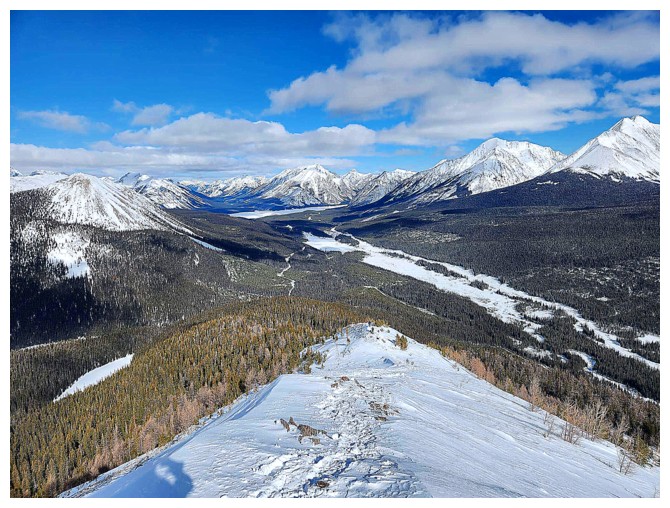
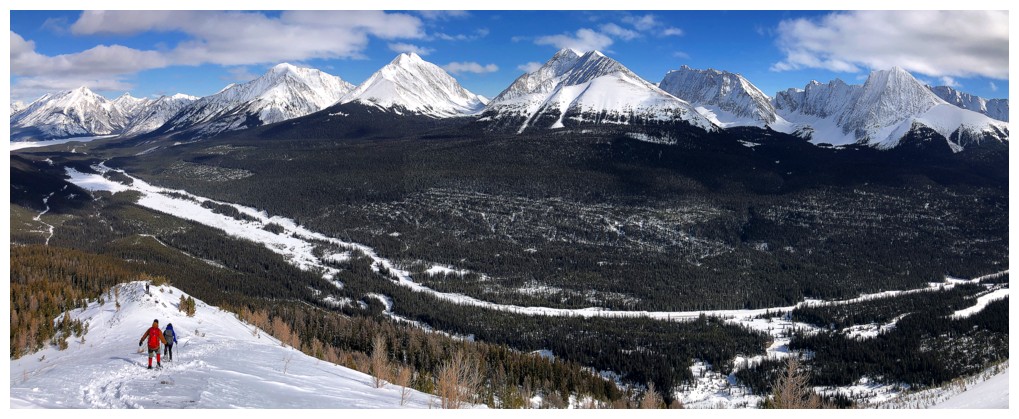
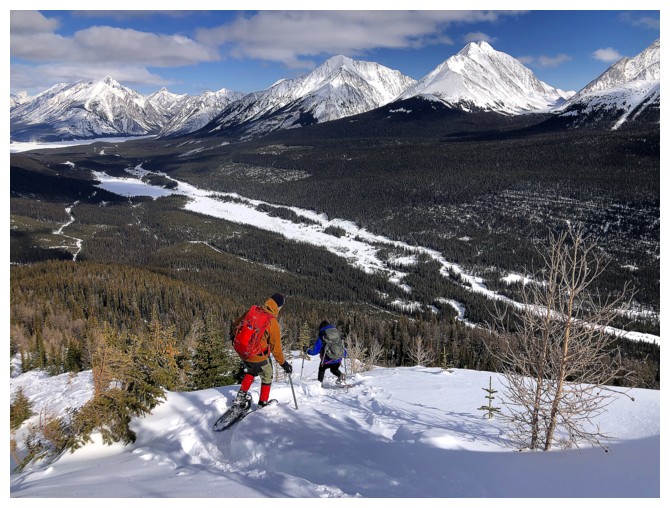
with relative ease to the North Plateau and the outstanding views it’s famous
for. Without crampons,
ice axes, or least microspikes, continuing along to the ridge to the Centre
Summit was unadvisable, but we settled for going up a short distance before
retreating to the plateau and a gratifying summit lunch.
Needless to say,
the descent was fast and easy. In fact, upon returning to Paul’s vehicle he announced
he was good to do another trip – that’s some serious commitment! We eventually agreed
to save that for another day.
A wonderful trip
for awesome company. Hopefully the first of many trips with these fine
individuals.
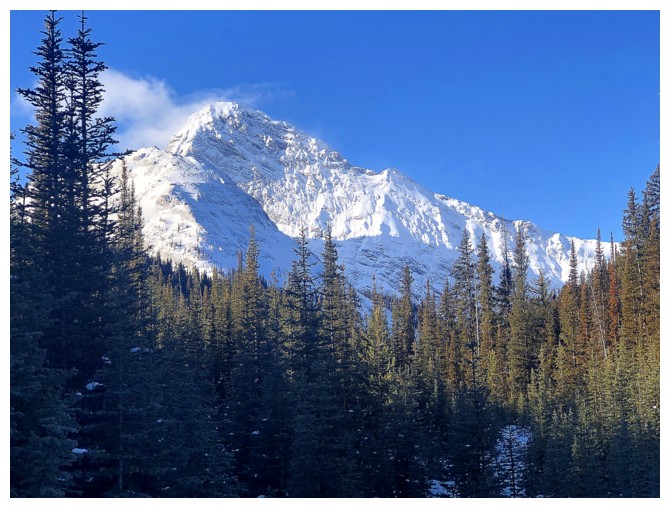
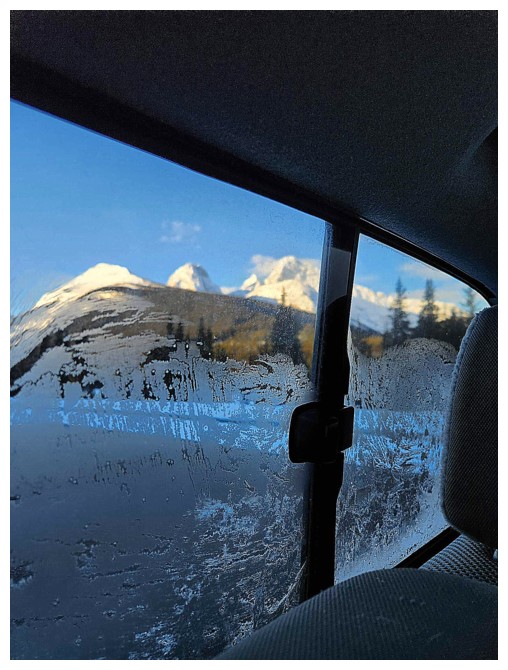 Cool shot of the objective (left) from inside Paul's vehicle (photo by Kaye)
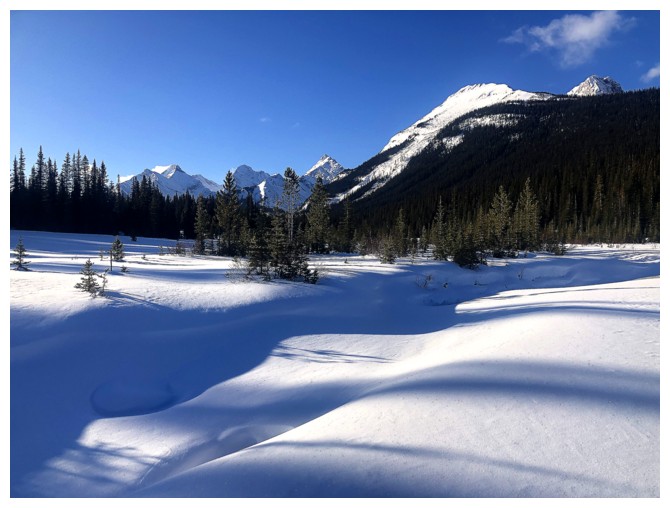
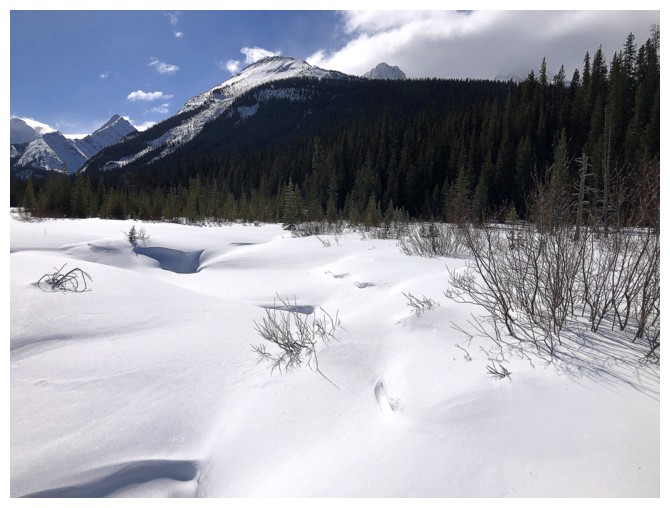
Crossing the flats at Smuts Creek
Seeing Mount Birdwood always makes me chuckle, given our 4 failed attempts on the mountain
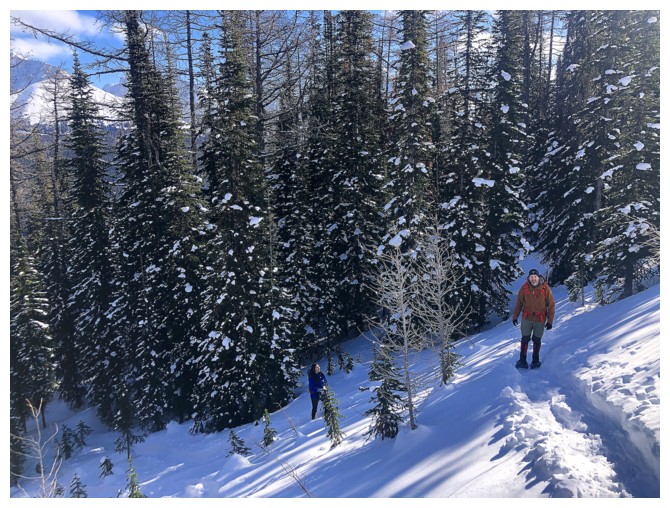
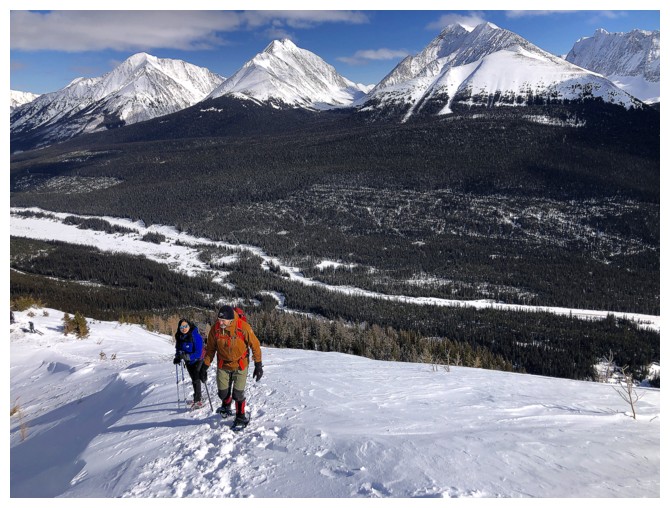
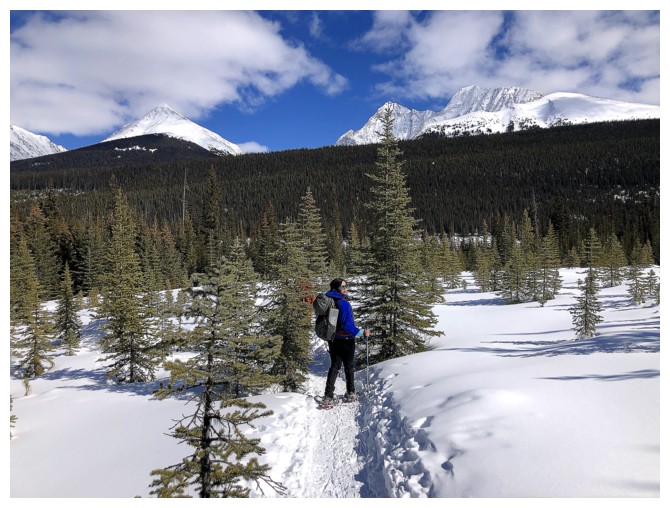
Kaye and Paul on the well-trodden track
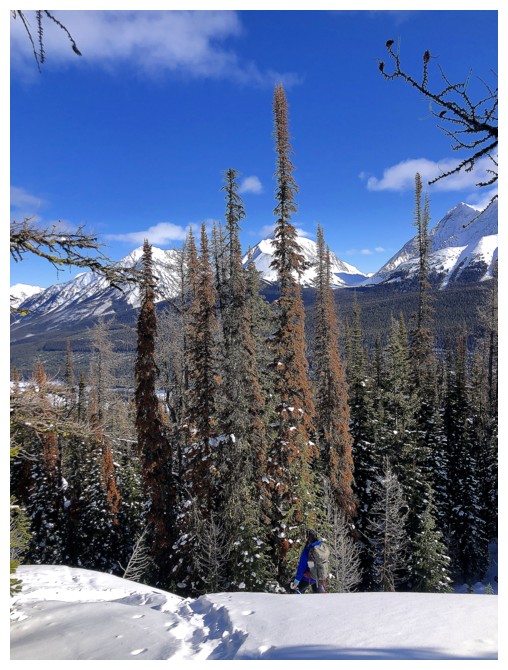
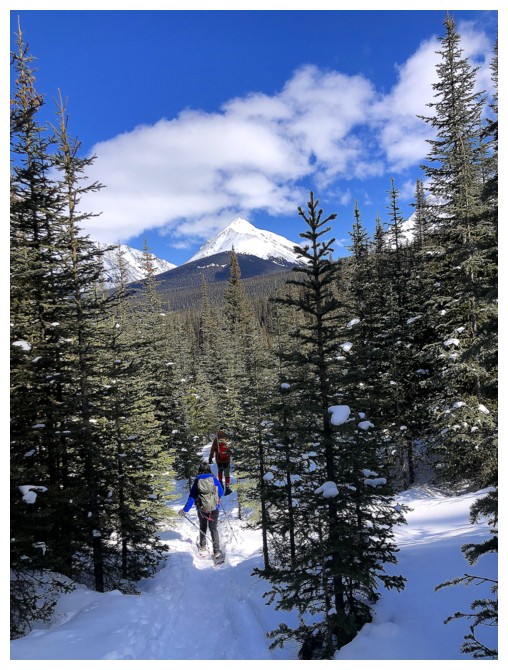
Kaye checks out some of the super tall trees
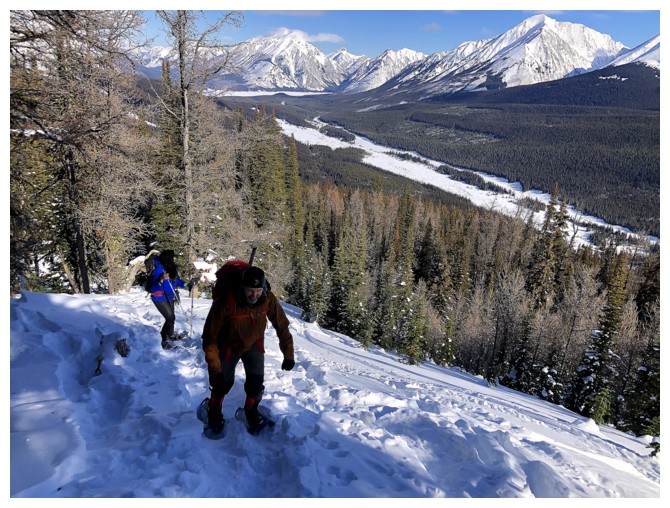
The view starts to open up
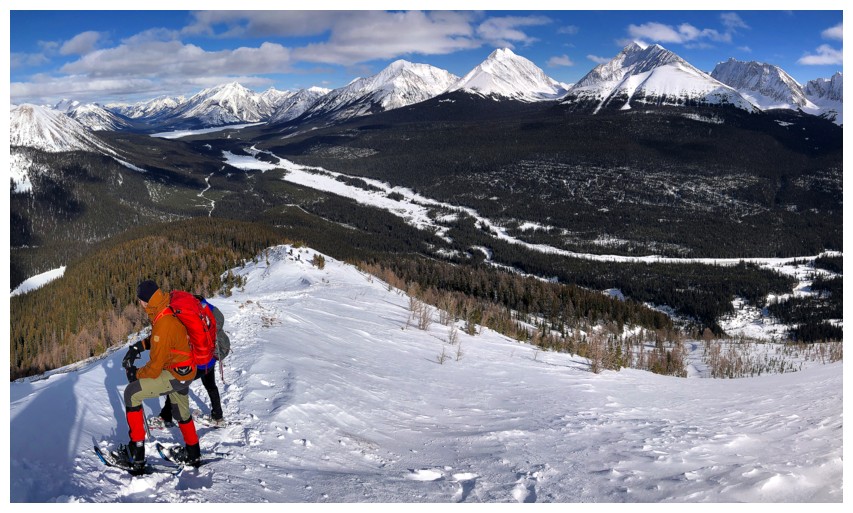
Finally above treeline
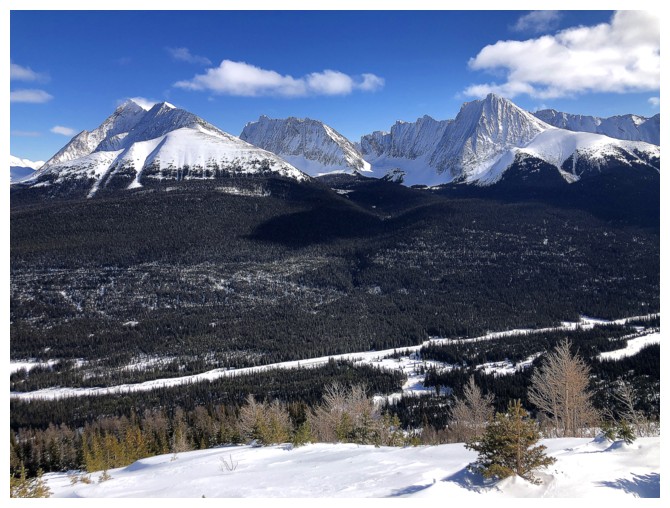
The classic view of 4 terrific Kane scrambles: Galatea, Gusty, The Fortress, and Chester
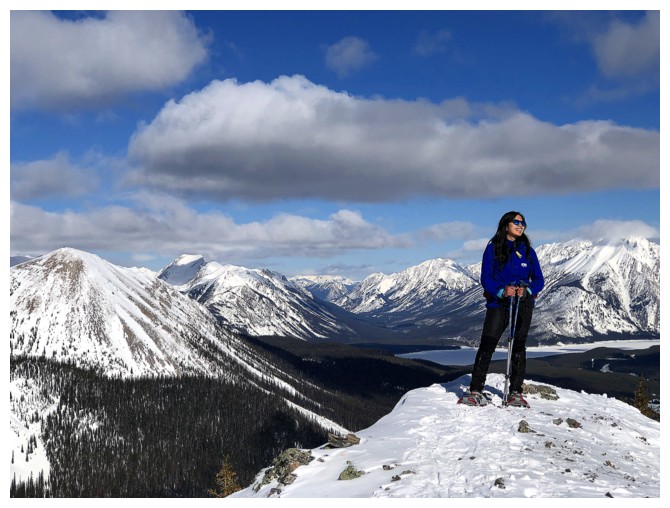
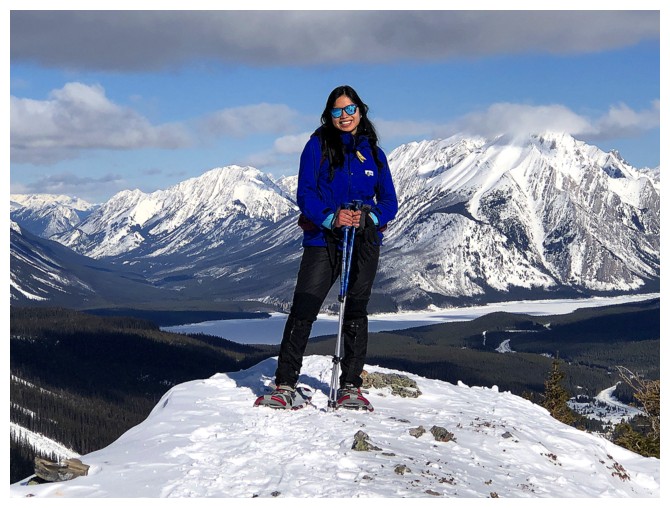
Kaye reaches the North Plateau
Same as above
View to the north (photo by Kaye)
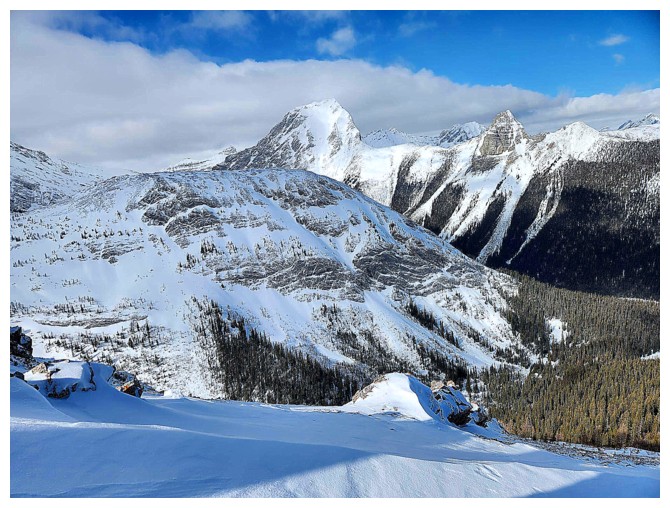
View of Mount Smuts and The Fist (photo by Kaye)
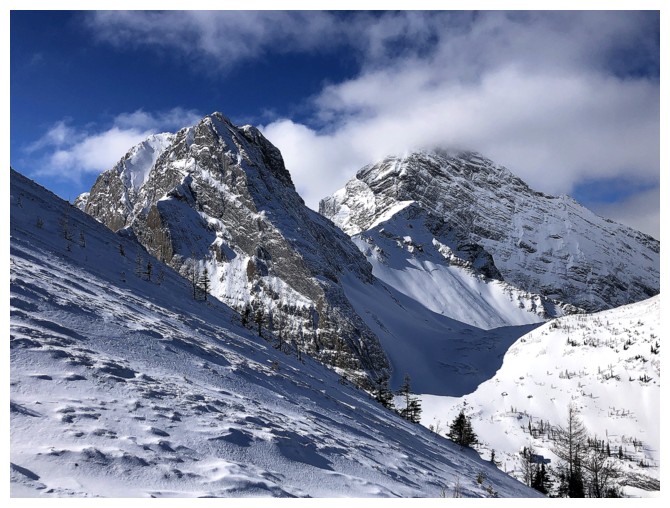
Commonwealth Peak and Mount Birdwood
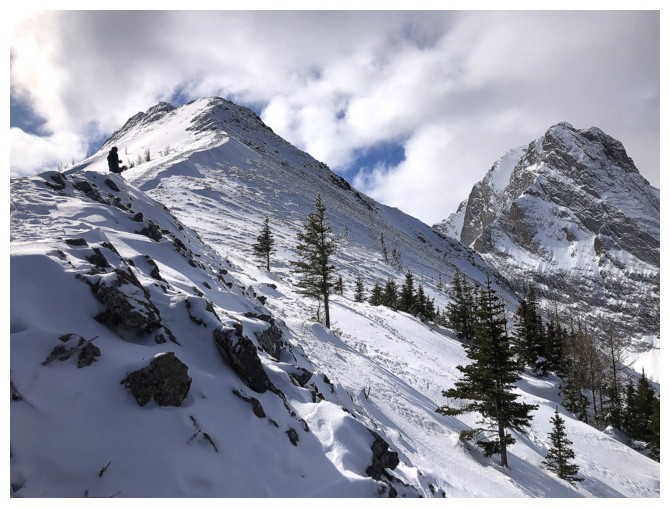
Paul and the continuation of the ridge
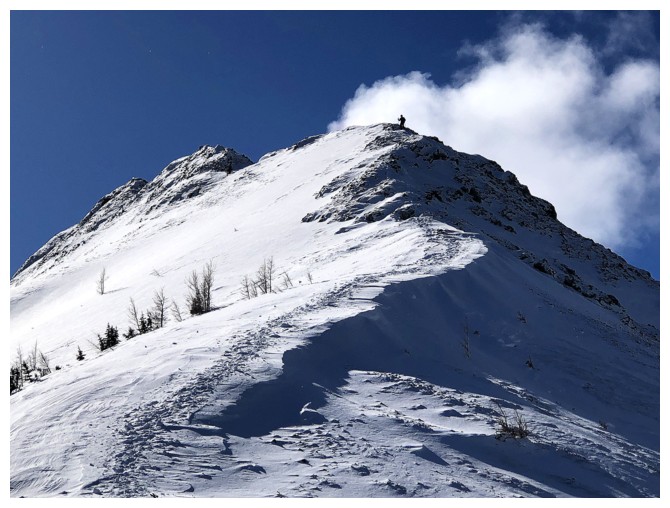
Someone is up there
Continuing up for a short distance
Our highpoint for the day
Heading down
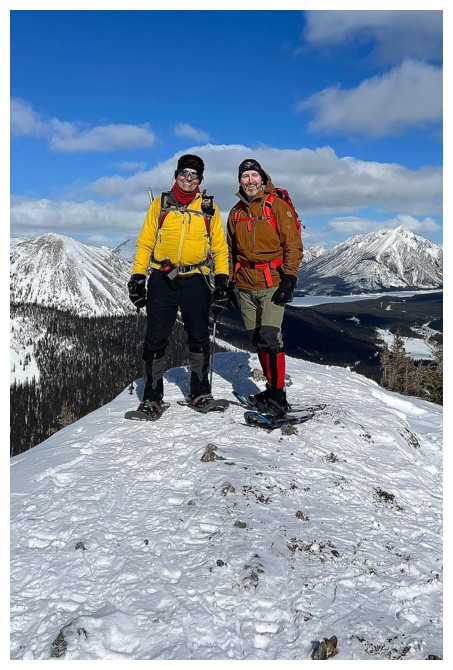
Paul and I at the North Plateau (photo by Kaye)
The start of the wonderfully easy descent
Last look at the ridge and the peak
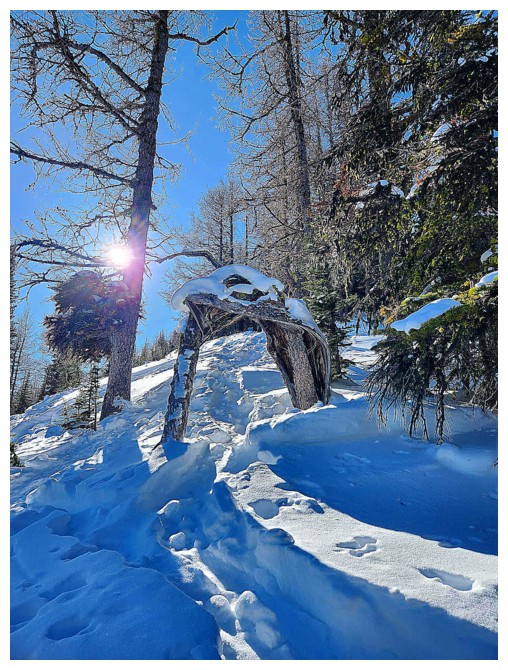
Kaye finds a cool, fallen tree that has formed into an arch (photo by Kaye)
Almost down to the valley floor
Same as above
Back at the flats
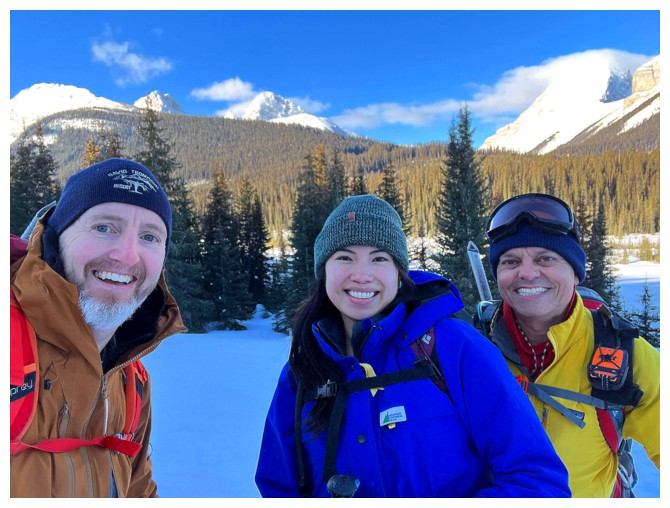
Good group shot by Paul
The End
LOG