Mount Birdwood attempt IV
and "Sepia Ridge"
August 15, 2020
Roundtrip time: 13 hours
Climbing with Mark.
That’s a wrap for Mount Birdwood! 13 years
after 2 unsuccessful attempts at reaching the summit we were back for another
round. Admittedly, we were both a little nervous about returning to Birdwood,
given a few recent repeat ascents in which we found the repeat to be far more
challenging than the initial ascent (Goat Mountain and Mount Athabasca). Would
Birdwood suffer the same fate? Indeed it did and this time the summit would elude us once again - perhaps forever!
 Leaving relatively early we started the now nostalgic
hike to Smuts Pass. On approach we had the pleasure of meeting Mark Peters and Chris
Shea – two super friendly young lads on their way to attempt the daunting and “feather
in your cap” of Alan Kane scrambles, Mount Smuts. After some excellent
conservation with the Mark and Chris we parted ways, the pair hitting the south
ridge of Smuts, while we went for the north ridge of Birdwood.
Leaving relatively early we started the now nostalgic
hike to Smuts Pass. On approach we had the pleasure of meeting Mark Peters and Chris
Shea – two super friendly young lads on their way to attempt the daunting and “feather
in your cap” of Alan Kane scrambles, Mount Smuts. After some excellent
conservation with the Mark and Chris we parted ways, the pair hitting the south
ridge of Smuts, while we went for the north ridge of Birdwood.
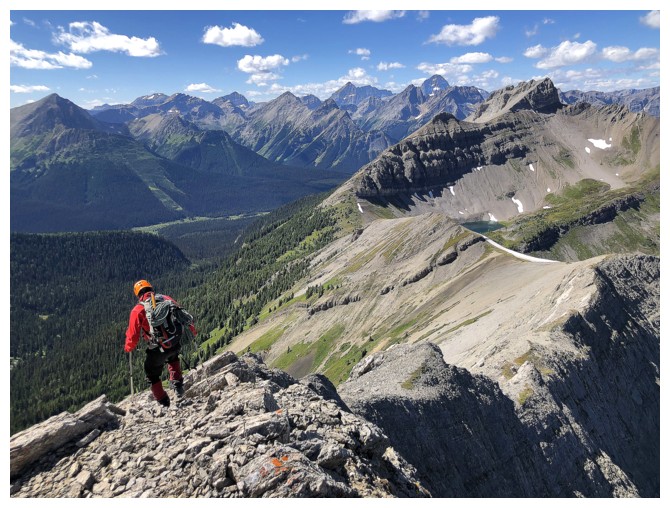
 I think we both knew we were in trouble as soon
as we hit the ridge. In 2003 we had almost effortlessly scrambled up the lower
portion of the ridge, with little concern about the exposure or level of
scrambling. 17 years later even this “easy” section felt more challenging than
it should have been. Nevertheless, the sky was clearing, views were amazing,
and though just dots on the ridge I could see Mark and Chris, making their way
up Mount Smuts.
I think we both knew we were in trouble as soon
as we hit the ridge. In 2003 we had almost effortlessly scrambled up the lower
portion of the ridge, with little concern about the exposure or level of
scrambling. 17 years later even this “easy” section felt more challenging than
it should have been. Nevertheless, the sky was clearing, views were amazing,
and though just dots on the ridge I could see Mark and Chris, making their way
up Mount Smuts.
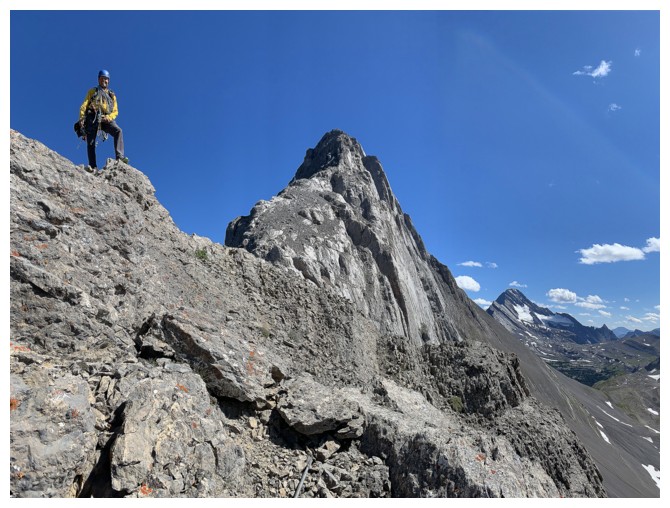
Once we reached the start of the actual
climbing a long conversation ensued. Apparently in the 13 years between trips,
the north ridge of Birdwood had tilted to an even fiercer angle and parts of
the mountain had simply disappeared, making it even more exposed. Not true at
all! The only thing that had changed was us. The ridge simply looked way scarier
than it did in 2007. Mentally neither of us were up for a long ascent and even
longer descent of this section. We therefore decided to give it a go, but back
down as soon as either of us felt uncomfortable.
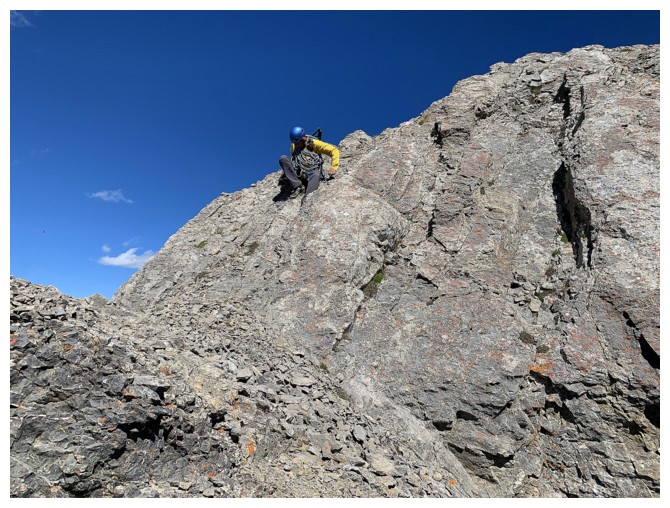
That attempt lasted one rope length! It took
too long to negotiate even the easiest section of the climbing and although I’m
sure we would have eventually made the summit an epic descent was a forgone
conclusion. We both decided against continuing. These days I rarely regret
pulling the plug on any ascent and that was especially true on this day. I’ve
experienced many hours of discomfort on awkward dates over the years – no need
to bring that into the mountains!
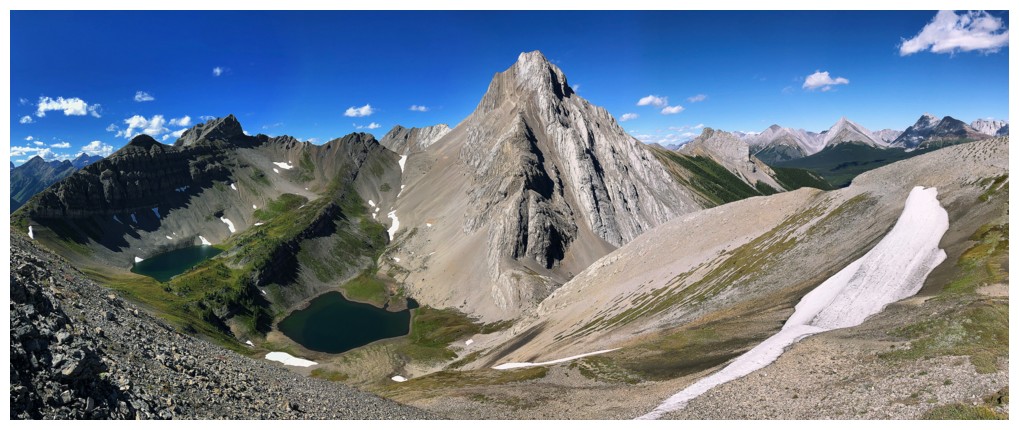
Upon reaching the bottom of the ridge, we decided
that a quick visit to the scenic Birdwood Lakes was in order and that turned
into an ascent of lowly but incredibly rewarding “Sepia Ridge” – the ridge east
of Smutwood Peak, and named by Calvin Damen. What the ridge lacks in height it
more than compensates for in remarkable views of the area, giving much higher Smutwood
Peak a run for its money. Of course, Smutwood also boasts excellent views to
the west, so it will always win the “Battle of the Views”.
Not the result we wanted, but still be awesome
day out in one of Kananaskis’ finest areas.
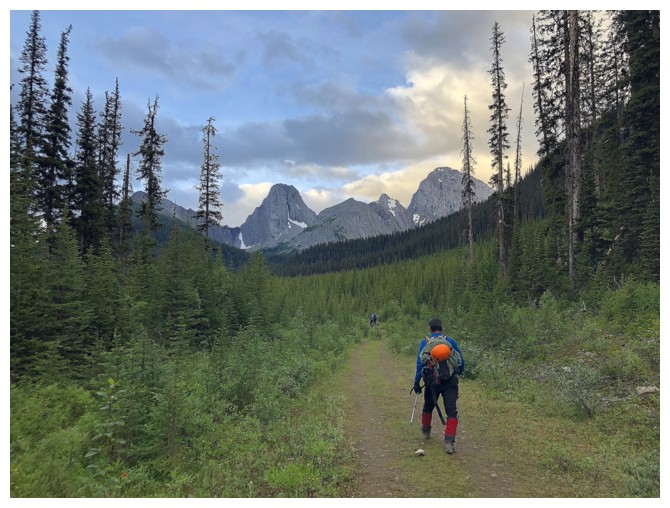
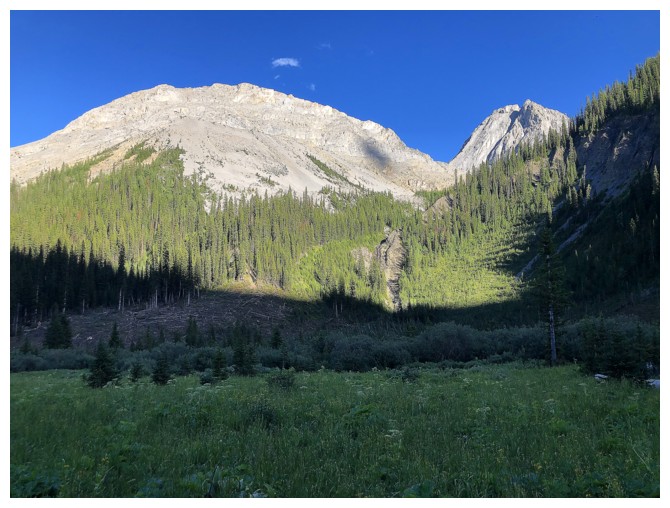
Hiking the Commonwealth Creek logging road. Left to right: Commonwealth Ridge,
Commonwealth Peak, Pig's Back, Pig's Tail and of course Mount Birdwood.
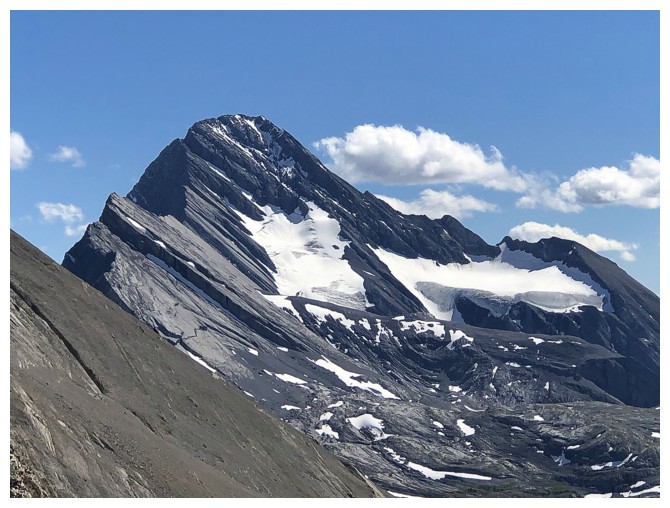
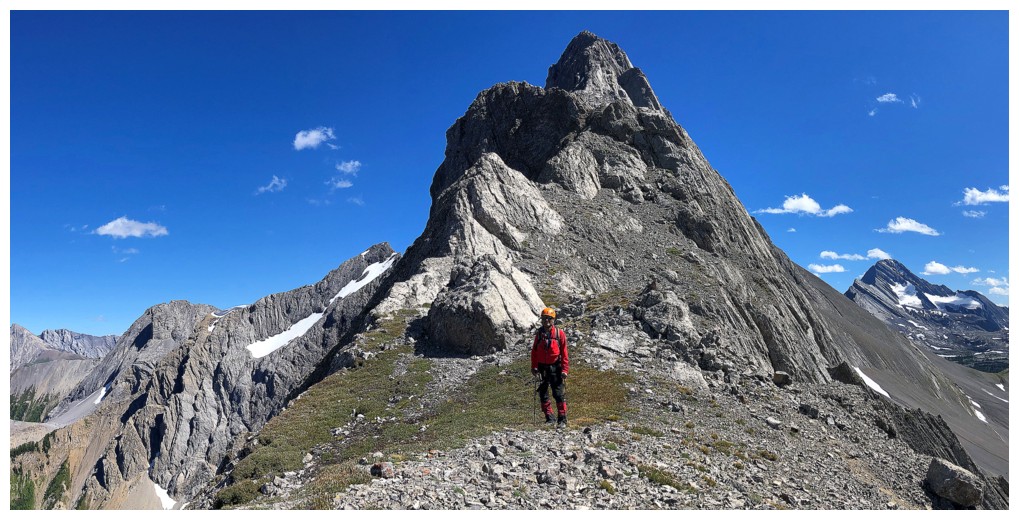
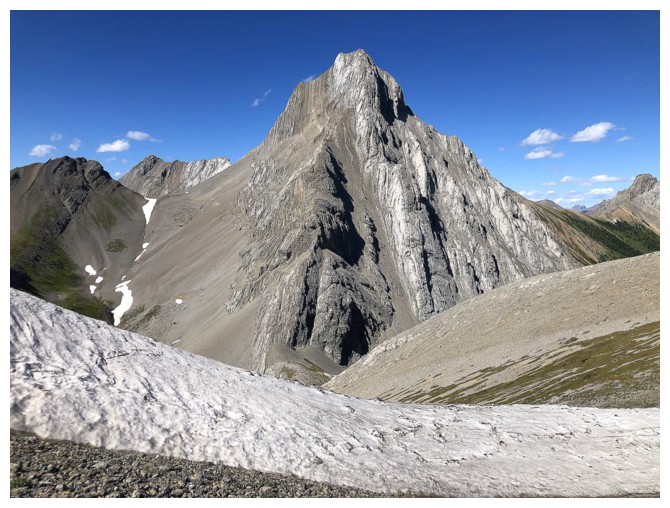
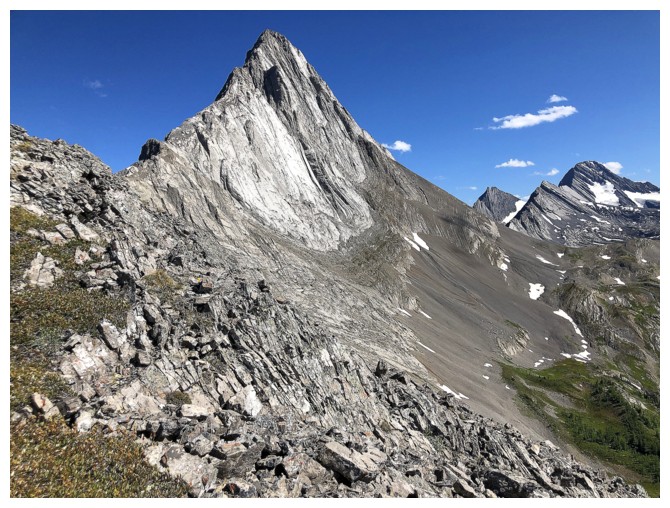
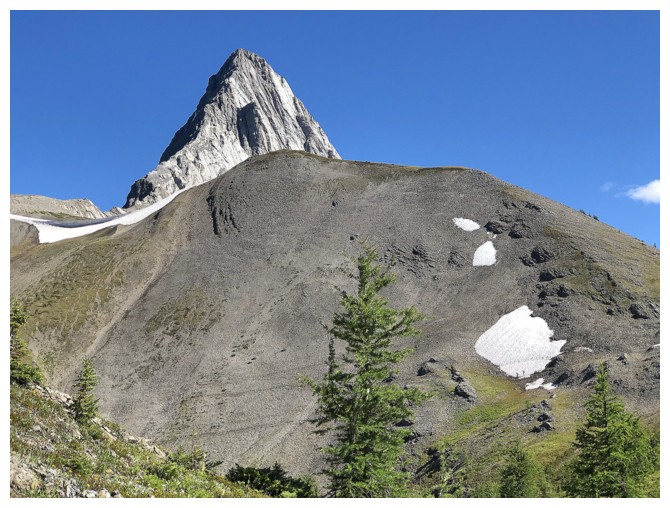
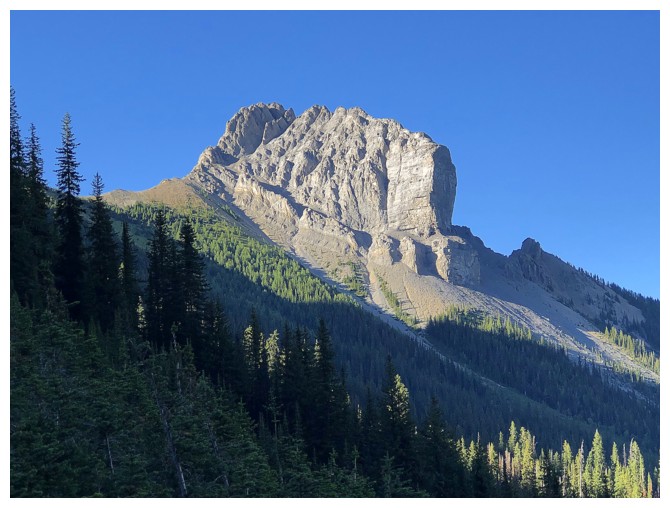
Mount Birdwood and its north ridge - looks fairly easy from this angle
Infamous Mount Smuts and its south ridge. The Fist at the right.
Perception at this point makes the south ridge of Smuts look easy. It's far from easy!

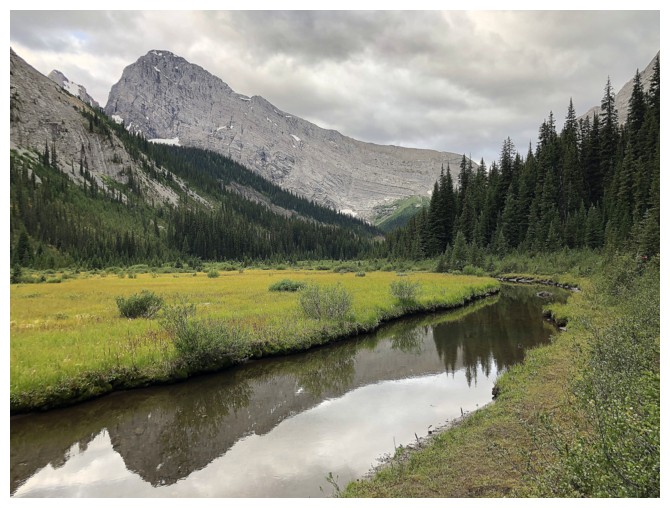
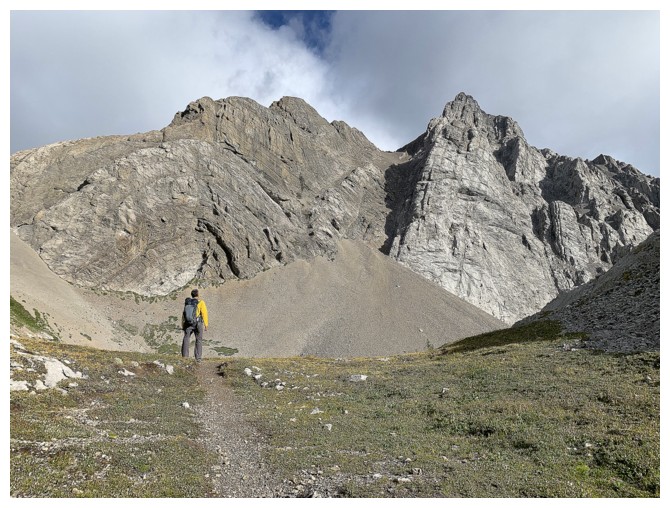
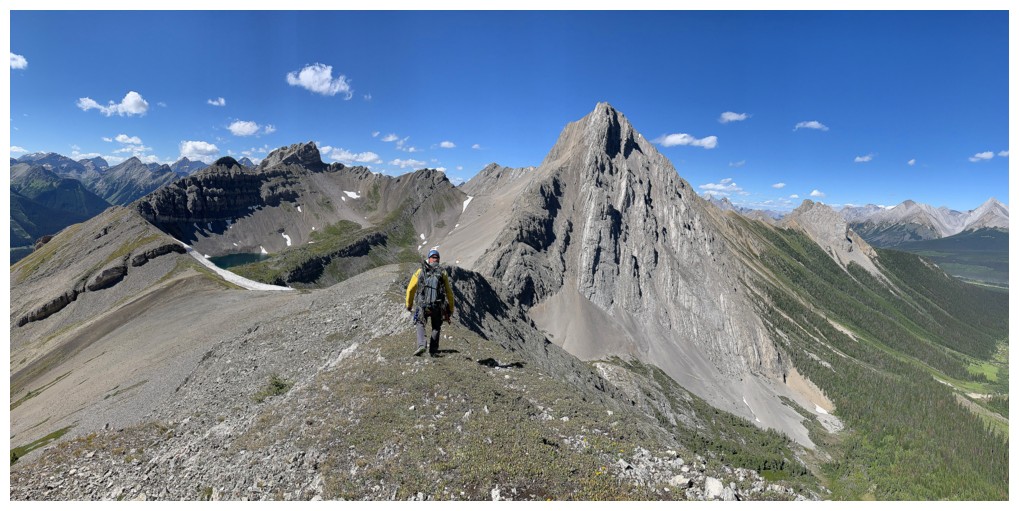
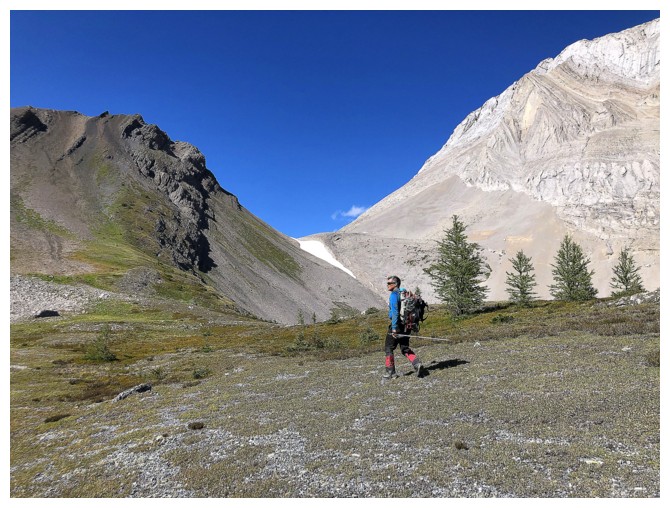
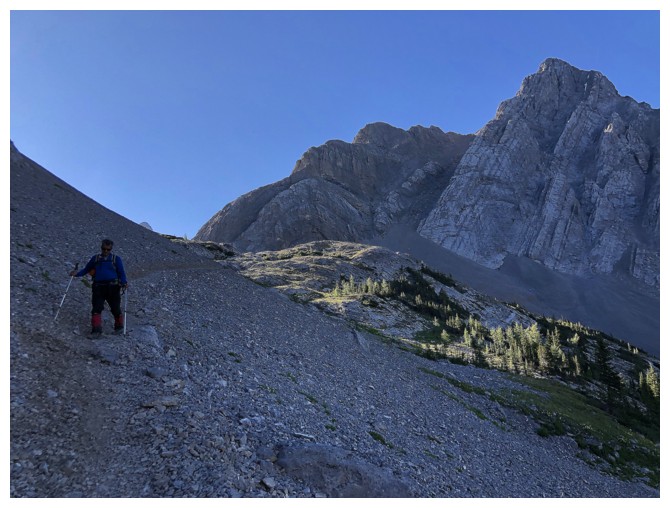
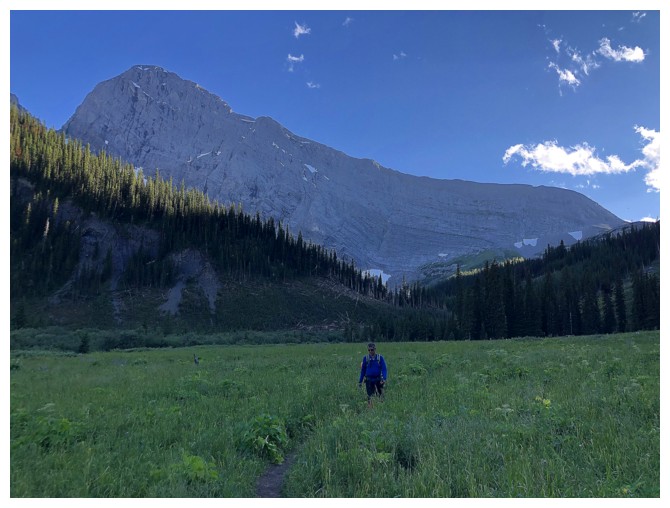
Approaching Smuts Pass, with the north ridge of Birdwood behind
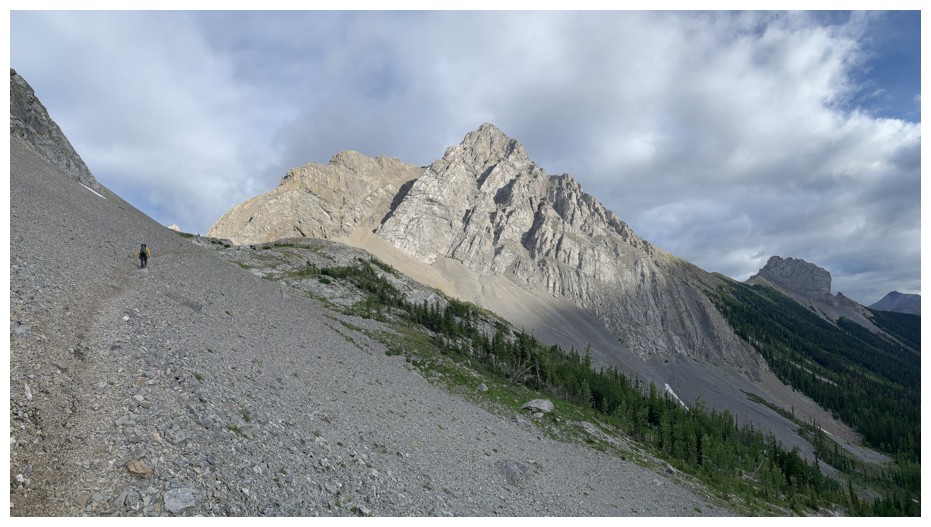
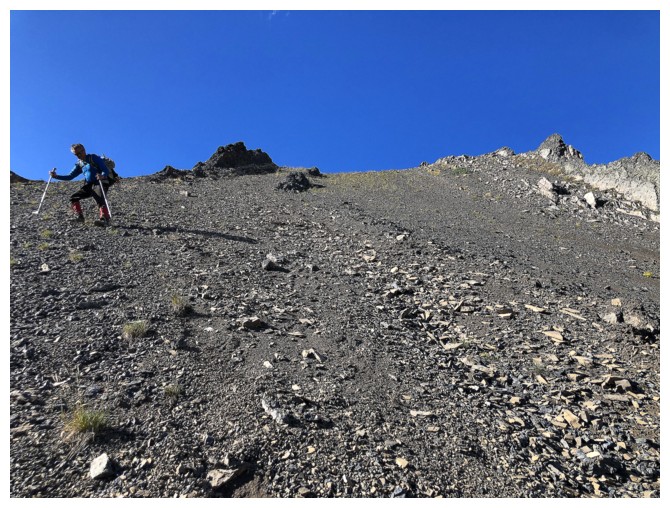
Heading up steep scree to the north ridge. Smutwood Peak in the centre and Mount Smuts at the right.
Short detour over to the col between Birdwood and a minor highpoint
At the snowy col
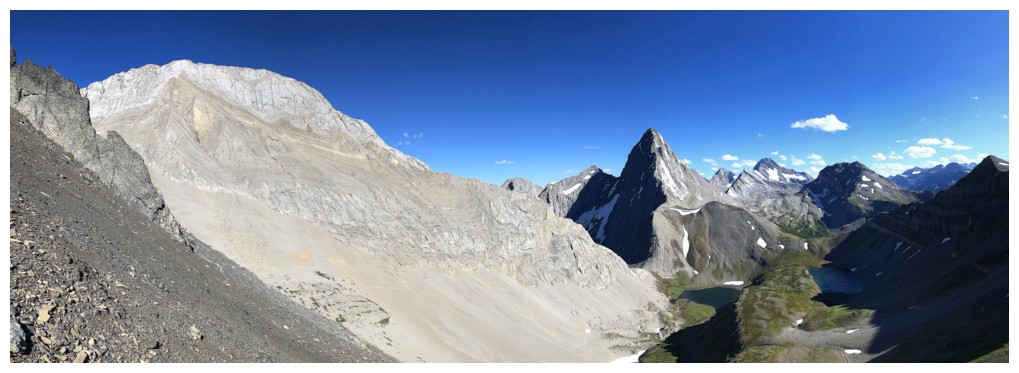
Pano to the west
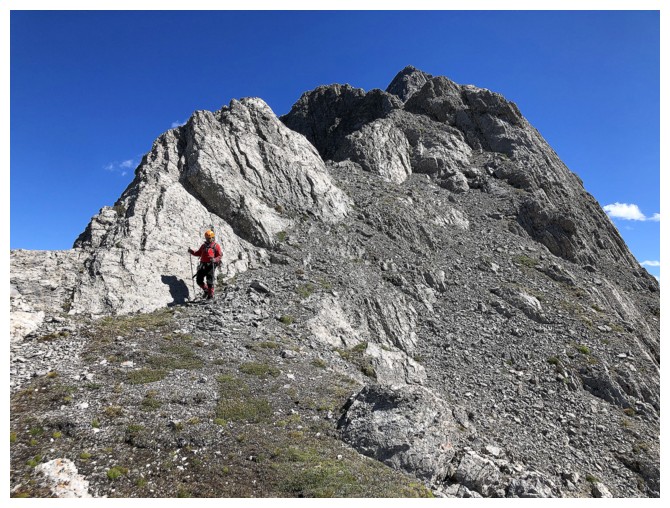
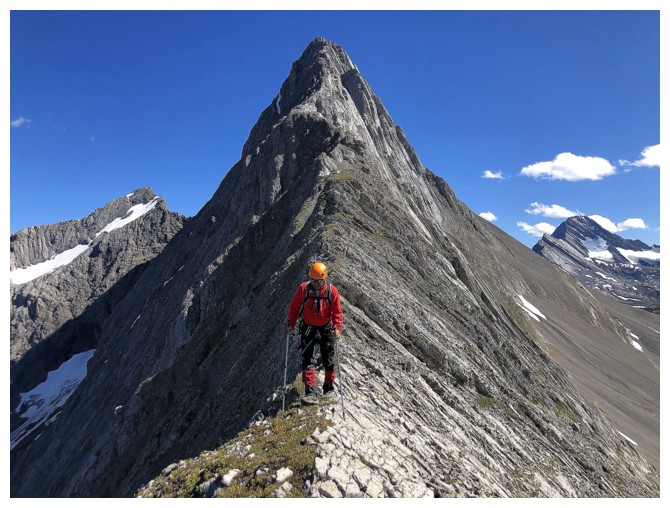
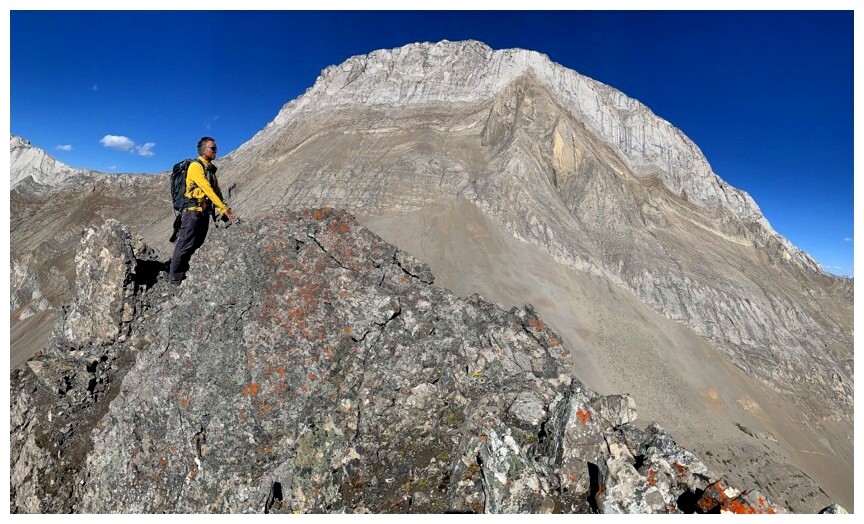
Typical scrambling on the lower section of the ridge
Sections of easy scrambling
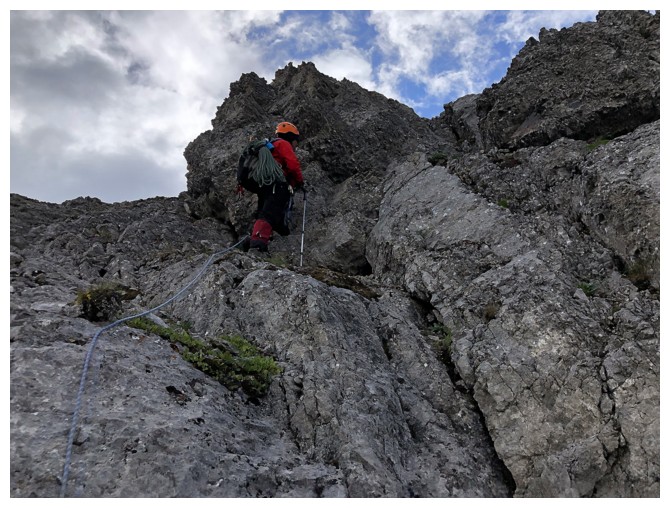
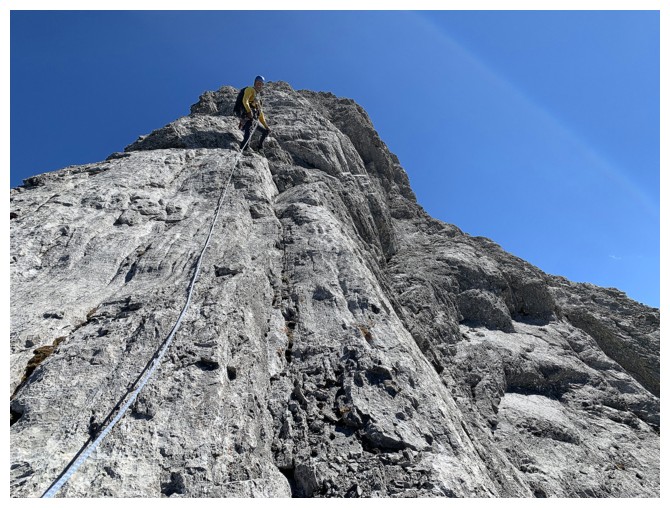
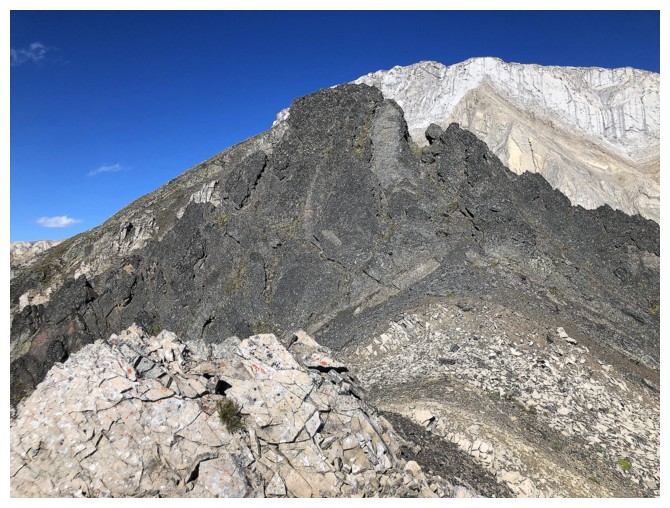
And then this!
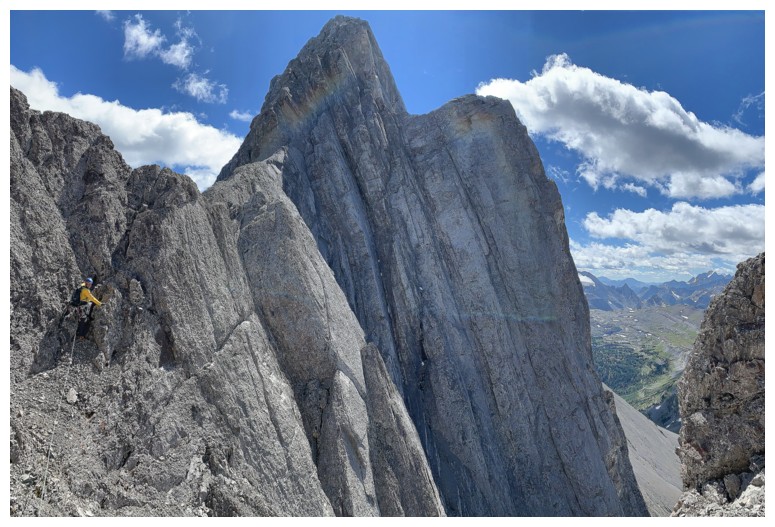
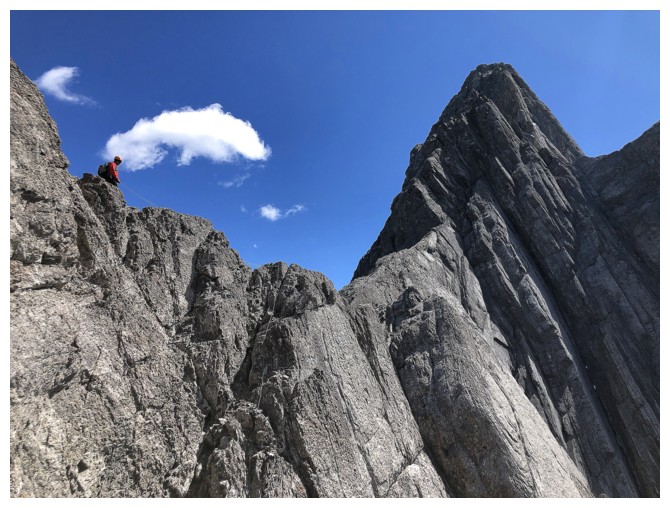
The first part of the climbing is easy, but quickly it becomes more challenging with serious exposure
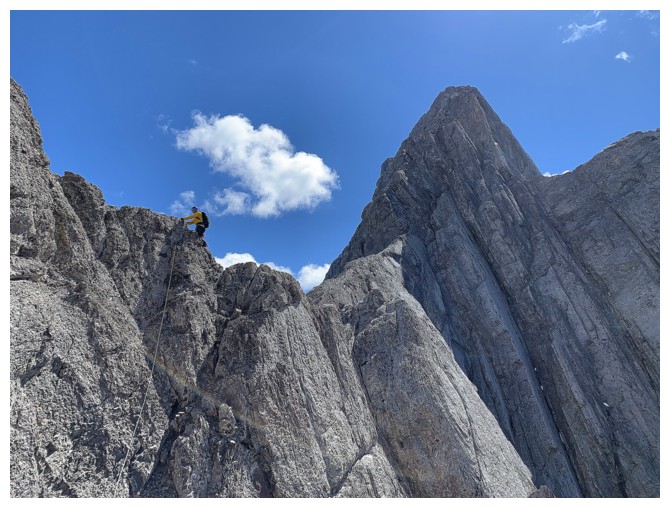
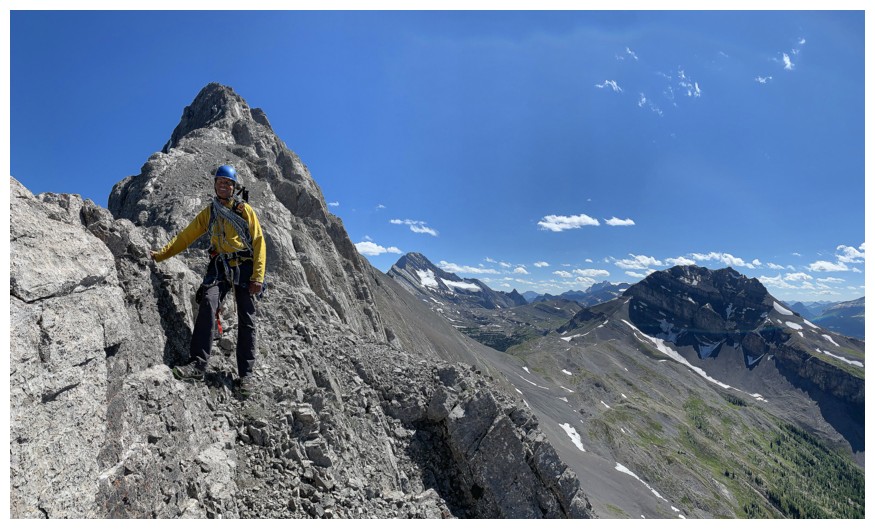
Setting up an anchor for the next section
Mark reaches the point where the anchor is
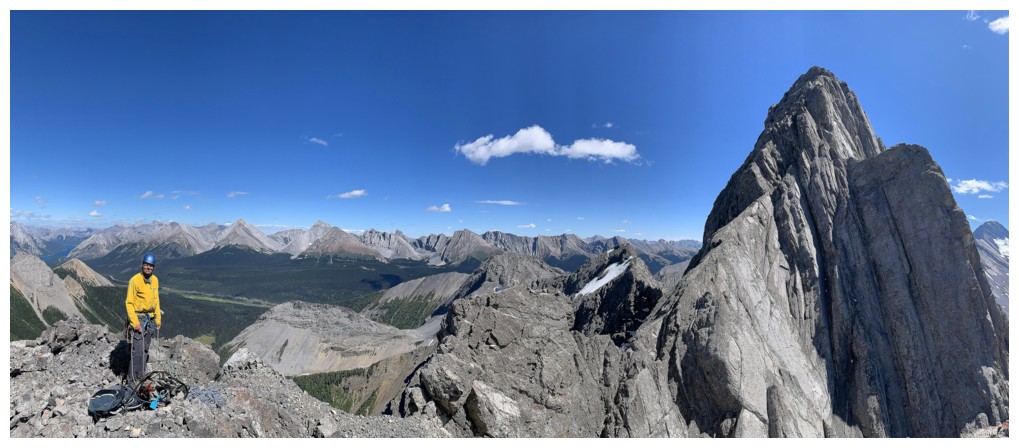
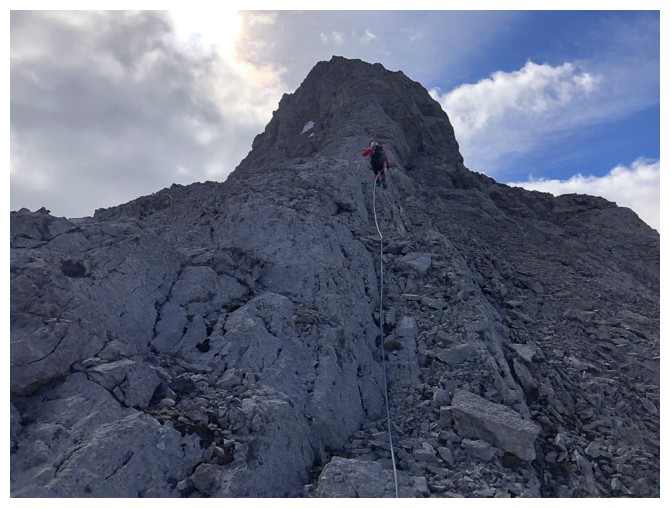
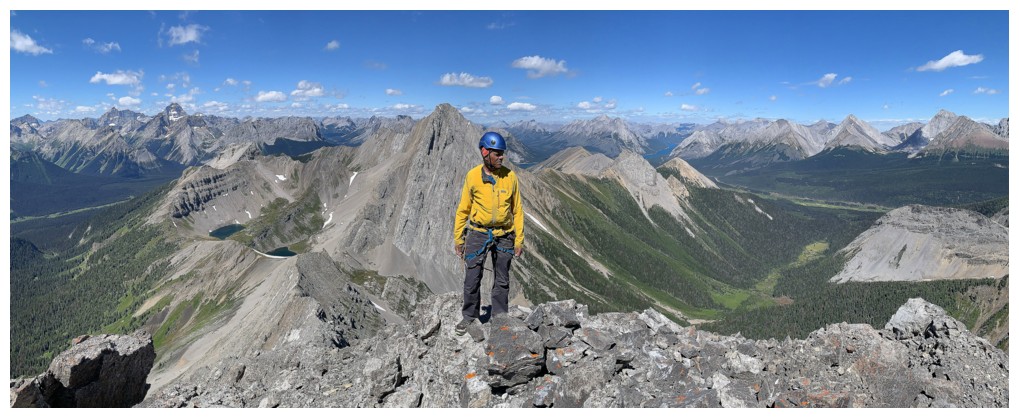
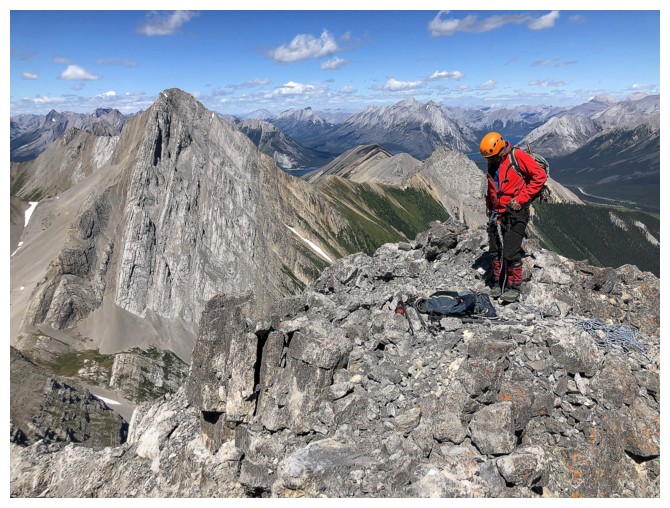
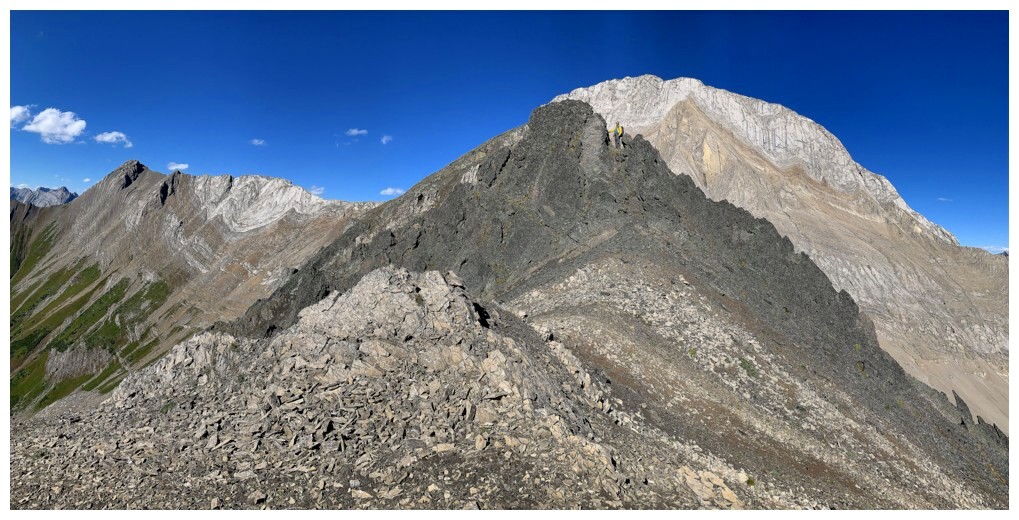
Mark's view of me from where we turned around. We got almost to the highpoint seen in the photo on our attempt in 2007.
Mark takes a last look at the intimidating ridge before we back down
Snow Peak to the south
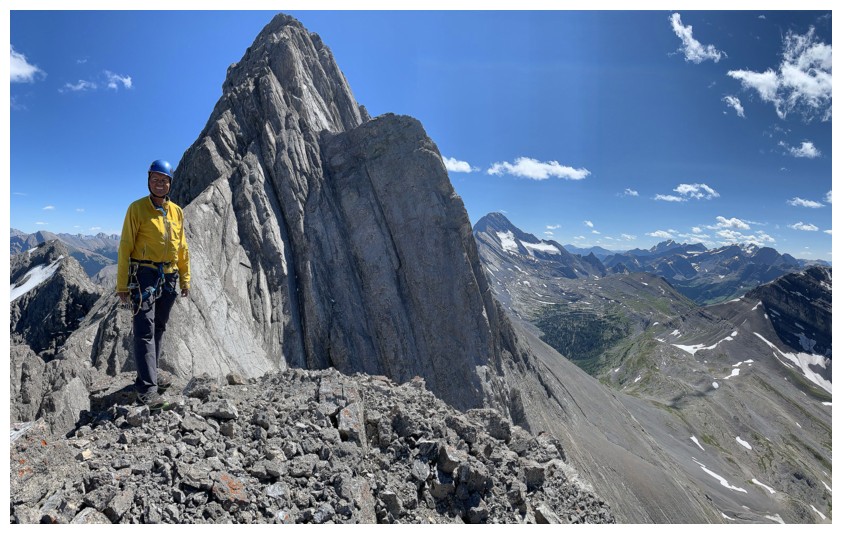
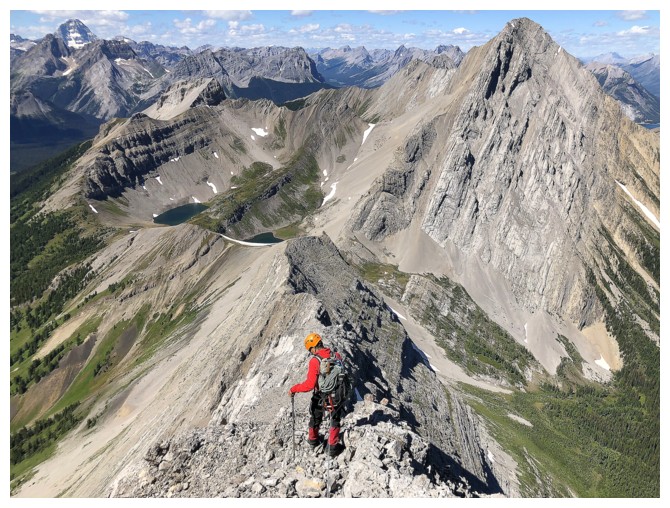
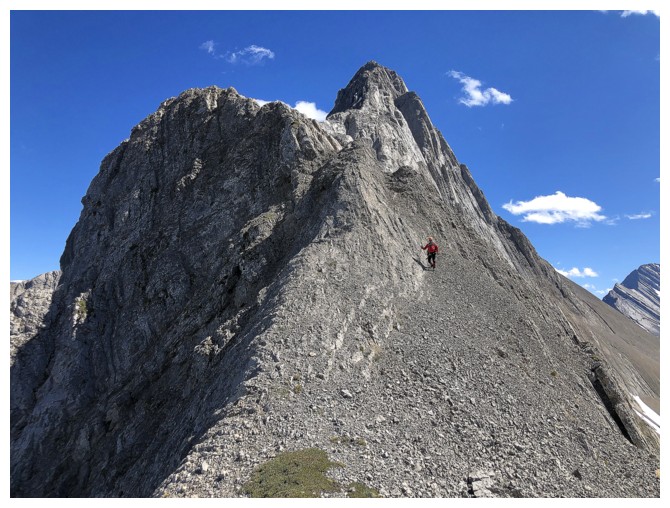
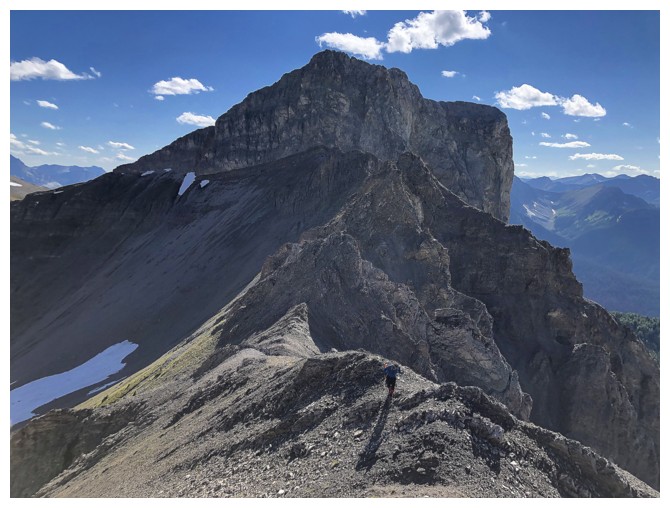
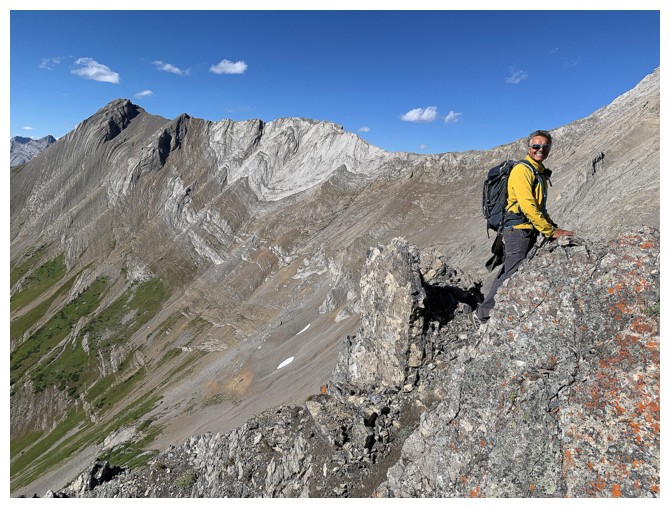
Back onto easier terrain and obsessing a little over the failed ascent
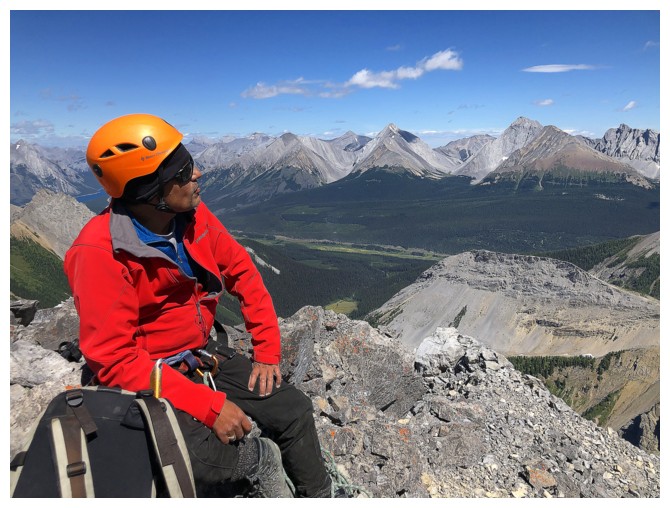
Mark contemplates our decision to turn around - it was 100% the right choice!
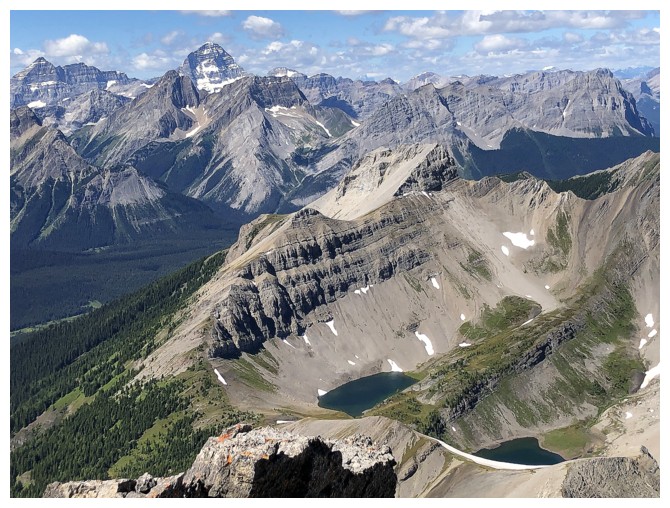
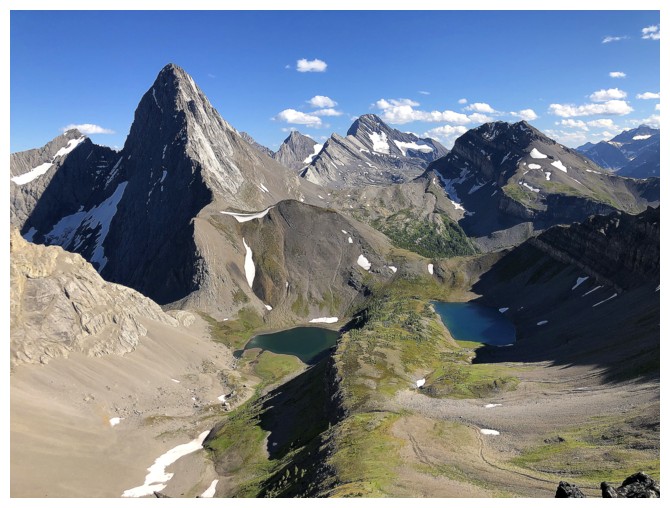
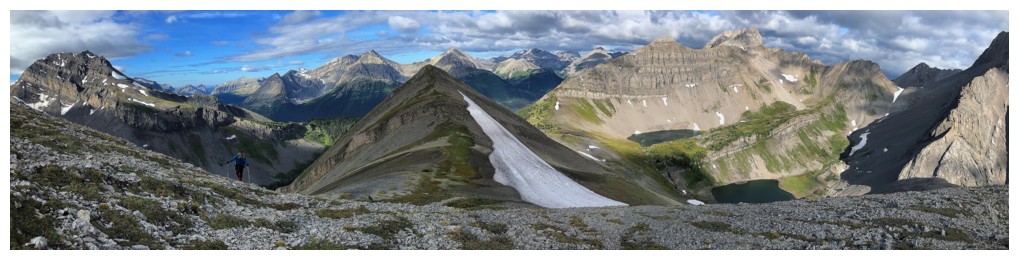
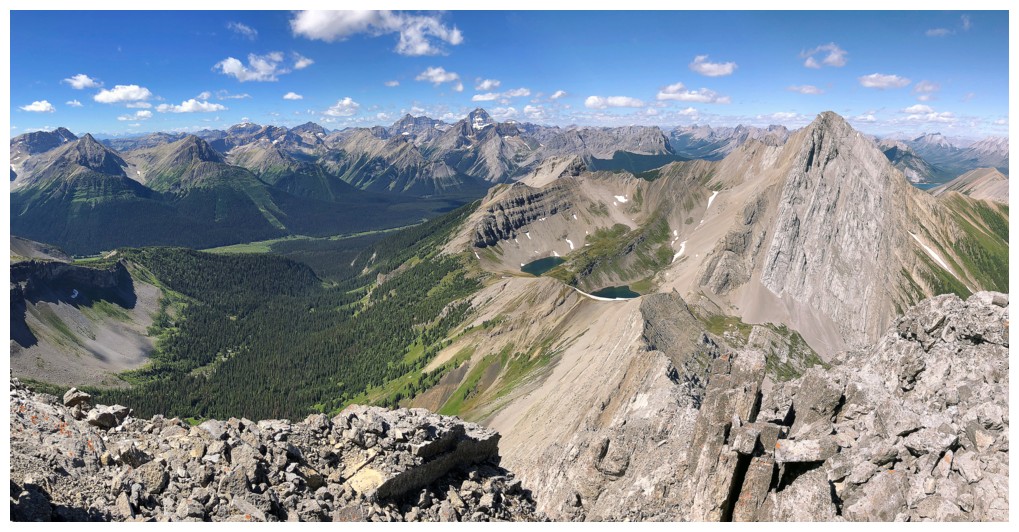
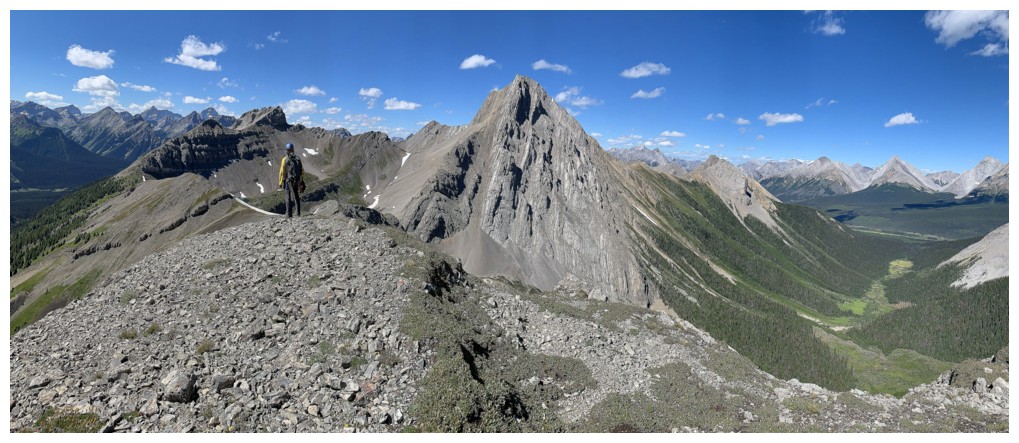
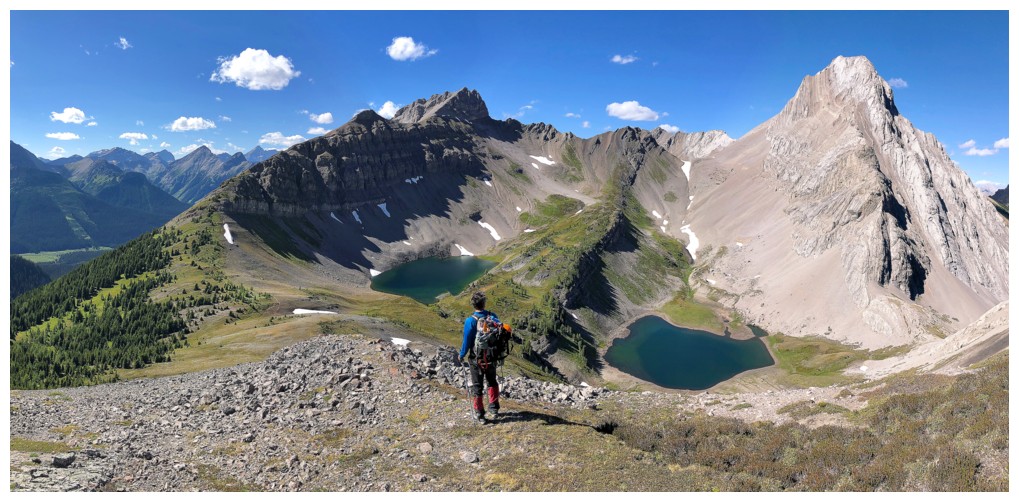
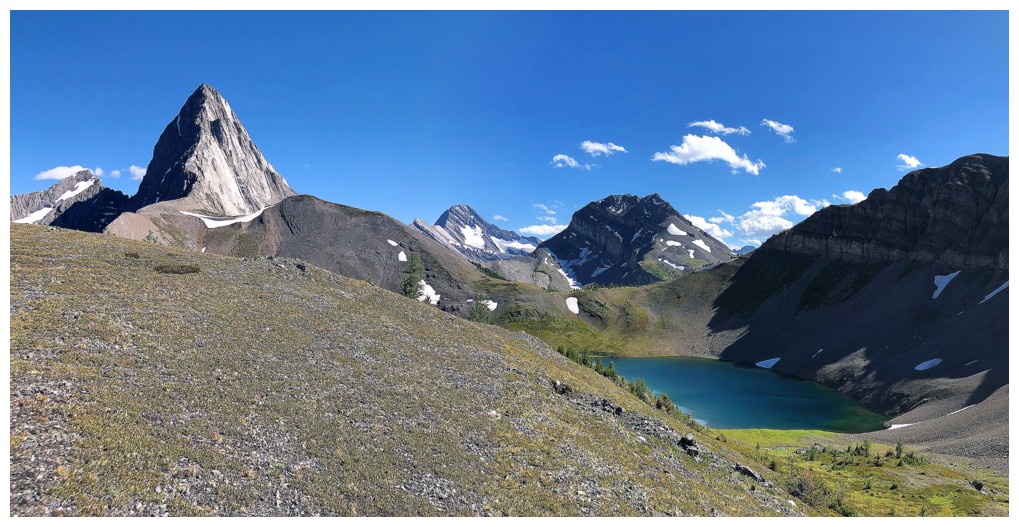
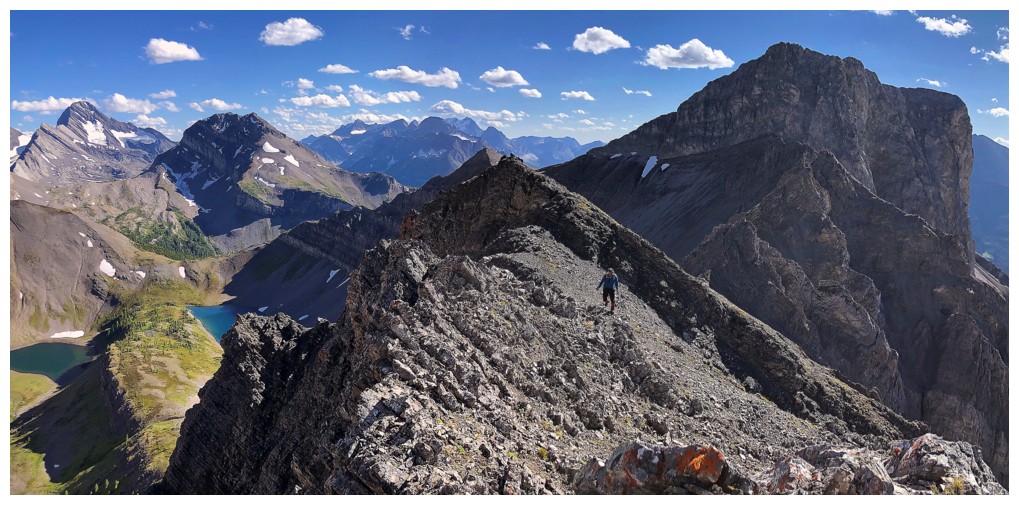
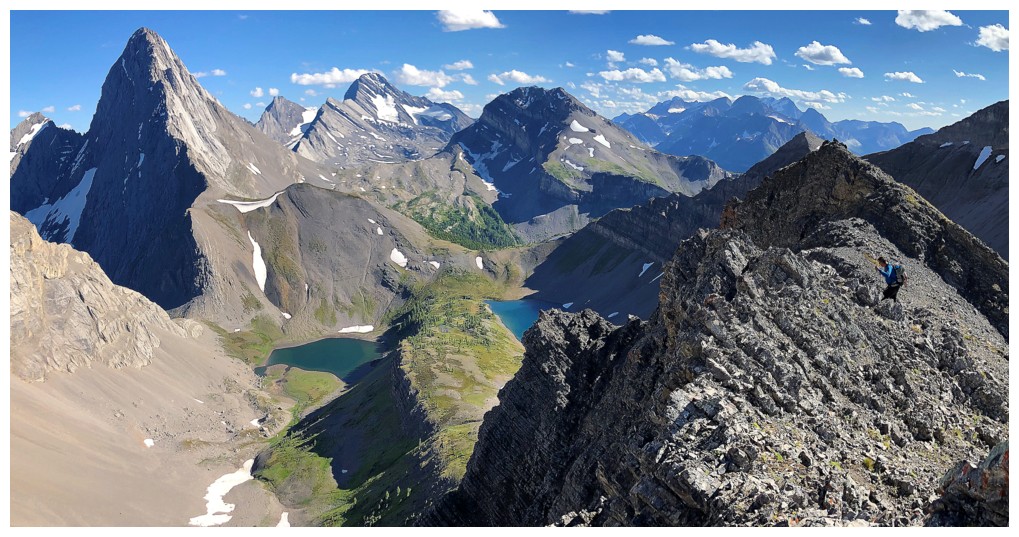
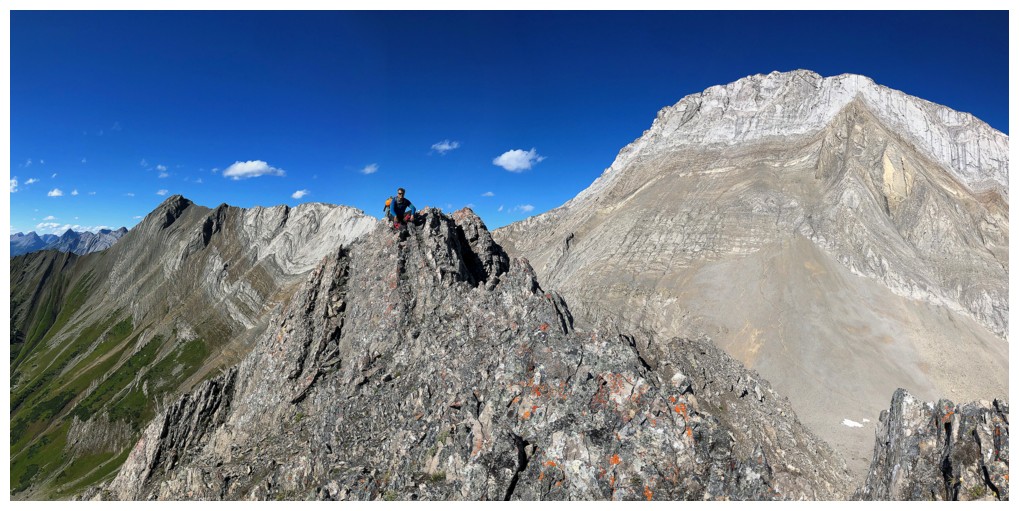
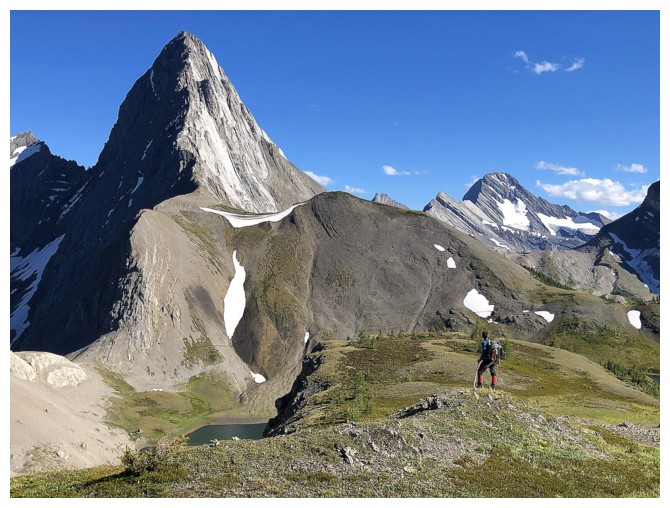
Even from halfway up the ridge, the views towards the Birdwood Lakes and Smutwood Peak are fantastic.
Mighty Mount Assiniboine in the background also helps.
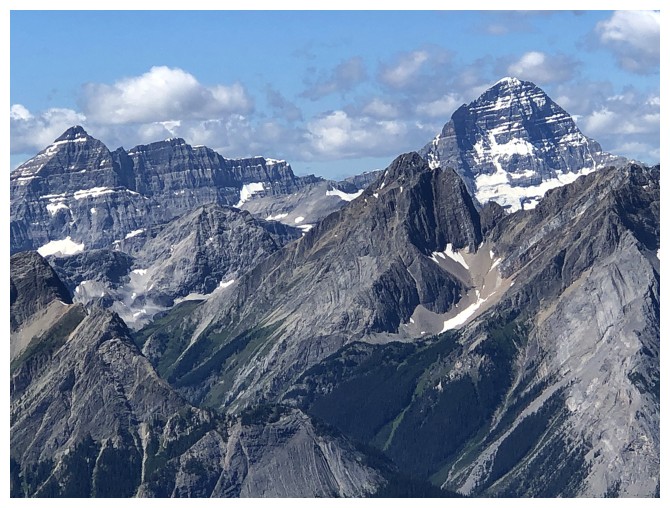
Eon Mountain at the far left and Assiniboine
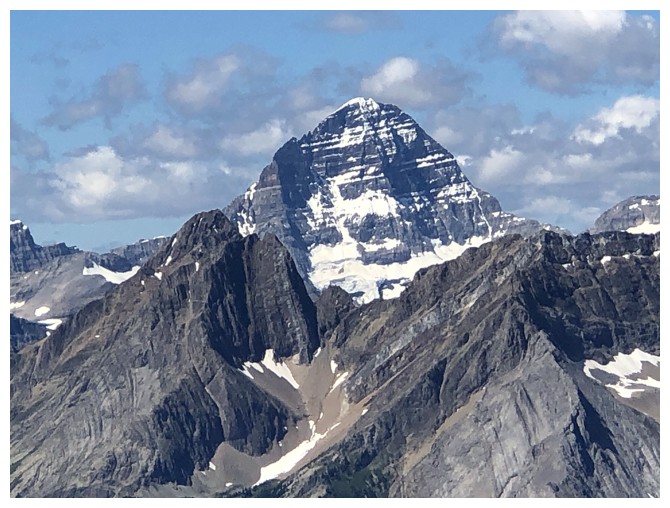
Assiniboine close-up
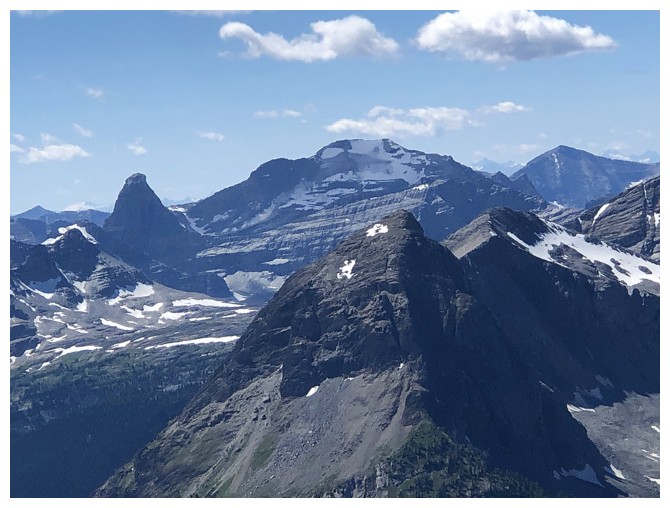
Mount Soderholm (centre) and distinctive Talon Peak (Sharkfin) at the left
View to the north
View to the south
View to the north without me ruining it!
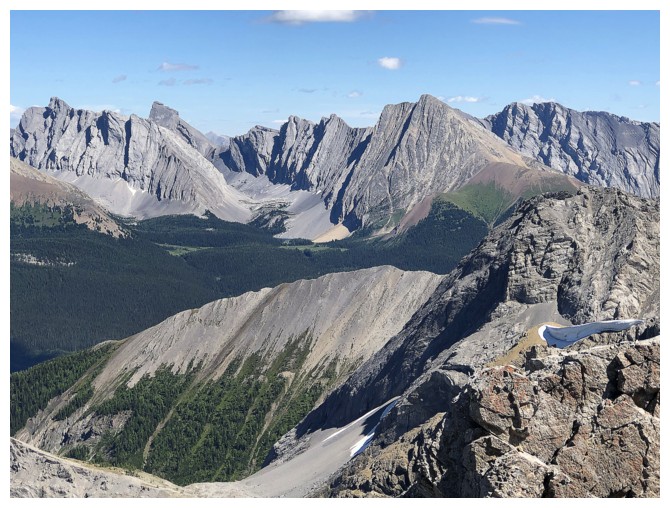
The view to the east includes Gusty Peak, The Fortress, Mount Chester, and Headwall Peak
Preparing to leave
Off we go, down the ridge
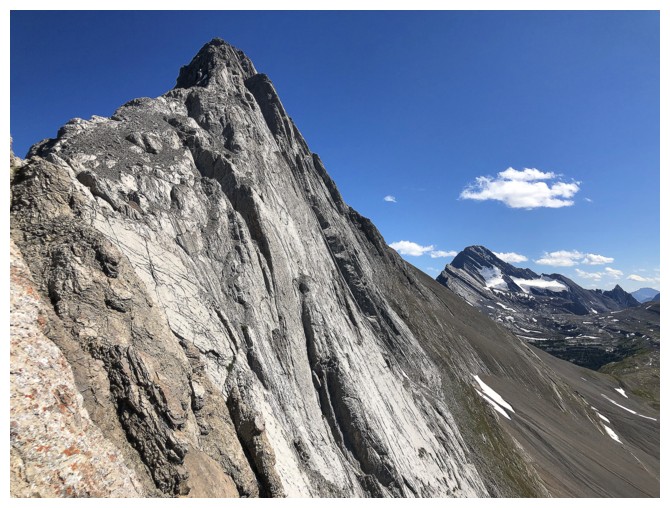
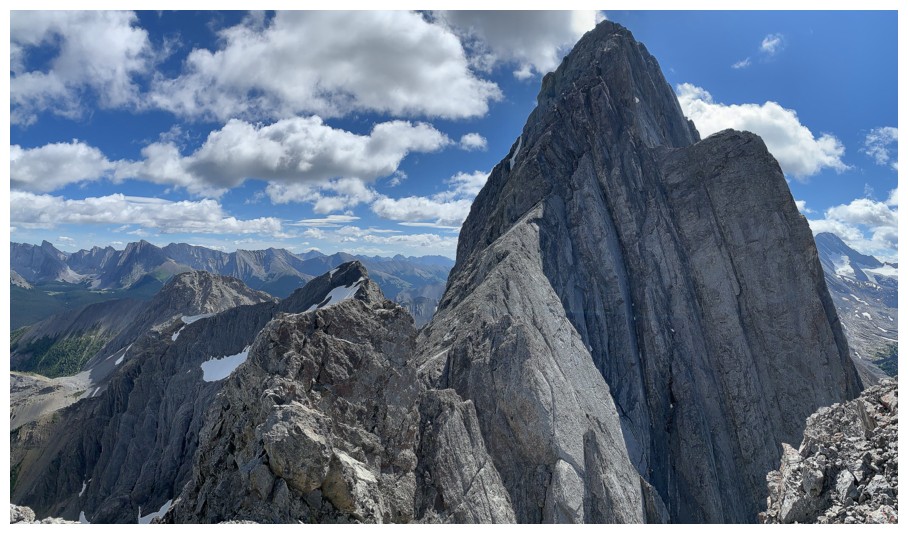
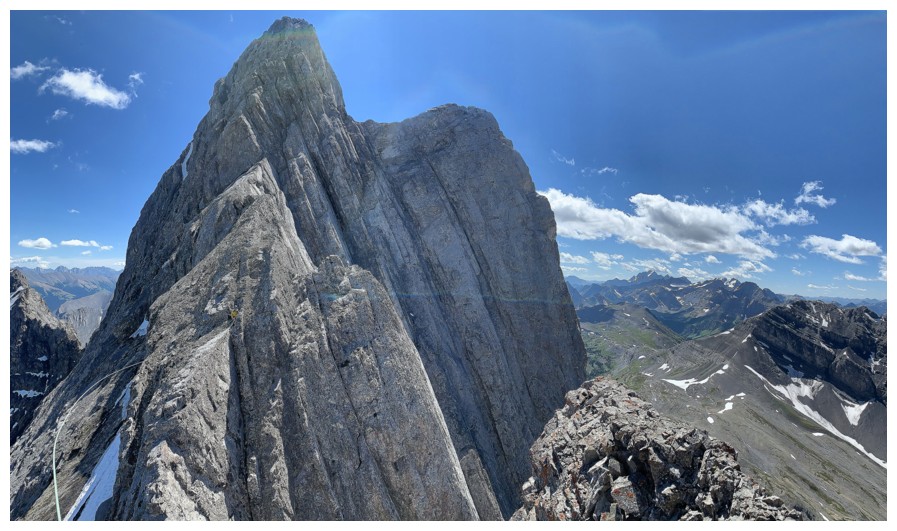
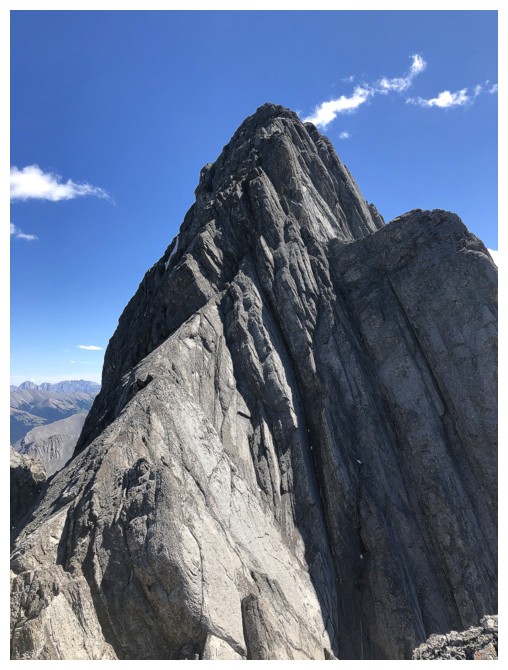
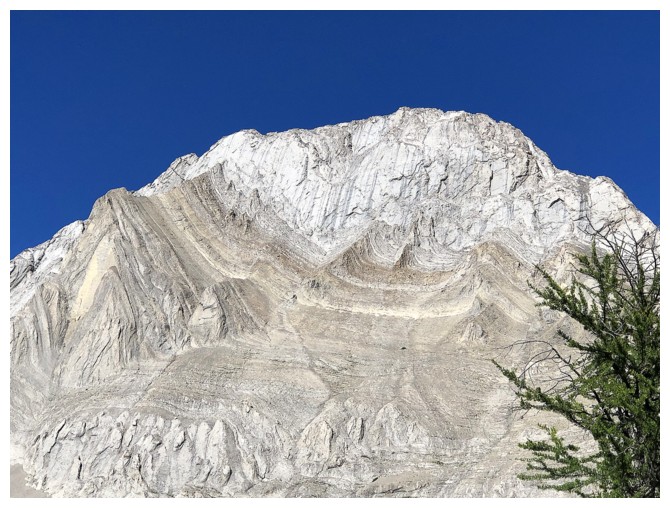
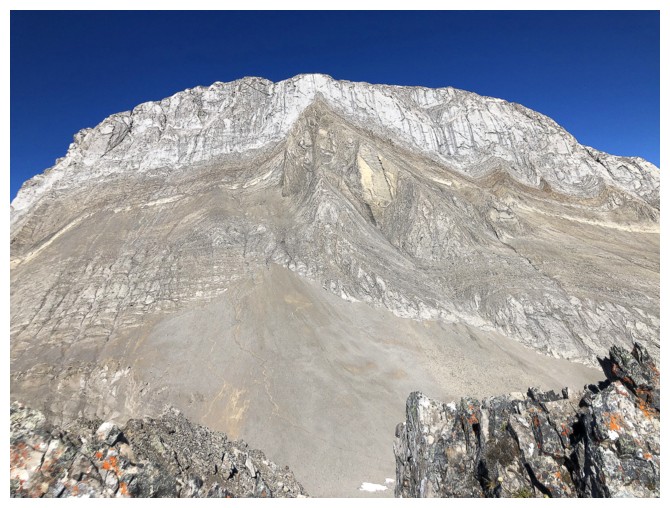
Lots of insanely steep slabs on the northwest side of the mountain
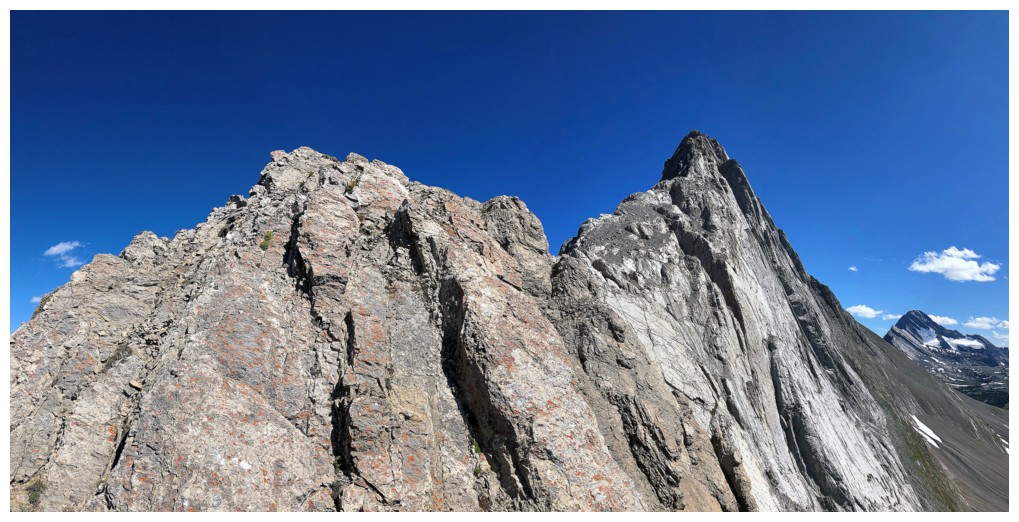
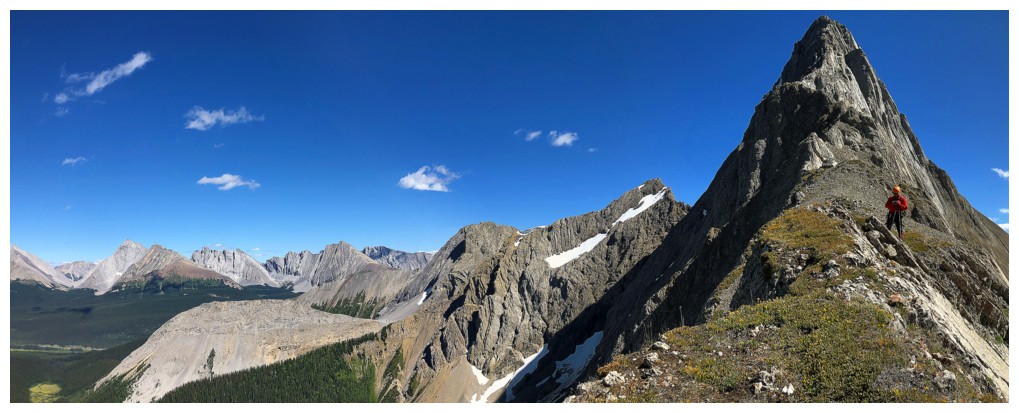
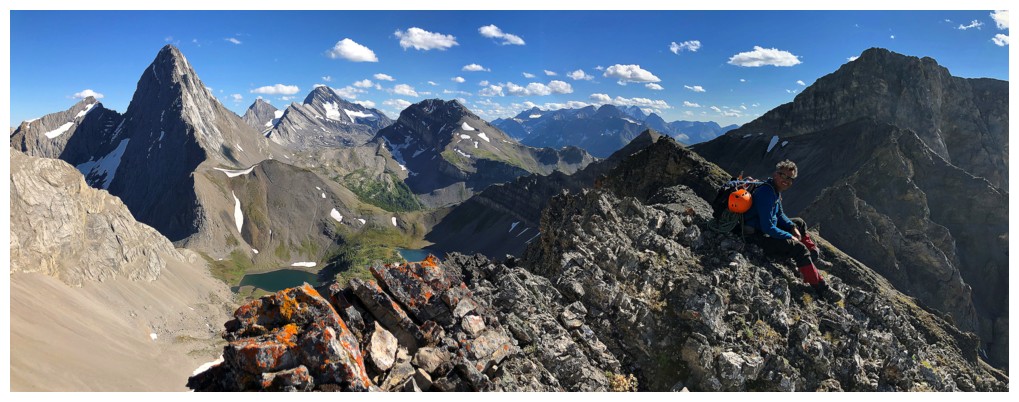
The north ridge of Birdwood has to be one of the most photogenic ridges in the Rockies
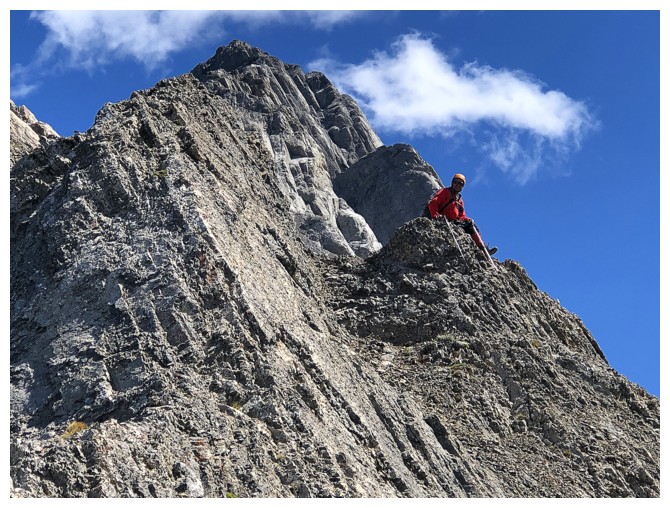
Mark finds a nice perch
Mount Sir Douglas - that one has a fierce reputation!
Onto easier terrain
Contemplating what to do next
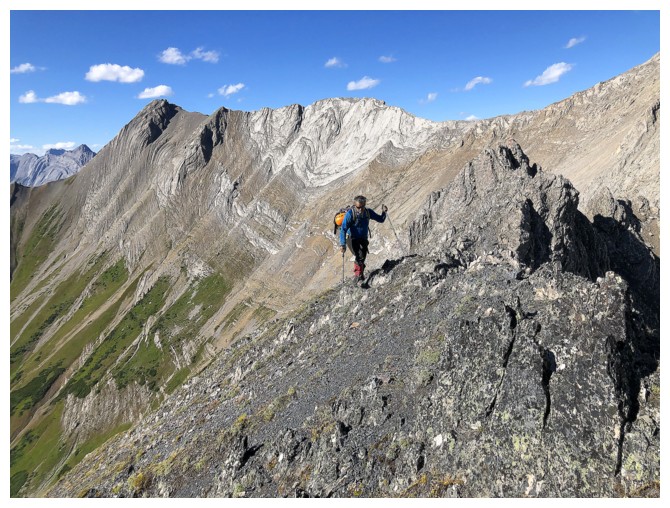
Still a few mildly exposed sections on the lower ridge
And then onto a very wide ridge
Speaking of photogenic ridges....the south ridge of Mount Smuts is no slouch!!
Mark Peters and Chris Shea are up there somewhere.
At the minor high point alluded to earlier
View from near the high point
Walking away from Birdwood for perhaps the last time

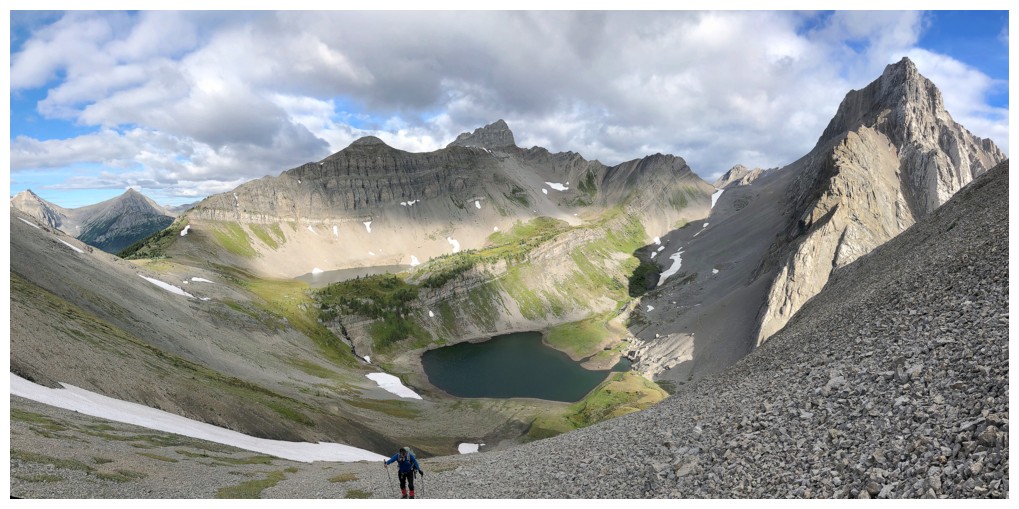
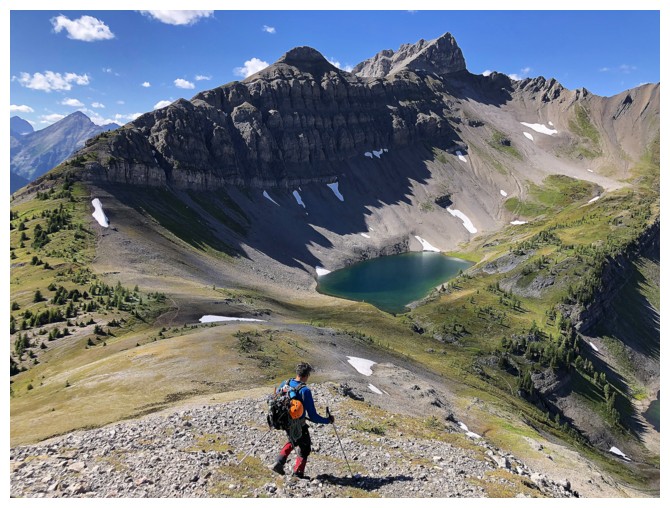
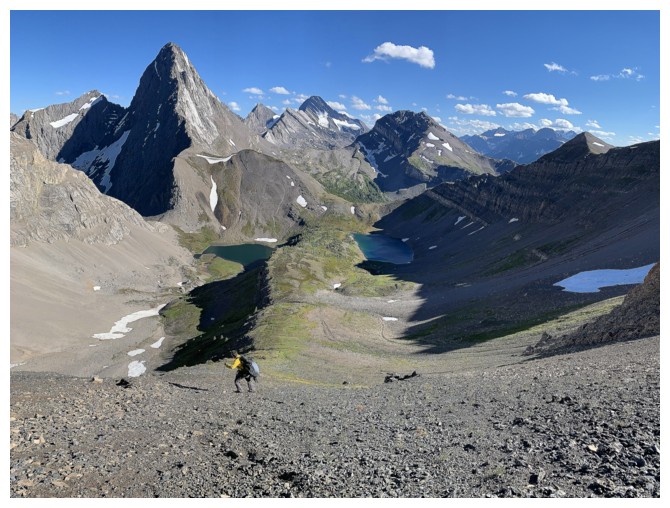
Heading down to the upper Birdwood Lake
Views back to Birdwood are irresistible
Yes they are!
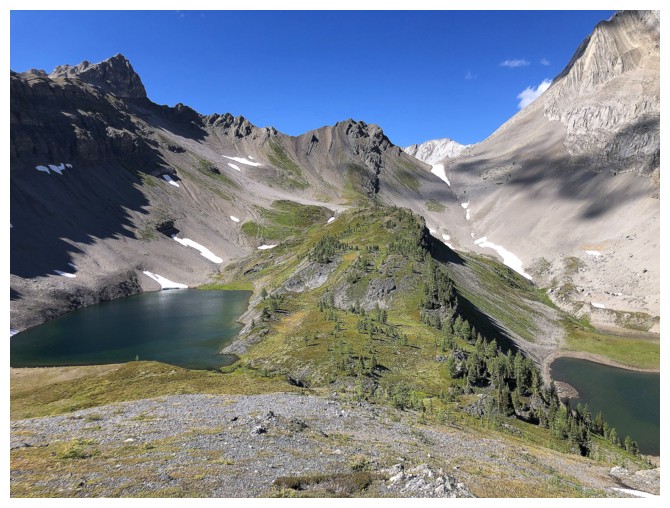
"Sepia Ridge" is the minor high point between Smutwood (left) and Smuts. Simply follow the ridge between the Birdwood Lakes.
Smutwood Peak and the upper lake
Mount Smuts now becomes the centre of photo attention
Super easy and super pleasant hike between the lakes
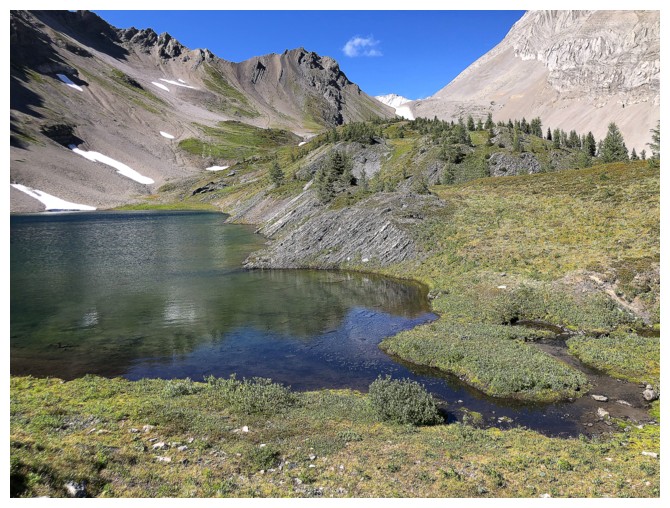
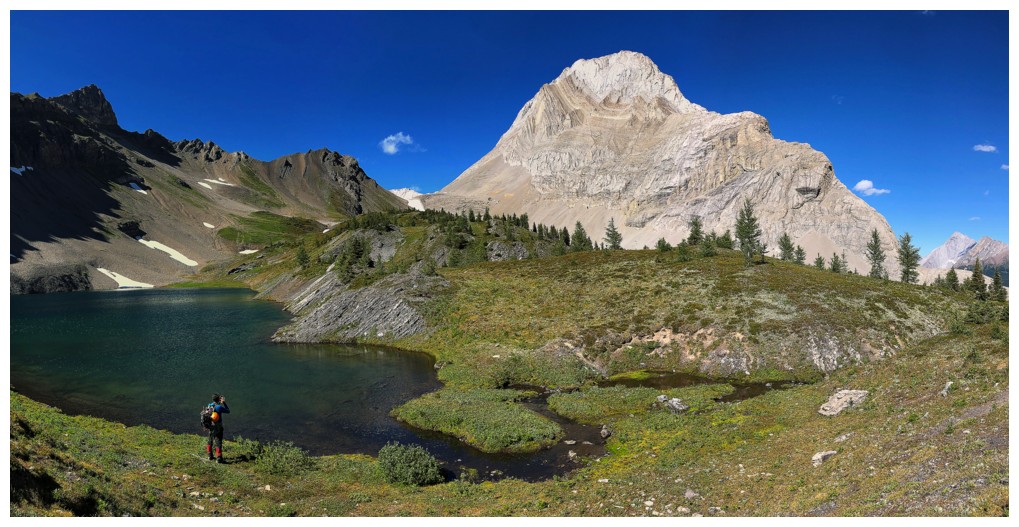
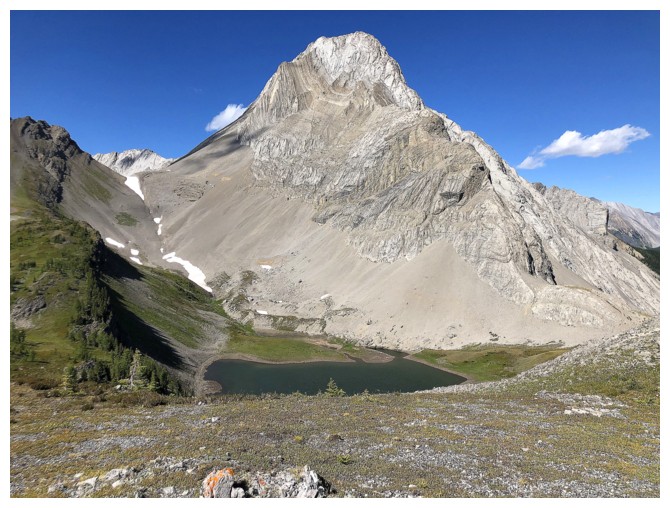
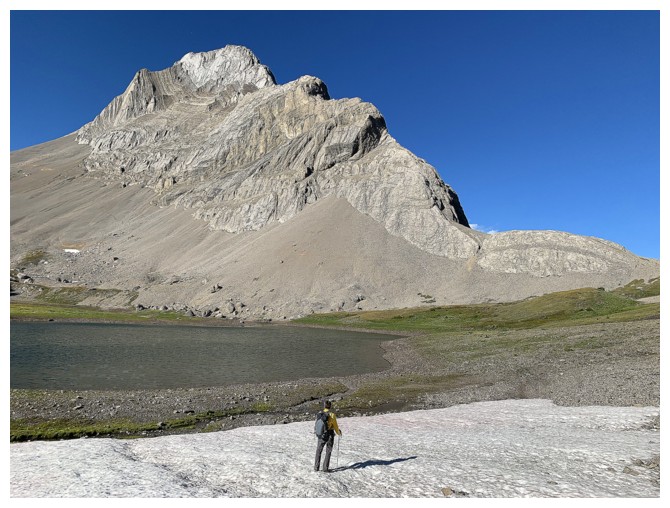
Approaching the upper lake
The upper lake and Mount Smuts
Beautiful blue/green hue to the lake
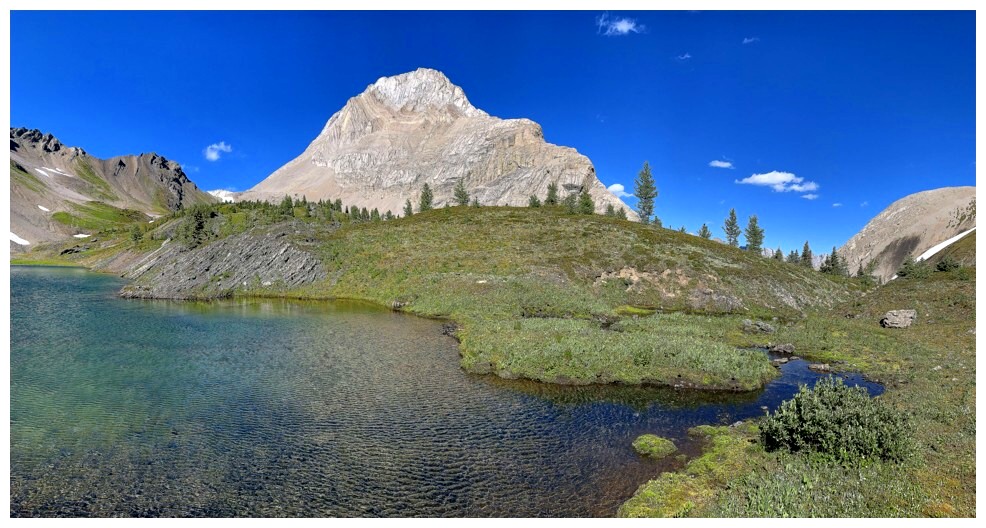
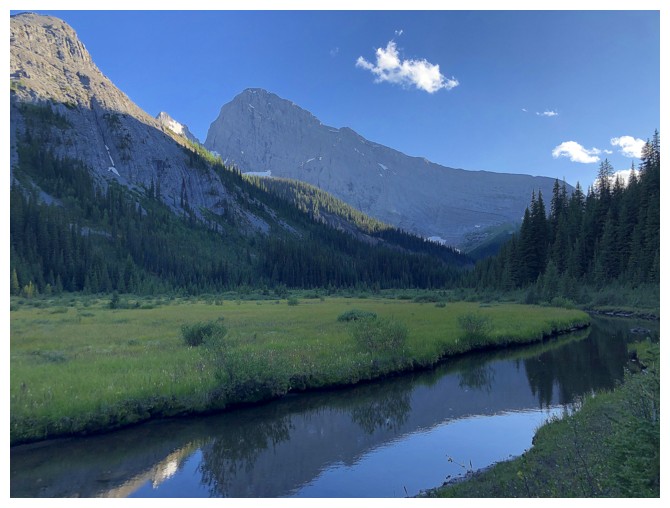
Mount Birdwood is still drawing our attention
...as is the superb west face of Smuts
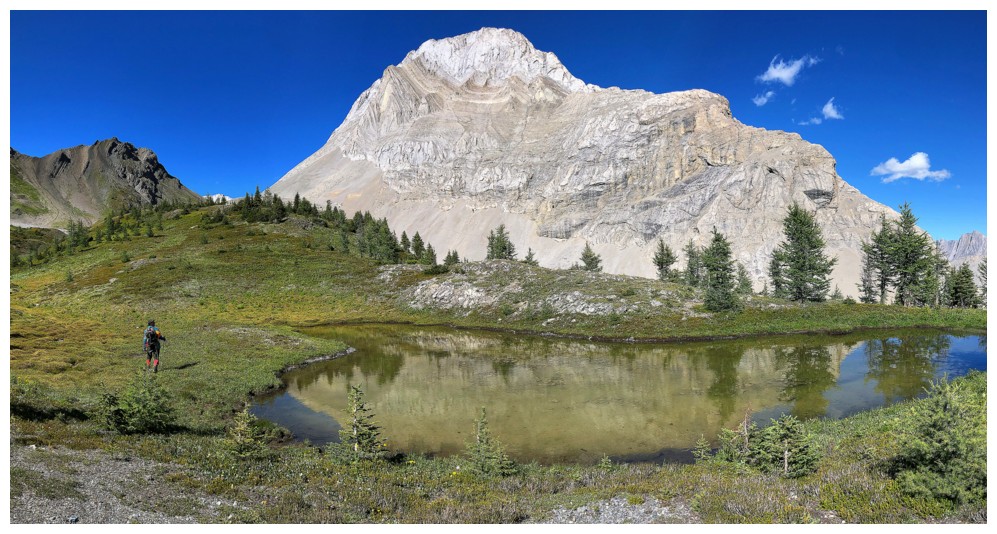
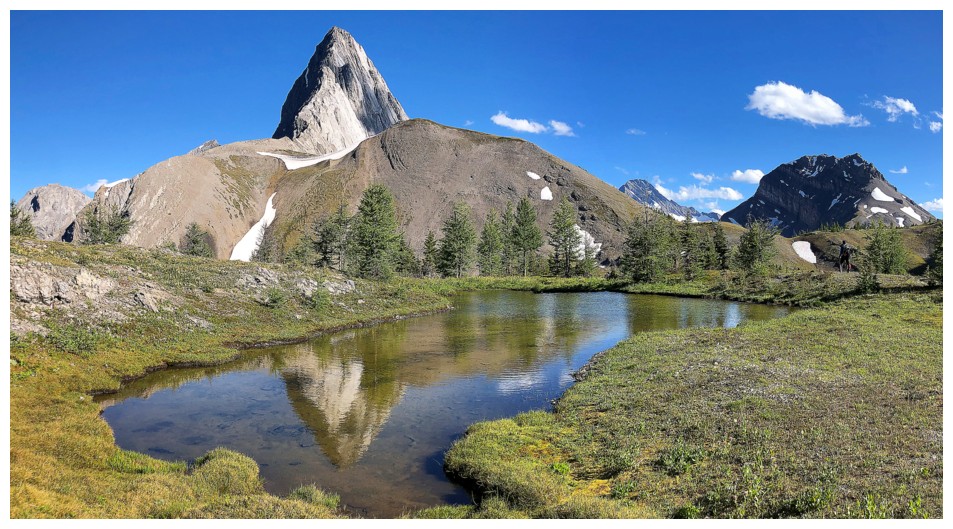
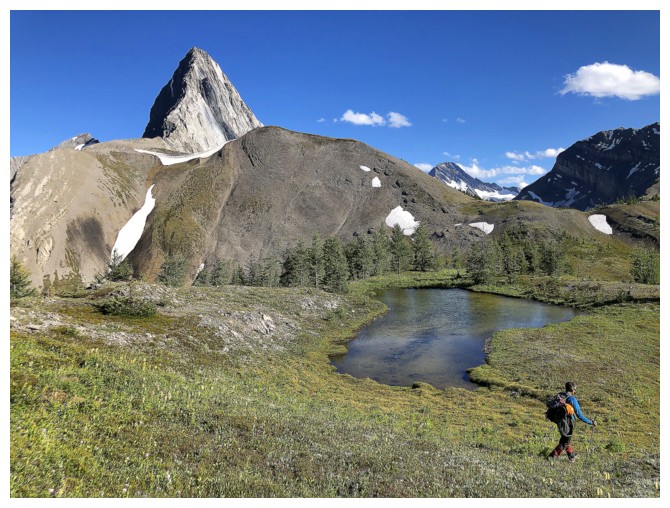
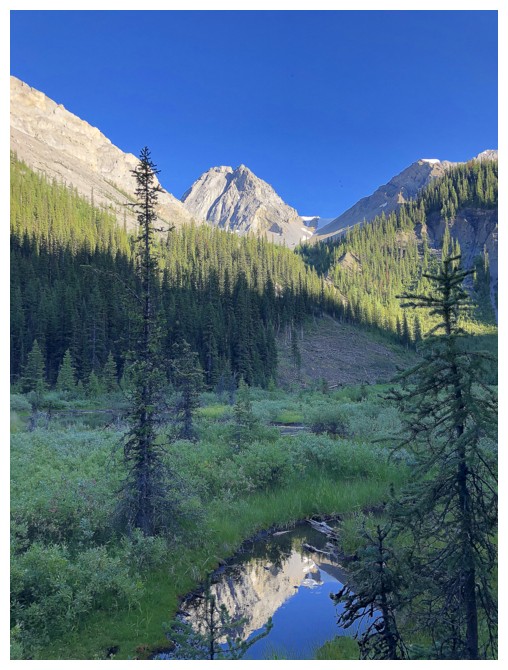
Passing a small tarn

The tarn did provide some nice reflections of Birdwood
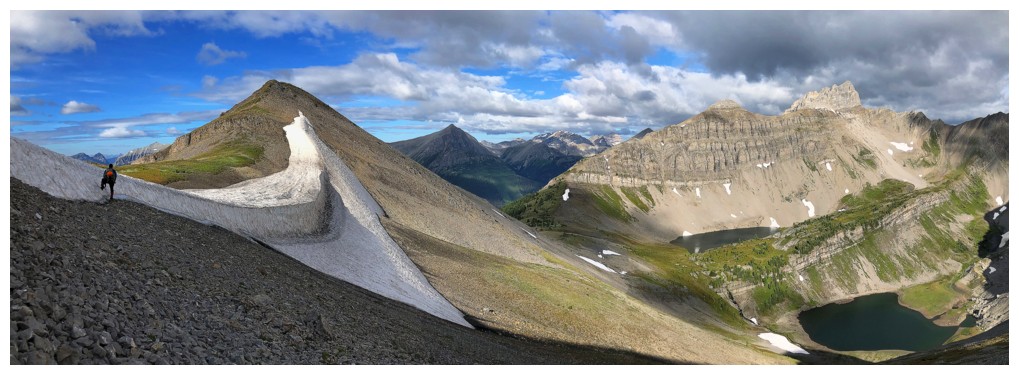
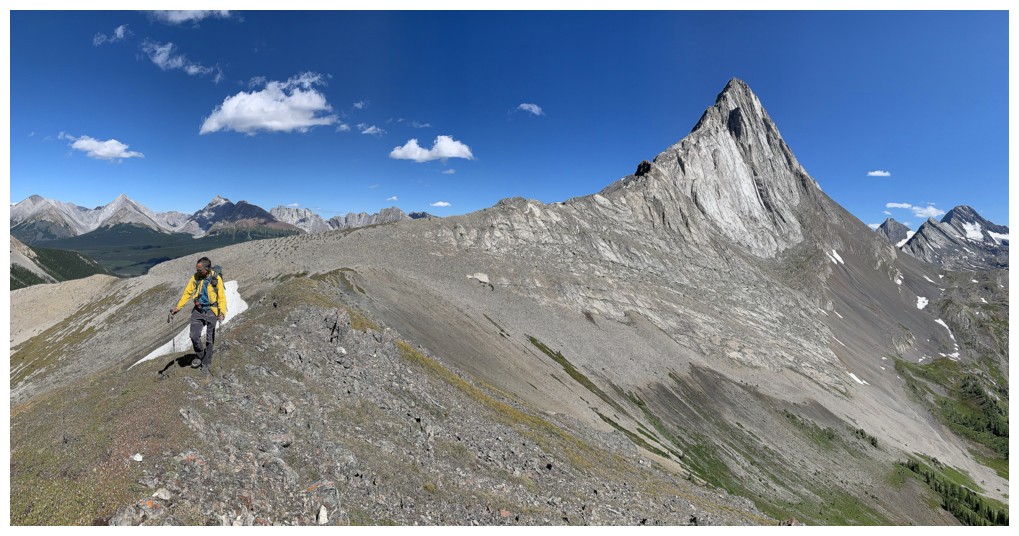
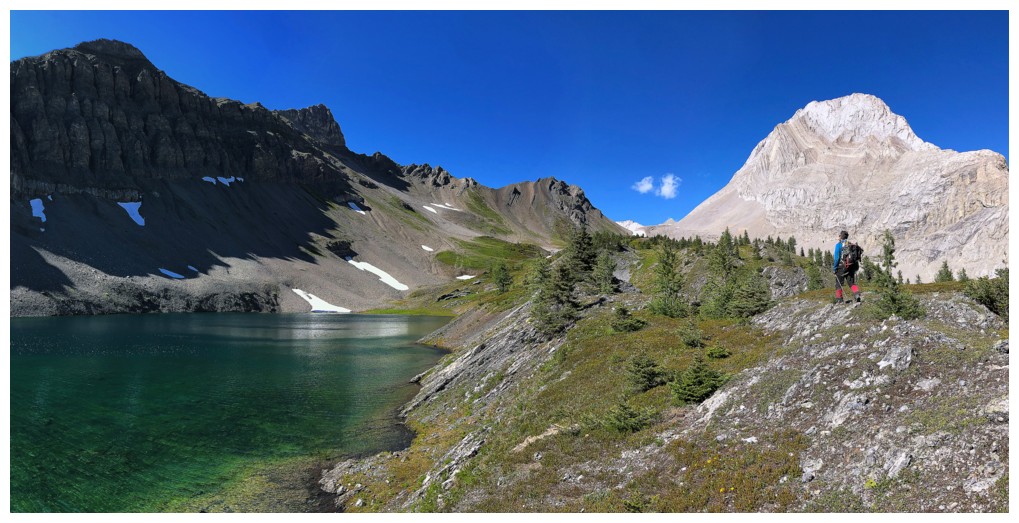
Sepia Ridge is dead ahead
Initial views of Birdwood, Sir Douglas, and Snow Peak that are about to get crazy!

Sepia and Smuts
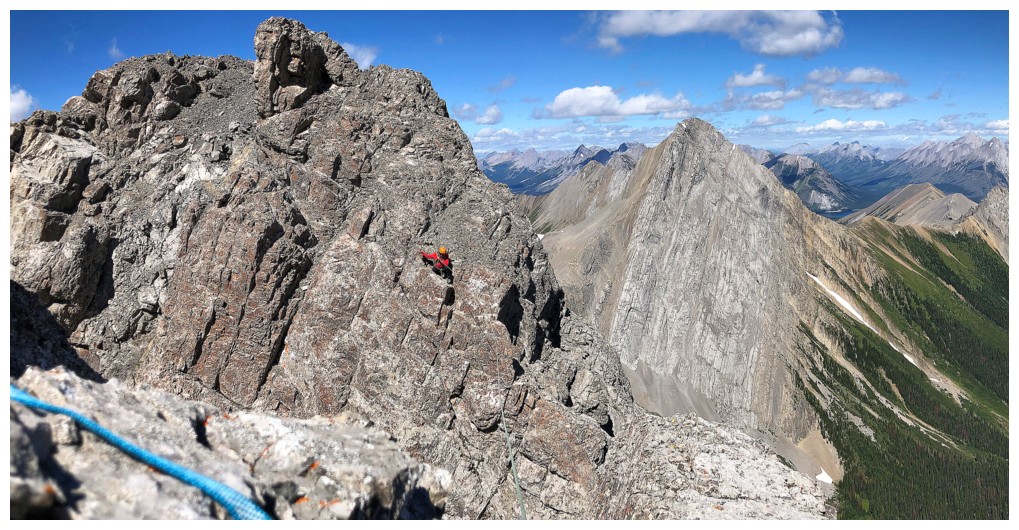
Interesting rock and terrain on the ridge between Smutwood and the summit of Sepia
I'm in the gap
Mark comes up the ridge. Clearly there is no direct route from Sepia to Smutwood.
Amazing views
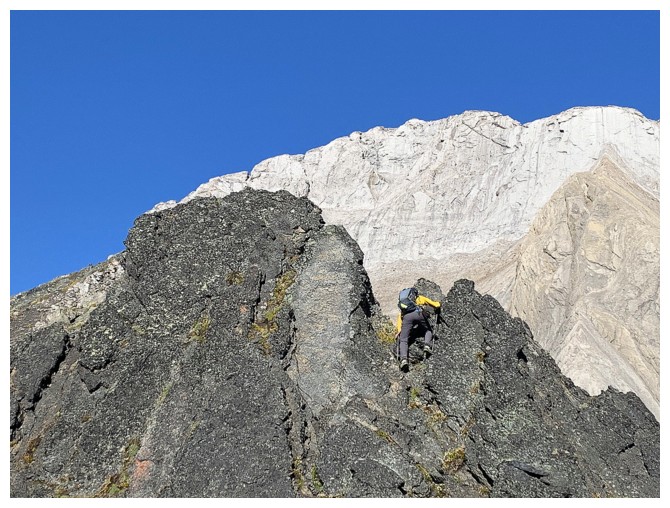
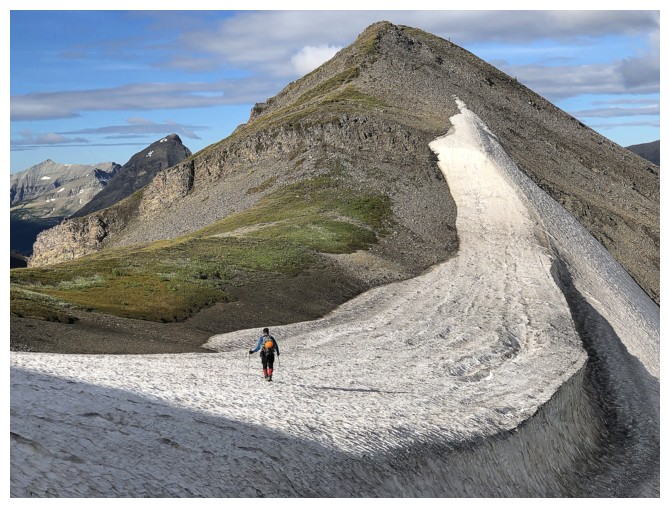
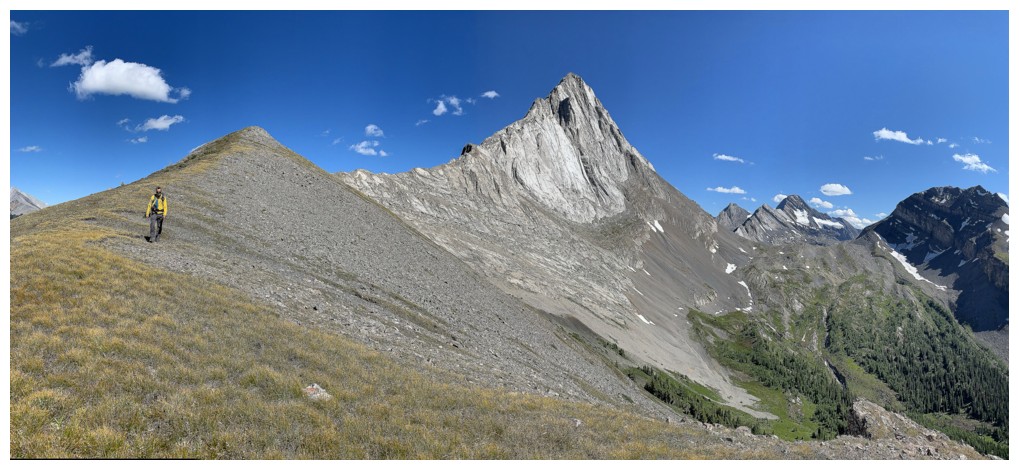
Last section of the ascent
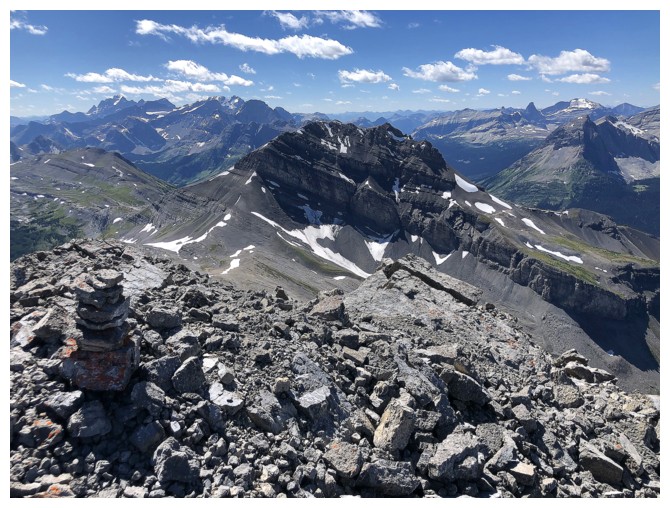
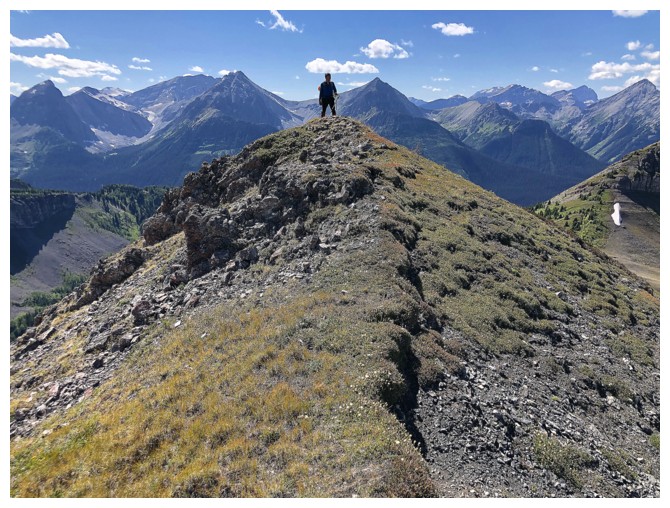
Sepia summit view
It's not the summit of Birdwood, but we both quite happy to reach Sepia in such good weather conditions
Summit break
The highest point is a somewhat exposed perch with room for one
Mark at the top
Still mesmerized by Smuts' west face
Time to go home
Steep scree descent
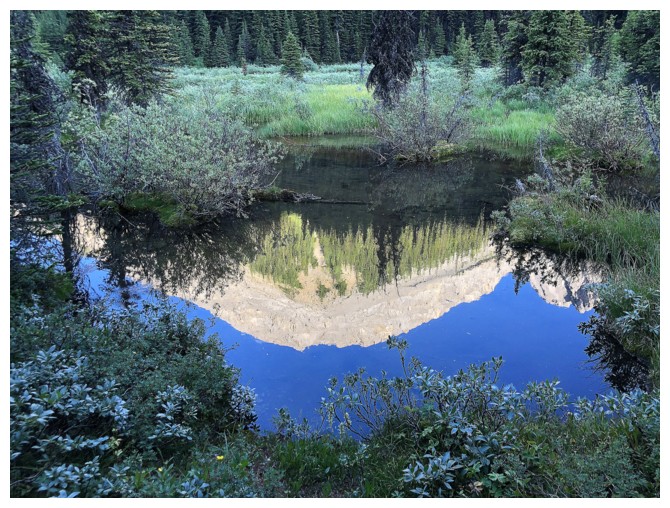
Back near the tarn

Good reflections again
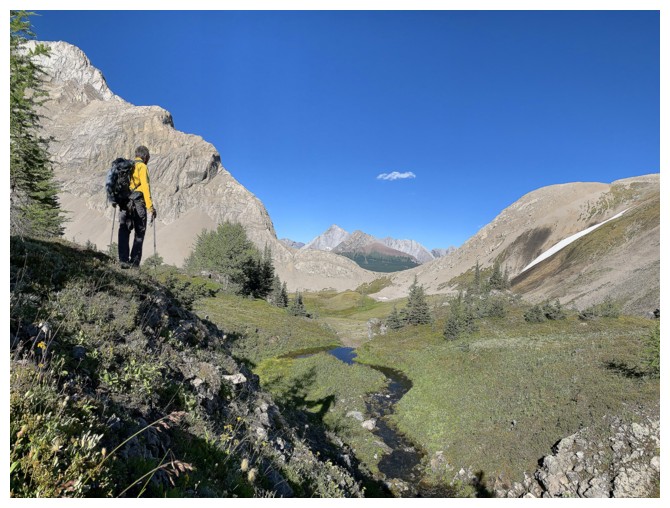
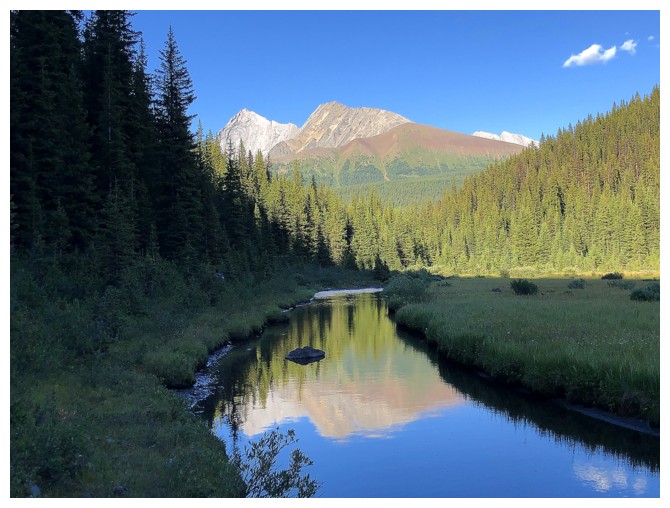
Following the stream that drains the upper lake into the lower one
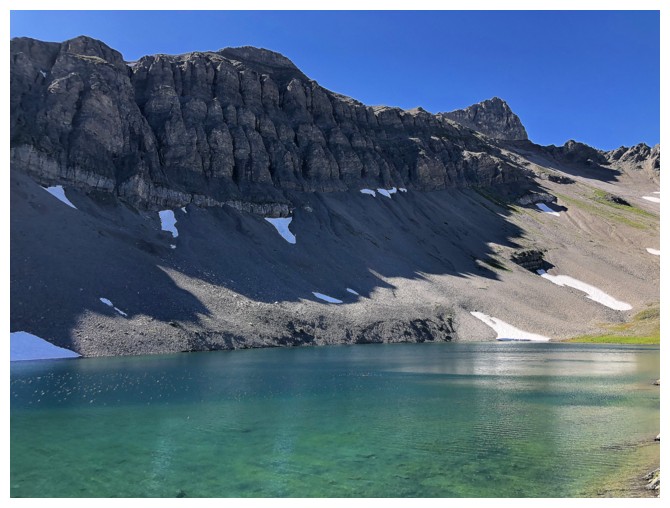
At the lower lake
Back at Smuts Pass
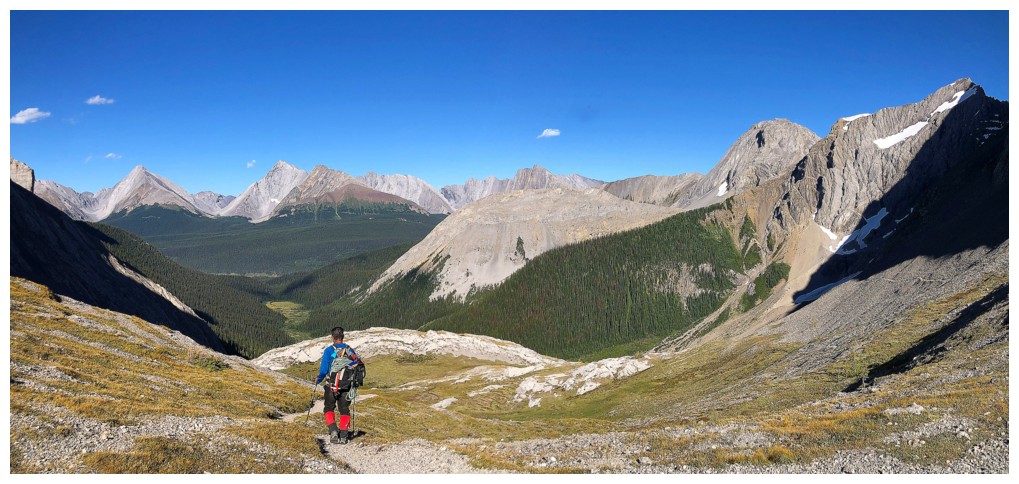
Easy descent from the pass
The Fist
Pig's Back and Commonwealth Peak
Second last look at Birdwood
Commonwealth Peak again
Pig's Back reflection
Galatea and Chester reflection
Last (longing? - not so much!) look at Birdwood
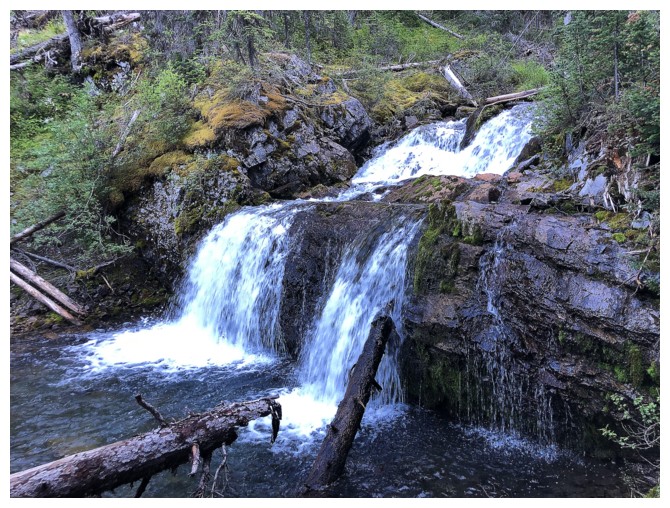
Commonwealth Falls
The End
LOG