Eagle Lake Peak
December
15, 2018
Mountain
height: 2400 m
Elevation gain: 1000 m
Ascent
time: 3:35
Descent
time: 4:10
Scrambling
with Mark.
 With Mark
recovering from a broken wrist we needed something relatively short and
relatively easy – based on several internet trip reports Eagle Lake Peak in the
Ya Ha Tinda area seemed to fit the bill.
With Mark
recovering from a broken wrist we needed something relatively short and
relatively easy – based on several internet trip reports Eagle Lake Peak in the
Ya Ha Tinda area seemed to fit the bill.
Of
potential concern was the wind. Parts of southern Alberta had been experiencing
insane winds, reaching speeds of 167 km/h – that’s a category 2 hurricane! Winds
farther north had not been as severe, however even a minor breeze in winter can
make life miserable when you are high up on a mountain.
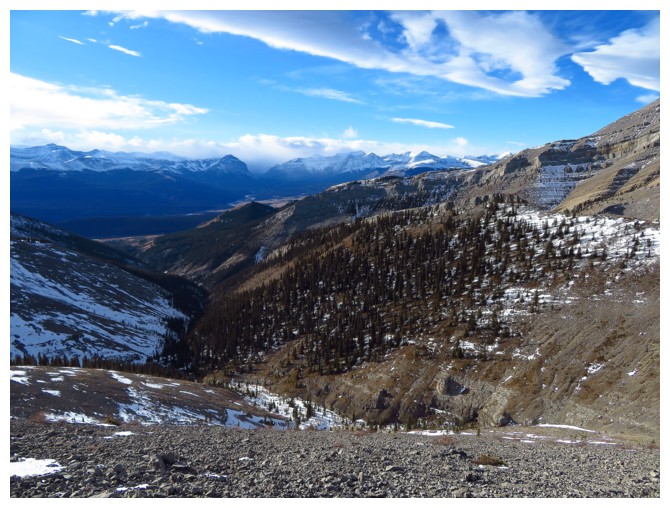
We were
delighted to start the trip with virtually no wind at all and made good
progress up to treeline. Our luck ran out there – sorta’. The wind picked up
considerably, accompanied by the co-requisite plummet in air temperature.
Fortunately, the wind was at our backs; unfortunately, it wouldn’t be on
return!
 In
regards to the actual ascent, initially it proved to be a little disappointing
(certainly not as interesting as Maze Peak or Wildhorse Ridge), however, higher
up the scenery improved dramatically. A beautifully aesthetic ridge and terrific
views (as well as the viciously cold wind at our backs) kept us moving.
In
regards to the actual ascent, initially it proved to be a little disappointing
(certainly not as interesting as Maze Peak or Wildhorse Ridge), however, higher
up the scenery improved dramatically. A beautifully aesthetic ridge and terrific
views (as well as the viciously cold wind at our backs) kept us moving.
Nearing
the summit we noticed a possible alternate descent route to the north, thinking
that the route might minimize our exposure to the wind and also avoid travel
directly into it. After a short, but enjoyable summit stay we opted for the
alternate descent.
Although
things turned out well in the long run, this route was touch-and go throughout.
Tedious rubble slopes and hard snow prevented fast travel for the first part pf
the route. The wind was still relentless and so we lost that battle. The second
section was terrific, as we traversed below a decent sized cliff face and then
lost elevation easily, down into the valley below.
Unfortunately
it wasn’t a valley below – it was a very long ice filled canyon. This was a
recipe for an epic, with the possibility of having to turn around and re-ascend
the entire mountain and/or getting benighted in the canyon if an impasse was
reached. We had left our crampons in the car and so we tried as much in
possible to travel alongside the frozen creek. When the walls of the canyon
closed in, travel had to occur on the smooth ice. We were both totally
convinced that a drop off lie around every turn in the creek’s path. Lo and behold,
no such drops appeared. Eventually we were able to escape the creek and work
our way back to one of the numerous trails on the southwest side of the
mountain – we were both extremely relieved! Actually, with crampons this route would
be an amazing ice-walk – kinda’ like Grotto Canyon on steroids!
Great
(and very lucky) day out. Ya Ha Tinda area is now 3-0 for terrific trips!
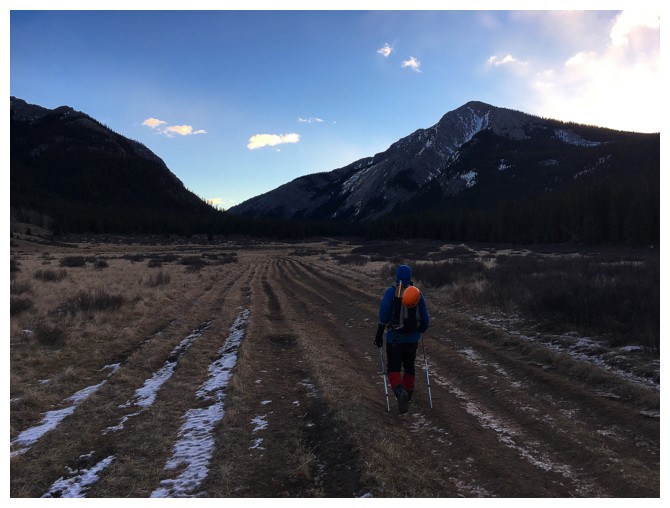
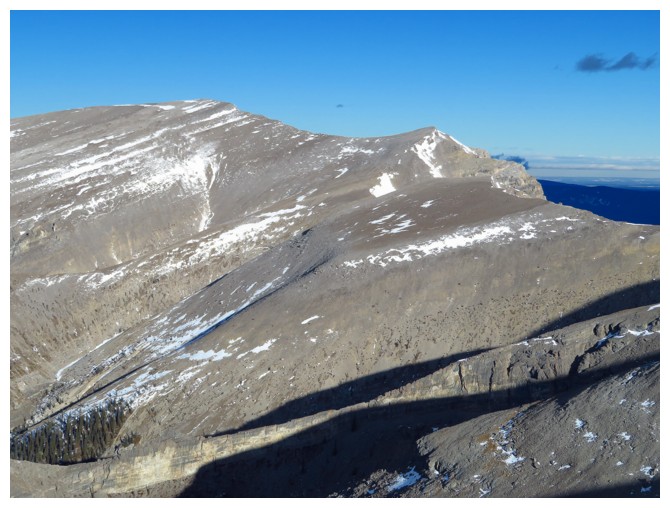
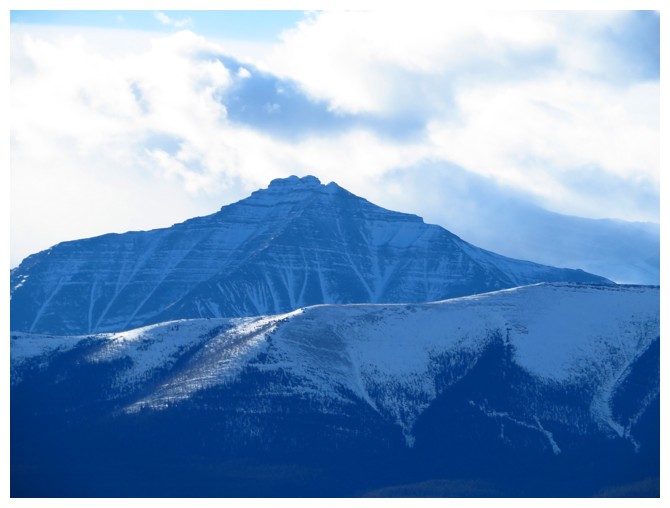
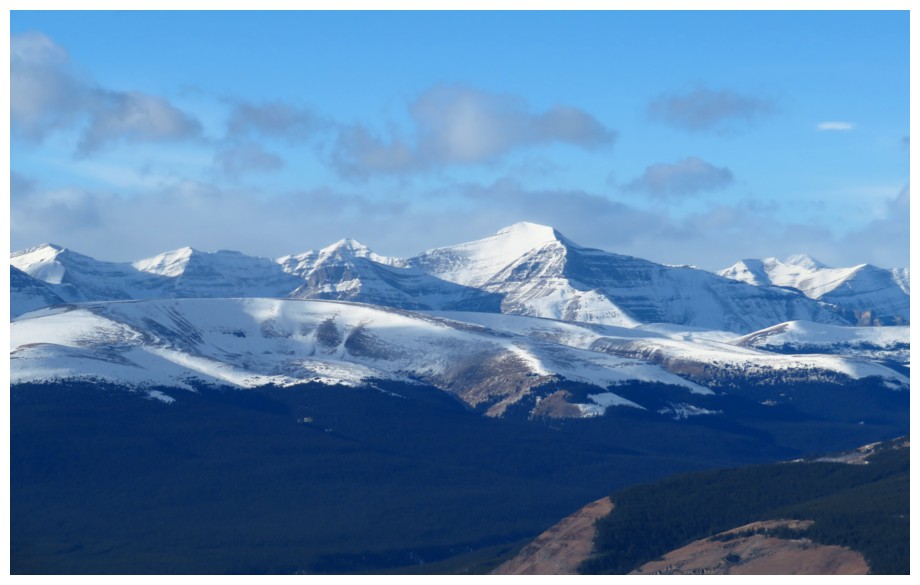
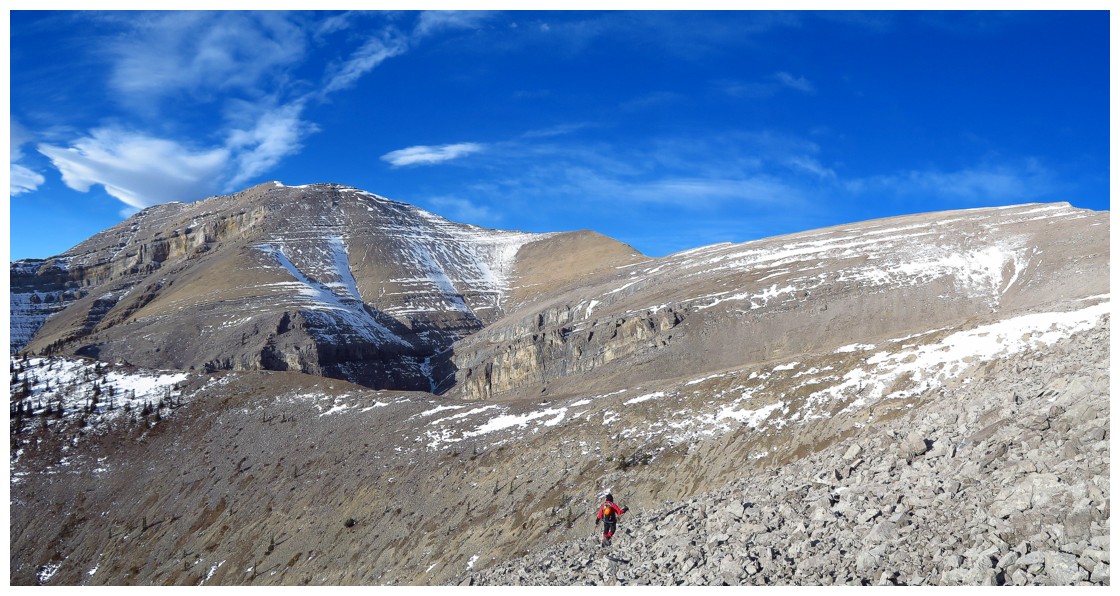
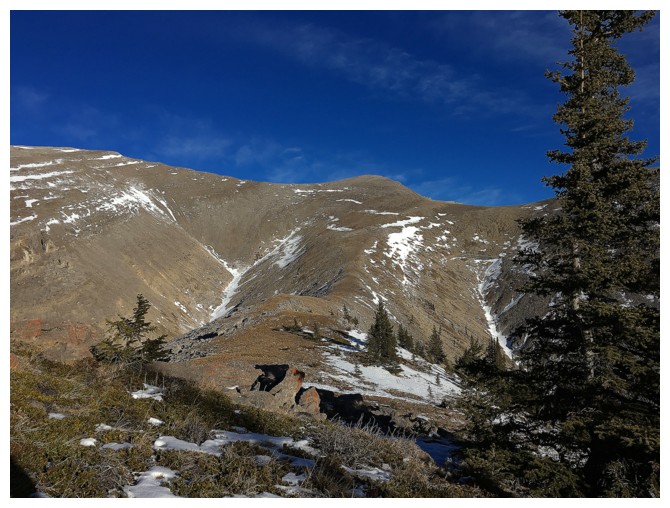
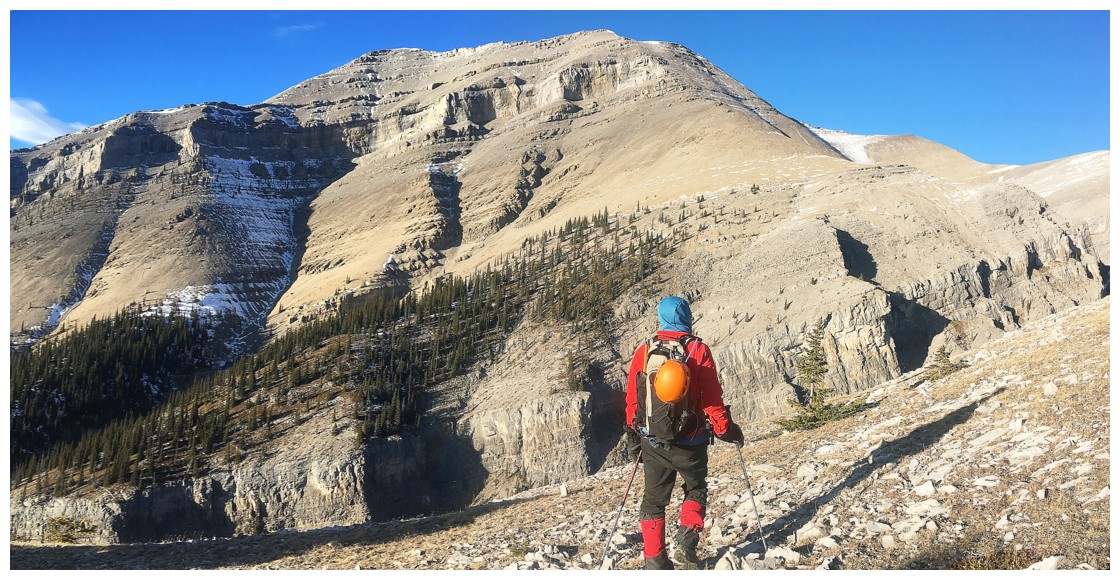
Easy approach. Maze Peak on the right and one of the ridges of Eagle on the left
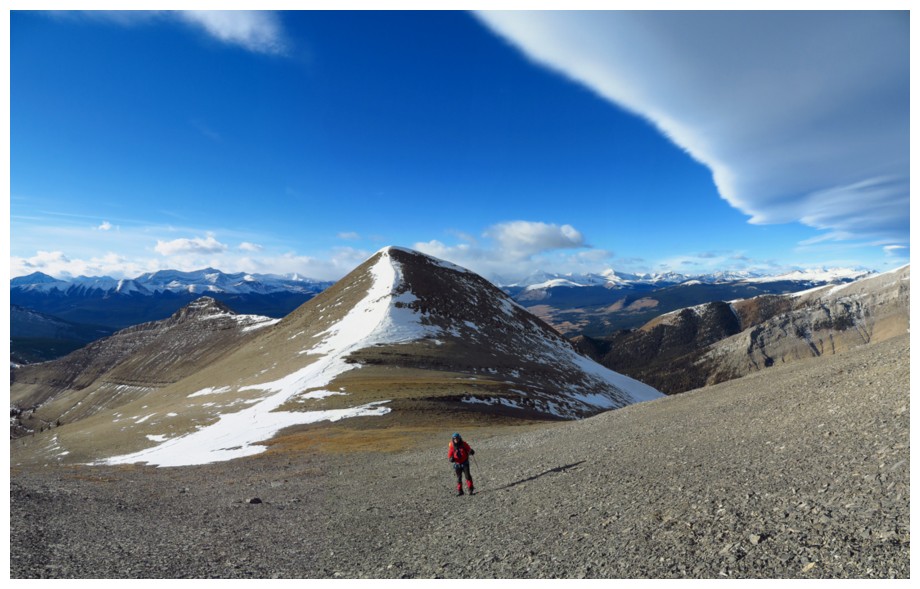
The two ridges of Eagle Lake Peak's west side. The "normal" route ascends the left ridge,
but the one on the right looked to be more interesting.
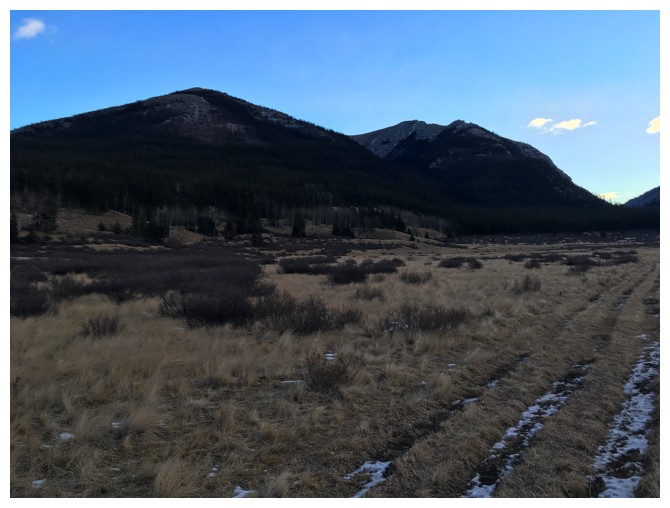
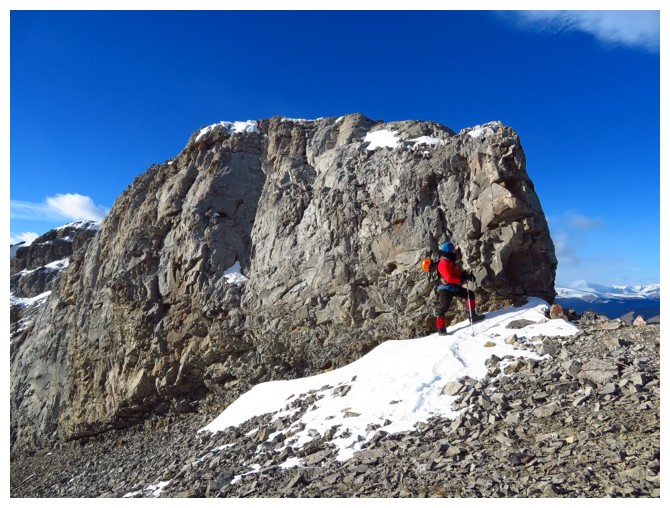
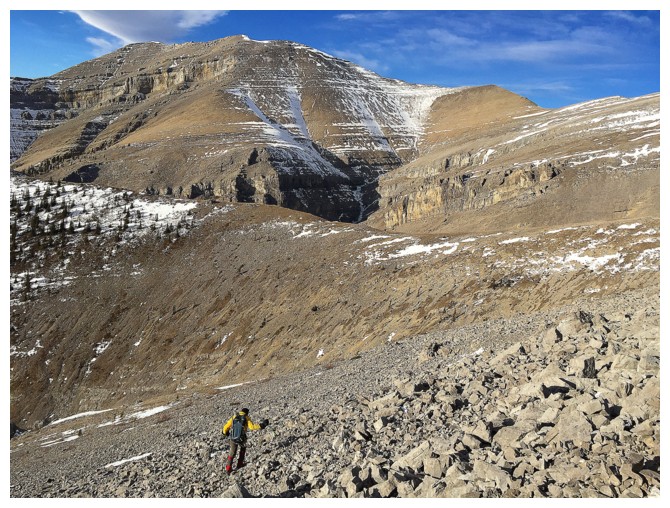
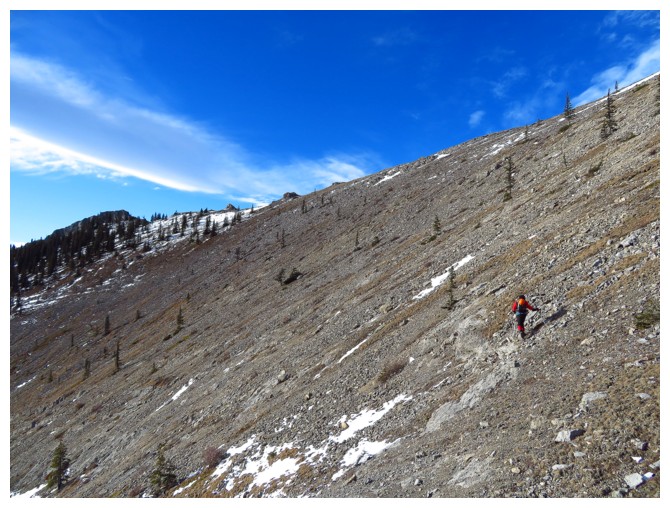
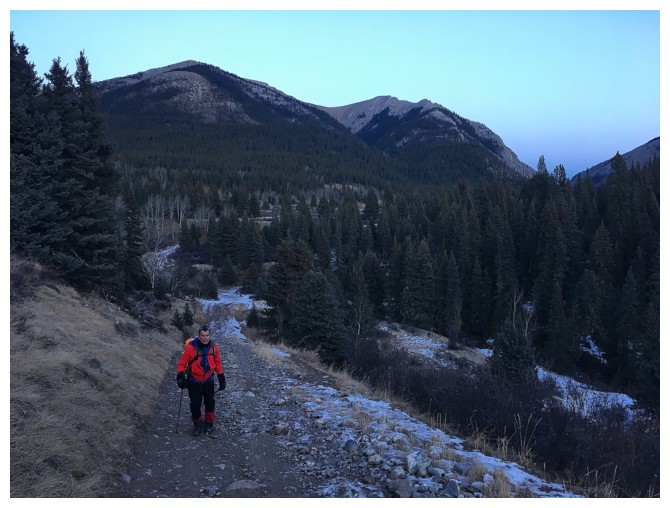
Typical terrain on the lower slopes
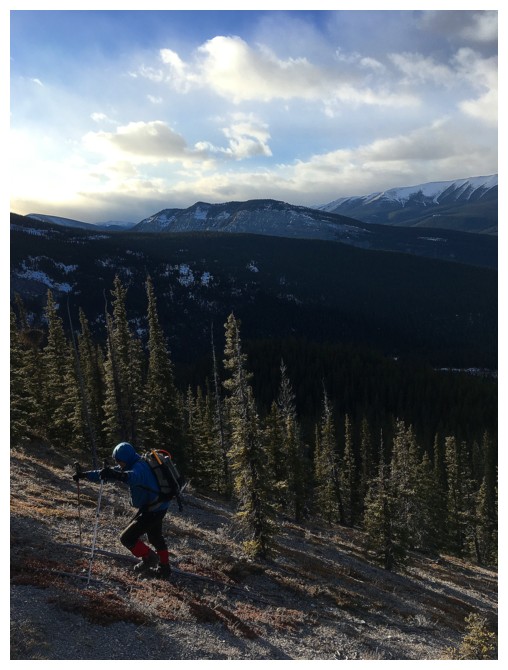
Approaching treeline
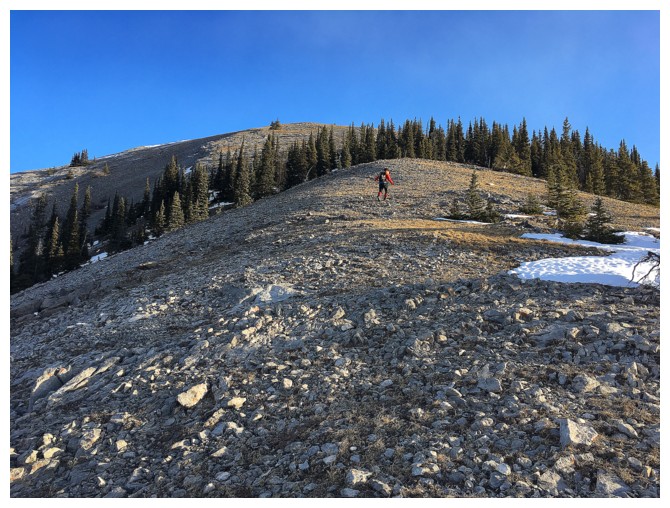
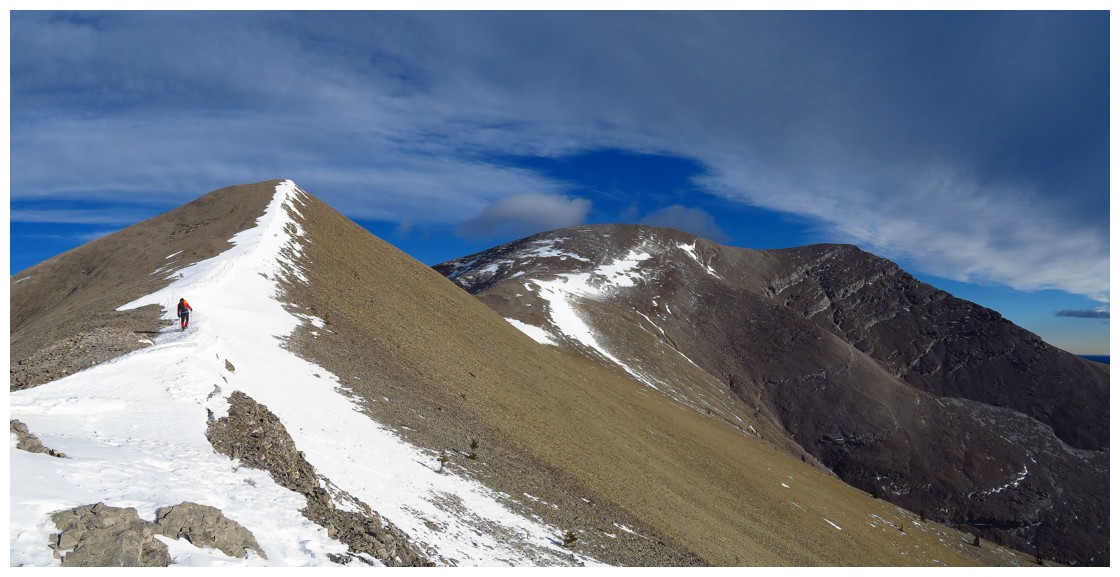
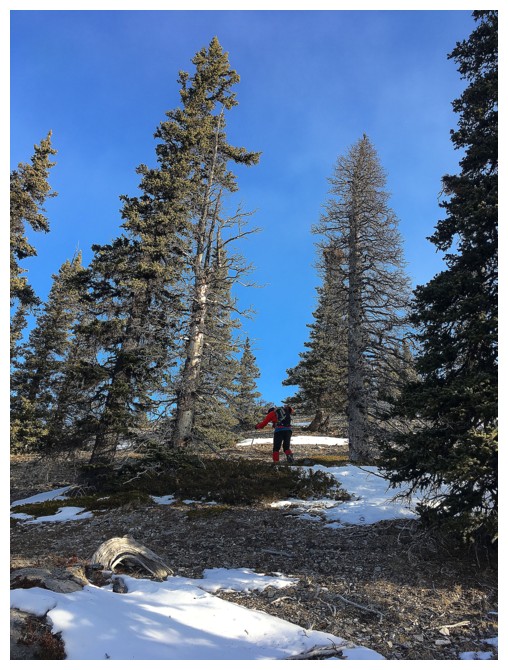
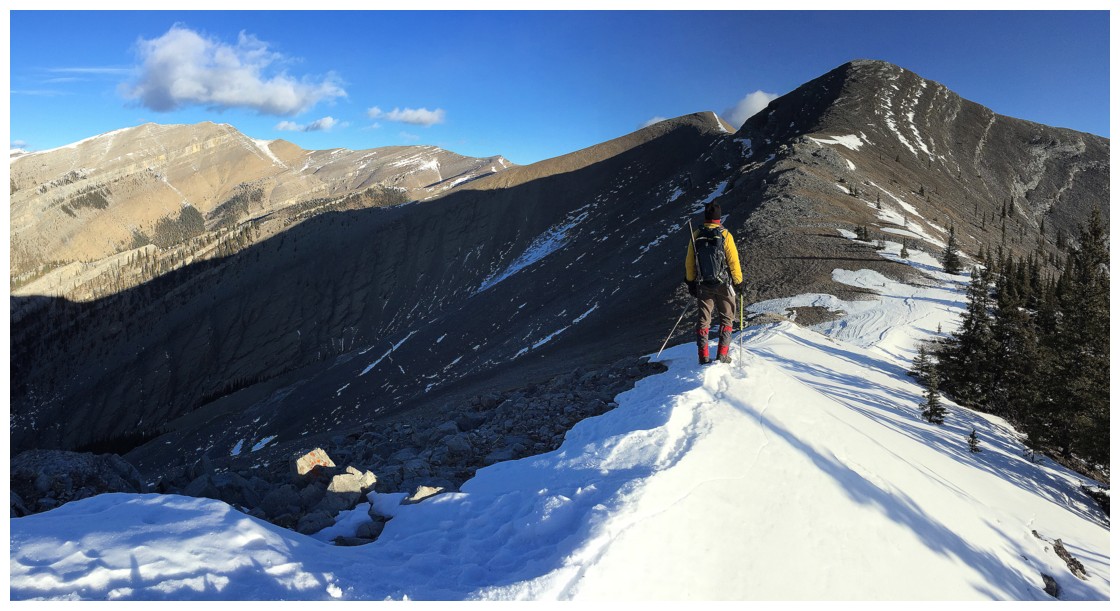
As stated, not half as interesting as Maze and Wildhorse

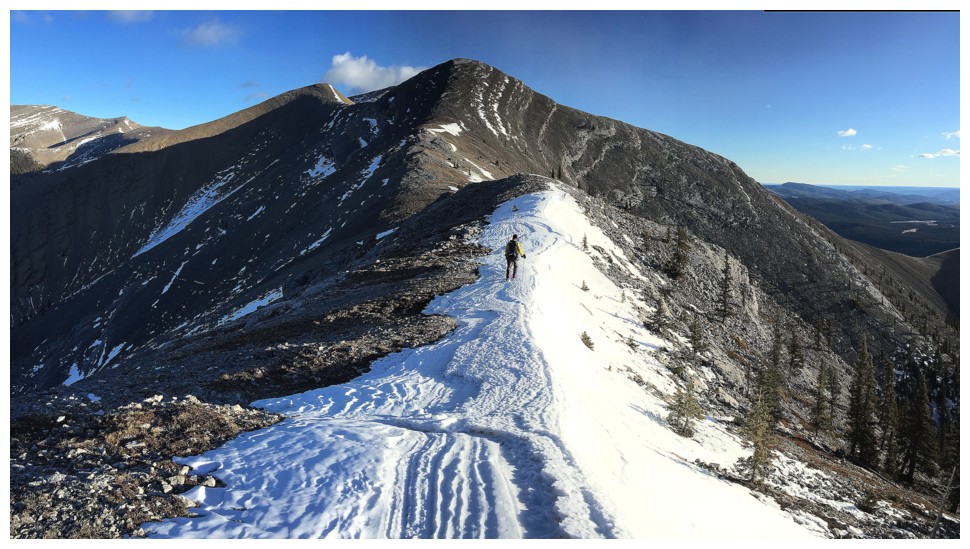
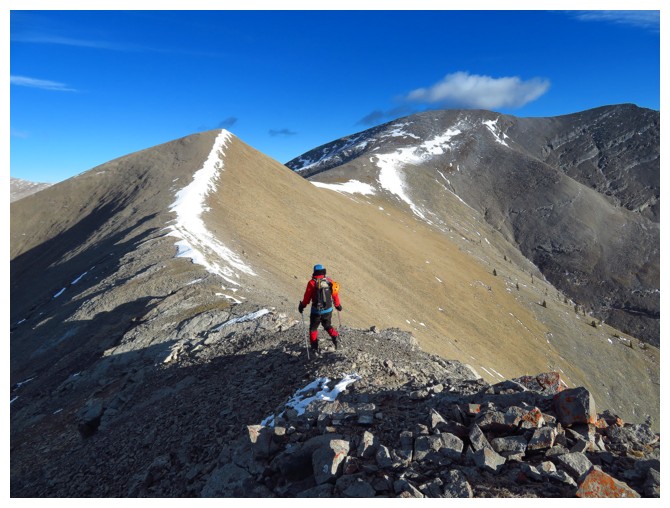
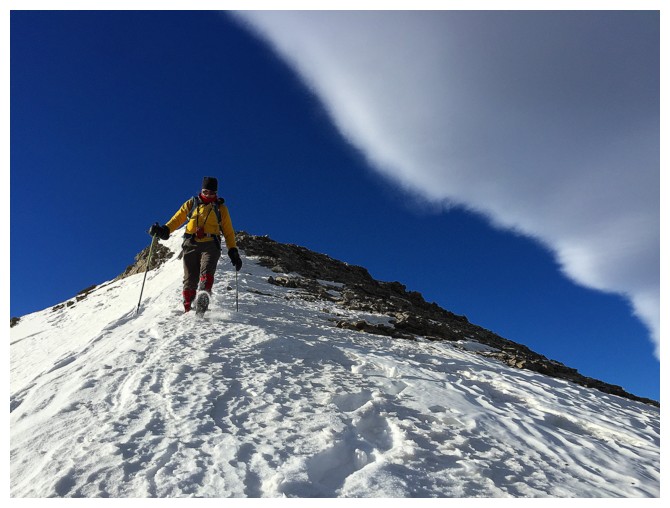
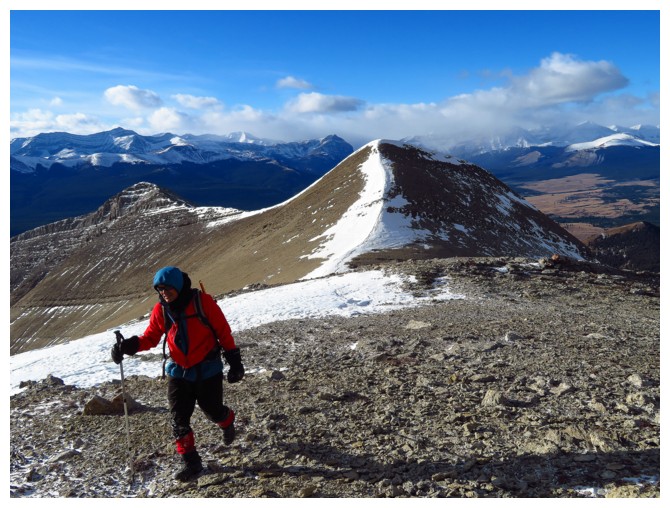
That's better! Looking ahead to the winding ridge
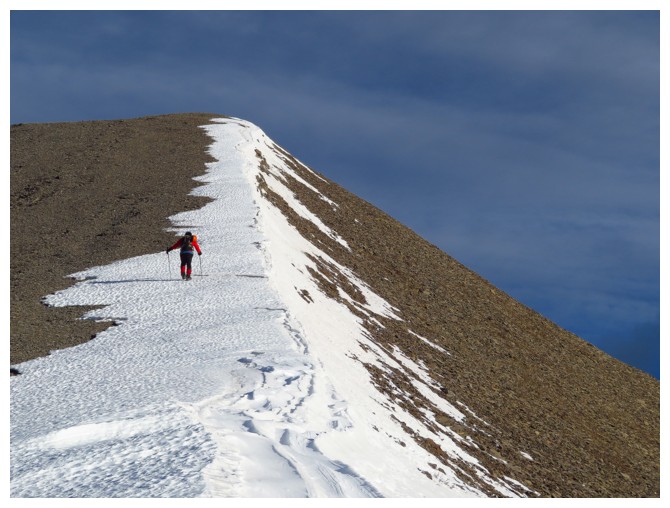
Love the remaining snow!
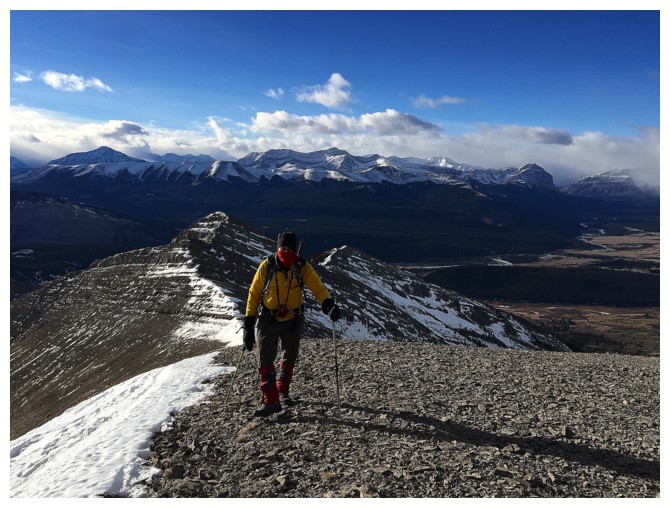
Maze Peak to the south
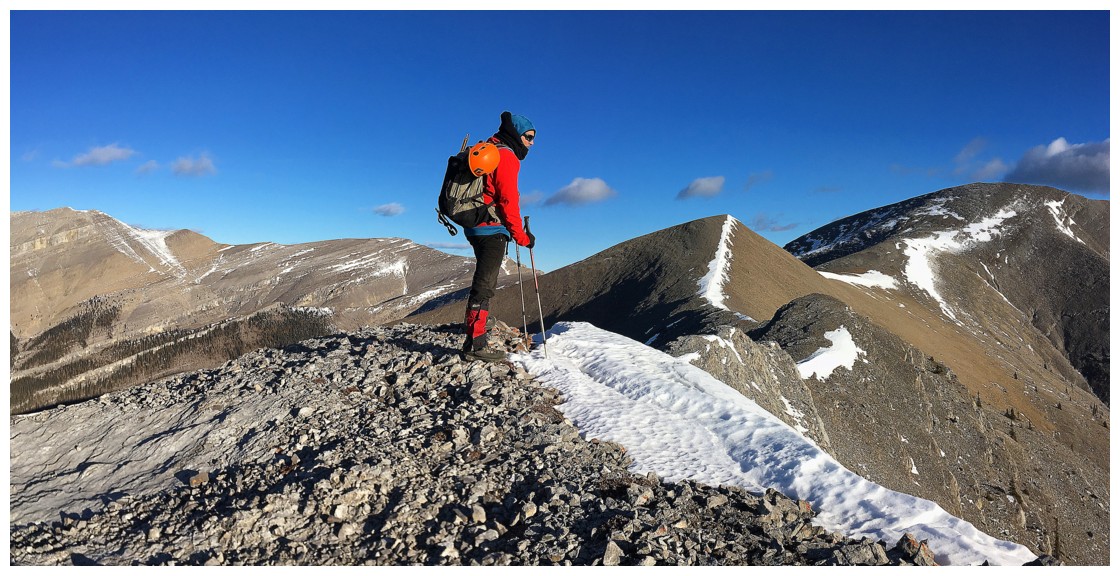
Pleasant and easy ridgewalking
Poplar Peak (Rum Ridge?) at the left
Mark loves the snow too!
Cool patterns
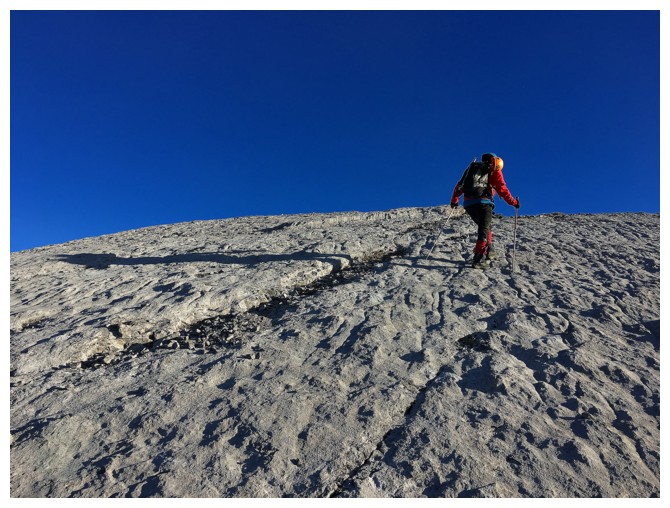
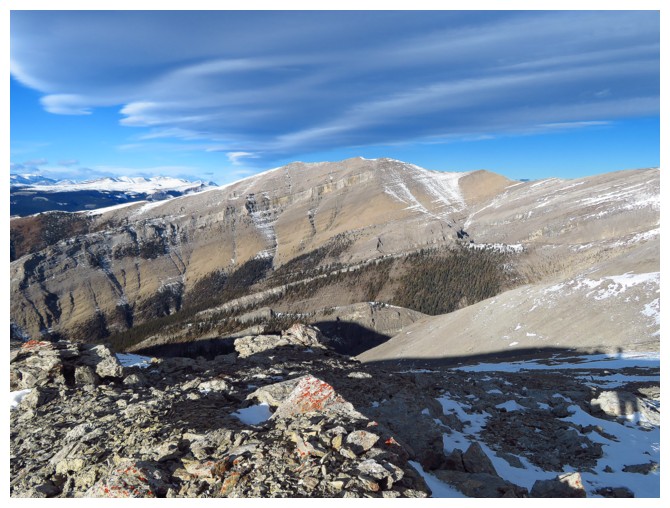
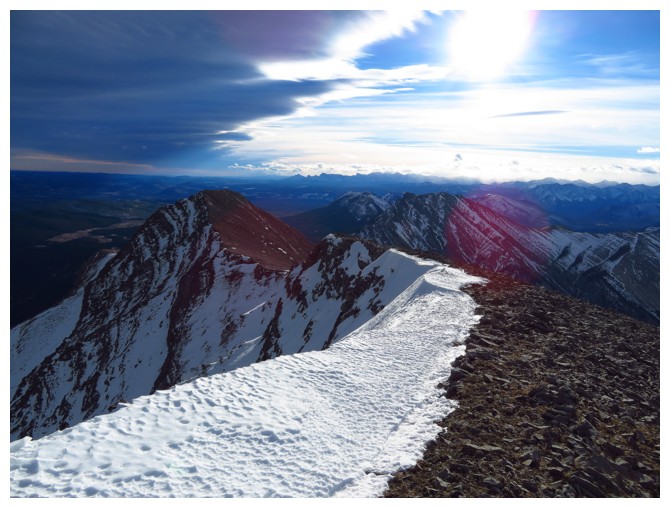
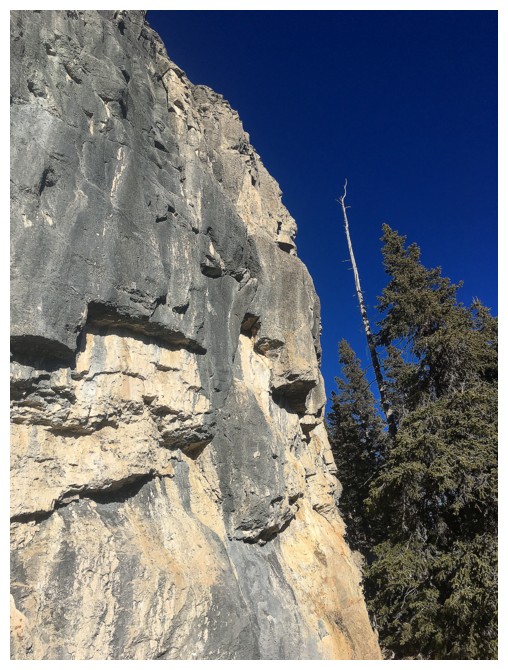
The terrific karst pavement Vern refers to
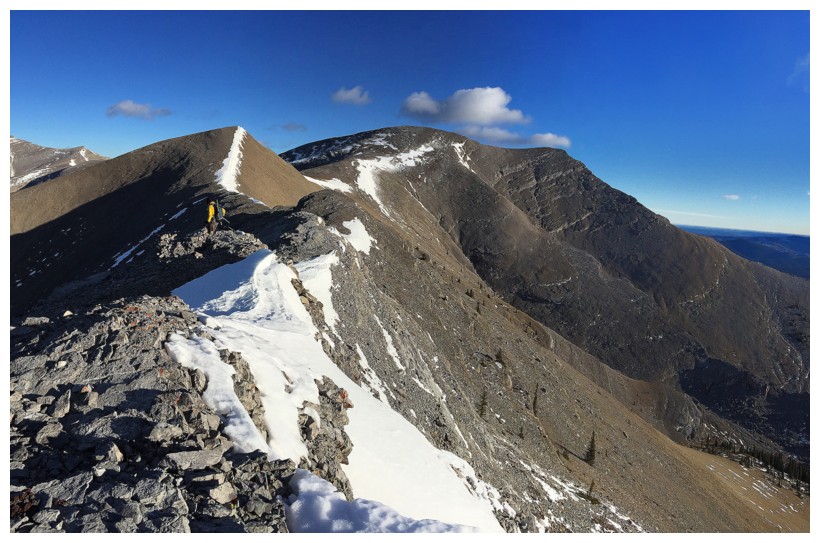
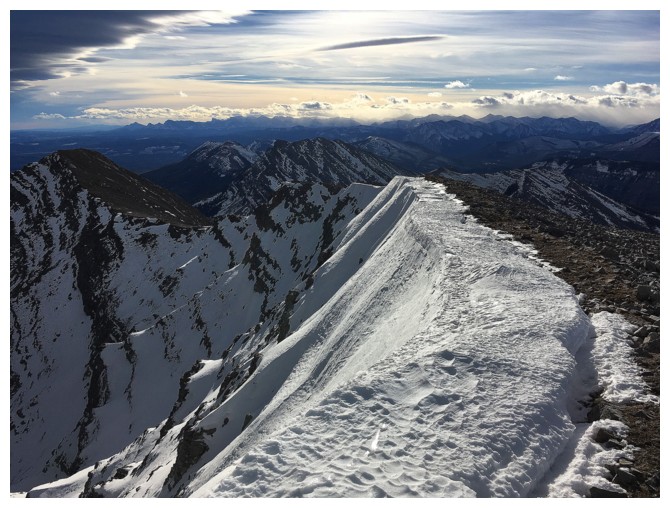
And an awesome ridge to walk
One of a few small steps along the ridge
Mark at the bottom of the most serious one. We went around this one.
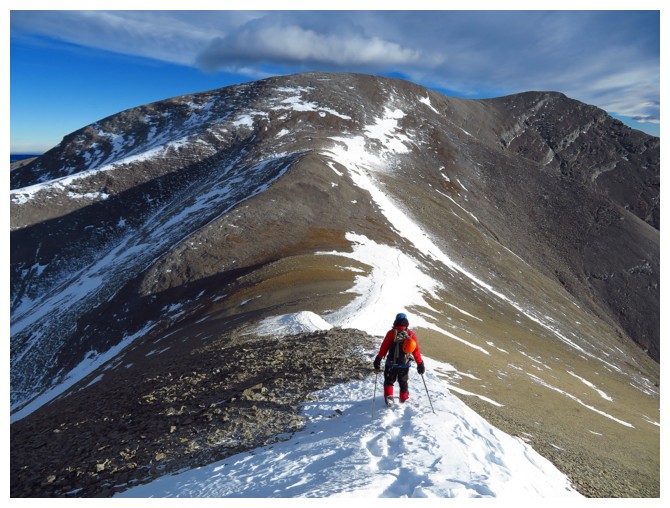
And back to ridgewalking
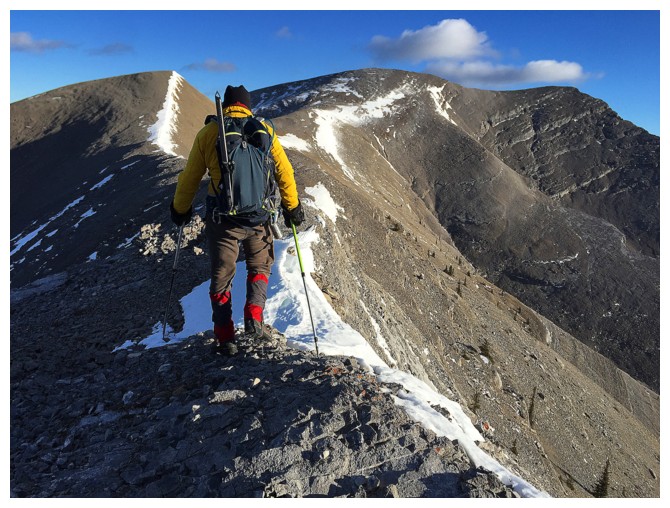
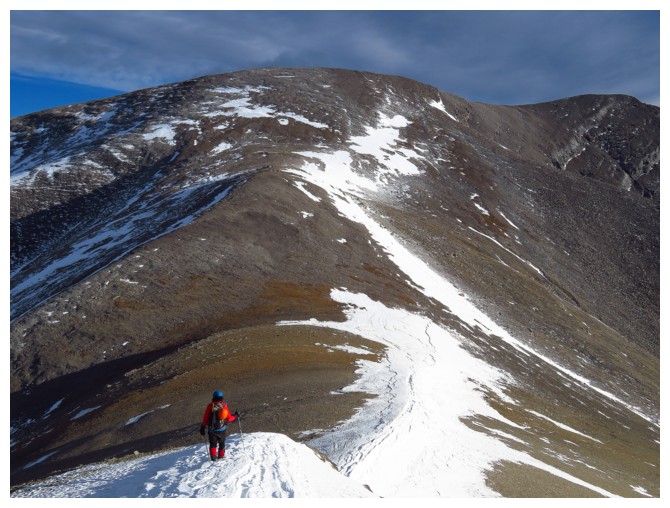
Lots of ups and downs along the ridge
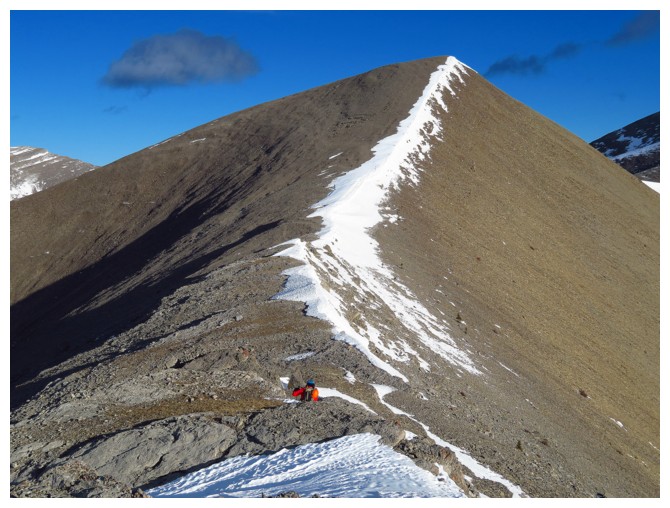
Mark heads up to the last false summit

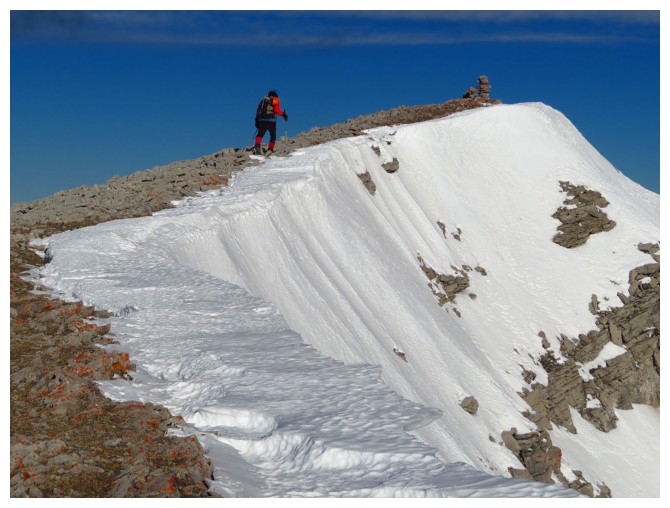
Cornice testing
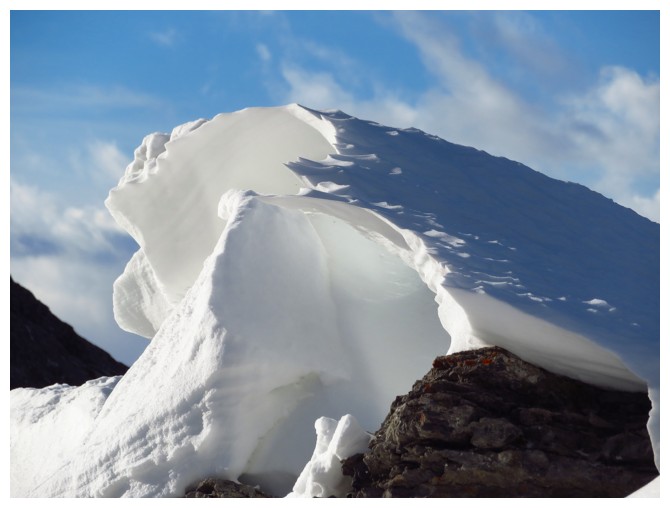
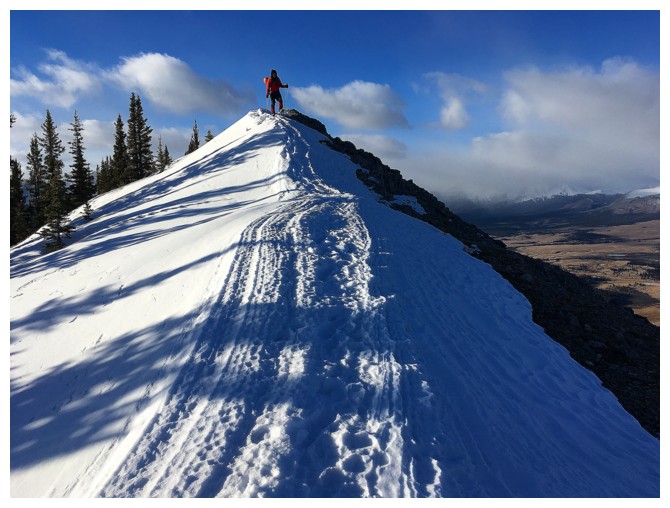
It's a beaut!!
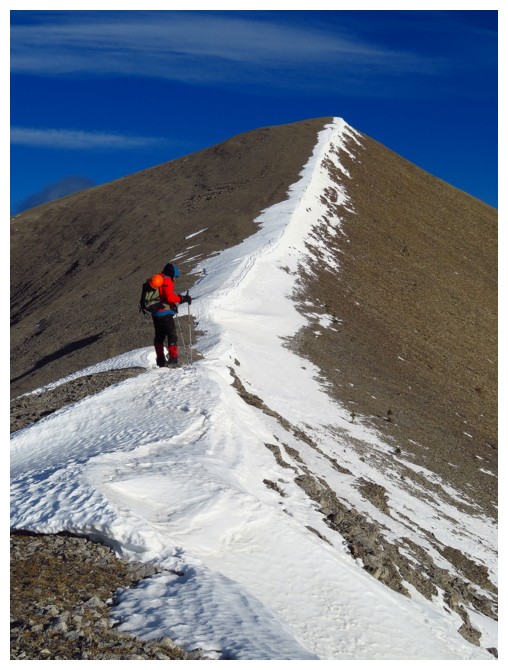
Onward and upward
I follow
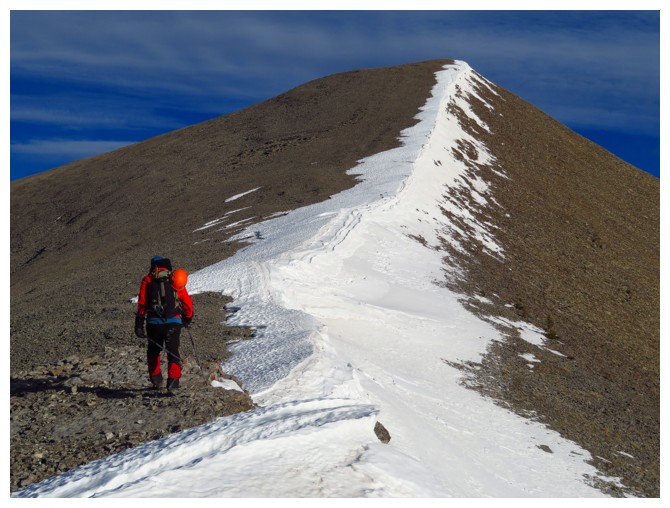
The summit is finally within reach
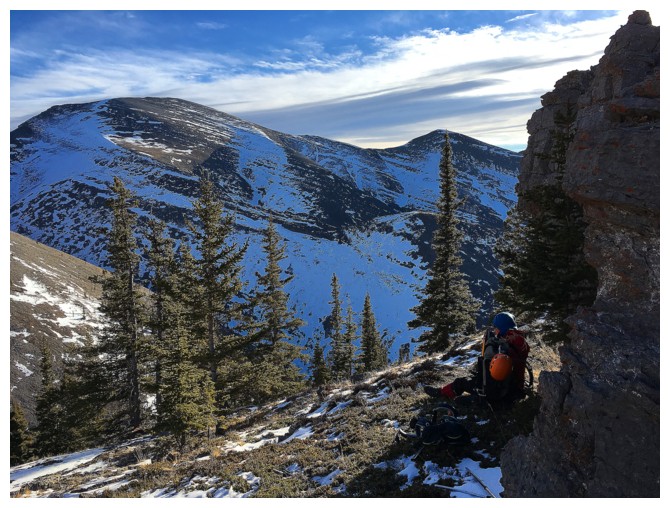
The ridge to the north that leads to Poplar Peak and also to our alternate descent route
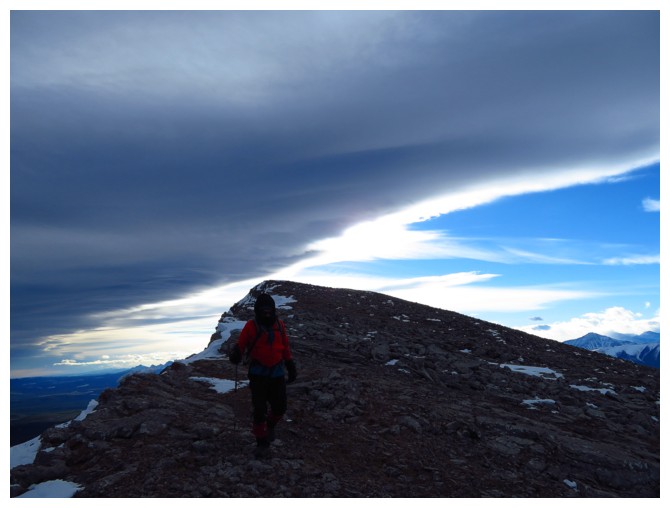
A very cool wall of cloud formed to the west
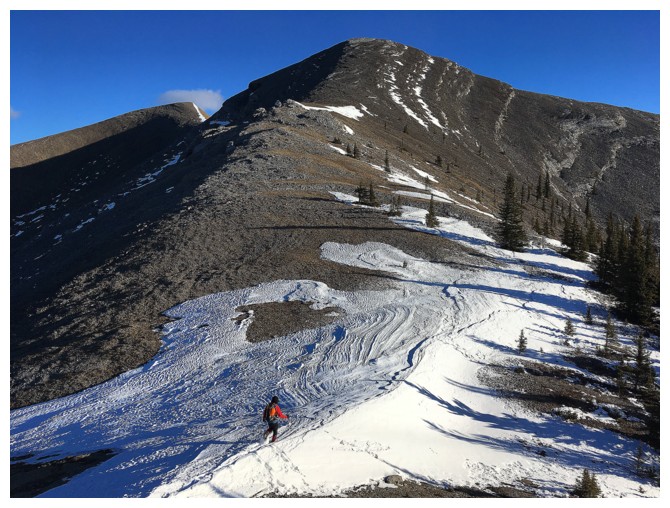
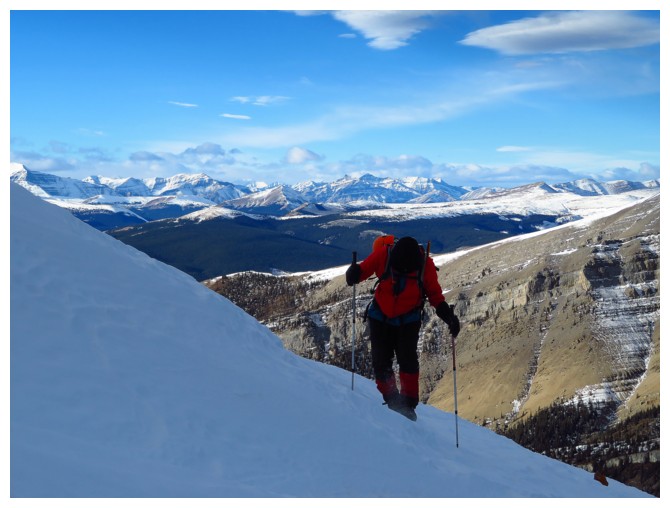
Still losing elevation before the final ascent
Looking back to the false summit
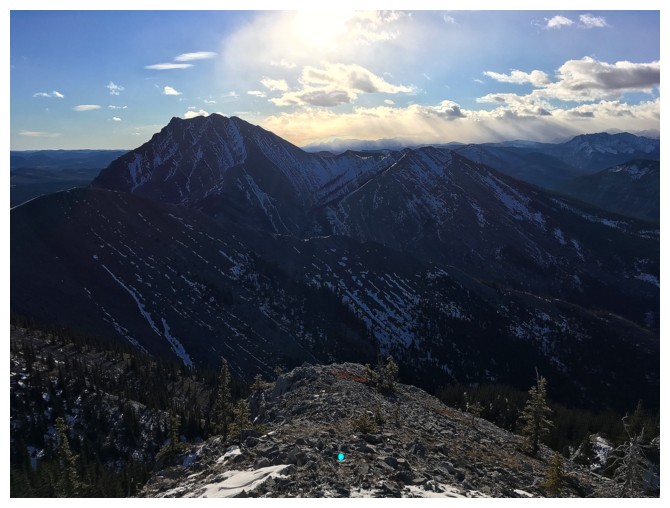
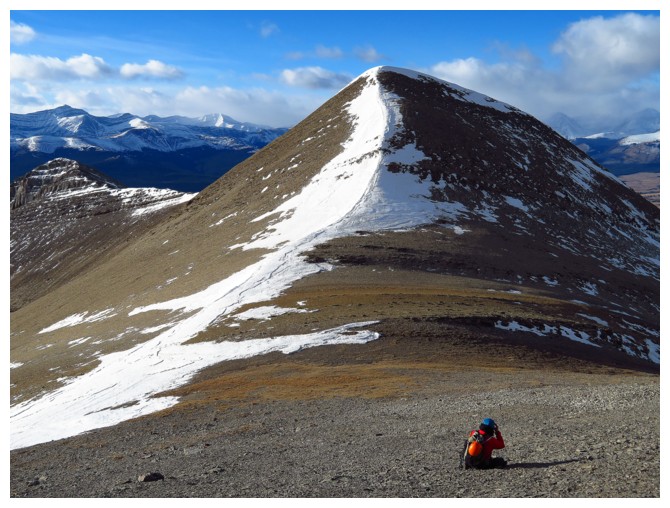
Mount Dormer
Poplar Peak
Surprisingly a wall of cloud formed to the east and moved west throughout the descent
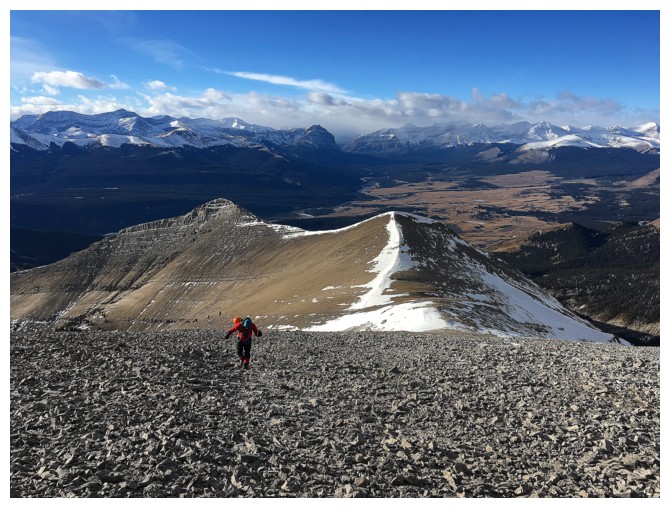
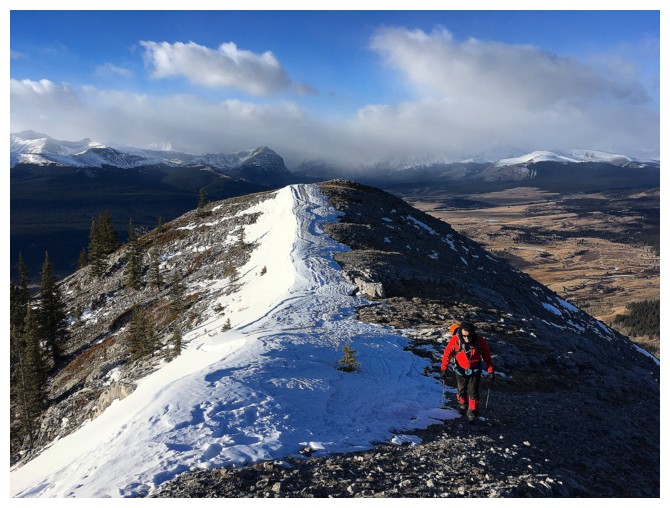
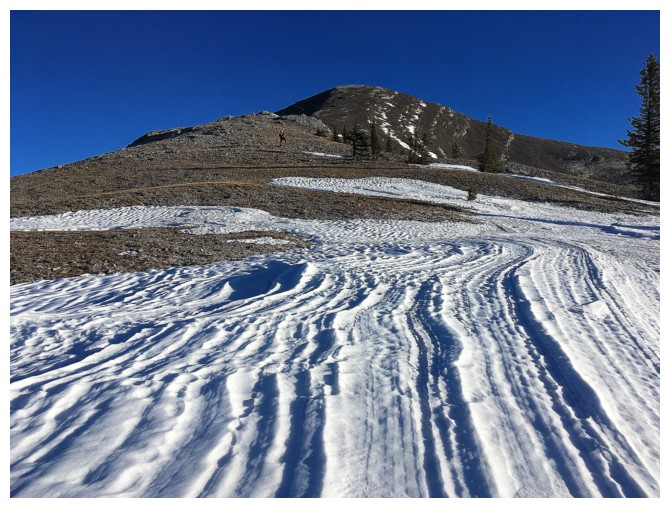
The slog to the summit is longer than it appears to be
Mark takes the final few steps to the summit
Summit view to the south
Summit view to the west
Starting the alternate descent route
Rock-hard snow was difficult to walk on without crampons
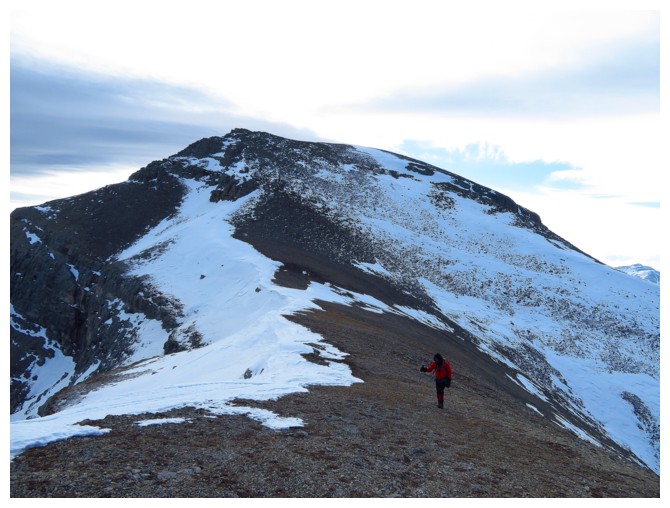
Looking back to the summit
Looking forward to Poplar Peak and the ridge we used as a descent route (middle left)
The valley/canyon below and the descent ridge (below Rum Ridge)
Almost at the ridge
We had to gain a little elevation to get there
Looking back at the ridge between Eagle and Poplar
Mark rests before the long descent. Summit of Eagle at the left
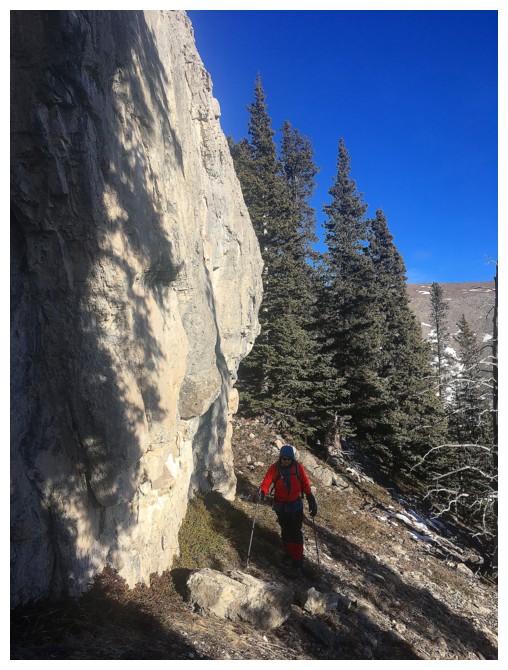
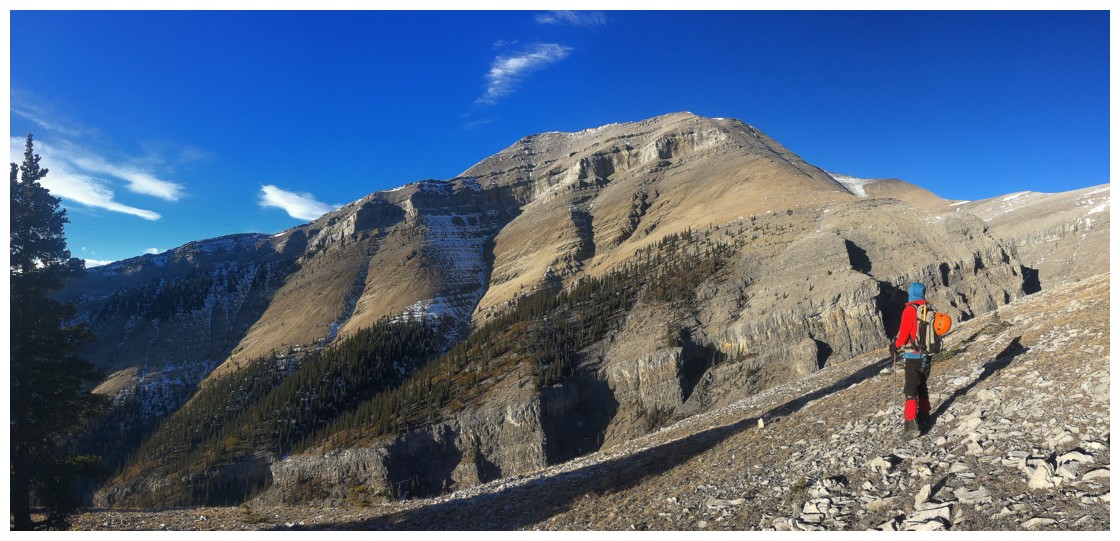
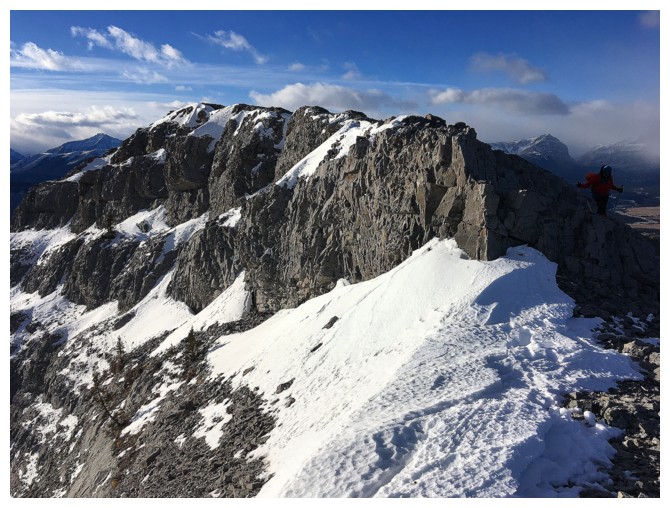
Traversing below the significant rock band
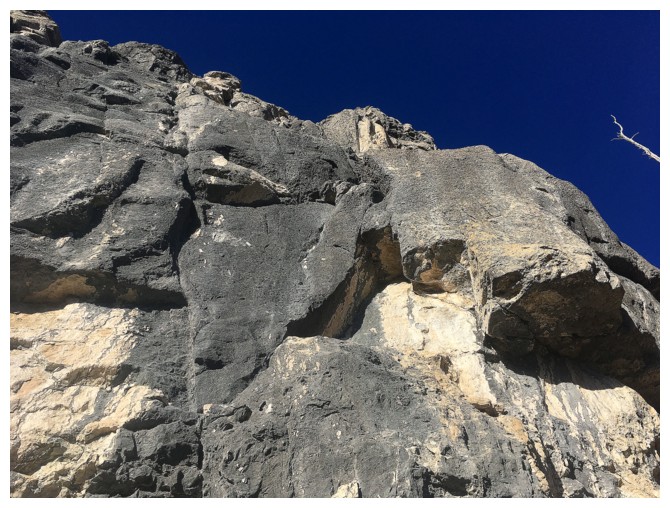
Great rock here
And again
Mark checks out Poplar Peak
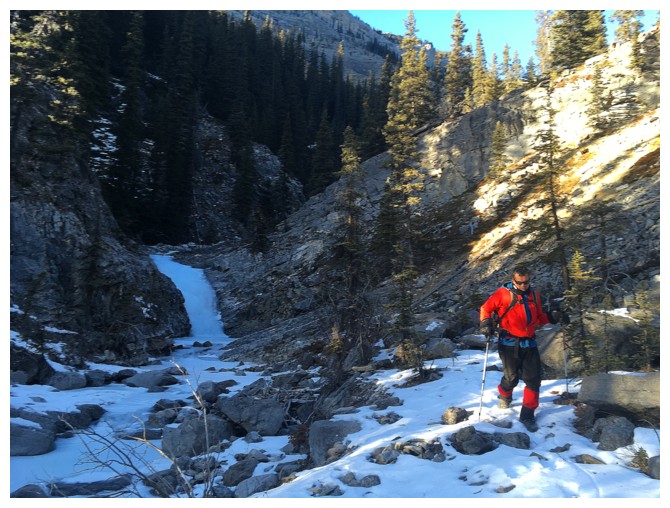
Finally in the valley/canyon and dreading reaching an impasse
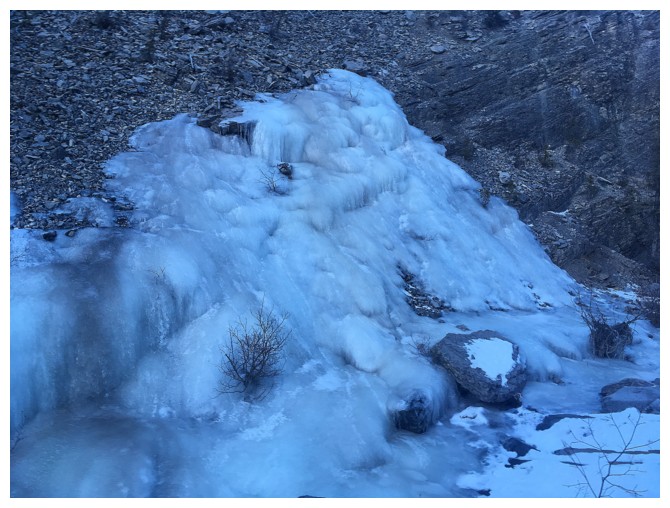
Lots of ice
Parting look at Eagle Lake Peak
The End