Heather Ridge II
 July 12, 2021
Mountain height: 2690 m
Elevation gain: approximately
1100 m
Round-trip time: 8:10
Solo scramble.
First completed as a wonderful winter-like
ascent, this trip demanded another run in the summer.
Regretting my bike didn’t accompany me on the
drive to Lake Louise, I hiked the 4 km approach and then continued easily to
Boulder Pass. Without 2 metres of snow, this part of the trip took way less
time and a fraction of the effort than our previous visit. The skies were
generally clear, but a little hazy from an alarming number of forest fires in
British Columbia (for early July, that is).
 Scenery and views up to that point had been
fantastic, but nothing compared to the view atop the northwest summit, where
Mark and I had stopped last time. This summit affords one unobstructed views of
three magnificent Lakes (Redoubt, Ptarmigan, and Baker), in addition to all the
picturesque mountains around those lakes. That view was great in May of 2019,
but infinitely better without snow and ice (given my love for winter scenery that’s
a sentiment I rarely, if ever, express!)
Scenery and views up to that point had been
fantastic, but nothing compared to the view atop the northwest summit, where
Mark and I had stopped last time. This summit affords one unobstructed views of
three magnificent Lakes (Redoubt, Ptarmigan, and Baker), in addition to all the
picturesque mountains around those lakes. That view was great in May of 2019,
but infinitely better without snow and ice (given my love for winter scenery that’s
a sentiment I rarely, if ever, express!)
After a very long and super rewarding
northwest summit stay, I turned my attention to the true summit, about 1 km to
the southeast. I thought the traverse over would be a 20-minute cakewalk on
easy terrain. However, it took a full hour and was replete with interesting
pinnacles to dodge around, sections of boulder-hopping, and a few route-finding
challenges. Not that I’m complaining – this part of the trip was engaging and
entertaining. Although the view from the true summit was still spectacular, the
aforementioned lakes were noticeably missing.
I took an alternate descent route, making my
way down, more or less directly towards Redoubt Lake. This worked perfectly,
granting easy access to the scenic south end of that lake. The hike out was
also easy and generally very enjoyable (with perhaps the exception of the last 4 km
along down the access road).
An excellent return to a stunning area of the
Rockies I should visit more often.
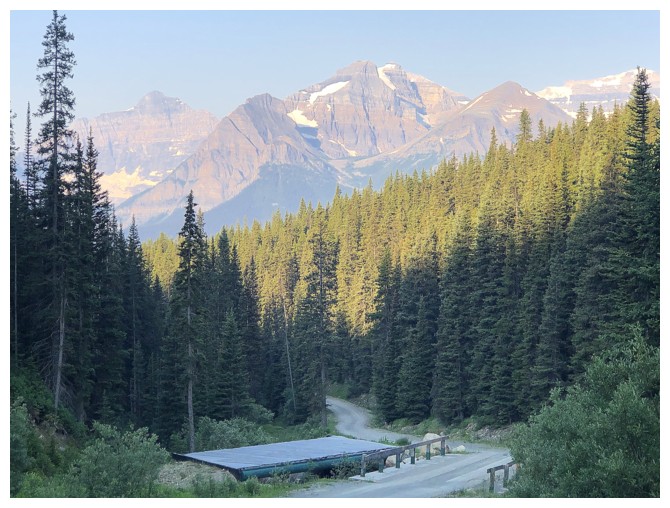
Hazy view to the west on approach. The Sheol/Haddo/Aberdeen massif and Fairview Mountain are featured.
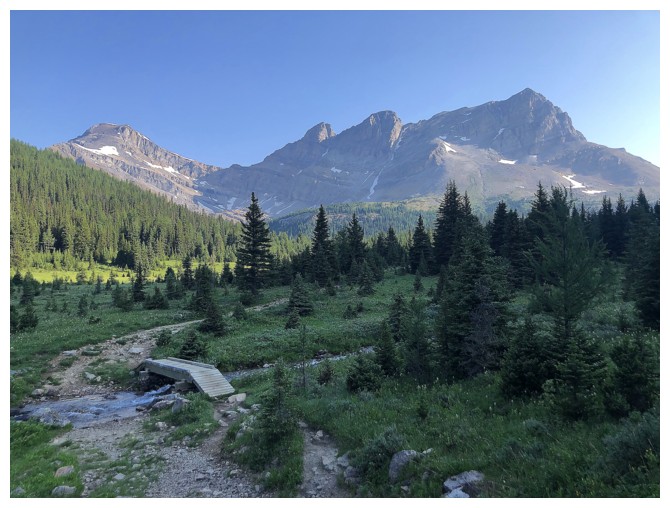
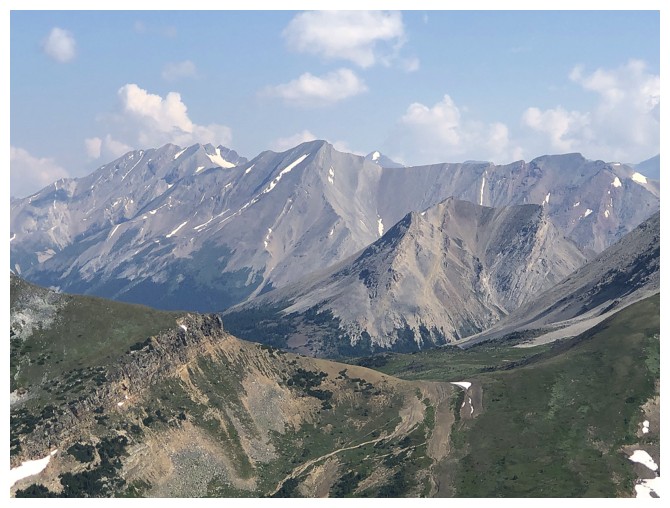
Approaching the amazing Skoki area. Left to right: Mount Richardson, Pika Peak, and Ptarmigan Peak.
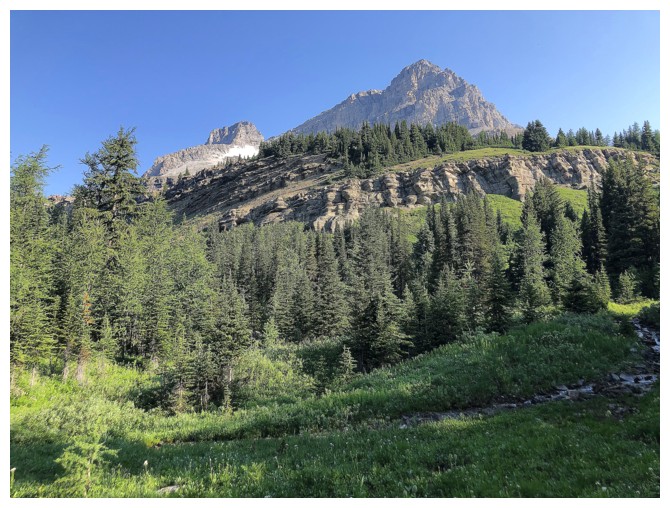
Passing by Ptarmigan - a much photographed peak on this trip
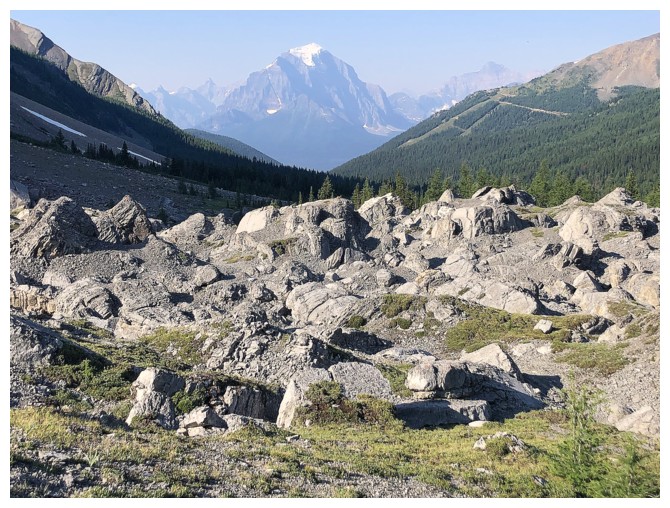
A boulder field and Mount Temple

Same as above and an unnamed ridge northeast of Whitehorn Mountain
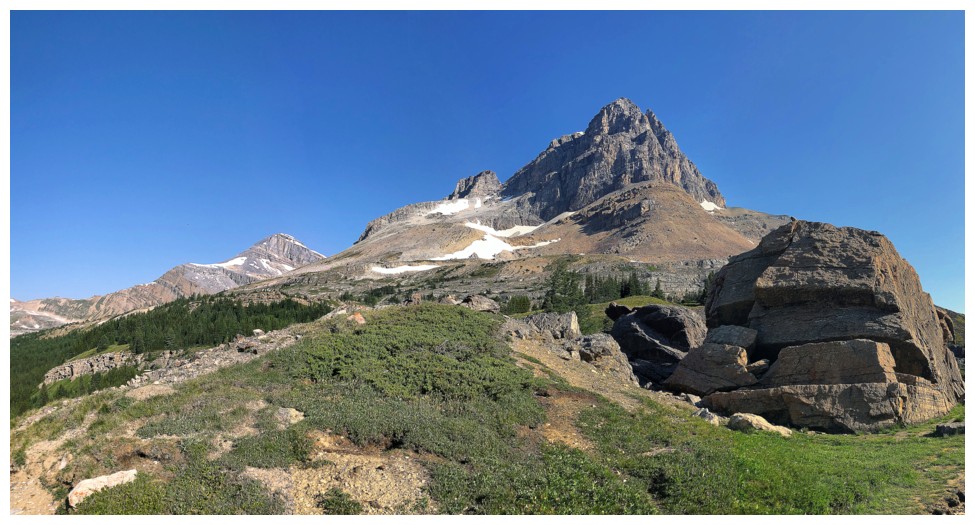
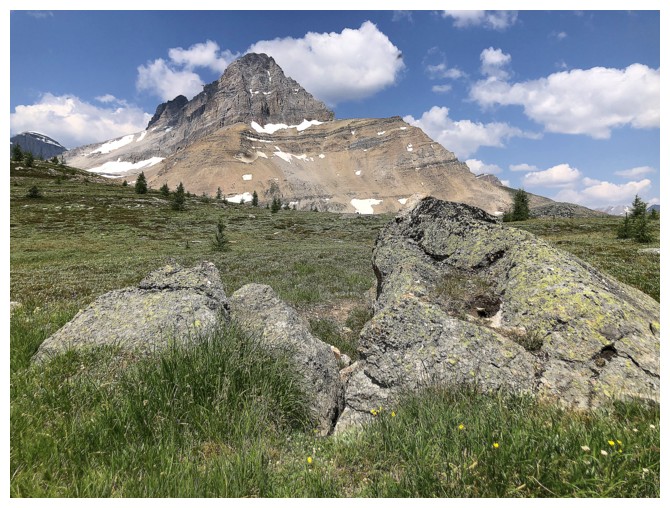
Ptarmigan and a huge boulder
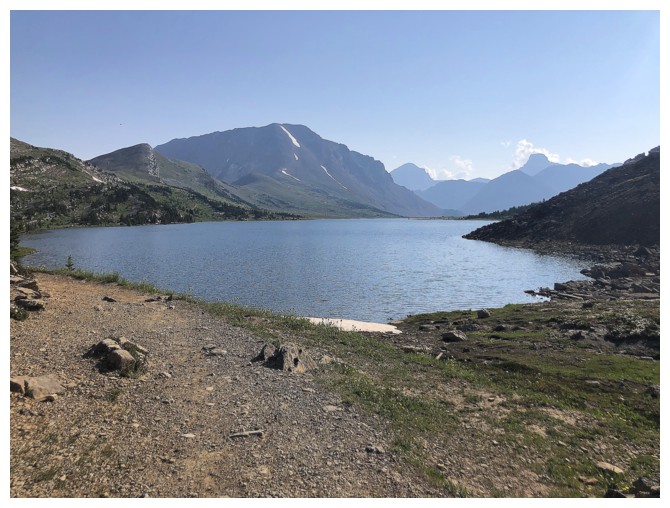
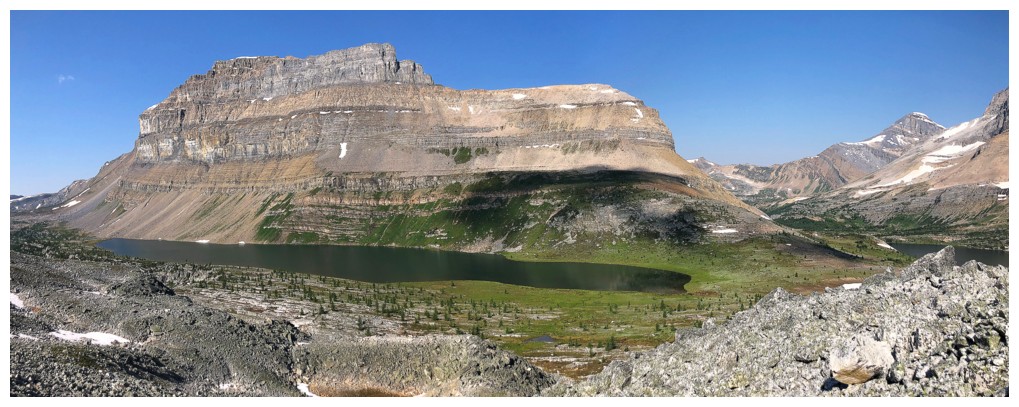
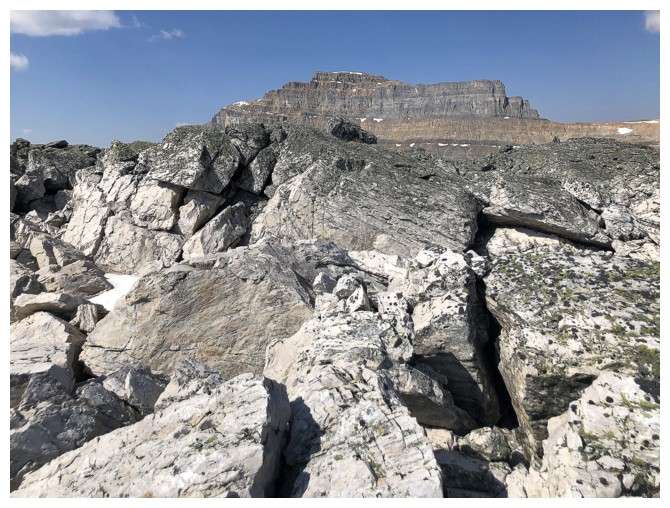
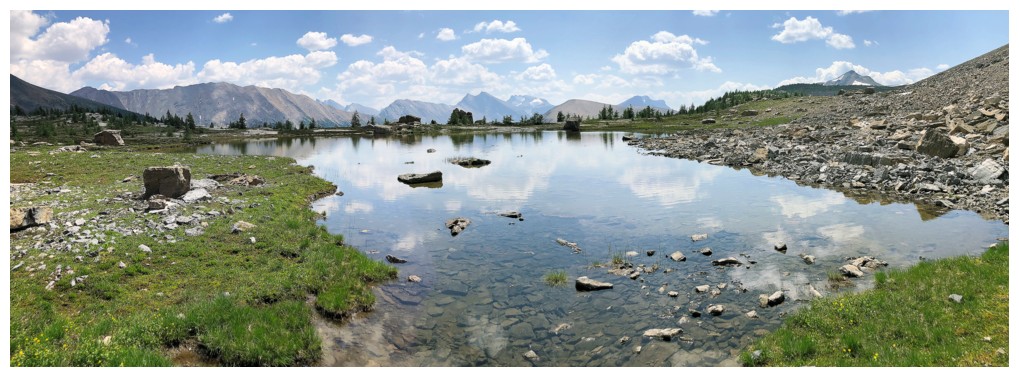
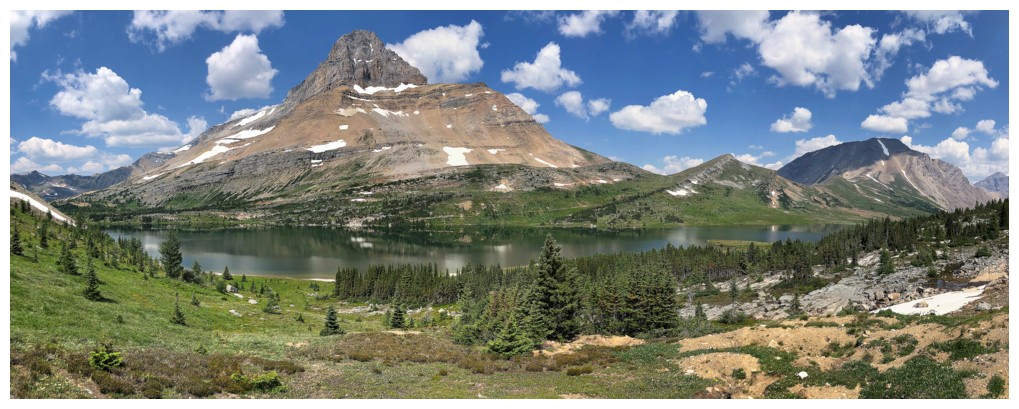
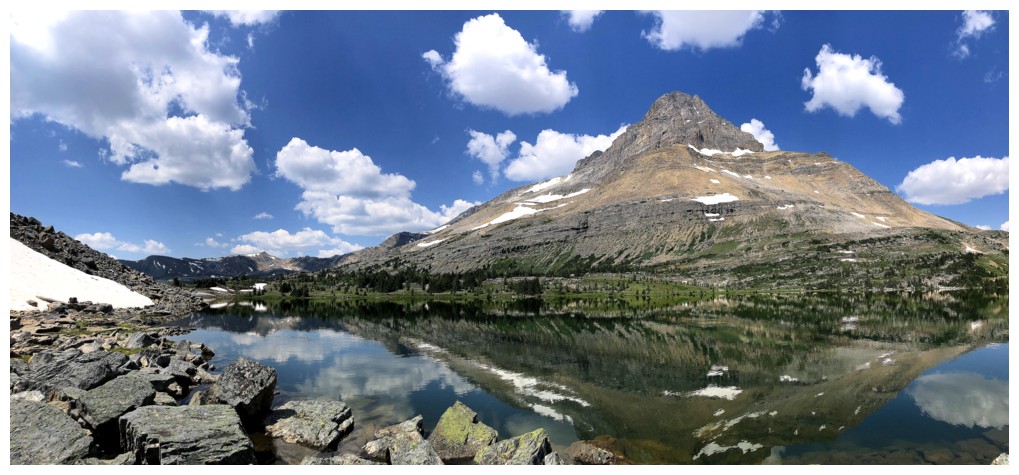
Ptarmigan Lake, with Fossil Mountain at it's east end
The lake and the mountain
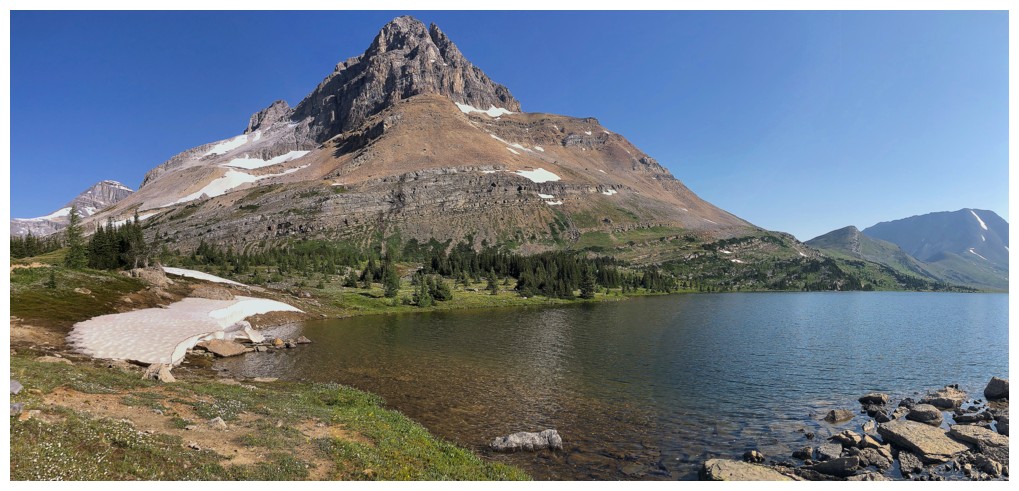
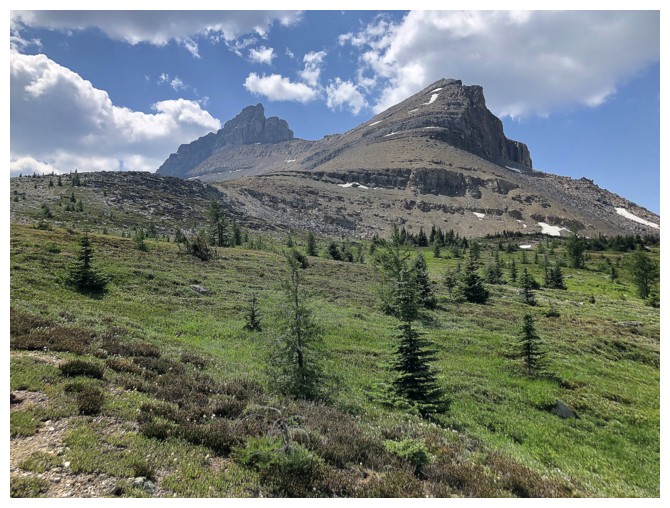
Heather Ridge and its northwest summit
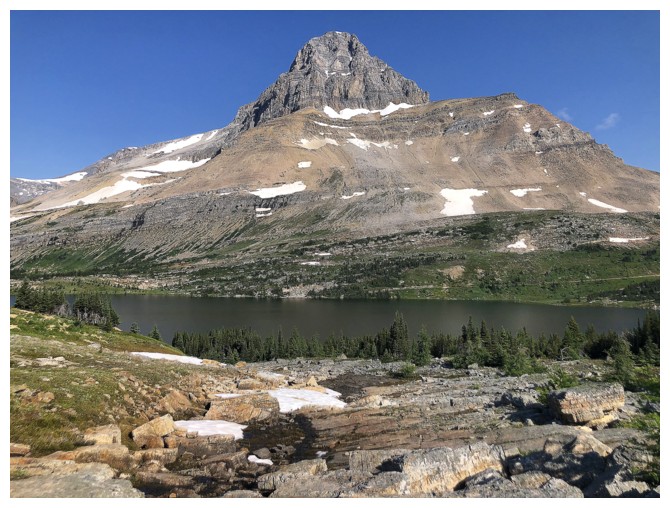
Not the last photo of Ptarmigan!
Redoubt Mountain will receive as much attention as Ptarmigan
Redoubt and Ptarmigan - life is just getting better and better!
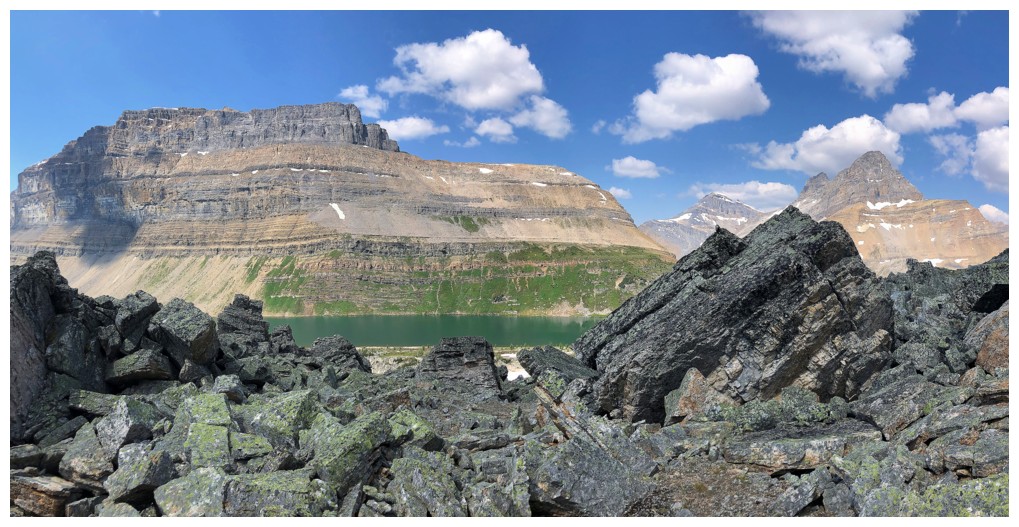
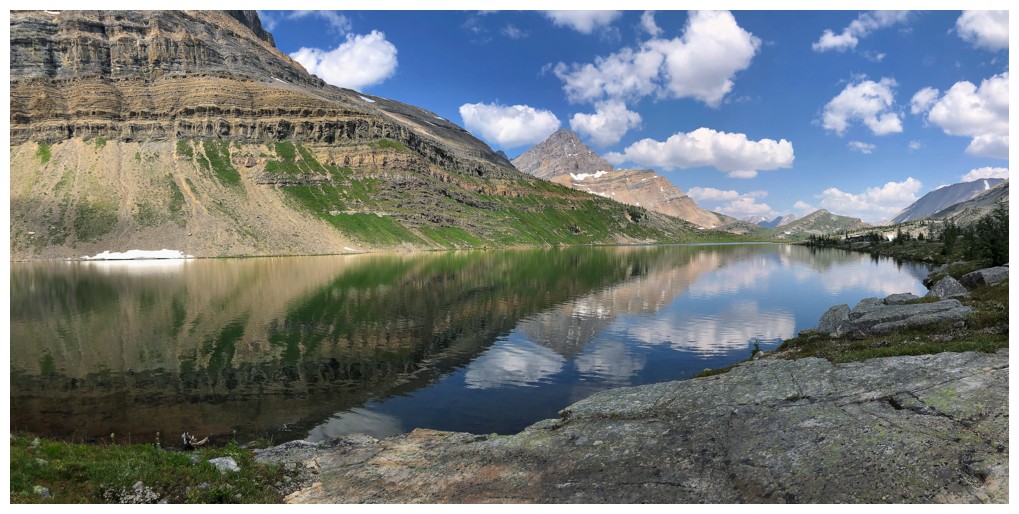
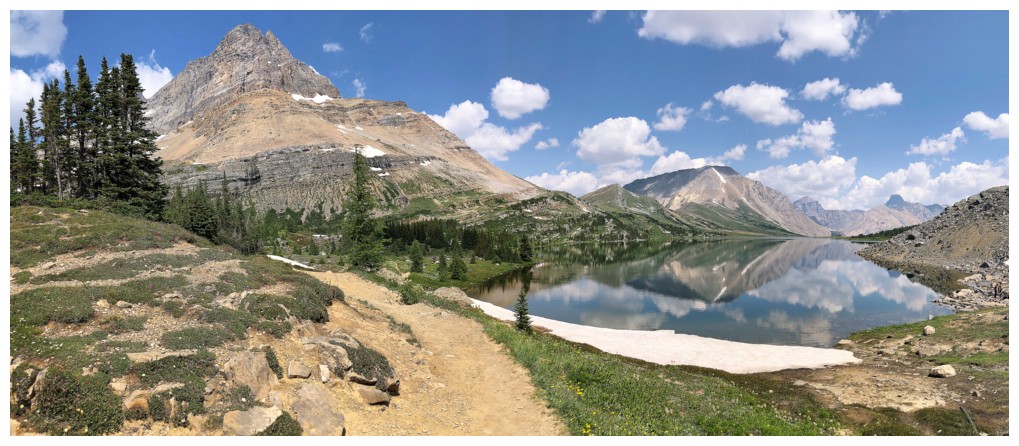
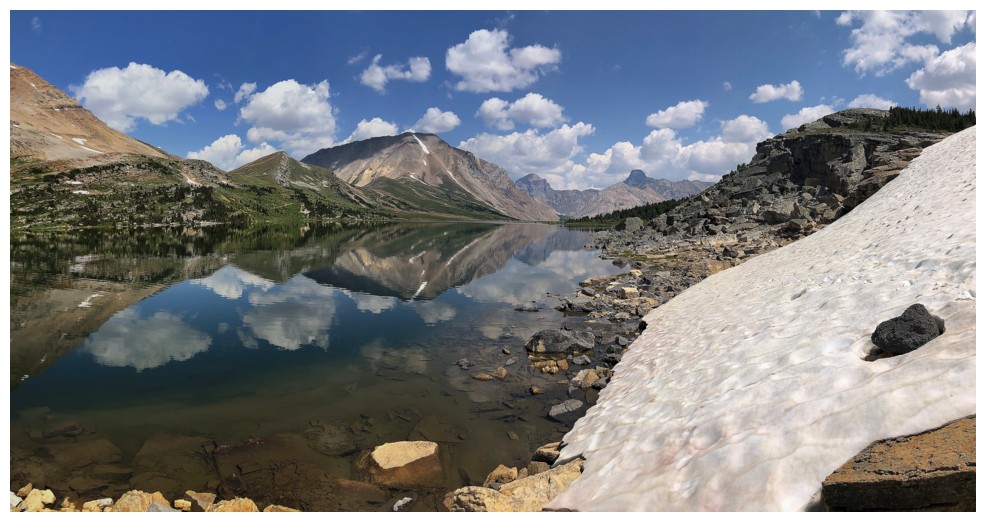
Redoubt Mountain and it's namesake lake
It's a long, narrow lake

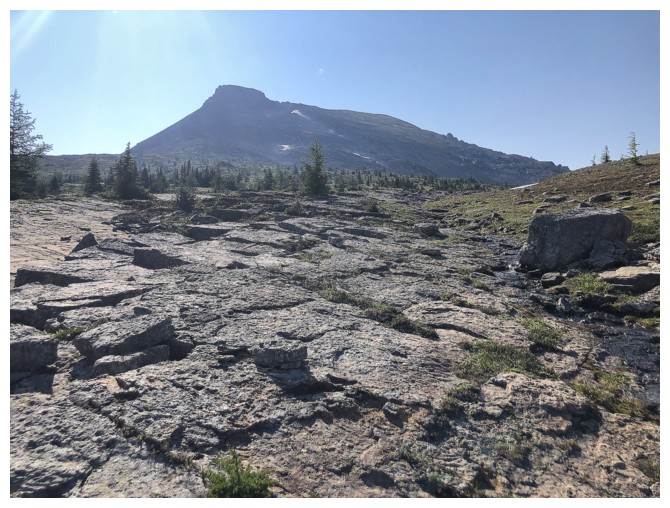
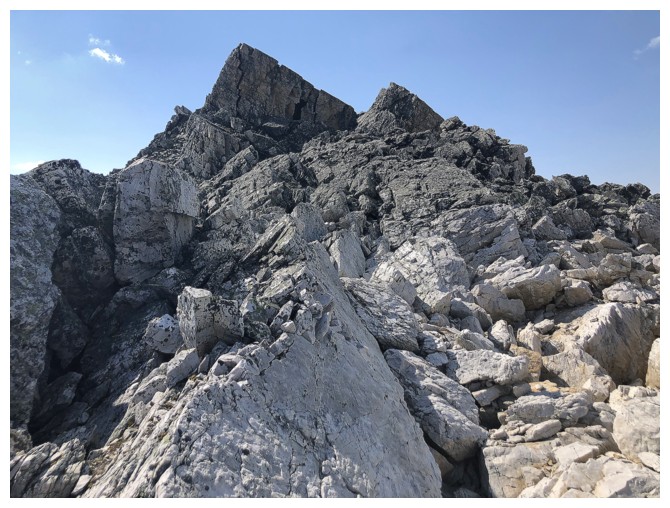
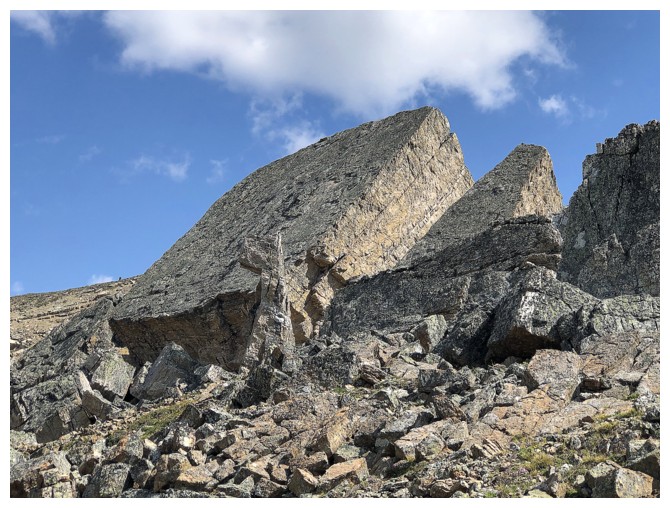
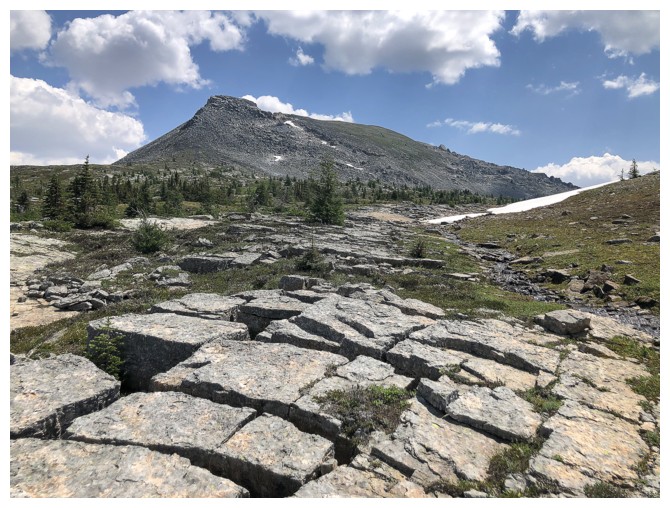
Lots of interesting rock on ascent
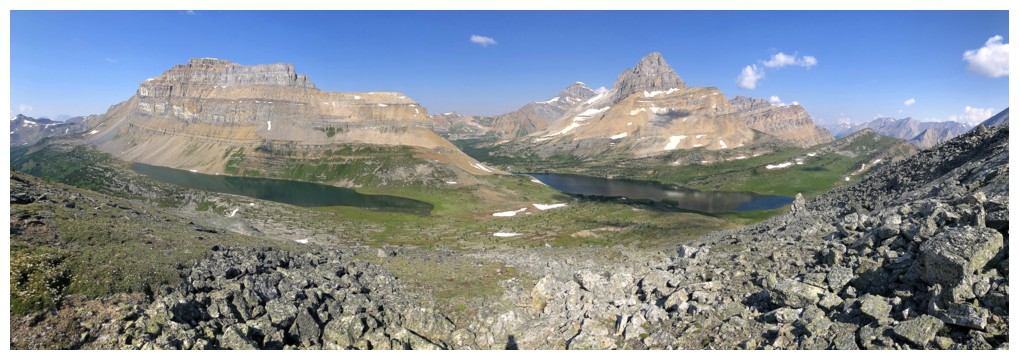
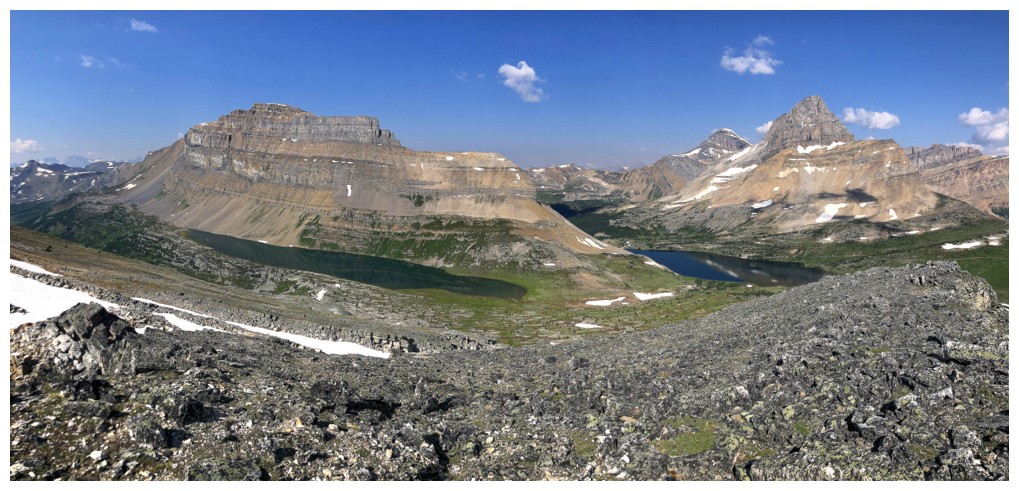
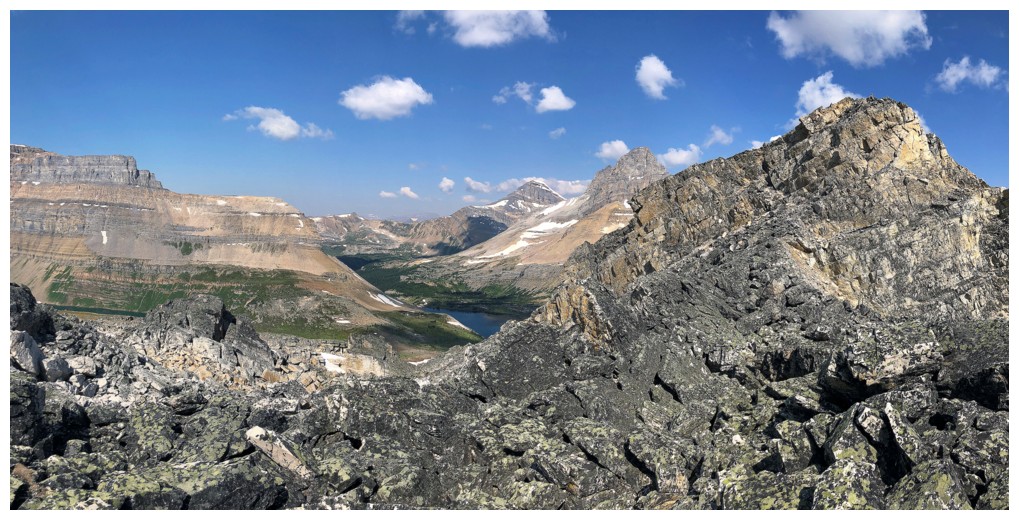
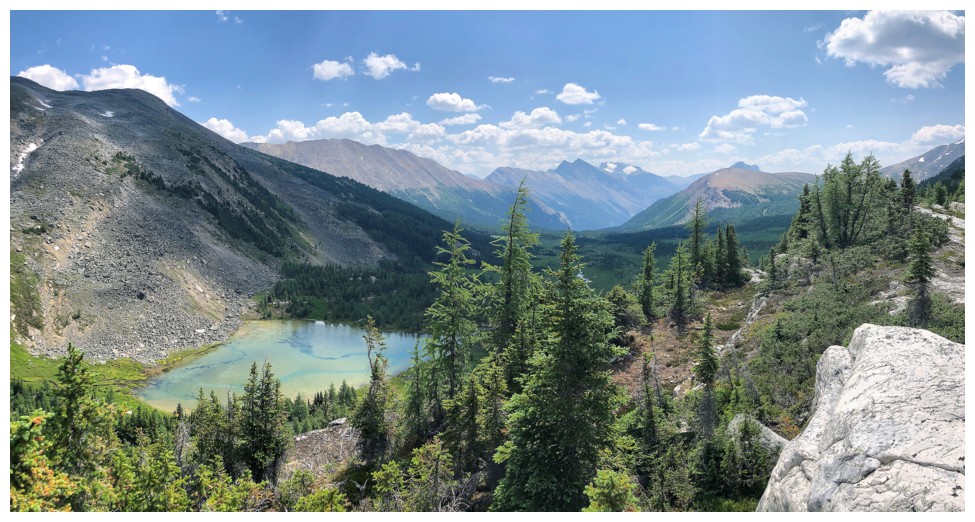
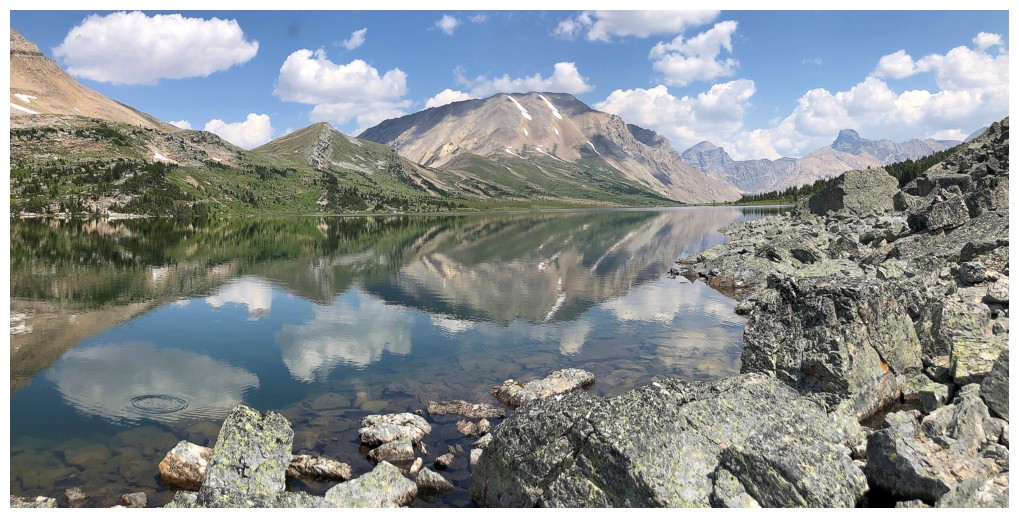
Two of the three lakes and their namesake mountains
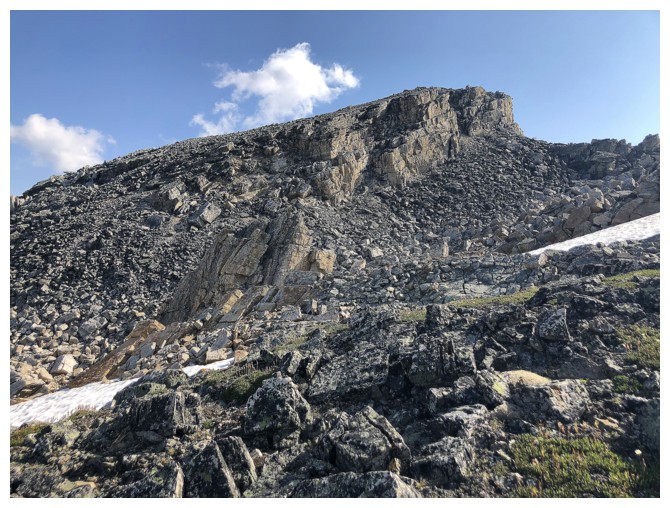
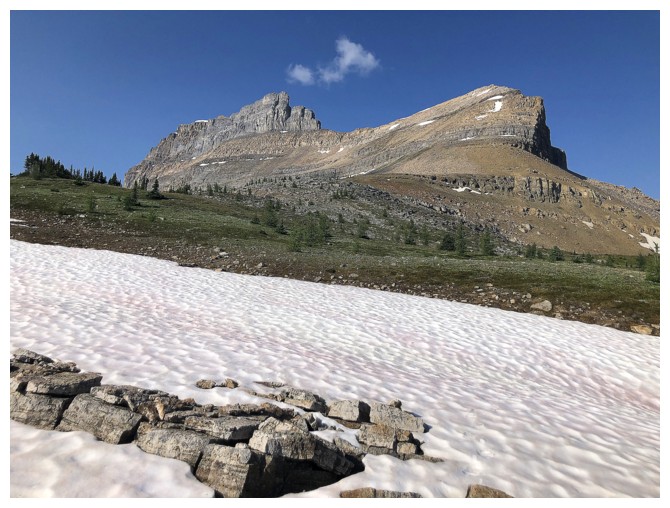
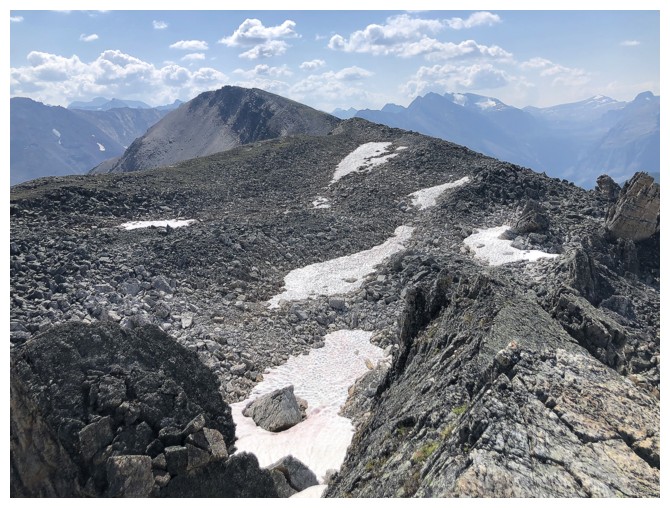
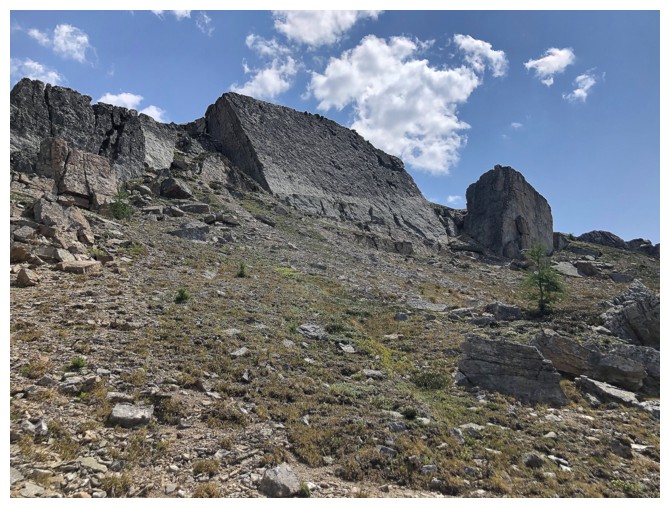
Typical terrain to reach the northwest summit

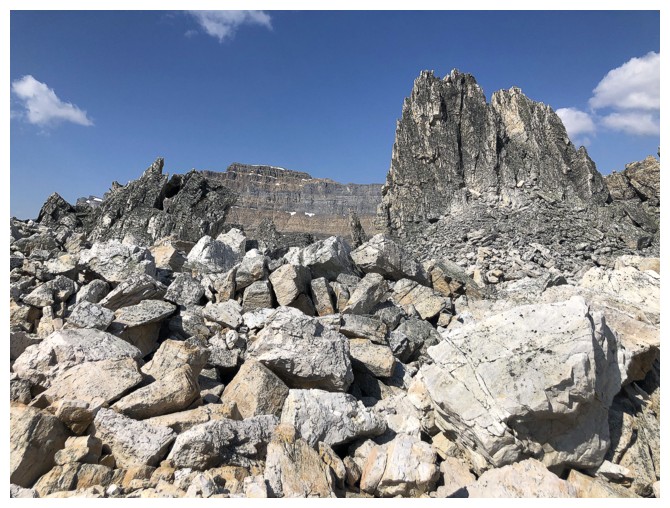
The wall to the right of Ptarmigan is the daunting Wall of Jericho (9
pitches of climbing up to 5.8 - i.e. way beyond my level of climbing!)
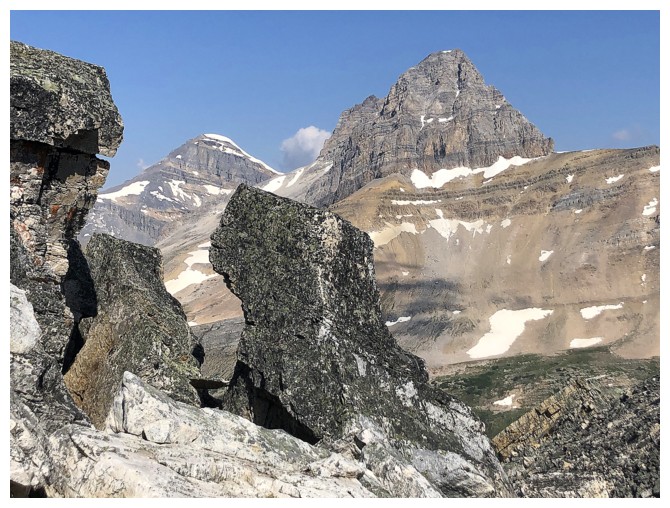
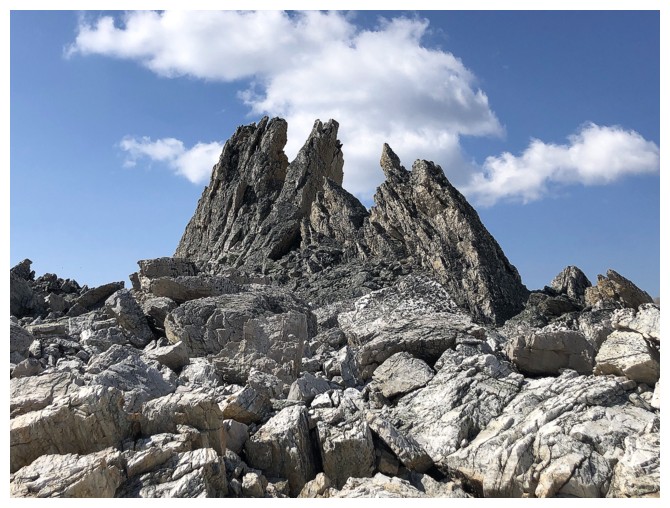
More cool rock near the summit
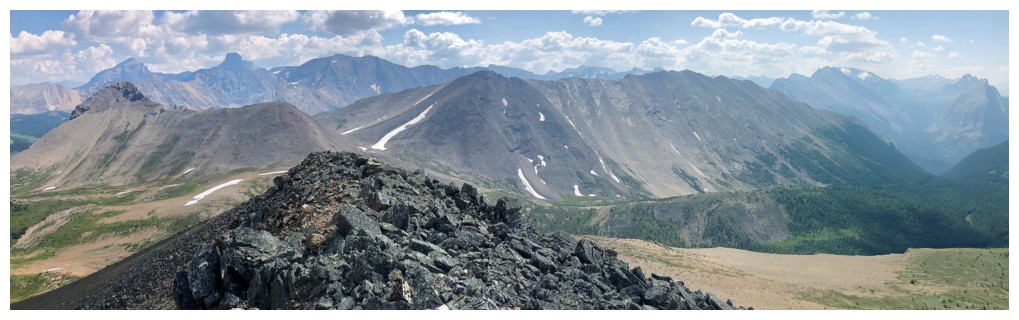
The summit view to the northeast includes Fossil Mountain, distant mounts Douglas and St. Bride, and Brachiopod Mountain
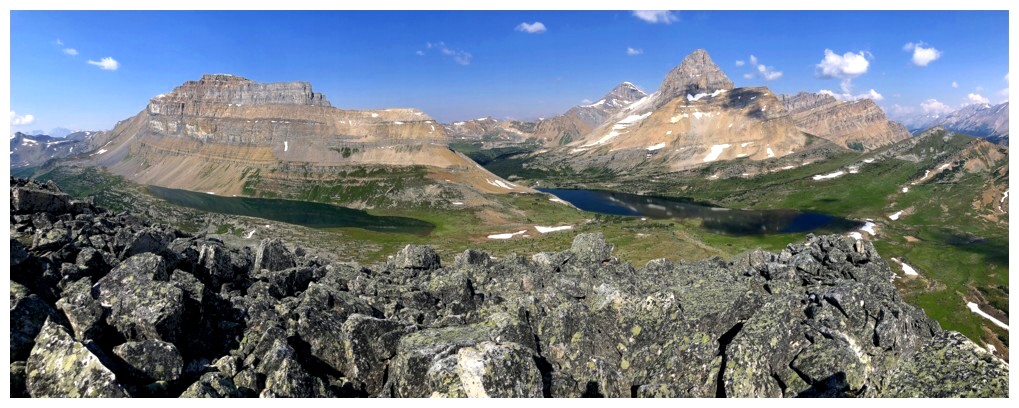
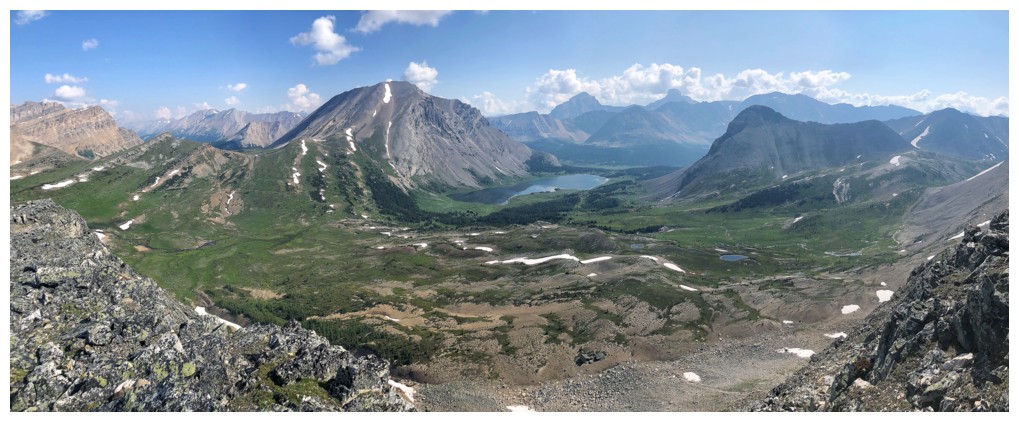
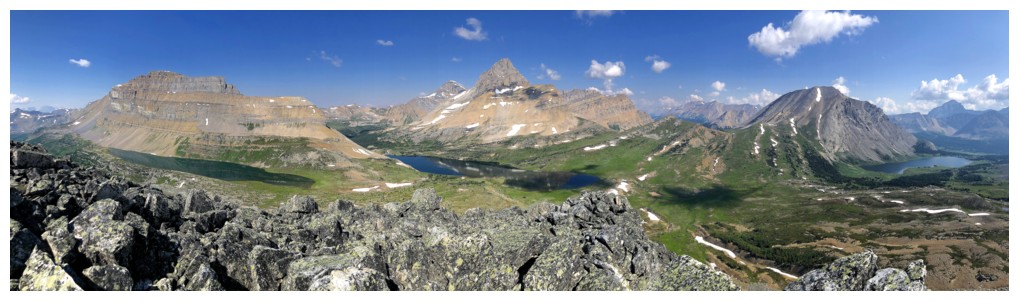
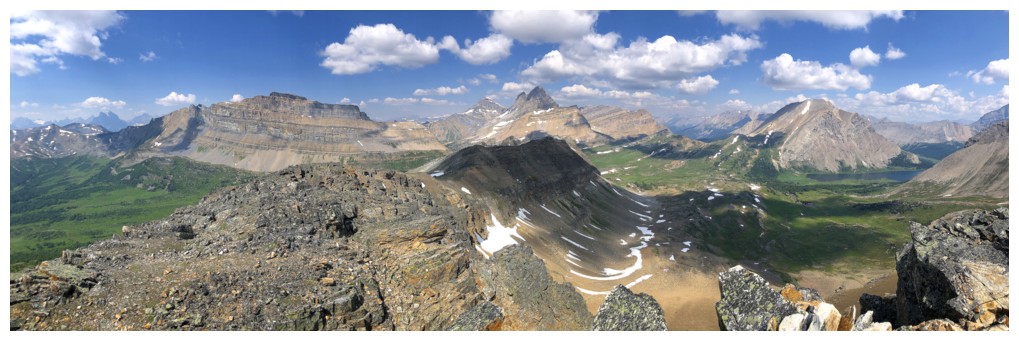
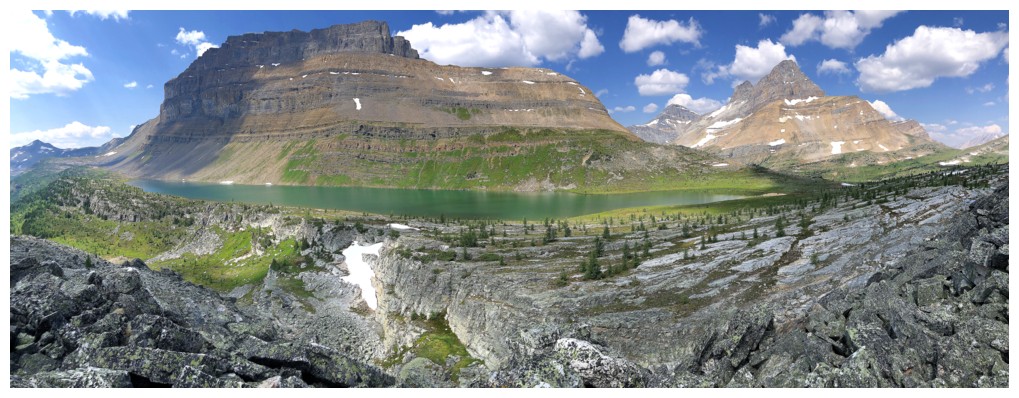
The summit view to the north, northwest, and west includes Redoubt, Ptarmiigan, Fossil, and three beautiful lakes
Can't get enough of Redoubt and Ptarmigan
Baker Lake at the left
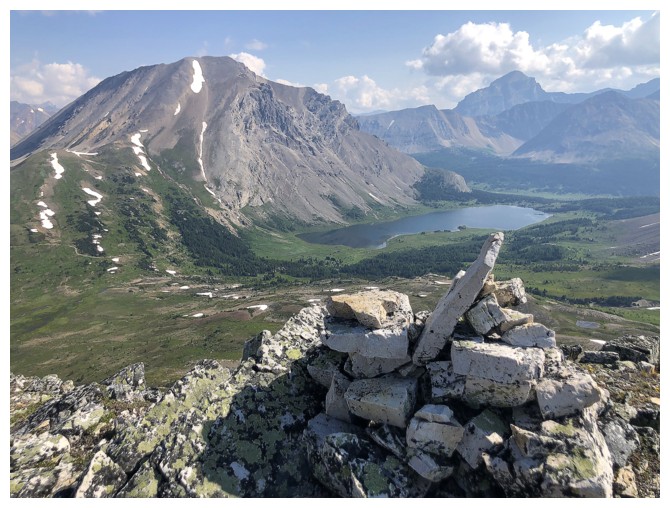
The summit cairn and Fossil
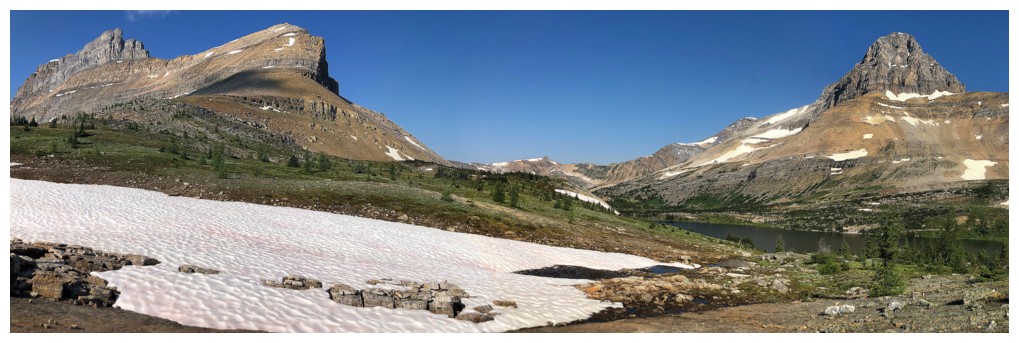
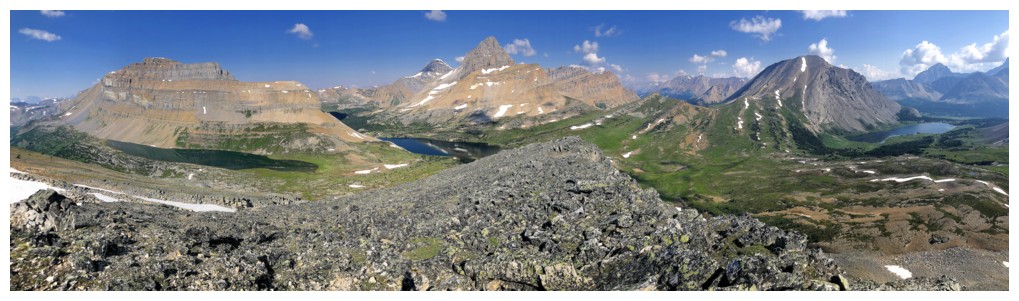
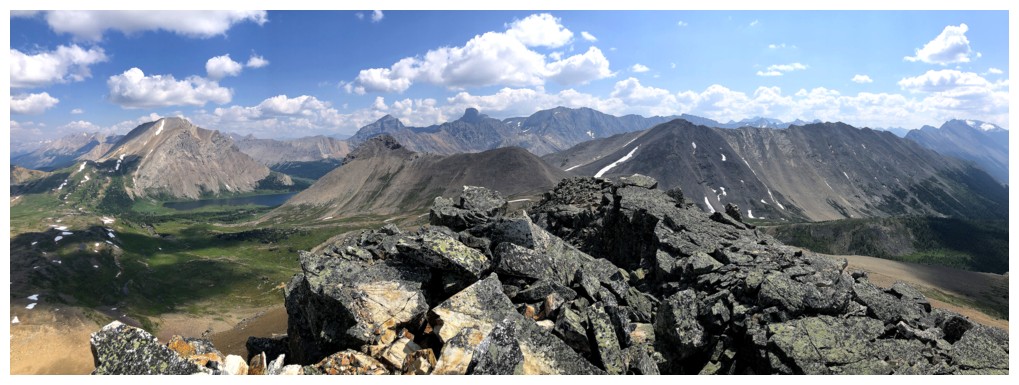
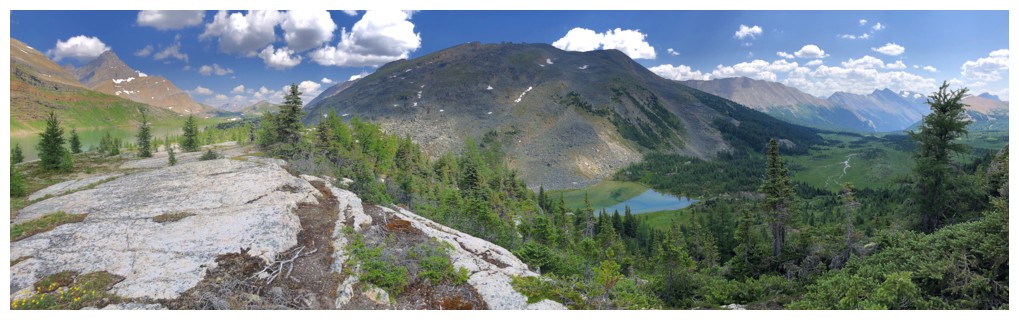
Going to the lower end of the ridge reveals full views of all three lakes
The little guy in front is Skoki Mountain. Pipestone and Cyclone mountains behind.
Packer's Peak is the really smaller peak in the centre and is usually ascended in the winter
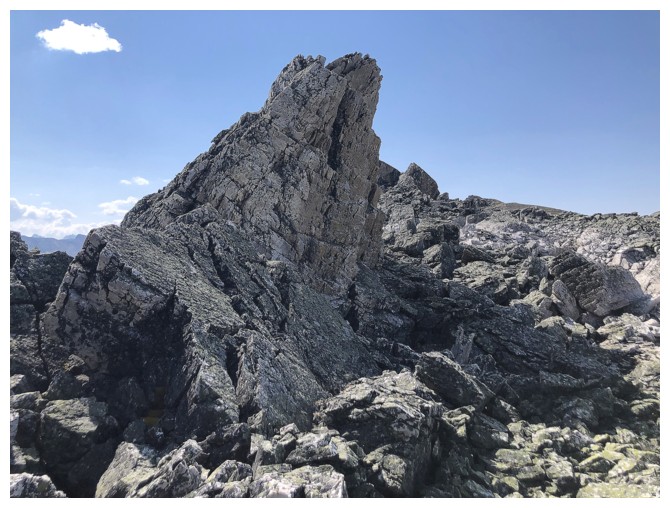
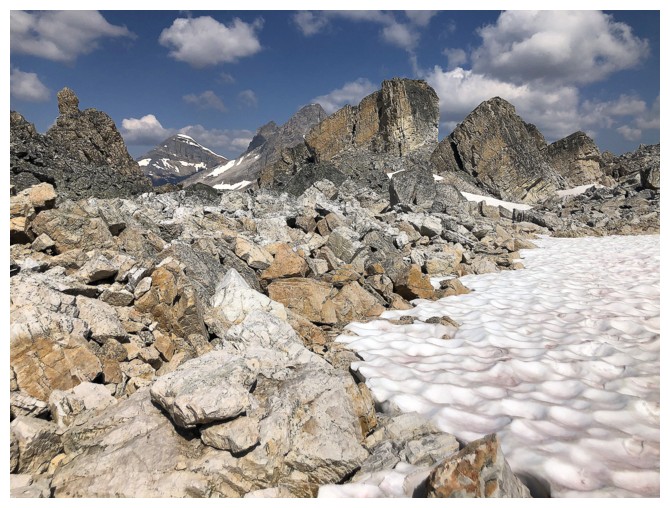
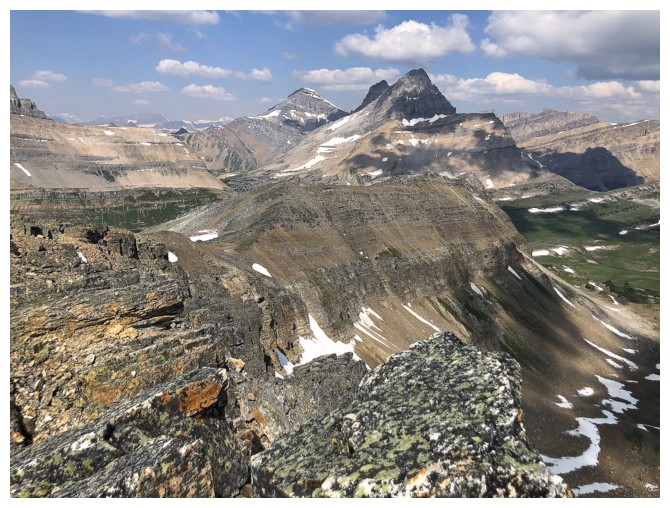
The traverse over to the true summit is interesting right from the start
Negotiating a big boulder field on the ridge
Some of the rock on the ridge
The boulders keep on coming
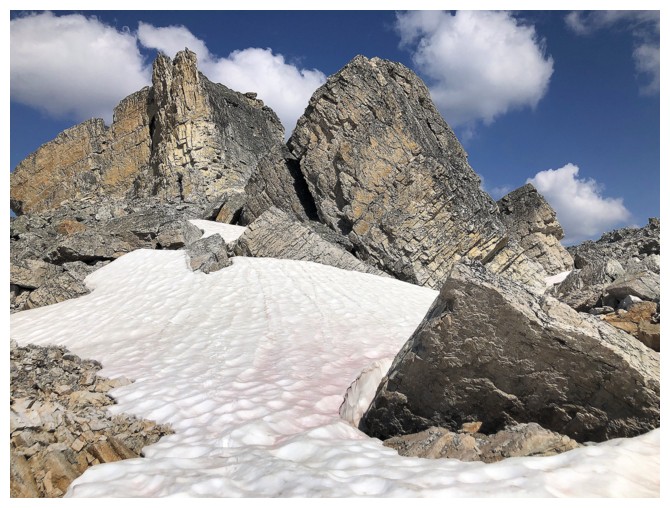
The next section looks very straightforward
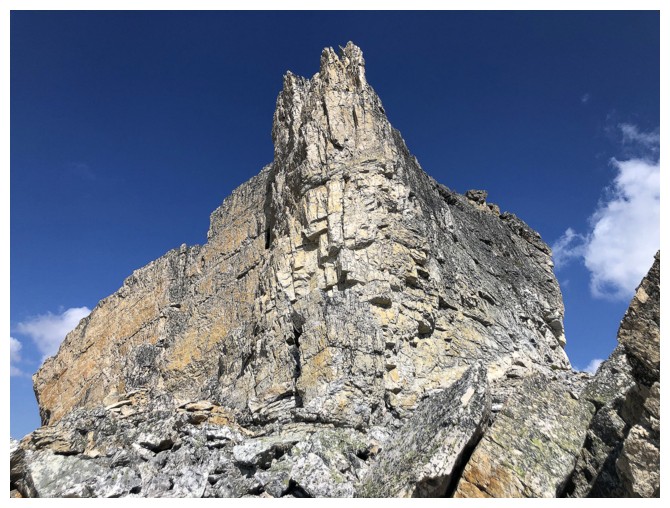
But is still characterized by stunning pinnacles
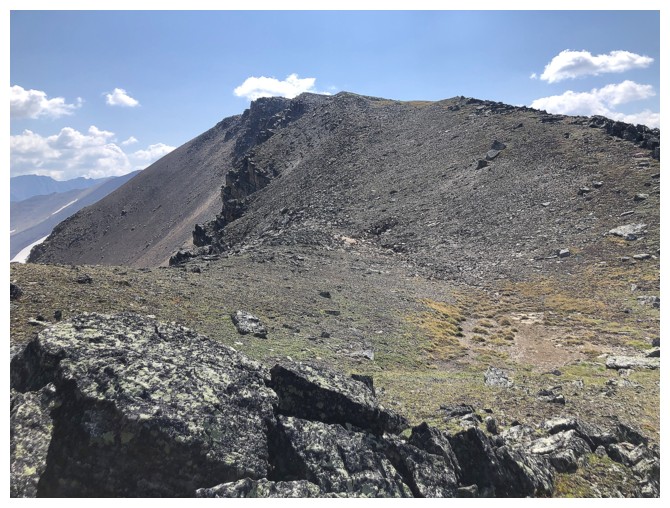
The last part of the traverse is super easy
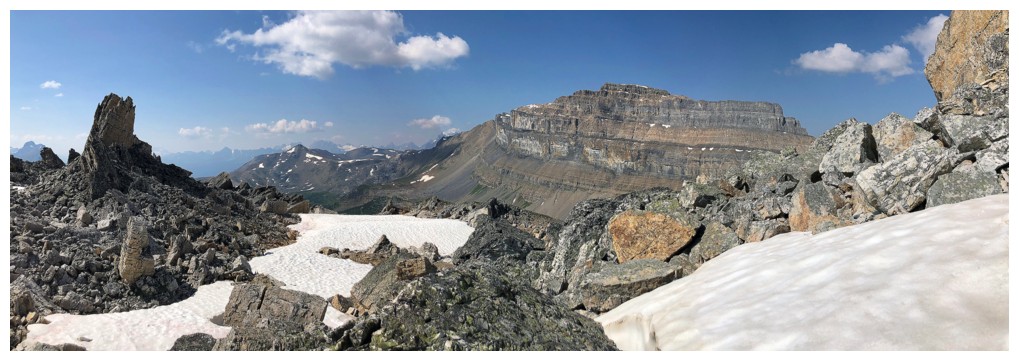
Almost at the summit. Anthozoan Mountain is connected to Brachiopod.
Summit view to the north
Fossil and Baker Lake look different from this angle

Mount Temple. The strip of snow at the left is the famous Aemmer Coulier - 600 m of very challenging, 45-55 degree skiing (of course I wouldn't know firsthand, since I can barely ski!).
Brachiopod, Douglas and St. Bride again
The summit view is spectacular, but only a section of Baker lake is visible. The others are completely blocked.
Summit view to the northeast
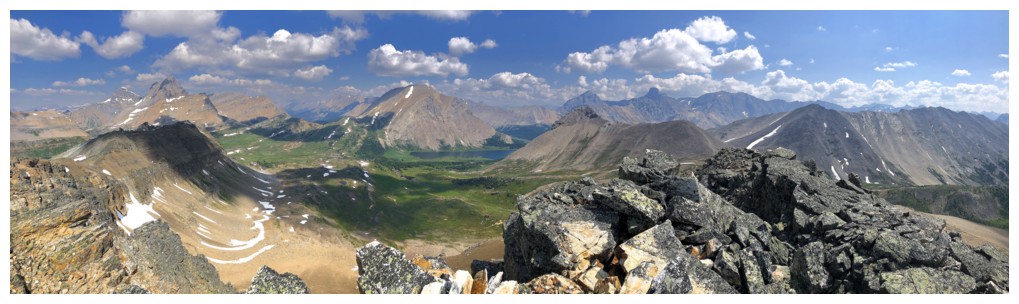
One more summit pano - why not!
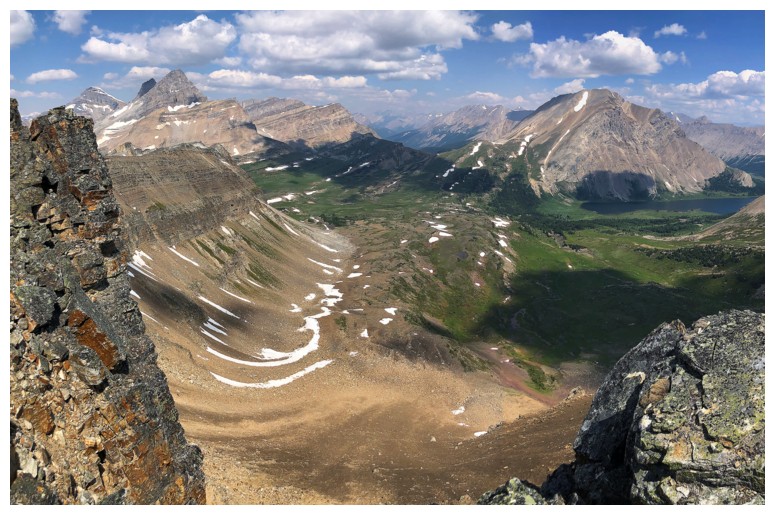
Using this route down looked very easy and was very tempting. However,
I wanted to see Redoubt Lake which is in the other direction.

Colourful, lichen-covered rock tops the mountain
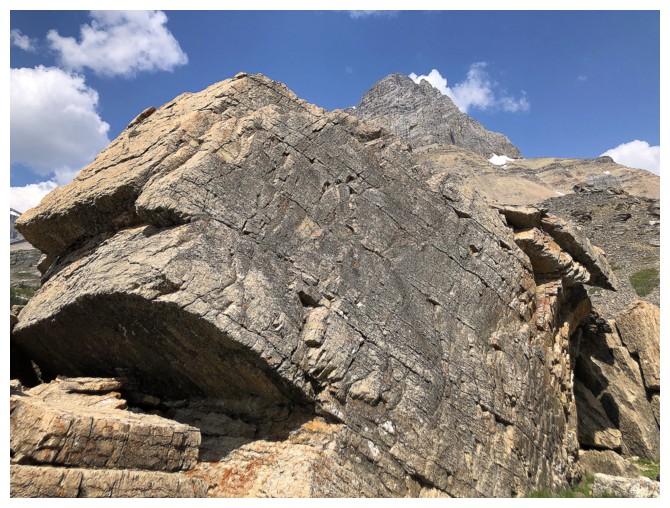
Wicked slab of huge rock, seen on the alternate descent route
Same as above from another angle
Another boulder field to negotiate, but Redoubt Lake is getting close
From this point it was a pleasant, rewarding, and easy hike to the lake
Ptarmigan, however, is still commanding some attention
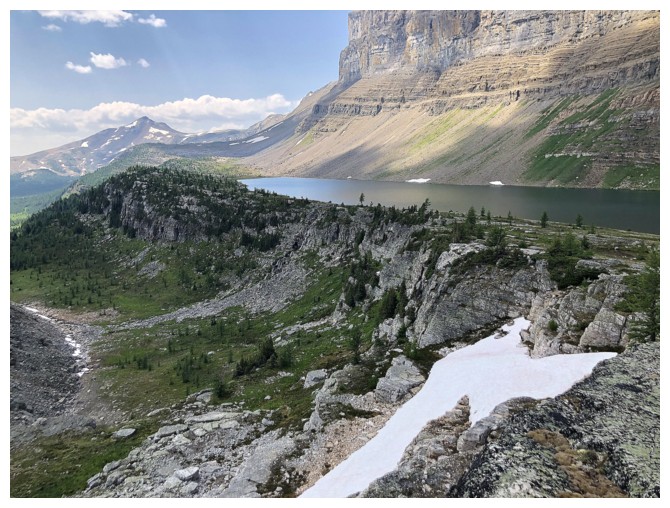
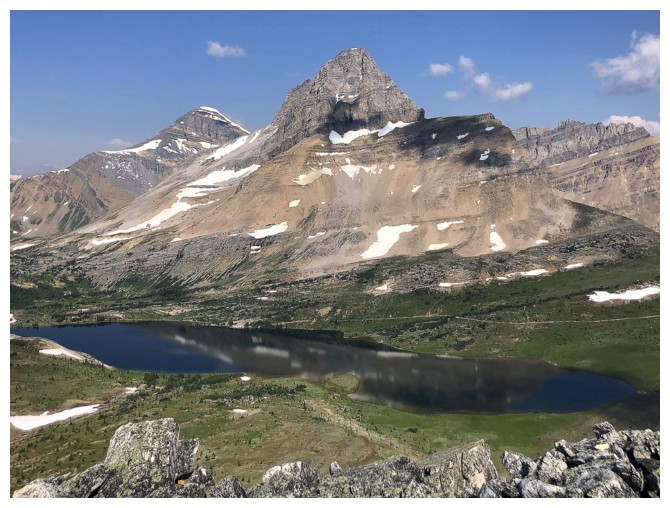
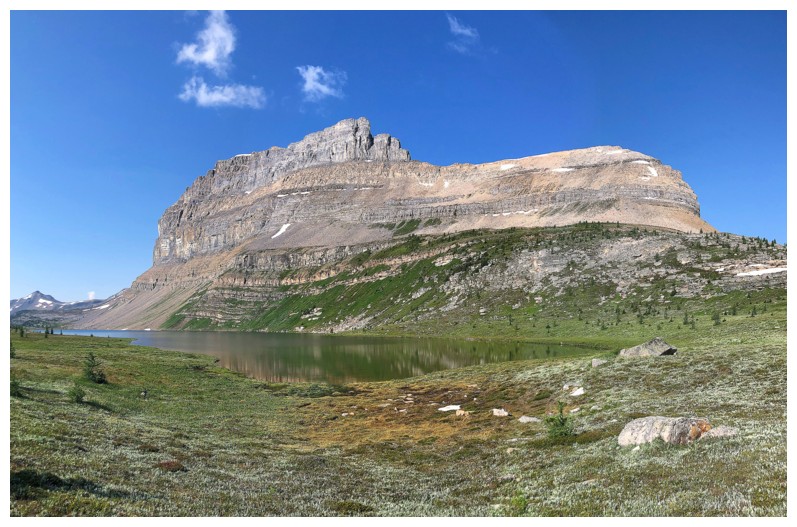
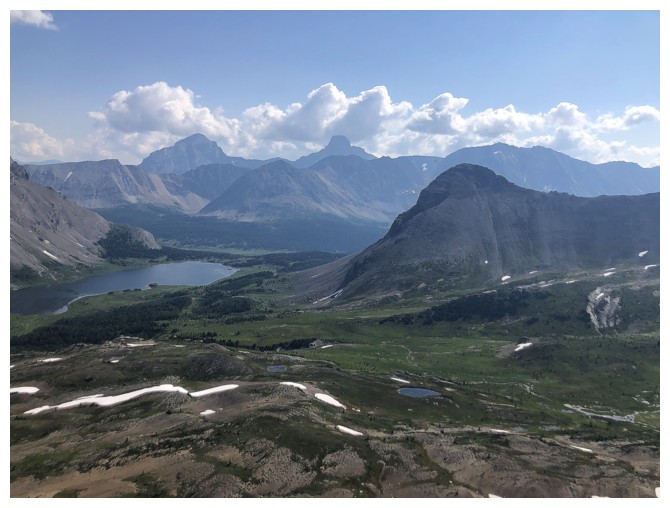
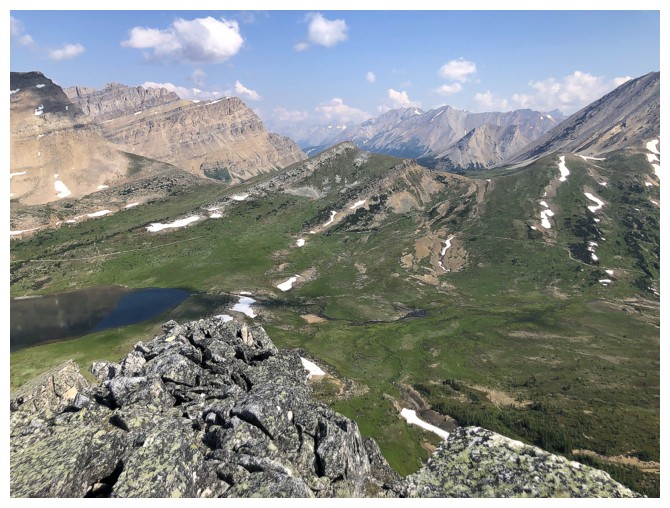
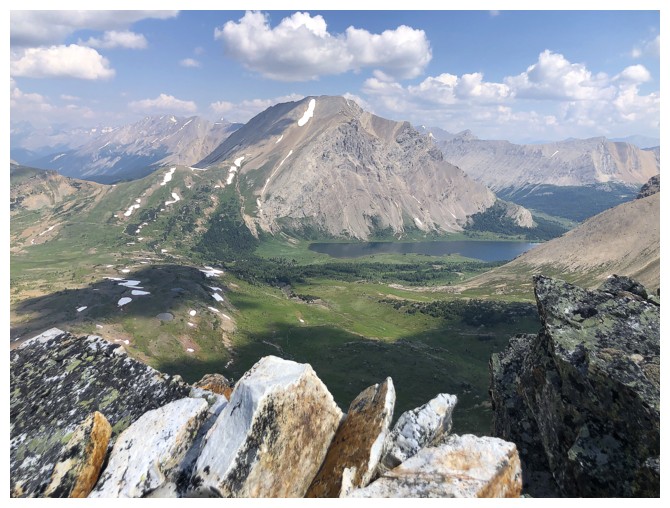
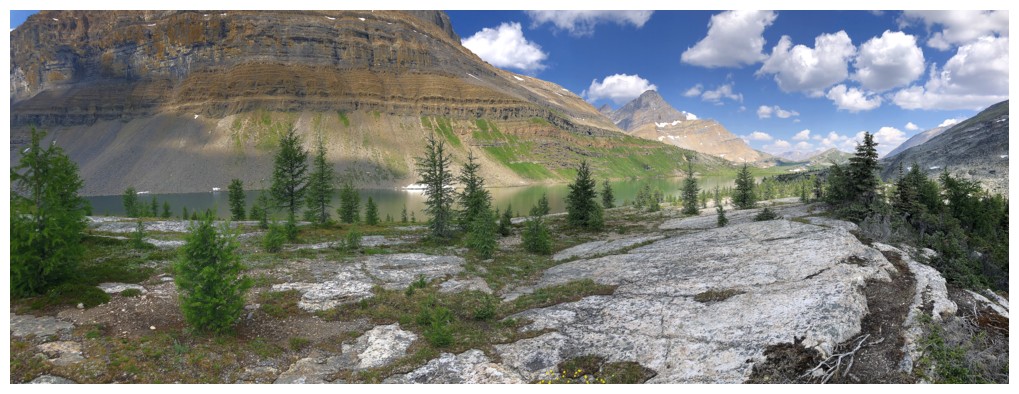
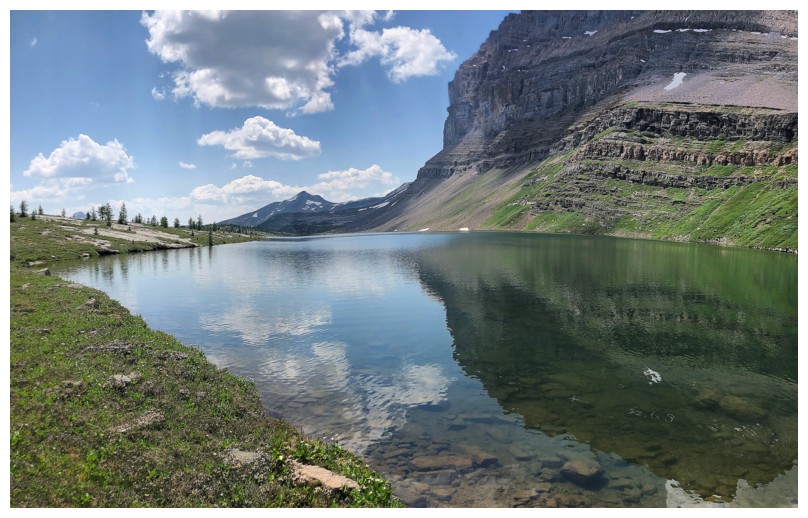
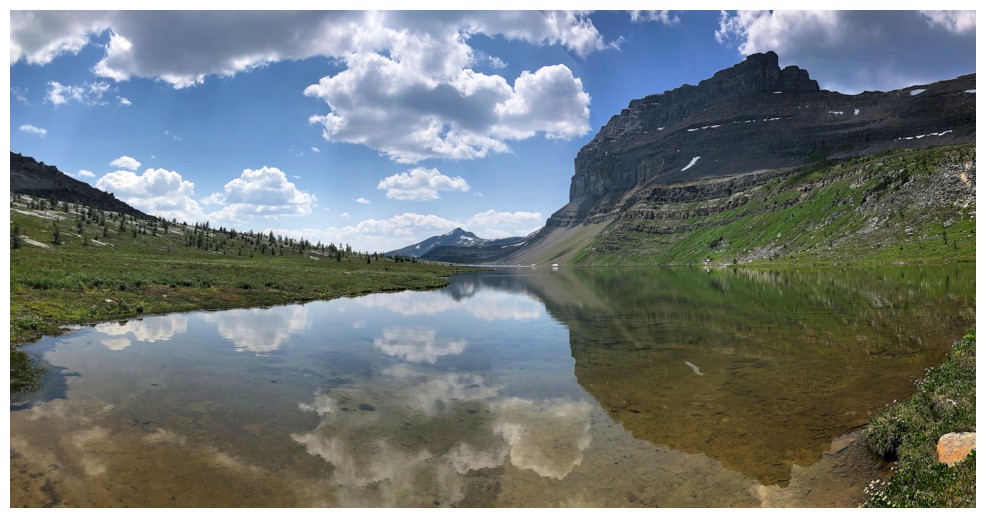
Redoubt Lake sits on a noticeable plateau, below the imposing walls of Redoubt Mountain

Redoubt Lake drains into a small tarn east of the lake
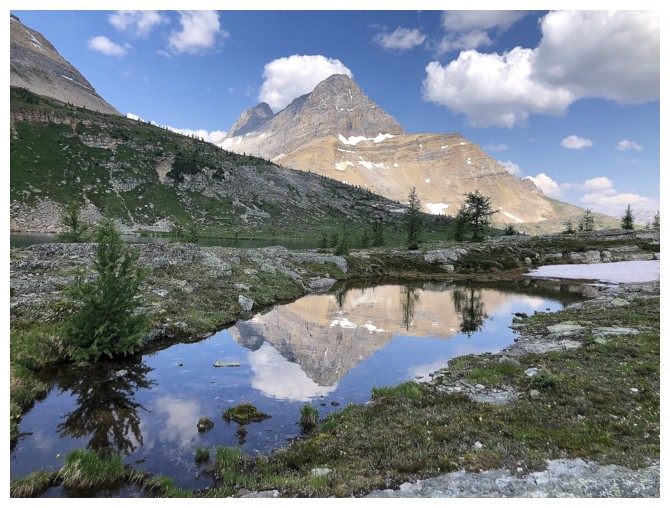
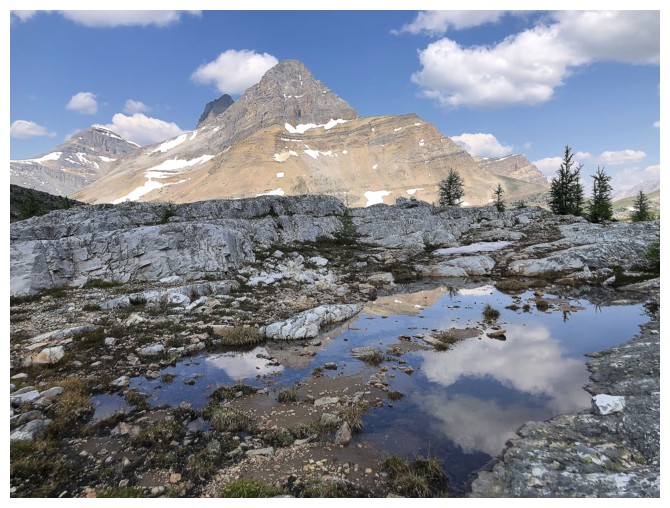
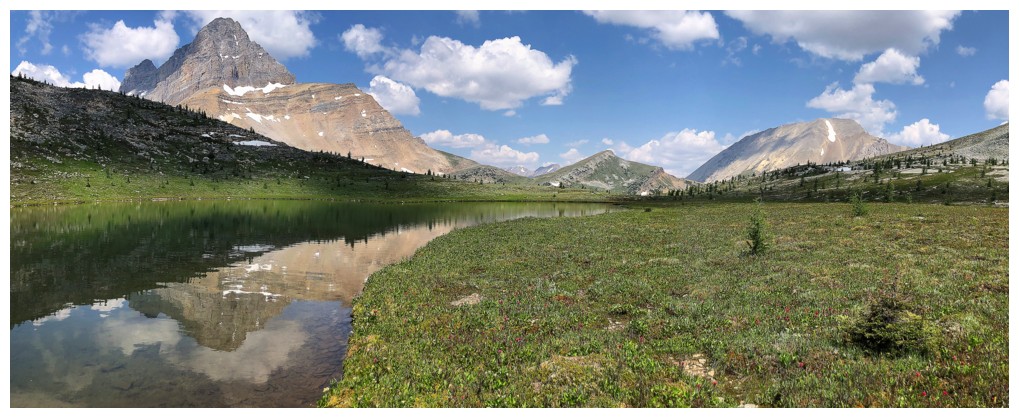
Ptarmigan reflection
Approaching the lake outlet - a very easy crossing
The tarn
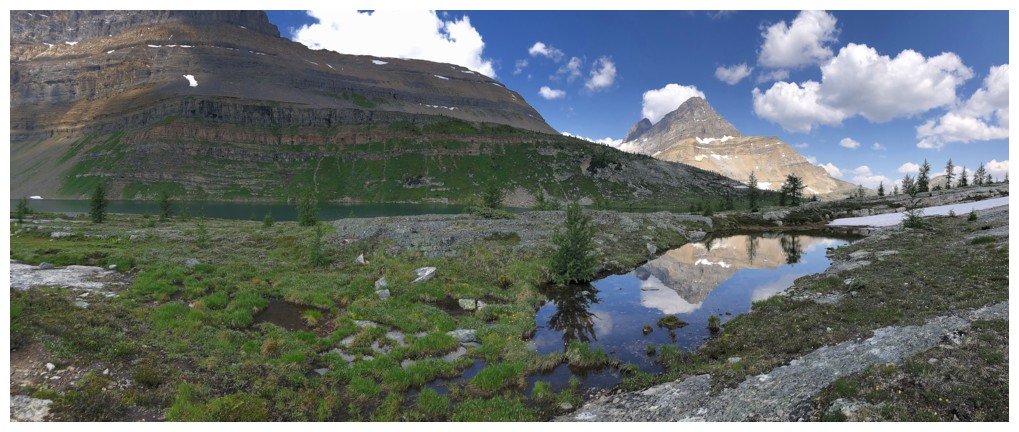
The tarn and Heather Ridge
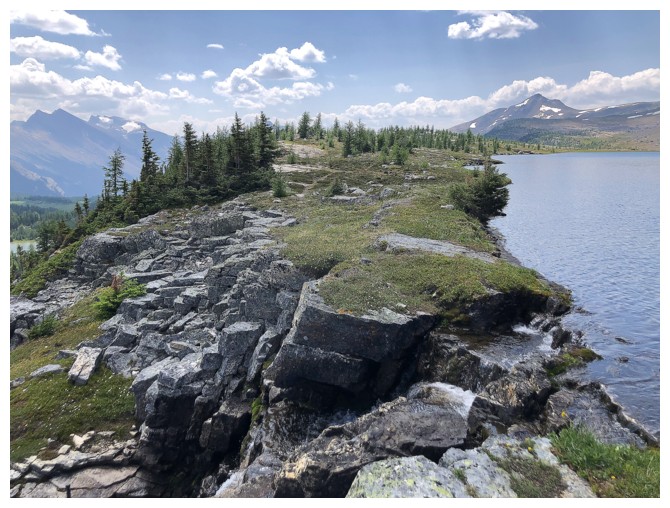
Terrific slabs to walk across
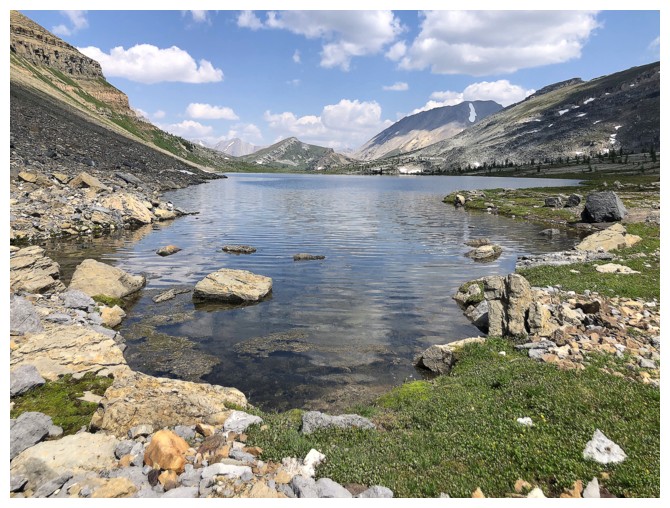
Packer's Peak is small but framed nicely from the south end of the lake
Another tarn lies directly south of the lake
Heading back
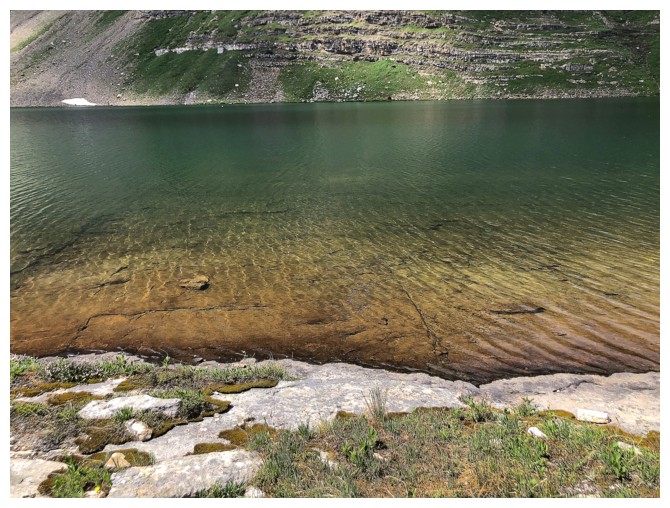
The beautiful colours of Redoubt Lake
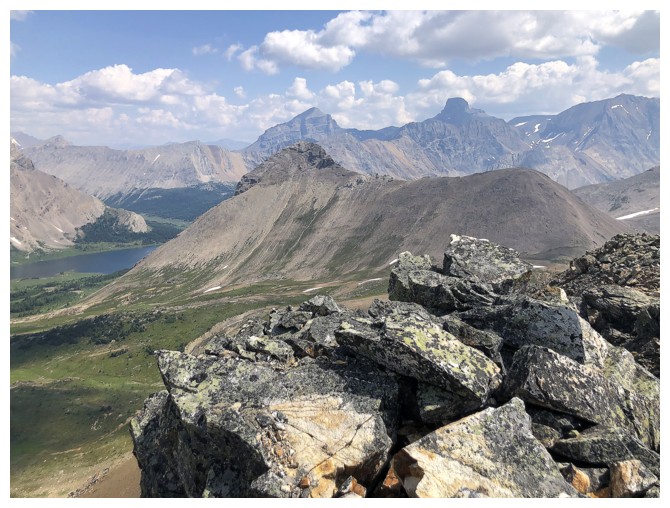
Parting look at the northwest summit of Heather Ridge
Returning to Ptarmigan Lake and, of course, great views of Ptarmigan Peak
Last look at Redoubt Mountain
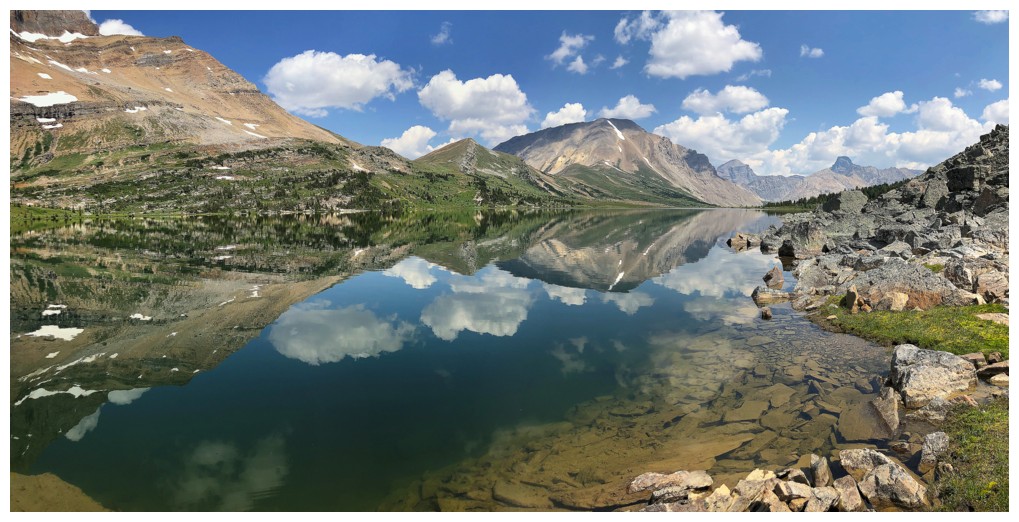
Ptarmigan Lake is stunning, especially when on a calm day and reflecting the mountains around it
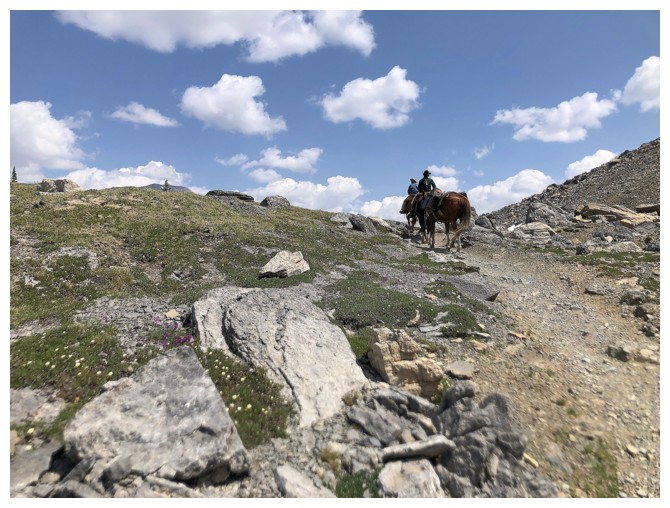
Now that's the way travel into this area!
Passing that big boulder once again. Just an easy hike back from here.
The End
LOG