Porcupine Ridge III
December 15, 2024
Mountain height: 2118 m
Elevation gain: 713 m
Ascent time: 2:55
Descent time: 2:10
Scrambling with
Mark.
Paralleling
Wasootch Ridge, Porcupine Ridge is an easier and shorter alternative to its
southerly counterpart. I had been up the ridge twice, but Mark had yet to step
foot on the peak. As such, it seemed to be a good objective for the predicted
“iffy” weather of the day.
Nothing new to
report. The weather wasn’t great, but not awful either, the ascent unfolded
without much ado, the view was pleasant, and the descent a breeze! The trip did
increase my motivation to try the increasingly popular loop route that goes to
Tiara Peak and then Midday and Midnight peaks to end – but that’s definitely a
summer trip.
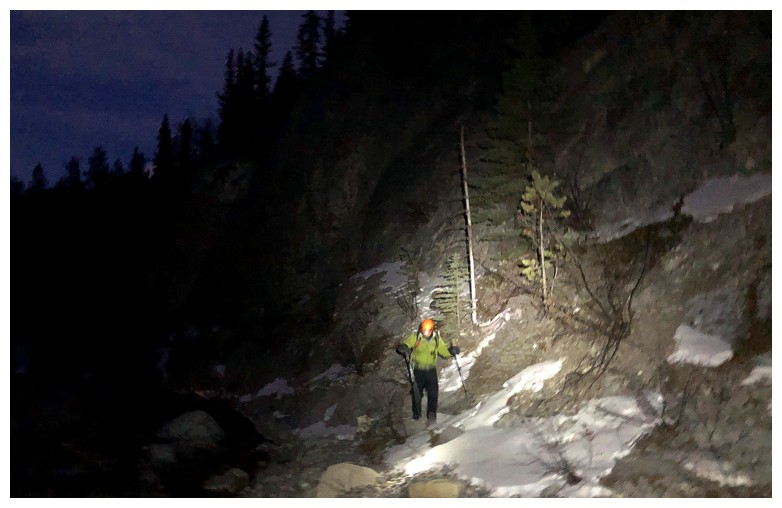
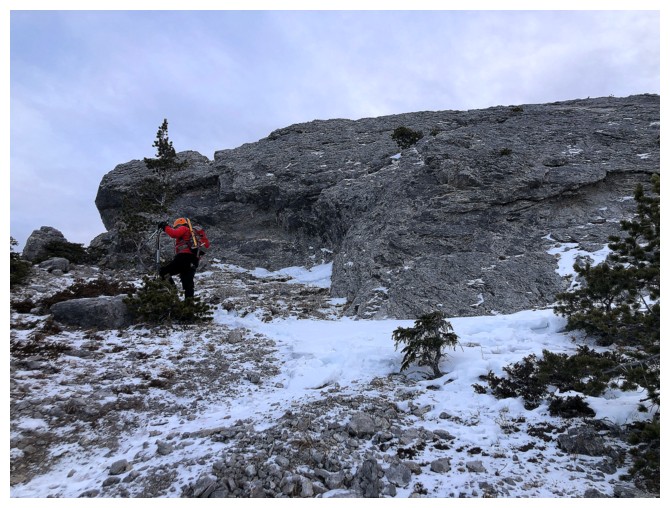
An early start meant we needed headlamps for the approach
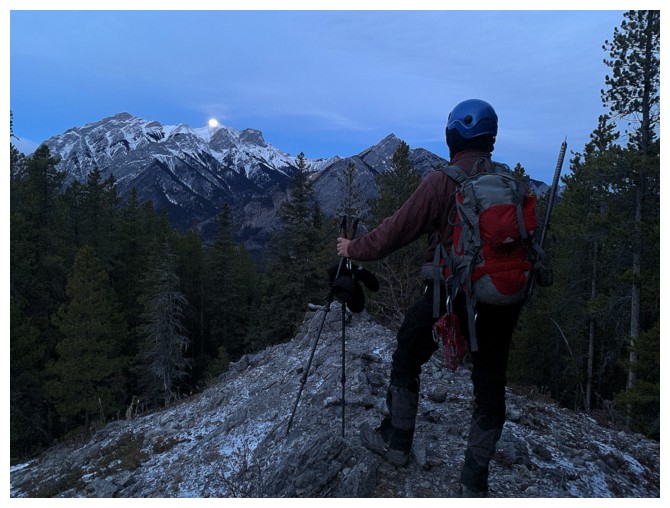
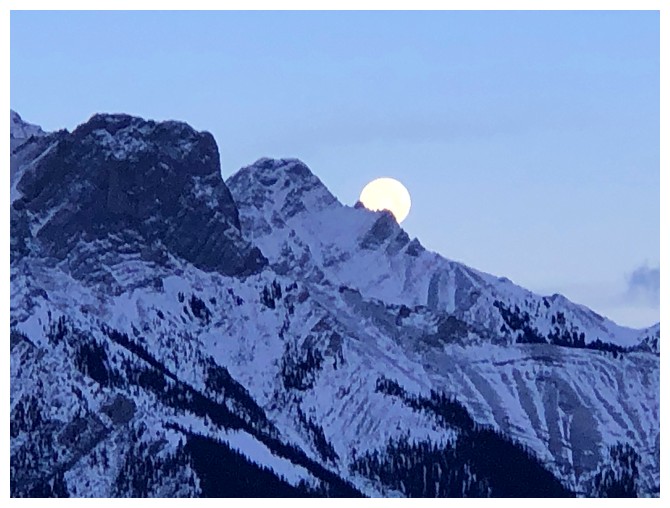
Sometime later, watching the Moon sink below Skogan Peak
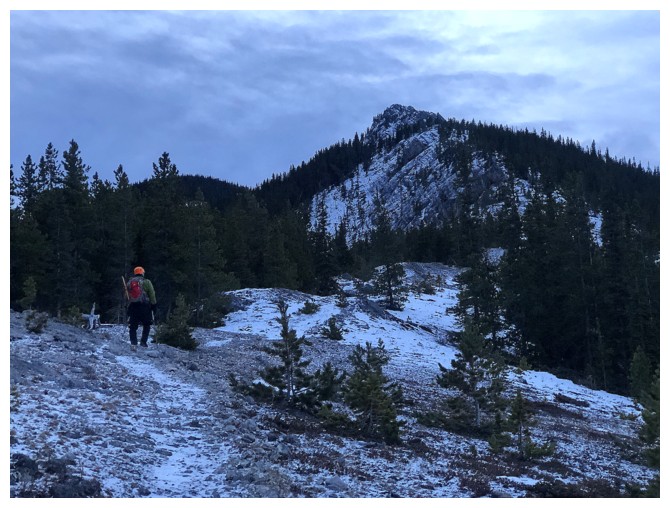
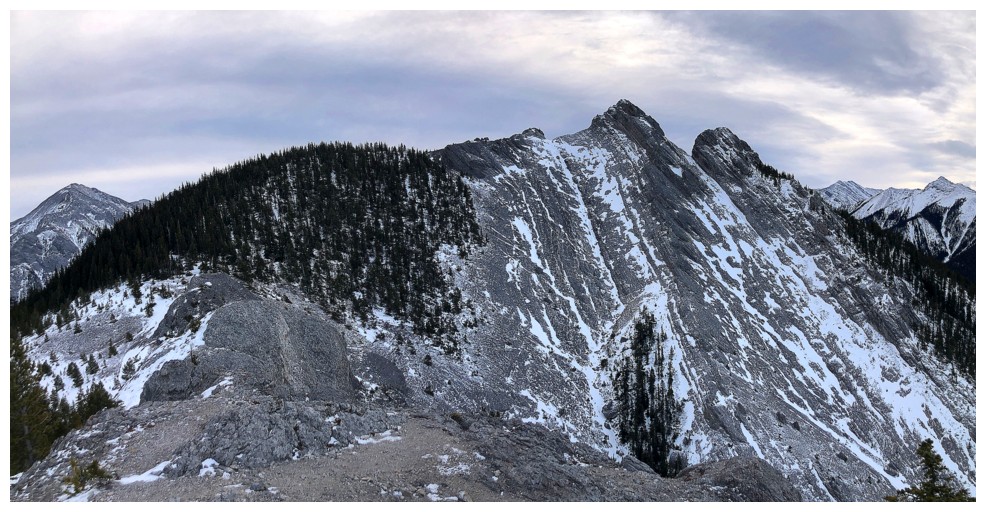
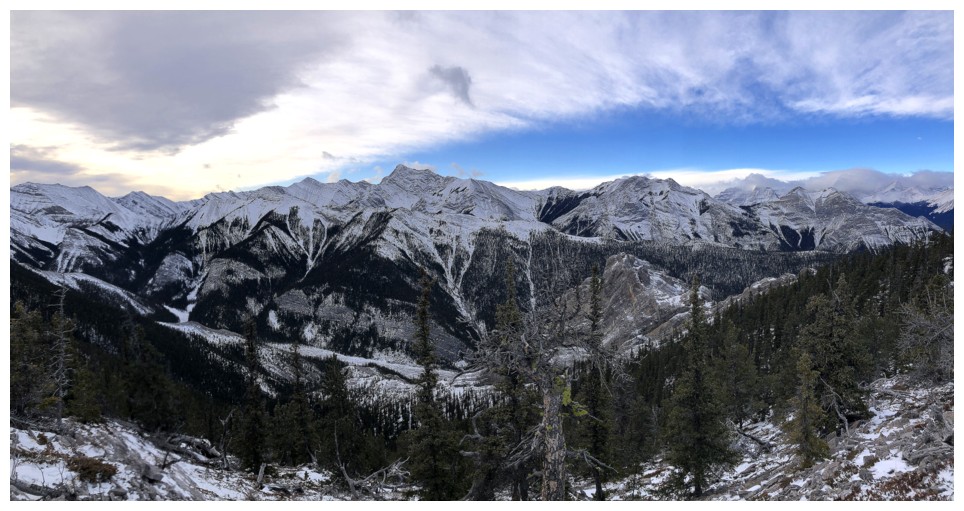
The route ahead
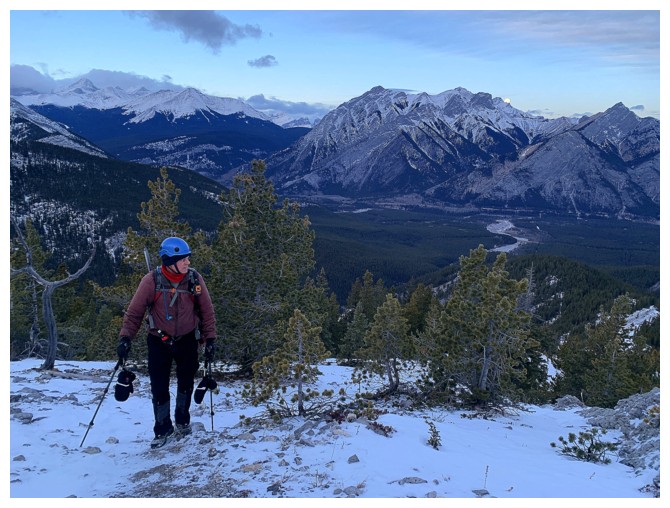
The view behind
With more
The Moon is still visible
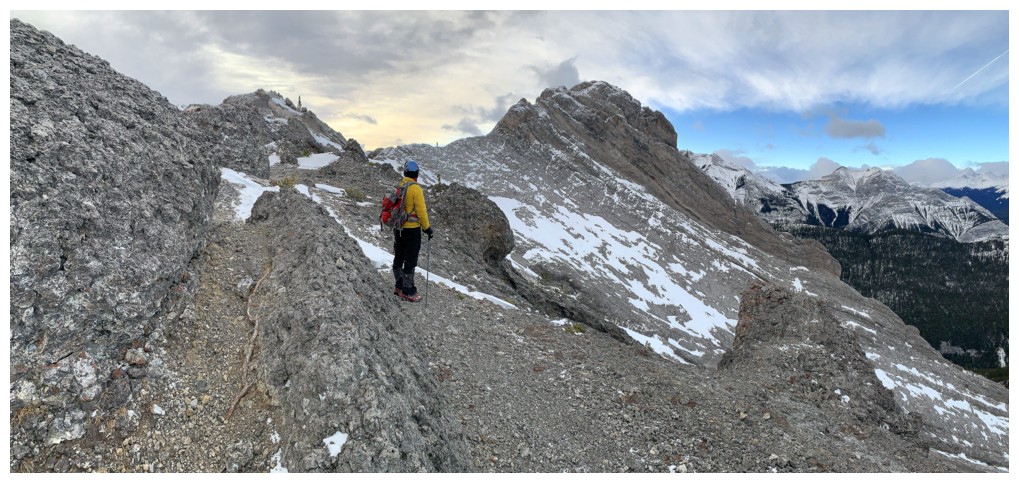
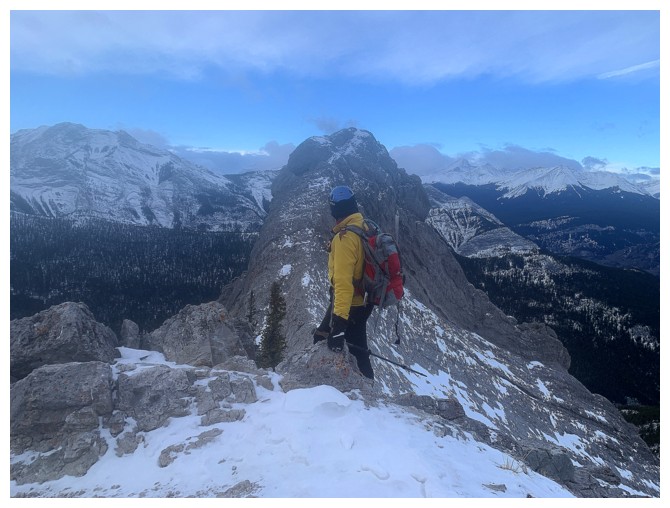
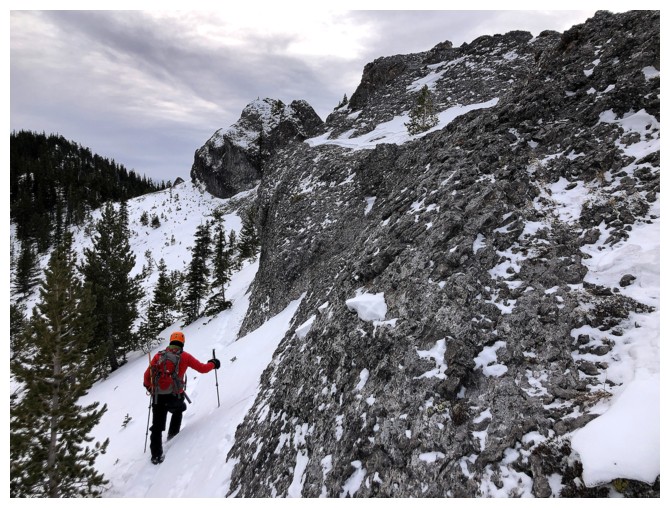
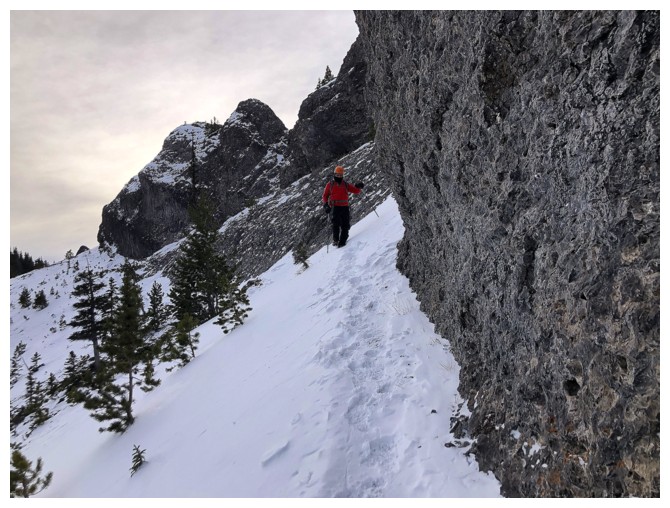
Approaching the crux of the trip. We should have gained the ridge here,
but instead traversed to the right, ending up on an exposed slope.
Luckily there was a route up to reach the ridge (though I wouldn't repeat that route!).
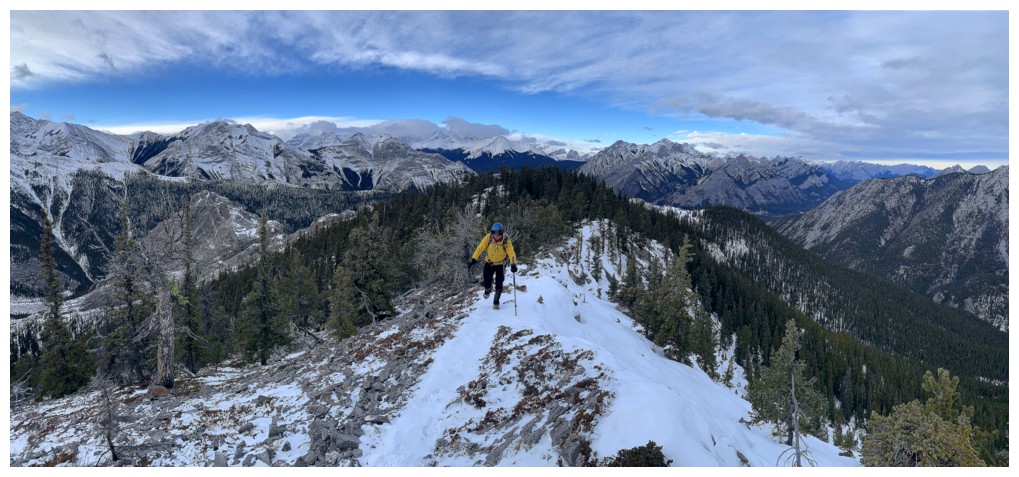
Resuming travel after regaining the ridge
The two mini peaks near the right. I made it the to lower one on my first trip but the higher one has eluded me (and forever will).
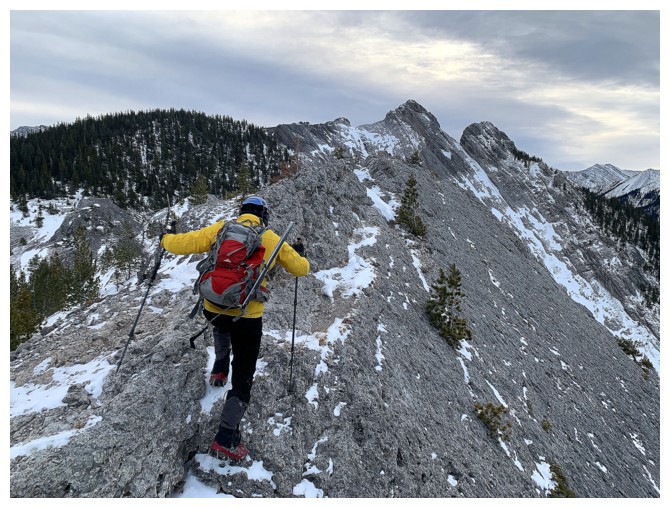
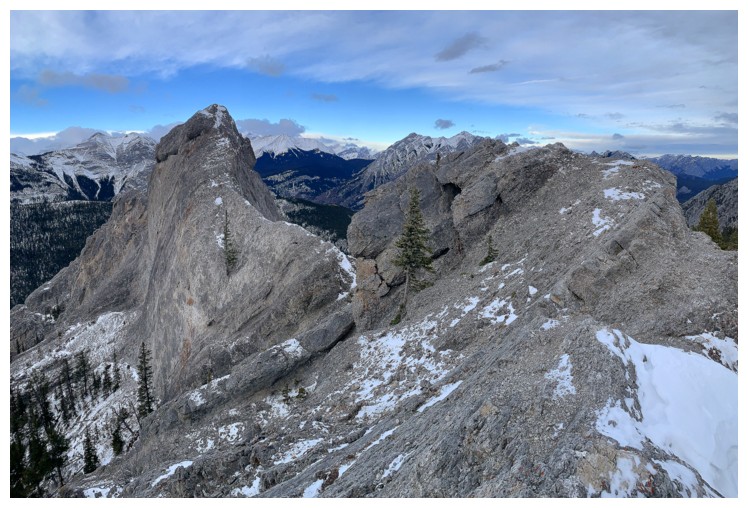
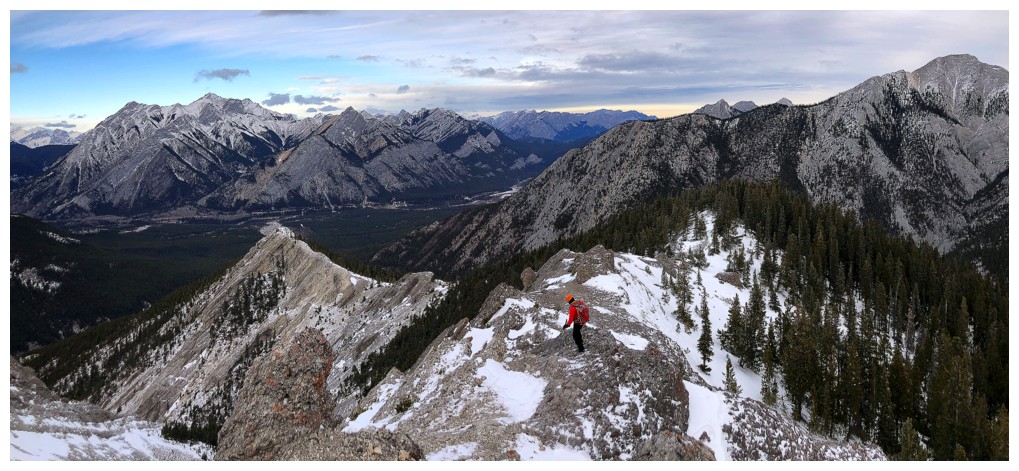
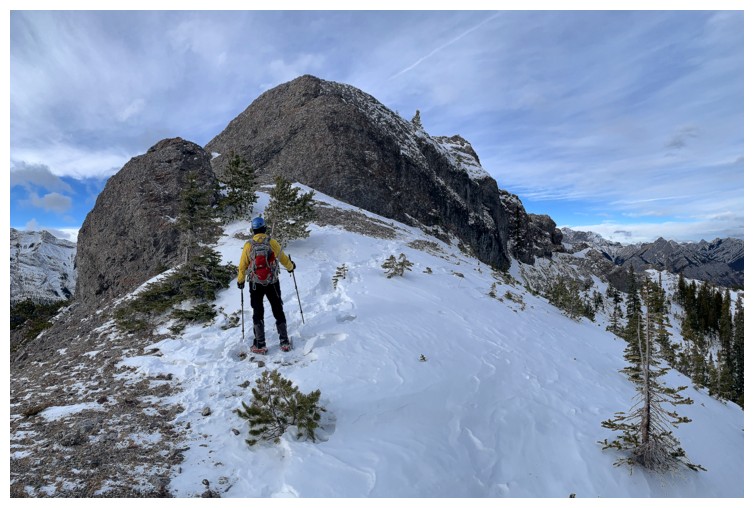
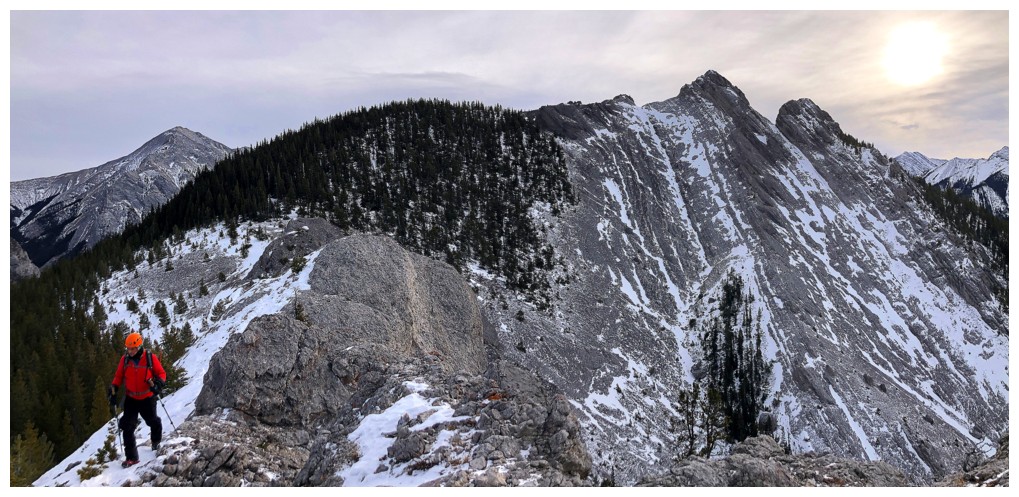
This section of the ridge is one of the highlights of the trip
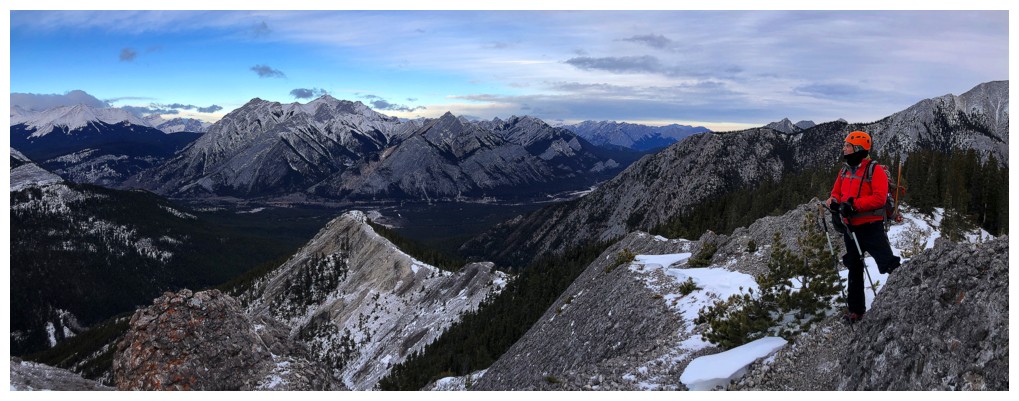
Same as above
Same as above
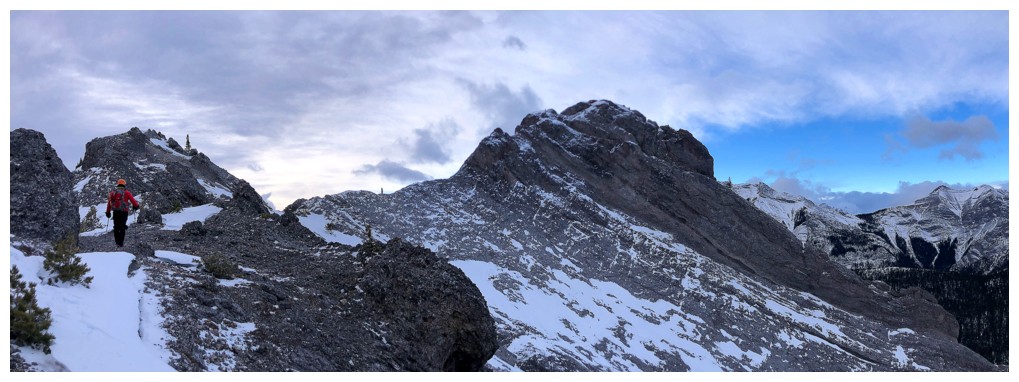
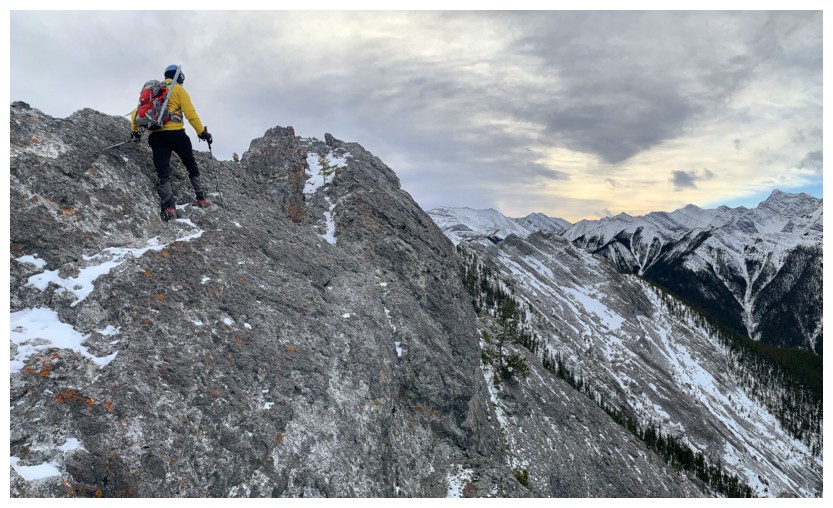
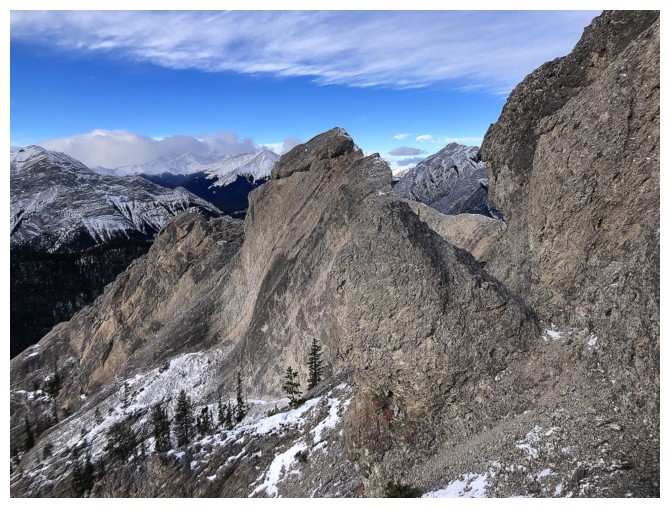
Checking out the higher of the mini peaks. Although a few very competent and skilled scramblers
have climbed it up and down without a rope, I wouldn't recommend it,
unless you are comfortable with unroped, exposed, low 5th class
climbing - getting to the top is a climb, not a scramble.

There's that route
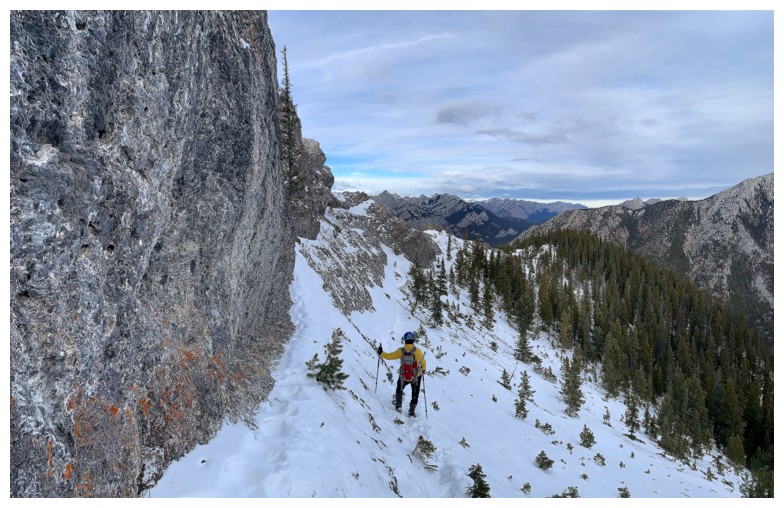
Traversing an exposed section of the ridge. There is a route down the
other side but it's quite exposed and I decided against trying it.
Looking back at the scary peak before I retreat
Mark backtracks too
Same as above
The bypass route on the north side of the ridge
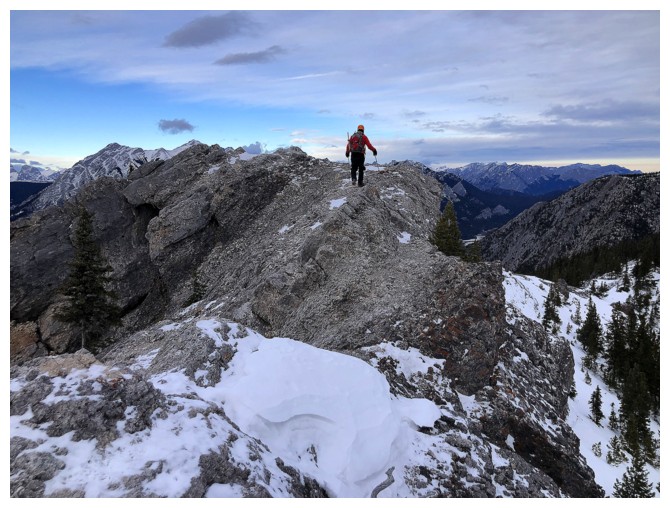
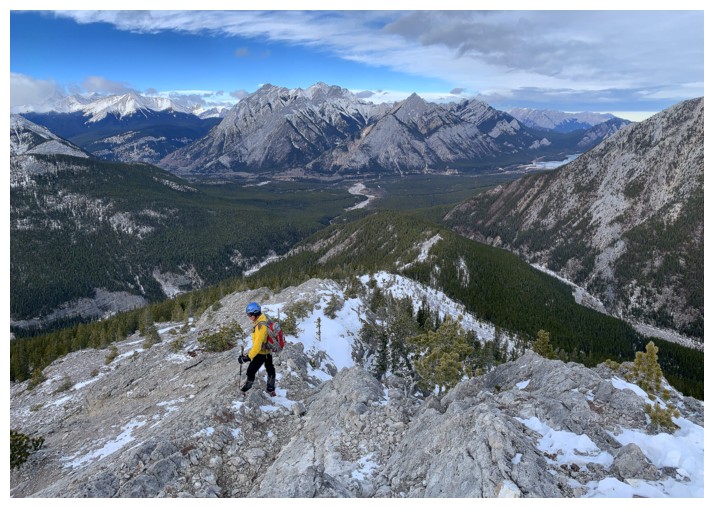
Final few steps to the summit
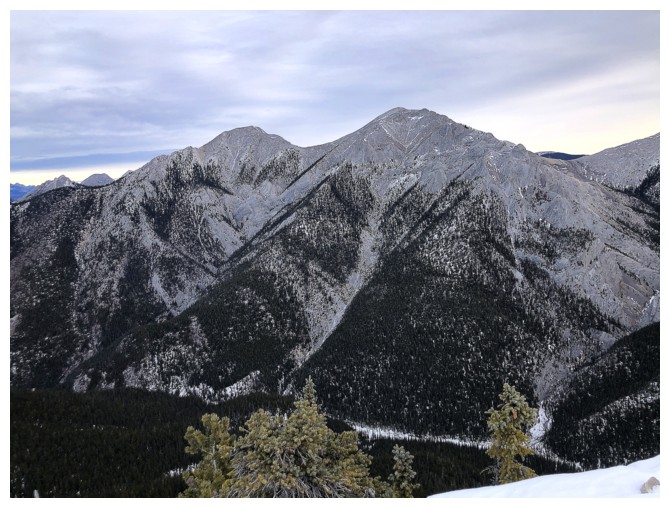
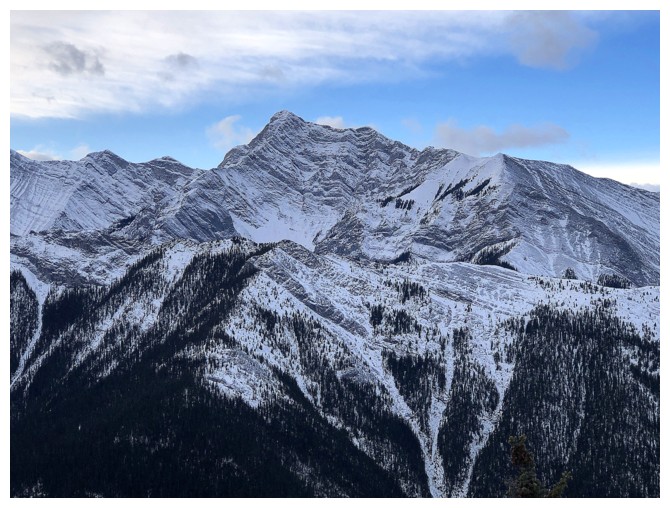
Dreary view of Midnight (left) and Midday
Summit view to the southwest
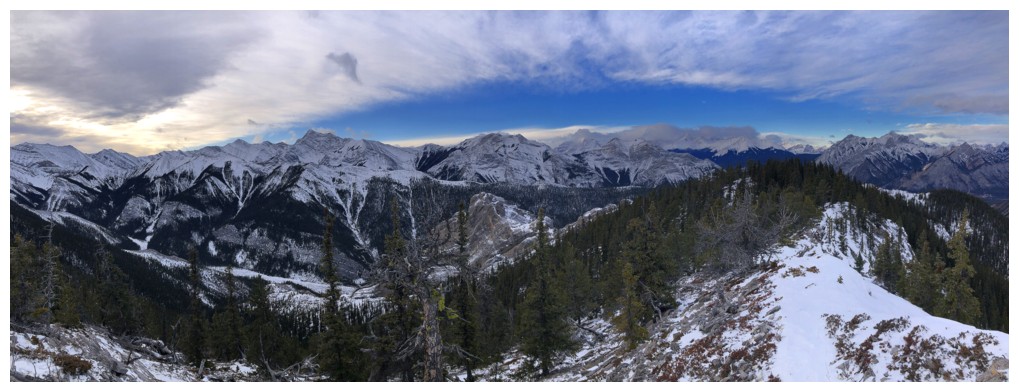
West

South
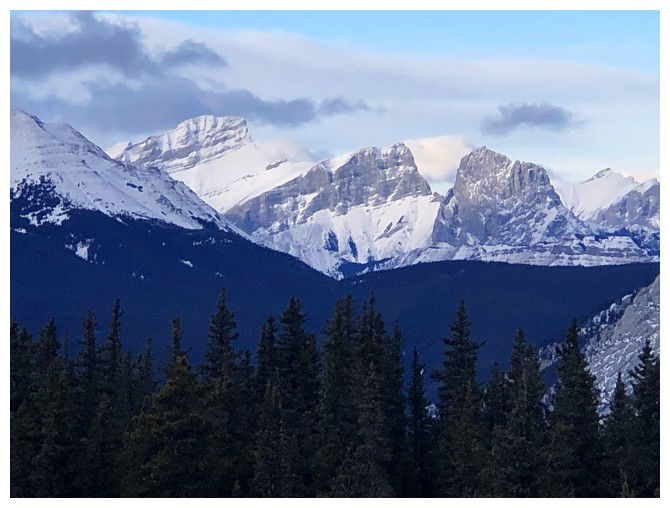
The Three Sisters
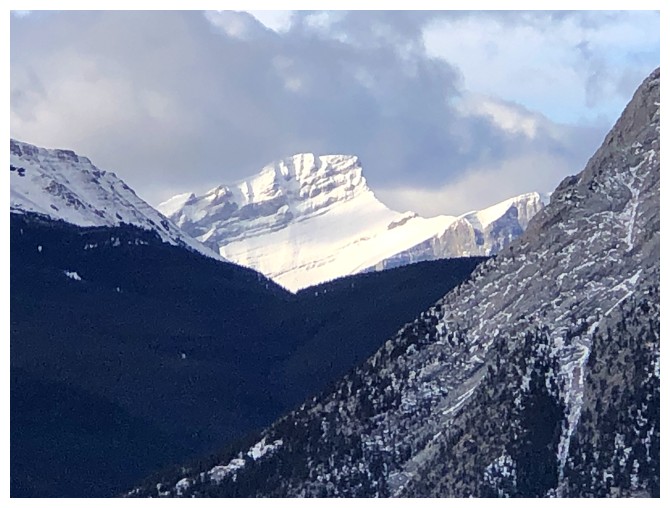
Old Baldy Mountain
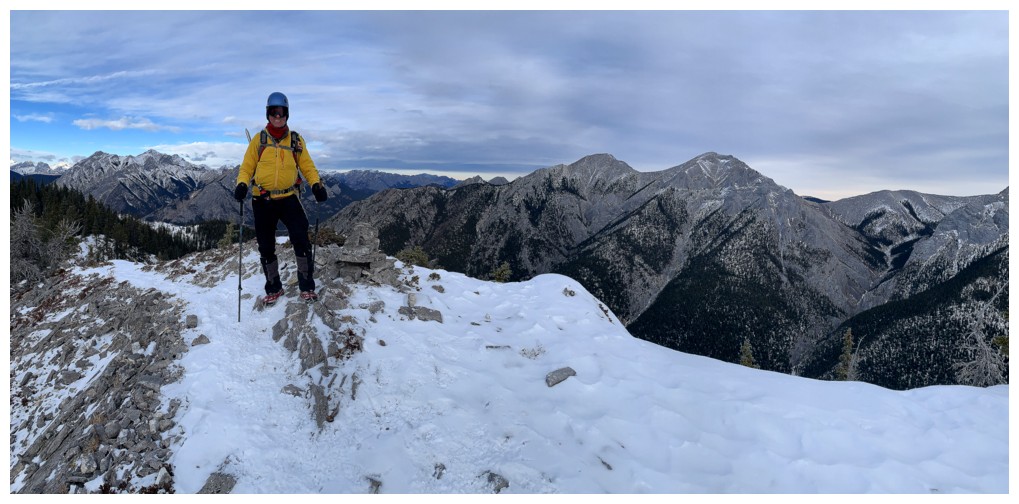
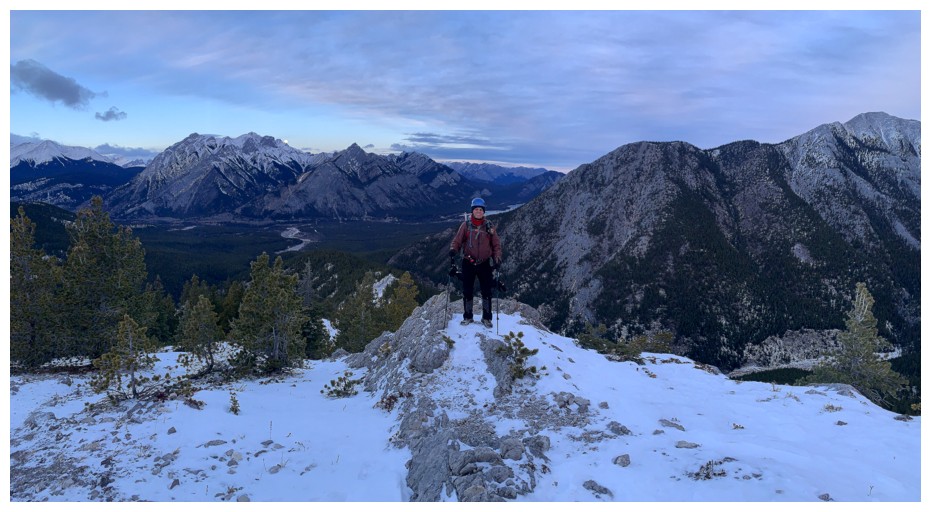
Summit pose
Approaching the section I didn't want to downclimb (and now don't want to upclimb)
Cool view of that peak from the left side of the ridge
Back on the bypass
Same as above
Parting look at the mini peaks
Easy travel from here to the bottom
Big Sister
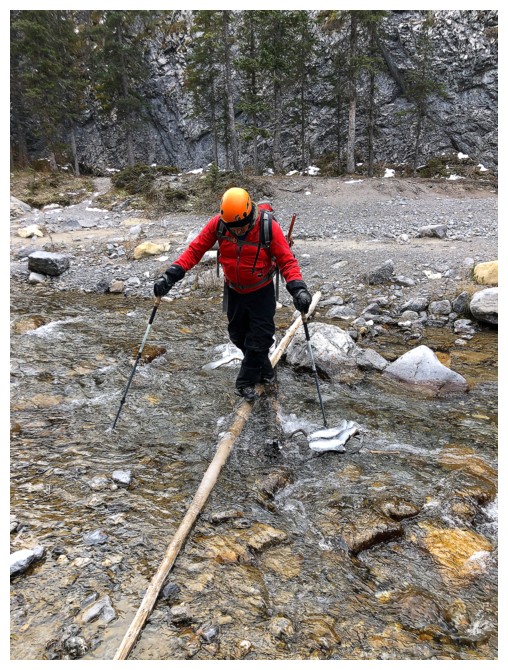
Besides that tricky section of the ridge, crossing the creek without
getting our feet was the crux of the trip. This log was covered in ice.
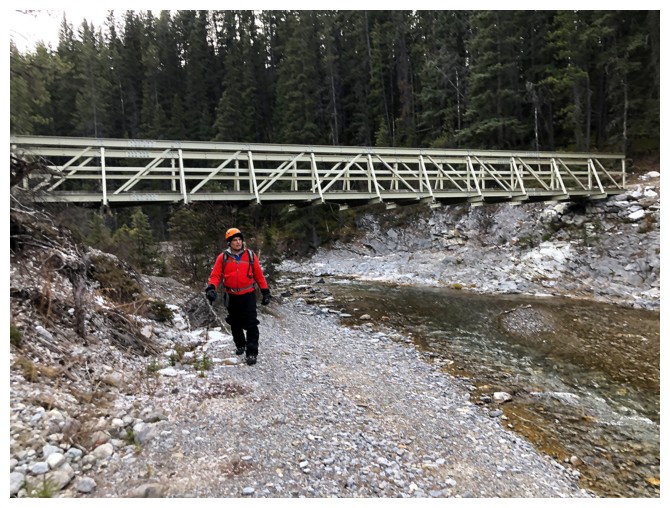
We stayed near the creek for much of the exit
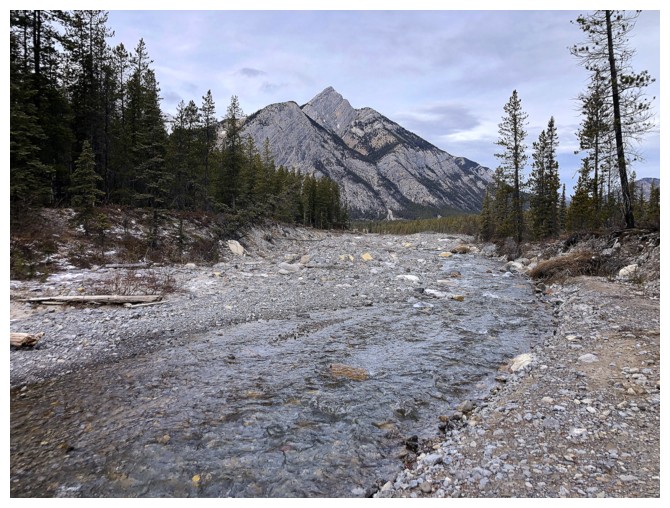
Mary Barclay Mountain provides an aesthetic view for the final kilometre
The End
LOG

