Ptarmigan Peak
June 27, 2022
Mountain height: 3059 m
Elevation gain: 1400
m
Round-trip
time: 10:35
Scrambling and
some mountaineering with Mark.
Ptarmigan Peak
had long been on my radar, give its earth-shattering, colourful, lake-filled
summit view. Unfortunately, I neglected to consider the fact most of the lakes
in the Skoki area sit at an elevation of around 2400 metres – 700 metres higher
than already thawed Lake Louise. In addition, an unusually snowy and cool
spring meant that many areas in the Rockies were in more of a mid-May condition
than late June. Nevertheless, even without views of the colourful hues of the
area lakes, this trip was a resounding success, and we couldn’t have asked for
more.
 We biked the 4
km access road then starting hiking towards Boulder Pass, enjoying terrific
views of the objective under clear skies. The plan was to approach the peak
from a point close to Boulder Pass as opposed to the normal route via Hidden
Lake.
We biked the 4
km access road then starting hiking towards Boulder Pass, enjoying terrific
views of the objective under clear skies. The plan was to approach the peak
from a point close to Boulder Pass as opposed to the normal route via Hidden
Lake.
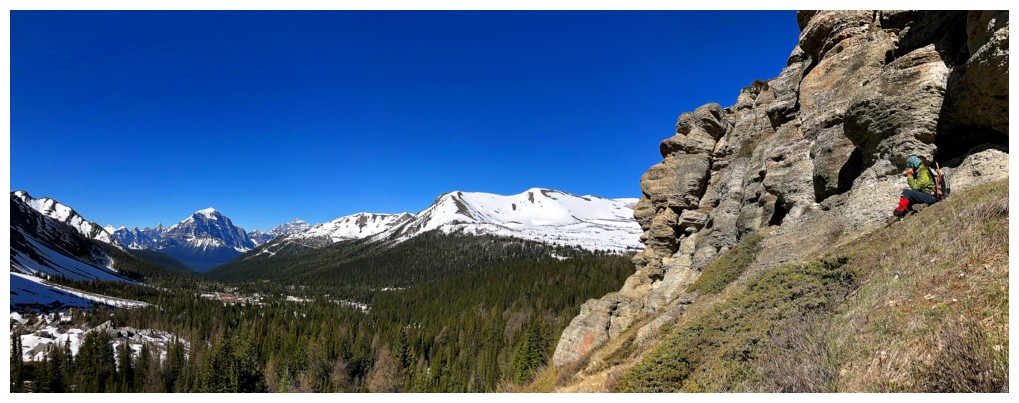
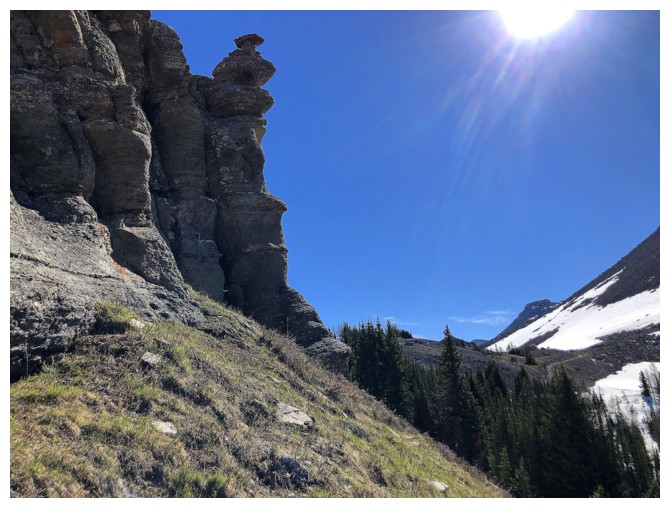
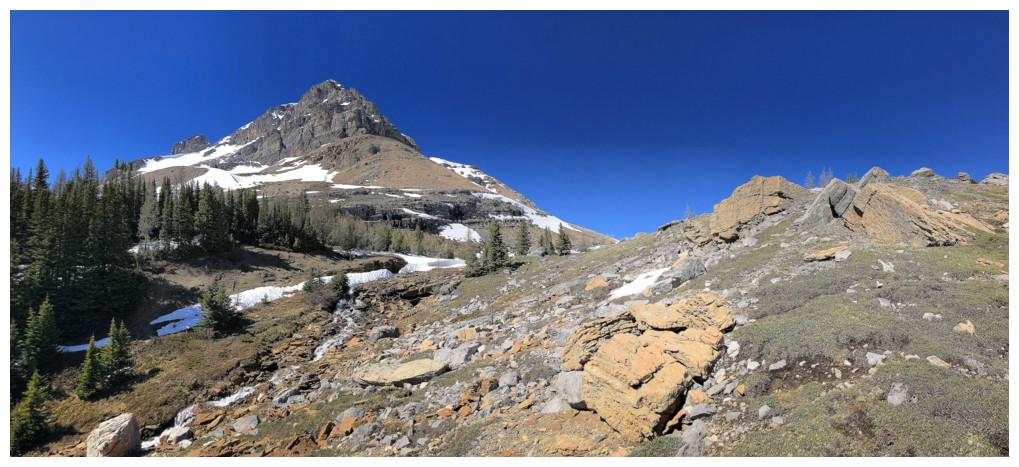
Approaching the
pass, a striking group of hoodoo-like rock formations caught our attention and
so we left the trail to check them out. They were expectedly magnificent, and
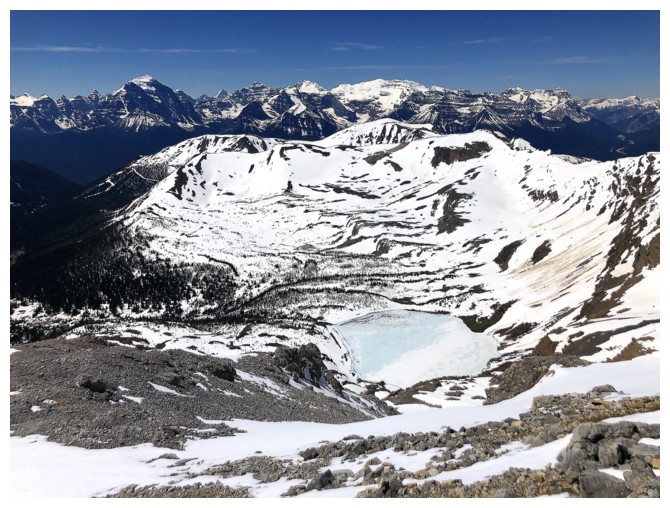
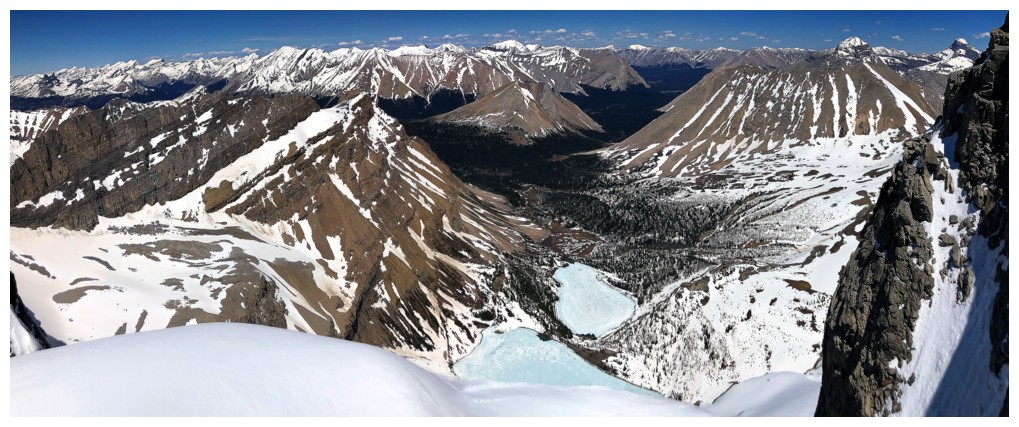
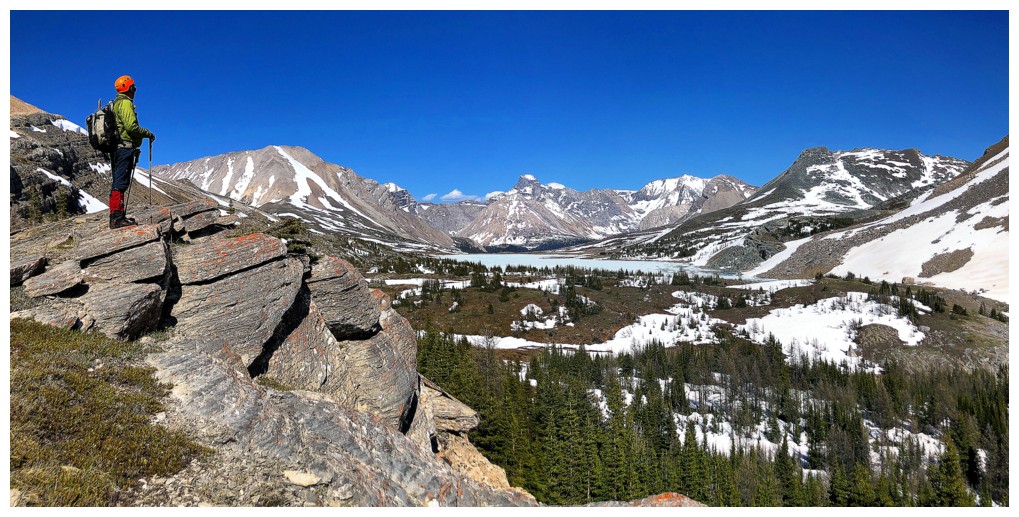
we took our first break here. From this vantage point we could see that
Ptarmigan Lake was still frozen and still covered in a blanket of snow – no
colourful lakes today!
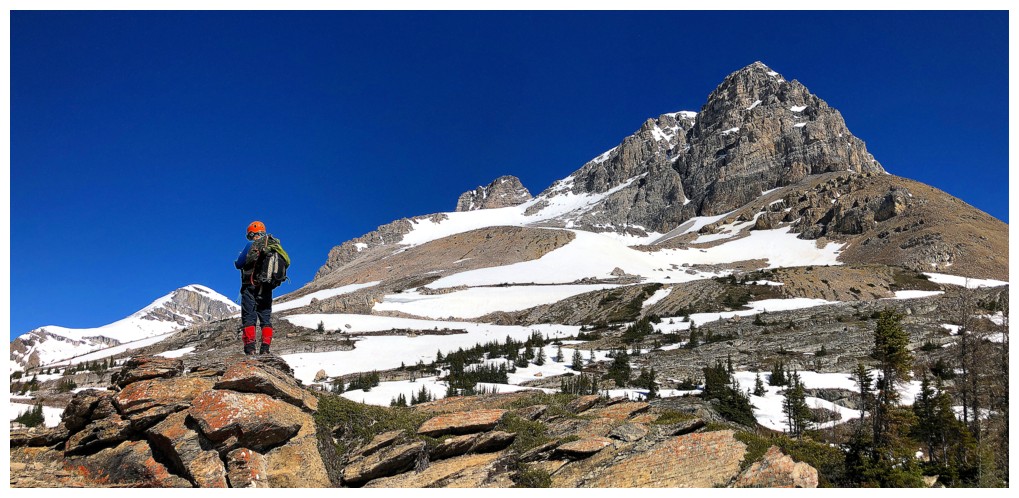
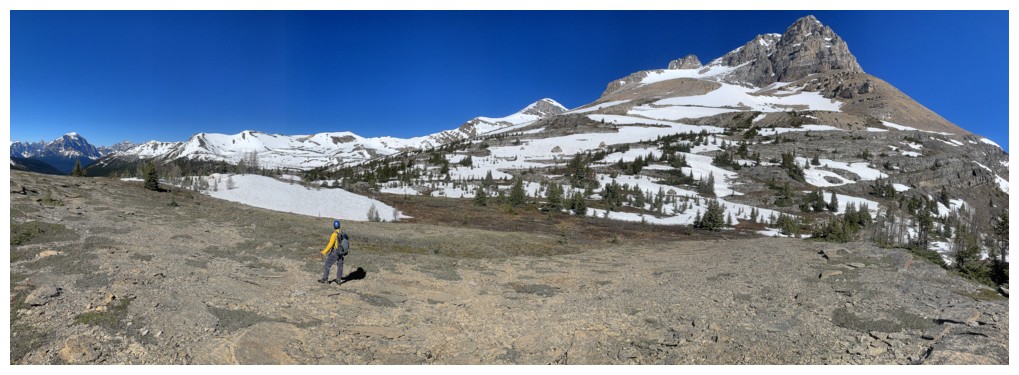
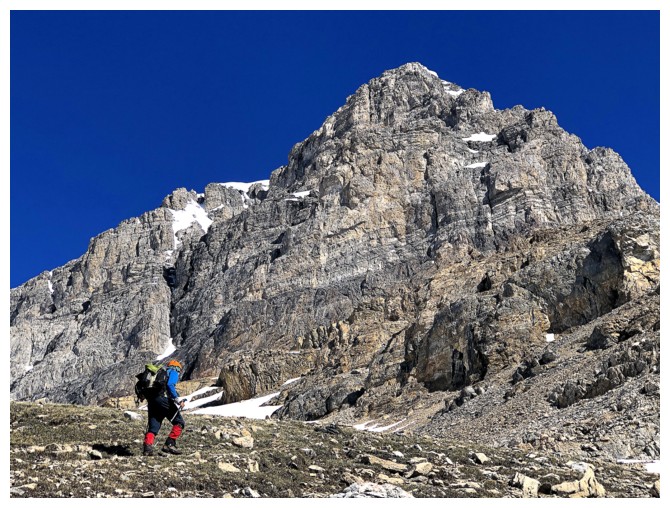
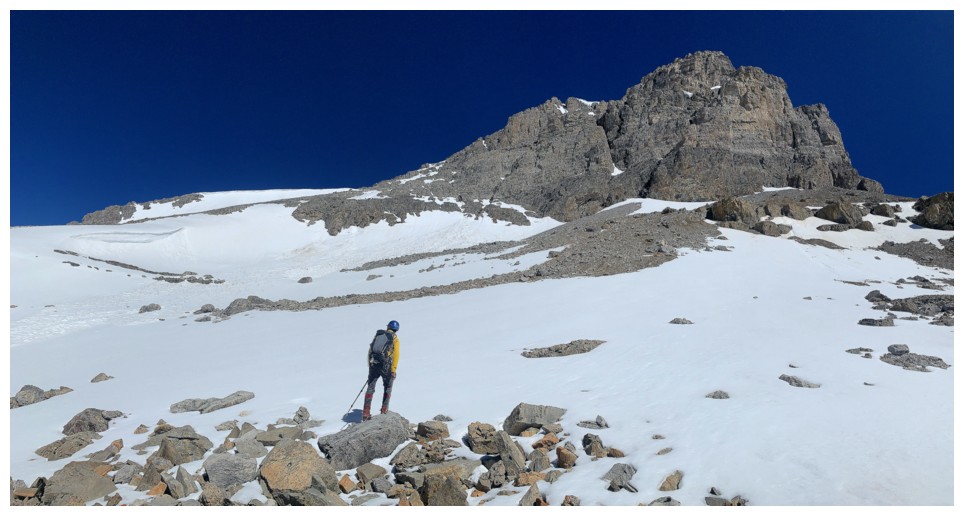
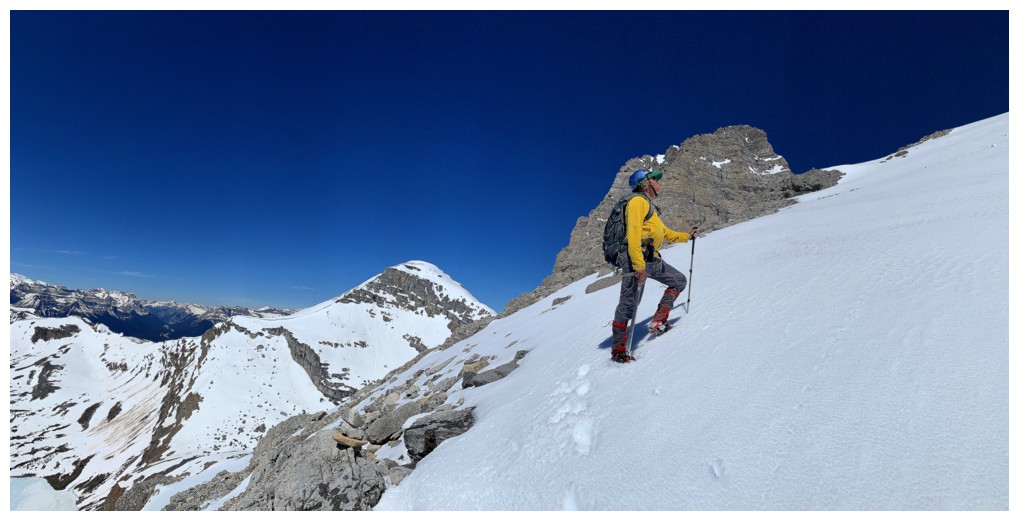
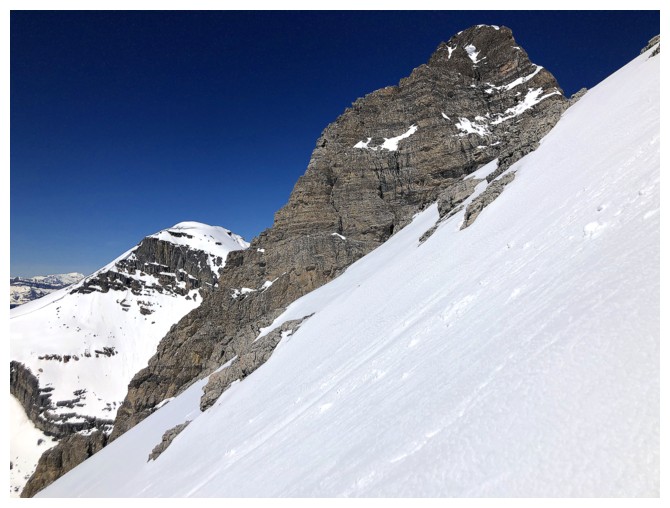
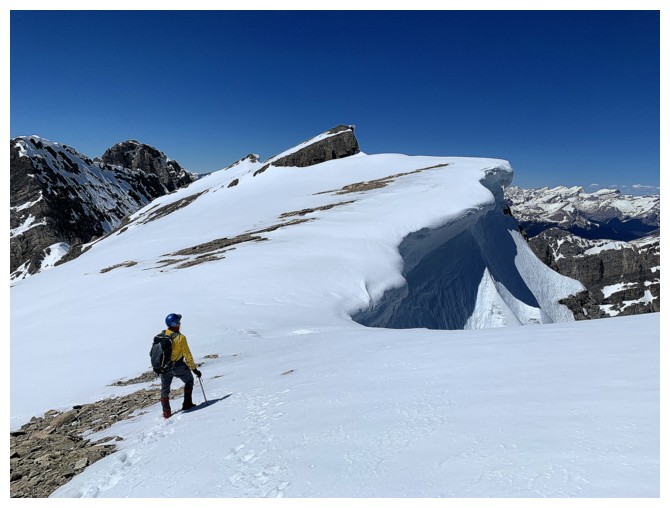
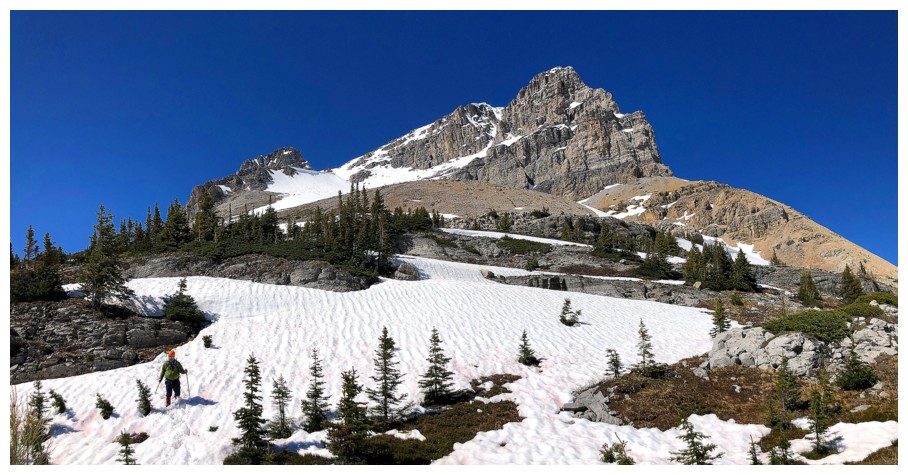
The terrain and
scenery above the rock formations were sublime – meadowy terrain, interspersed
with rock outcrops, and all backdropped by beautifully snowy Ptarmigan Peak. Also,
it quickly became clear that the ascent from this point one would be more of an
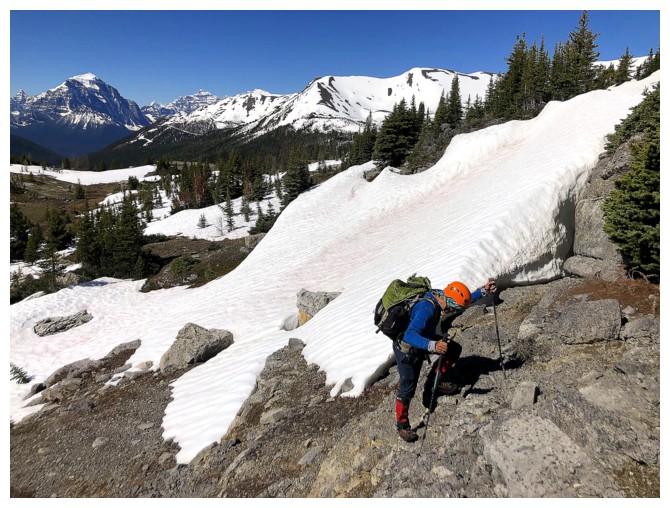
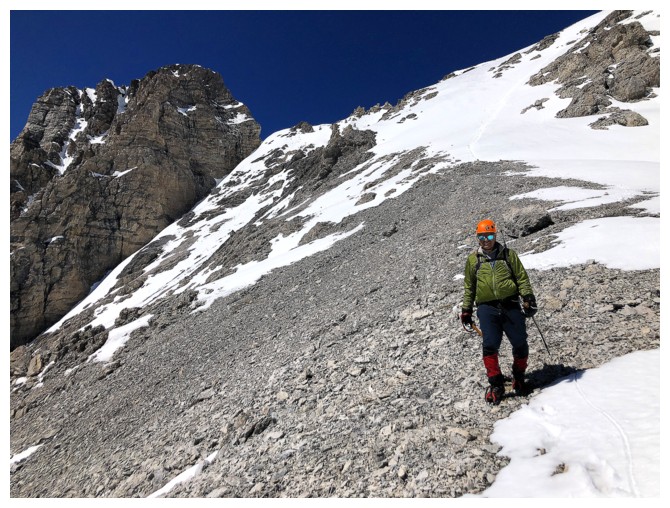
alpine one than a simple scramble. 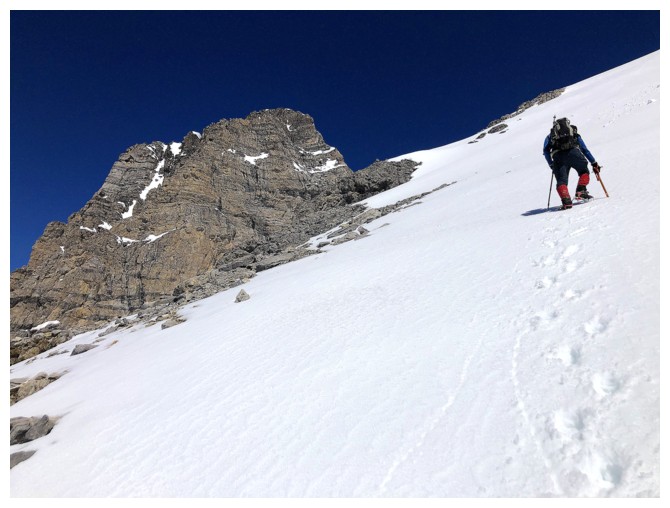 The crampons and ice axes came out and up we
went. Though never alarmingly steep, were a few sections that reared up to
about 40 degrees. Thankfully the snow felt bomber throughout.
The crampons and ice axes came out and up we
went. Though never alarmingly steep, were a few sections that reared up to
about 40 degrees. Thankfully the snow felt bomber throughout.
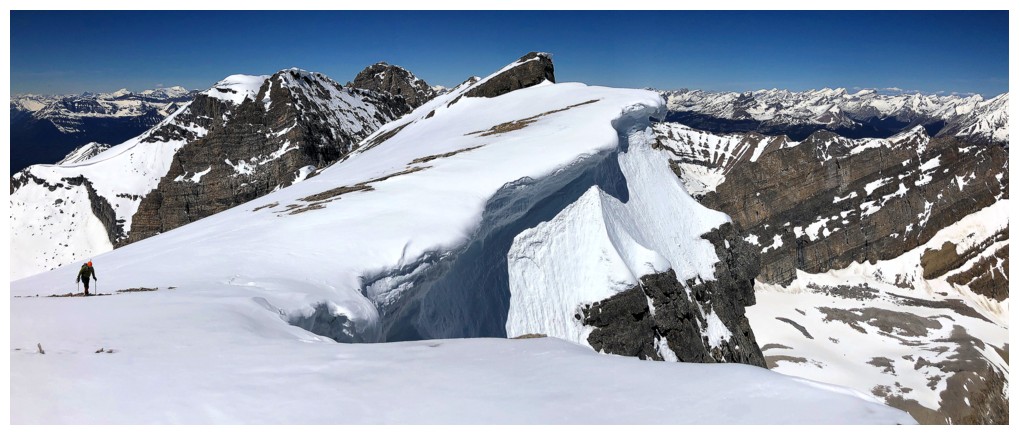
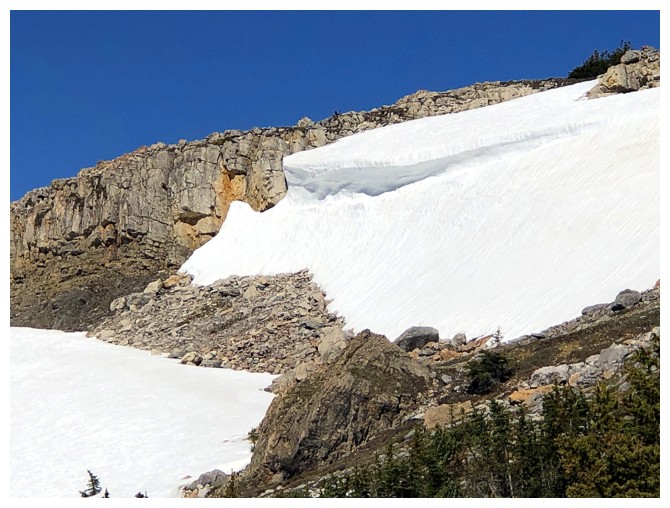
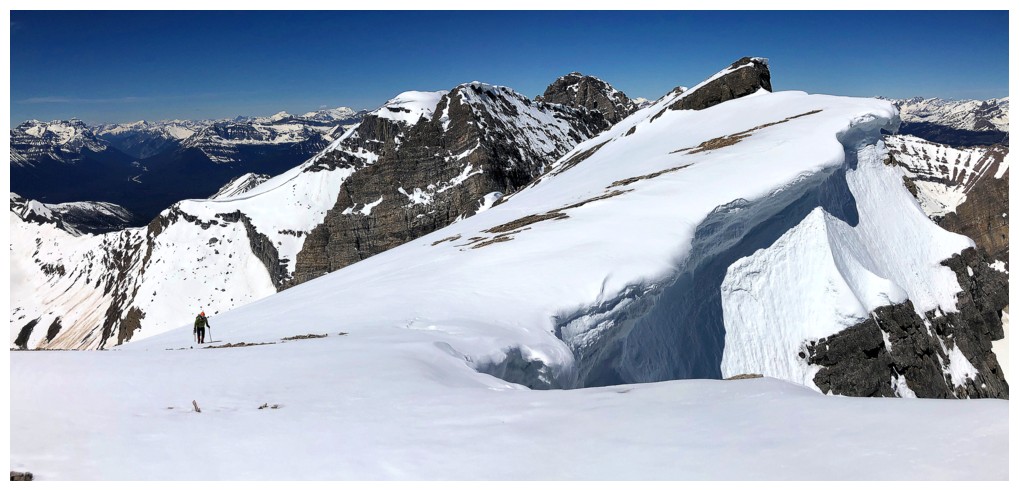
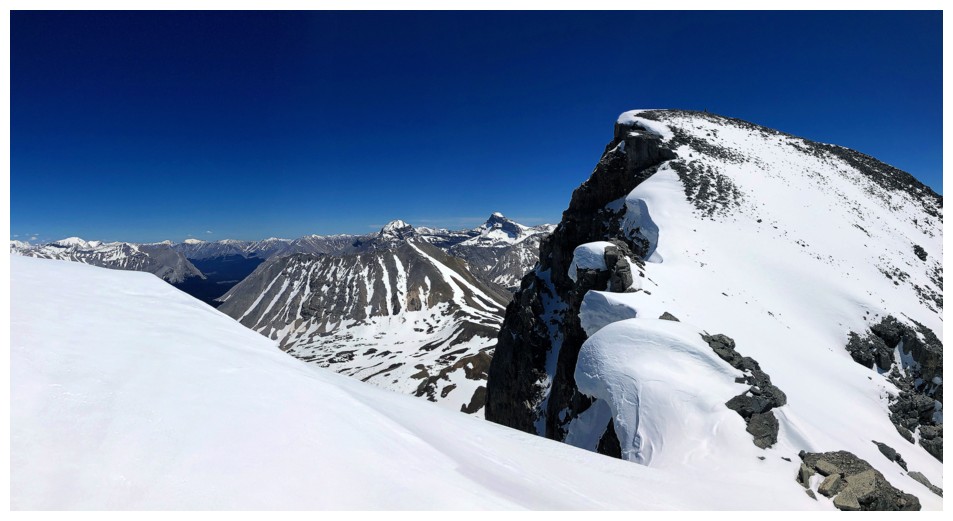
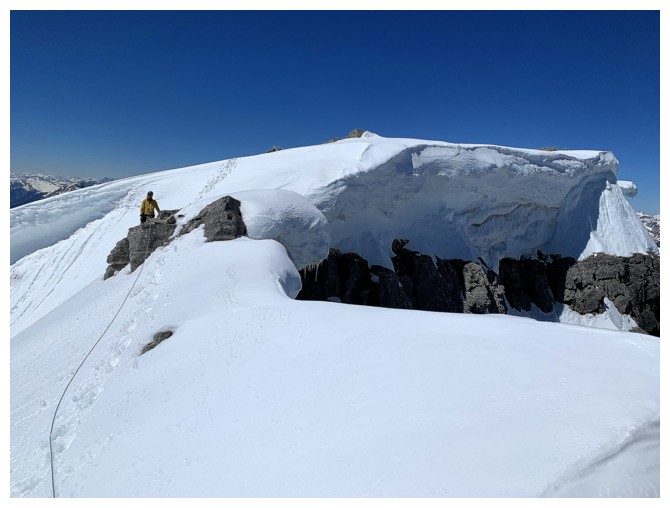
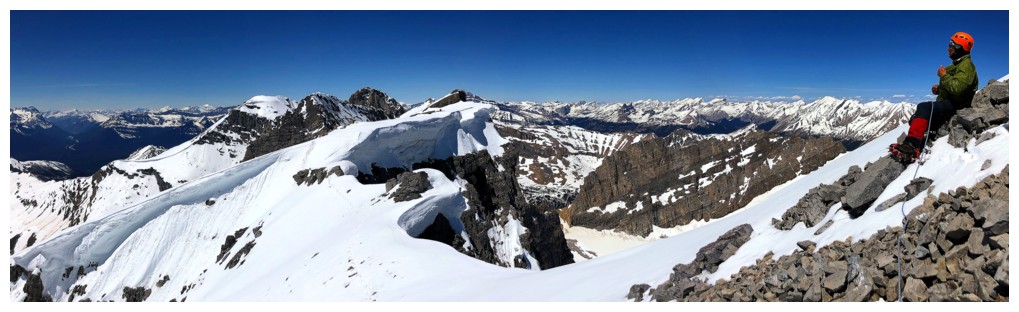
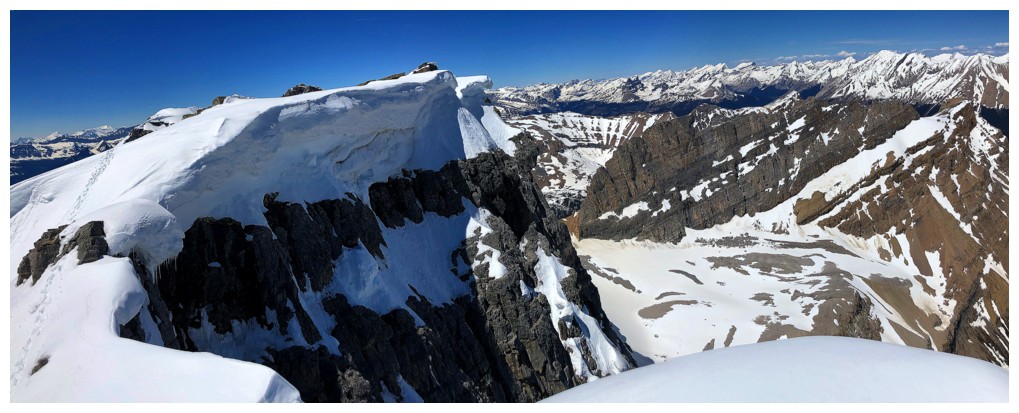
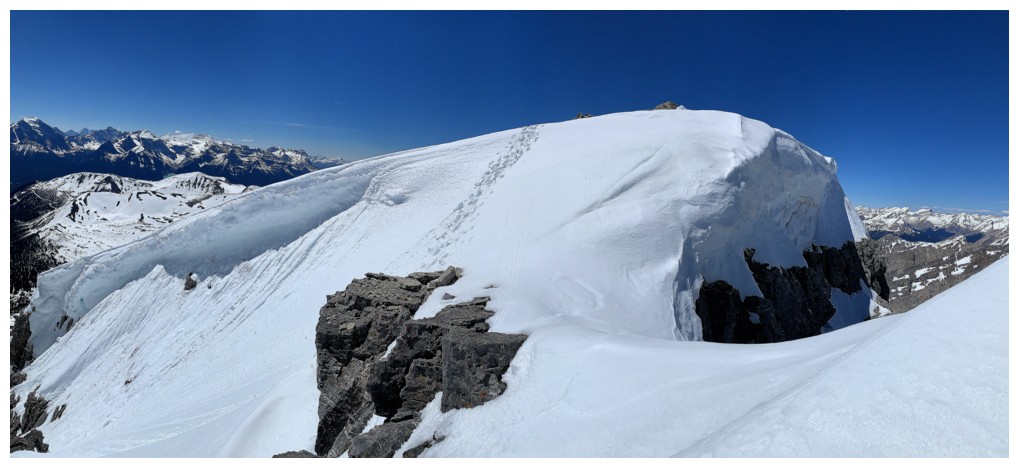
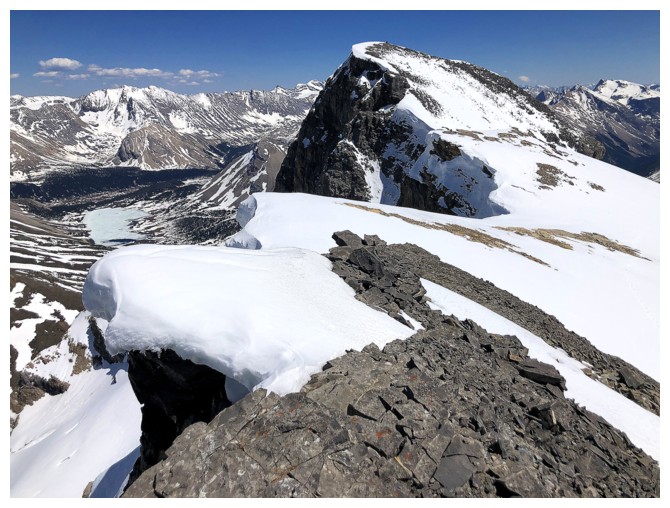
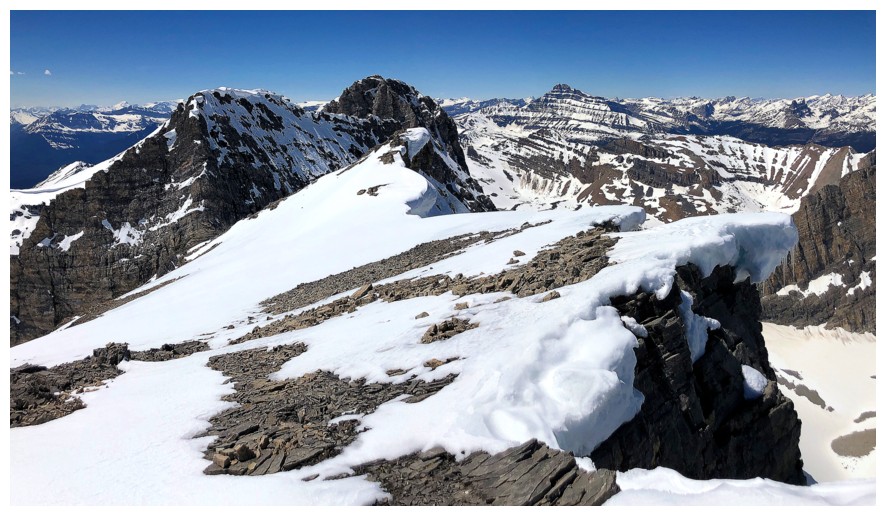
After a very foreshortened
ascent we arrived at the ridge to find (not surprisingly) it was severely
corniced – great for photos but not so good for travel. The crux followed in
short order. Kane describes it as follows, “Just before the highest point at
the east end, the ridge dips and narrows for 5 m directly below a long, narrow
gully cleaving the south side.” Without snow this section would probably have
been inconsequential, but there was snow and lots of it. We had a decision to
make: call it a day and retreat or whip out the climbing gear and proceed.
Fortunately, we had decided to bring harnesses, a rope, and a few slings with
us. They worked perfectly. We were able to sling a few rocks, providing some
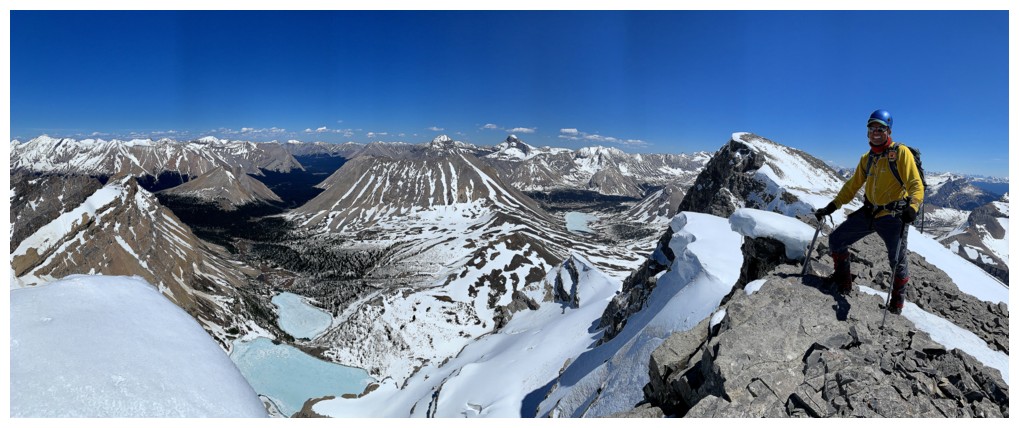
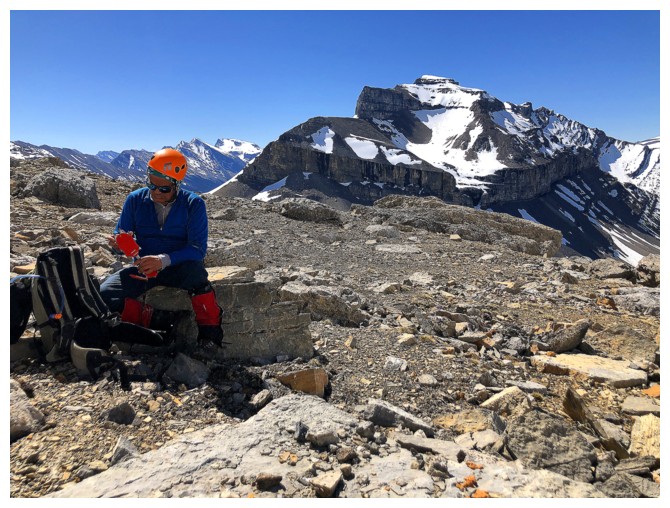
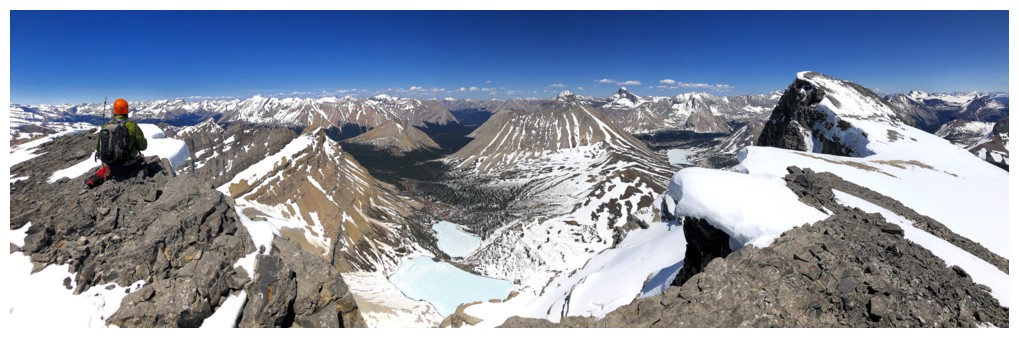
level of security. A plod to the summit followed and then a short but very rewarding
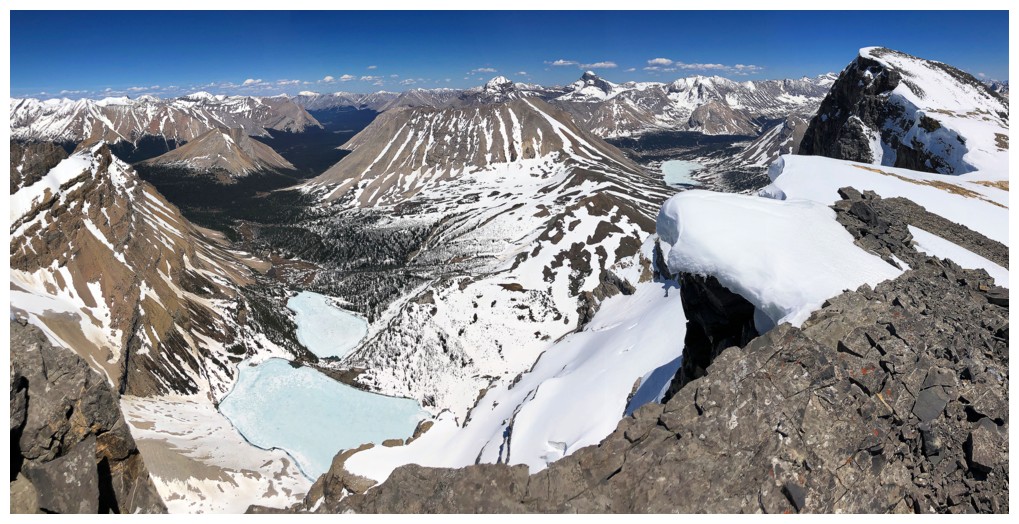
summit stay. The winter-like summit panorama was magnificent, it’s only shortcoming the
huge cornice that prevented views down the east side of the mountain. Unfortunately,
that meant the Skoki Lakes were not visible at all.
Retracing our
steps back across the exposed section was much easier and we even managed to
get a look at Zigadenus and Myosotis lakes (Skoki Lakes). We then traversed to
another highpoint along the ridge that again boasted outstanding views – in
some ways better than the true summit.
Except for one
of my crampons breaking, the descent went without a hitch and the bike ride
down was criminally easy.
A most memorable
and rewarding day out.
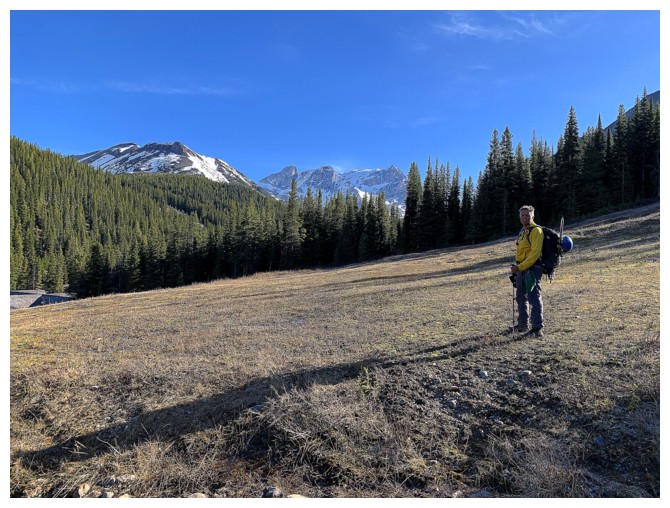
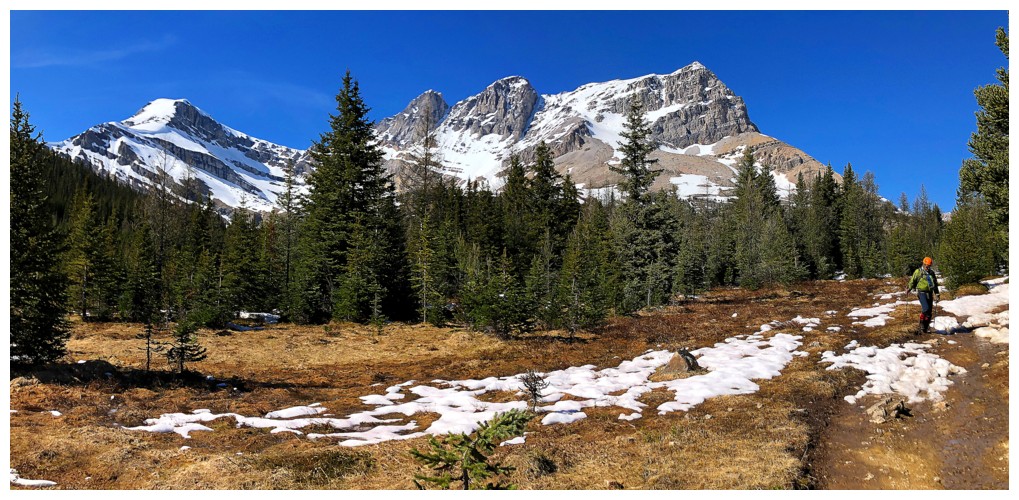
End of the bike approach and start of the hike into the Skoki area. Mount Richardson, West Pika Peak, East Pika Peak, and Ptarmigan Peak are all visible.
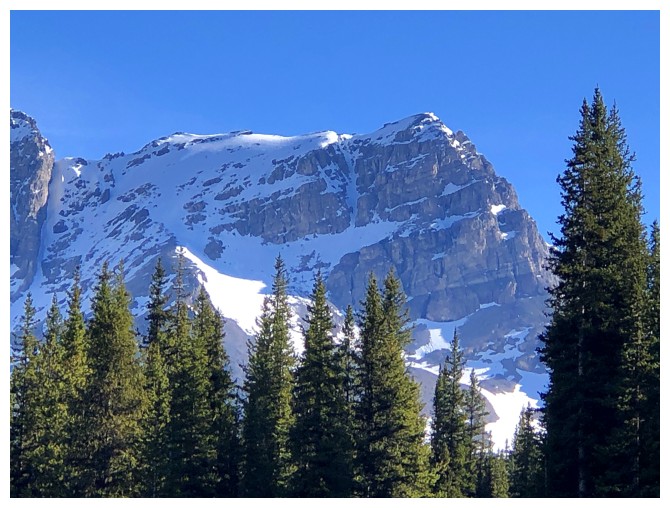
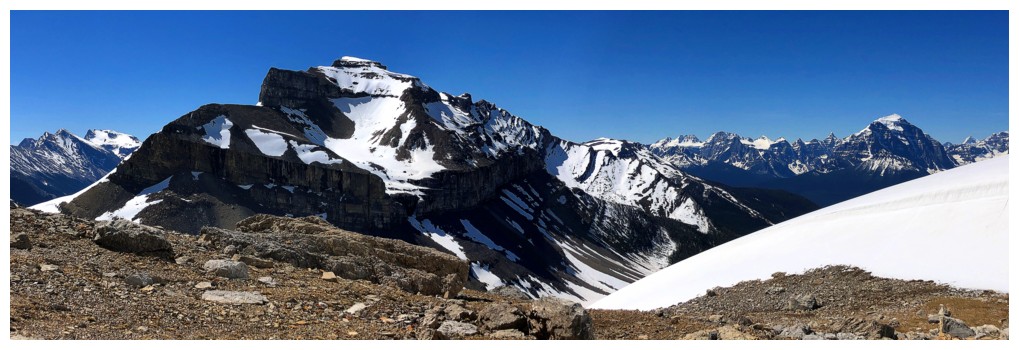
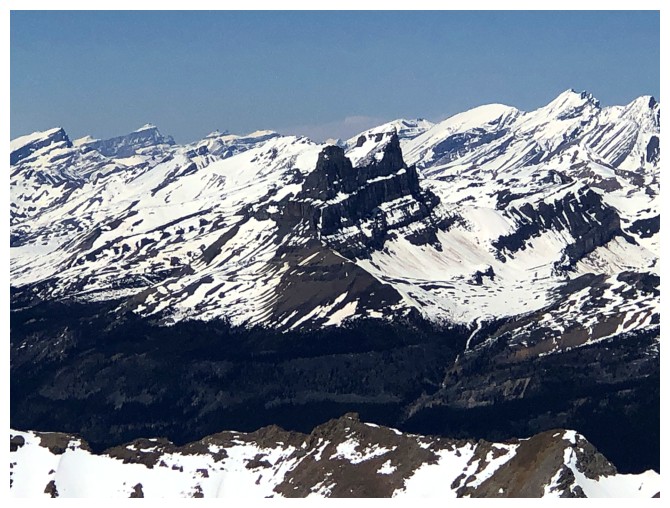
Close-up of Ptarmigan
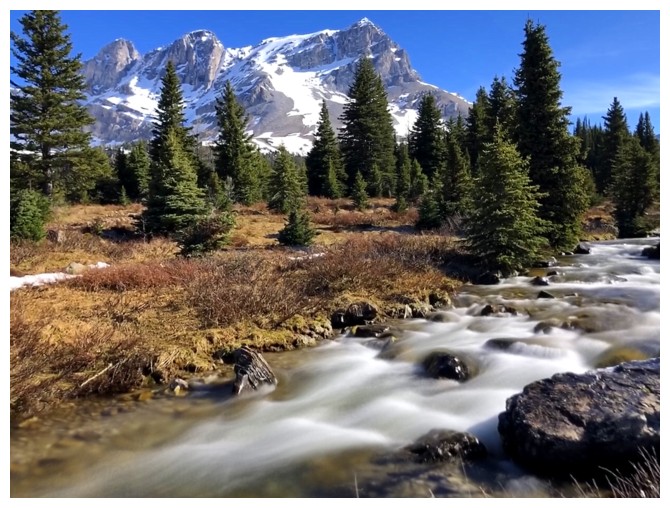
The Pika's, Ptarmigan, and Corral Creek
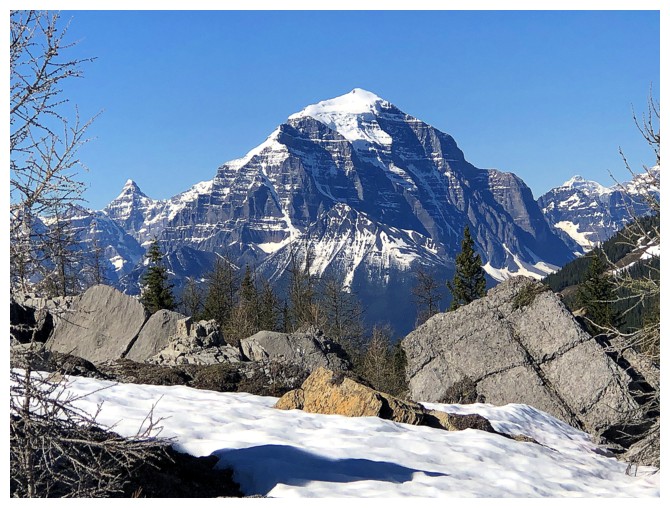
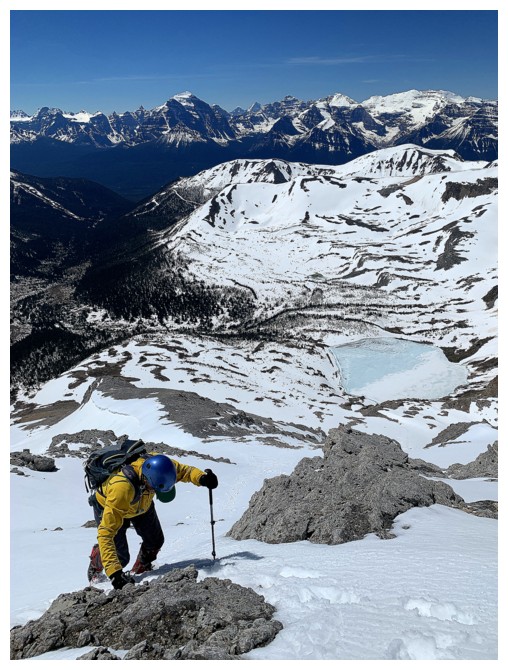
Looking back to massive Mount Temple
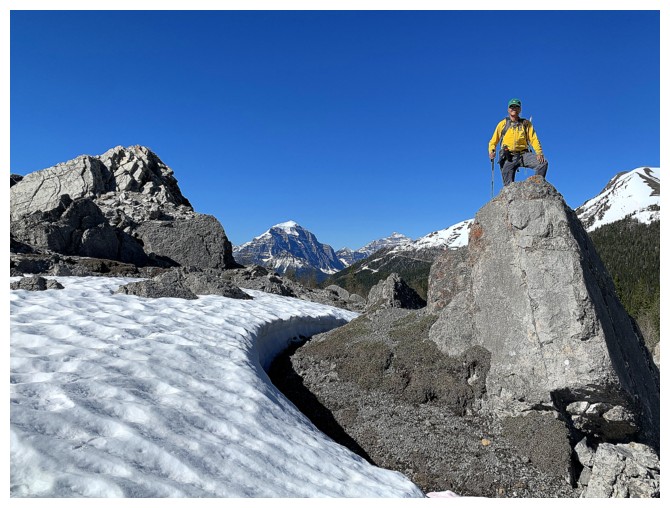
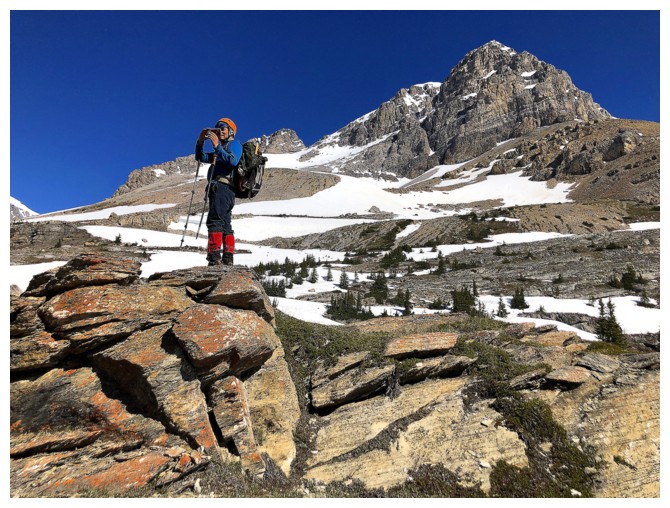
On one of huge boulders near Boulder Pass
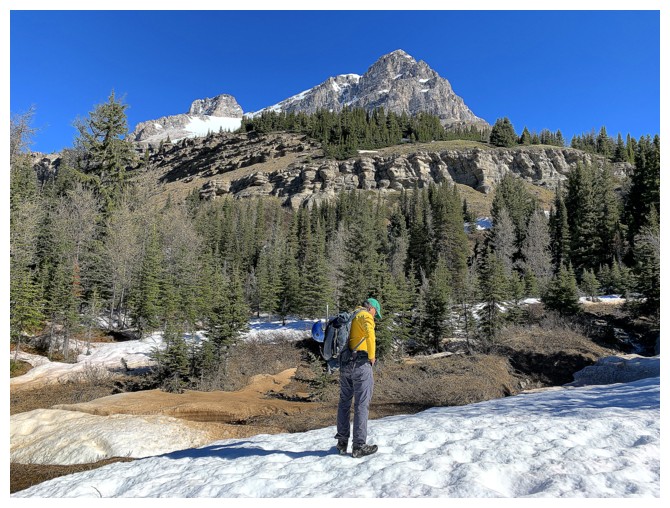
East Pika, Ptarmigan, and the interesting rock formations we were drawn to
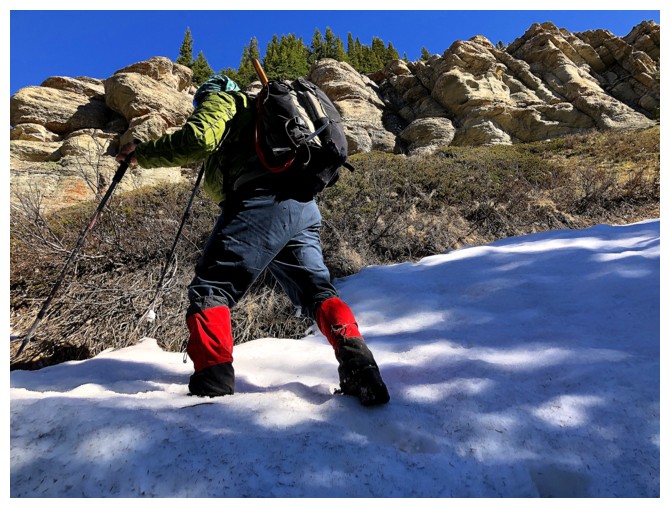
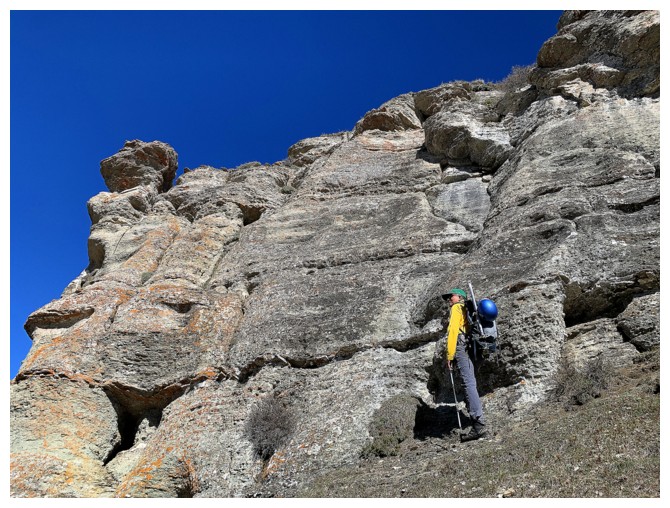
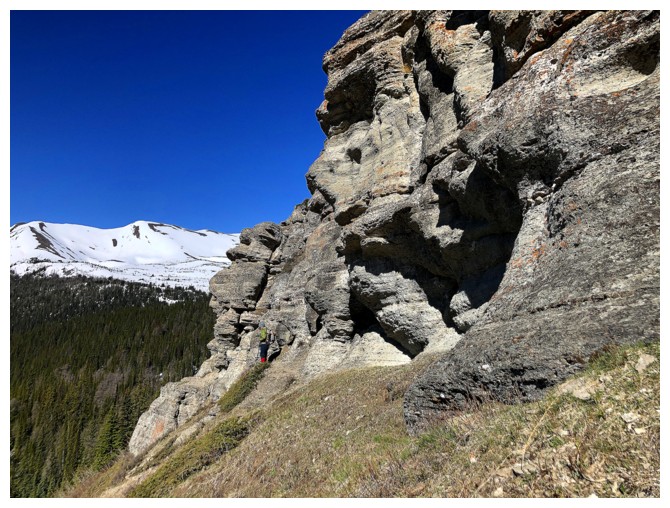
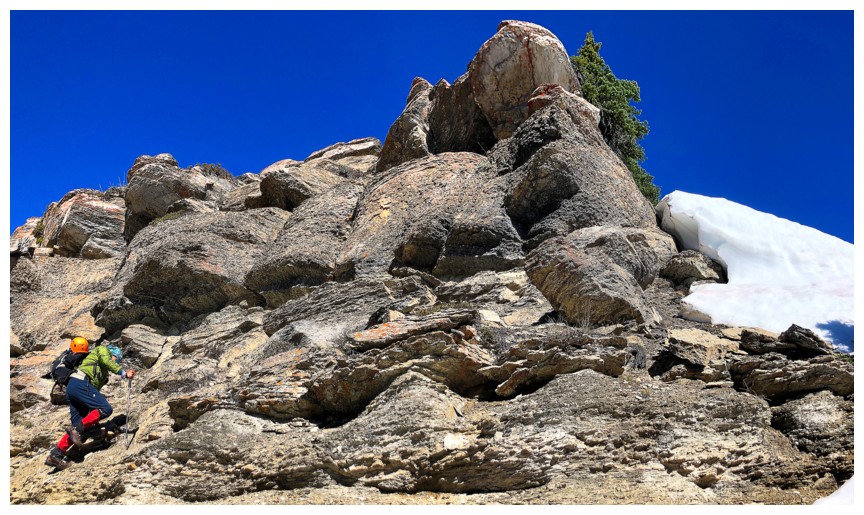
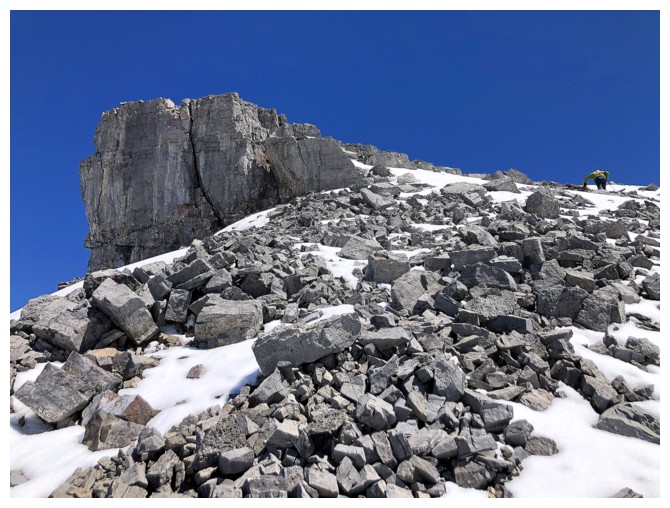
Mark leads us up to the rock
Taking a quick break at the base of the rock
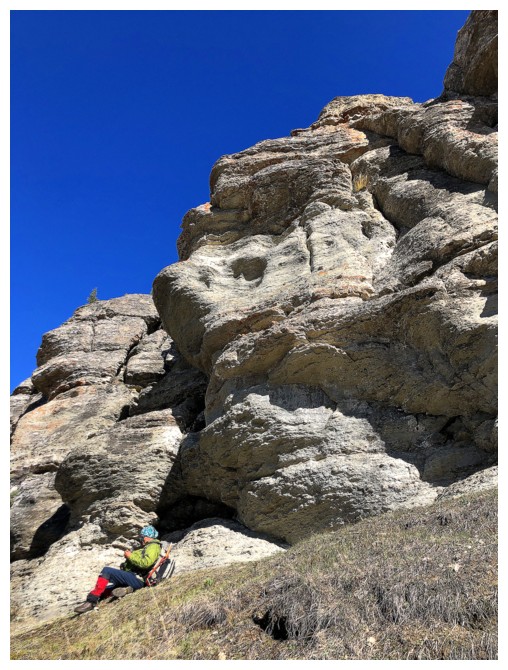
Definitely a face in the rock above Mark
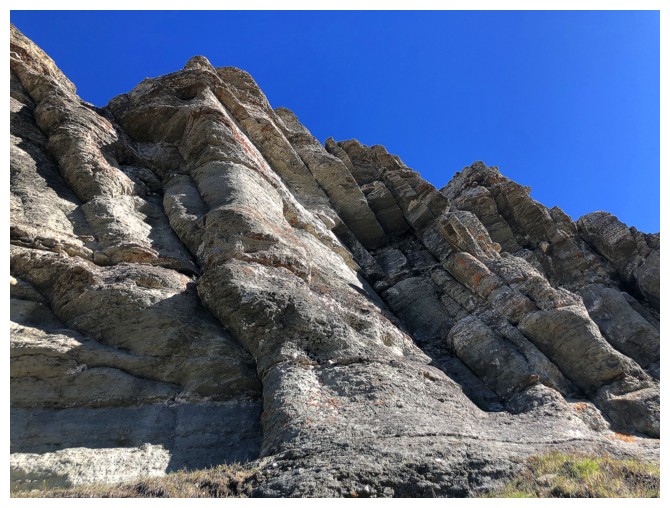
More cool rock
There's a face in there somewhere!
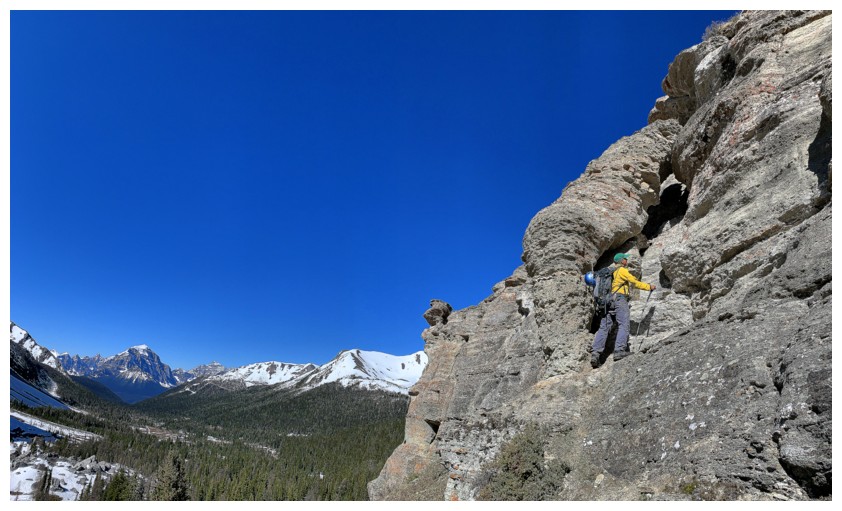
Traversing the base
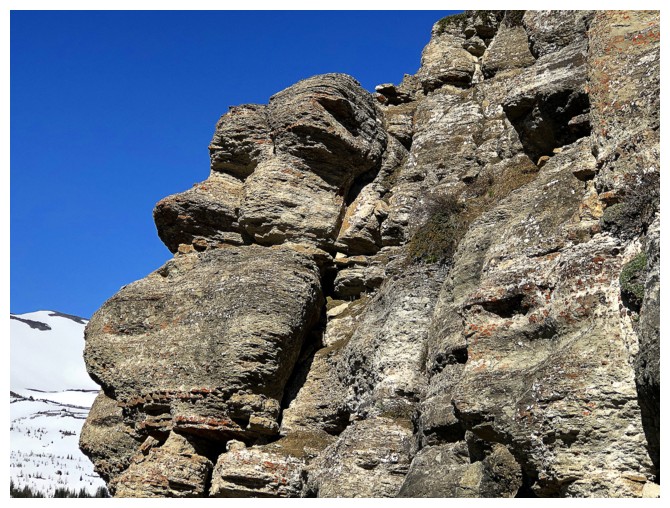
Another face!
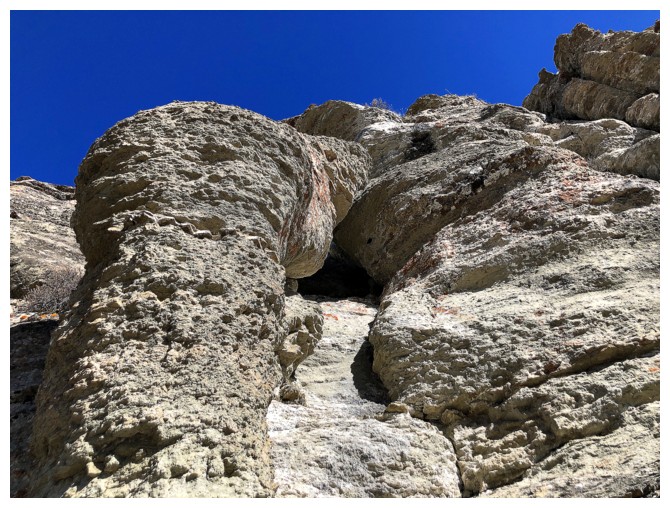
Interesting rock formations with an arch
Had to get a closer look
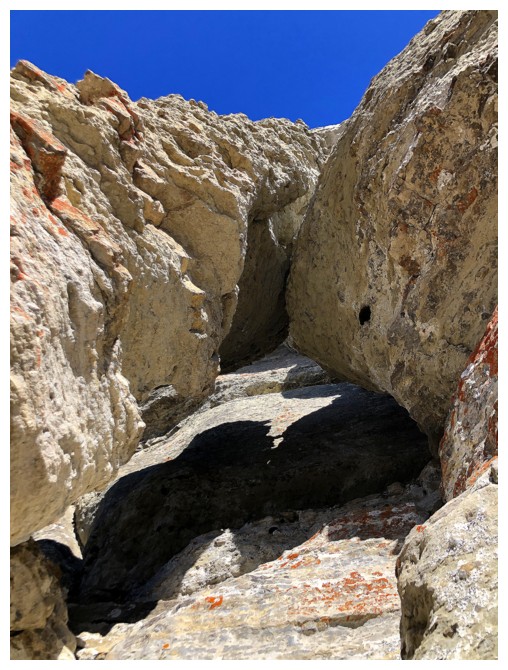
Looking up through the arch
Approaching the end of the formations
Taking a longer break
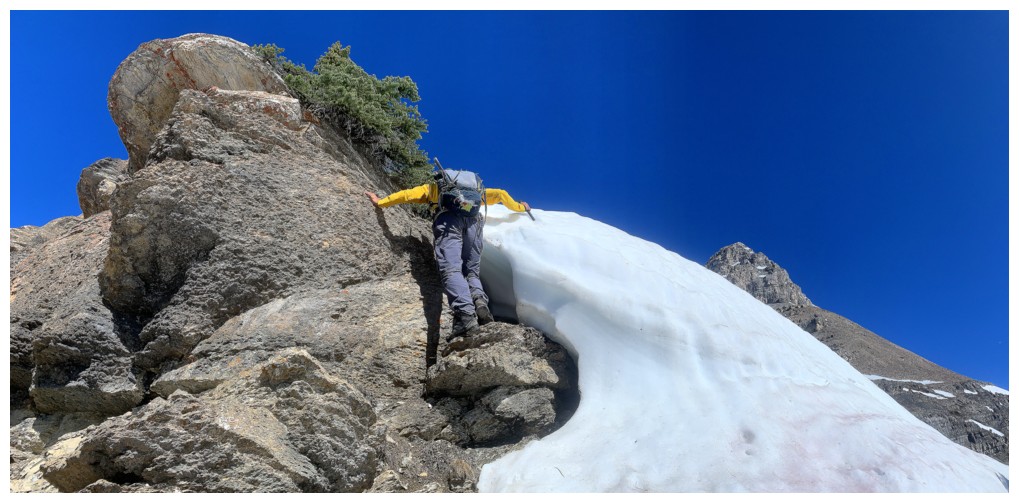
Tricky step requiring stemming snow and rock. Of course there was a super easy route around it!
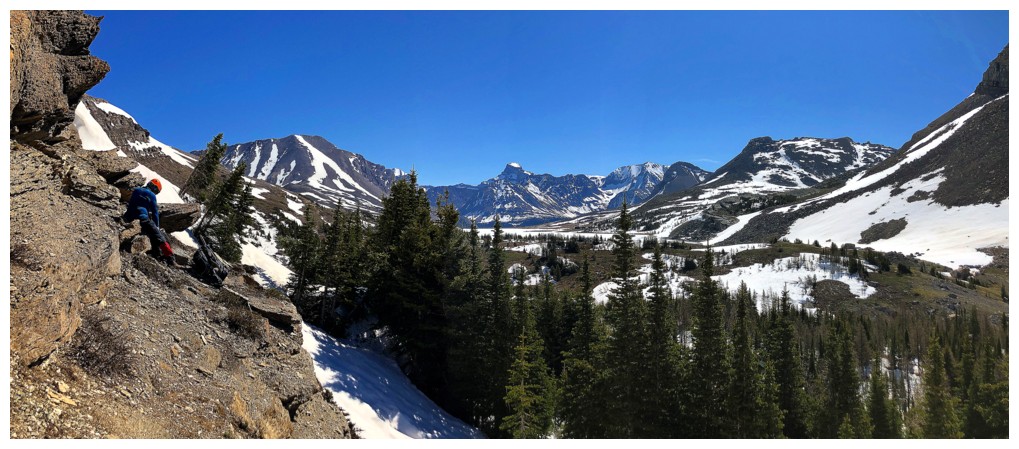
Enjoying the stunning environs below Ptarmigan
Same as above
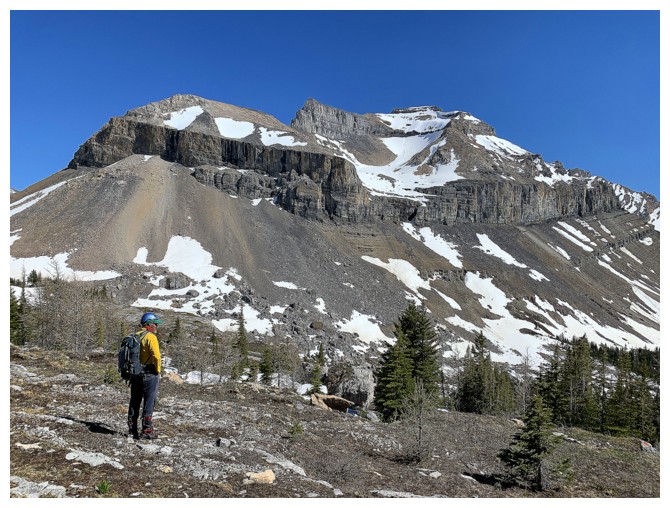
Mark and the east side of Redoubt Mountain
Nice, steppy terrain
Lots of snow for late June
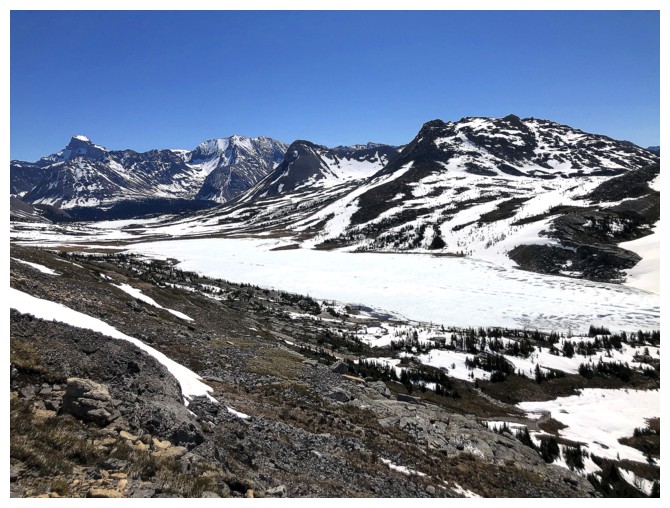
Ptarmigan Lake is still snow-covered. Heather Ridge at the right.
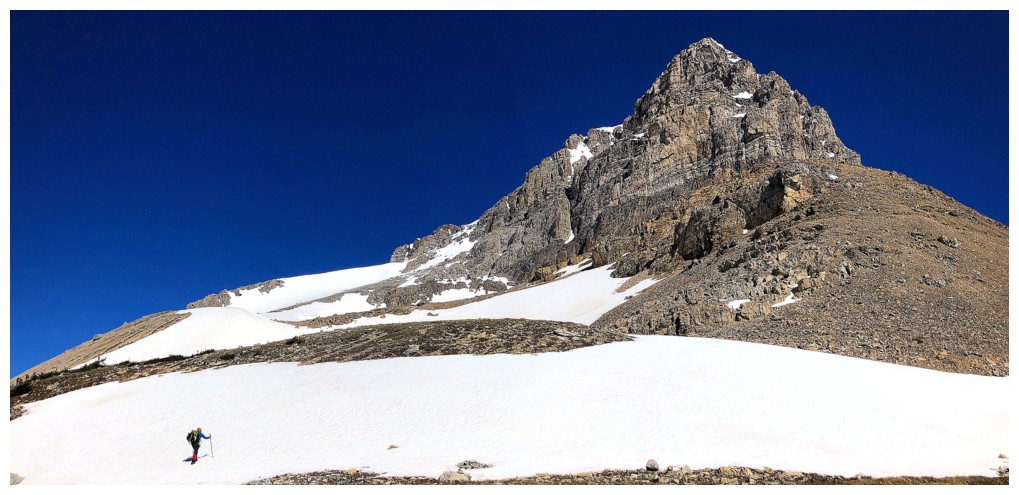
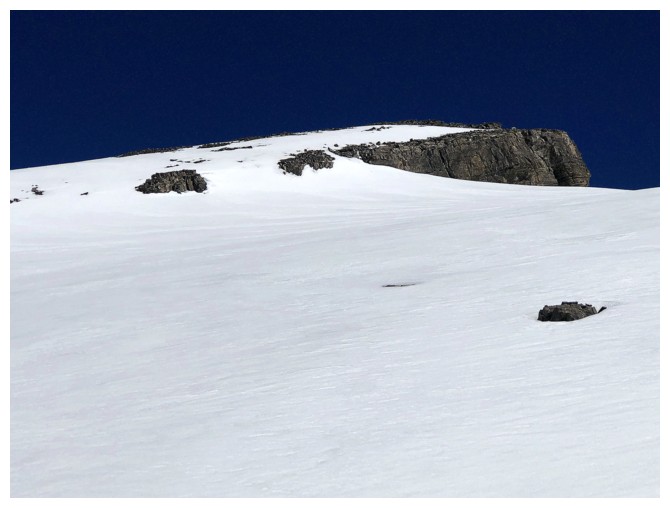
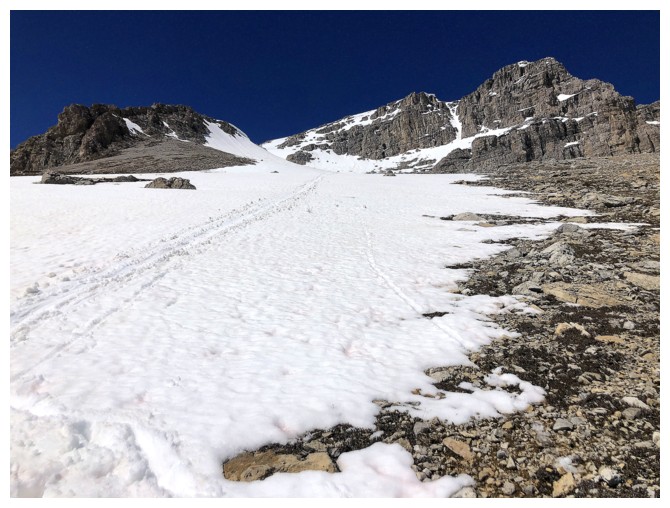
Easy snow slopes to begin with
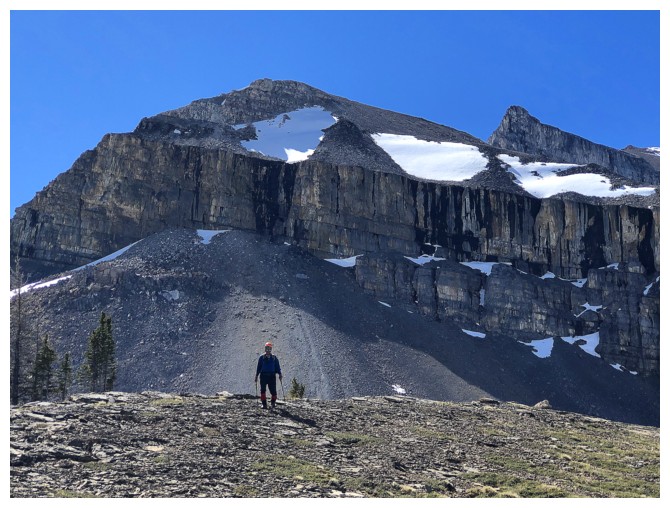
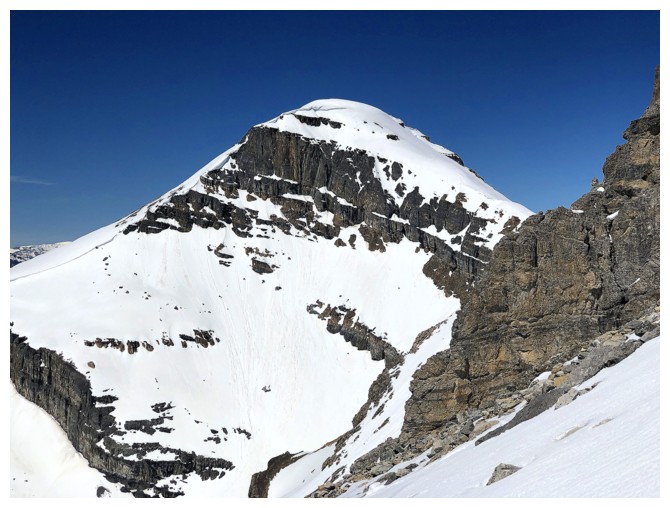
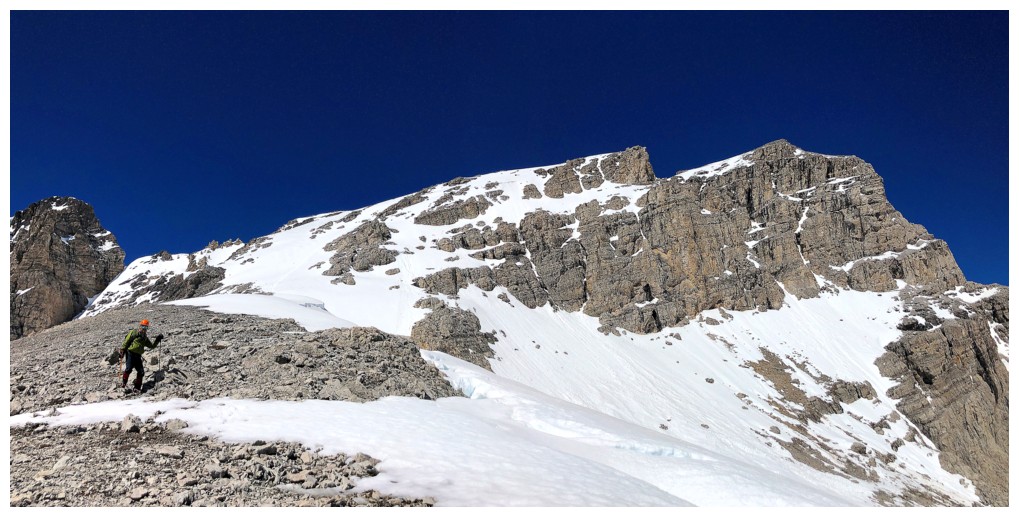
Mark is dwarfed by Ptarmigan
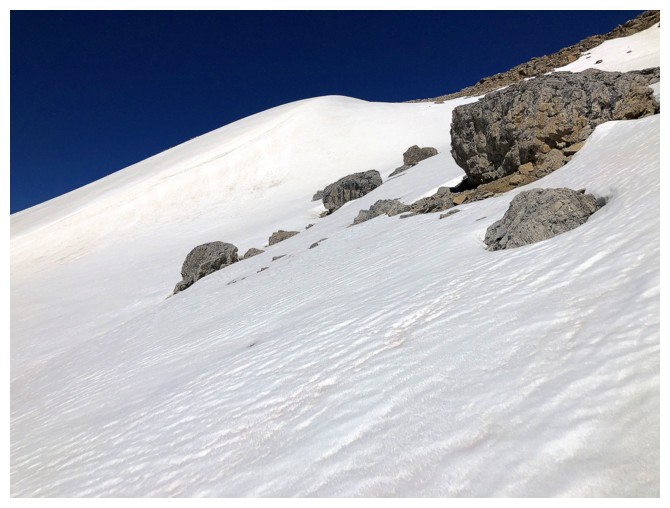
The terrain steepens
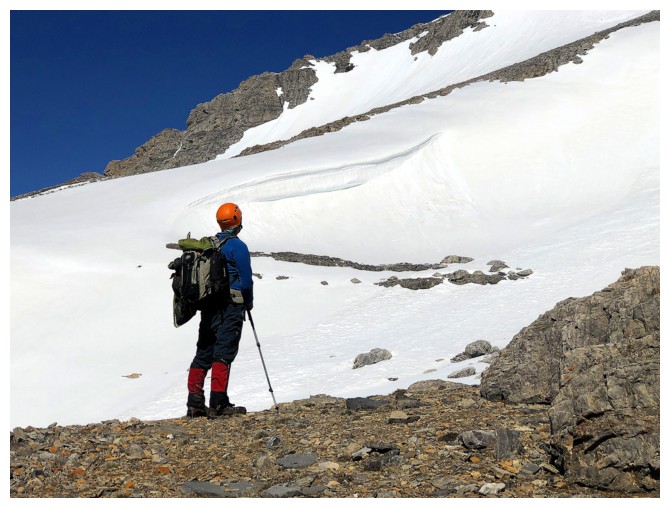
Checking out a small overhang of snow - foreshadowing!
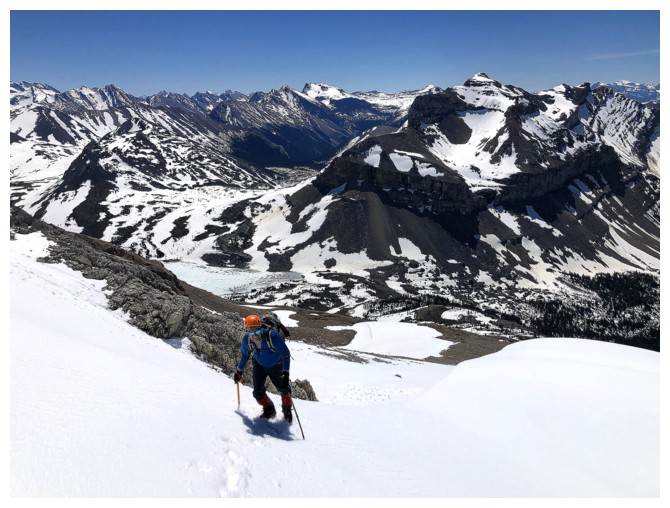
Looking back to Redoubt
Crampons and ice axe time
Resuming travel
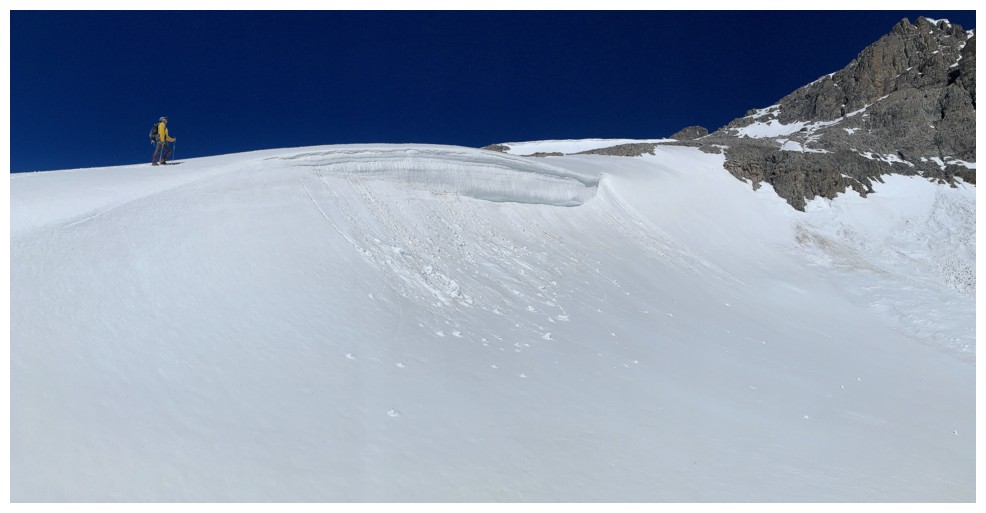
Above another small cornice
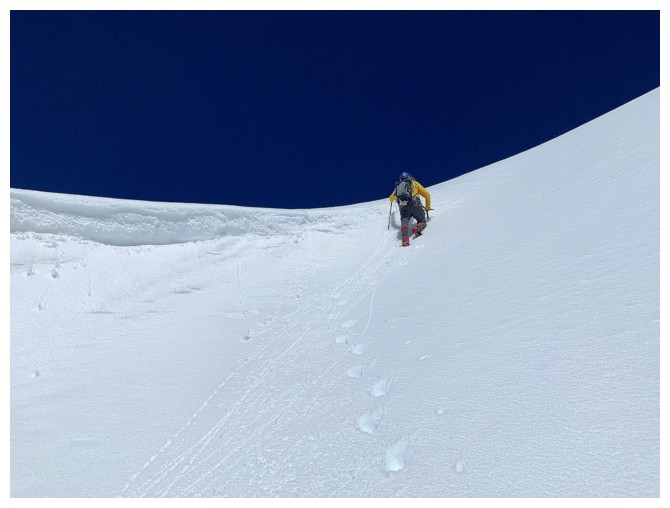
A short section of steeper terrain

Mark ascends the steep part
Back onto easier slopes
Hidden Lake is also snow-covered
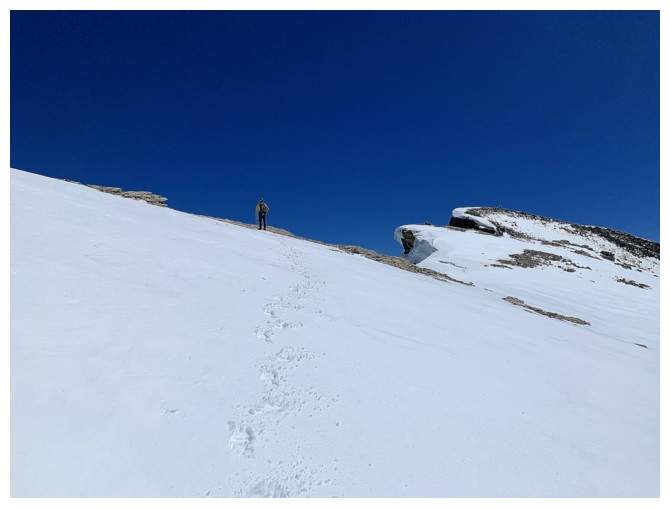
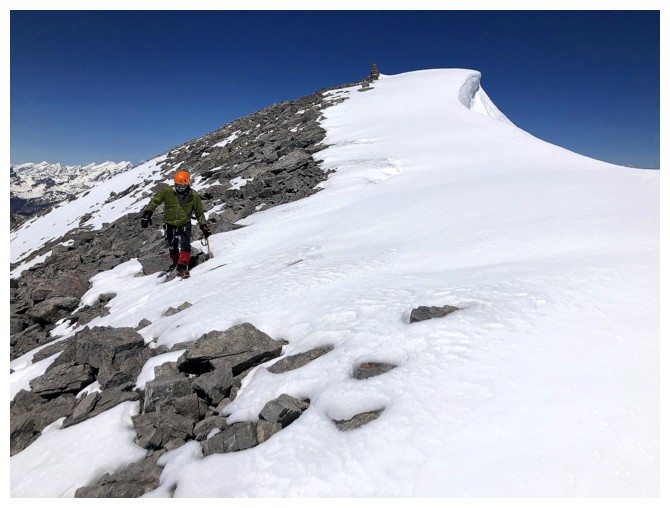
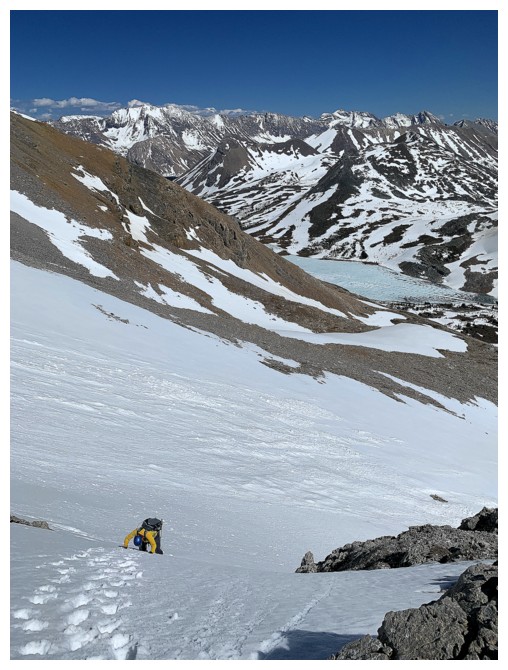
Looking up the very foreshortened slopes
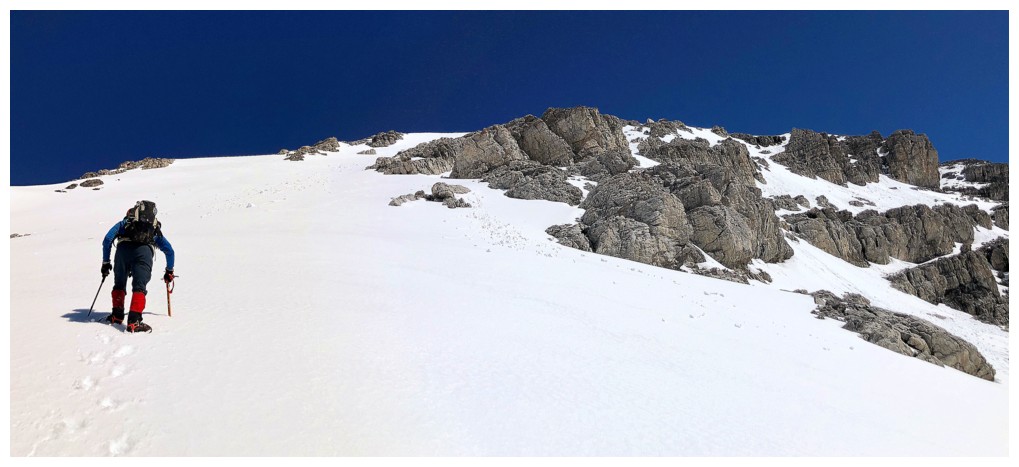
Mark leads the entire upper section
Mount Richardson
Typical grade of the ascent, but it does get steeper
Final few steps of the last steep section
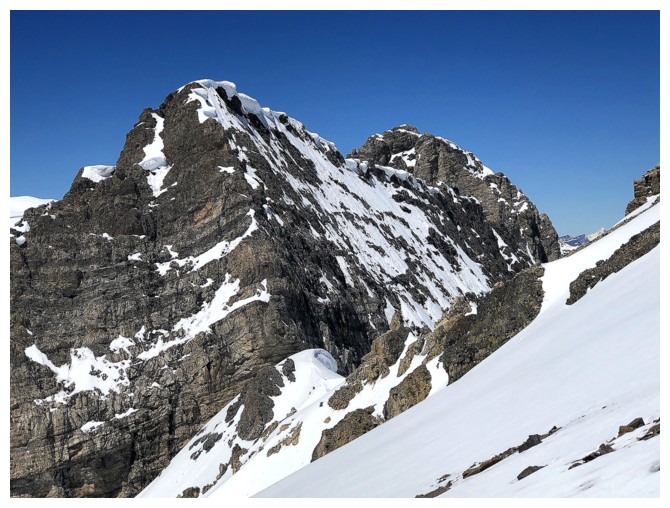
East Pika (left) and West Pika
The other highpoint we would visit after the true summit
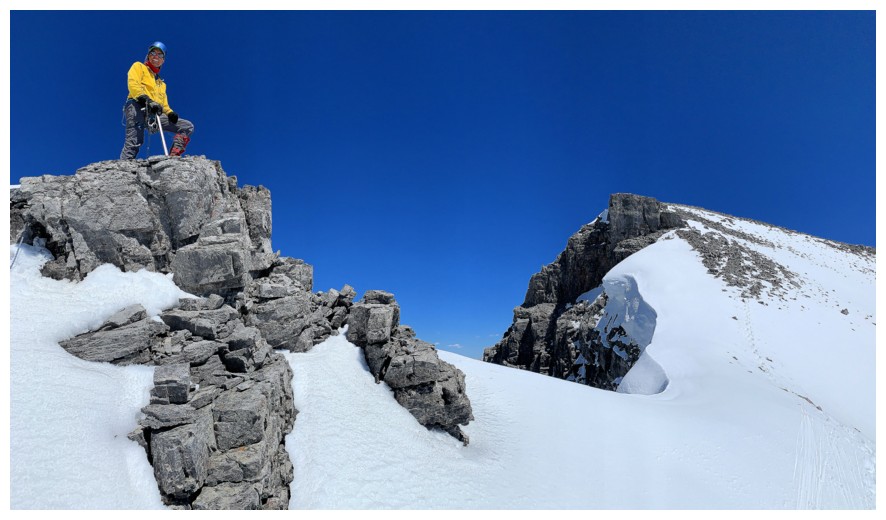
Finally at the ridge
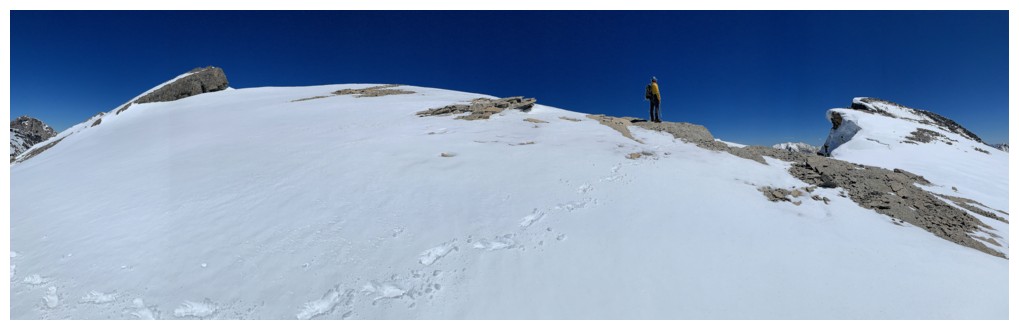
True summit at the right and other summit at the left

Mark reaches the ridge
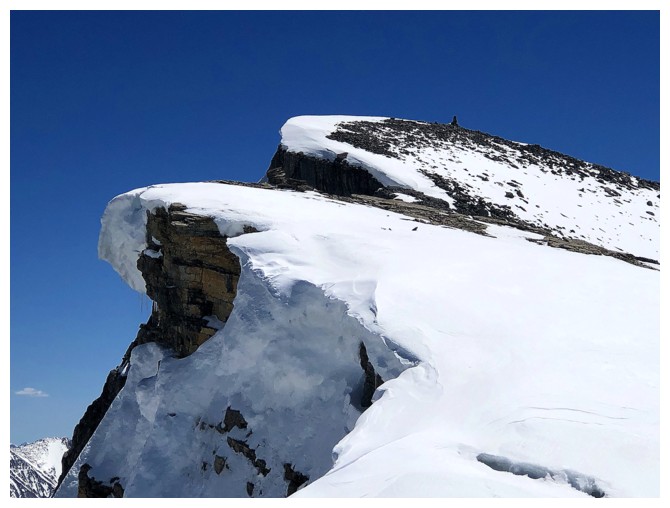
Close-up of the corniced ridge. The huge summit cairn is visible.
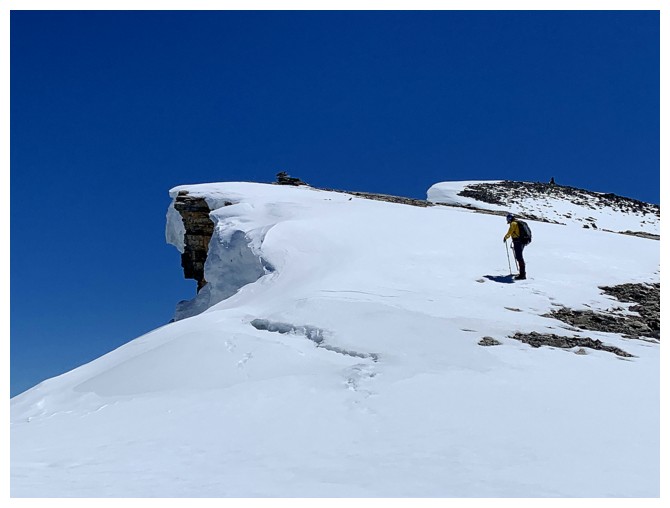
Staying well away from the edge
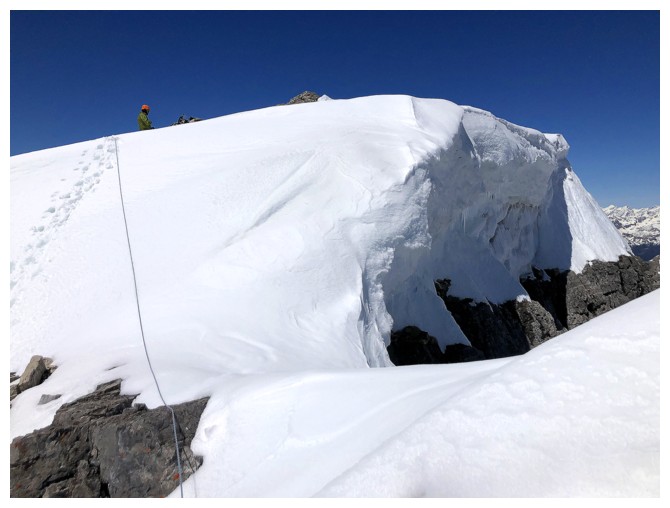
The magnitude of the cornices is now visible
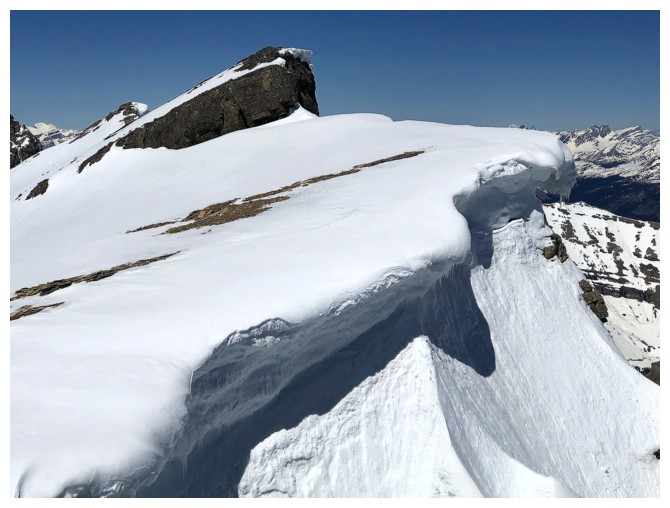
They are big!!
View to the north
There's a cairn at the false summit
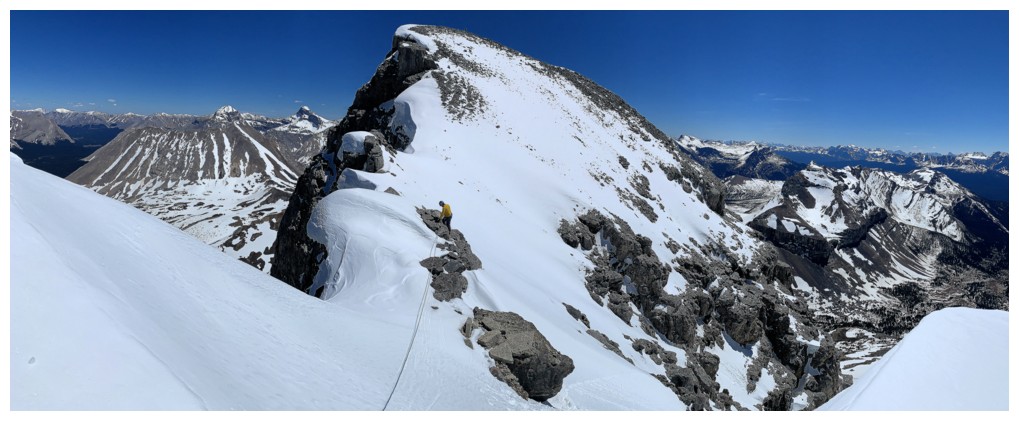
The true summit and severely corniced ridge. We used the rocks at the lower right and one near the false summit to belay.
Mark belays me from near the false summit.
Setting up a station for the second pitch
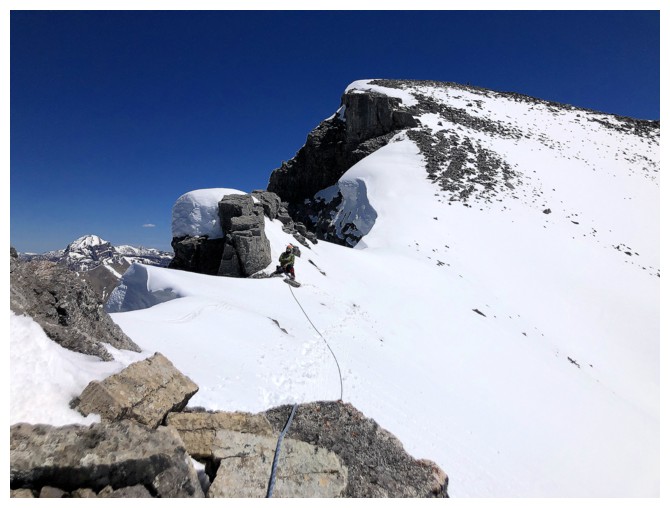
Mark at the third station
Looking back to me at 2
Easy plod to the summit after the exposed section
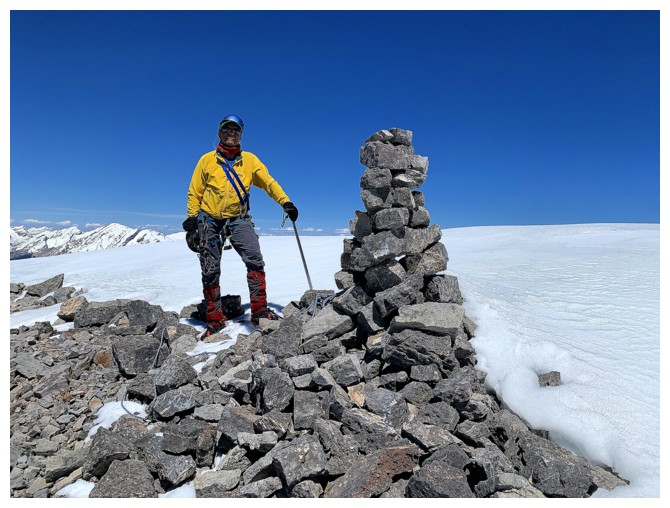
Success!
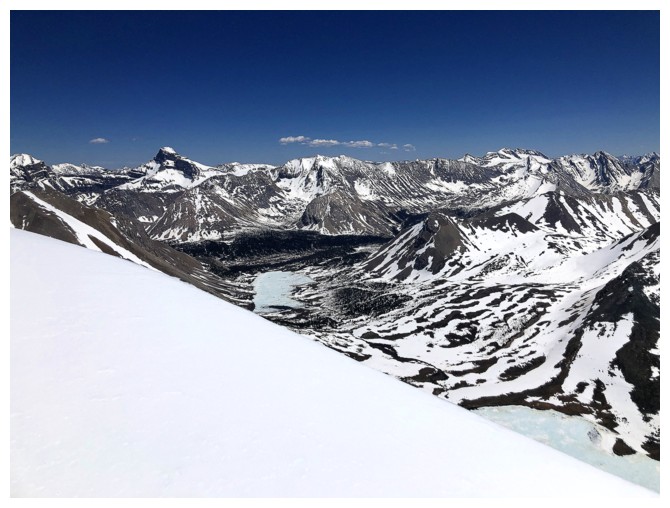
View to the southeast. Not surprisingly Baker Lake is snow-covered.
Hiking down the ridge to see if we can get a better view
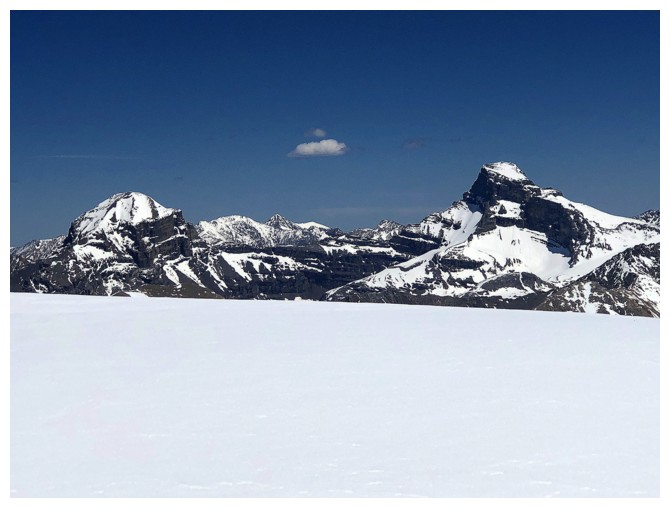
Mount Douglas (left) and Mount St. Bride
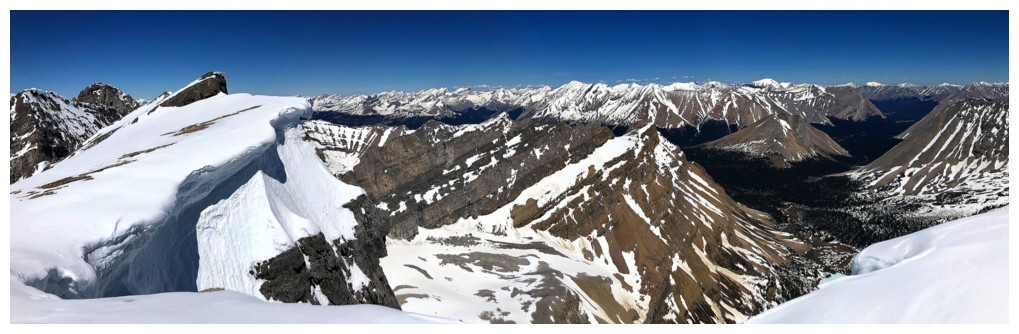
View to the west
View to the north

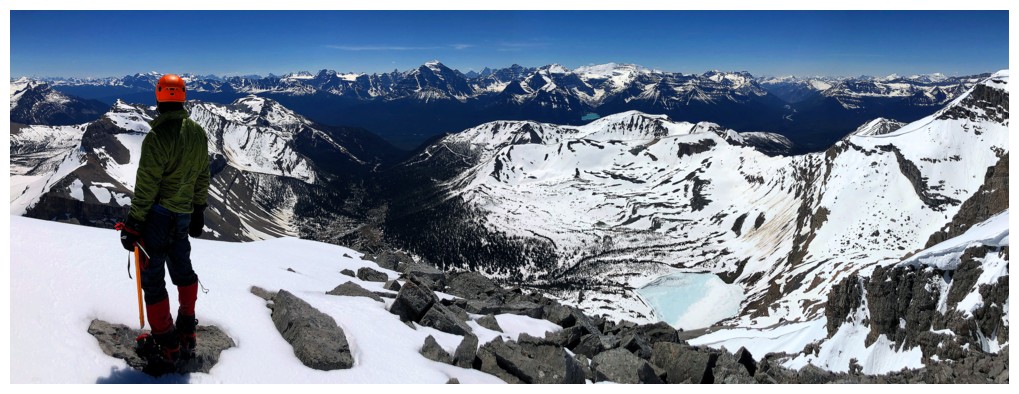
Lake Louise and the giants around it
Molar Mountain and Molar Tower
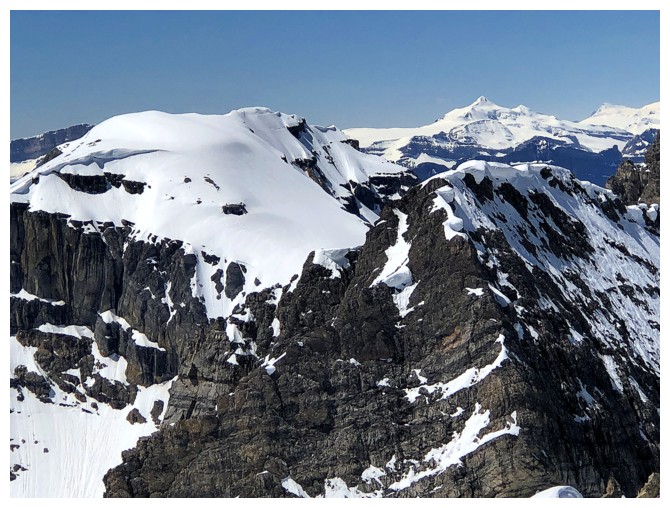
Richardson, East Pika, and distant Mount Balfour
Back at the section where we used a rope
Scrambled up the rocks at the second station to get a view of the Skoki Lakes
There they are - Zigadenus is the half visible closer one; the other is Myosotis
As Alan mentions, the northeast face of Ptarmigan is basically straight down

Halfway across
The final few metres back to the false summit
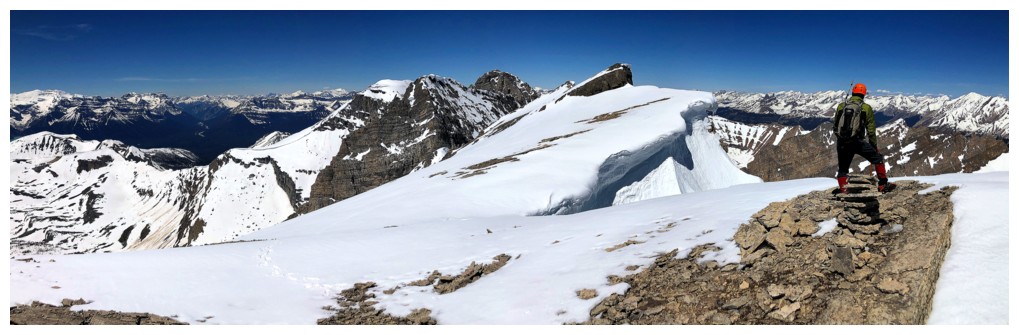
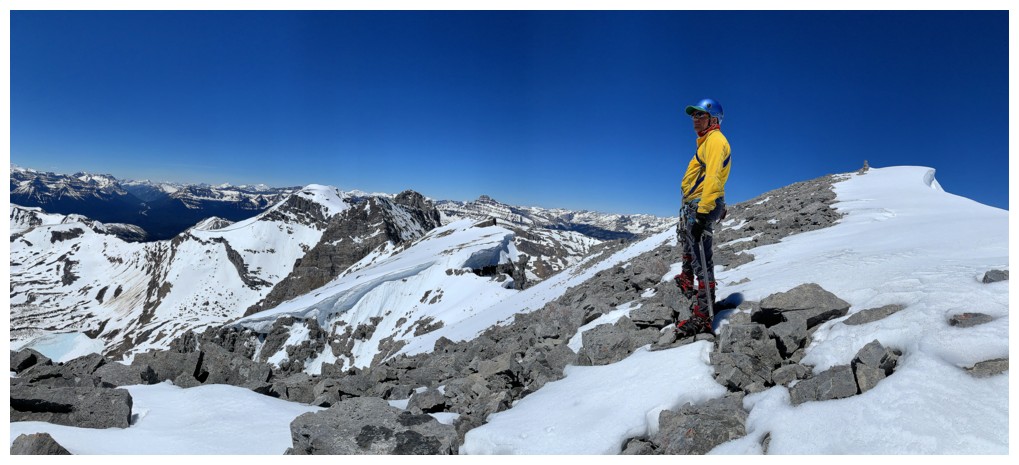
Heading for the highpoint in the centre
 Much better view of the Skoki Lakes
Same as above
Looking back along the ridge to the true summit
You could continue along the ridge but would eventually be stopped at the daunting east ridge of East Pika
Off the steep snow and taking an alternate route down
Same as above
The alternate descent route required another round of steep snow but it was straightforward
We even got some glissading in
Mark descends easier terrain through this magical area
Me and Redoubt

Yep - it's magical!
Stunning view to the east

We followed a drainage back to the trail
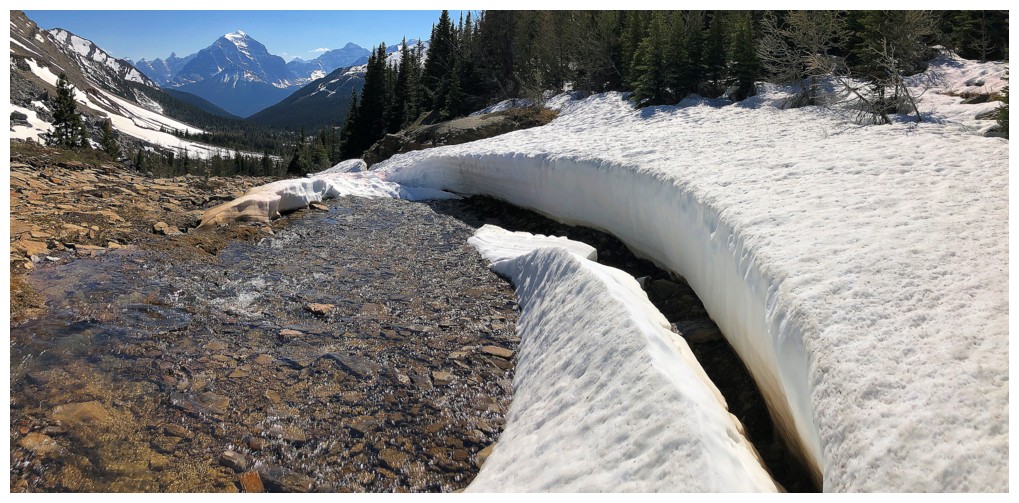
Nice curve!
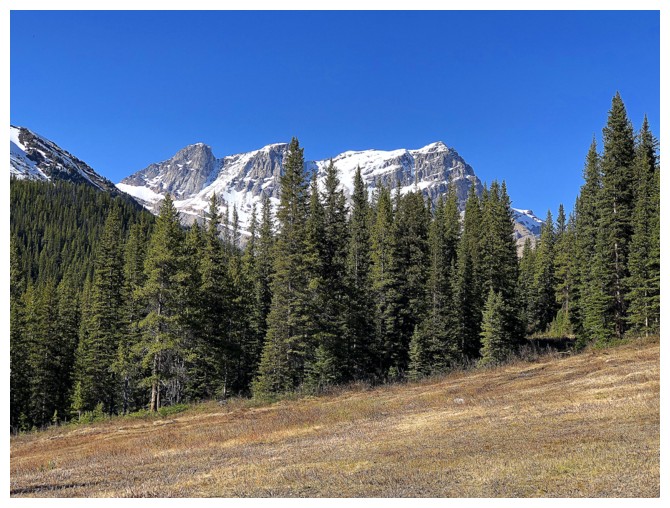
Parting look at Ptarmigan and the area
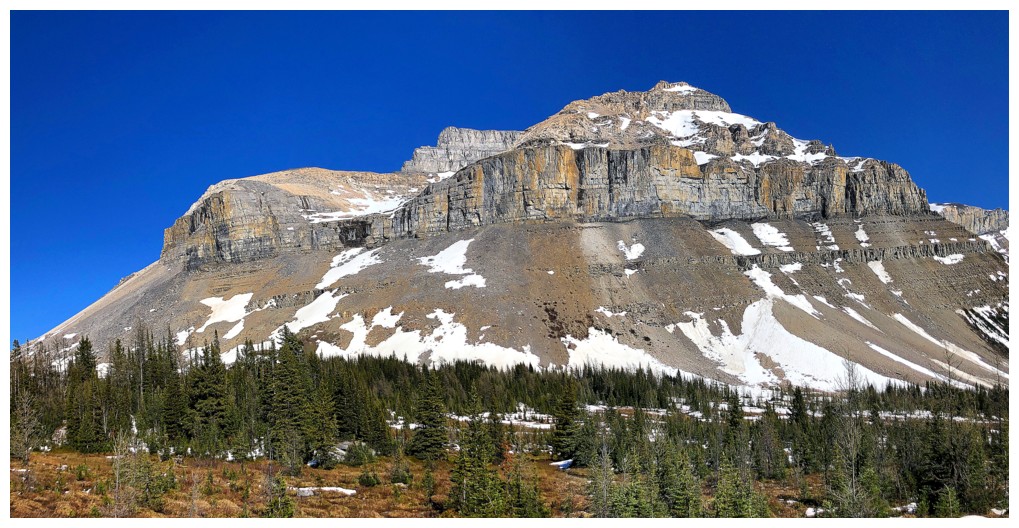
Can't get enough of Redoubt
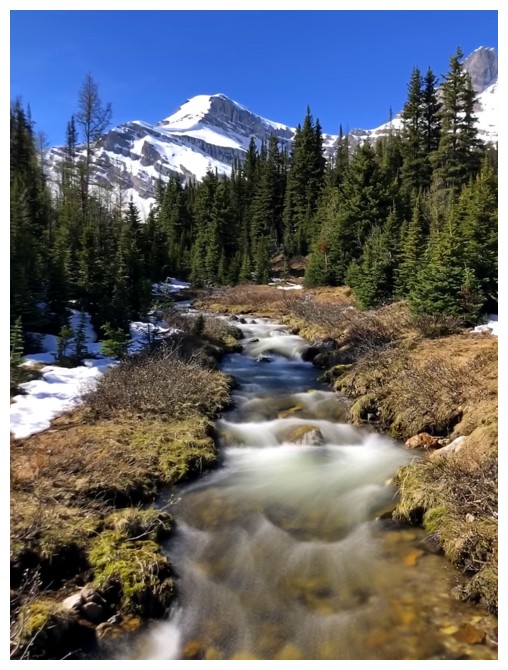
The creek that drains Hidden Lake and Richardson
Hiking out - lots of snow melted during the day
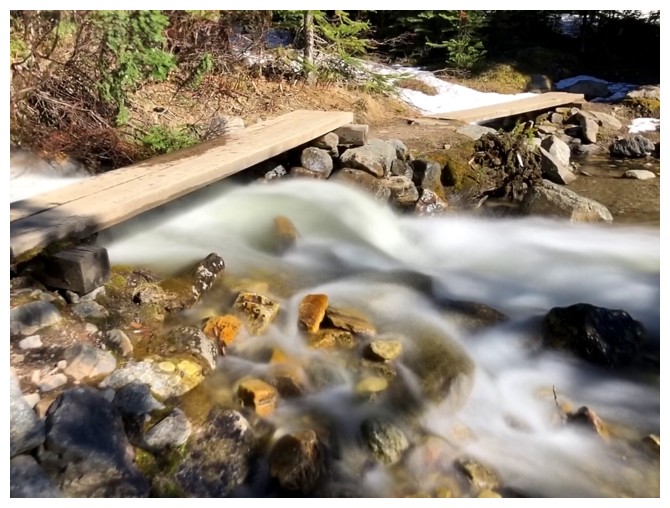
Another fast-flowing creek
Last look at Ptarmigan before the ridiculously easy bike ride down
The End
LOG