Darrah S4 attempt
Darrah SE4 II
July 19, 2024
Mountain height: 2255 m
Elevation gain: 951 m
Ascent time: 4:35
Descent time: 3:10
Scrambling with
Dave.
Impressive and
very photogenic Mount Darrah boasts no less than eight unofficial outliers, all
of which hold some level of interest for both me and Dave. Our adventures
together had nabbed a few of those outliers and it was time to try another –
Darrah S4 was the outlier of choice.
Dave had
plotted a potential route up S4 via South Lost Creek, an approach that would be
new to us both. 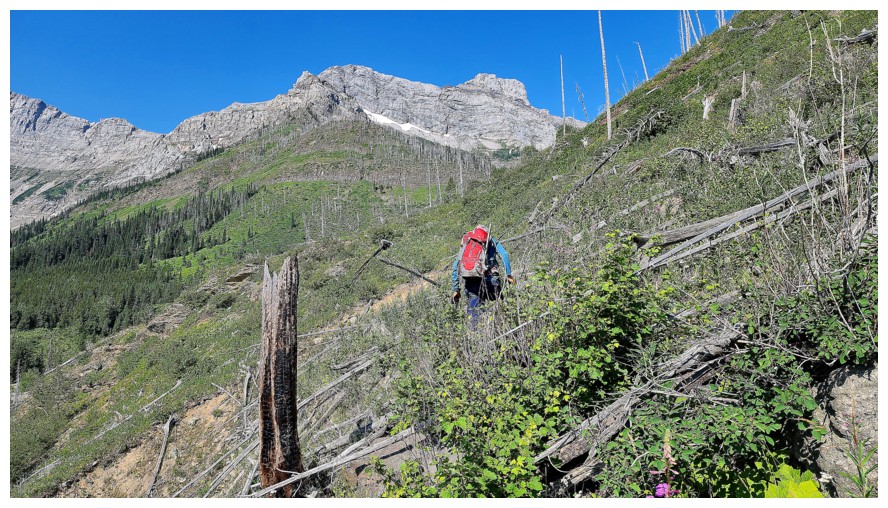 Our only concern appeared in the form a potentially steep,
slabby rock band high up on the route. As such we packed a rope, harnesses, and
some climbing gear.
Our only concern appeared in the form a potentially steep,
slabby rock band high up on the route. As such we packed a rope, harnesses, and
some climbing gear.
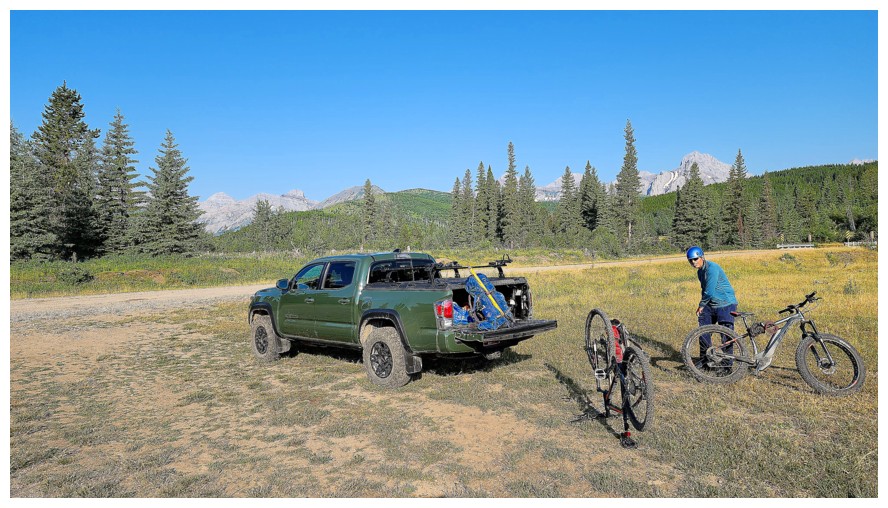
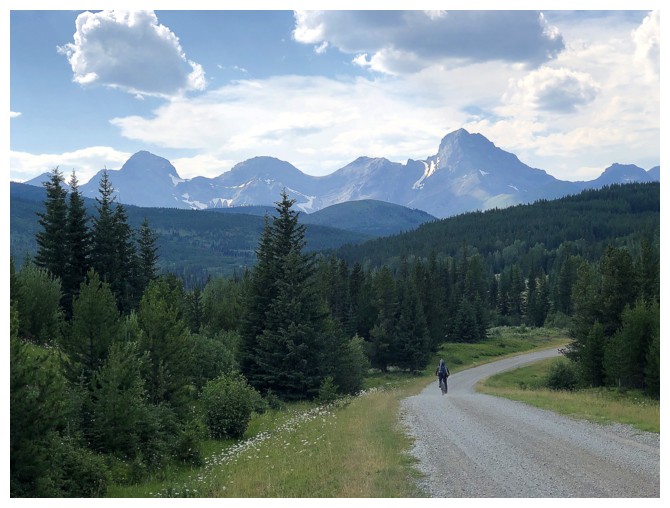
Starting a few
kilometres south of the (north) Lost Creek trailhead, we cycled the old logging road
for about 6 km, noting the surprisingly warm air temperatures. The riding was generally easy but did have a few steep sections
(not really a consideration for the cheating e-biker!) and a couple of intersections
to navigate. 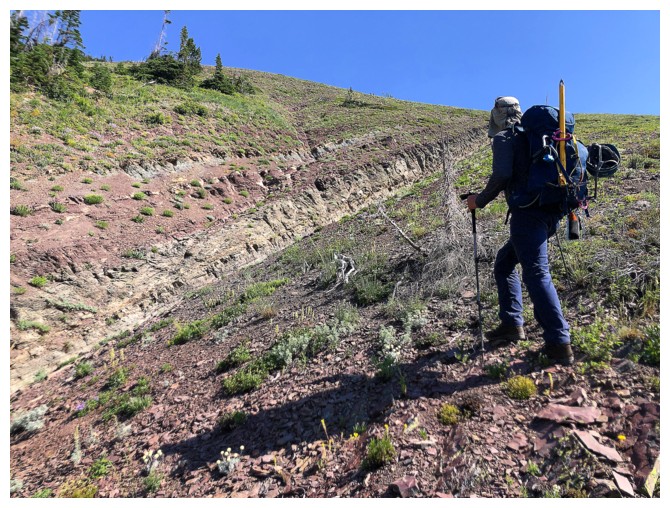 Leaving our bikes, we proceeded on foot up the valley on a much
less defined trail. That trail eventually petered out, and it was time to head
up the southwest side of Darrah SE4, towards the SE4/S4 col.
Leaving our bikes, we proceeded on foot up the valley on a much
less defined trail. That trail eventually petered out, and it was time to head
up the southwest side of Darrah SE4, towards the SE4/S4 col.
It
was at this
point that we really started feel the strains of the daytime heat. It
wasn’t hot... it
was scorching! No wind, temperatures over 30 degrees Celsius, and
perfectly
clear skies conspired to kick the daylights out of us both. And we were
still a fair distance from the objective. After ascending a good portion of SE4, we
had no
choice but to concede failure on S4, without even placing a single foot
anywhere near the mountain. My 4 litres of liquid were being consumed
at an alarming rate and I’m sure Dave wasn’t faring much better.
Running out of
water was a forgone conclusion had we continued to S4.
Of course, a
second run up Darrah SE4 was a logical consolation objective. 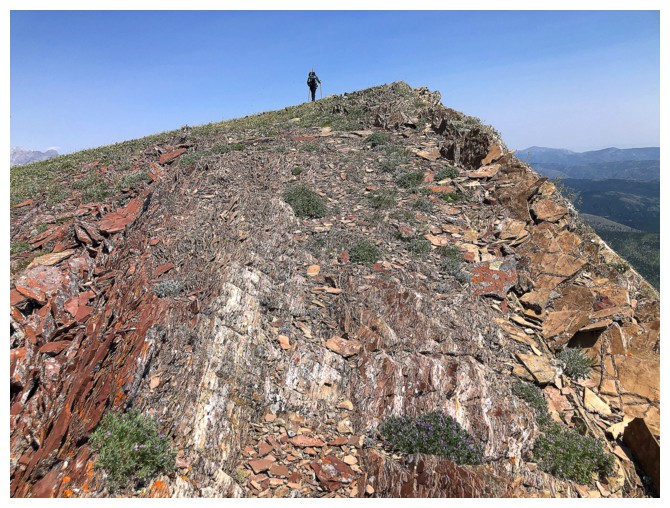 I was quite
excited at the proposition, as the skies had clouded over during the SE4 part
of our first trip to the area.
I was quite
excited at the proposition, as the skies had clouded over during the SE4 part
of our first trip to the area.
The
peak
yielded with relative ease. Only my depleted physical state detracted
from an
otherwise wonderfully enjoyable ascent. The temperature stayed hot, but
the
skies remained clear, granting us those excellent and colourful views
denied on SE4 I. We firmly agreed that pulling the plug on S4 was a
good
decision. Having said that, we were about to make a very bad decision!
From
the
summit, an alternate and much shorter descent route looked to be
straightforward and inviting. And straightforward and inviting it was
for the
first 15 minutes. The 2 hours succeeding those 15 minutes were
bordering on
hellish! We quickly left rocky terrain for more bushy slopes, which
from above
appeared to be completely innocuous – they were not. Thick and high
foliage of
all varieties made for a physically gruelling and often frustrating
descent. At times, we couldn't even see the ground below because of the
sheer density of the foliage. We
were all over the slopes, looking for easier terrain, but to no avail.
The
situation improved only when we were almost at the bottom of the route.
Wow!
Neither Dave nor I saw that coming! Fortunately, the trail was soon
found, our
bikes reached shortly after, and then a mostly downhill cruise back to
the
start.
Quite the day,
to say the least! Even with the bumps and bruises (mentally and physically), a
terrific trip with a great friend. We will definitely be back to try S4 again.
Click HERE to see Dave's scorching report!
Gearing up at the start (photo by Dave)
The objective (one of the points right of centre) looks so far away, but it's not too bad with a bike approach (photo by Dave)
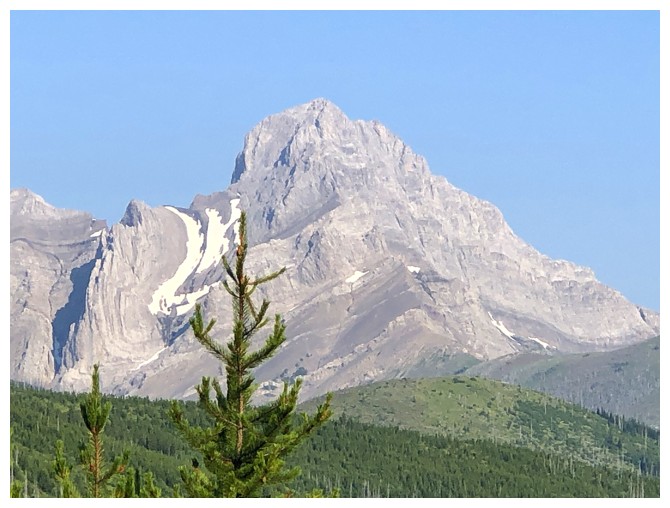
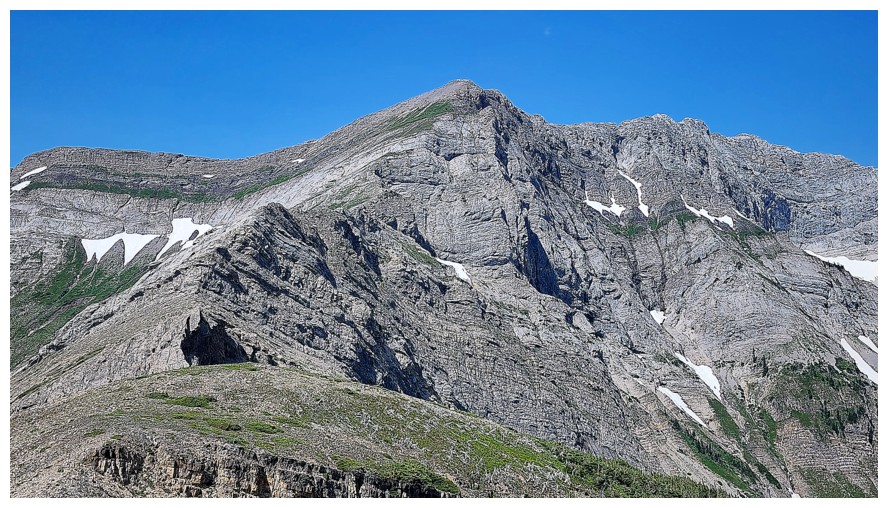
Mount Darrah always stands out
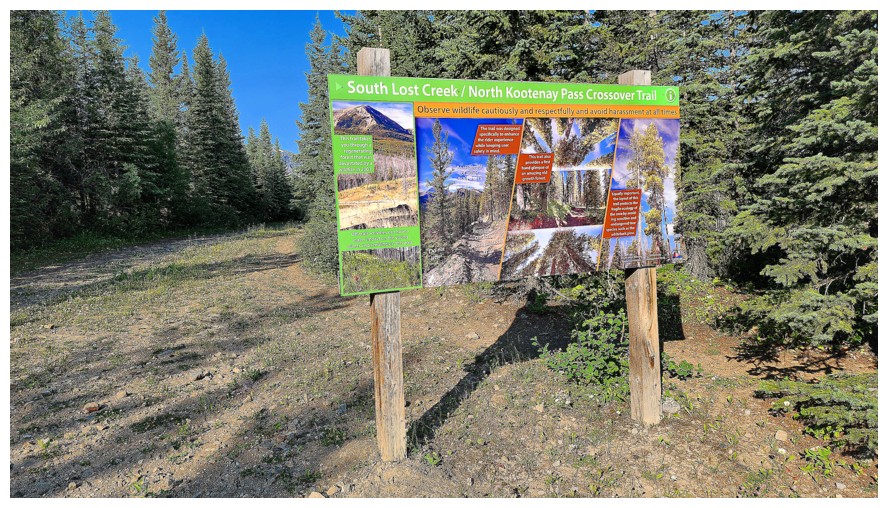
Informative sign (photo by Dave)

Looks closer now (photo by Dave)
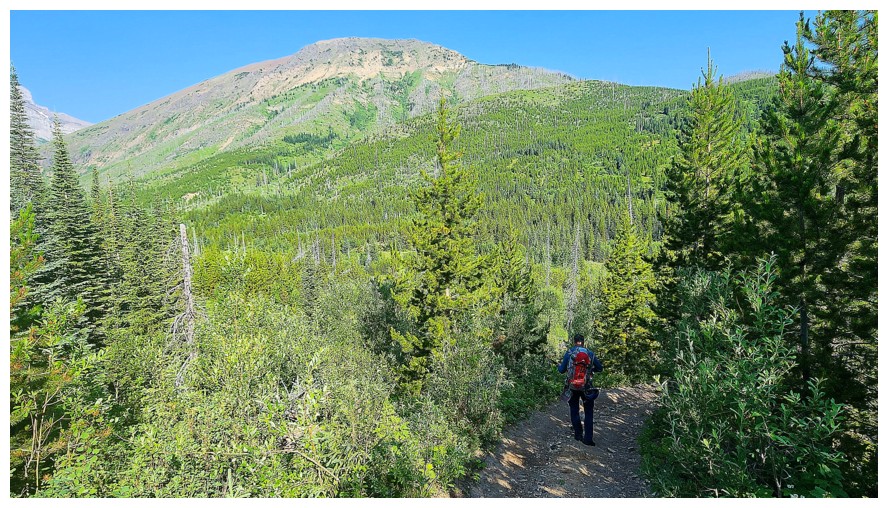
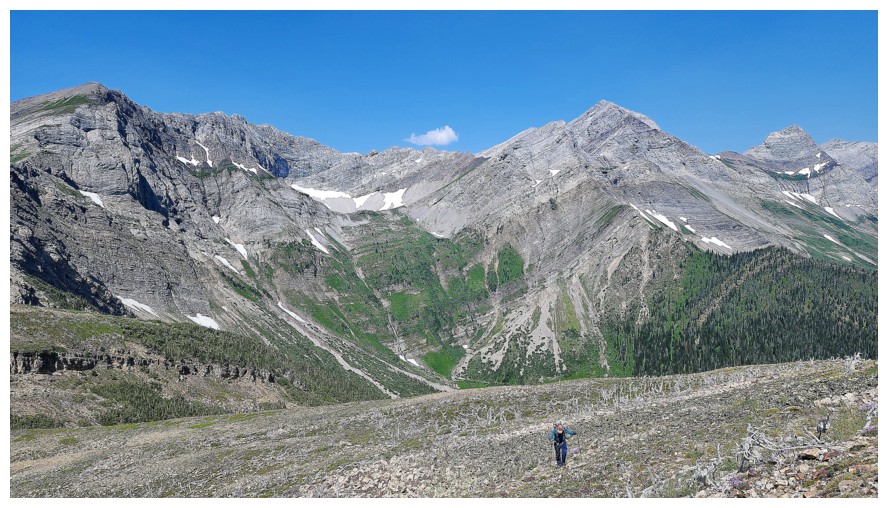
On foot for the remainder of the ascent. Darrah SE4 in the background (photo by Dave).
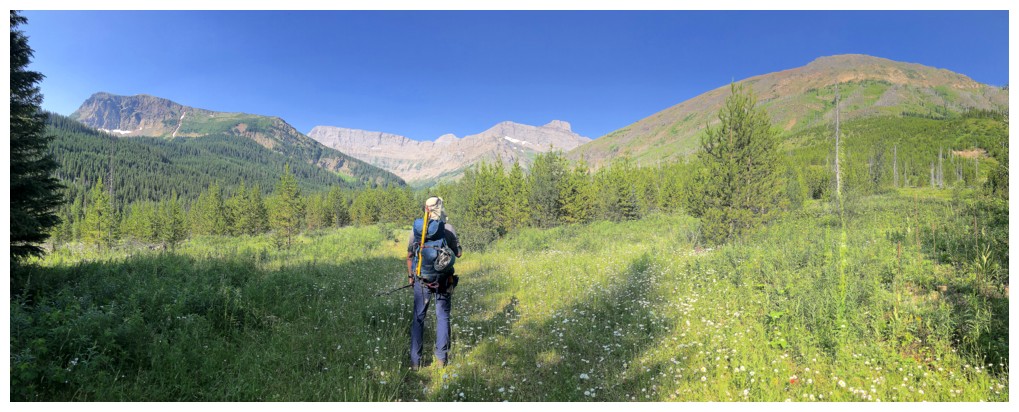
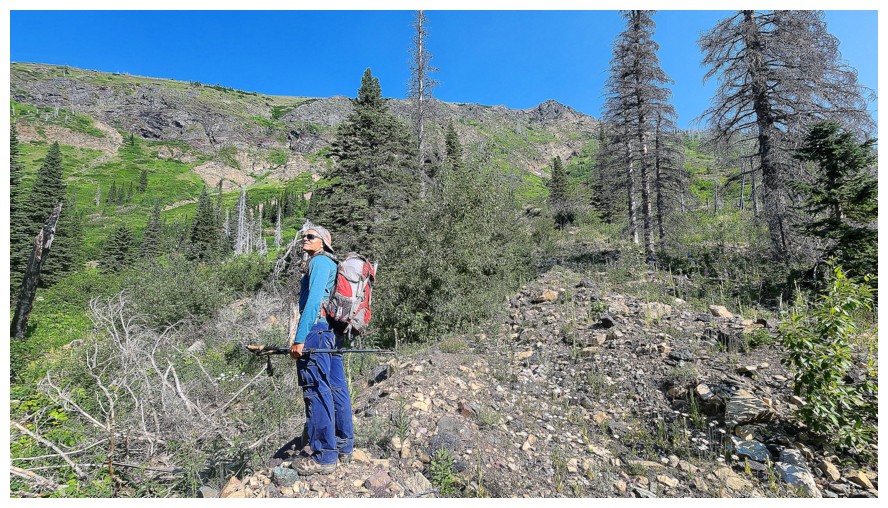
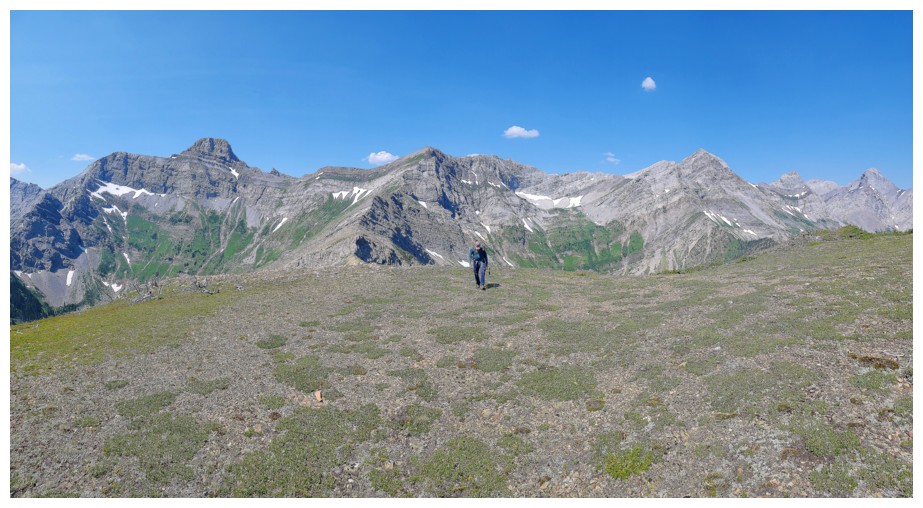
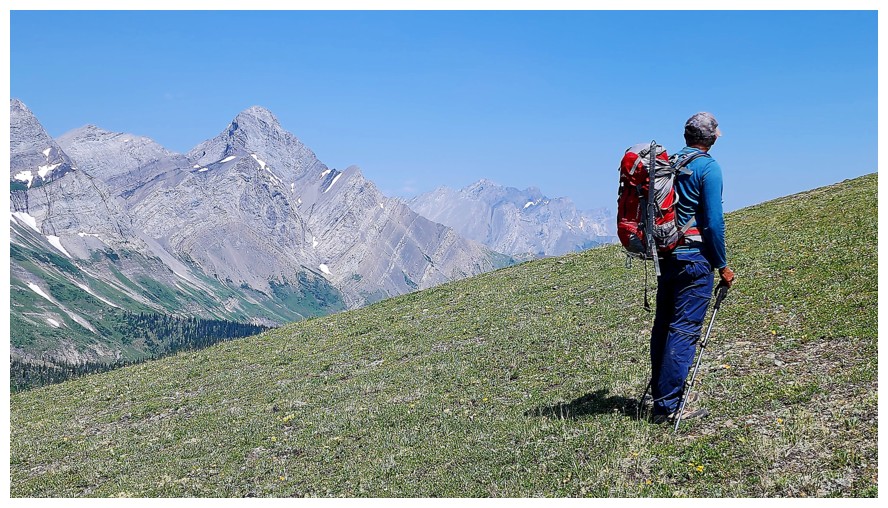
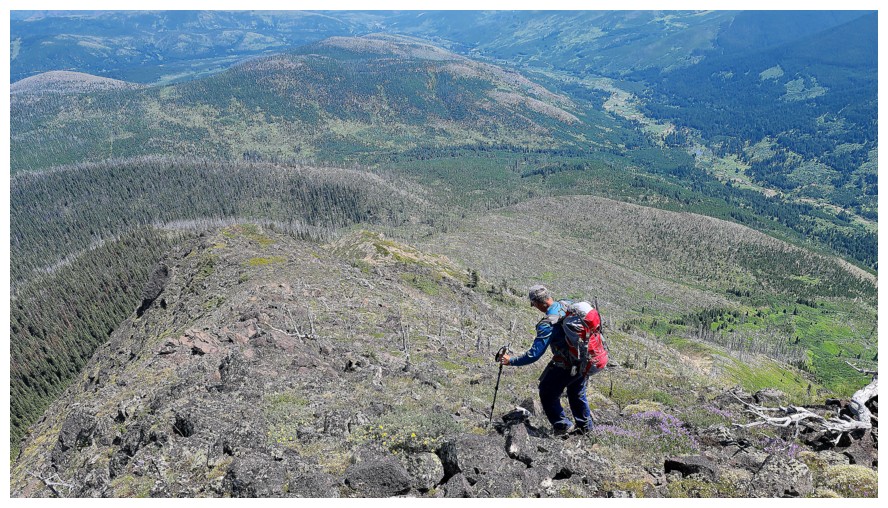
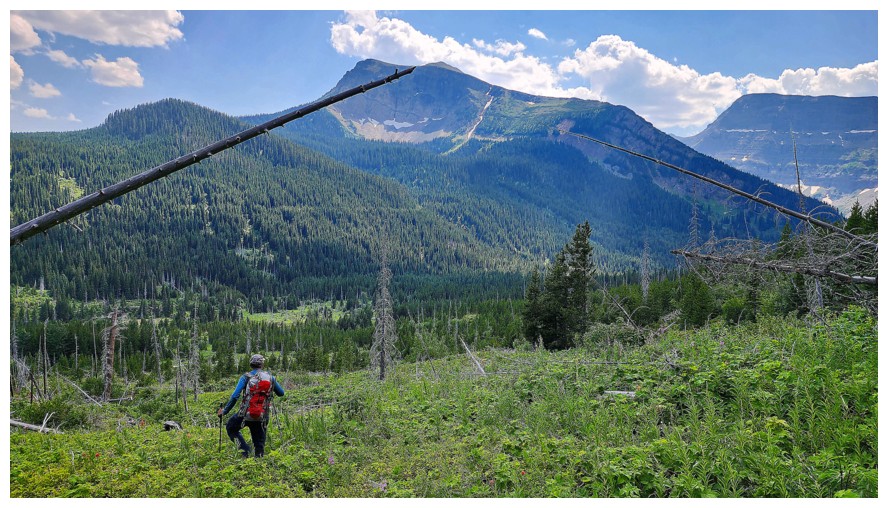
Dave surveys the terrain ahead
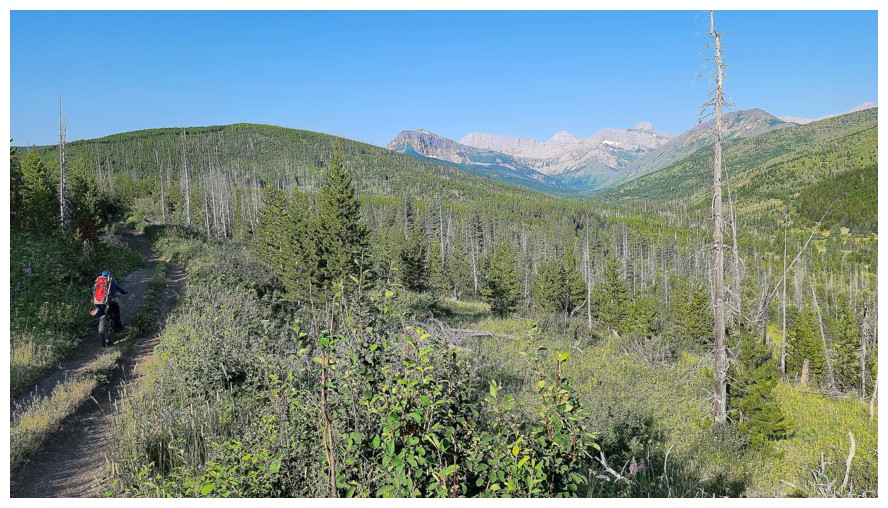
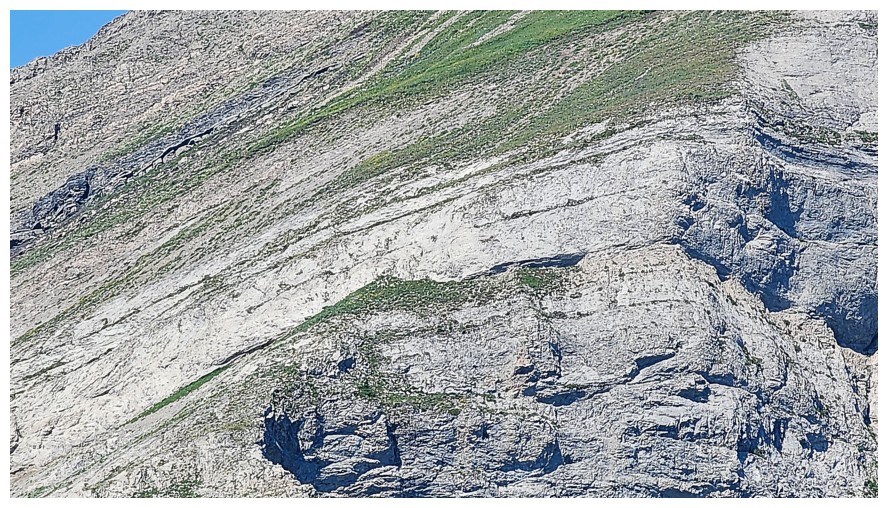
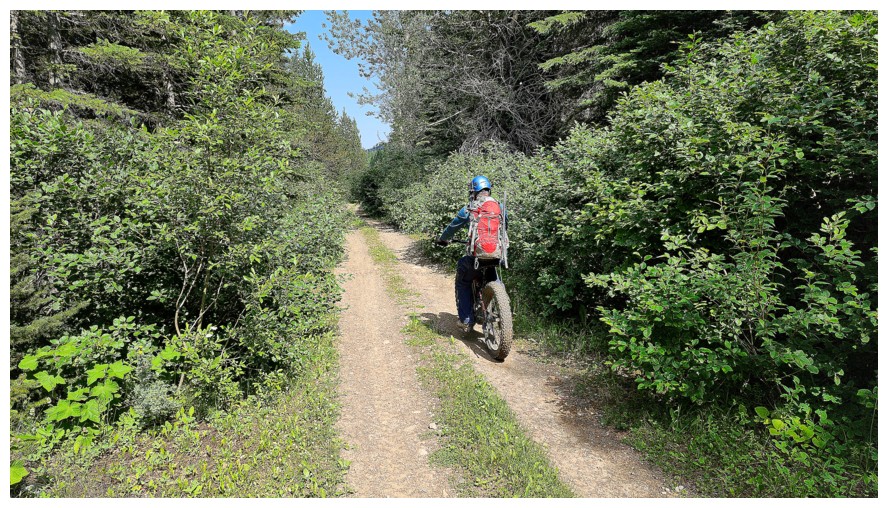
On a good trail, but it's getting overgrown in places (photo by Dave)

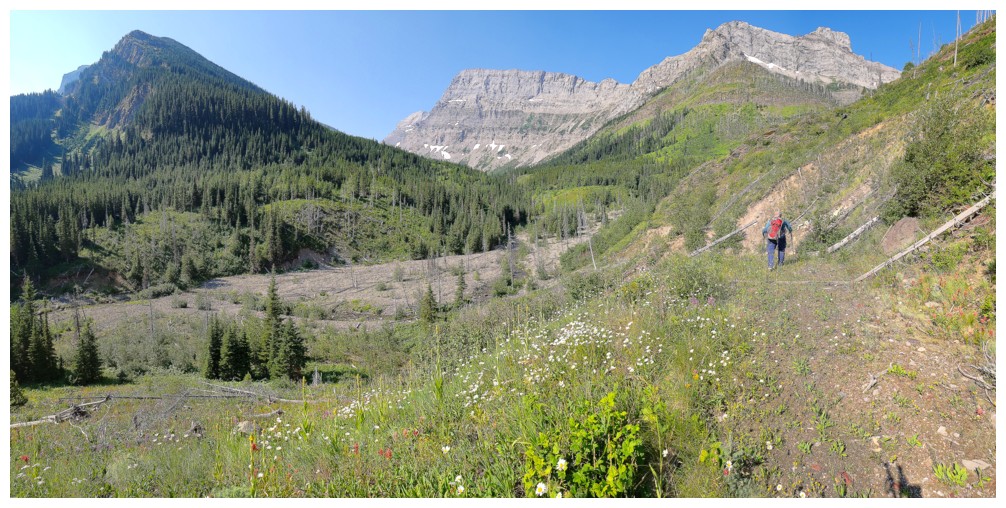
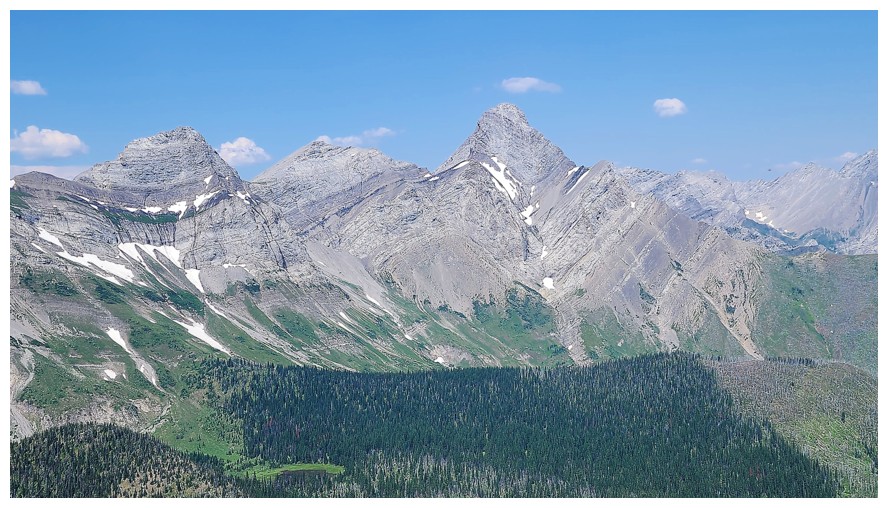
The very distinctive peak, right of centre is Centre N1.
Beautiful greens. North Kootenay Mountain (Centre E3 or Big Rock
Mountain on Gaia) at the left and Centre Mountain SE1.5 in the centre
(also a Gaia designation).
Looking at something, but I probably needed an excuse to take a quick break (photo by Dave)
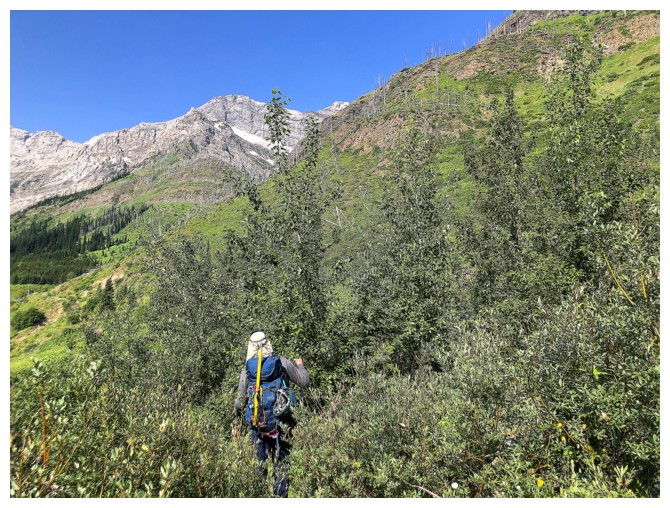
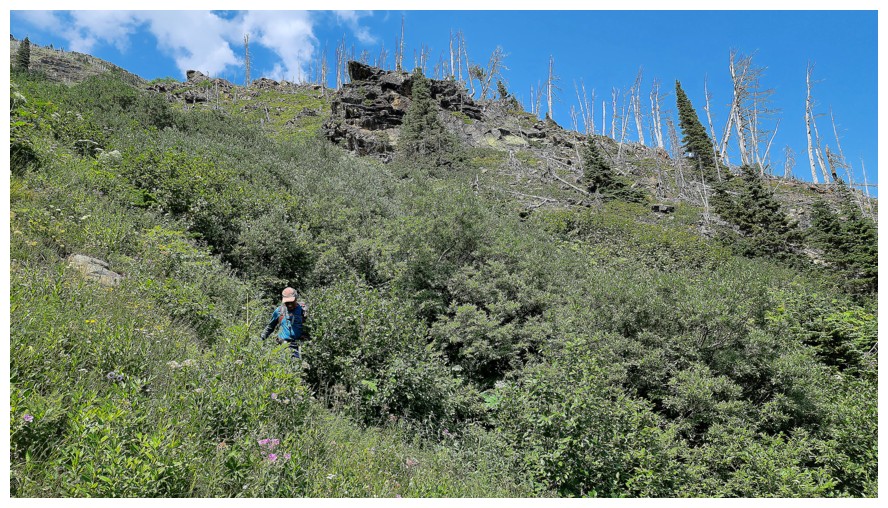
Encountering more bushy terrain

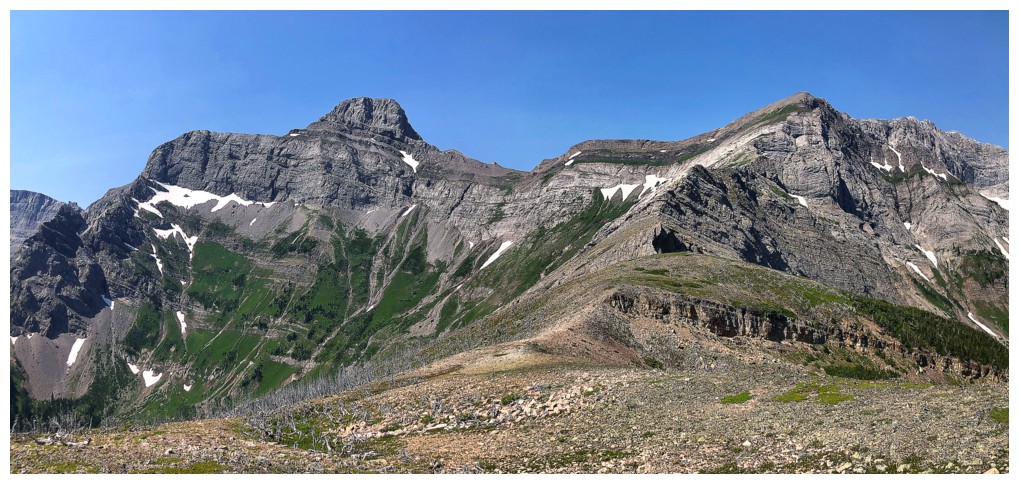
Better view of two of the Centre Mountain outliers
Leaving the valley bottom onto the southwest side of SE4 (photo by Dave)
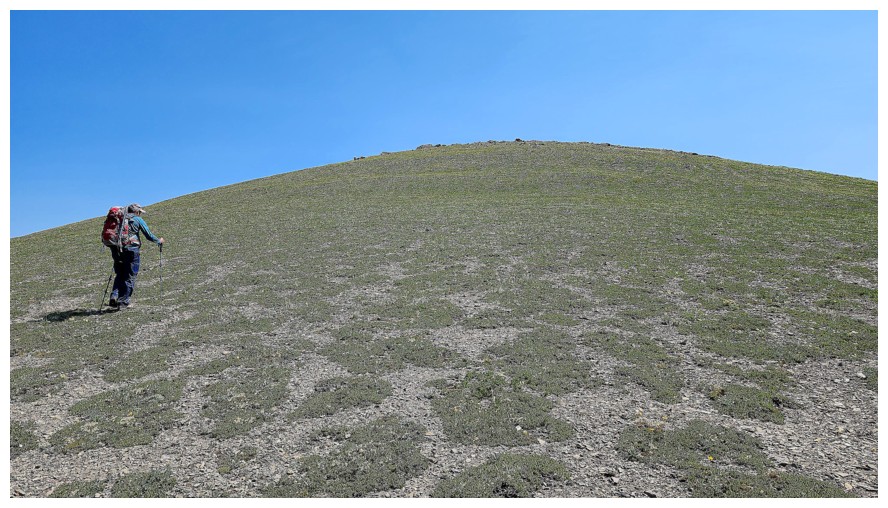
Now heading more directly up SE4 (photo by Dave)
Lots
of hopping over fallen trees here. Nothing insanely difficult, but the
sweltering conditions added considerably to the difficulty (photo by
Dave).
Same as above (photo by Dave)
And again

I appear to be getting swallowed by the terrain (photo by Dave)

Last little bit of the log hopping
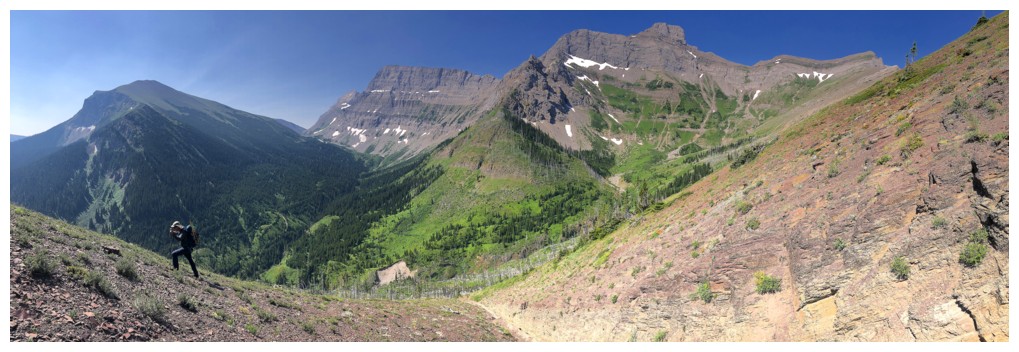
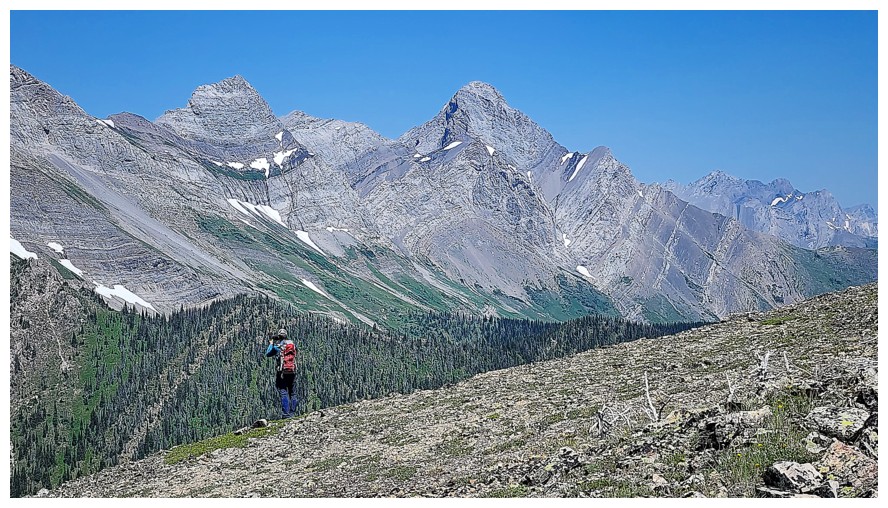
First good view of the objective (SE4), just right of centre
Traversing slopes towards the S4/SE4 col
Approaching a shallow gully that we will use to gain some elevation quickly (photo by Dave)

Decent footing in the gully (photo by Dave)
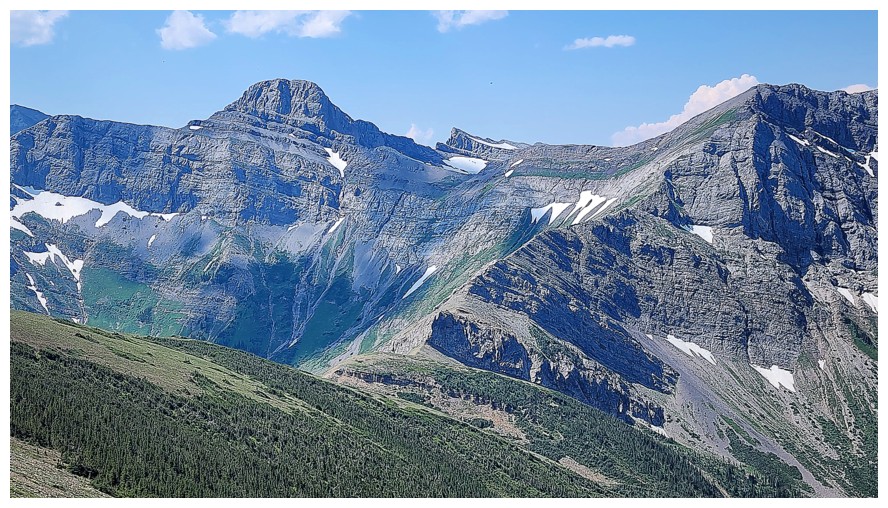
Centre N1 and the first red argillite sighting on the day
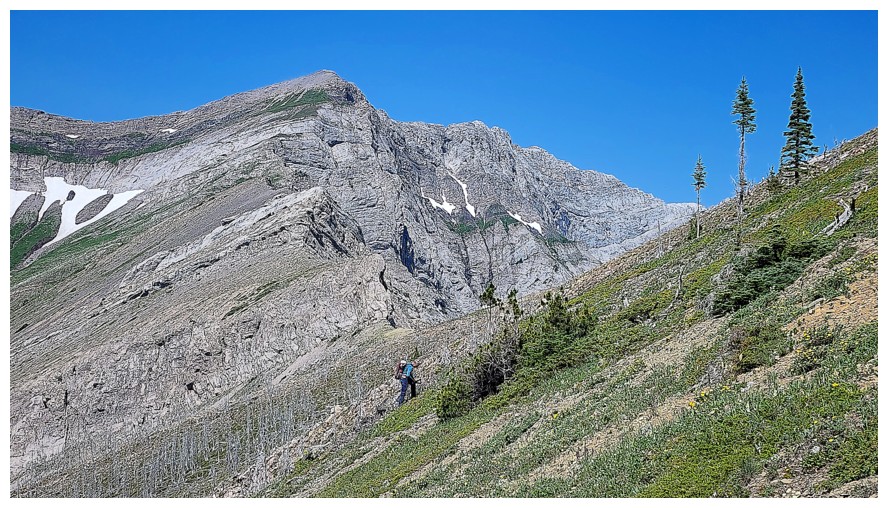
Dave and the north side of North Kootenay Mountain
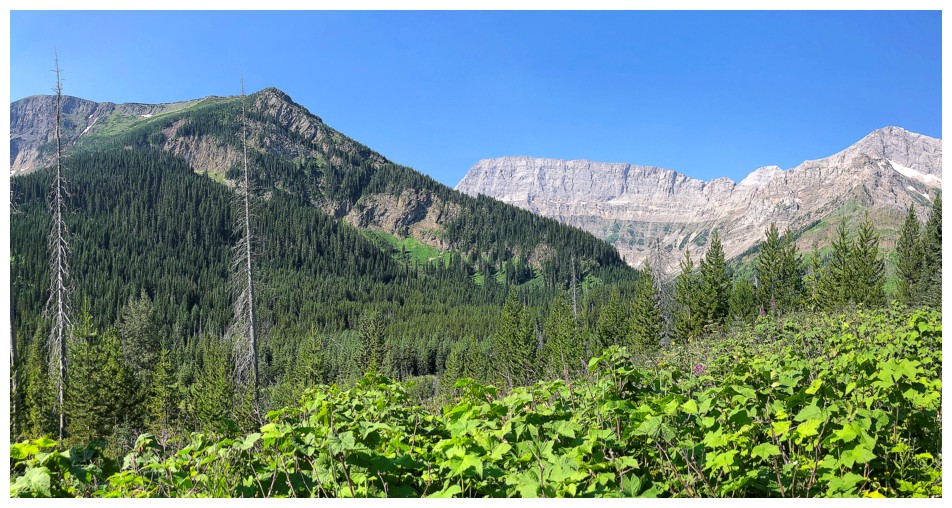
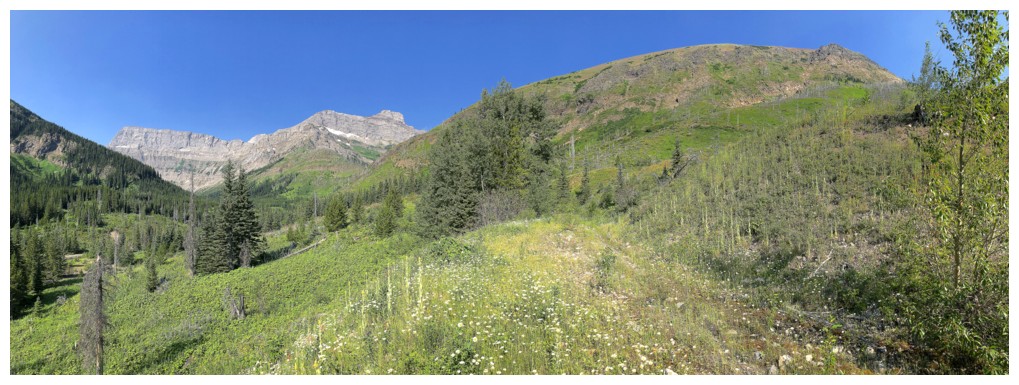
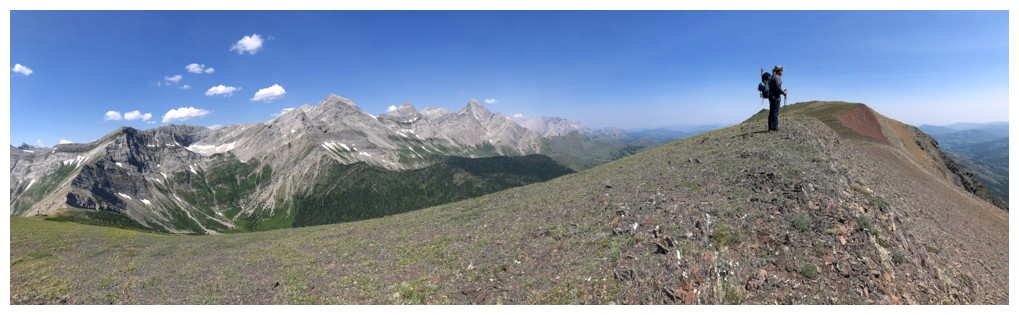
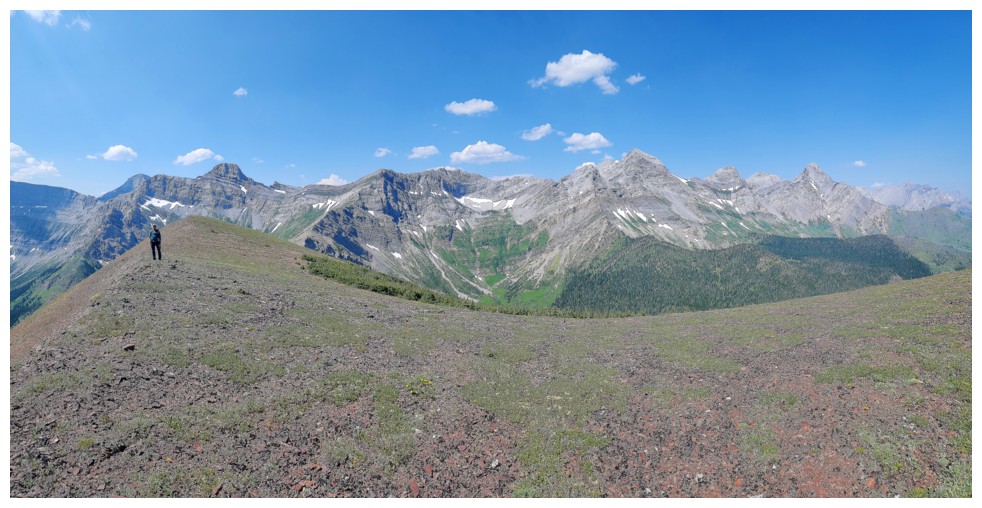
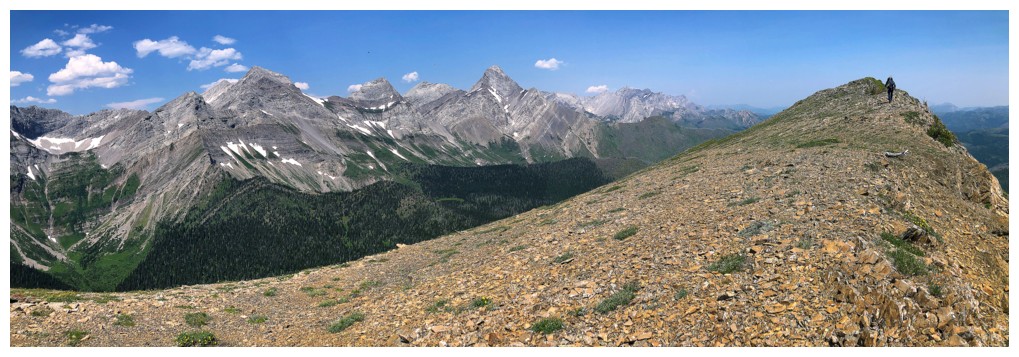
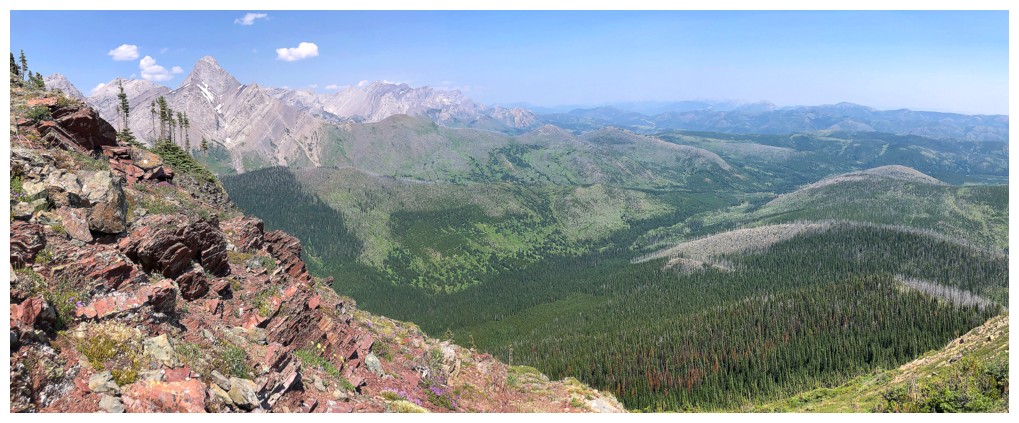
Bigger view and some of those terrific Castle colours
N1 and SE4 were captivating throughout
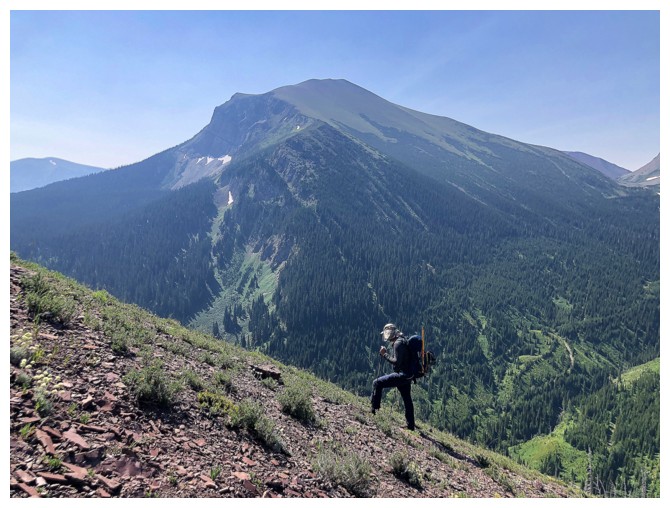
Traversing up and towards the col. It was around this point we decided to bail on S4 (photo by Dave).
The forested north side of North Kootenay Mountain doesn't look particularly appealing, but the rocky south side is awesome!
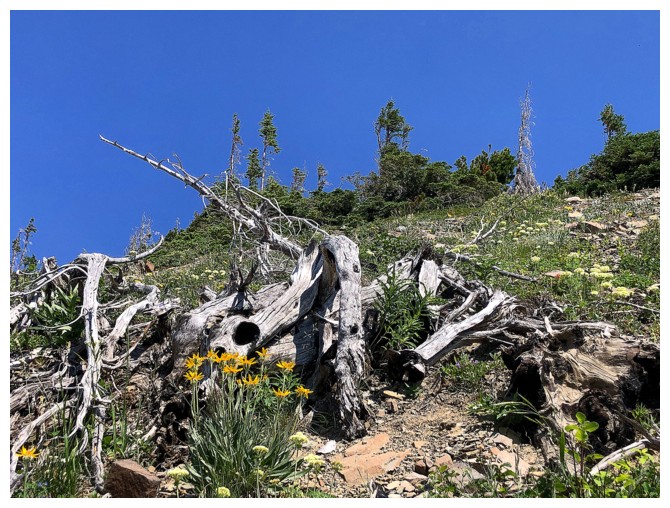
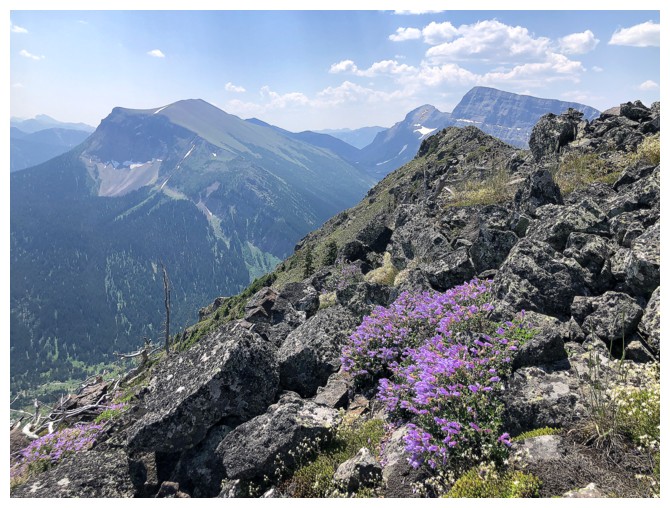
Dead trees and flowers
Dead trees and me (photo by Dave)
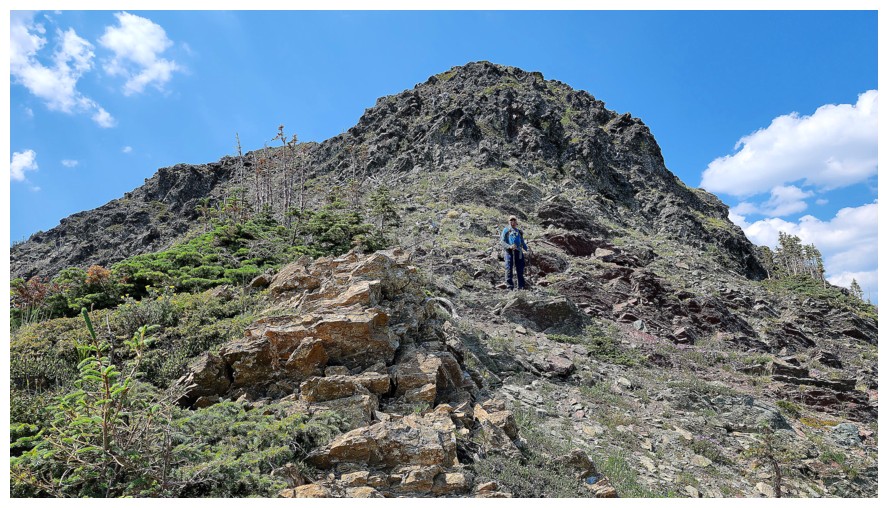
The route up S4 becomes apparent (photo by Dave)

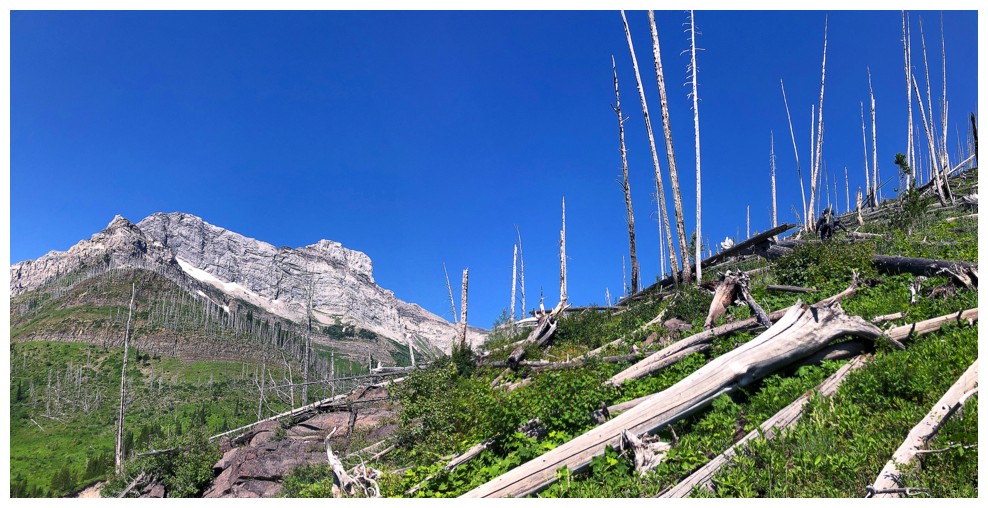
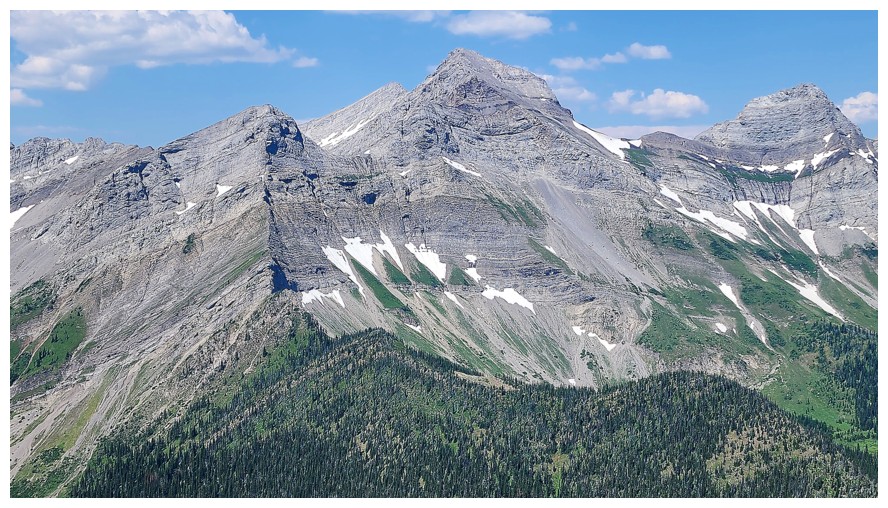
More of Darrah's outliers join the view
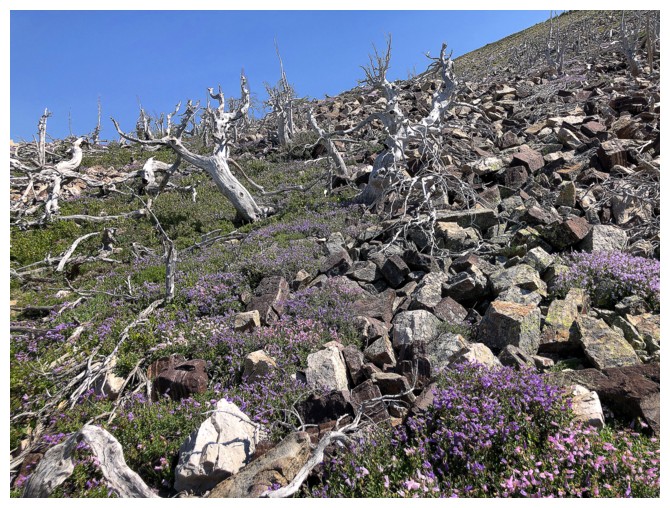
An interesting section with small boulders, flowers, vegetation, and dead trees
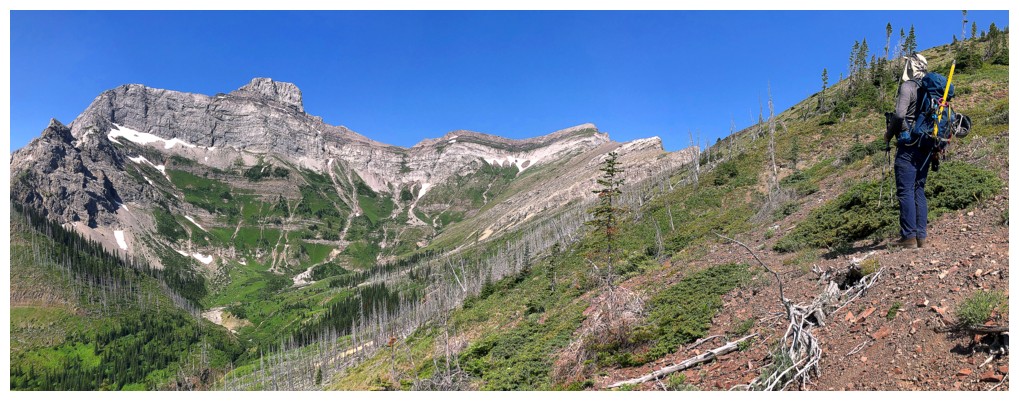
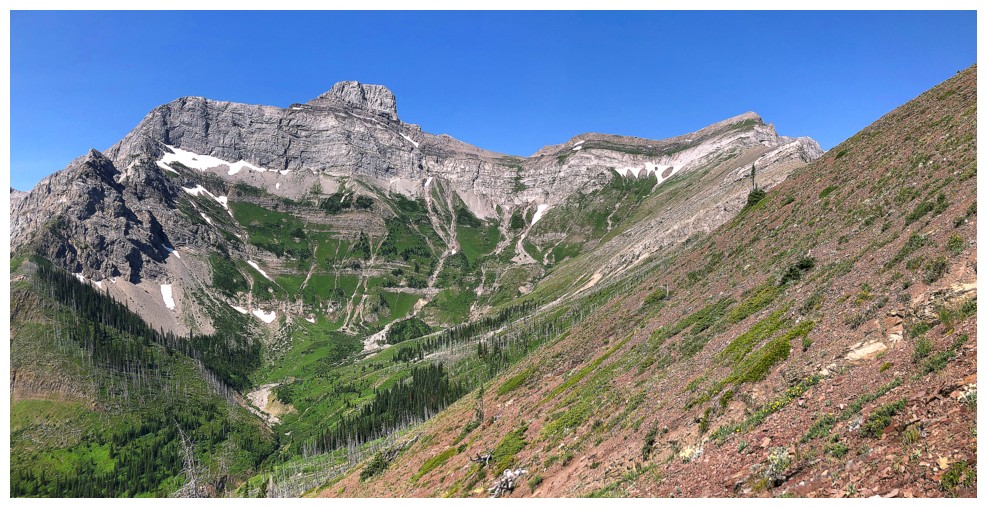
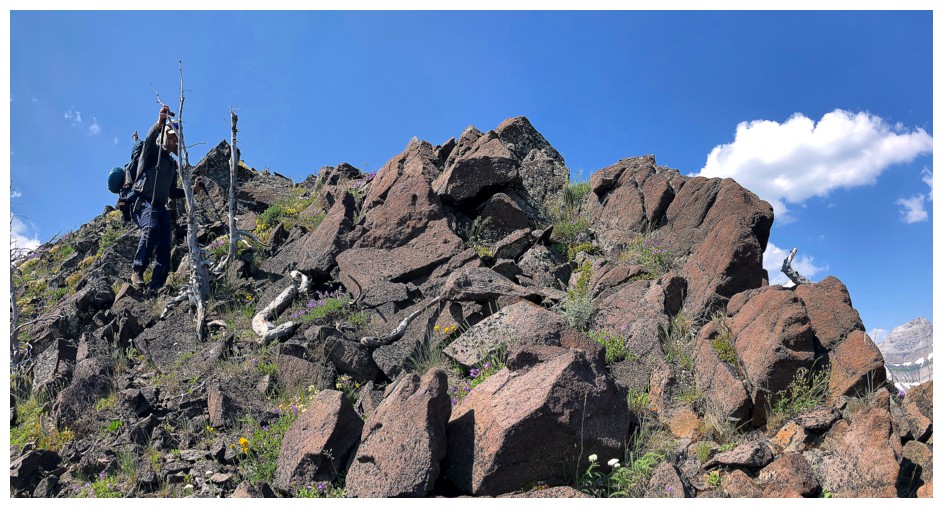
The route we intended to take would follow the ridge in front, from left to right (photo by Dave)
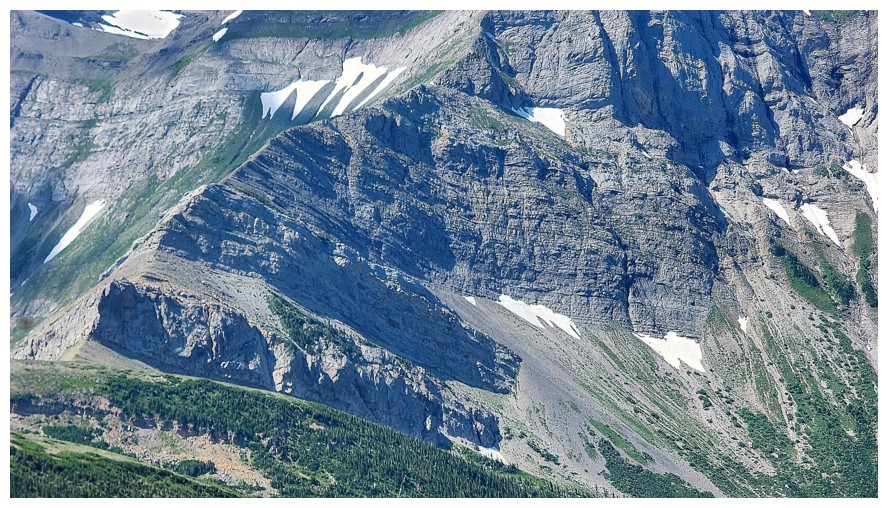
Close-up of the rock band we were concerned about (photo by Dave)
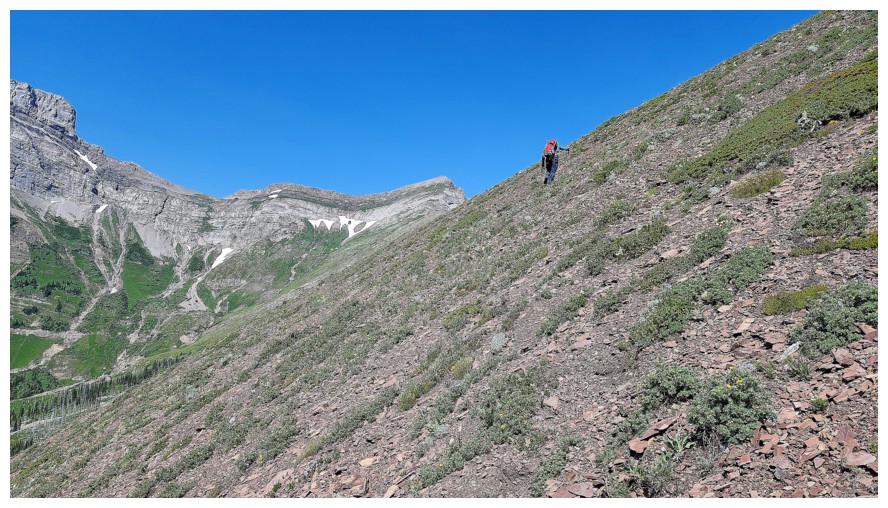
On the ridge between S4 and SE4 and still loving that view
An equally impressive view to the northwest, featuring Mount Darrah and a few of its southern outliers (photo by Dave)
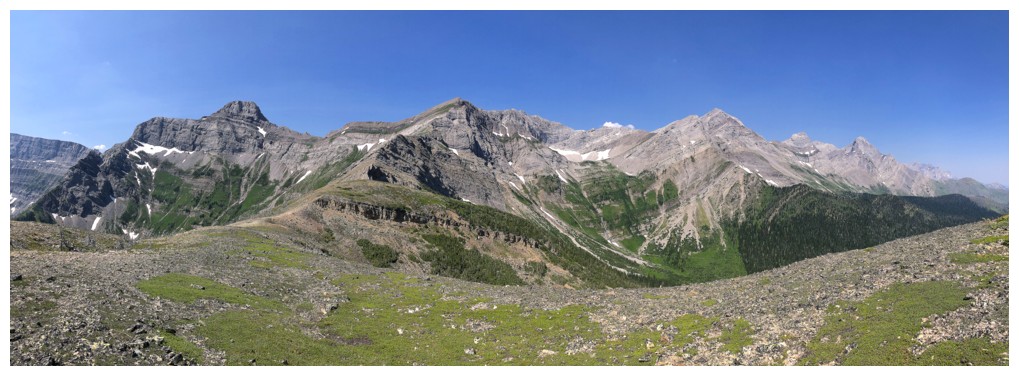
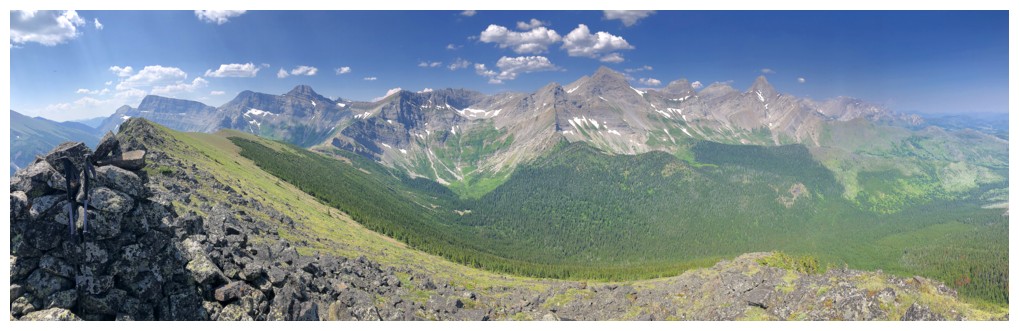
Pano of all of the above
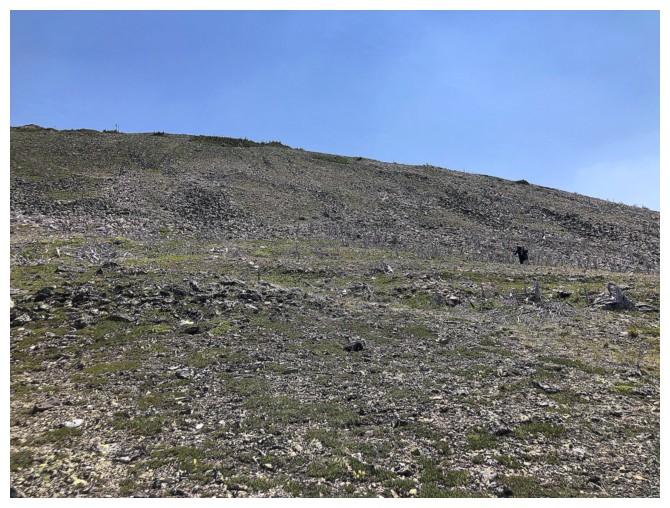
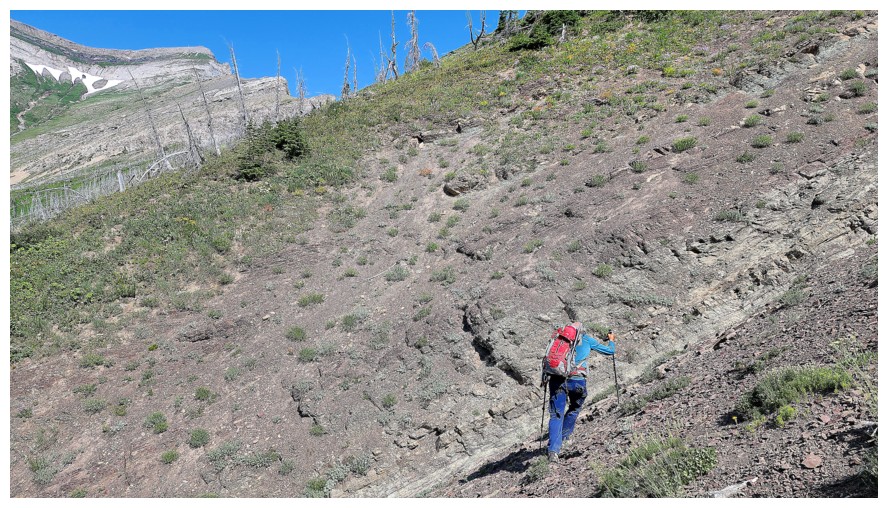
Now heading up SE4's west ridge on less interesting terrain
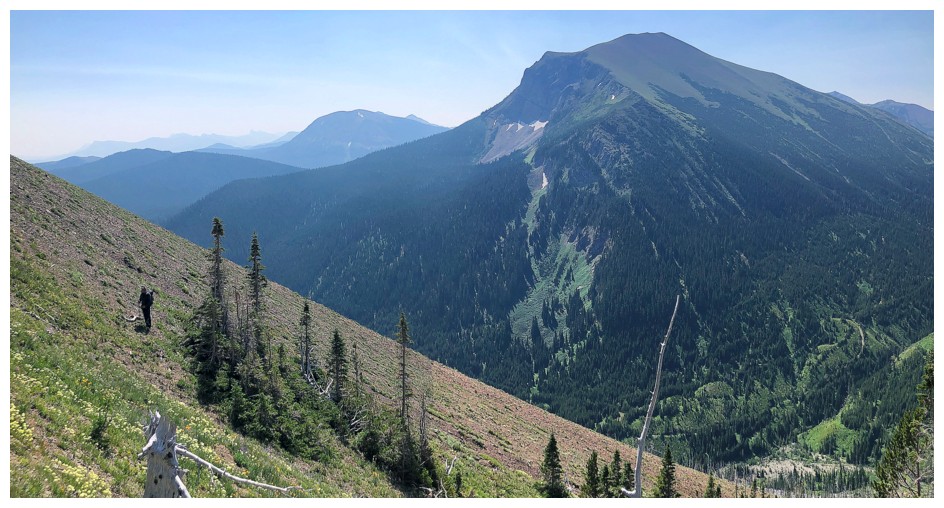
But the view behind is great (photo by Dave)
Same as above (photo by Dave)
Maybe there is merit to "minimalism"? (photo by Dave)
Nope..not in this case! (photo by Dave)
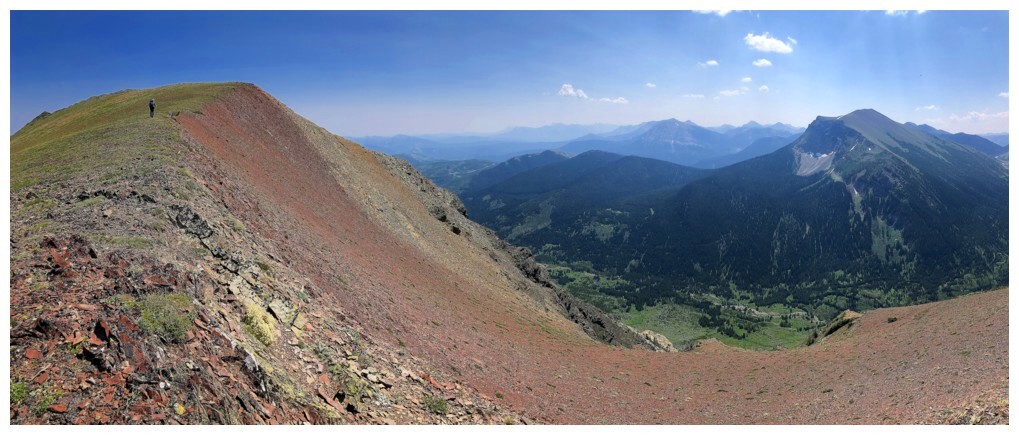
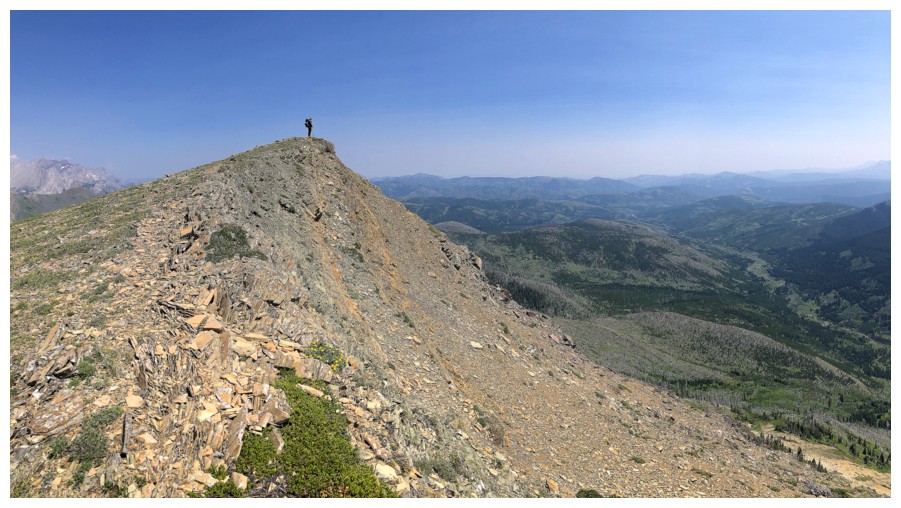
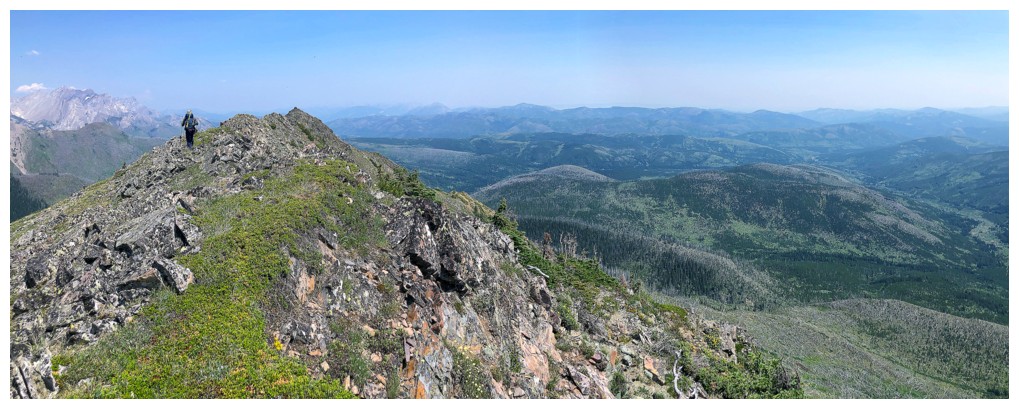
The ridgewalk to the summit is where the interest of Darrah SE4 begins

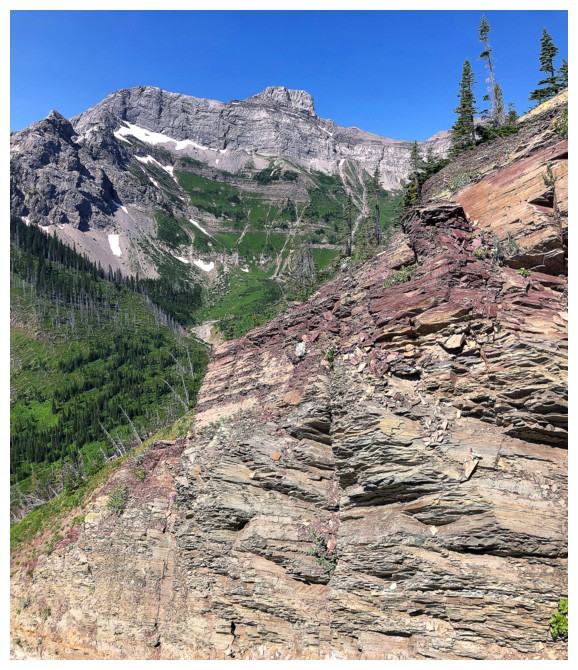
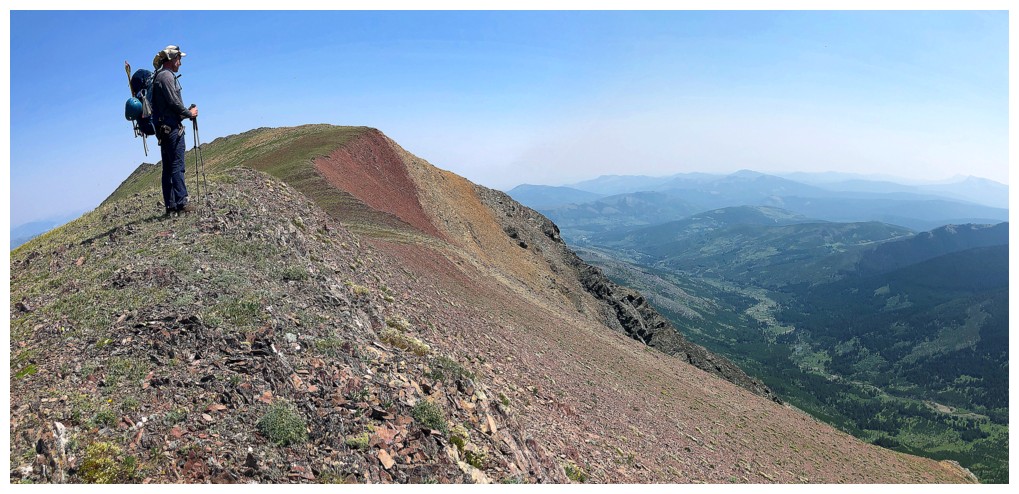
Here come those beautiful swaths of red argillite
Dave's view (photo by Dave)
Mine
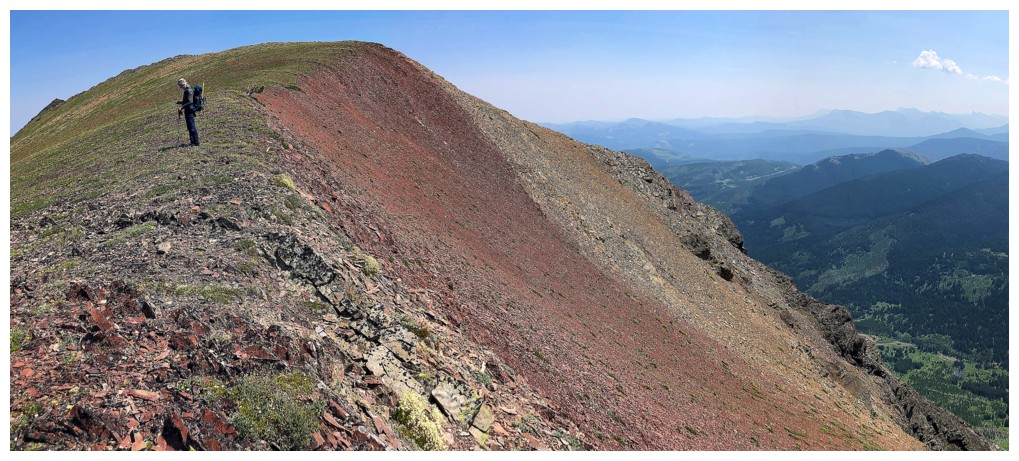
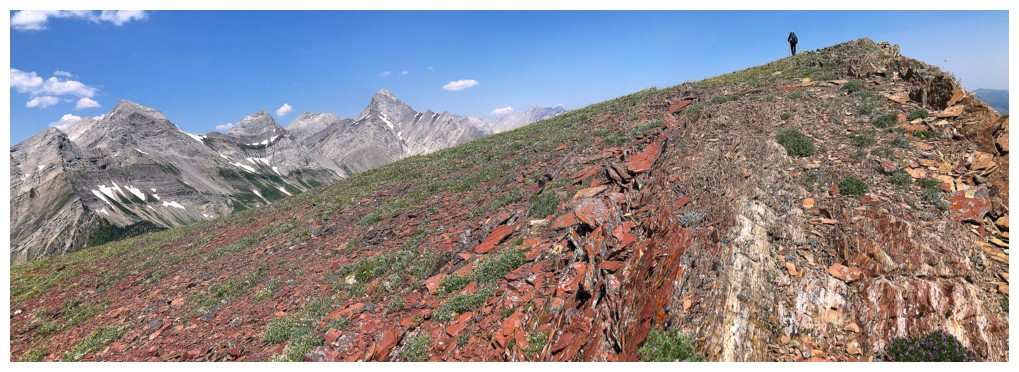 The end of the red rock
But there are other cool colours to replace the red stuff

Dave spots of the summit (photo by Dave)

I'm catching up to Dave
No, I'm not
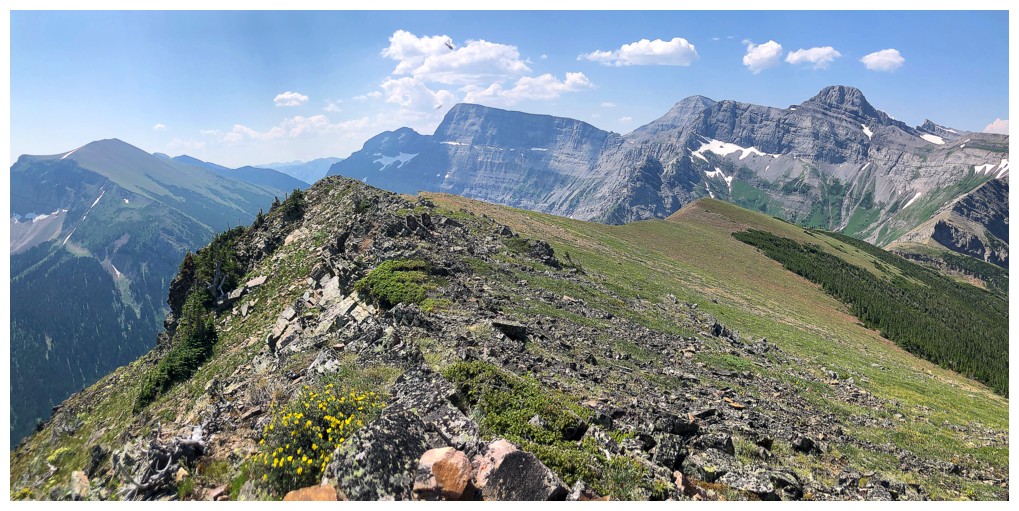
South Flathead Peak is now visible left of Centre SE1.5. That semi-epic trip will be burned in my memory forever!
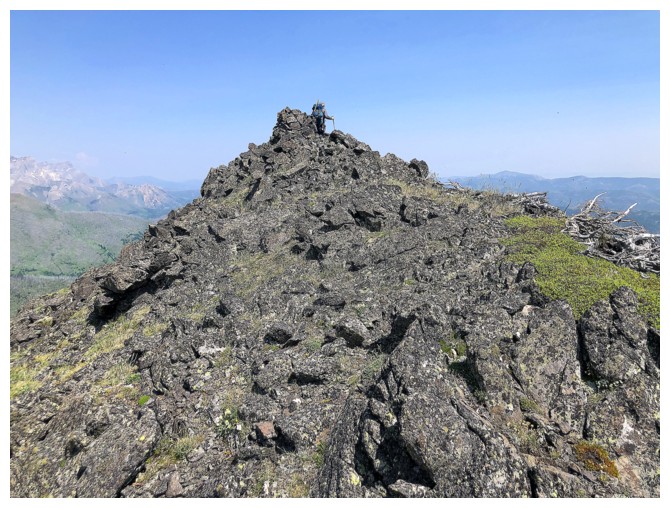
Dave reaches the top
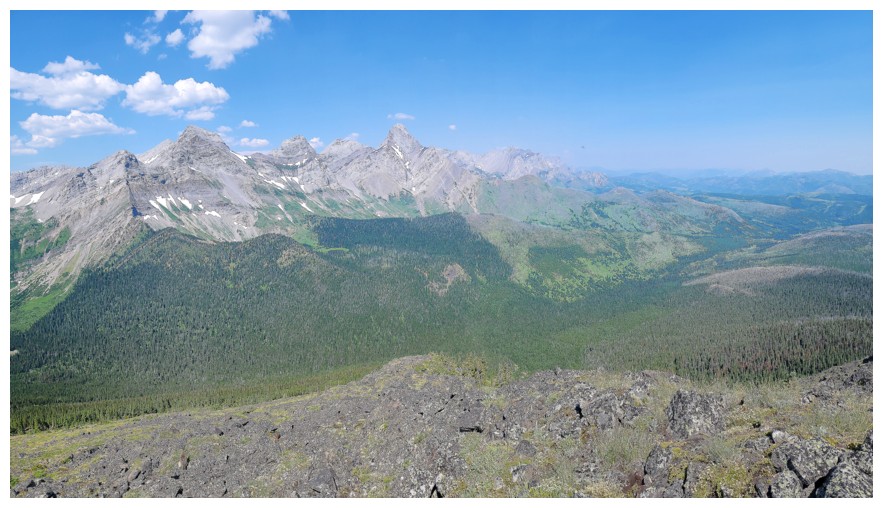
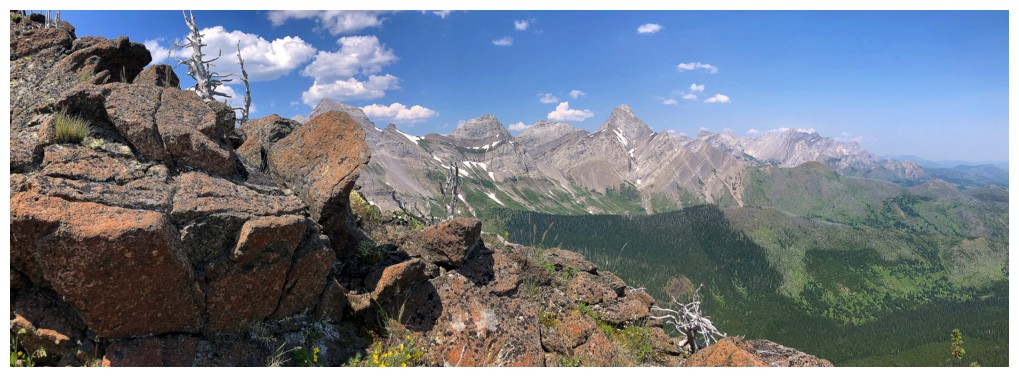
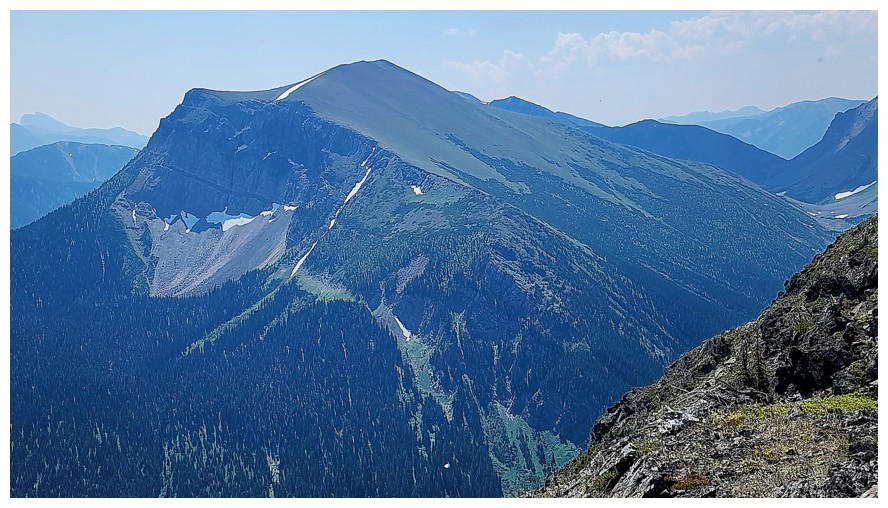
Darrah and its outliers (photo by Dave)
The views to the east (photo by Dave)
Southeast (photo by Dave)
Centre N1 and Darrah SE4 yet again (photo by Dave)
Darrah S3, S2, and S1 (photo by Dave)
S1, SW1, and Mount Darrah (photo by Dave)
Close-up of the lower part of the S4 route (photo by Dave)
North Kootenay Mountain yet again (photo by Dave)
NKM with some flowers
All of the above
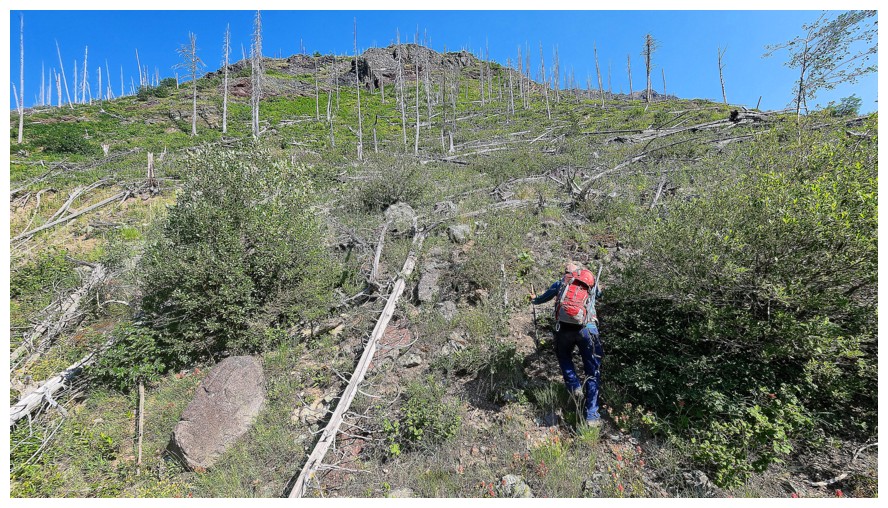
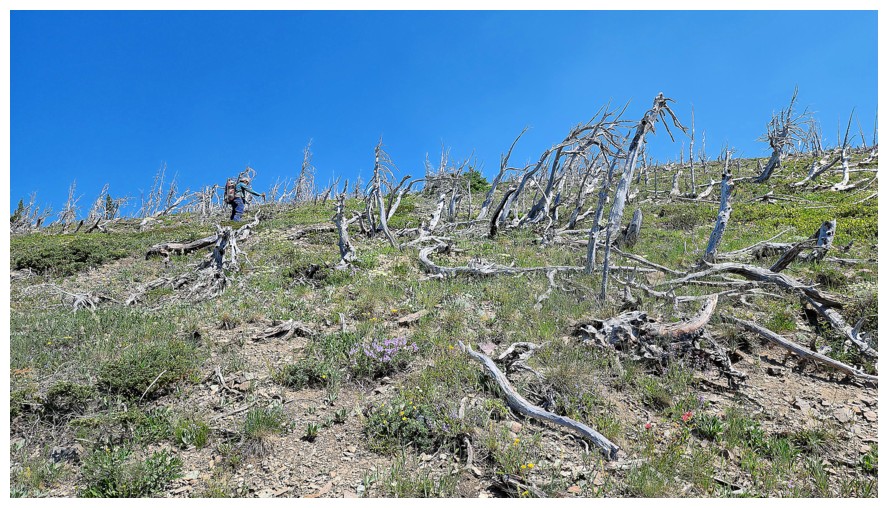
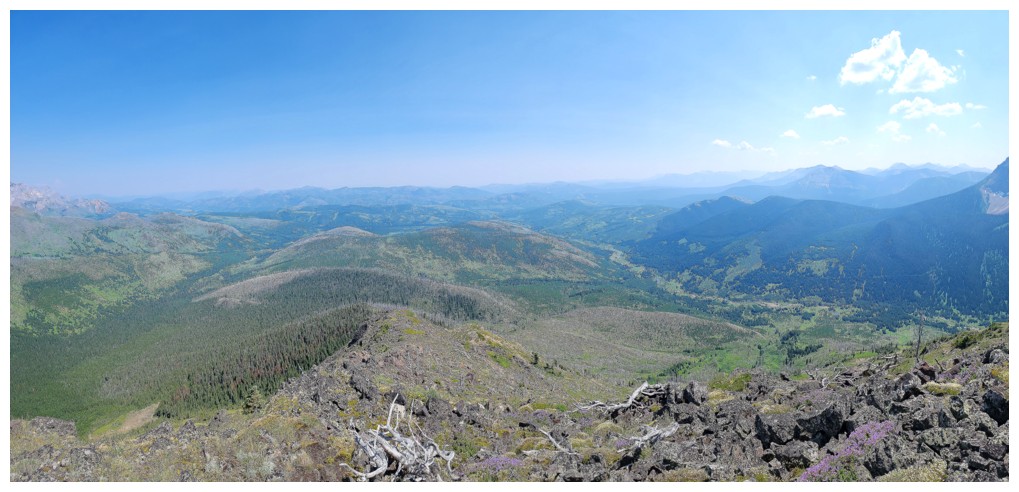
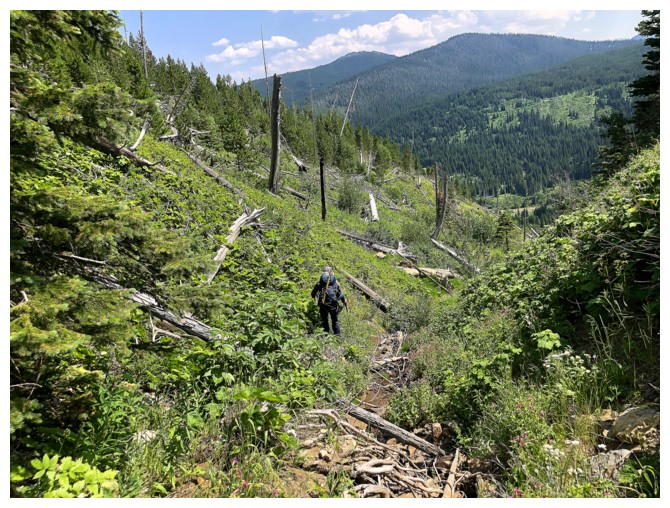
The start of one of the most challenging/frustrating descent routes I've ever taken (photo by Dave)
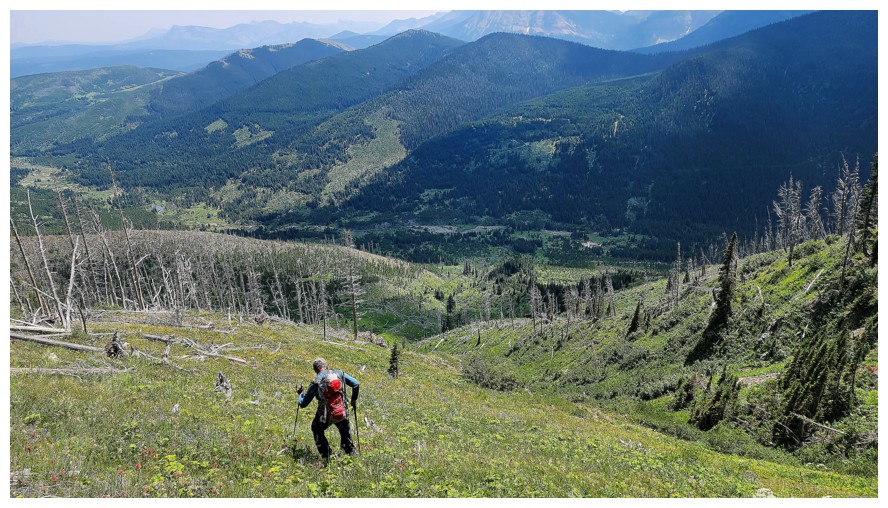
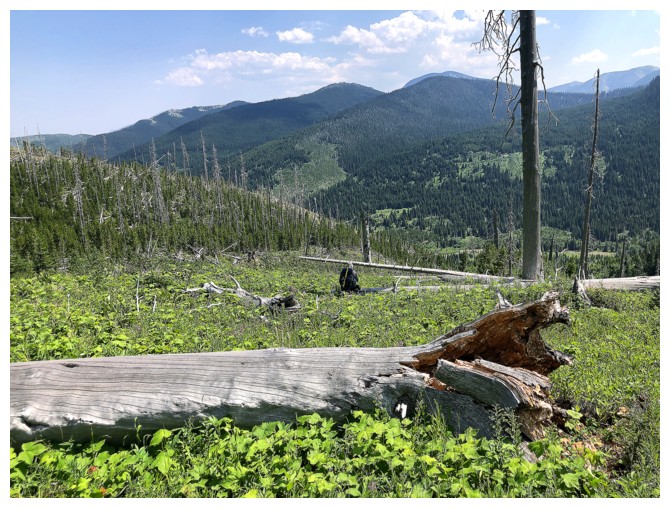
The route starts off well, with easy travel and cool views
And cool rock
All of the above
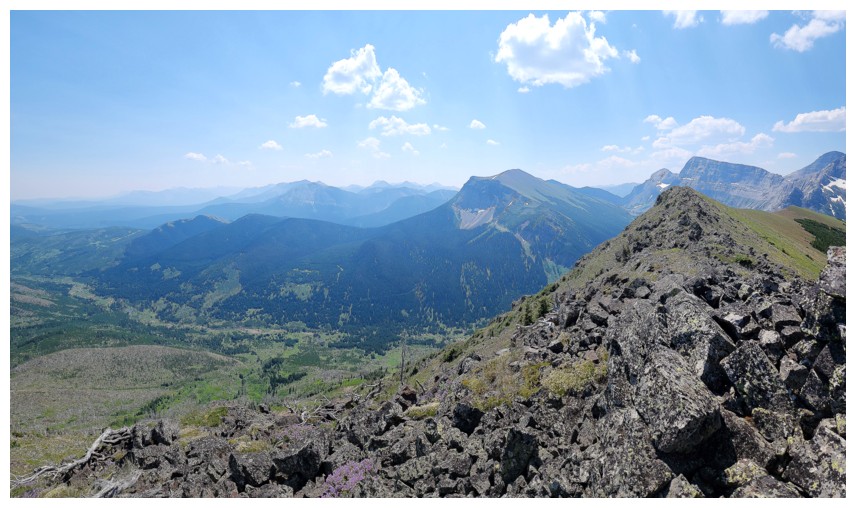
Looking back up to the summit (photo by Dave)
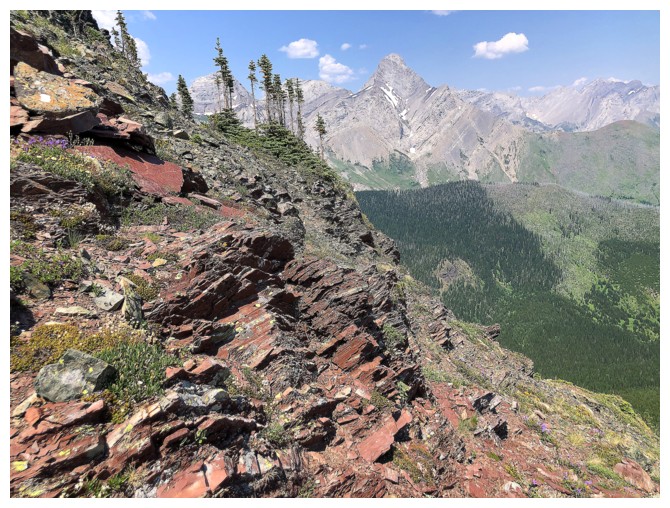
Argillite and Darrah

Still optimistic about having an easy descent (photo by Dave)
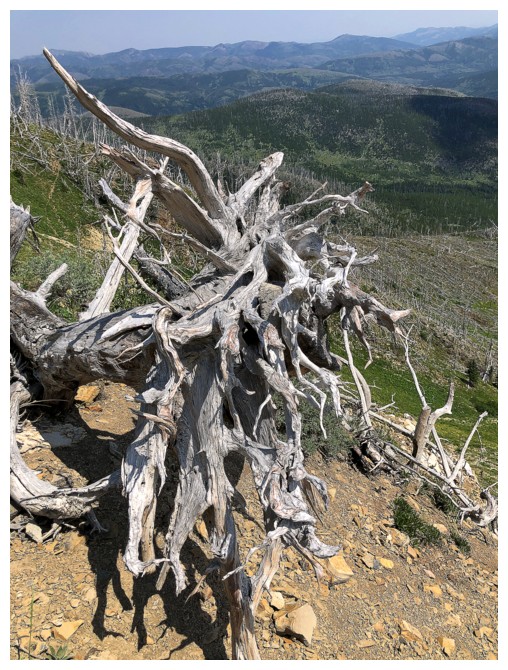
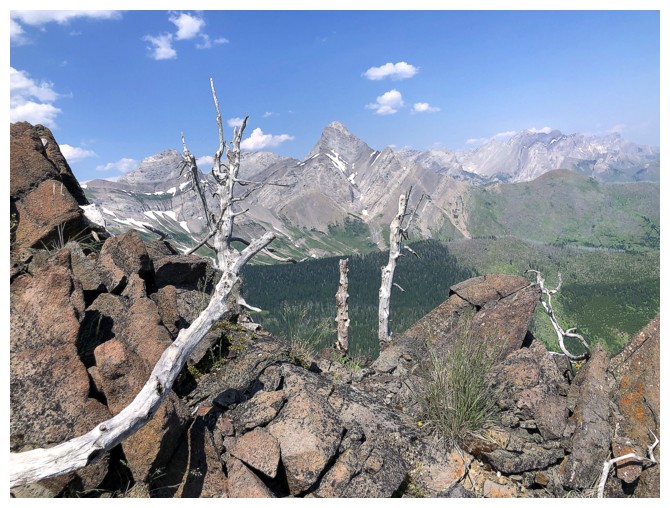
A tree that belongs in the horror film. Perhaps this was an omen of things to come!
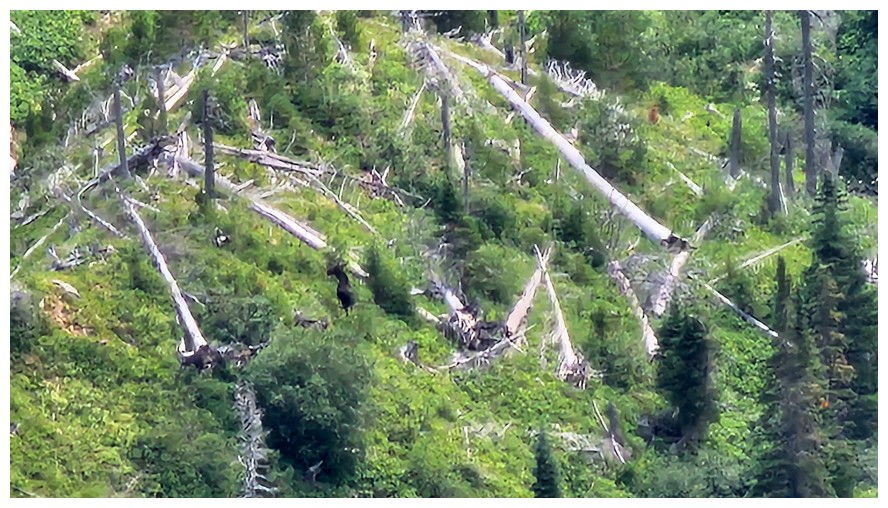
Zoomed-in shot of a moose far below. Initially we thought it might be a bear (photo by Dave).
Still cruisin' down (photo by Dave)
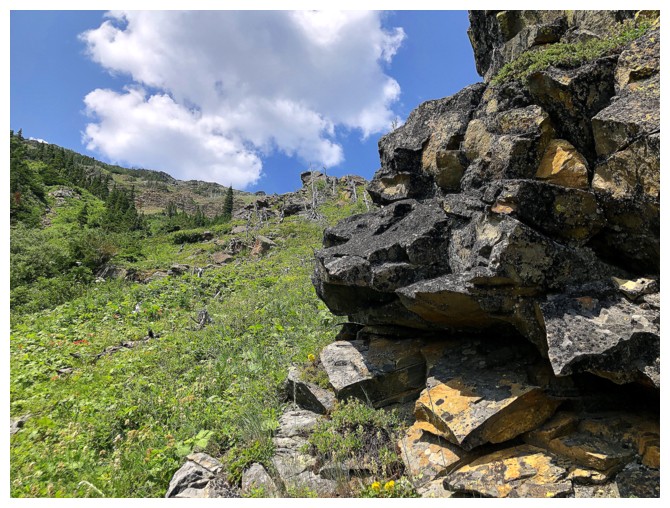
Awesome rock
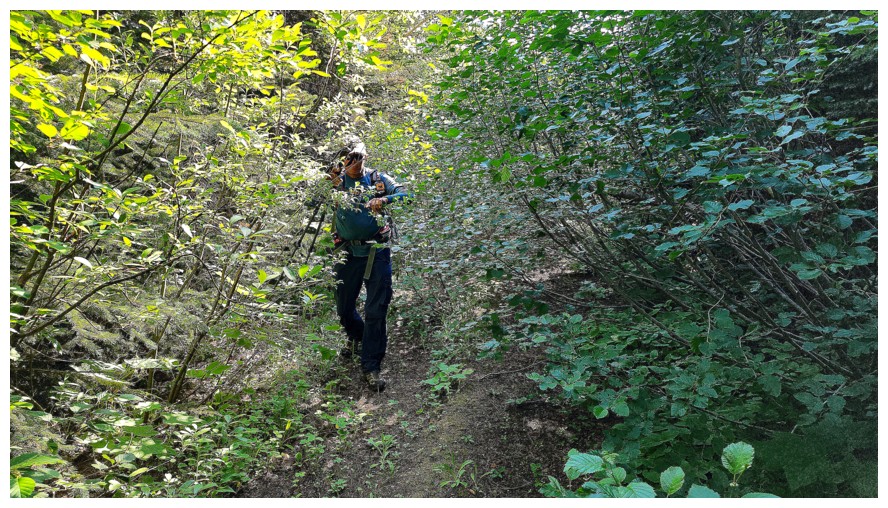
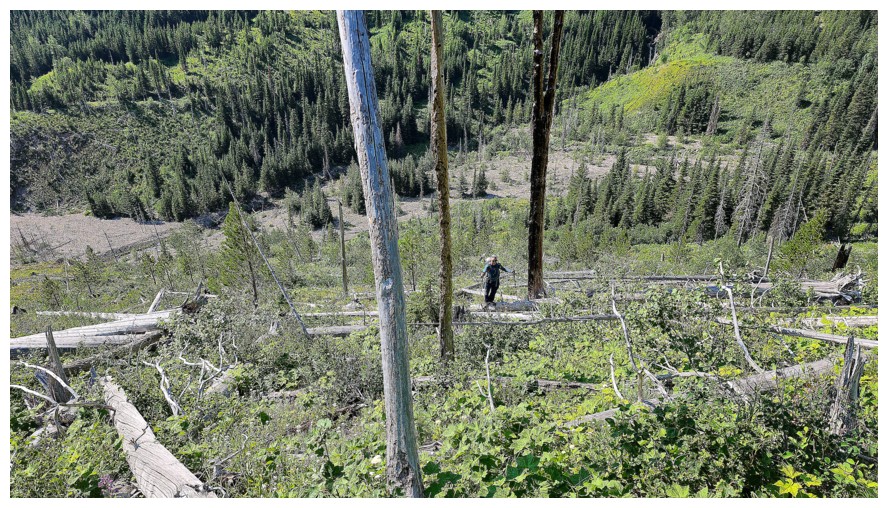
The cruisin' ends and the nightmare begins (photo by Dave)
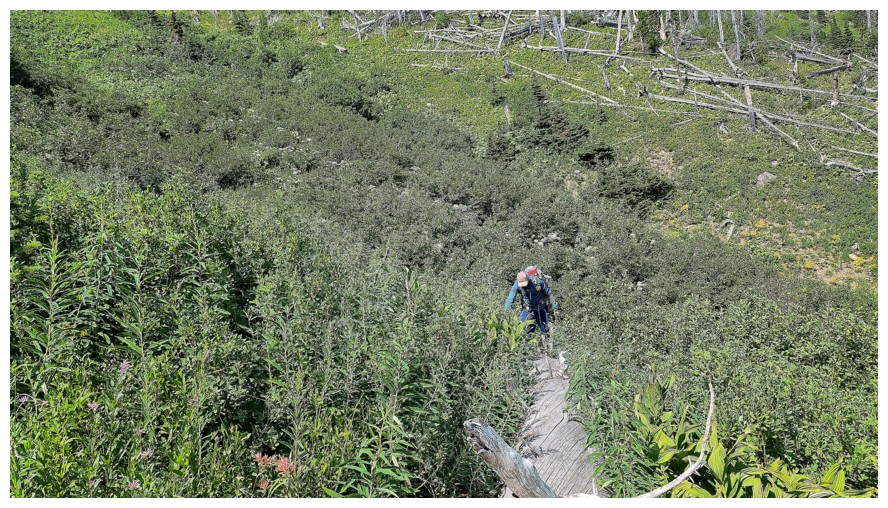
We both walked atop this huge fallen tree to try to escape the horrors of the terrain around the tree (photo by Dave)
Dave sits on a tree to take a break from our "Nightmare on South Lost
Horse Creek" (the fourteenth installment of "Nightmare on Elm
Street" franchise)
Several hours later we are still picking our way through the mess
The end is finally in sight (photo by Dave)
Such a relief to be back on two wheels (photo by Dave)
Sometime later back to the main road
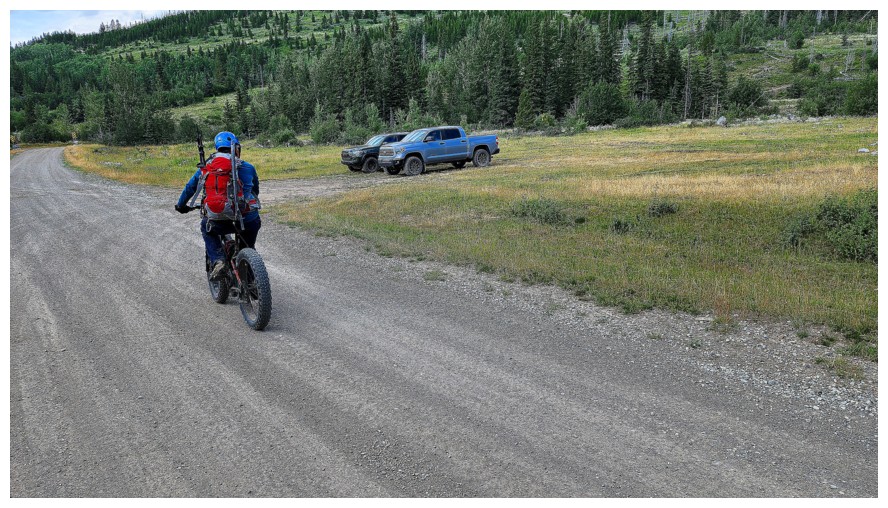
Seconds away from the end of a "barn-burner" of a day - literally and figuratively (photo by Dave)
The End
LOG