Darrah S3
Darrah SE4
August 29, 2020
Mountain heights: 2456 m, 2255 m
Elevation gain:
1625 m
Round-trip time:
9:06
Scrambling with Dave.
Inspired by Jonathan Alston and Mellissa
Duggan’s recent trip up this outlier of daunting Mount Darrah, Dave and I
set off to do the same. With relative ease we were able to bike the first 7 km
on ATV trails, the only inconvenience a fairly substantial elevation gain (or
so it felt) above North Lost Creek and then an equal quantity of loss down to the
creek.
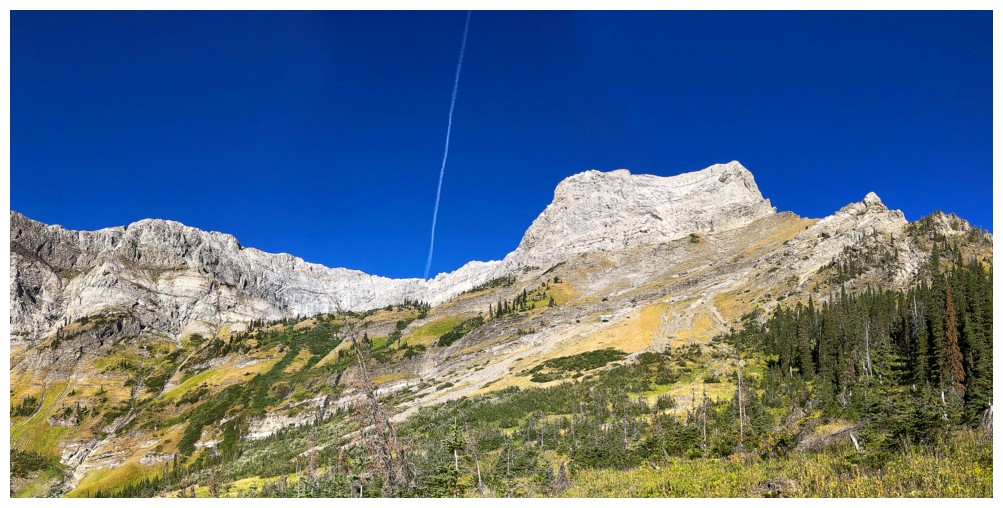
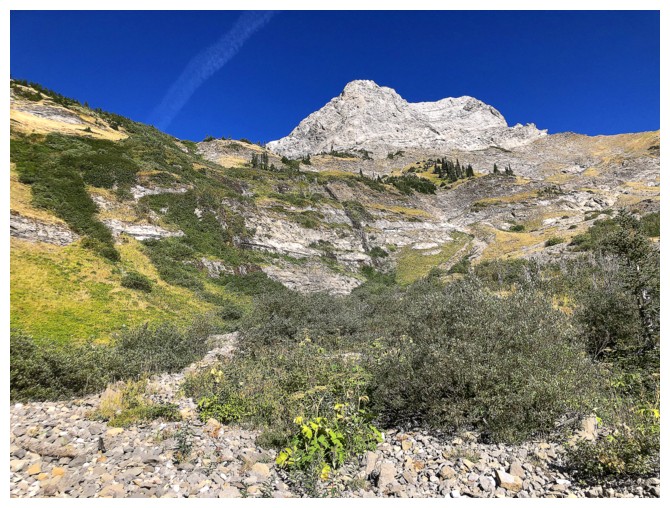
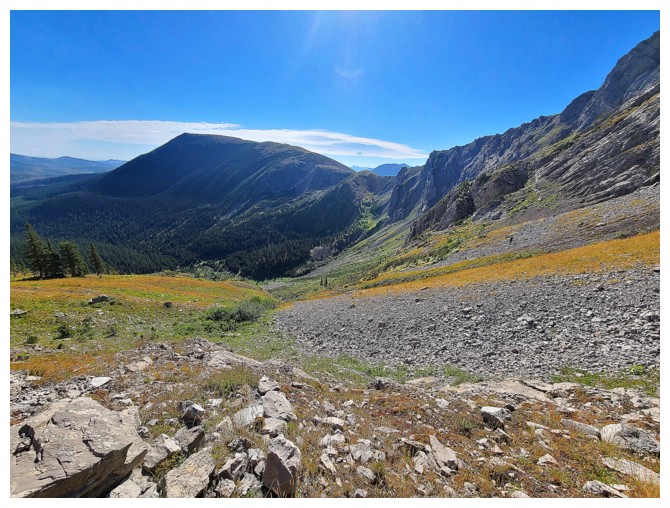
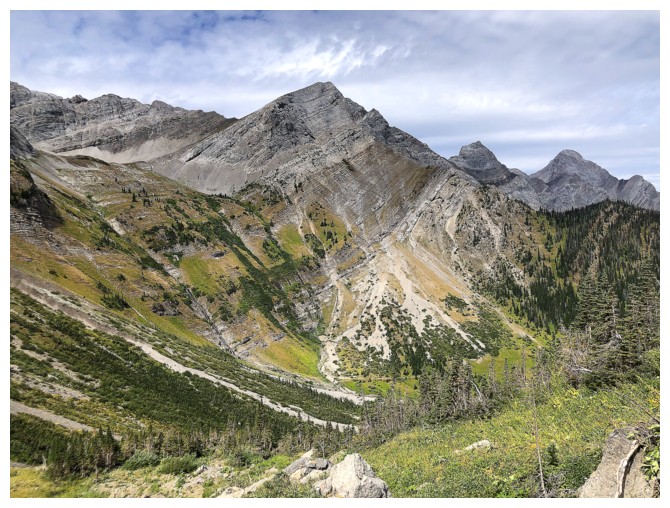
Again, on a good but now bushier  ATV trail we
arrived at the stunning basin under the lengthy and impressive north-to-south wall
of rock that makes up many mountains of the Flathead Range. Underneath a beautiful
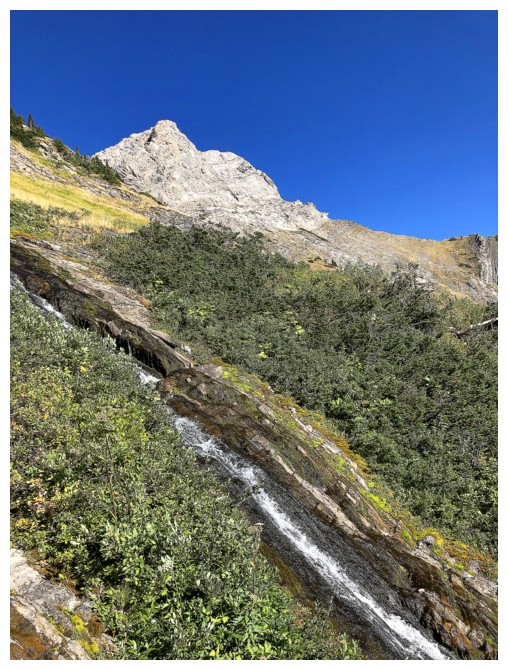
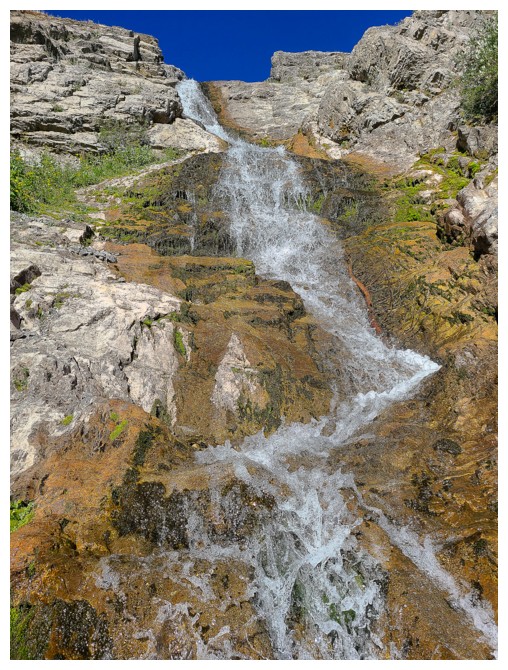
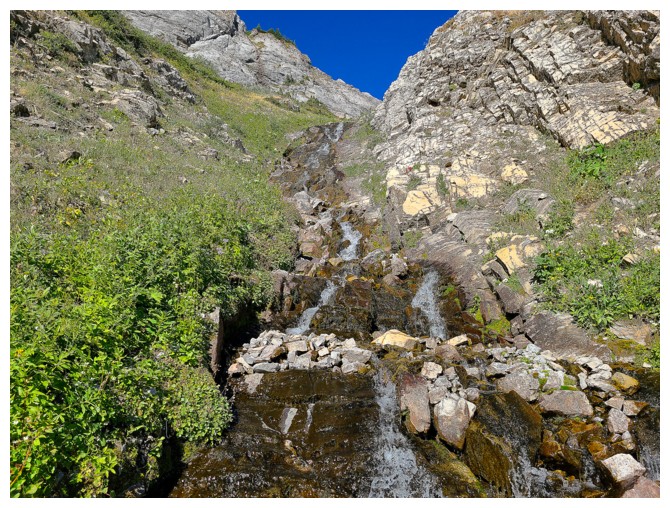
blue sky, this scene satiated both Dave and me in spades. A stunning cascade
added immensely to an already amazing environment, and we spent a good span of
time admiring it before heading up alongside the water.
ATV trail we
arrived at the stunning basin under the lengthy and impressive north-to-south wall
of rock that makes up many mountains of the Flathead Range. Underneath a beautiful
blue sky, this scene satiated both Dave and me in spades. A stunning cascade
added immensely to an already amazing environment, and we spent a good span of
time admiring it before heading up alongside the water.
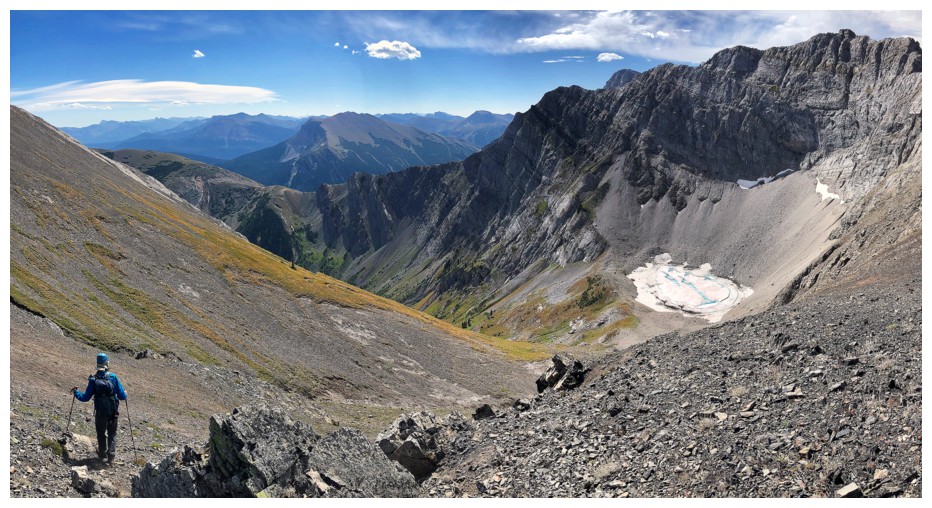
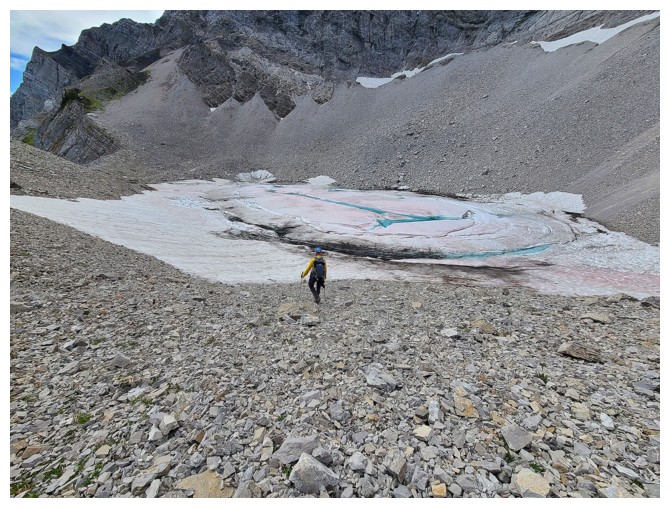
Nearing the ridge above, Dave and I were both
excited to see the high alpine lake depicted on the topo map. 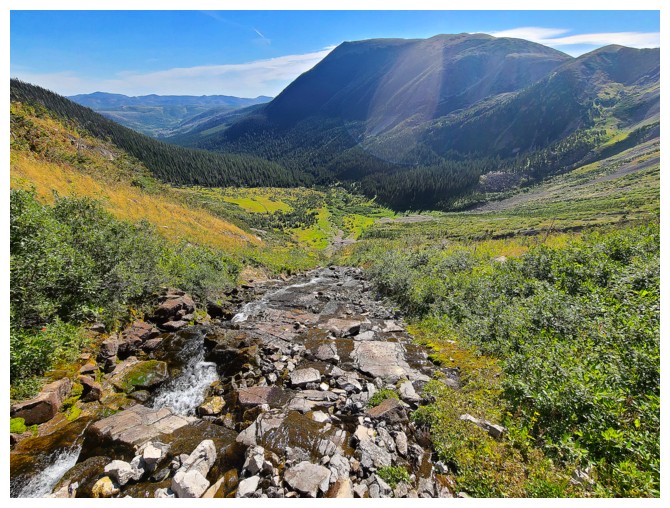 What we found was
not what we were expecting – instead of a lake, here sat essentially a glacial
melt tarn. We hiked past the tarn, choosing to take a more thorough look on
descent.
What we found was
not what we were expecting – instead of a lake, here sat essentially a glacial
melt tarn. We hiked past the tarn, choosing to take a more thorough look on
descent.
The summit of Darrah S3 was reached with ease;
nothing but a steep scree slog. After enjoying a superb summit view, we quickly
wrote-off a few potential extensions, one to the southwest and one to the north;
both appeared to consist of terrain way beyond the realm of scrambling. Instead,
we descended to the tarn below to check-out some of its features.
At this point, the day was still relatively young,
and we could see two potentially straightforward routes to the summit of Darrah
SE4 – one requiring a significant elevation loss to the valley below and the
other staying high on the east side of the immense walls of limestoneom i . 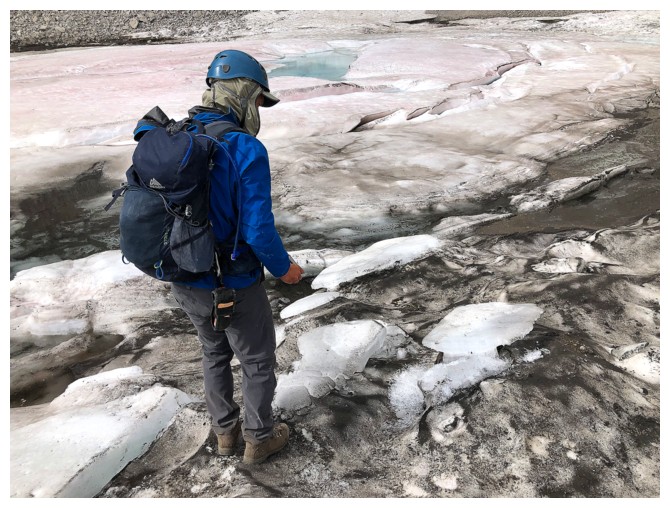 We chose the high road and in retrospect should have taken
the low one. The side-sloping was at times unpleasant and at other times downright
soul-sucking! Unfortunately, the weather also started to break down, though only
with cloud cover and no precipitation.
We chose the high road and in retrospect should have taken
the low one. The side-sloping was at times unpleasant and at other times downright
soul-sucking! Unfortunately, the weather also started to break down, though only
with cloud cover and no precipitation.
We ended up taking slightly different routes to
the west ridge of Darrah SE4, Dave staying high while I descended a bit to what
I thought would be easier terrain. Once on the ridge, the summit was an easy,
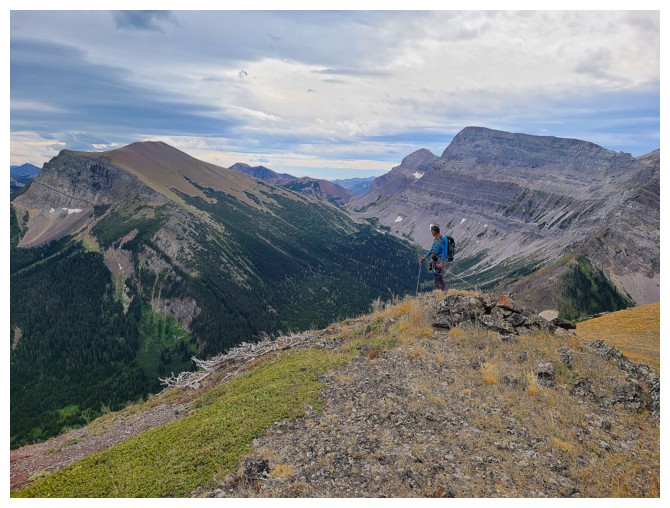
though longer than expected hike away.  As the northern end of the magnificent Lewis
Thrust Fault (the geological marvel that had made The Castle, Waterton, and
Glacier National Park, Montana, such colourful places), Darrah SE4 definitely
wanted to show off the last vestiges of red argillite. Too bad the overcast
skies dampened the beauty of the red rock a little.
As the northern end of the magnificent Lewis
Thrust Fault (the geological marvel that had made The Castle, Waterton, and
Glacier National Park, Montana, such colourful places), Darrah SE4 definitely
wanted to show off the last vestiges of red argillite. Too bad the overcast
skies dampened the beauty of the red rock a little.
Once again, the summit view was a fine one (minus
the clouds), but we didn’t linger long. Perhaps somewhat gun-shy from the
side-sloping debacle earlier in the day, we decided against a potential shortcut
route to the North Lost Creek Trail. The route would have saved quite a bit of distance
but was almost all through bush of unknown density. Surprisingly, it only took
us 45 minutes to get back to the trail and our bikes shortly after. Of course,
the almost all downhill bike ride back was a treat and the 1 km of uphill didn’t
have the sting we thought it would (easy for me to say, on my ebike!).
A fantastic day on two more than worthwhile objectives,
with the finest of human beings! Again, thanks to Jonathan and Melissa for the
inspiration.
Click HERE is see Dave's excellent report.

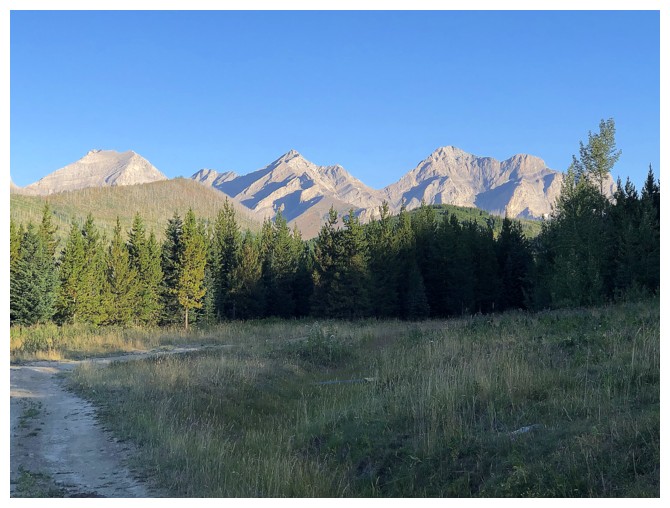
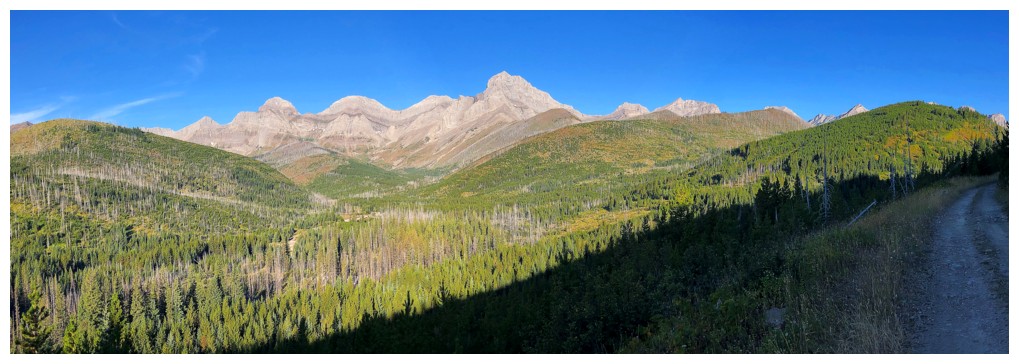
Dave stops on the drive in to photograph the beautiful Flathead Range (photo by Dave)
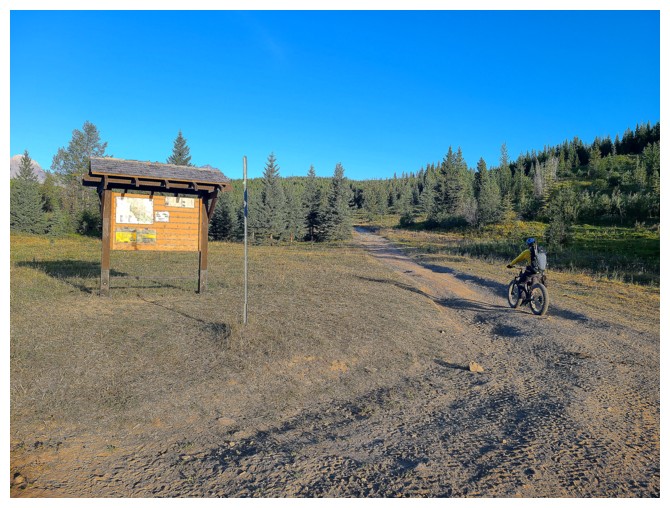
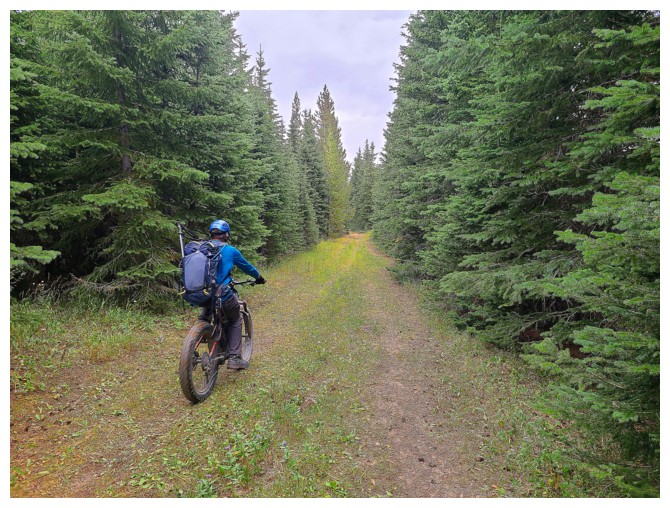
Off we go on the bikes (photo by Dave)
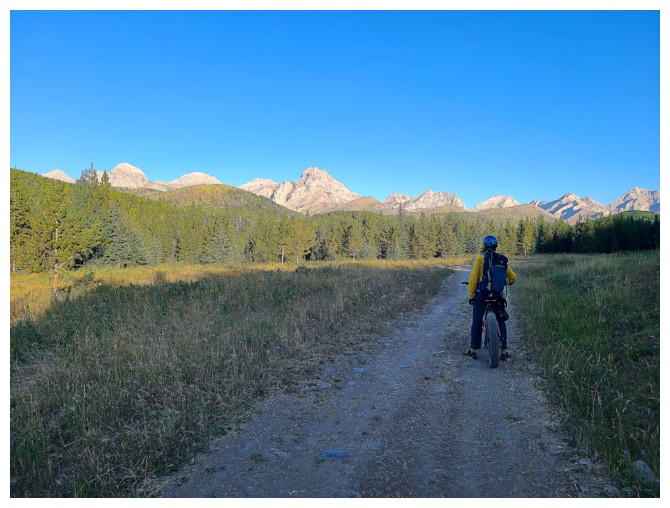
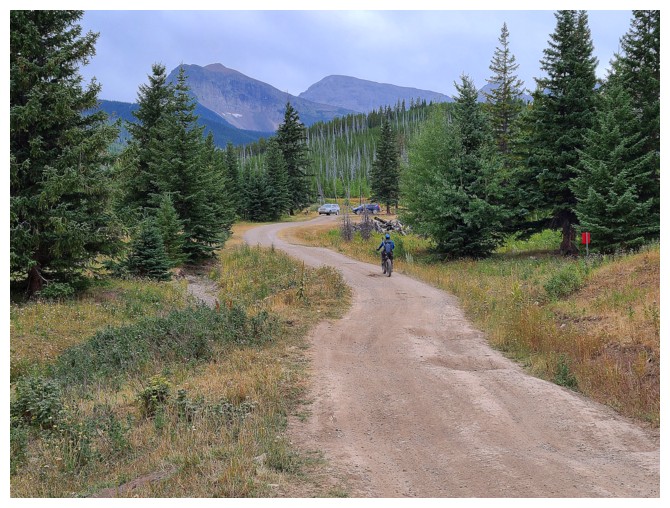
We stopped frequently to look at this magnificent range (photo by Dave)
Darrah N2, Pengelly, and McGladrey
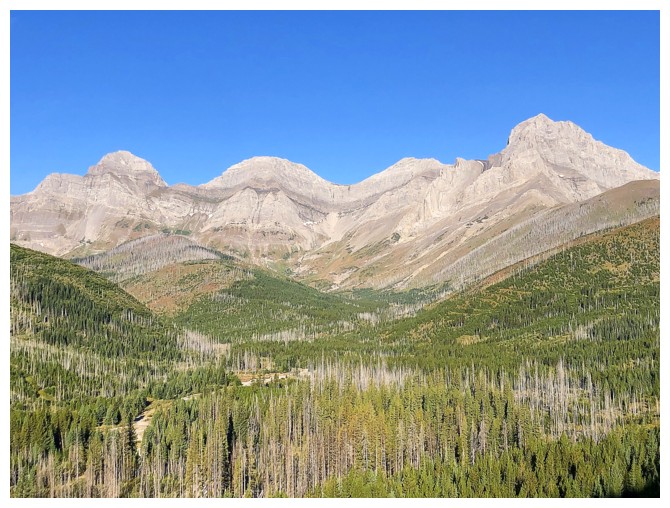
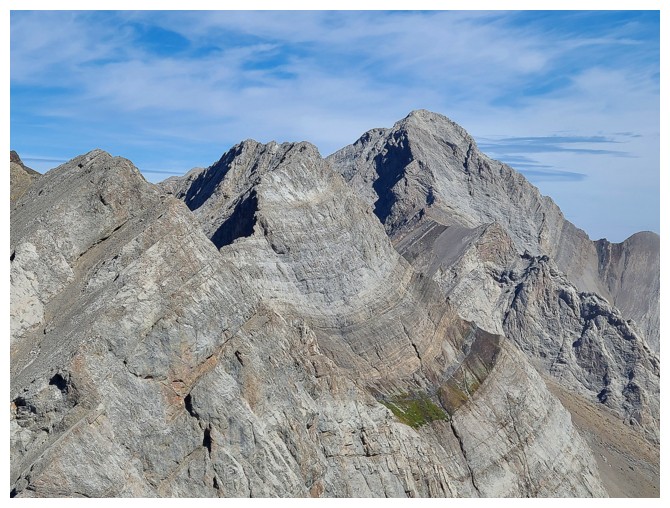
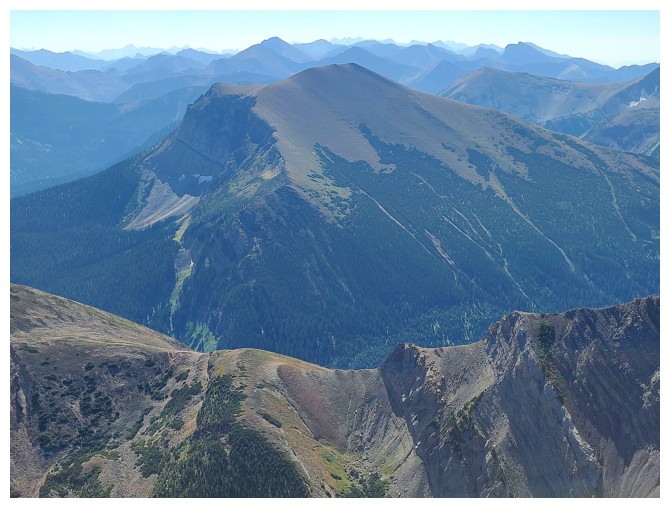
Darrah (far right) and its southern outliers
Bigger picture
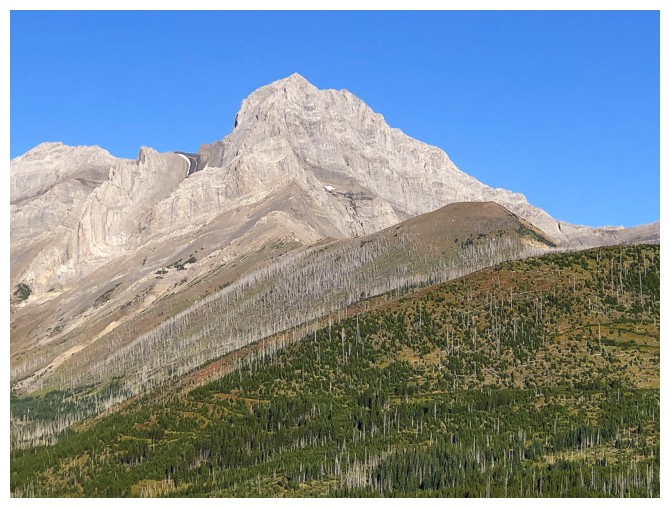
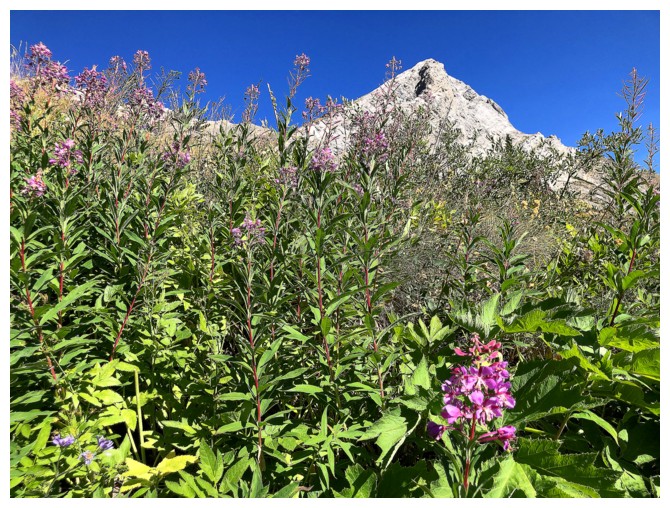
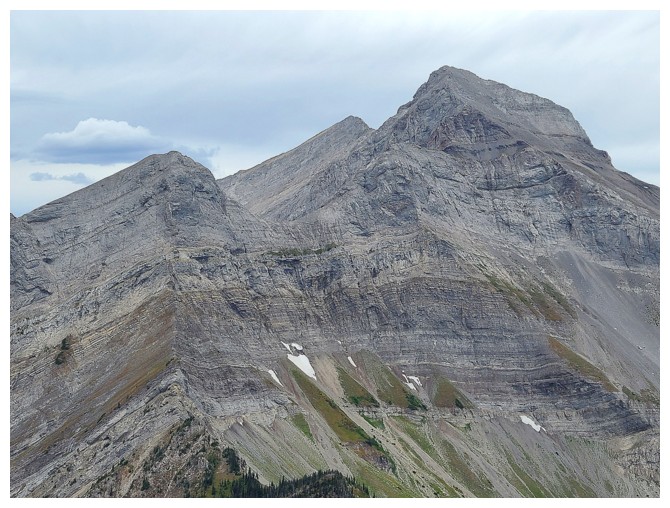
Mount Darrah is as eye-catching as it gets, but unfortunately there is no easy route to the summit
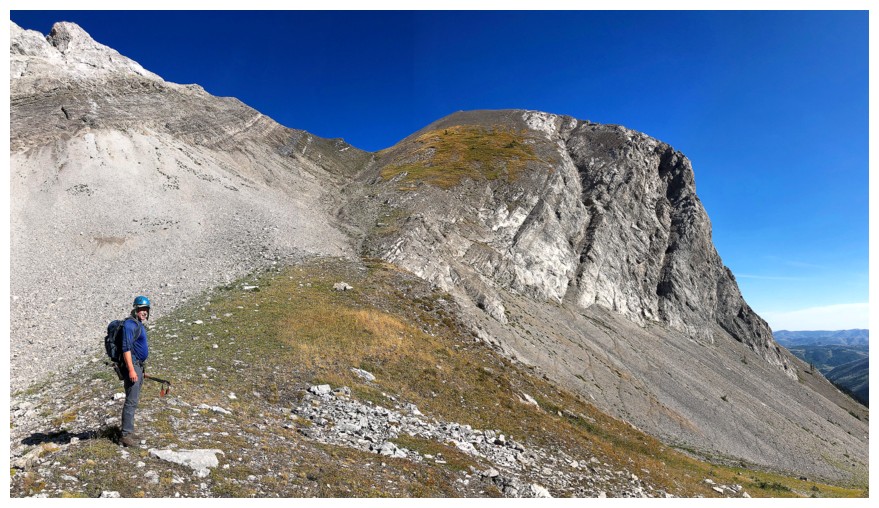
Dave in the shadow and Darrah in the Sun
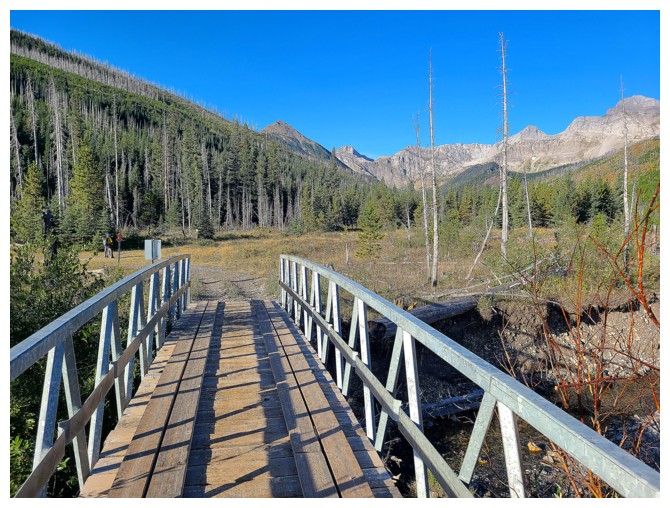
The Lost Creek trail is well-bridged (photo by Dave)
Dave cruises over the bridge
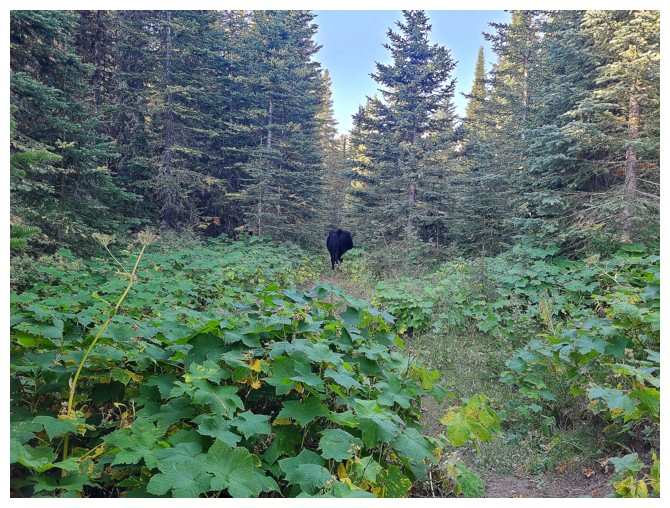
Cows love the Lost Creek Trail too (photo by Dave)
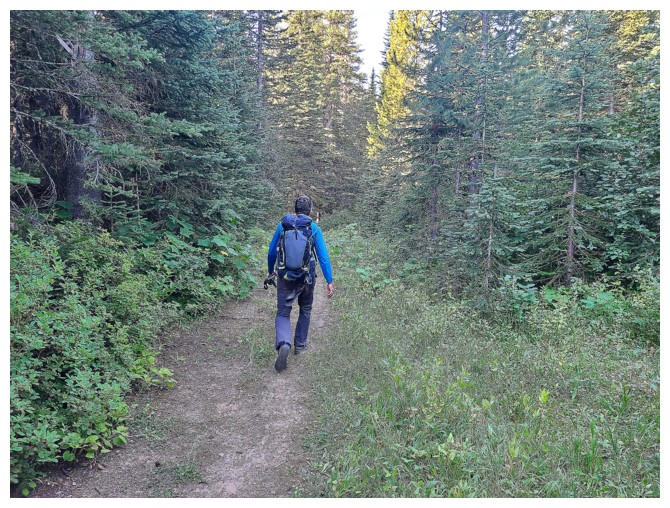
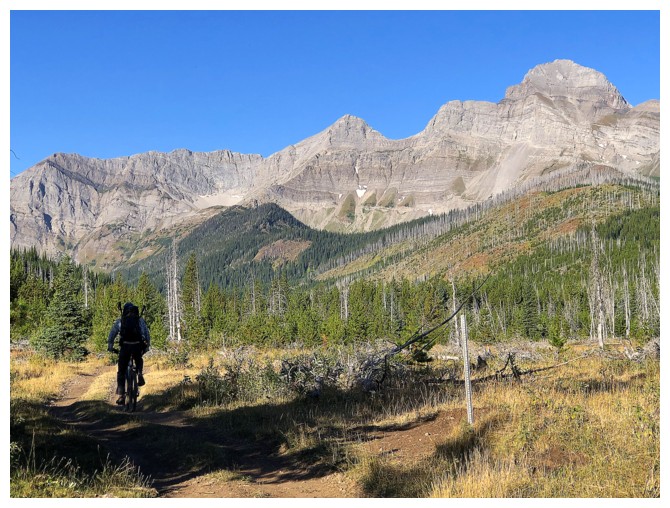
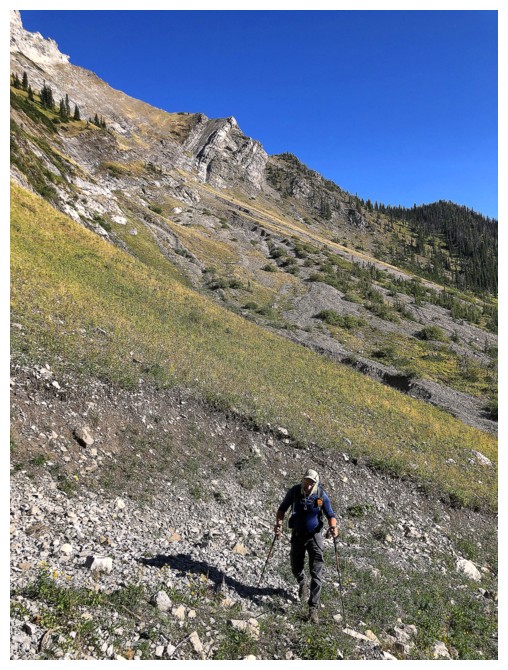
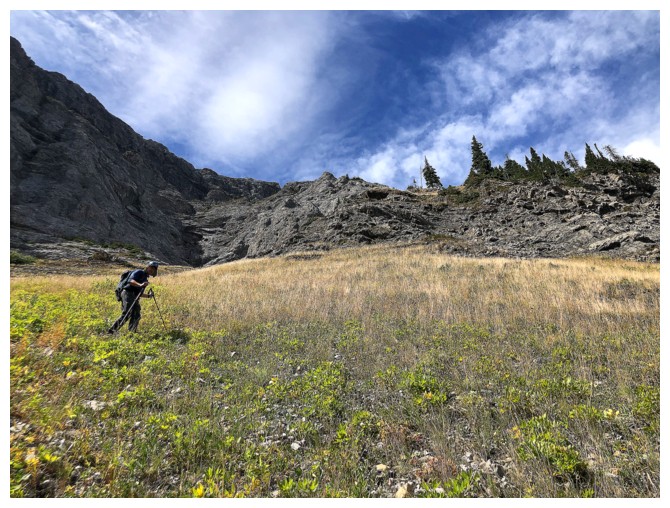
On foot (photo by Dave)
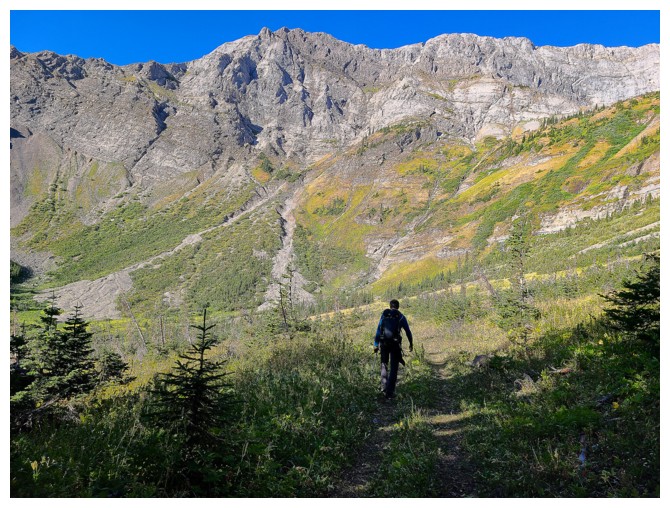
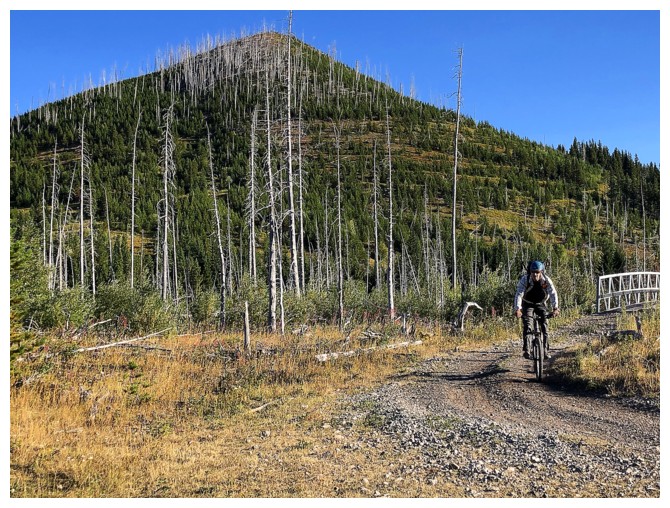
Moving out into the open (photo by Dave)
Darrah S3 is just right of centre (photo by Dave)
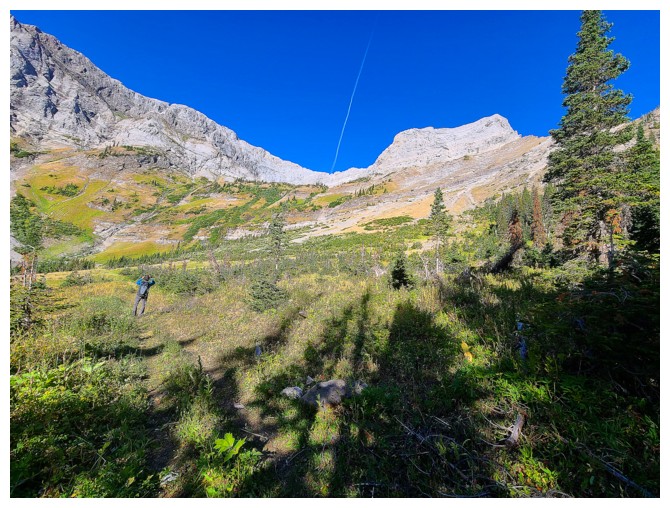
Looking back to Darrah SE4 (photo by Dave)
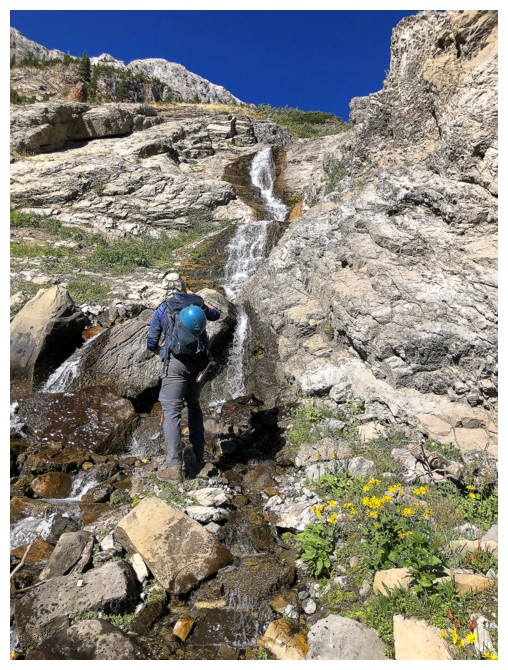
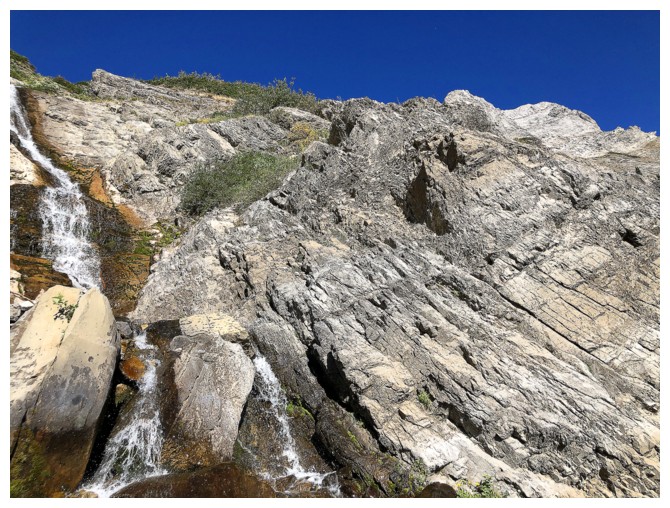
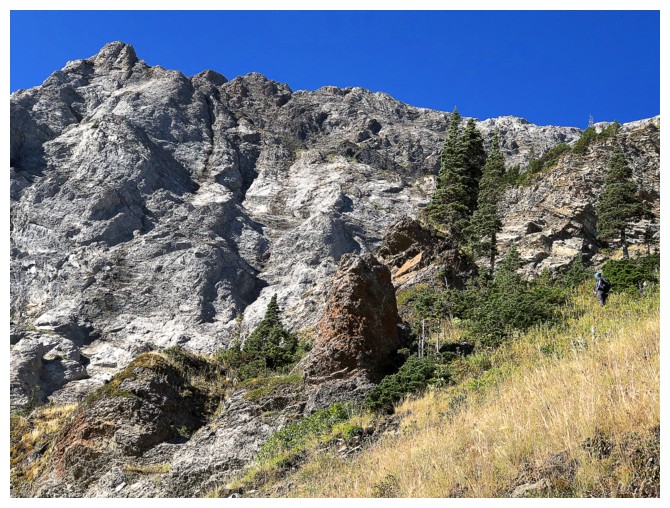
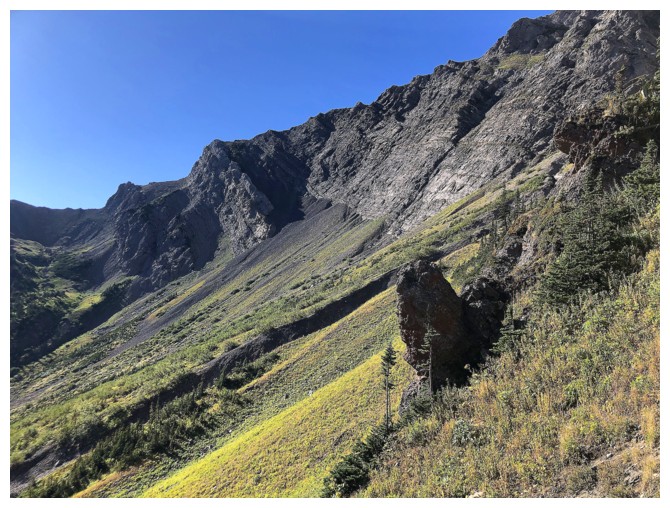
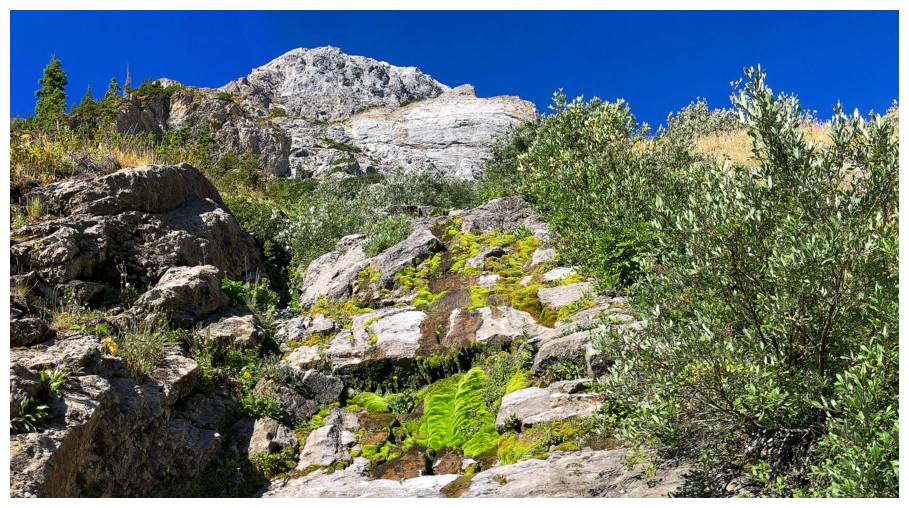
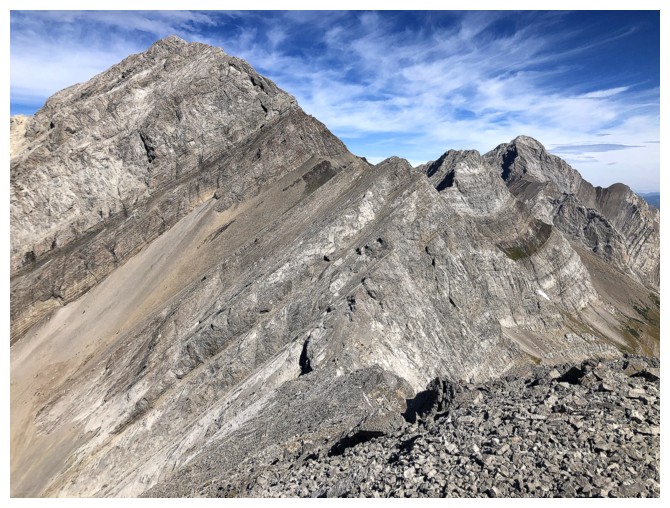
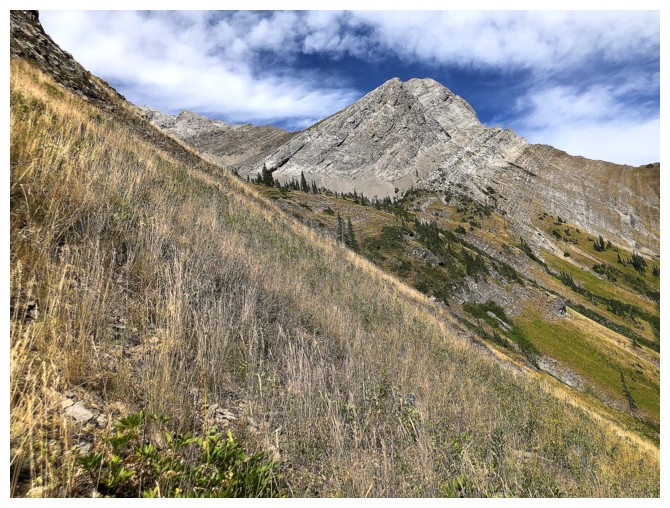
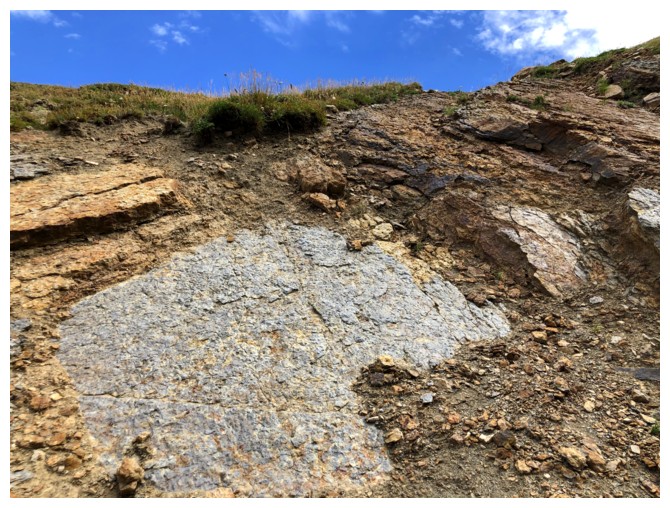
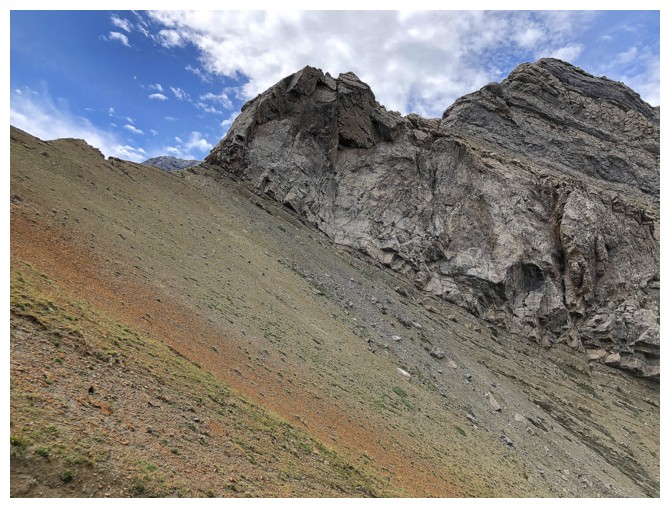
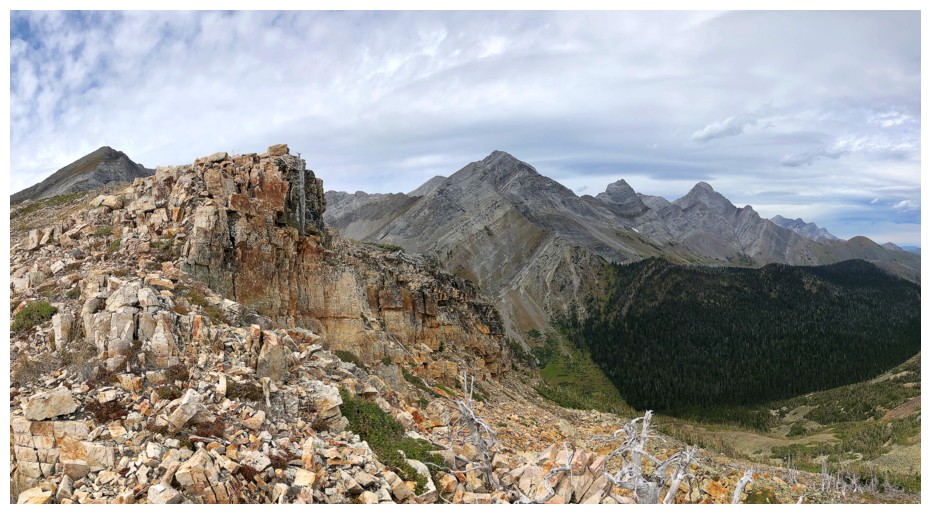
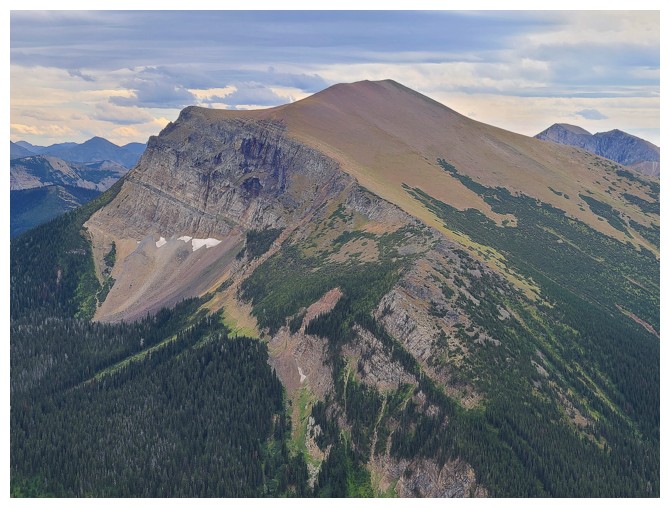
Darrah S3. We went up to the left side, where the stream is running down.
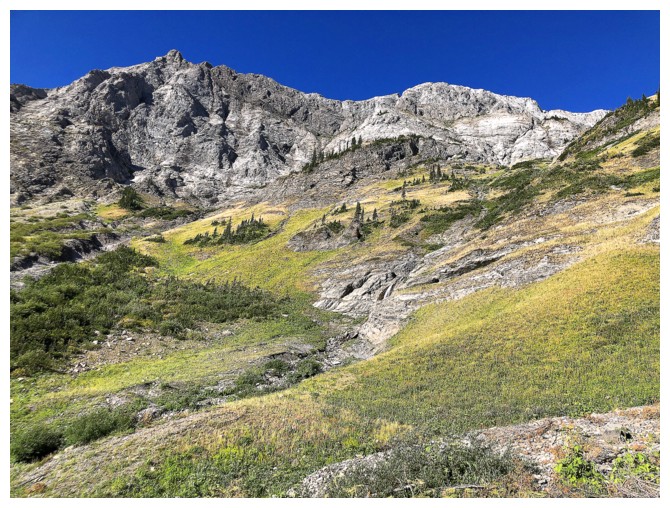
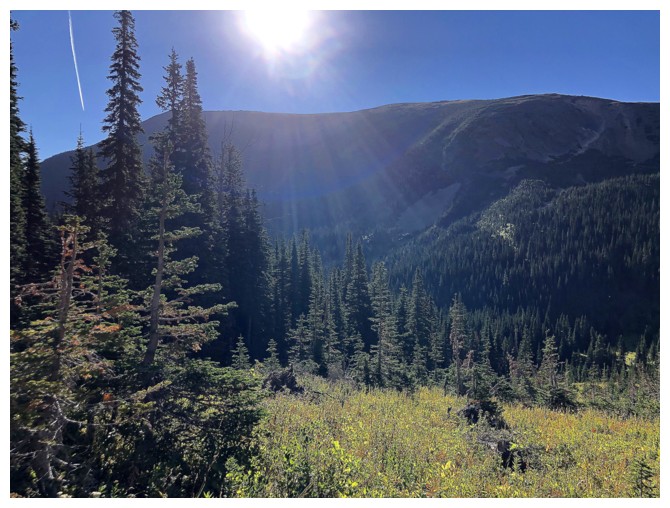
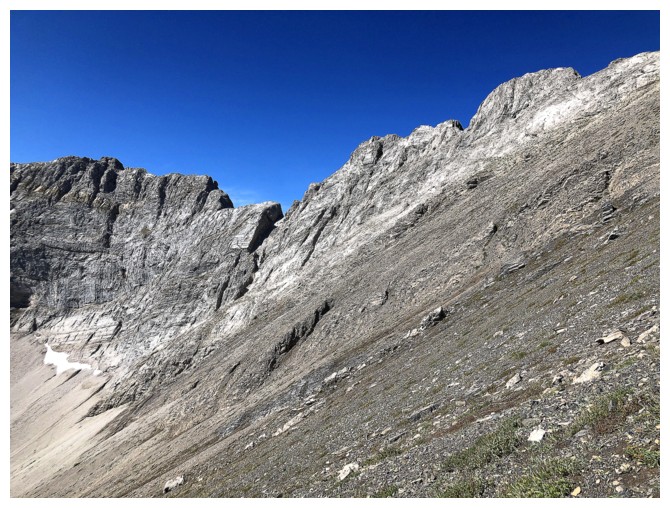
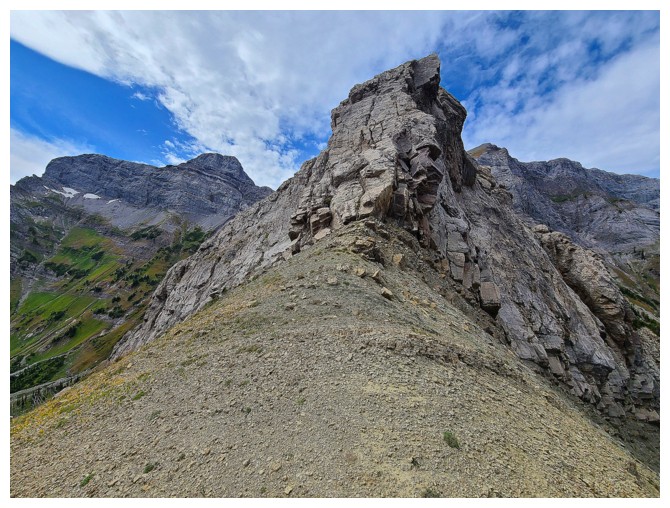
The ridge above looks cool reaching it would be no easy feat
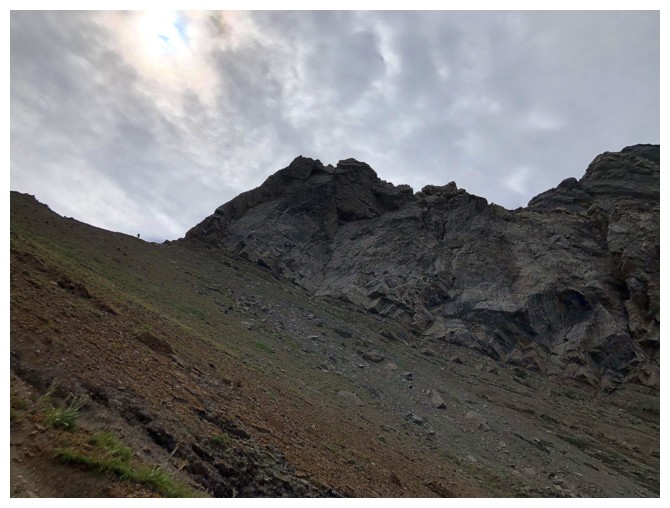
S3's south side is not a scramble
Dave makes his way over to the stream
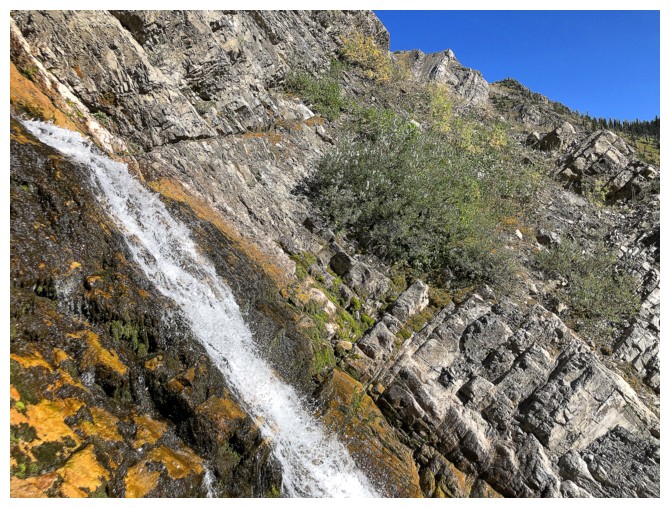
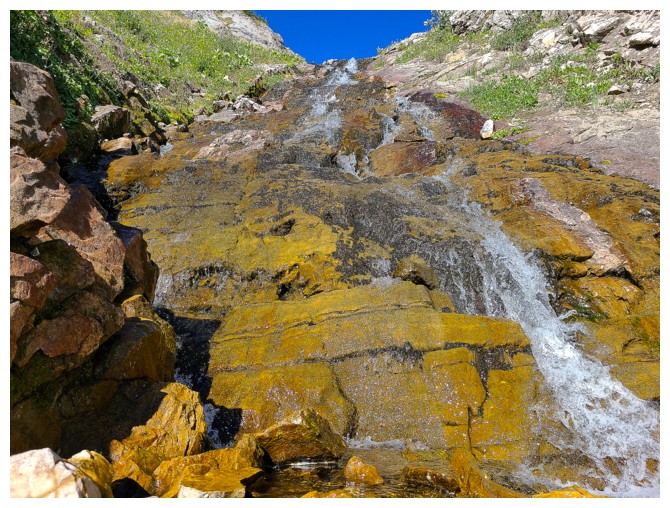
Arrived at the stream and cascades that provided so much visual entertainment (photo by Dave)
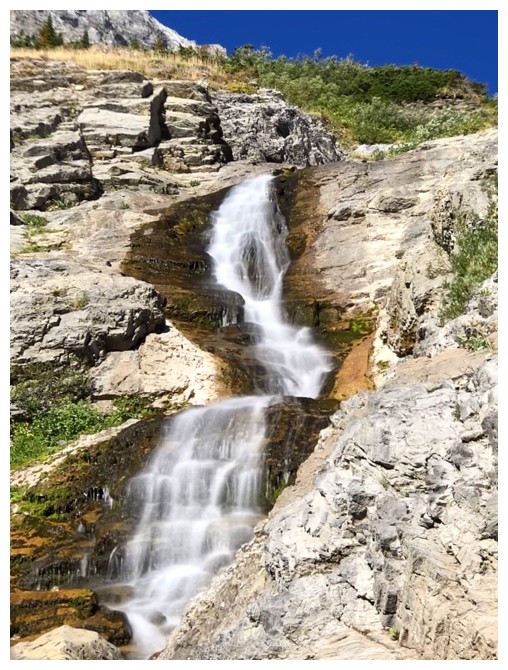
Dave and the first cascade
From Dave's perspective (photo by Dave)
Dave's view in the other direction (photo by Dave)
From a little higher up (photo by Dave)
The blue sky, greenery, and rock made for an unbeatable combination (photo by Dave)
I take that back! All of the above and the cascades made for an unbeatable combination!!
Same as above
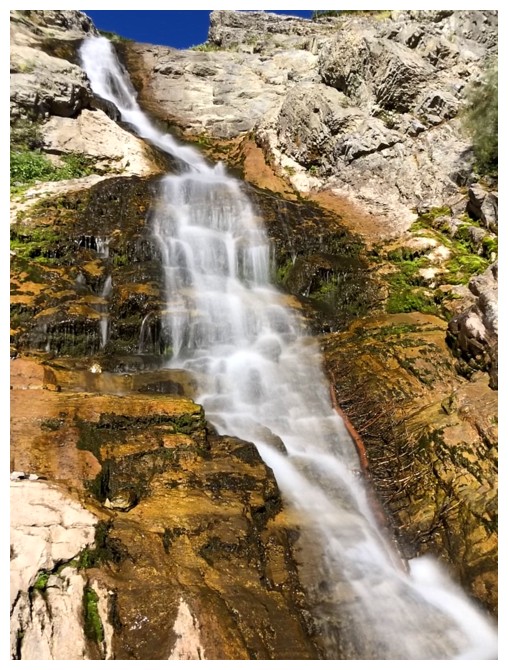
And again. This section was the highlight of the entire day for me.
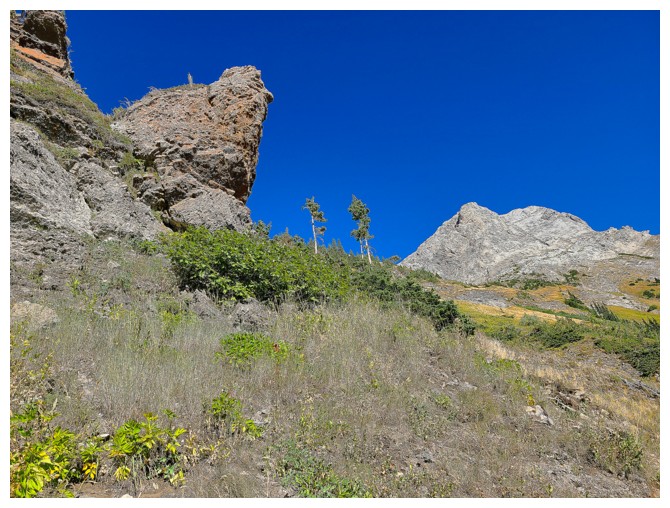
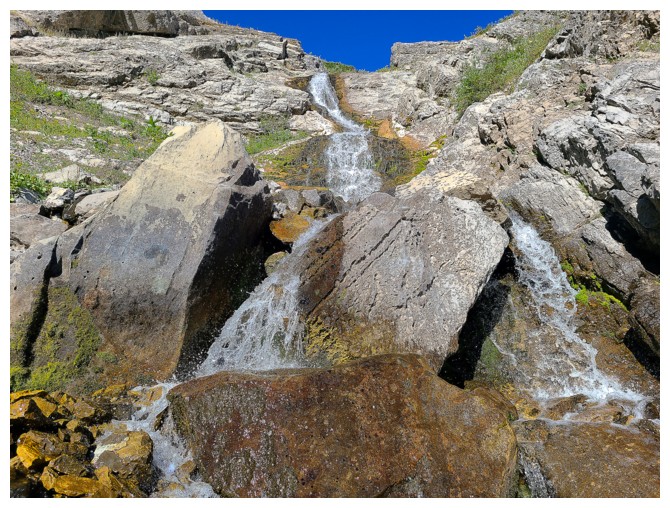
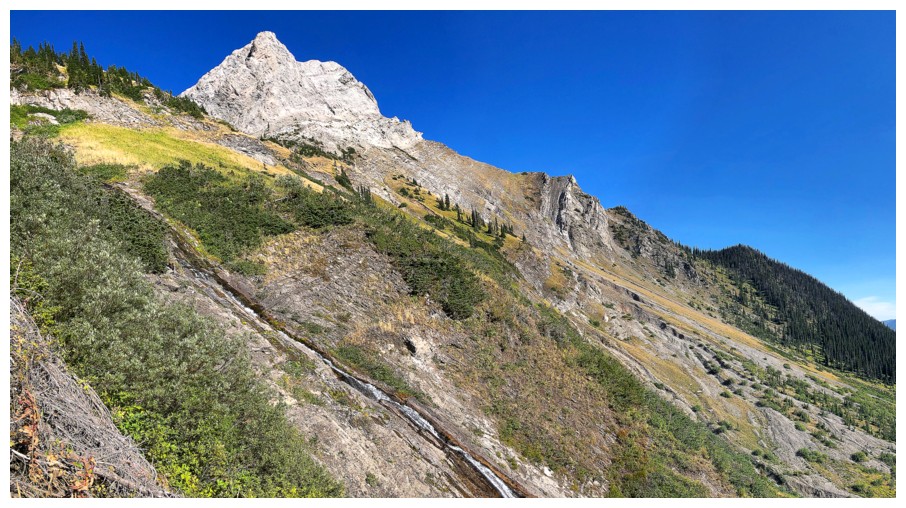
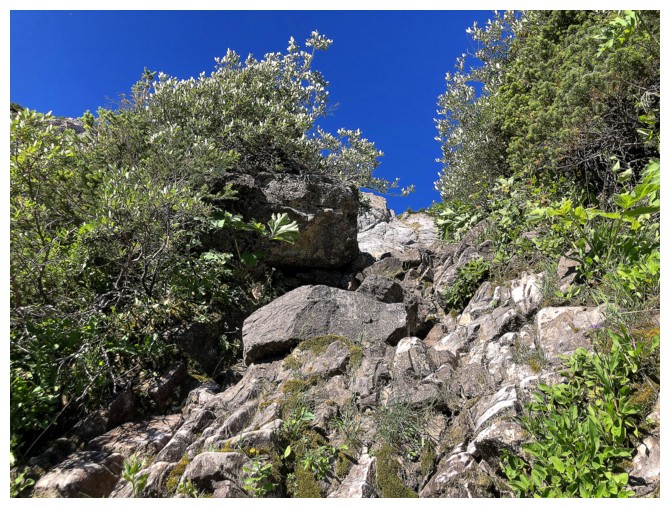
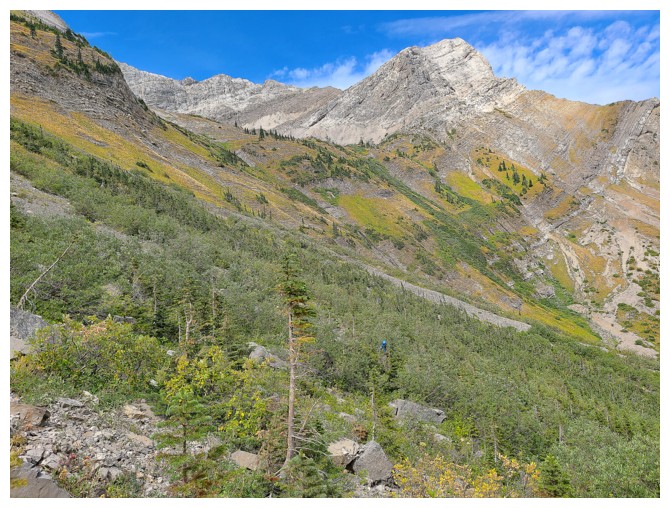
Above the cascades lie sits more interesting terrain (photo by Dave)
Dave, at the right, is checking out that cool rock outcrop from the photo above
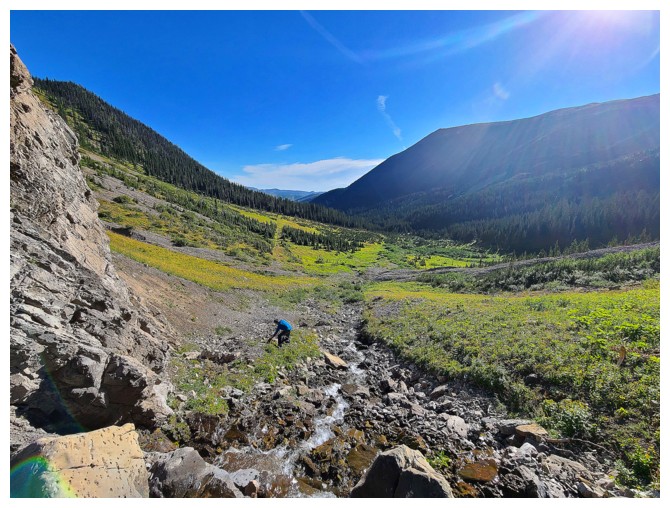
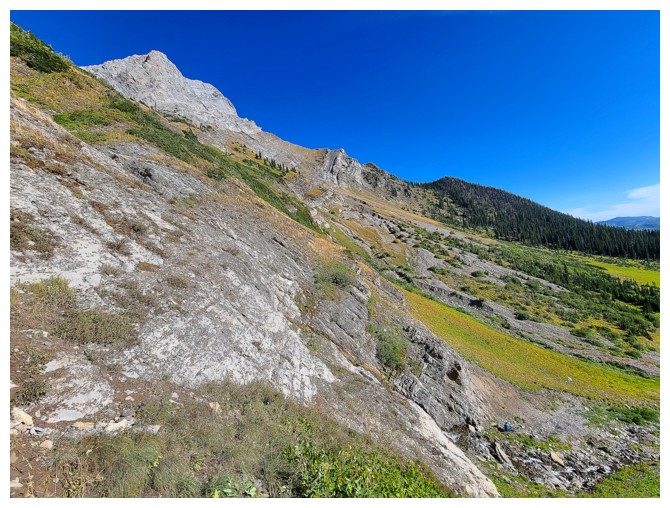
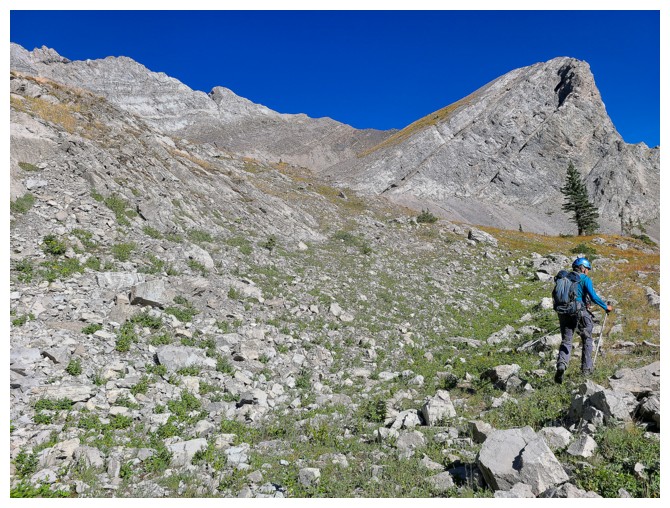
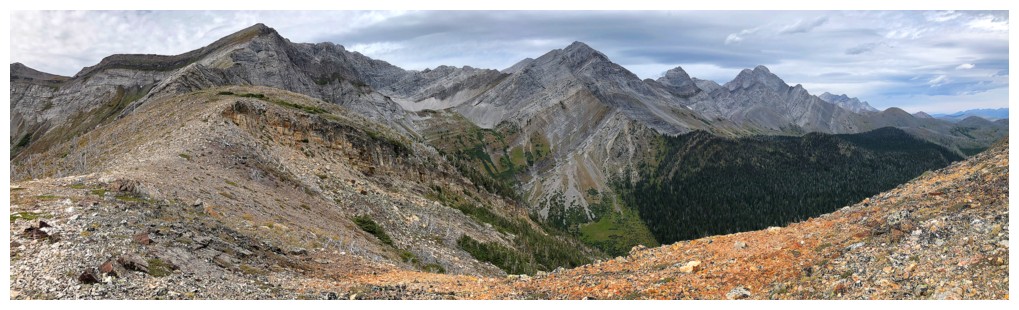
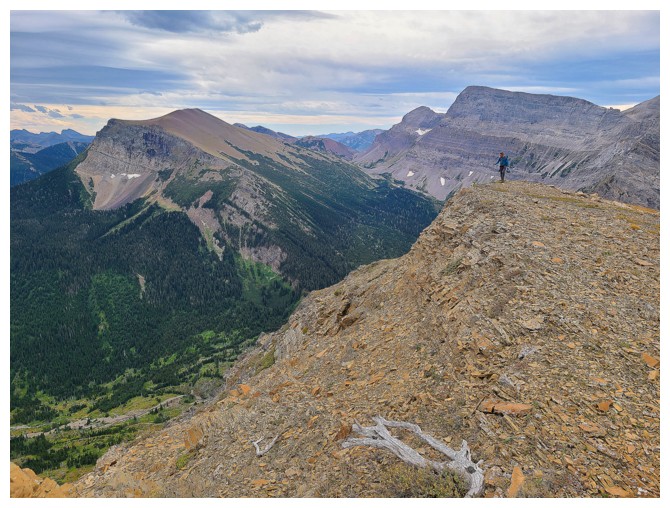
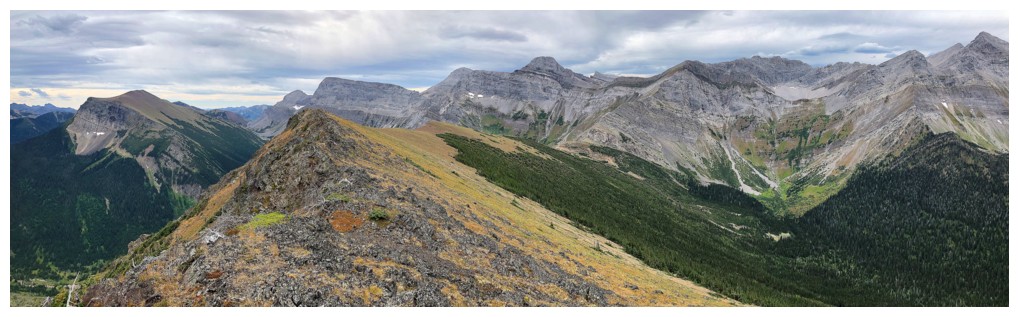
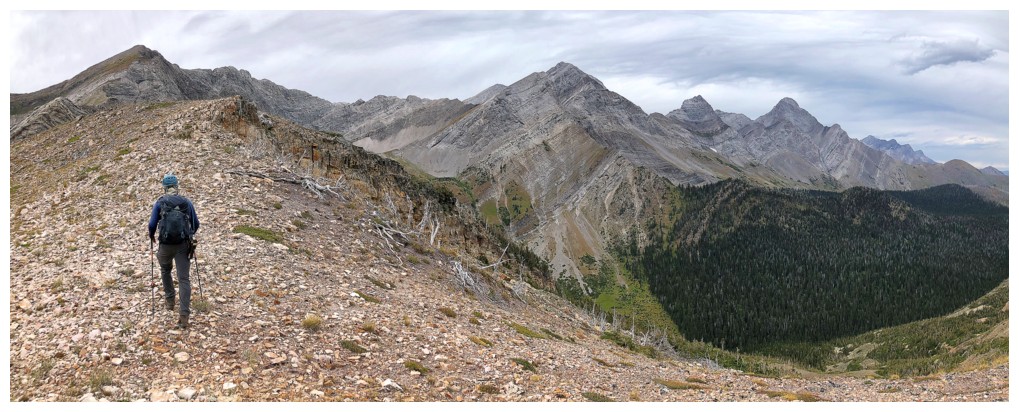
The slopes we will later traverse to gain the west ridge of Darrah SE4 at the far left
But first, Darrah S3
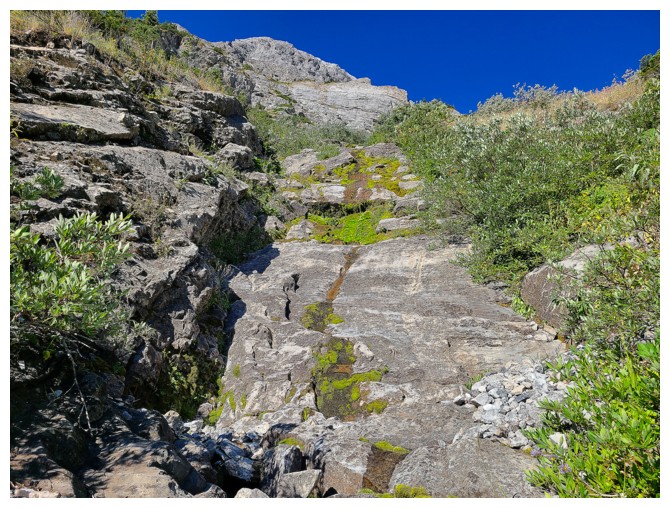
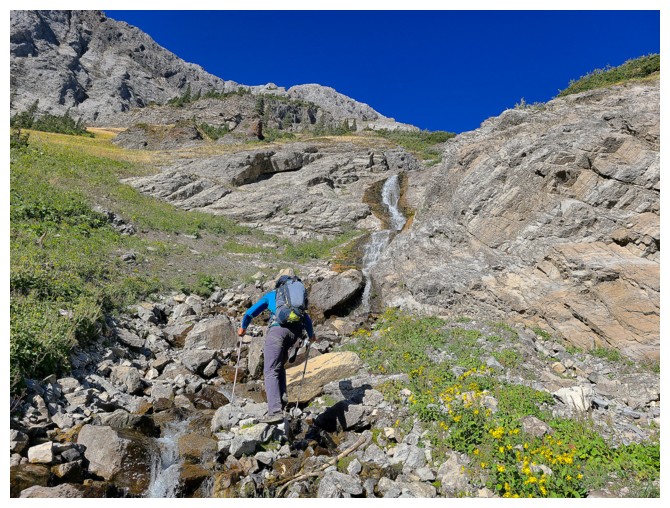
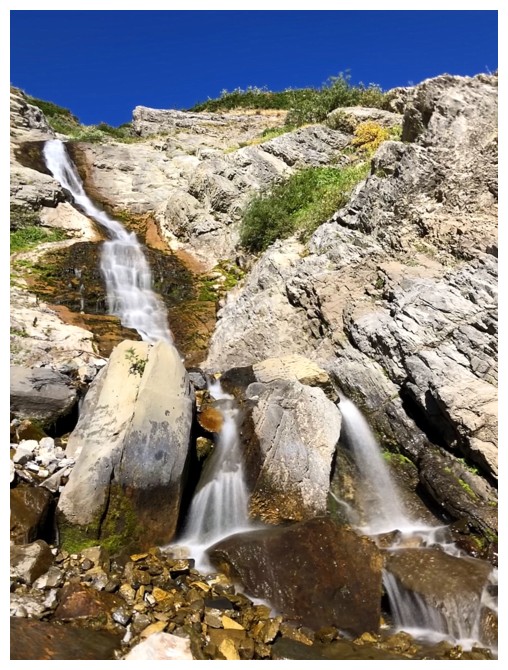
Nice scrambling up this dried up watercourse (photo by Dave)

I'm falling behind, seeking out more water scenery
The water returns for Dave too (photo by Dave)
Looking back (photo by Dave)
More fun scrambling
And more terrific water scenery (photo by Dave)
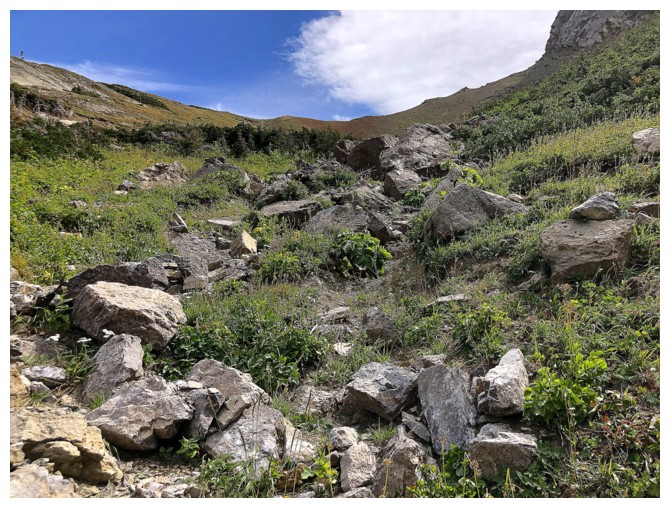
Snuck up through this gap to gain the upper valley
It was a little bushy in places
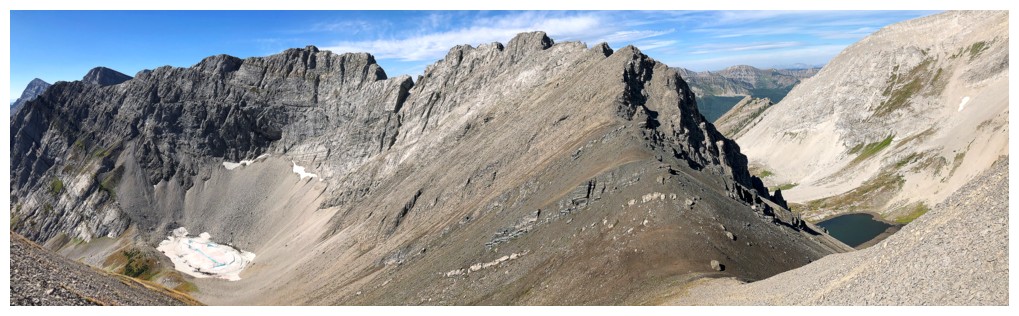
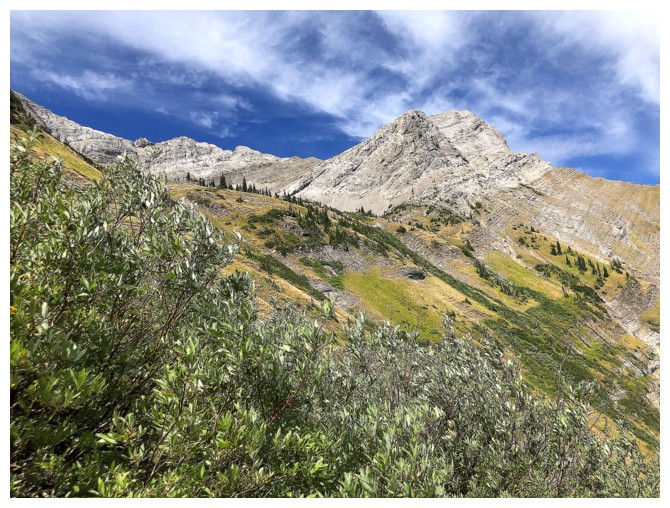
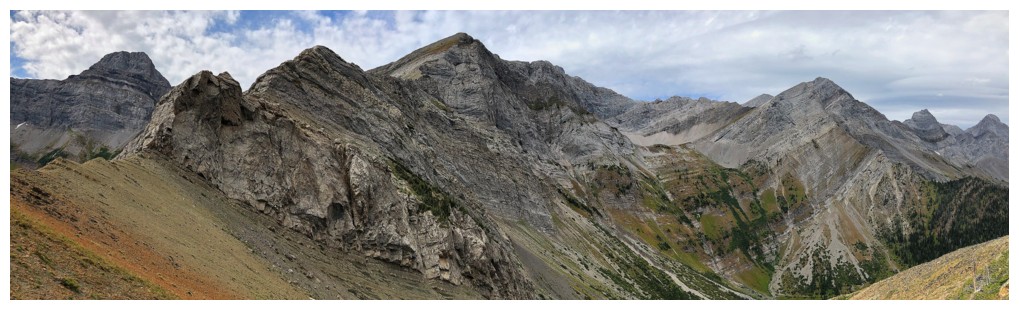
The view to Darrah SE4 continues to draw our attention (photo by Dave)
S3 at the right (photo by Dave)
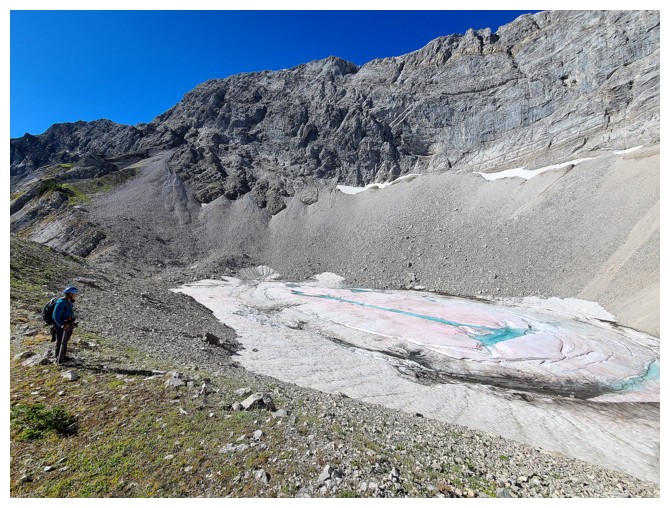
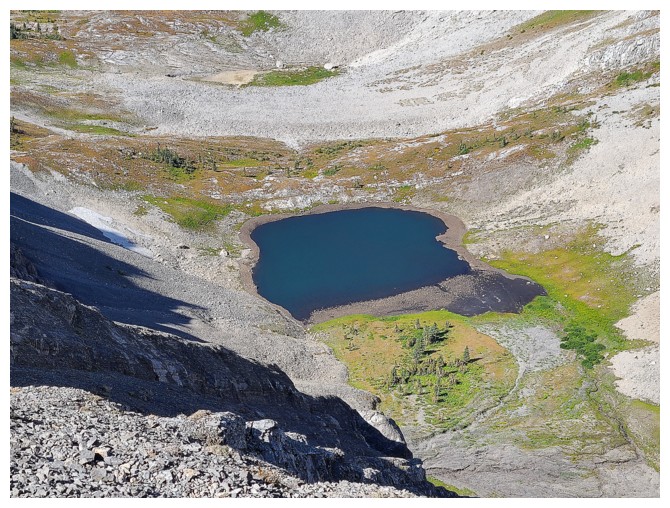
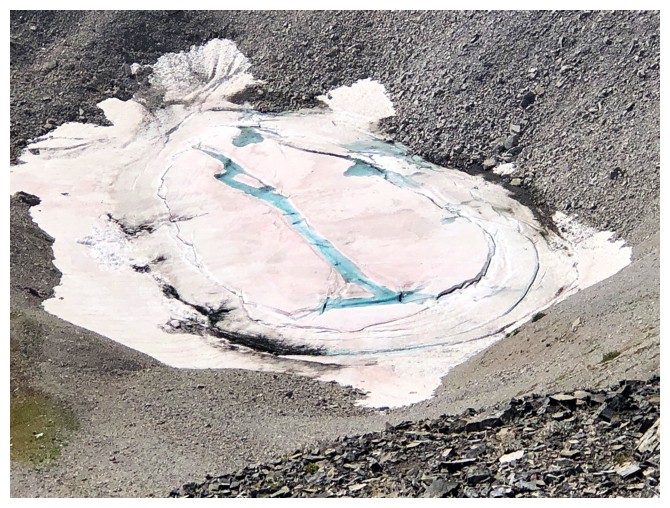
The tarn. That's a lot of snow and ice for late August (photo by Dave).
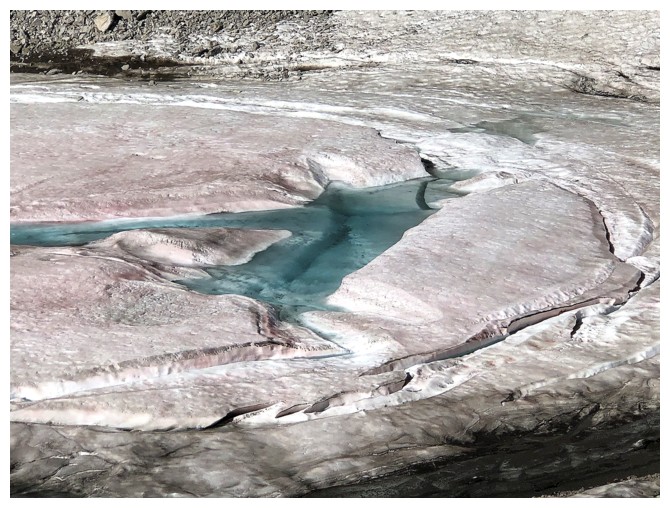
Close-up
The route to S3 (right) is obvious
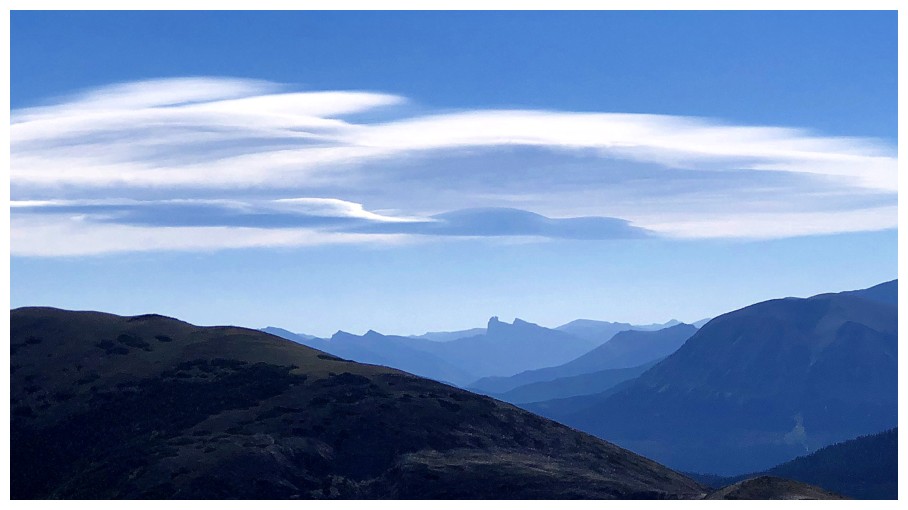
Cool clouds and the distant but distinctive form of Castle Peak. Windsor Mountain to Castle's right is less distinctive.
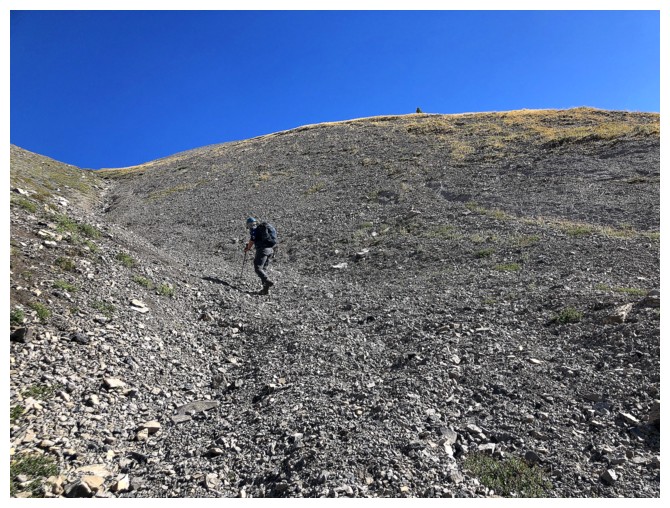
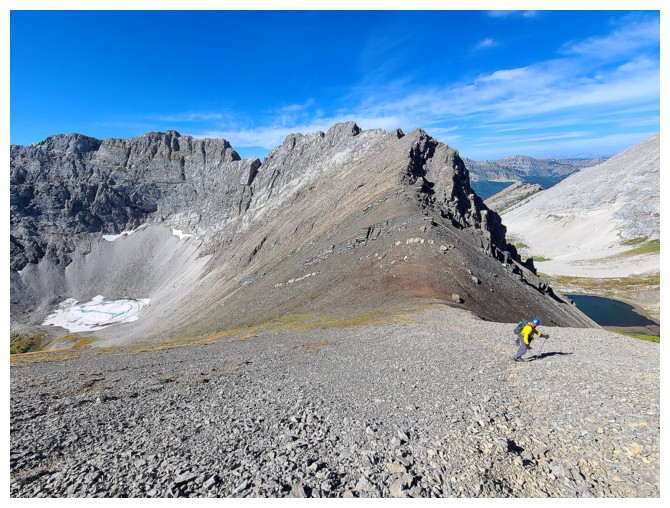
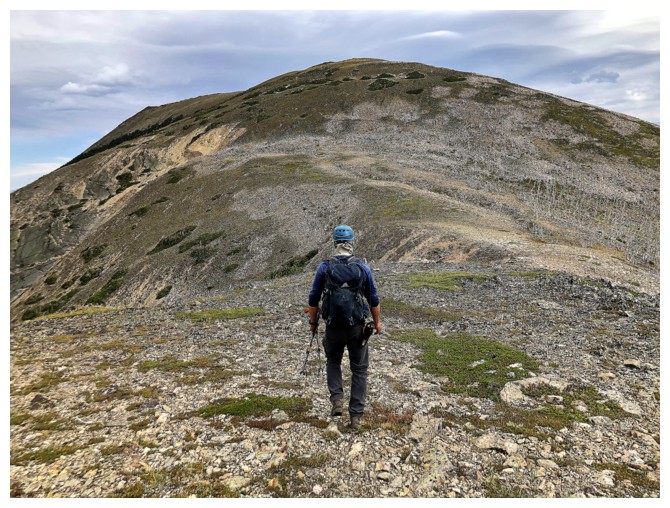
The slog begins
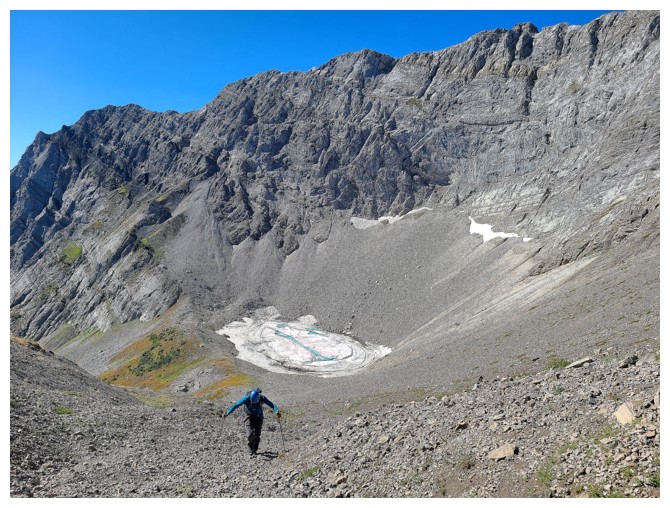
At least we get great views of the tarn and ridge above (photo by Dave)
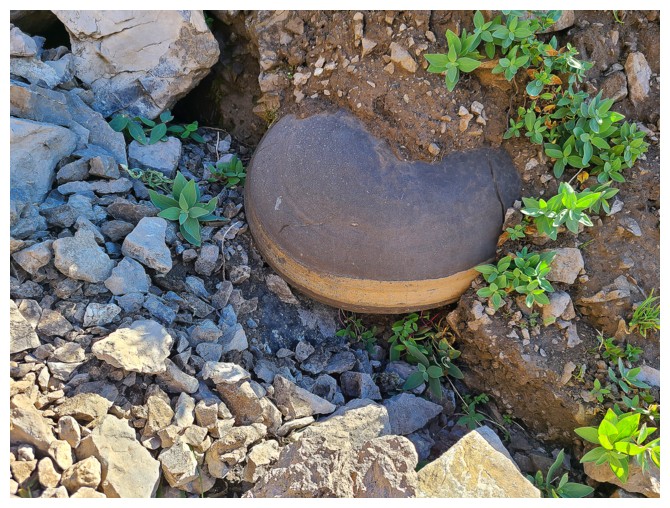
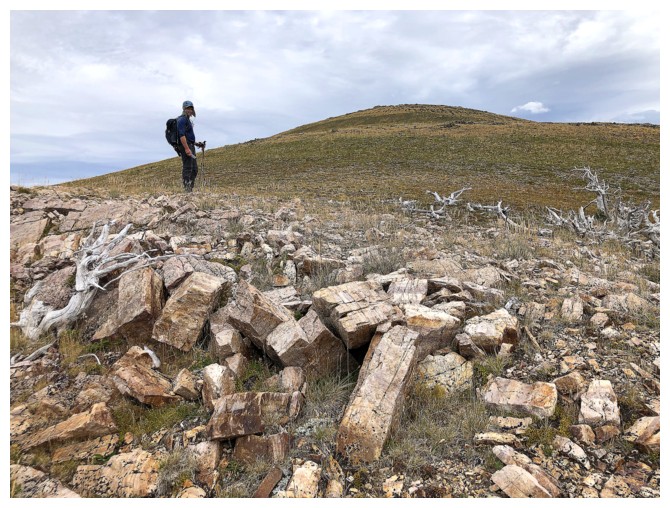
Neat find by Dave (photo by Dave)
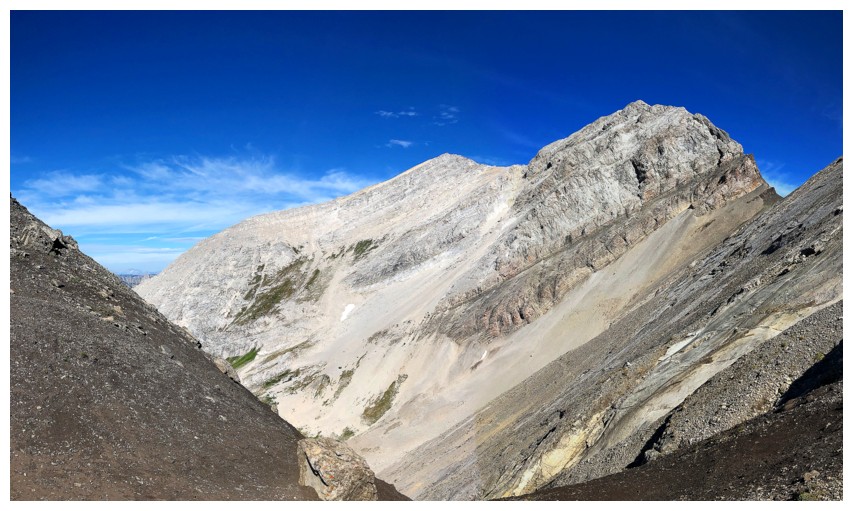
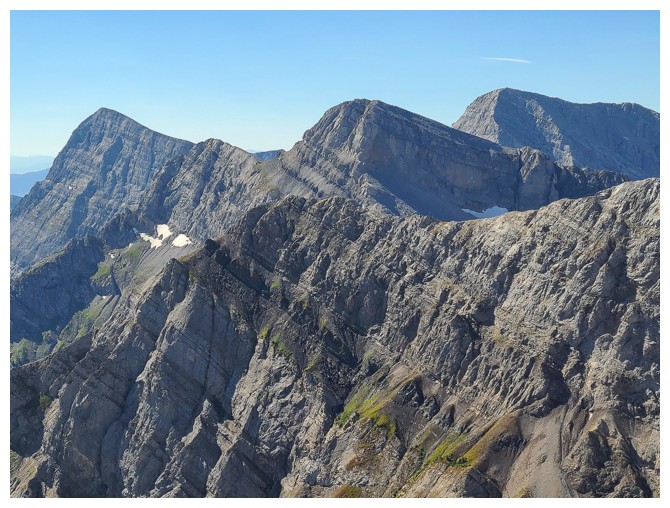
We optimistically hoped the ridge to the west and Darrah S4 might be accessible until we saw this!
From the S4/S3 col Darrah S2 is in-your-face - still one of my favourite failures
From the col, another easy slog ensues
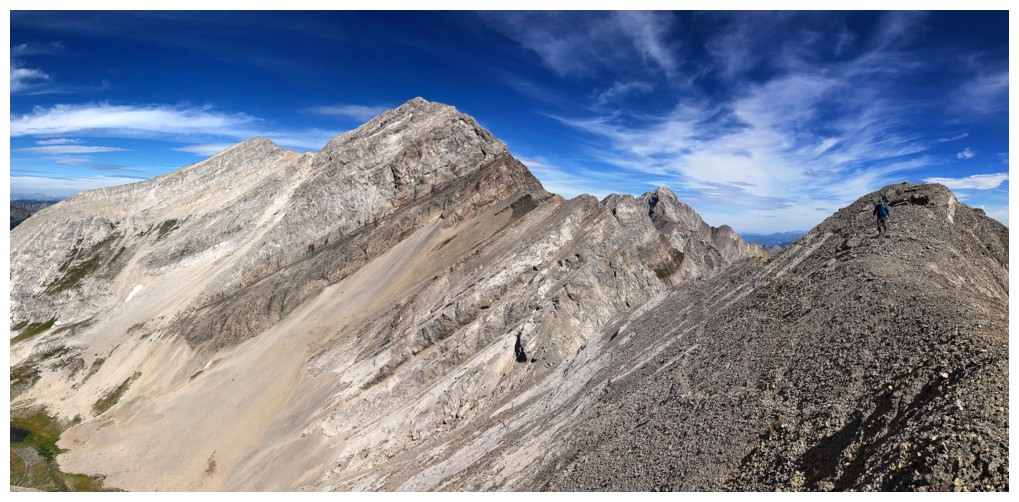
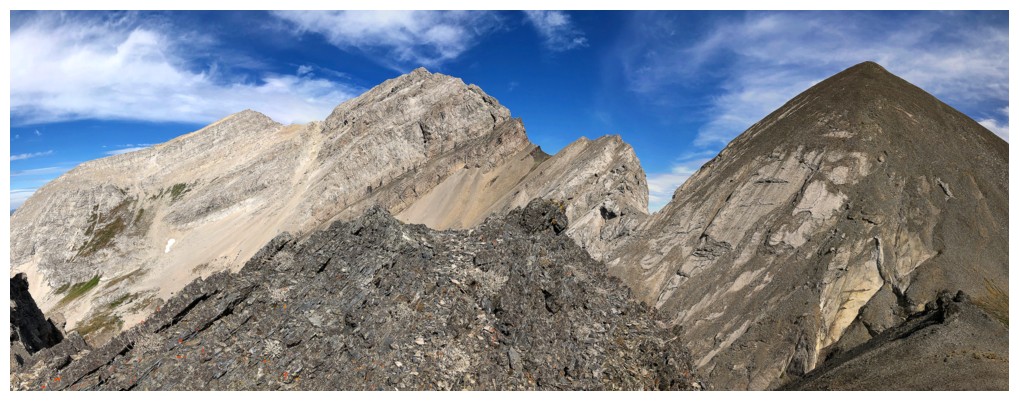
The daunting ridge to the west (photo by Dave)

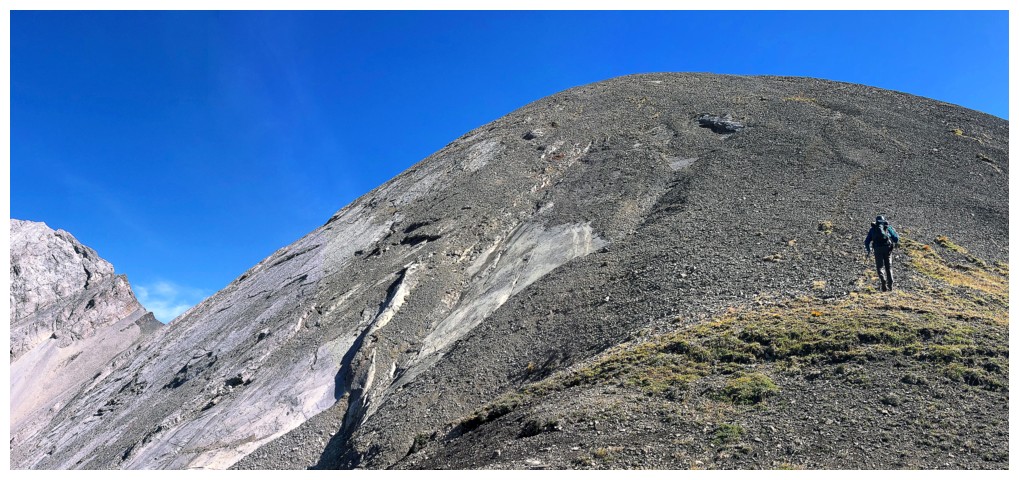
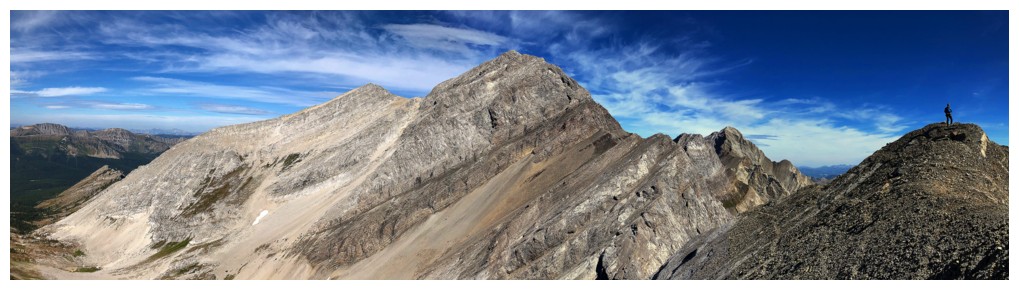
Dave leads. The grade was quite steep throughout.
Taking a breather to take in the view
Same as above
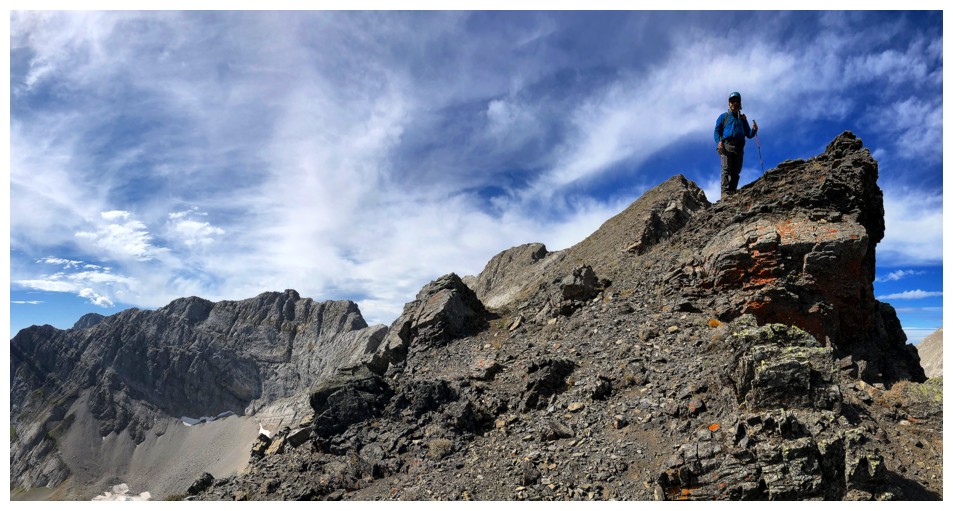
Dave reaches the summit first (photo by Dave)
Mount Barnes - a very memorable day, about a month earlier (photo by Dave)
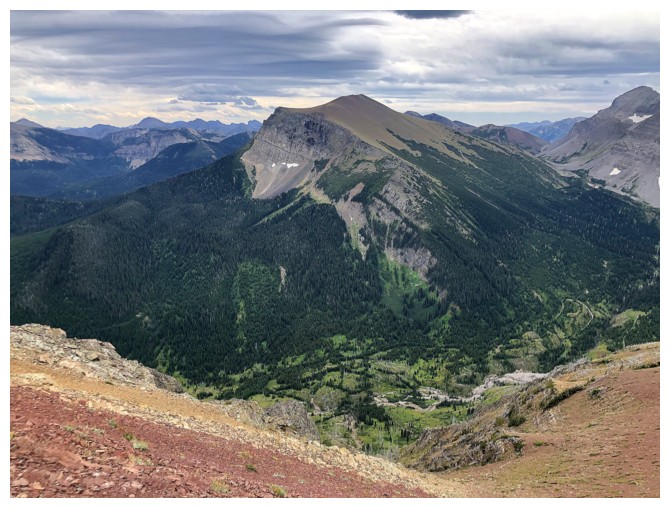
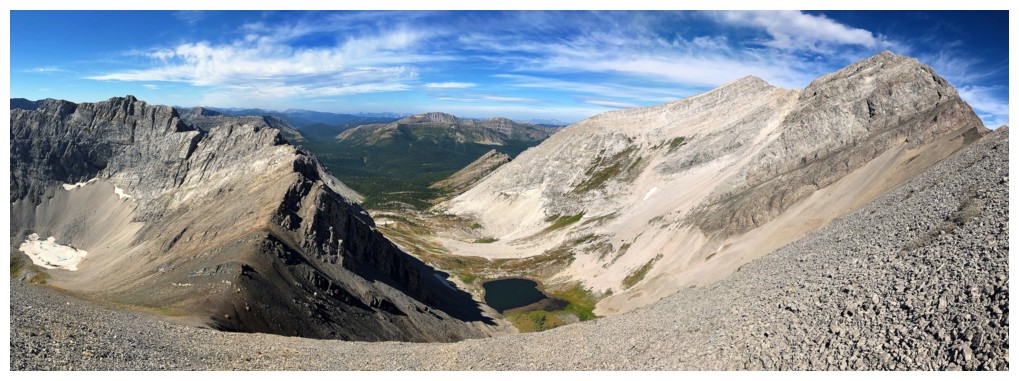
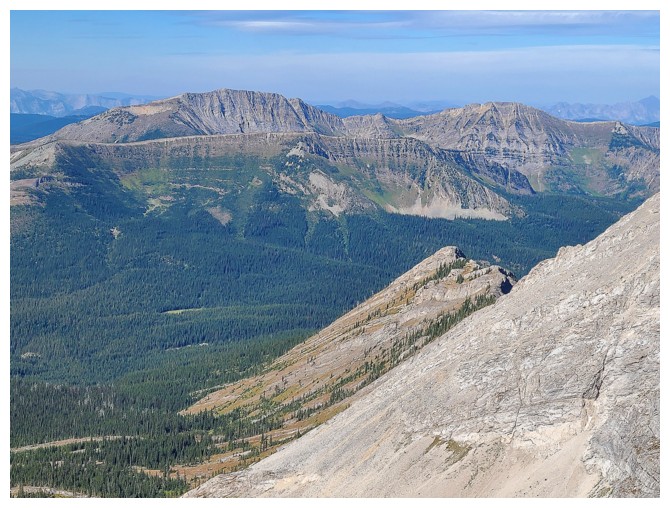
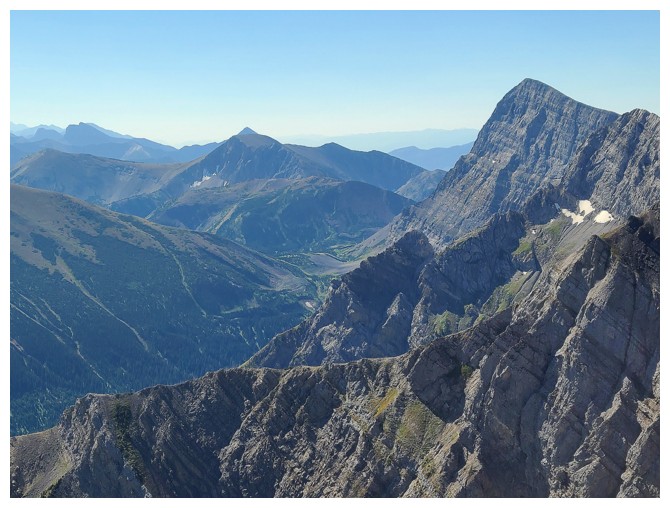
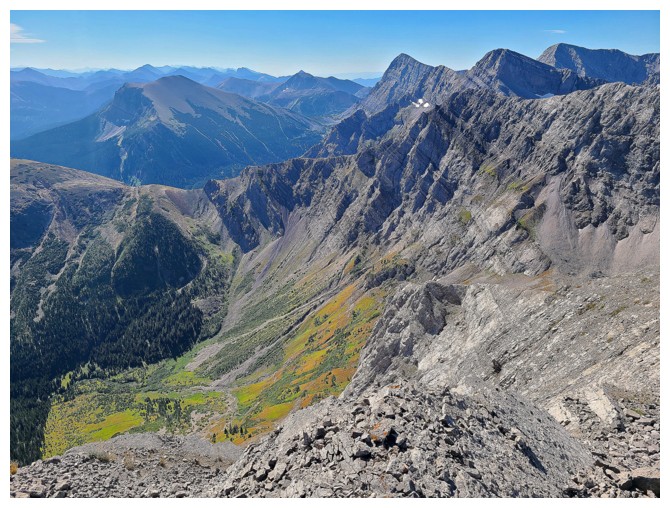
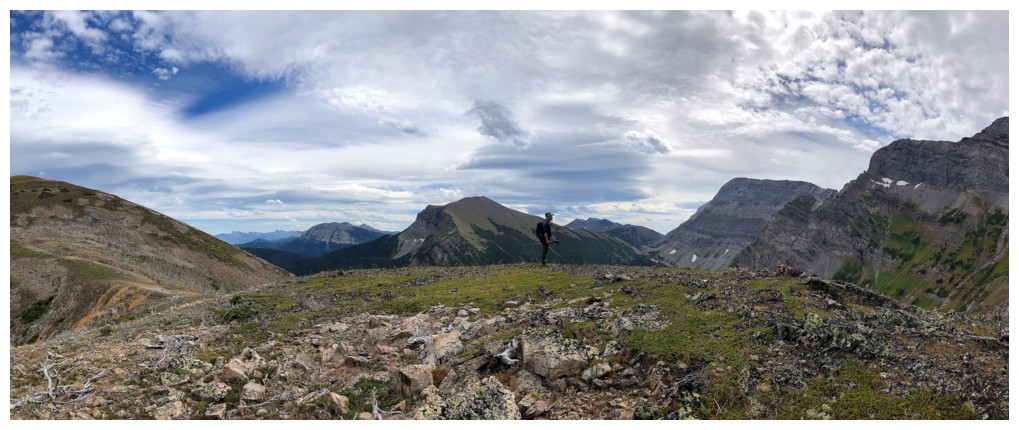
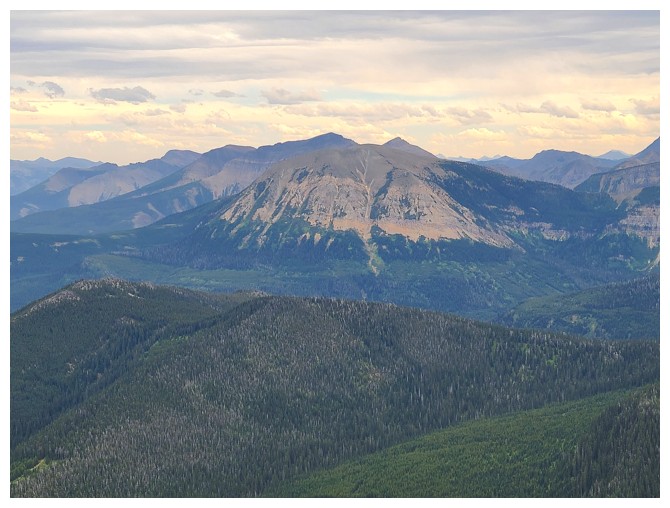
View to the south includes Darrah SE4 at the left (photo by Dave)
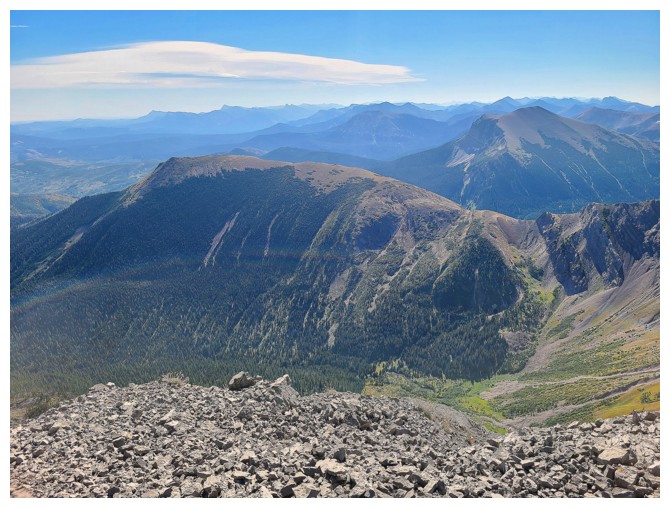
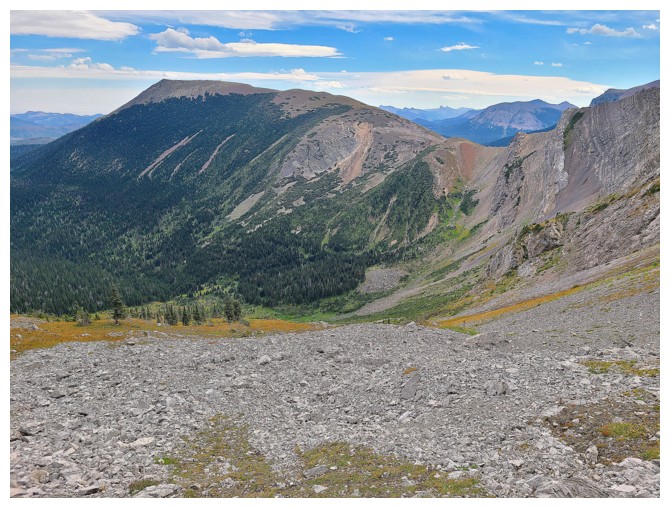
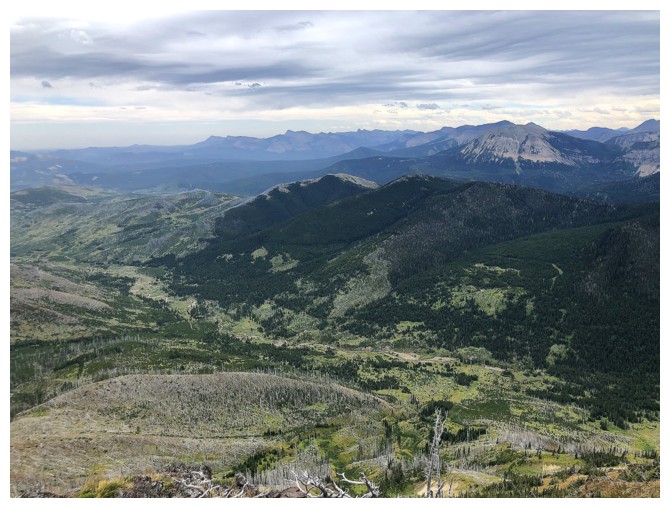
View to the north includes foothills, forests and Mount Darrah (photo by Dave)
Centre SE1, Centre N1, and Centre Mountain (photo by Dave)
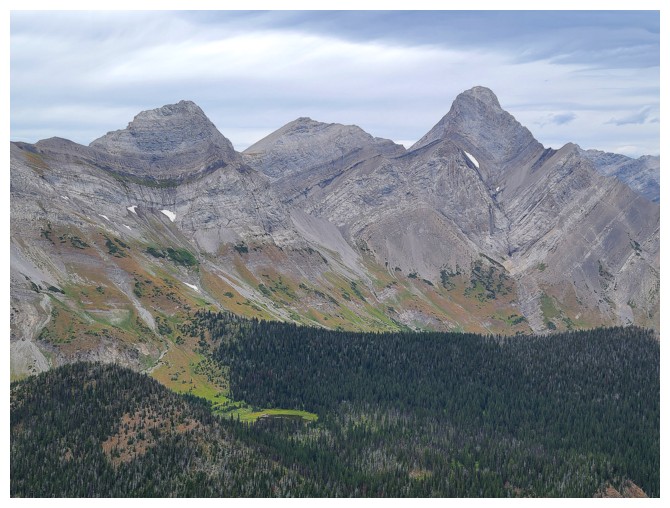
Closer look at Darrah SE4 (photo by Dave)
Closer look at that scary ridge. Mount Corrigan behind (photo by Dave).
Hollebeke Mountain just left of centre - I definitely want a second run at that wonderful peak (photo by Dave)
Close-up of S2 (photo by Dave)
Close-up of Darrah (photo by Dave)
Another
amazing view to the south. Dave is certainly getting a ton of great
photos and I'm not even at the summit yet! (photo by Dave)
There's Dave
There's me. Dave probably feels an entire day older waiting for me! (photo by Dave)
My turn to photograph the same stuff
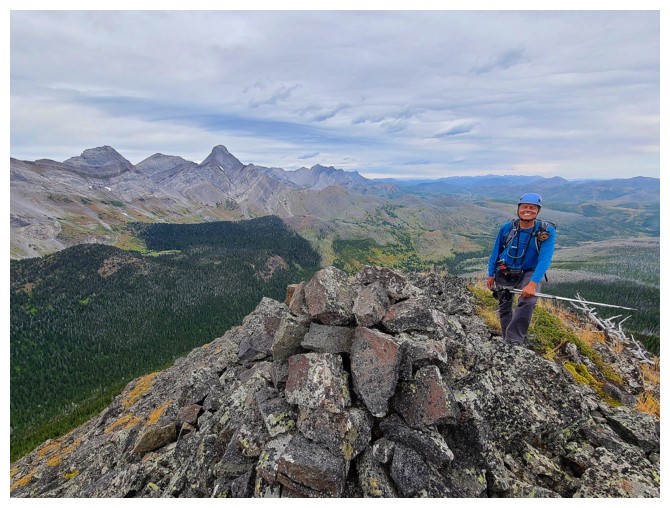
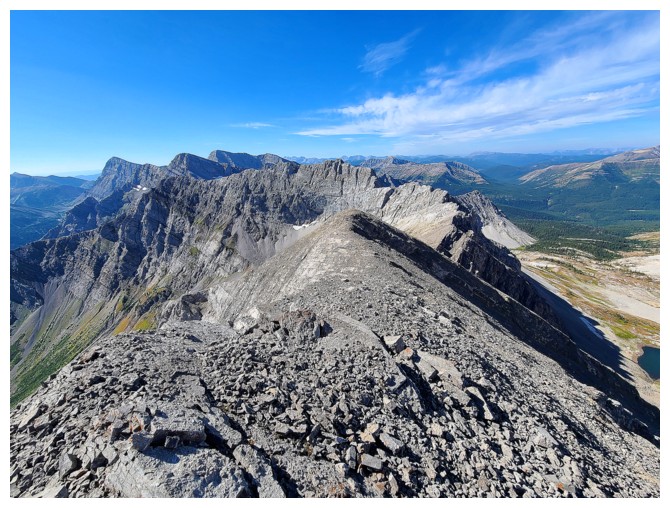
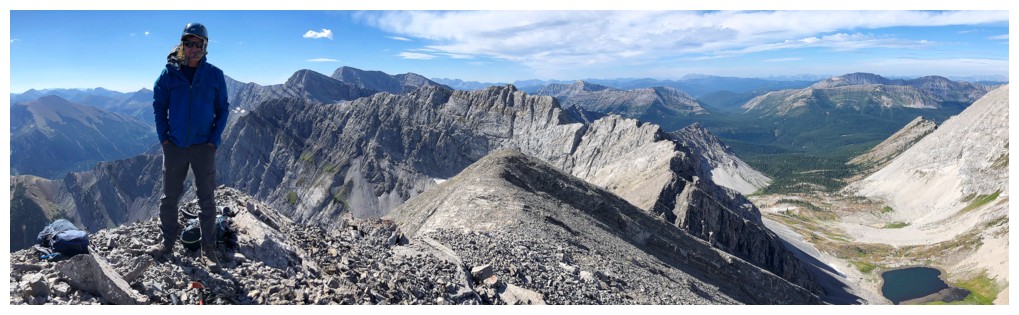
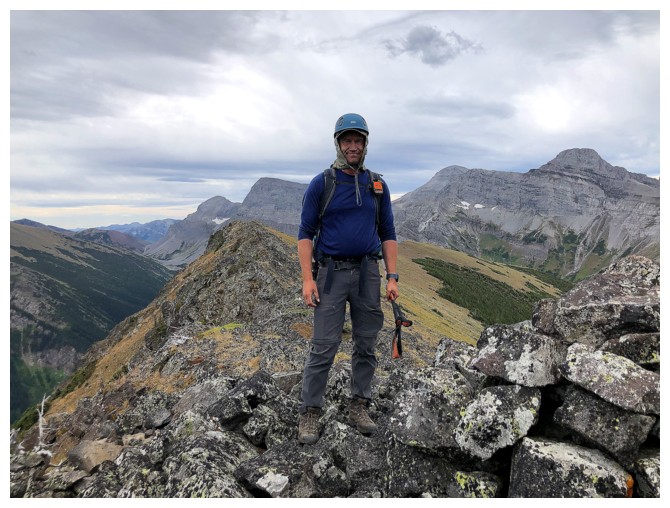
Summit view
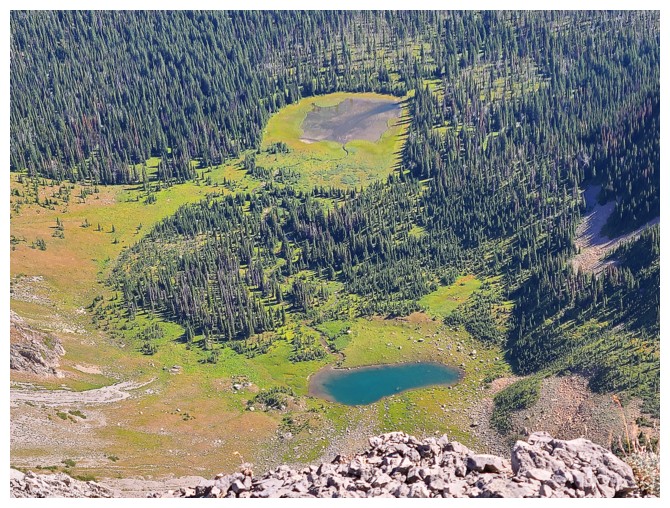
Two tarns northeast side of S3, though one appears to have dried up (photo by Dave)
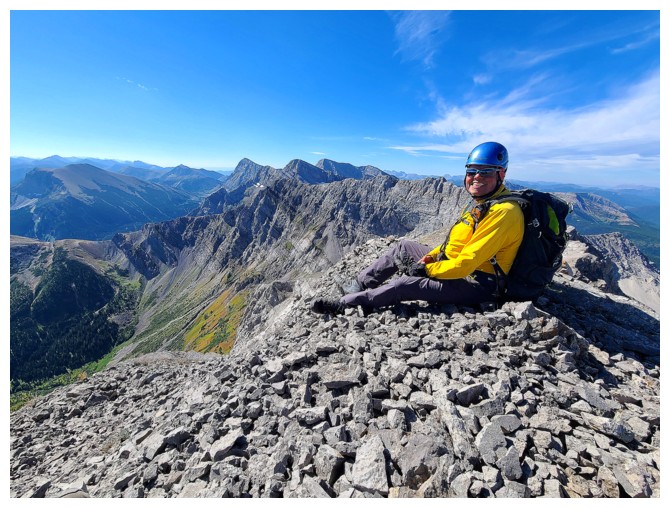
Pretty happy to be on this summit on such a beautiful day (photo by Dave)
Centre E3 ("North Kootenay Mountain") is another worthwhile ascent in the area (photo by Dave)
The
lake we visited after failing to make it up Darrah S2. Up close it was
a murky brown on that day (probably due to heavy rain the night
before), but looks considerably more appealing on this day (photo by
Dave).
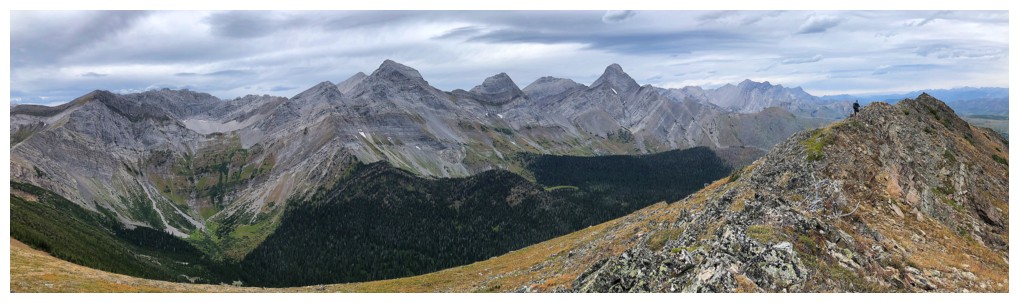
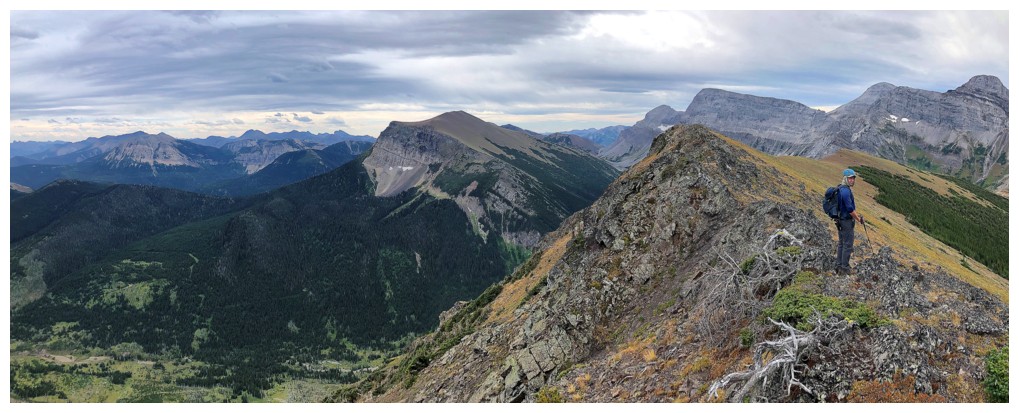
Dave and the view from the south to the west
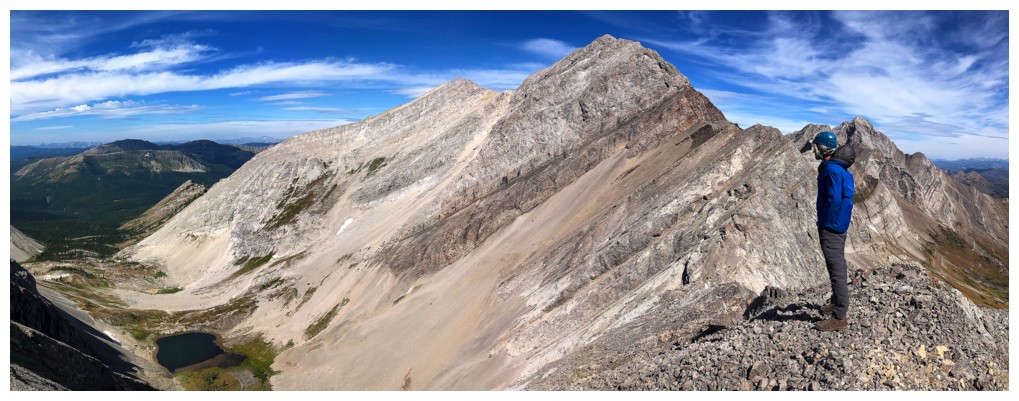
Dave and the view from the west to the north
Dave starts the descent
Heading back to the col because we wanted to run up the other side for a short distance
At the col
Neat rock and S2

Even though I left the summit first, I'm lagging behind again! S3 in the background (photo by Dave).
Dave at the highest point we reached on the other side
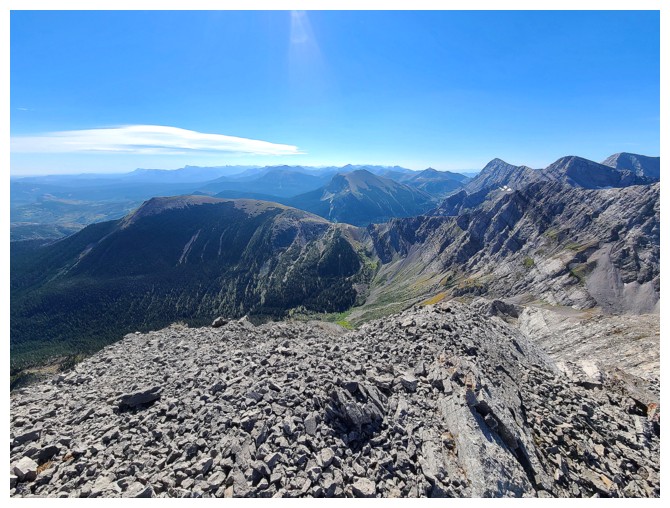
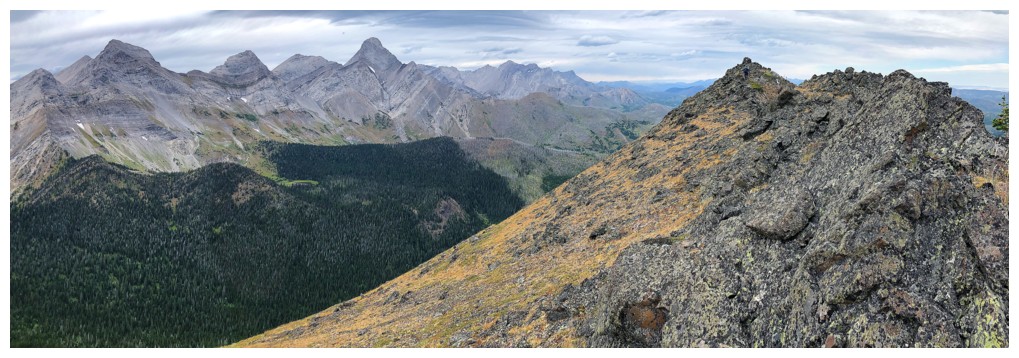
The view from that point
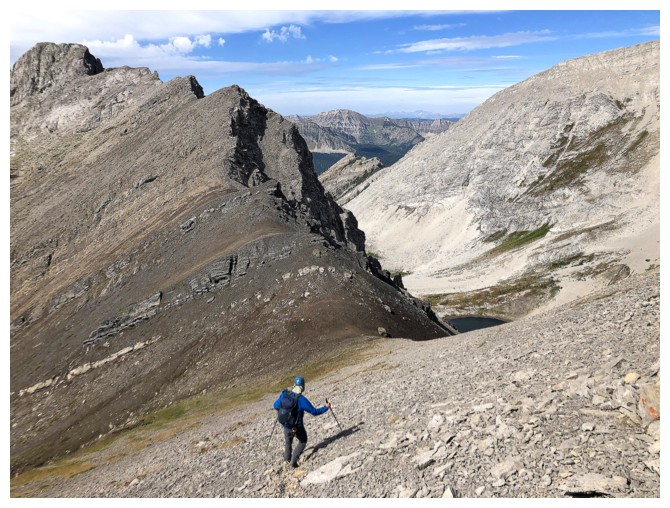
Time to return to the hanging valley below and the tarn
Definitely the remnants of a glacier (photo by Dave)
Almost there (photo by Dave)

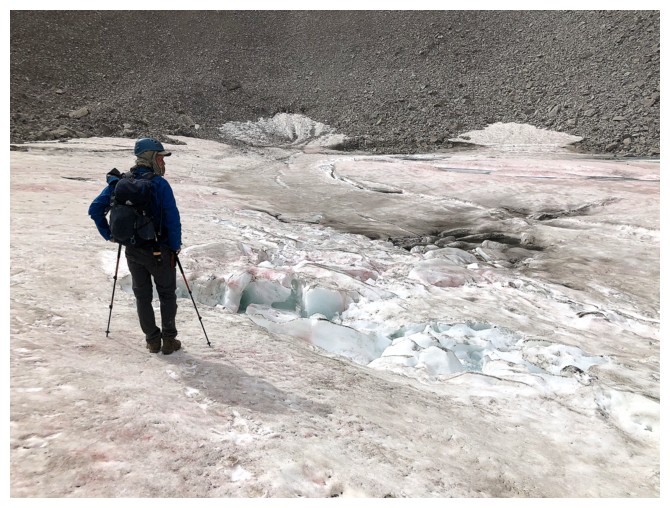
We spent a bit of time exploring the tarn (photo by Dave)
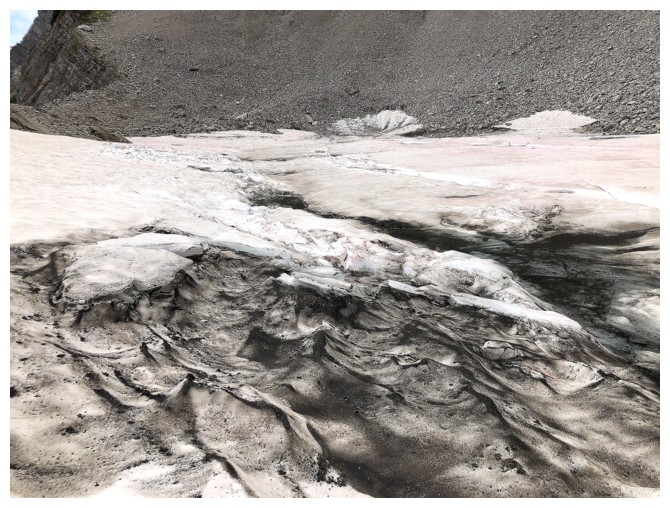
Dirty glacier!
Dave finds a cleaner section
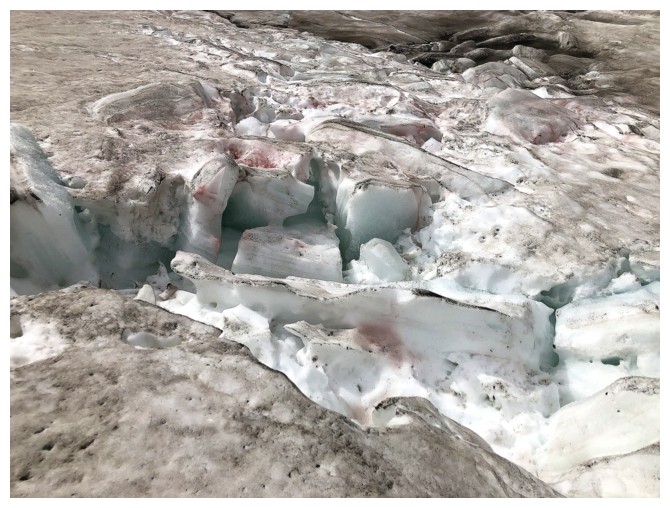
Close-up
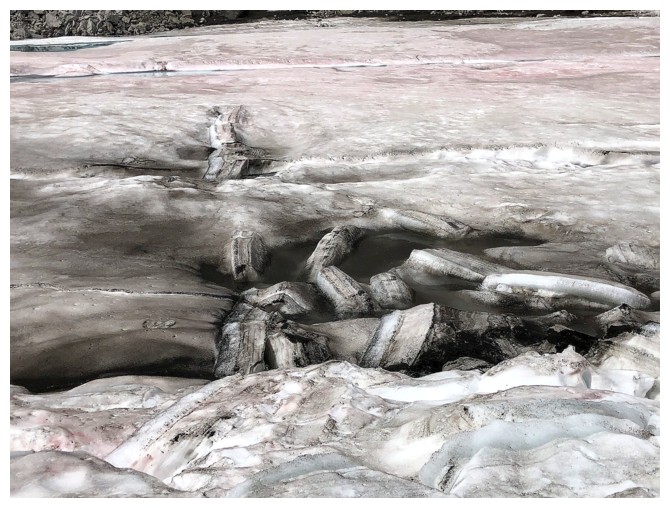
Back to the dirt
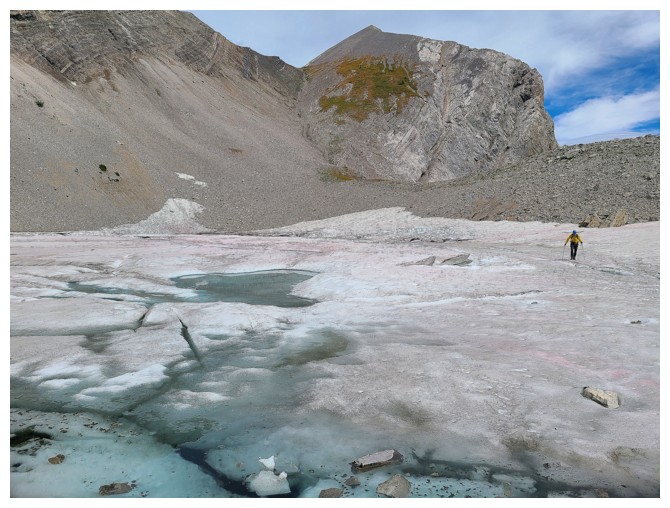
Crossing the tarn/glacier (photo by Dave)
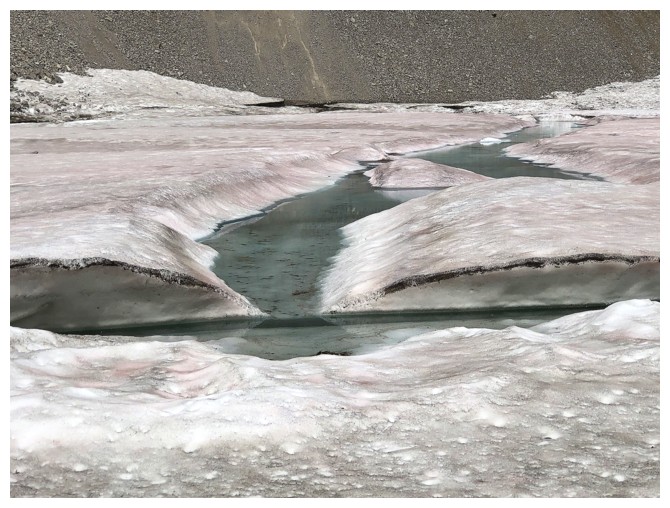
It is melting
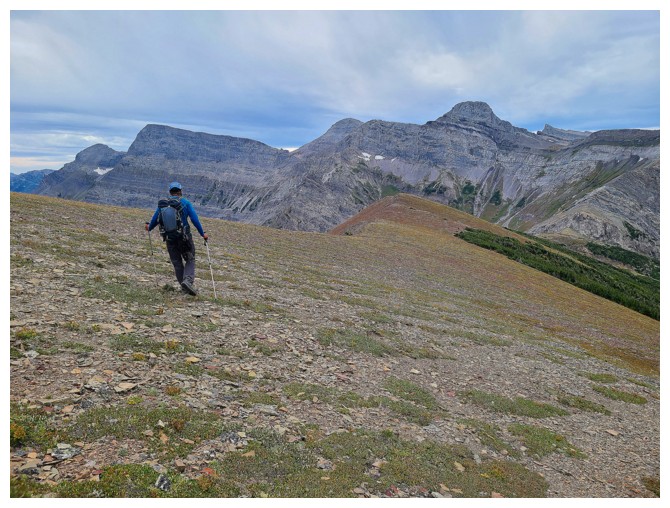
Darrah SE4 awaits (photo by Dave)
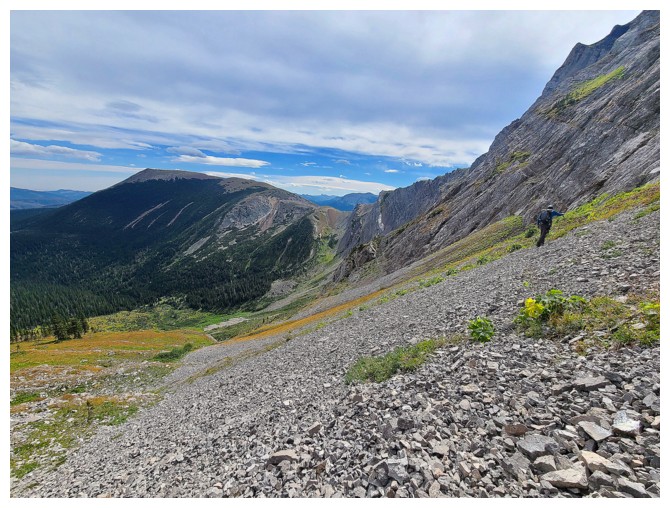
The start of a grueling, side-sloping traverse (photo by Dave)
Dave is still enjoying the traverse at this point
The colours and interesting terrain kept us entertained
Steep walls of limestone above
Looking back to S3
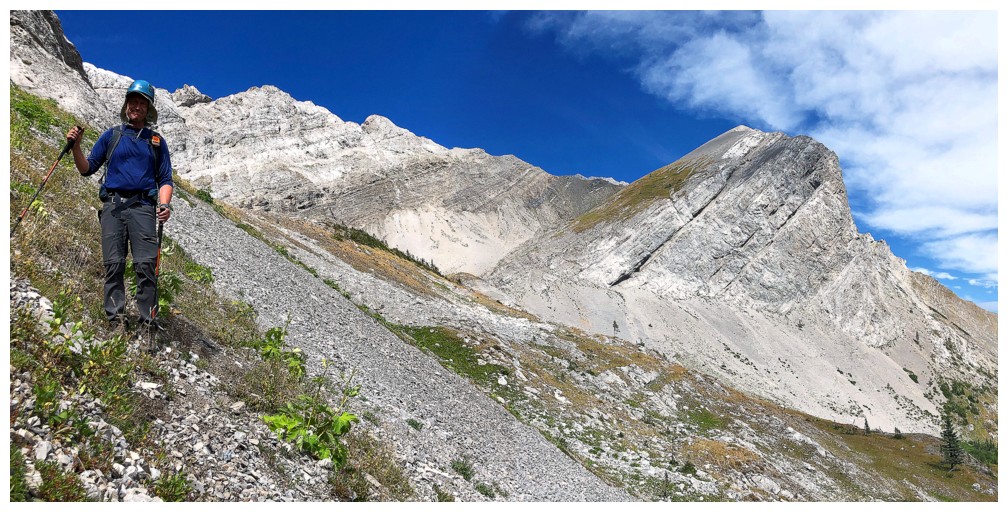
Dave loses a little elevation

Me too (photo by Dave)
S3 again and some the brush we had to contend with. The clouds were
interesting at this point, but completely overcast skies were on their
way.
My helmet is just visible, but the rest of me is in the bush (photo by Dave)

At this point Dave took a high route near the left, while I took a lower route near the centre (photo by Dave)
The terrain on the lower route was tedious at times
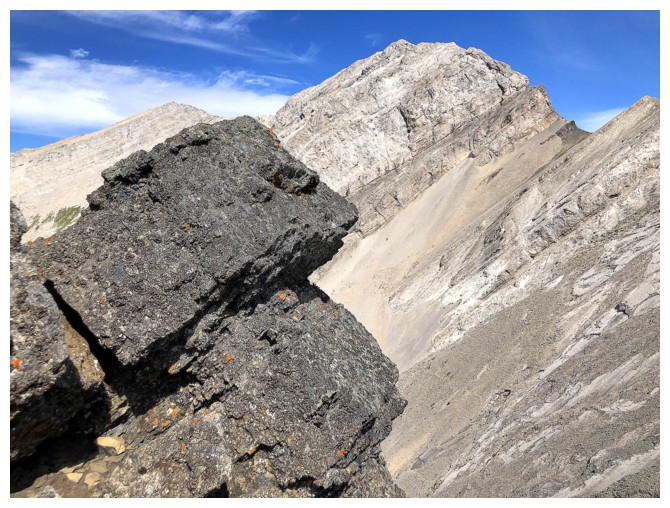
Had to distract myself by ogling S3
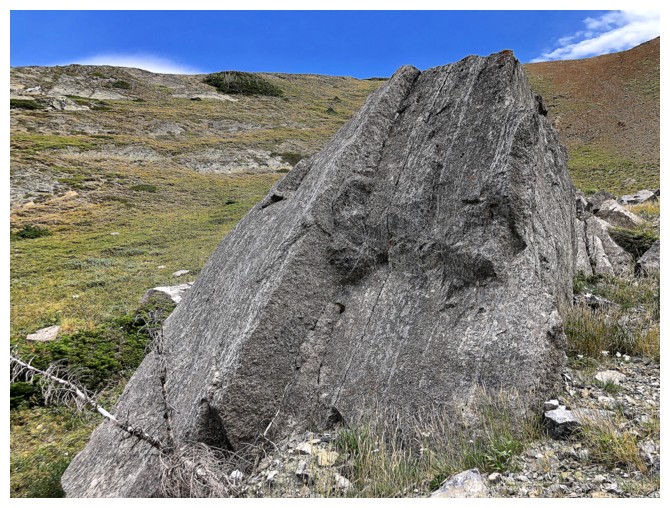
And this random chunk of rock
Dave has already gained the ridge and is just visible near the left
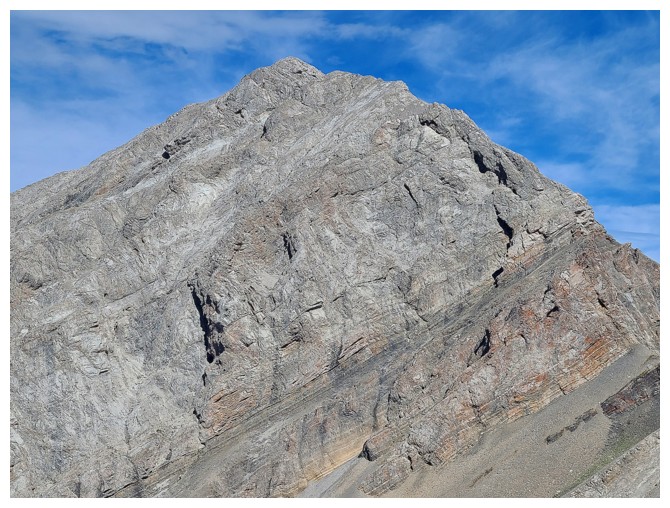
Definitely a bigger variety of rock on SE4 than S2
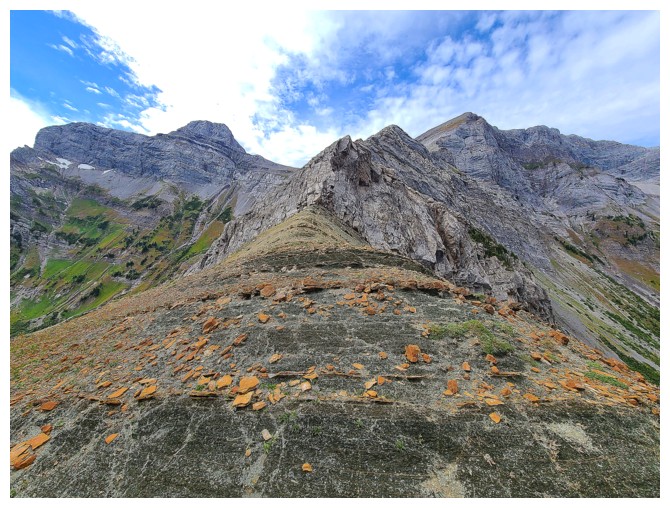
A significant rock band impedes progress to the west (photo by Dave)
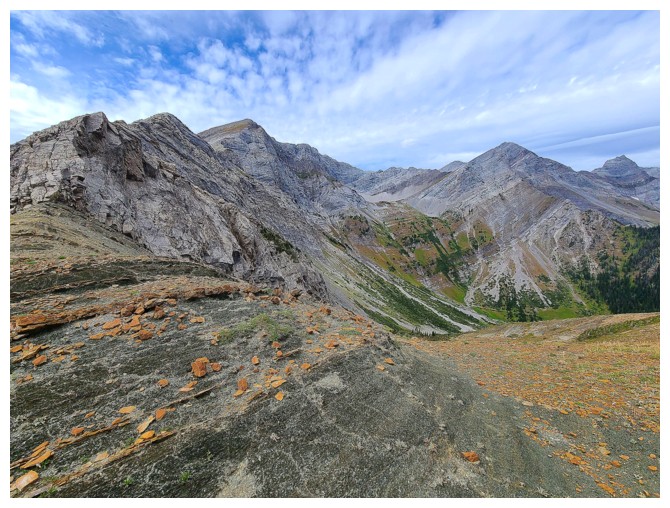
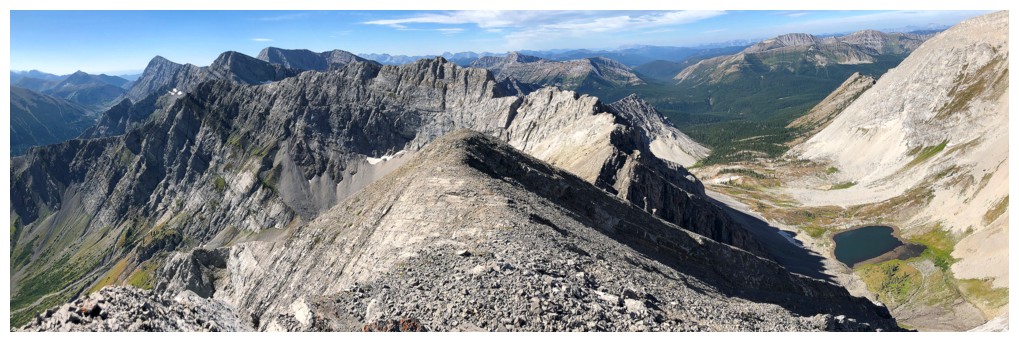
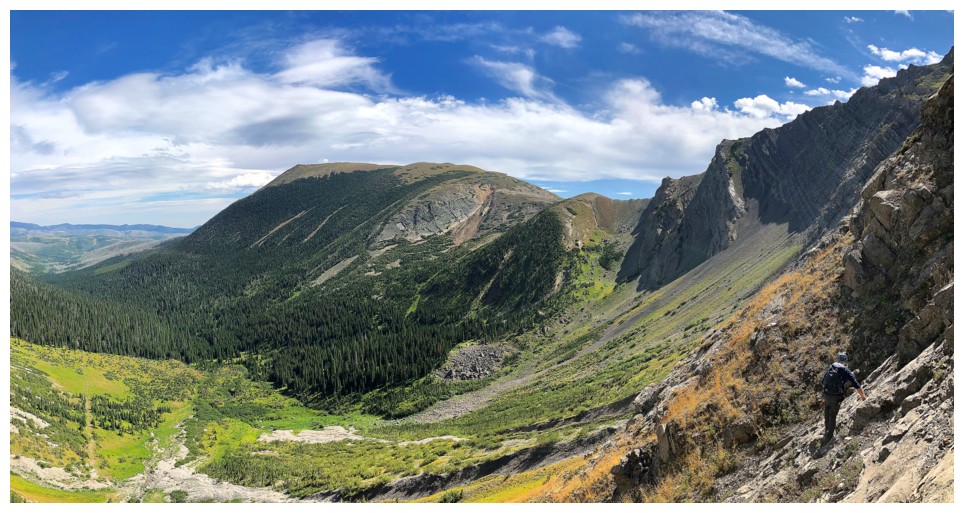
Nice overview of the area (photo by Dave)
As stated, the rock is noticeably different on SE4 (photo by Dave)
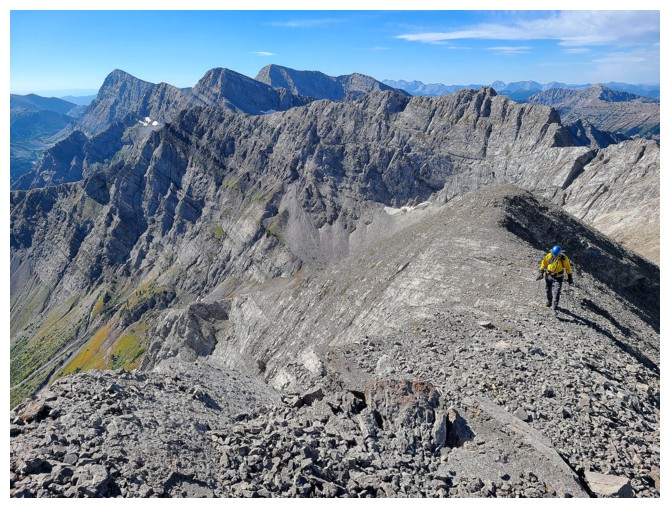
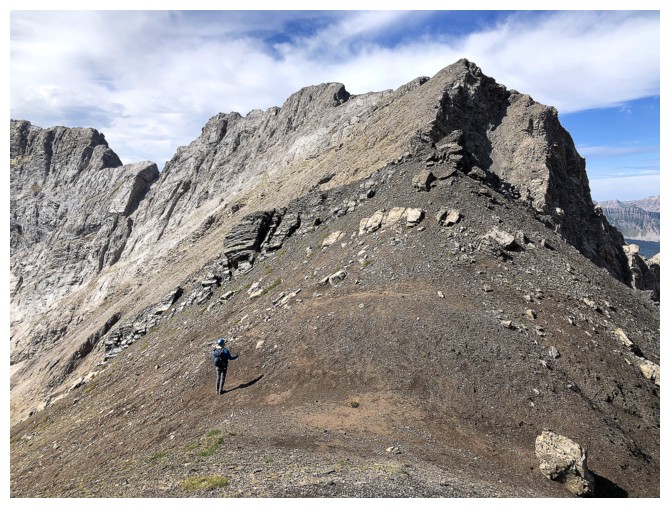
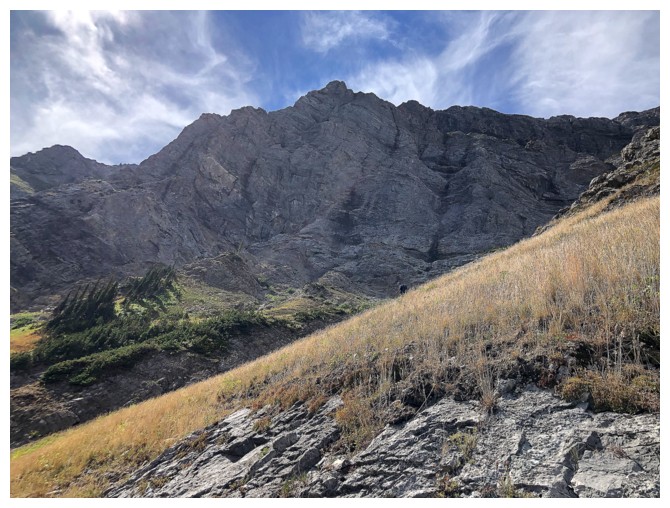
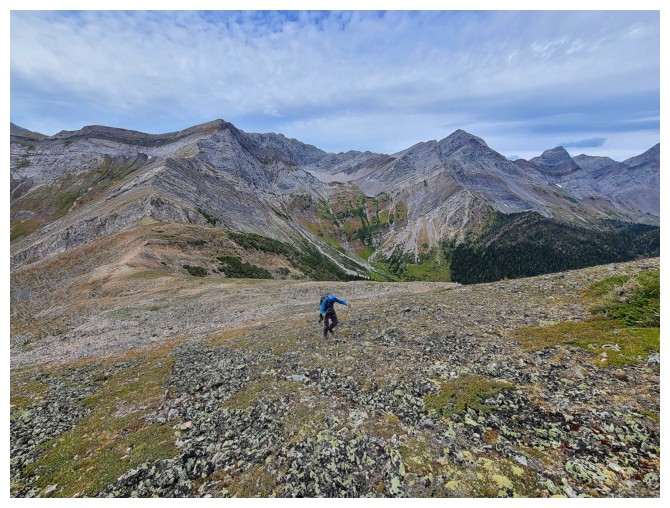
I'm still labouring up steep slopes to the ridge
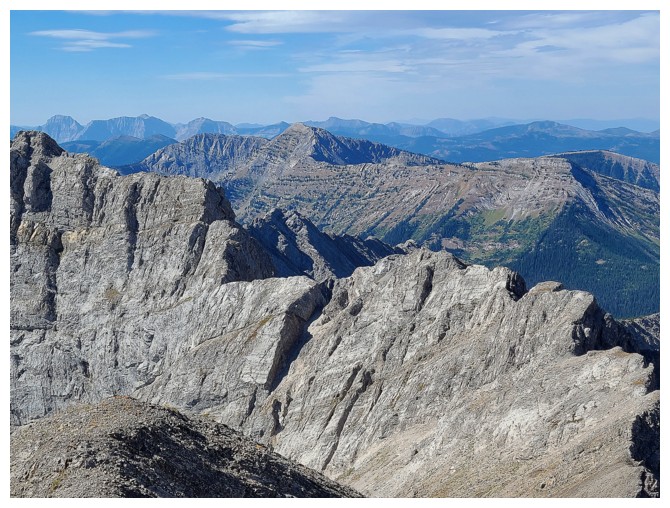
Many of the Centre Mountain and Mount Darrah outliers
Dave waited for me again
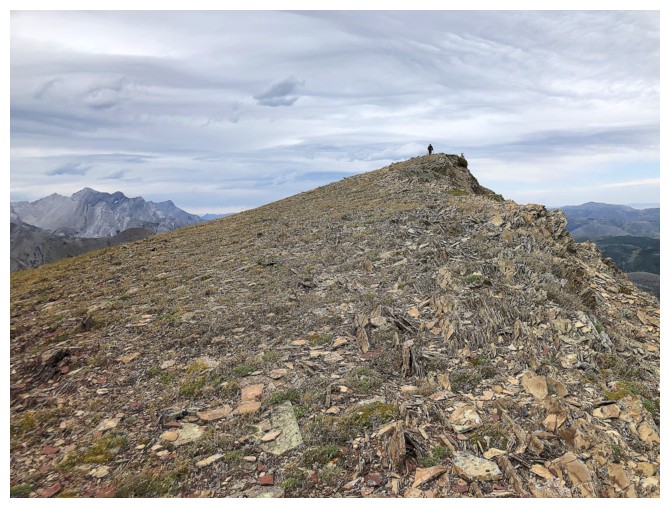
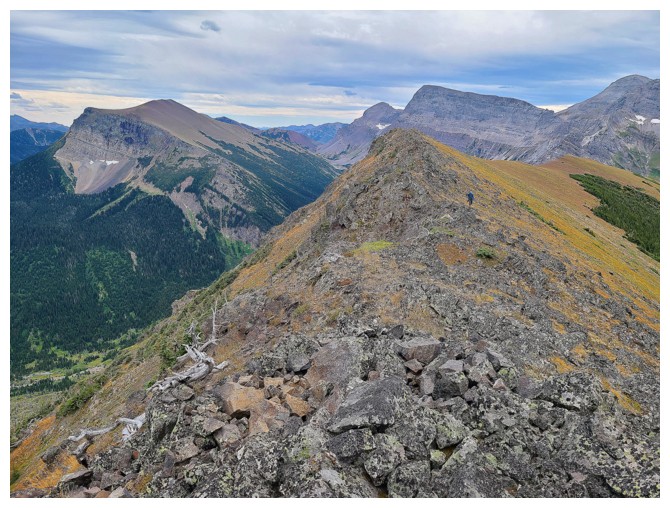
The ridge to the summit is very wide and very easy
And occasionally interrupted with bands of colourful rock
Too bad about the overcast skies here
Looks like I'm still labouring! (photo by Dave)
The ridge is quite long though
At a false summit (photo by Dave)
North Kootenay Mountain is much closer now (photo by Dave)

Dave hikes across the increasingly colourful ridge

North Kootenay and the swath of red argillite on SE4. North Kootenay has the same band of red rock on its north side too.
Dave is almost at the summit
I am not (photo by Dave)
Dave completes the ascent
Final section of the ridge is not as wide and easy
Dave's view of me as I complete the ascent (photo by Dave)
Darrah and its outliers (photo by Dave)
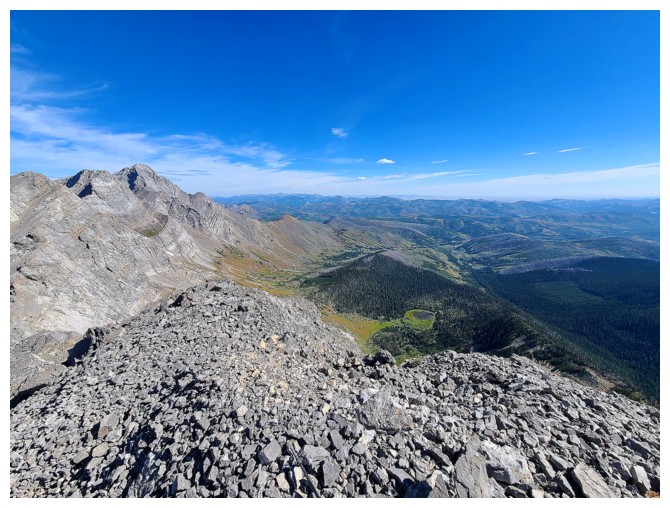
Summit view
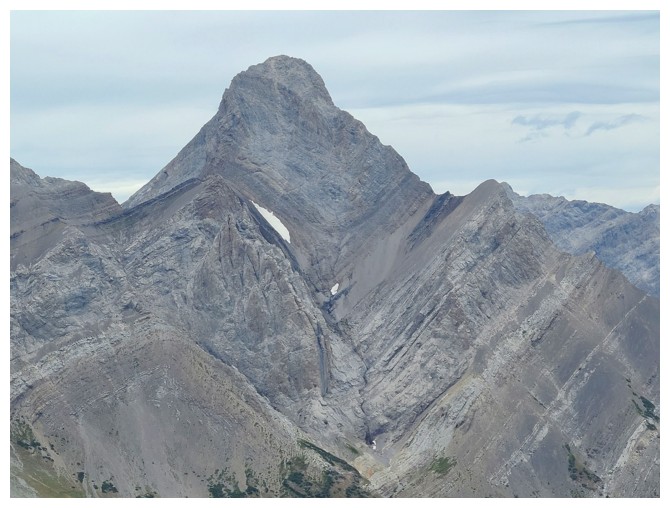
Great close-up of Mount Darrah (photo by Dave)
South Lost Creek lies on the south side of SE4 and could potentially also be used to access SE4 and North Kootenay Mountain
Mount McCarty - not high on my priority list but I hope to try someday (photo by Dave)
Darrah S3 and S2 (photo by Dave)
Dave at the summit
Same as above
Heading home (photo by Dave)
Same as above
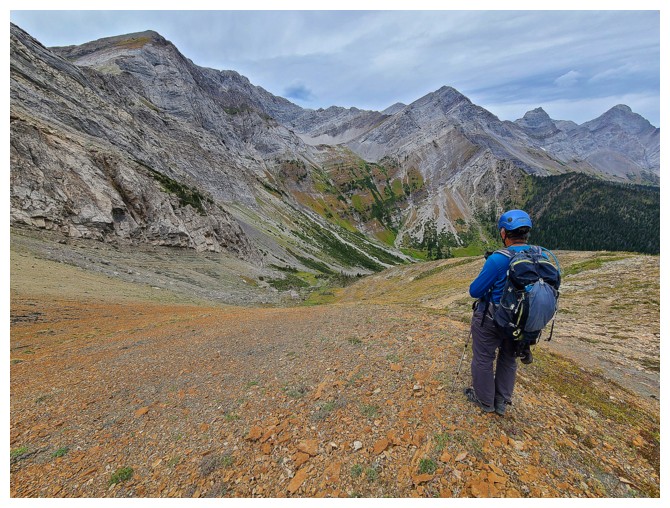
Ready to lose a big chunk of elevation (photo by Dave)
Darrah S2 keeps us company
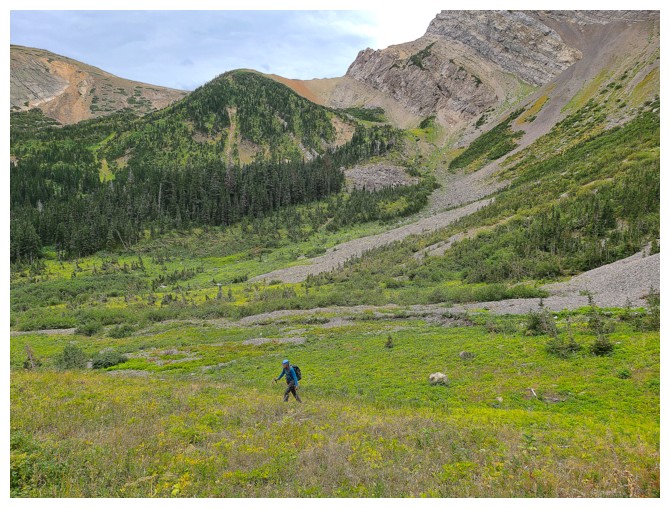
Crossing the lush, green meadows between S2 and SE4 (photo by Dave)
Back on the bike (photo by Dave)
Final few hundred metres of a stellar day (photo by Dave)
The End
LOG