South Totem Peak
July 24, 2022
Mountain height: 3065 m
Elevation gain: 1700 m
Round-trip time: 8:50
Scrambling with Mark.
After two recent and totally awesome
trips up peaks near Totem Creek (Spreading Ridge and Corona Extra), it was time
to pick a bigger objective in the area. South Totem Peak fit the bill and had
been on my to-do list for several years.
In short, the disappointing weather
really took the bite out of the trip. Clear skies were forecast but
overcast is what occurred. The summit view would have been remarkable on a
clear day. Given this is what we expected, “disappointing” is the only word
that can describe what we got.
The crux of the trip was definitely
getting across Totem Creek. After some fierce bushwhacking dodging avalanche
ravaged deadfall, we ended up well upstream, before finding a place where the
creek was not a raging deathtrap! Also, it was at this point that the clouds
moved in and my usually amiable demeanor moved out.
We plodded slowly up to the false
summit, enjoying the surprisingly good footing, but not the overcast skies.
Nevertheless, only whiteout conditions could render the view a bad one of this
area of the Rockies. Beautifully colourful lakes and striking peaks abound here
and we were getting to see all of that – just a slightly muted version.
From the false summit, the true summit
is about 50 horizontal and only a couple of vertical metres away but separated
by a notch. Without snow and ice, the notch appeared to be inconsequential.
However, such was not the case on this day, and we decided against going over.
After a substantial break, hoping the
clouds would clear (they didn’t) we followed the north ridge down, hoping to
get a decent view of the amazing lake I had visited on that recent ascent of Corona
Extra. Once again, the good footing, this time in the form of very surfable
scree, was a more than pleasant surprise. We did get that view, then
traversed back to the ascent route and followed it back, pretty much exactly
the way we came up.
Not the mind-blowing trip we expected (solely
because of the cloudy conditions) but still an excellent day out.
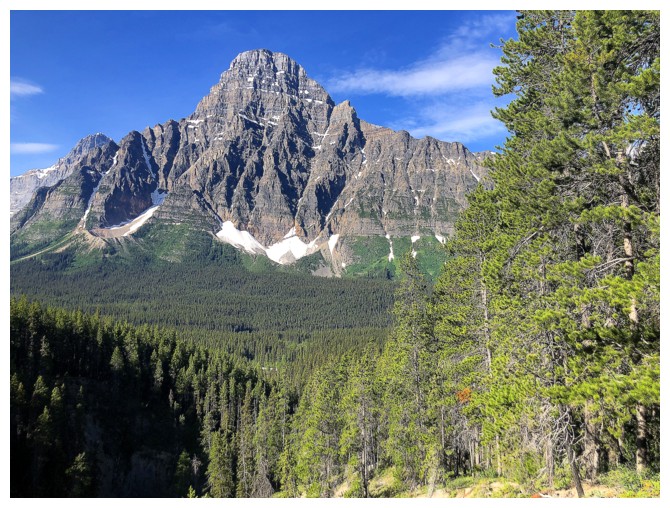
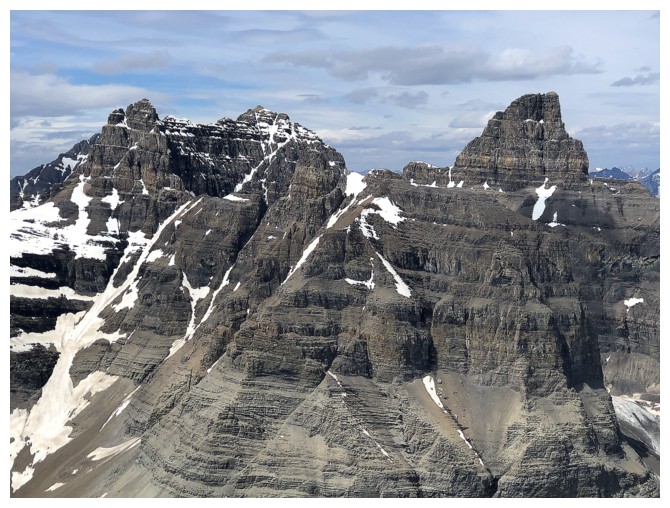
The intense east face of Mount Chephren will always be a show-stopper
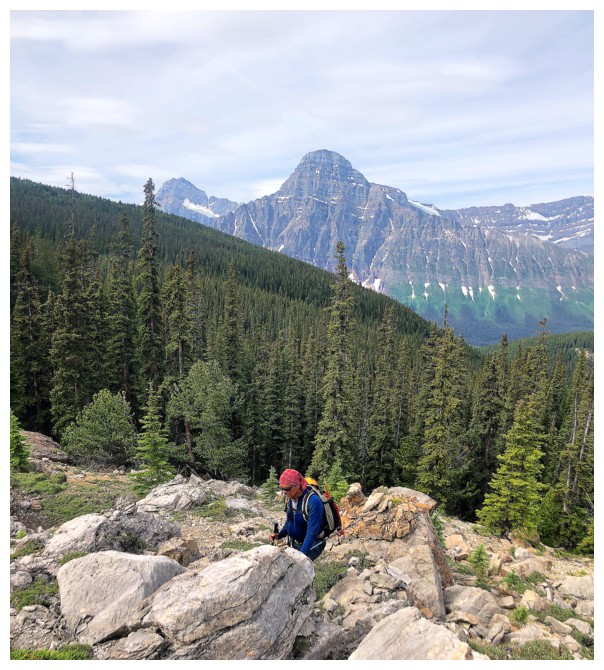
First view of the objective, just right of centre
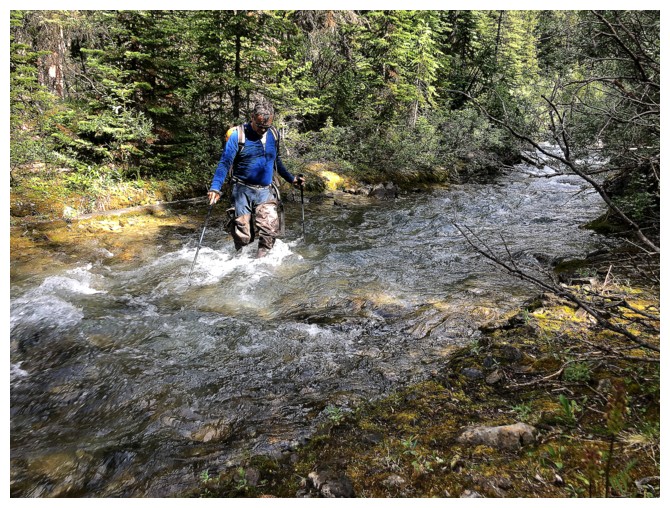
Mark crosses the Totem Creek
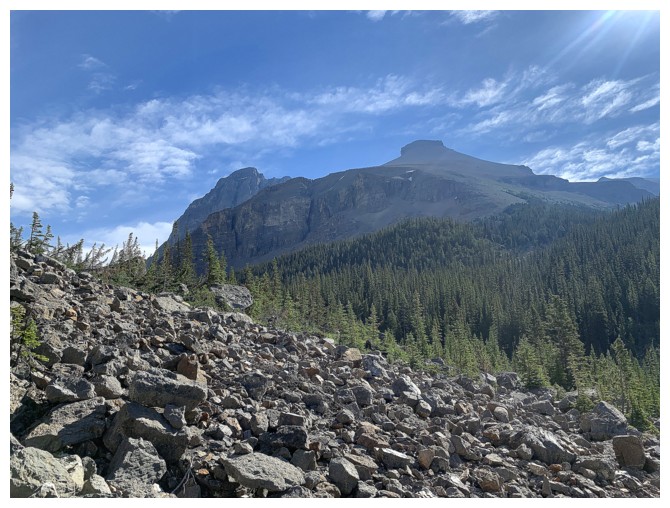
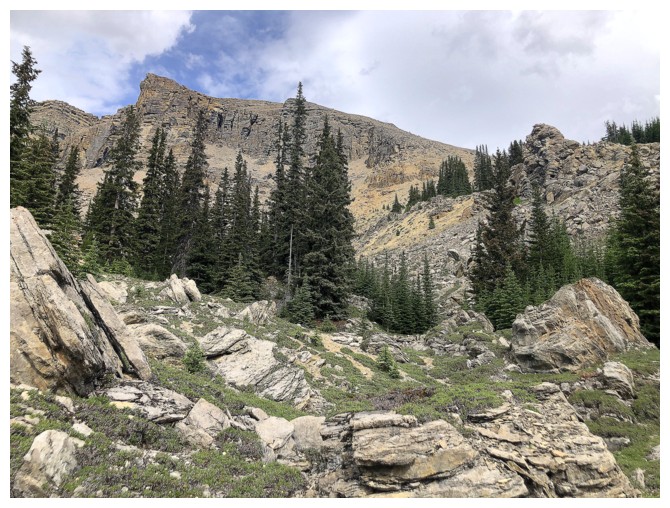
Out of the trees
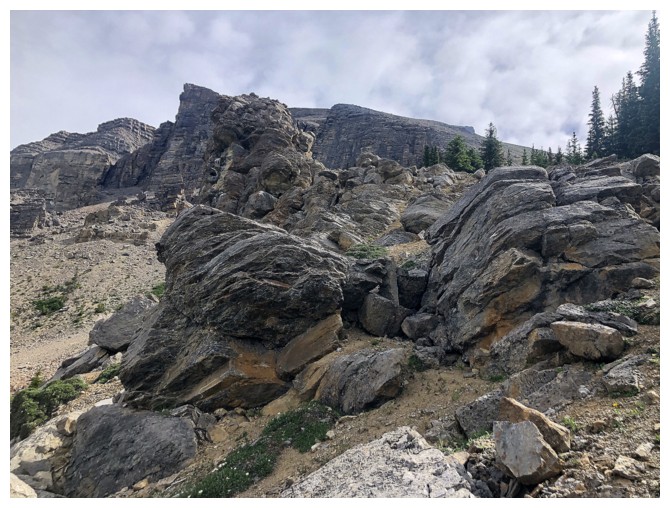
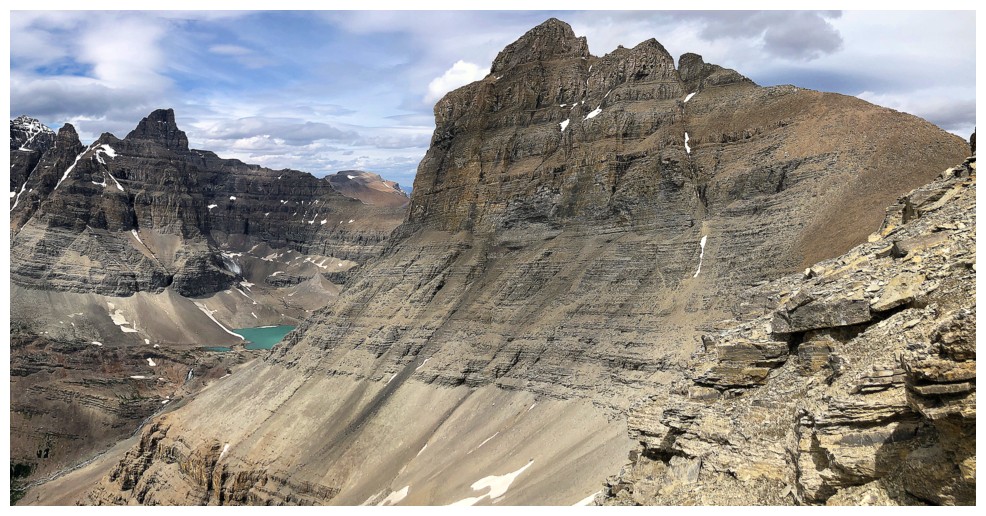
Very interesting terrain to get to the main ascent slope
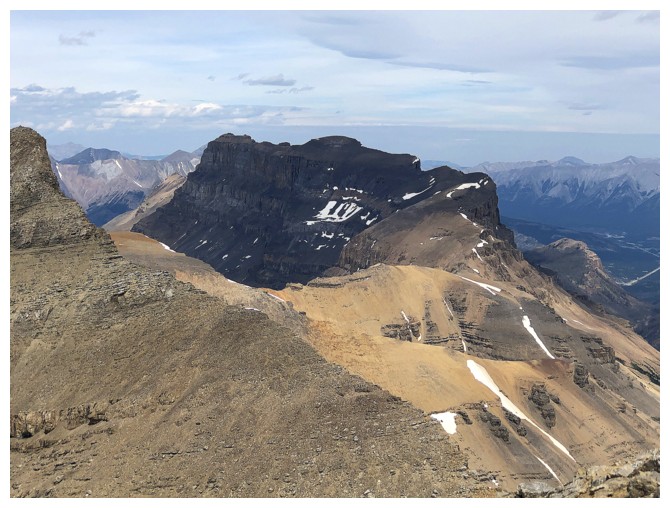
Bison Peak to the north

A bunch of the Murchison Towers join Bison

Same as above but much farther upslope
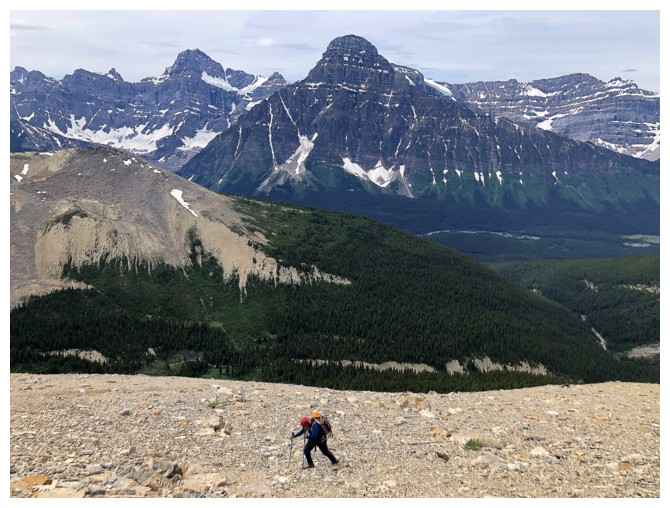
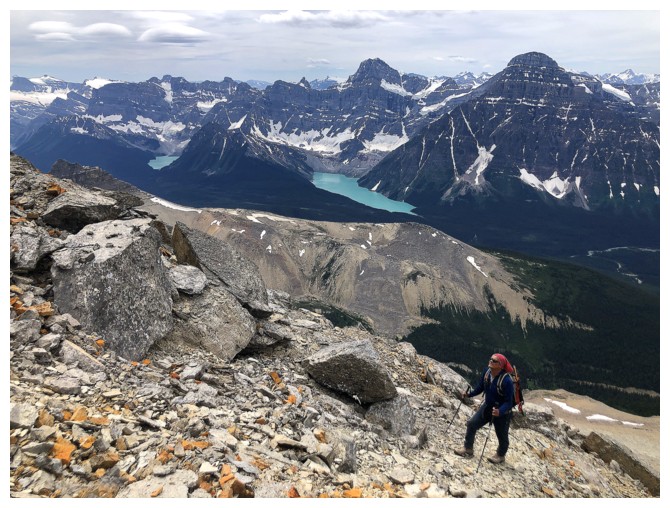
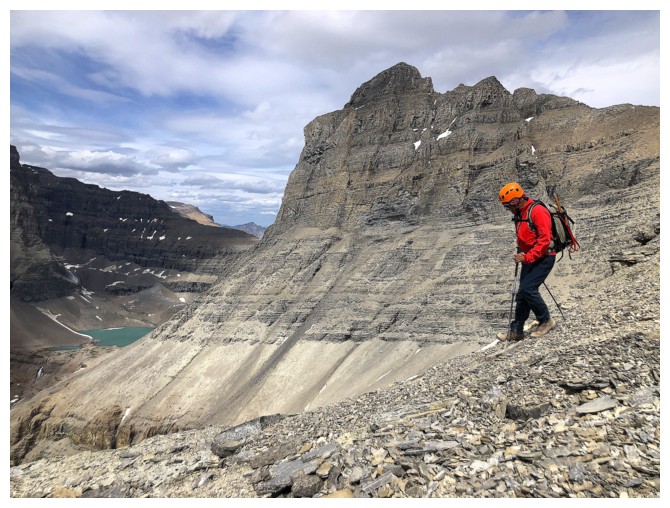
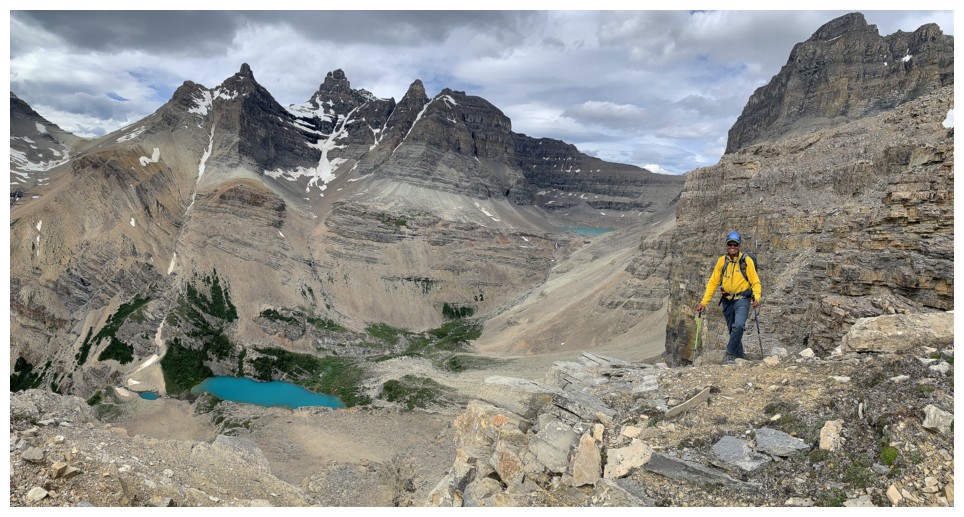
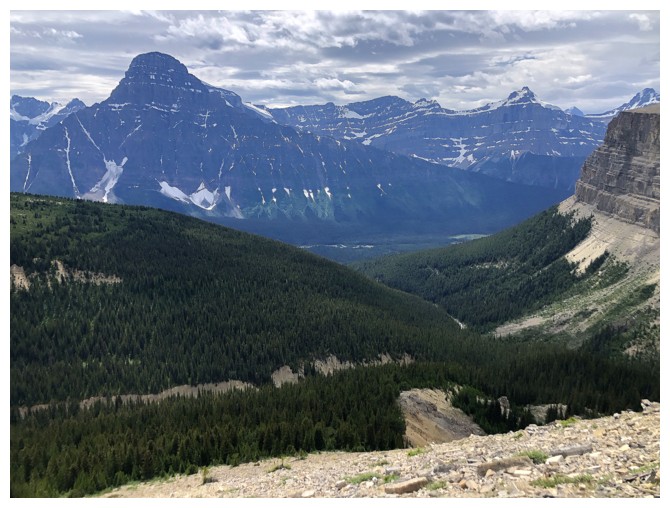
Slogging upslope with great, but disappointingly cloudy views to the west
The "interest" has gone!
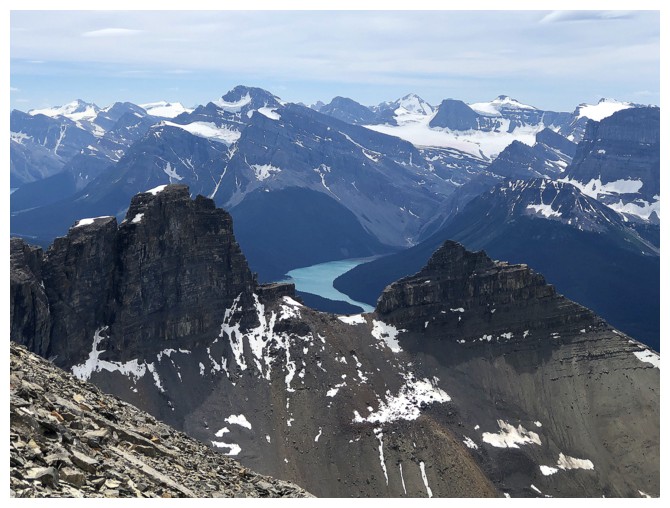
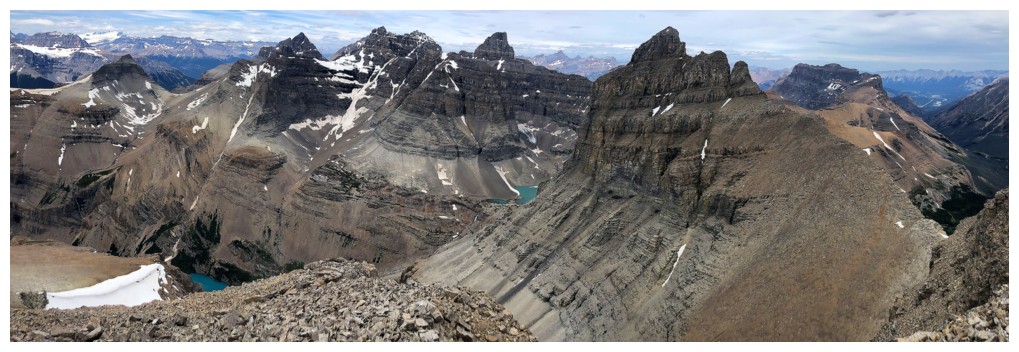
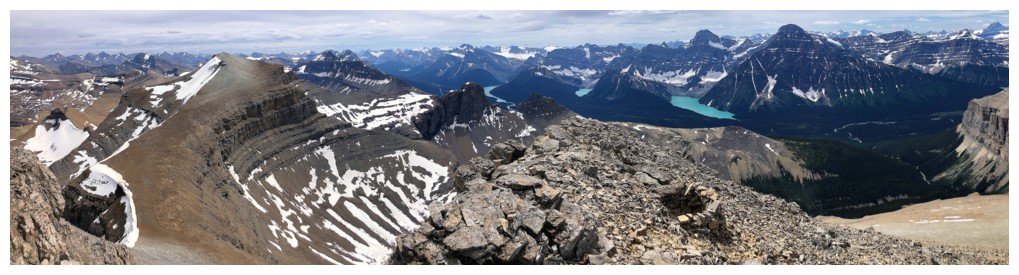
Mistaya Lake through the two southeast outliers of Spreading Ridge or the southwest outliers of Spreading Peak
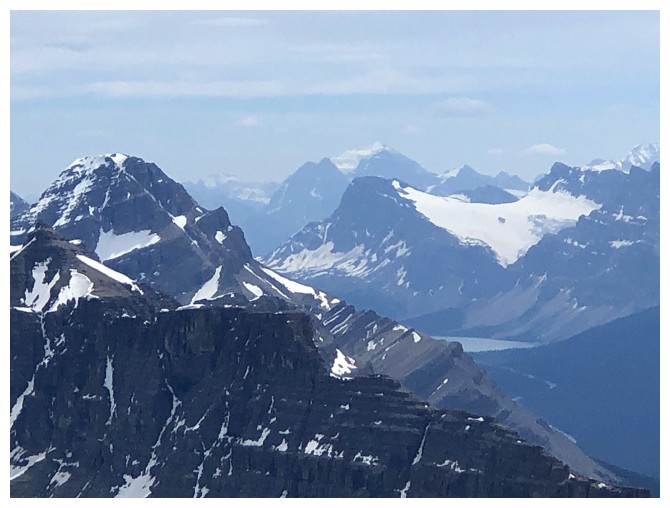
Chephren Lake below Howse Peak and Mount Chephren
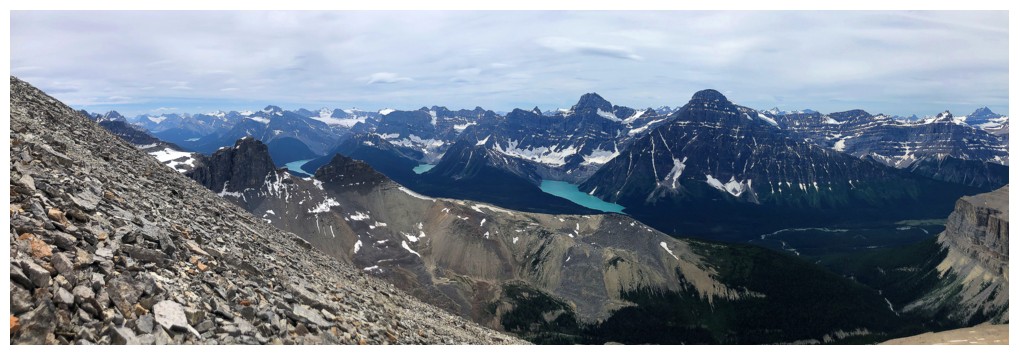
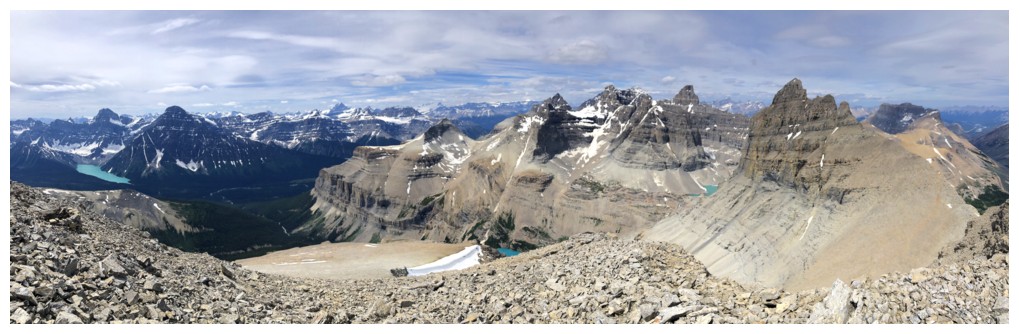
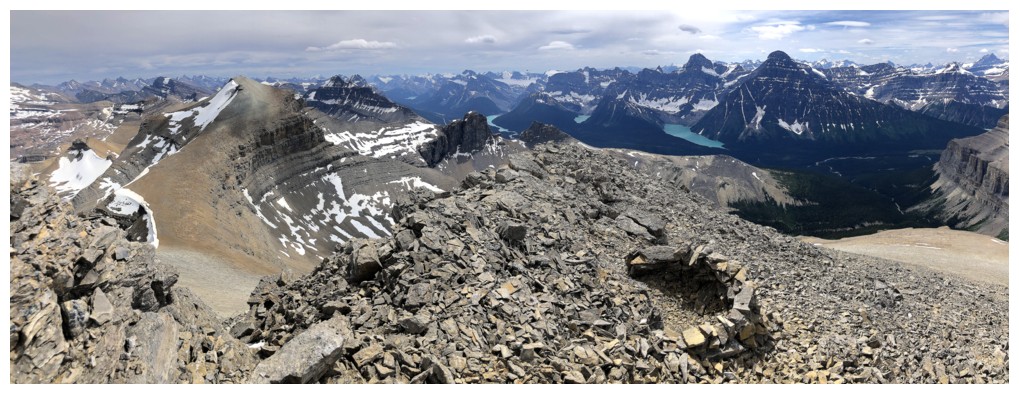
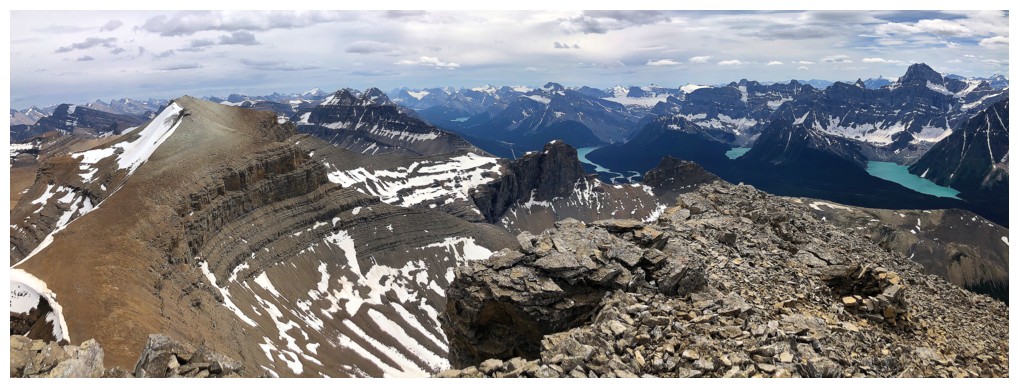
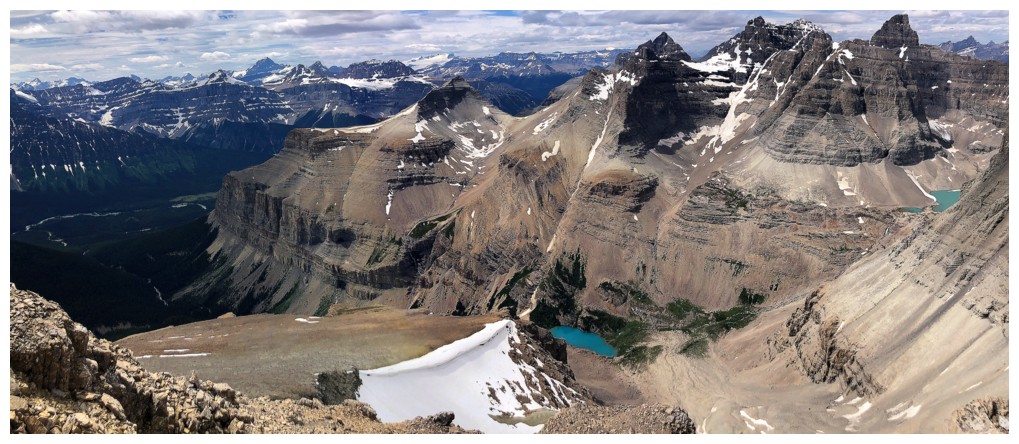
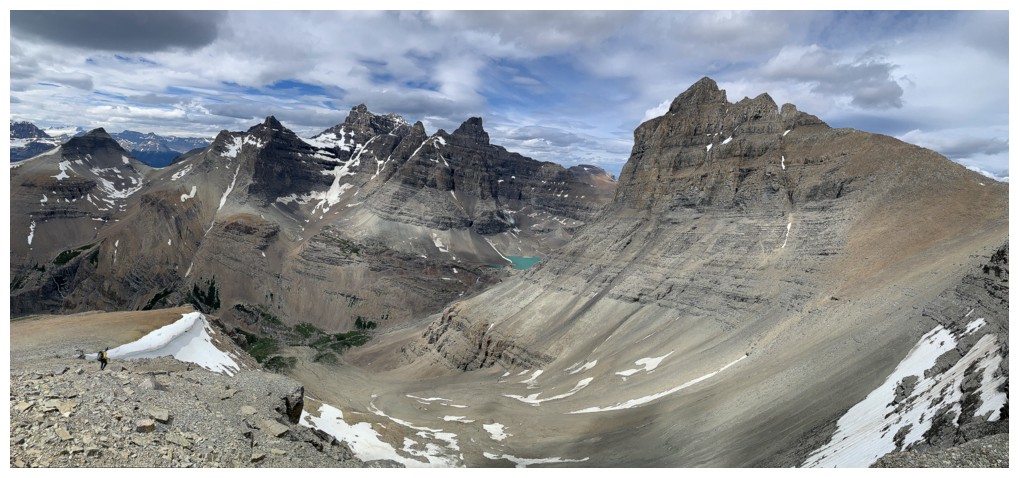
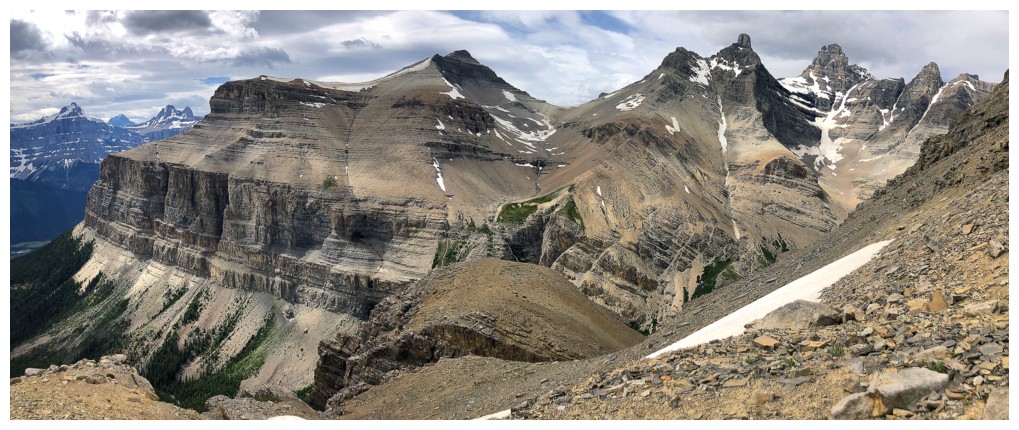
Pano of the view to the southwest and west
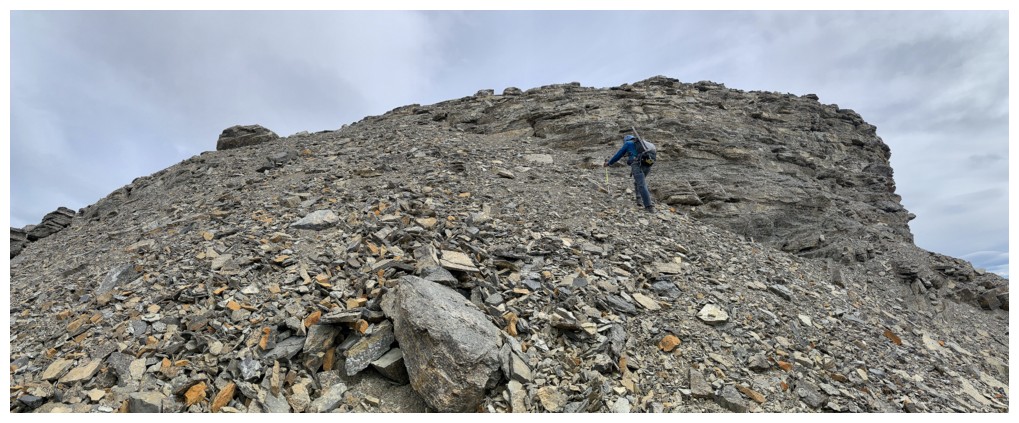
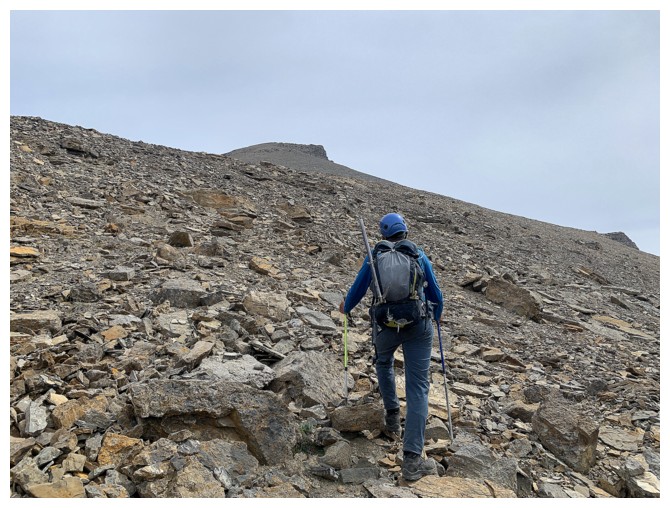
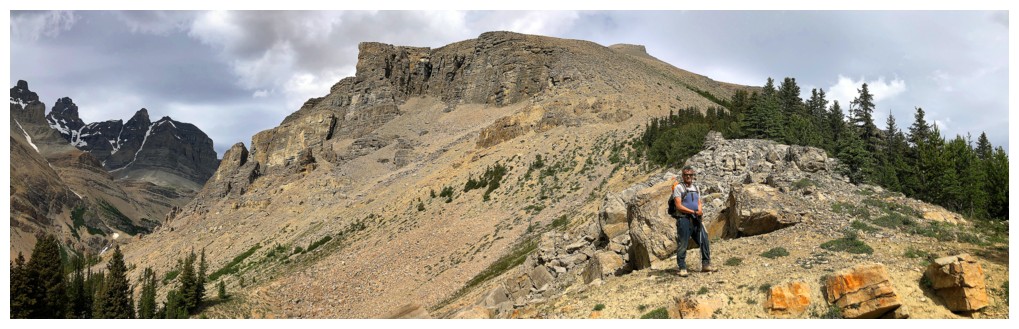
Getting close to the top
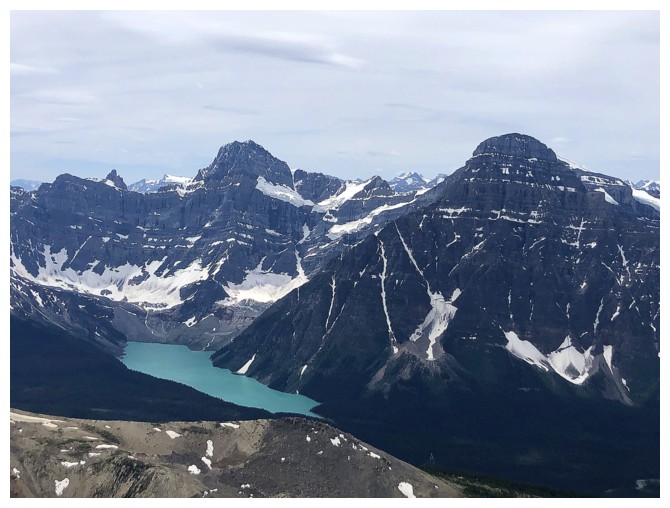
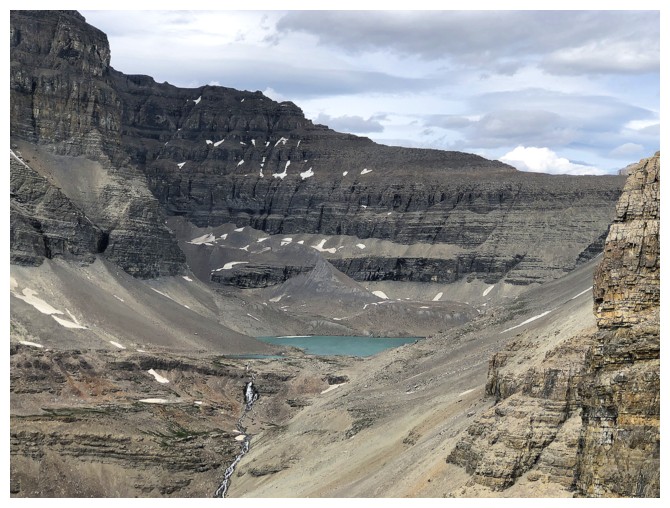
Cirque Lake appears at the left
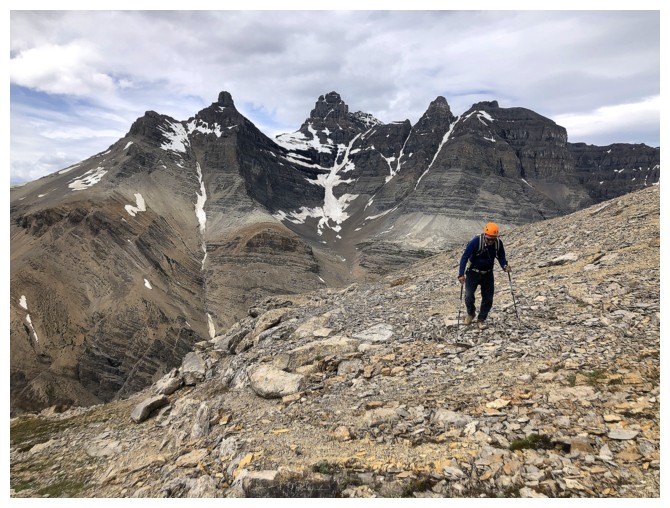
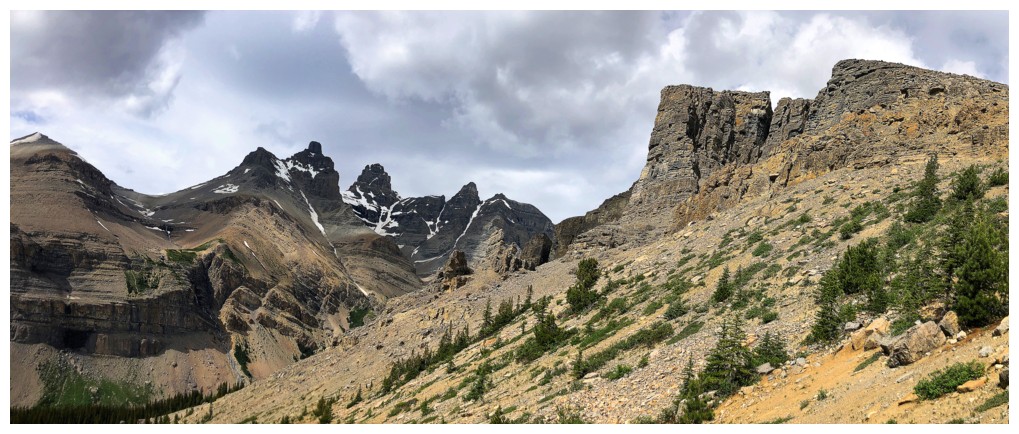
First view of Spreading Peak - not in the cards for this day
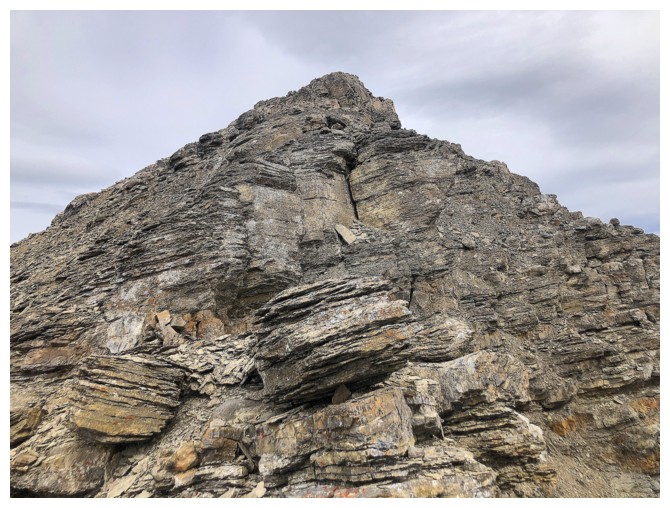
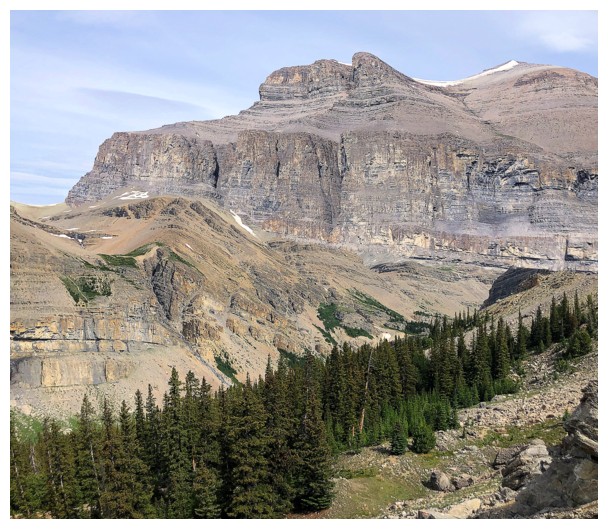
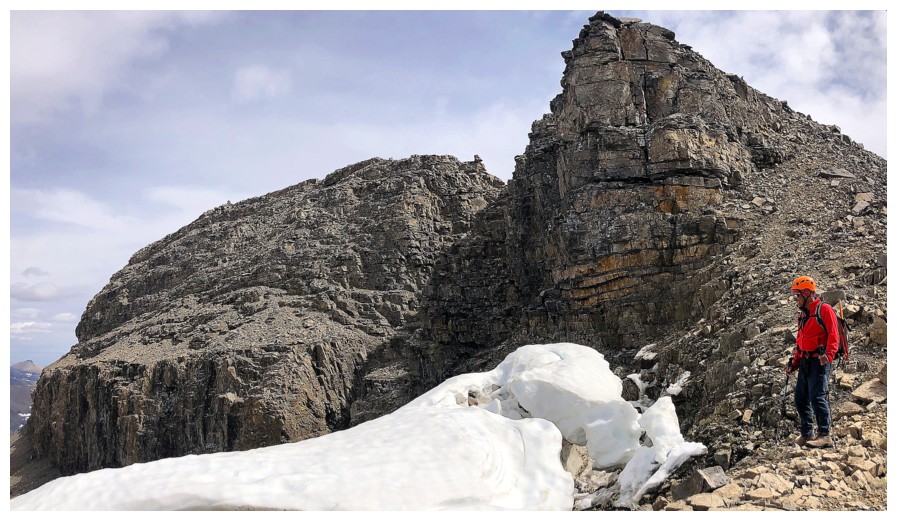
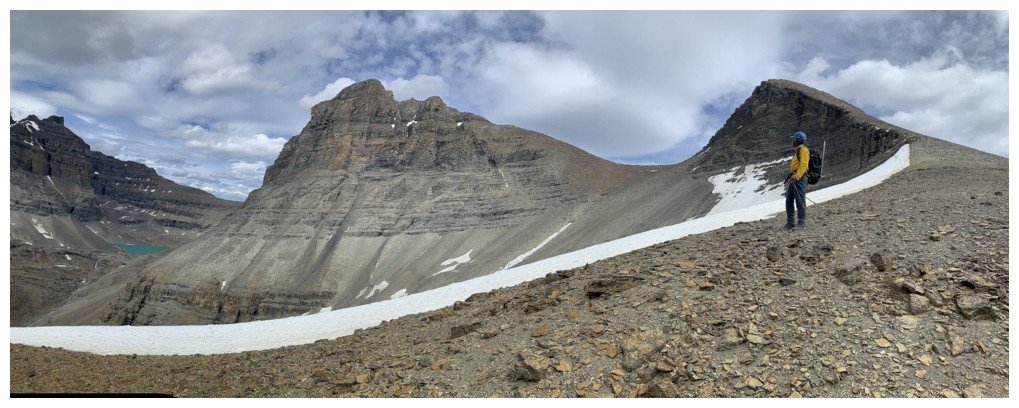
The upper section of the mountain
Some boulders near the top
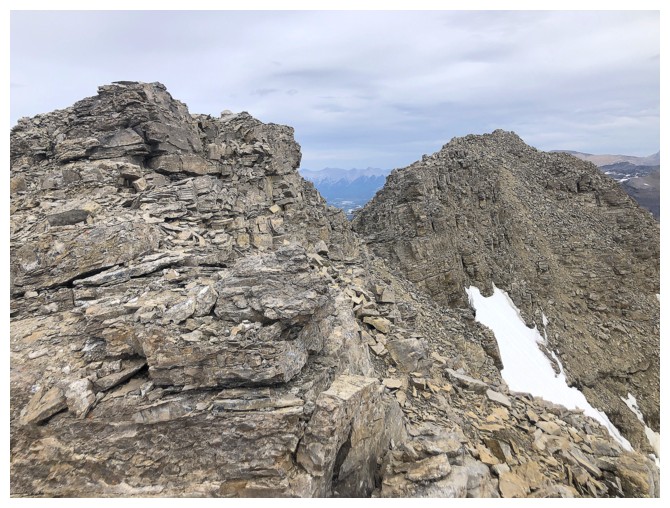
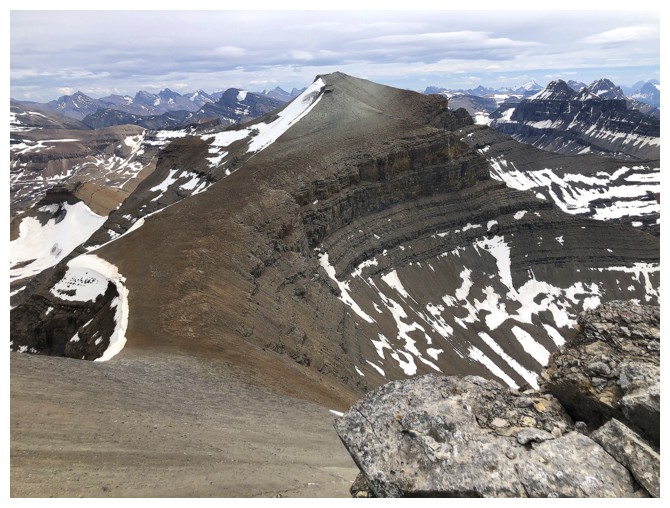
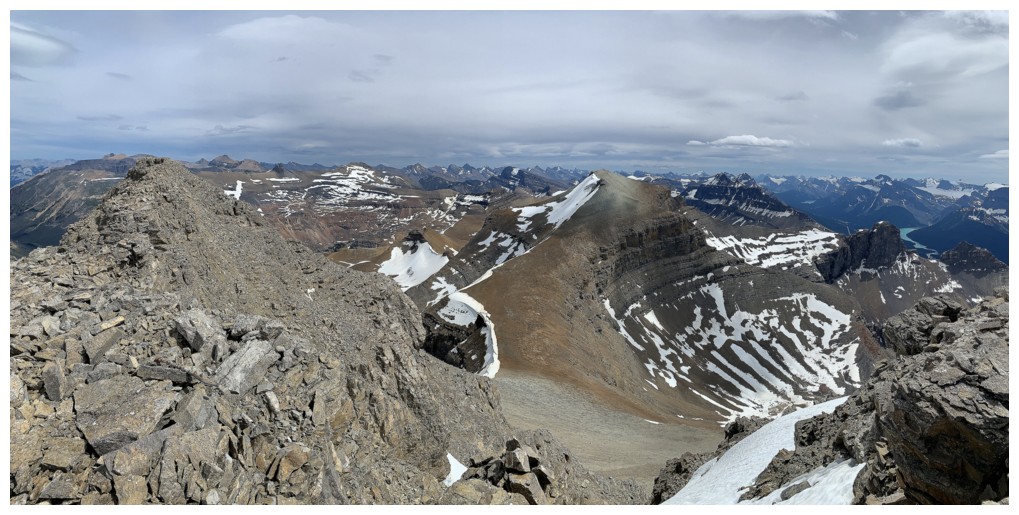
False summit at the left and true summit at the right
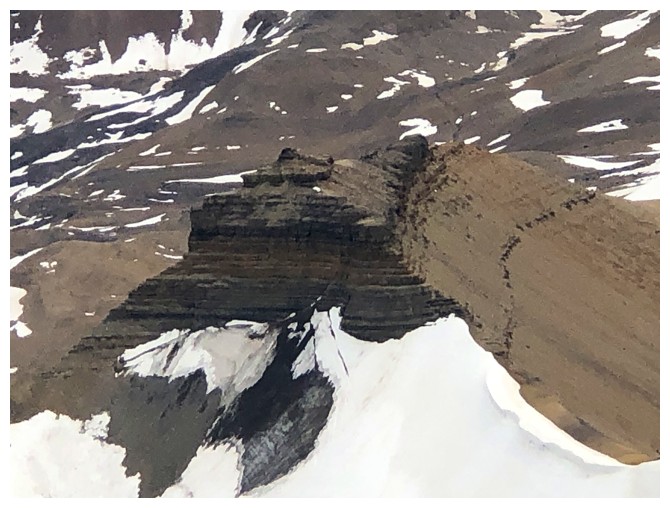
Cool little feature way down below on the southeast side of the mountain

Mark takes the last few steps to the top
The
summit view to the north includes Corona Ridge (distant right),
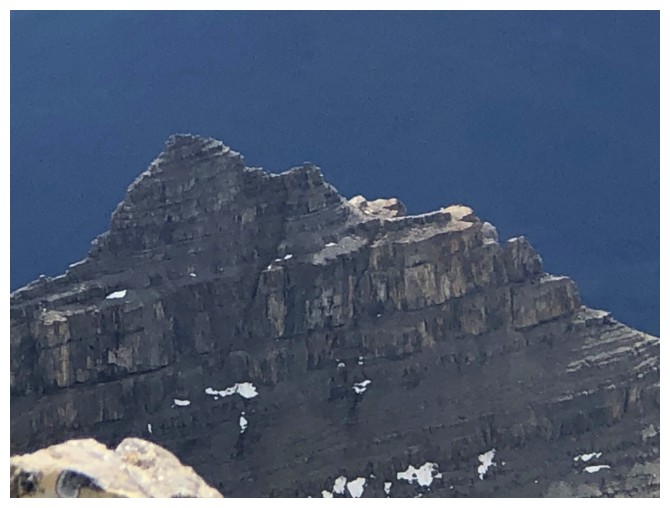
scary Totem Tower (foreground right), and Mount Murchison and all its
towers
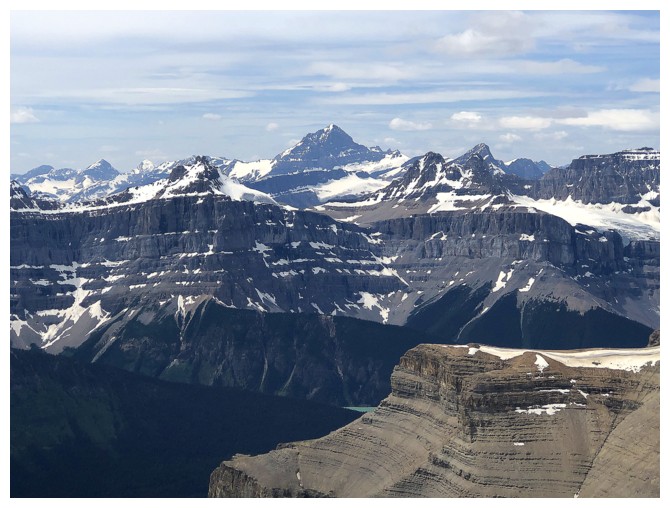
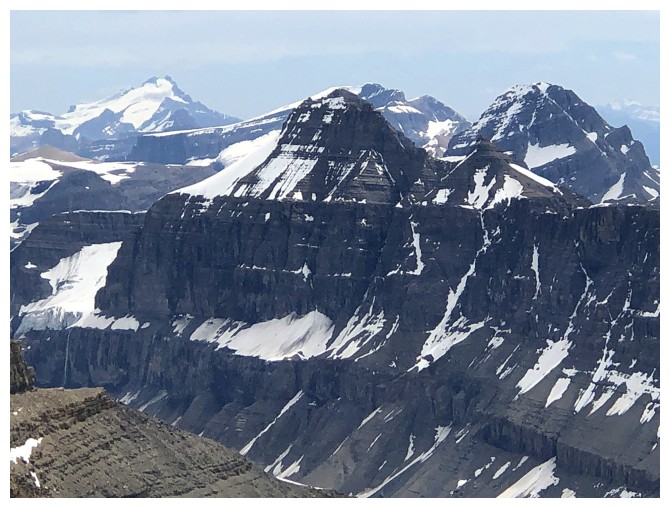
Mount Forbes
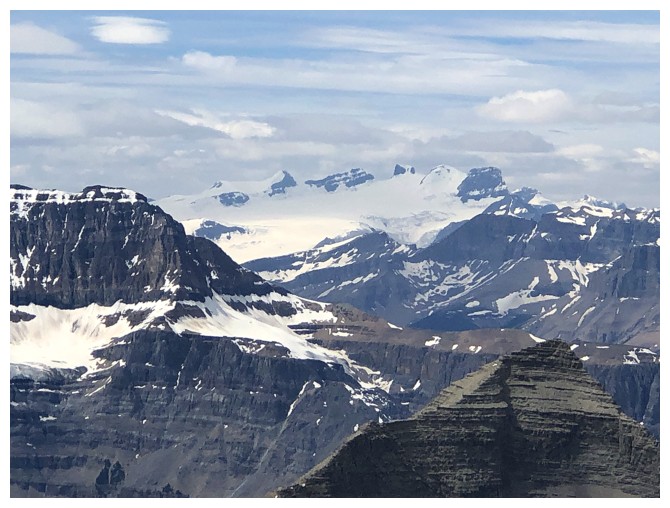
The 5 Lyells
Mount Cline - still residing comfortably at the top of the "Most Disappointing summit Views" list!
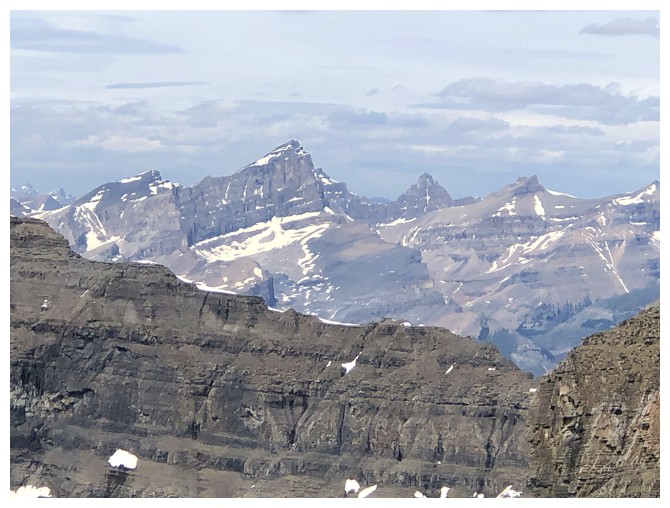
Murchison
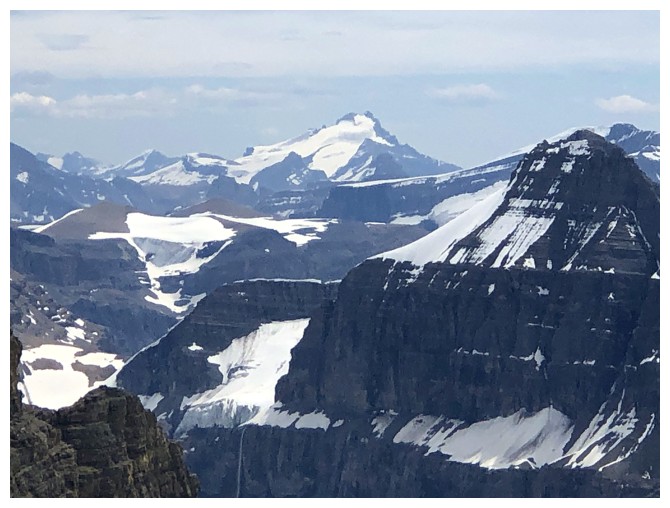
Mount Hector
Mount Weed at the left and Temple in the distant centre
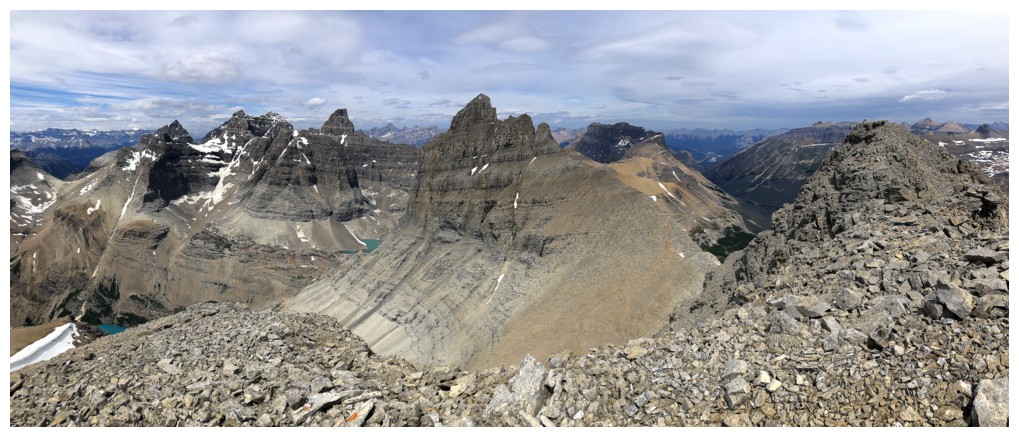
Pano to the north
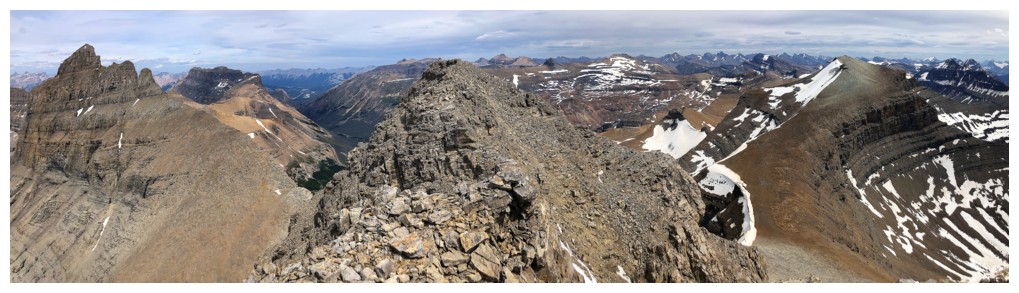
Pano to the east
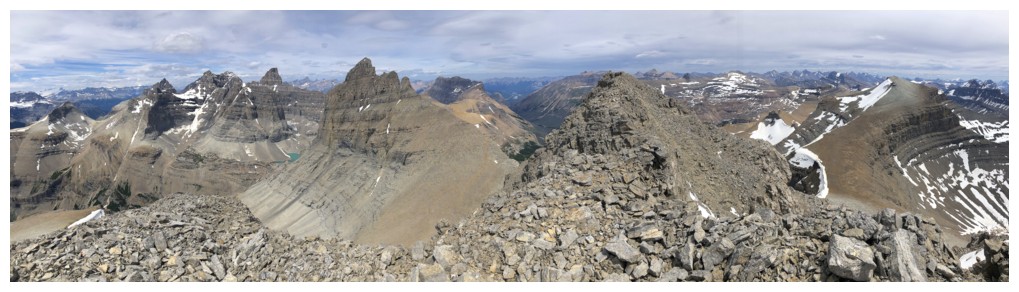
Pano to the northeast
Easy to get carried away with the panos up here!
Yep
Corona Ridge
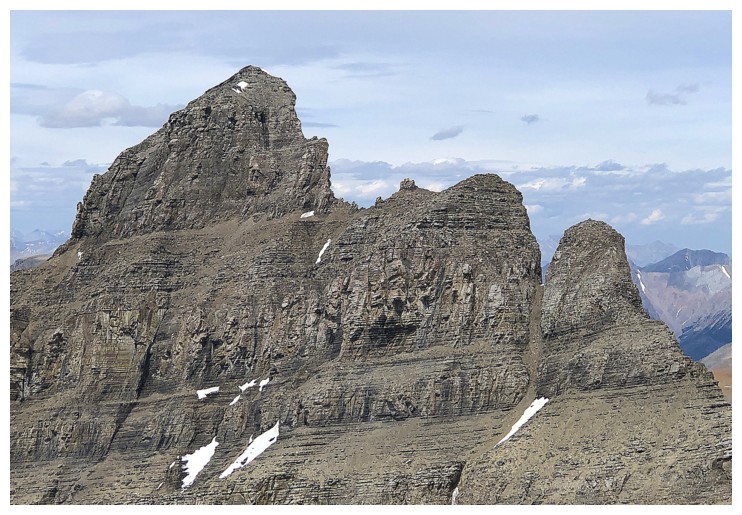
This is why Totem Tower is "scary" and has seen only a couple of ascents
The northwest and southeast summits of Murchison at the left - the southeast (far left) is the true summit
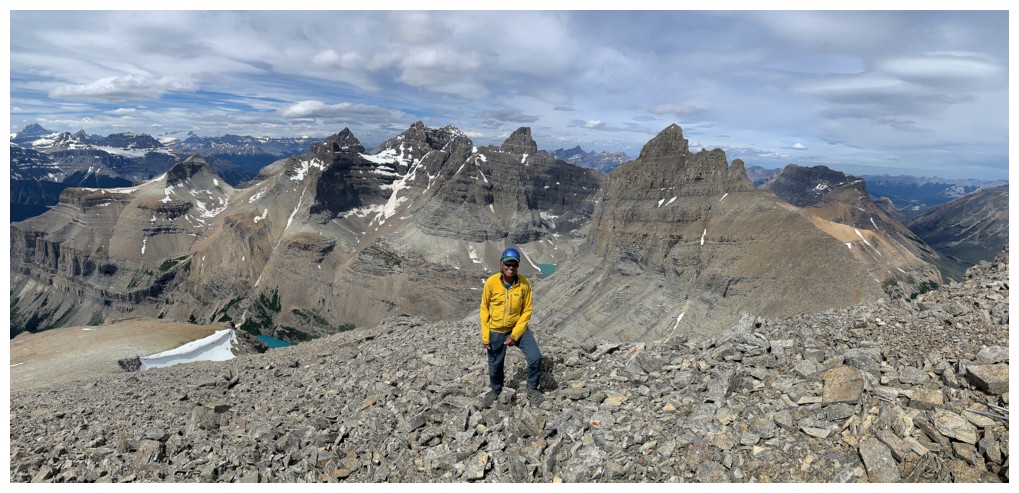
Panos with people
Same as above
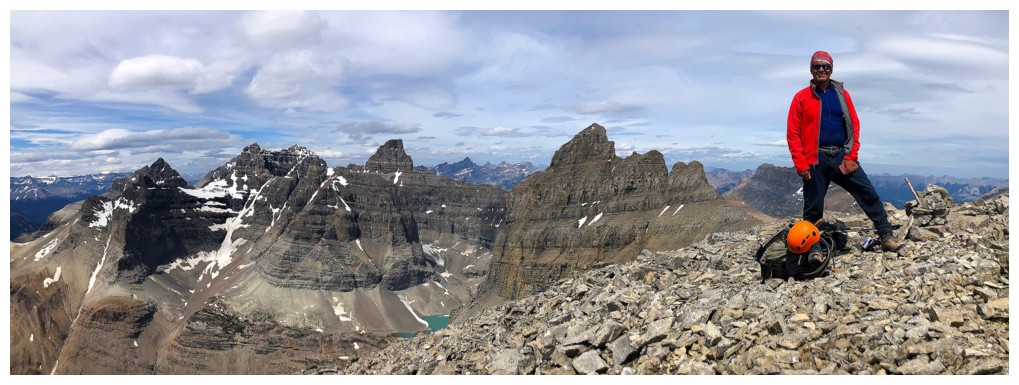
Same as above
Small shelter has been built near the top
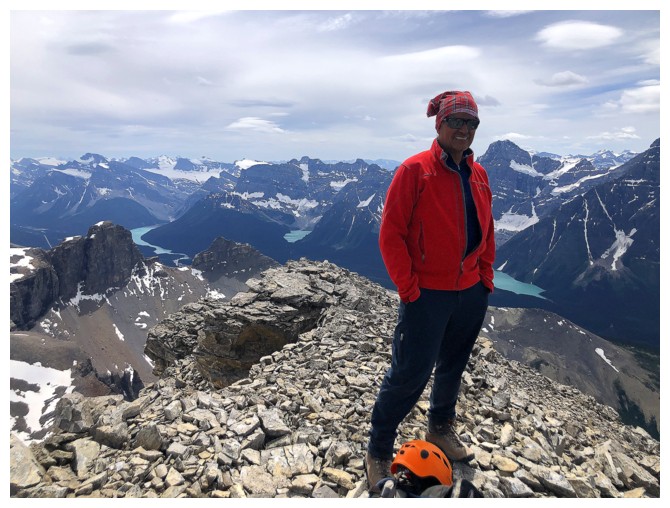
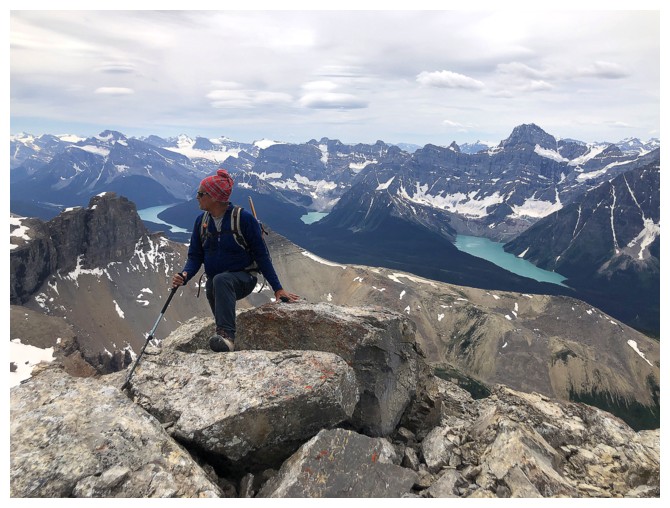
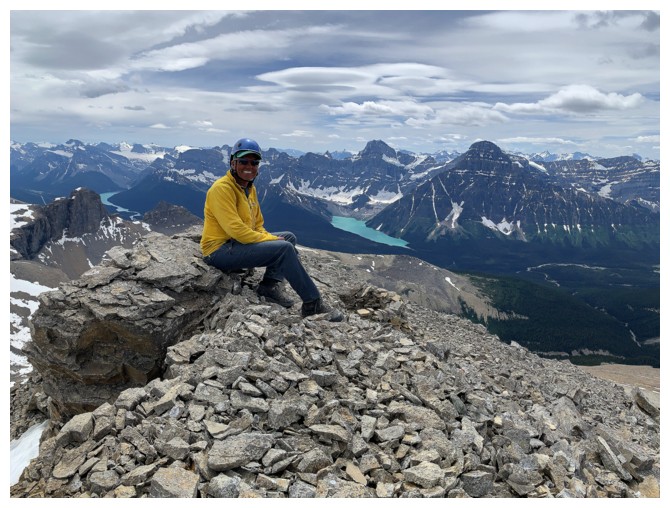
GQ summit pose
The outlier I didn't reach as an extension of Spreading Ridge. However, I made it to the two plateaus that are getting some Sun
Mount Hector again - distant left
Last summit shot before leaving
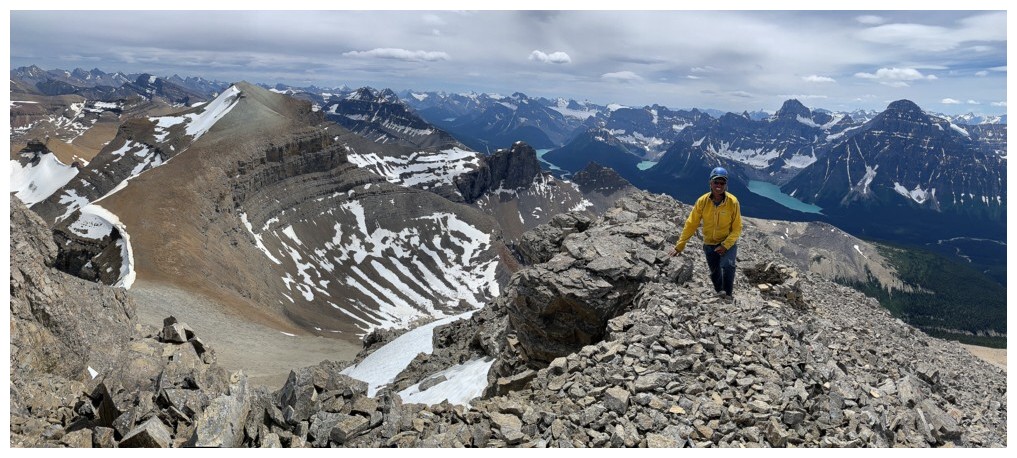
Descending the north ridge
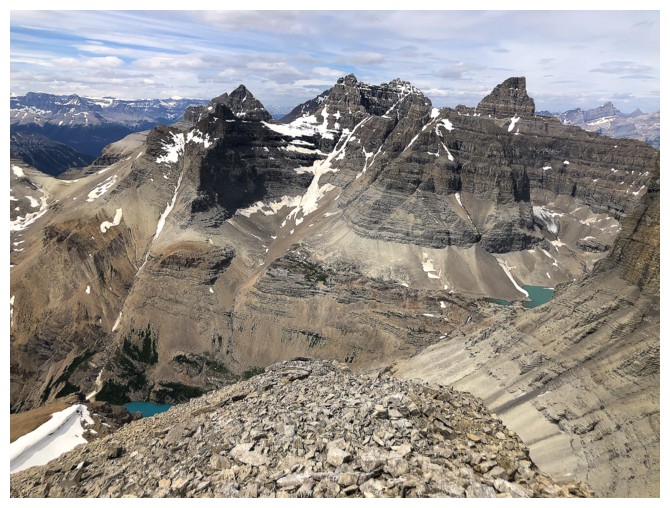
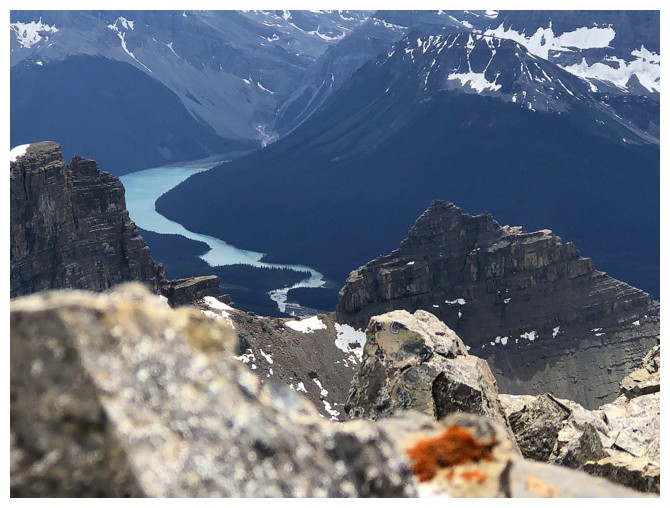
Aiming for a point to get a good view of the lake far below
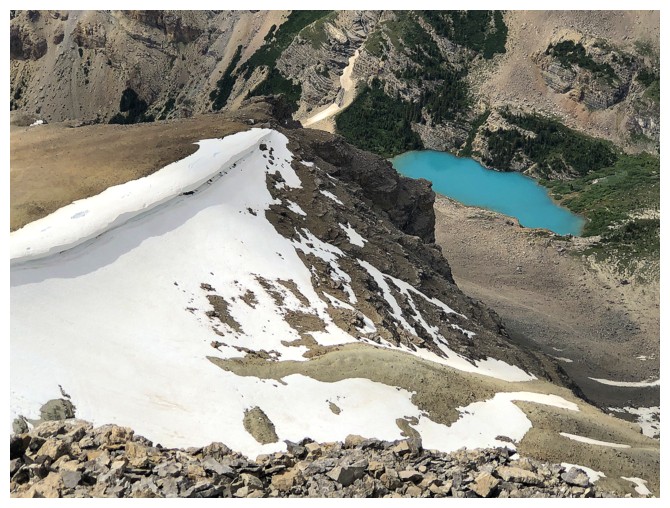
Closer look at the lake
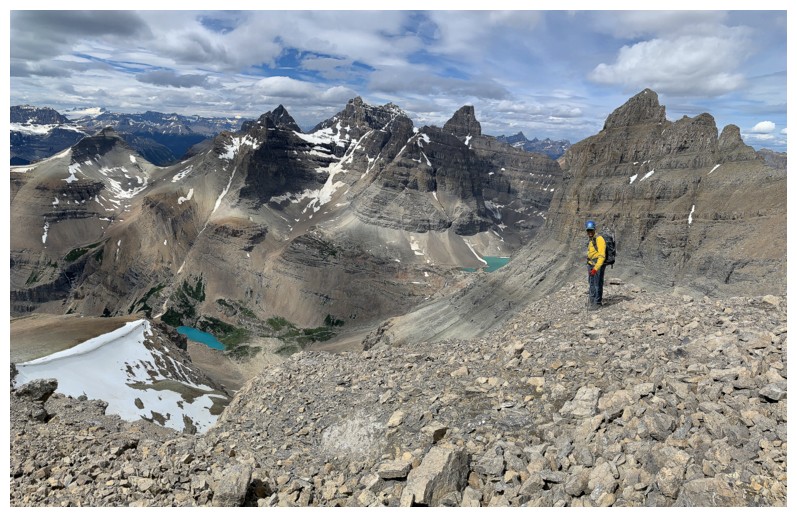
But we still have a ways to go
More daunting views of Totem Tower

The northeast side of South Totem Peak is also quite daunting

At the lake viewpoint
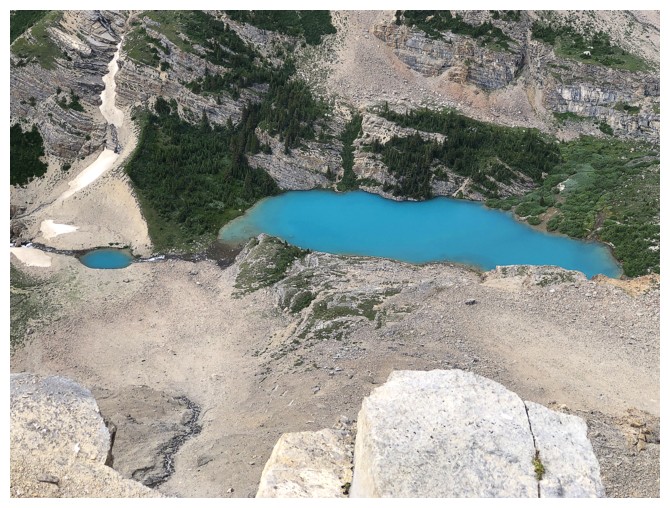
Close-up of what we came to see - as alluded to, one of the most beautiful lakes I've ever seen
Little glimpse of Totem Lake, father up the Totem Creek valley
Traversing back to the ascent line
Taking in the last views of the Murchison complex
Chephren looks great in any weather conditions
Back to the interesting lower slopes of the South Totem
Same as above
Same as above
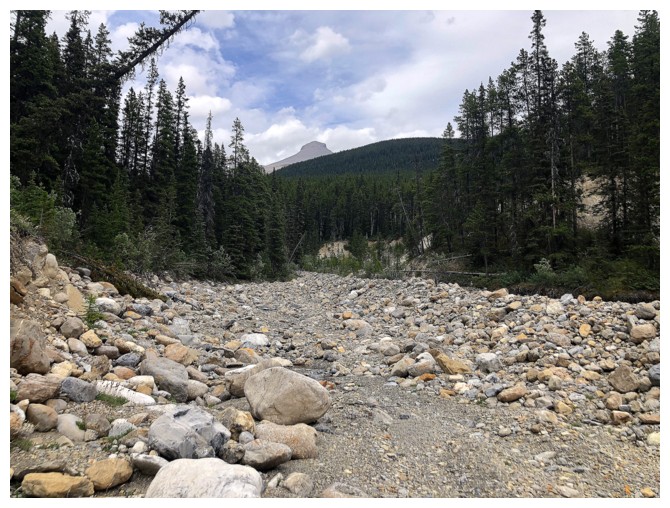
The objective as seen from near the highway
The End
LOG