September
14, 2014
Mountain
heights: 2590
m, 2566 m
Elevation gain: 1550 m
Ascent time to Top Hat: 4:35
Traverse time
to Emerald: 1:50
Descent
time: 2:00
Scrambling
with Rob.
The
idea to tackle this somewhat obscure peak by Hamilton Lake germinated upon
seeing Marko Stavric’s trip
report
from a year earlier and Graeme Pole’s description on Bivouac. Rob Maciak was also
keen to explore and so off we went, up the long, but easy Hamilton Lake Trail.
After
arriving at beautiful Hamilton Lake, 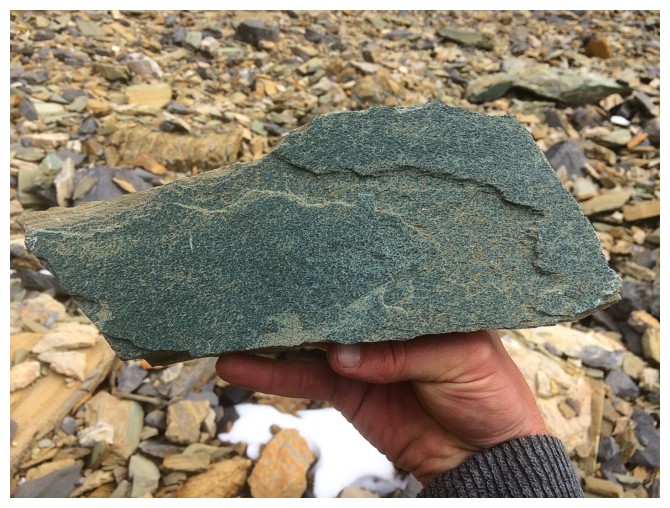 we hiked around the left side of the lake
and then up to the col between Top Hat and Mount Carnarvon. The cloudy weather
was disappointing, but the terrain boasted a ton of super cool rock to keep us
entertained. Except for a chimney-like feature comprised of boulders of varying
degrees of stability, the ascent from the col to summit was straightforward. Unfortunately,
the chimney provided the only access to the summit. On the positive side, it
was short and with care (and going one at a time) we were able to ascend it
without any issues.
we hiked around the left side of the lake
and then up to the col between Top Hat and Mount Carnarvon. The cloudy weather
was disappointing, but the terrain boasted a ton of super cool rock to keep us
entertained. Except for a chimney-like feature comprised of boulders of varying
degrees of stability, the ascent from the col to summit was straightforward. Unfortunately,
the chimney provided the only access to the summit. On the positive side, it
was short and with care (and going one at a time) we were able to ascend it
without any issues.
Top
Hat is aptly named. 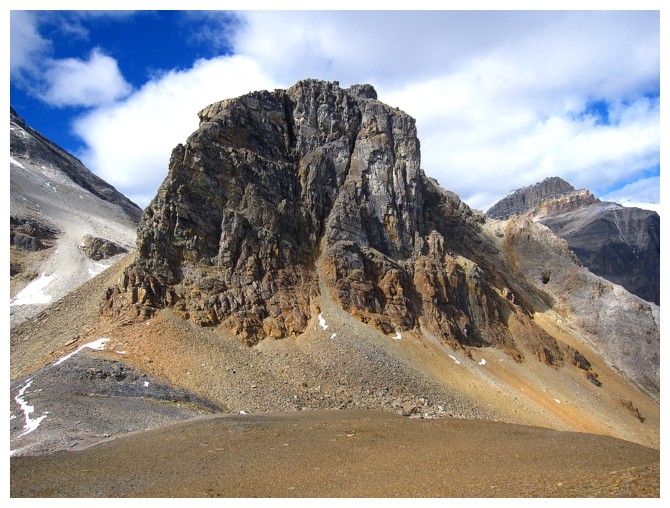 The summit is essentially a massive, flat expanse, much
like the top of a top hat. To get the most from the views you have to wander around quite
a bit. Unfortunately, although Top Hat is slightly higher than nearby Emerald
Peak, stunning Emerald Lake is conspicuously absent from the view. Nevertheless,
the rest of the summit view is very respectable and certainly makes the trip worth
the effort.
The summit is essentially a massive, flat expanse, much
like the top of a top hat. To get the most from the views you have to wander around quite
a bit. Unfortunately, although Top Hat is slightly higher than nearby Emerald
Peak, stunning Emerald Lake is conspicuously absent from the view. Nevertheless,
the rest of the summit view is very respectable and certainly makes the trip worth
the effort.
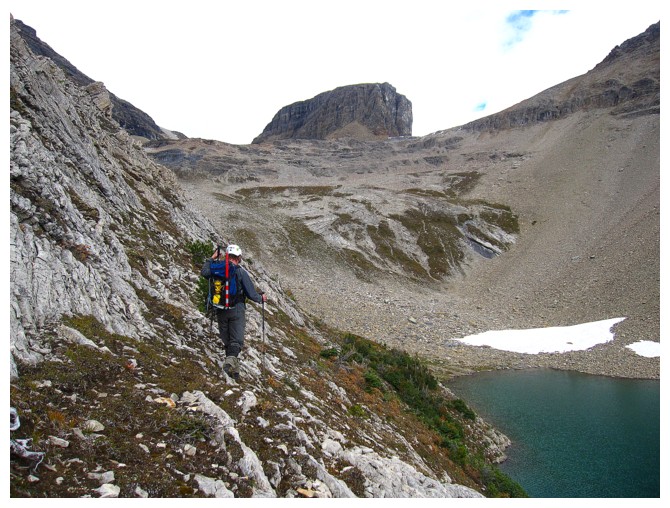
After
carefully descending the chimney, we turned our attention to an ascent of
Emerald via its northwest ridge, again following Marko’s lead. Some tricky terrain
and route-finding rendered the ascent far from a pushover, but we eventually made
to the top unscathed and delighted to see Emerald Lake in all its glory.
For
descent, we chose the Emerald Slide Path route. The slope can be tedious at
times, however the route provides fantastic views of the lake and surrounding
peaks throughout. We ended the trip under clear skies and were privy to some remarkable
lake reflections.
Great
trip with an awesome scrambling partner!
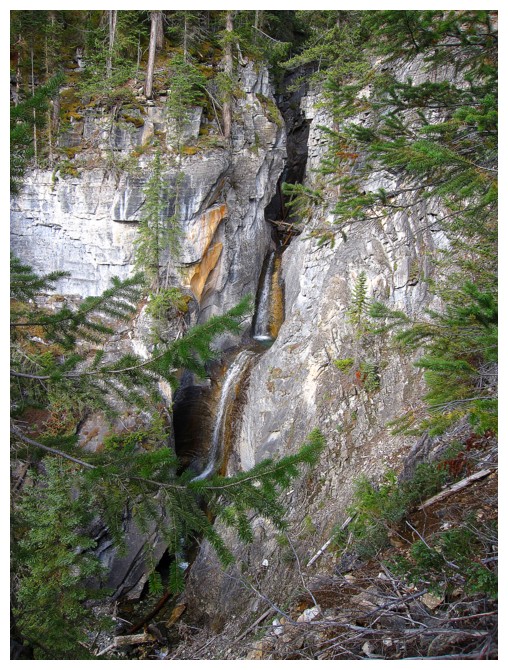
Hamilton Falls is one of the only scenes of interest along the Hamilton Lake Trail
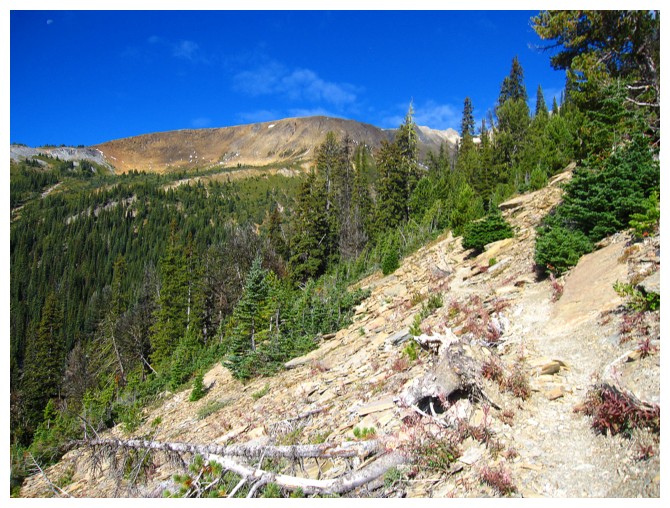
After gaining a huge amount of elevation the views finally start to open up
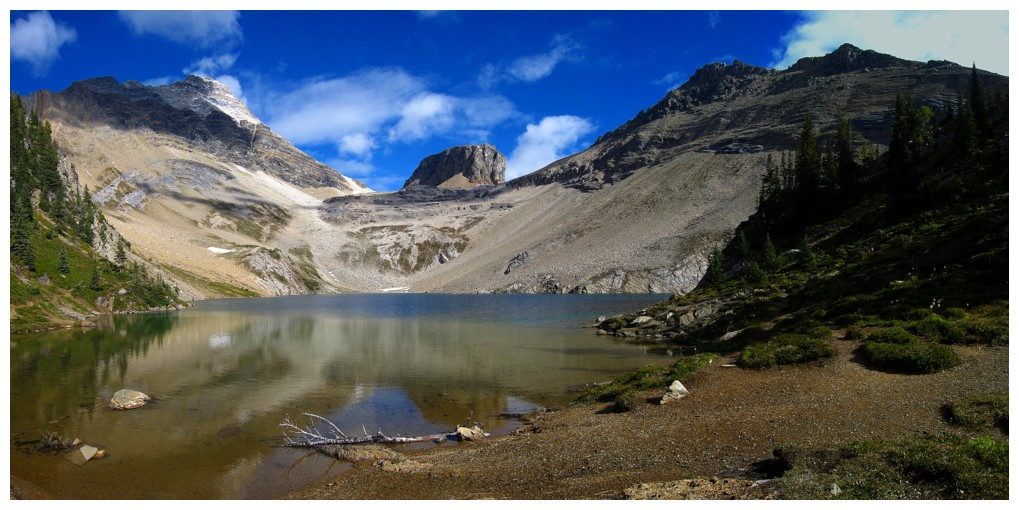
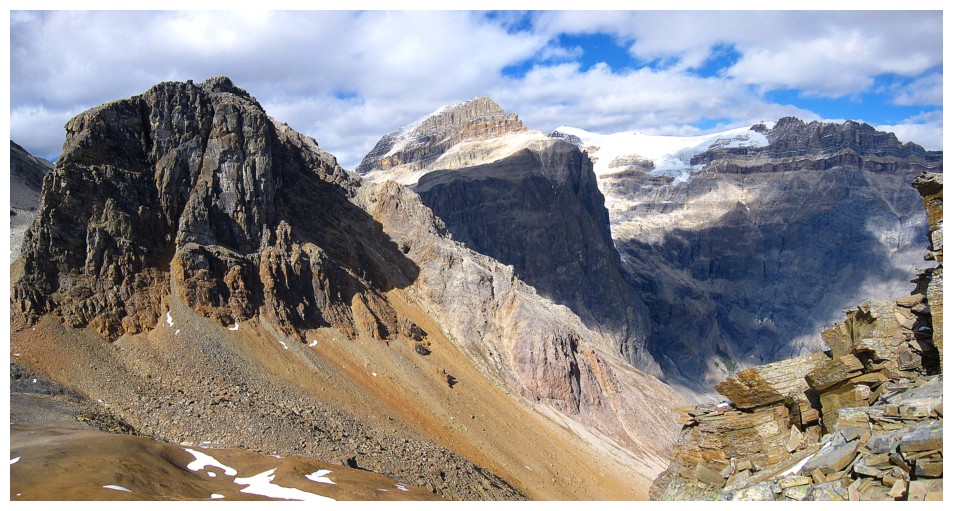
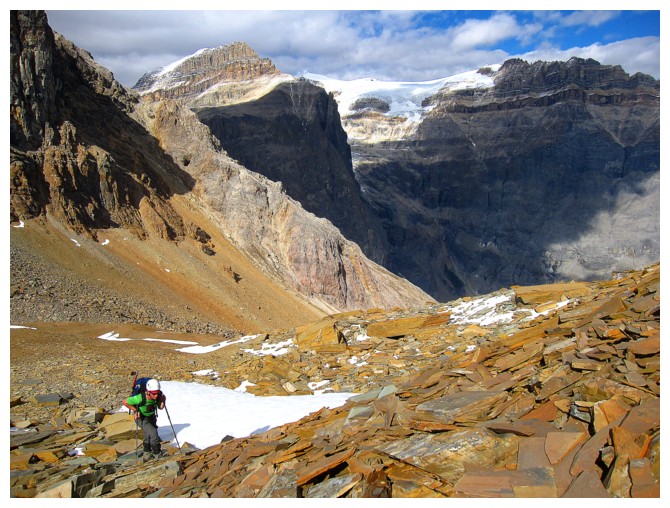
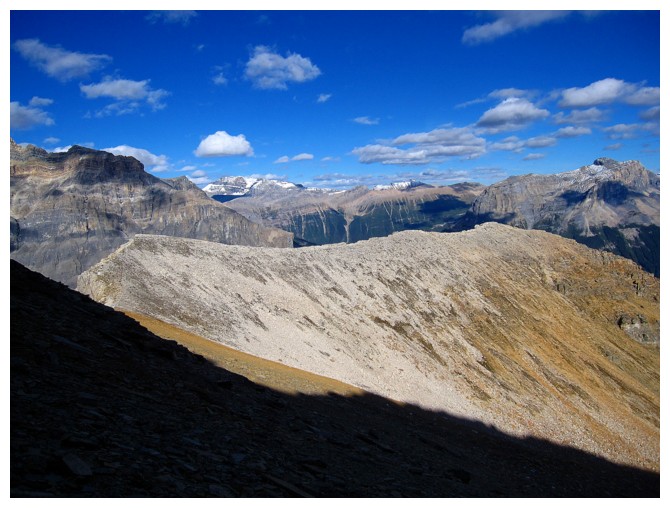
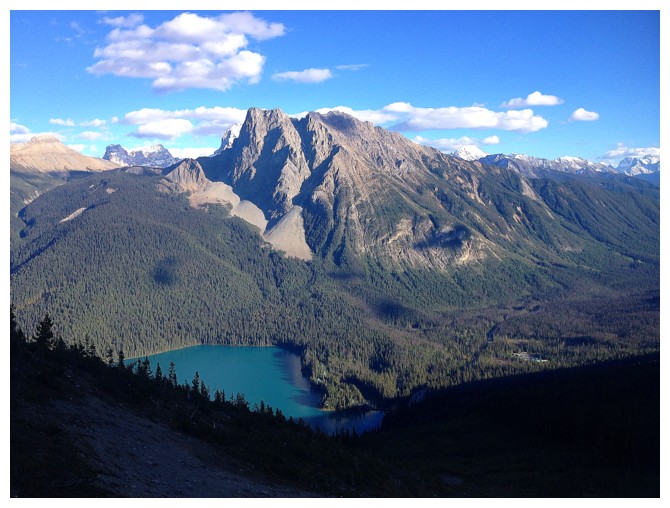
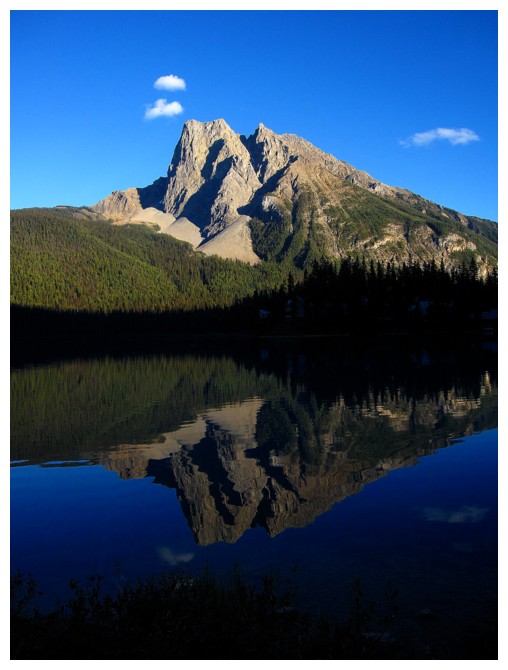
Hamilton Lake. Left to right: Mount Carnarvon, Top Hat, Emerald Peak
Although we would eventually go around the west (far) side of the lake,
we gained some elevation on the east side to get this view of the lake
...and of Mount Carnarvon
Now on the west side with Top Hat in the centre
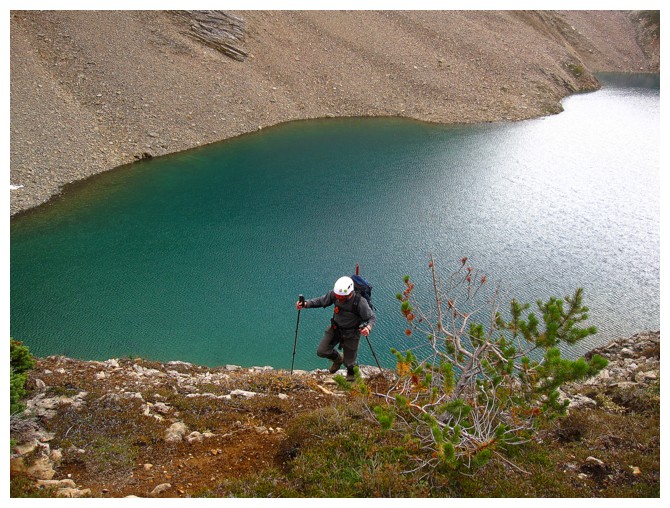
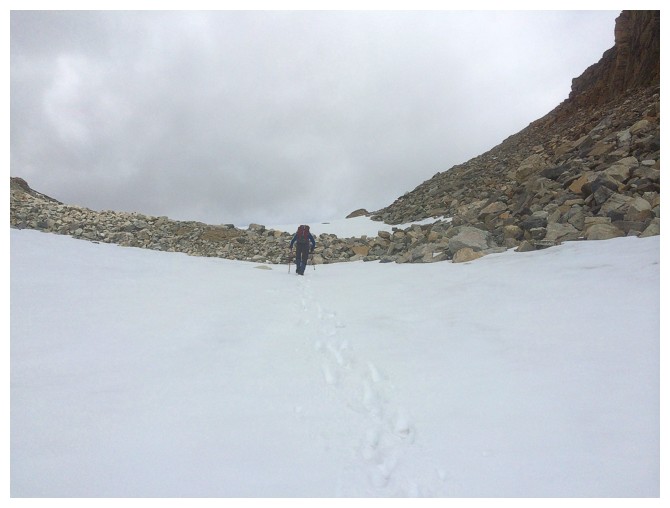
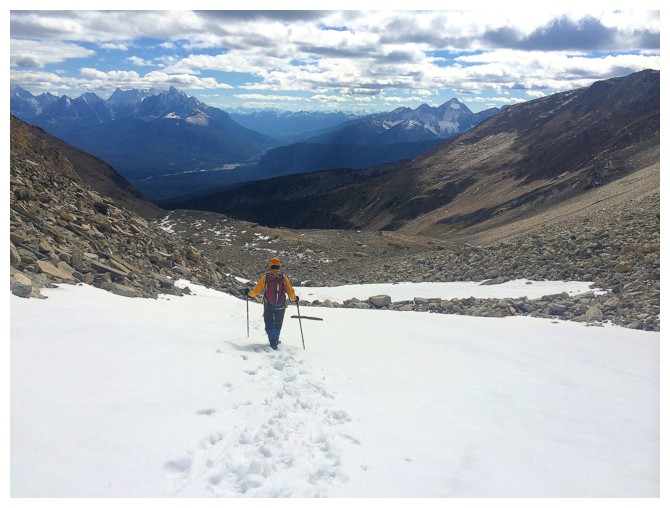
We had to traverse high on the slopes above the lake
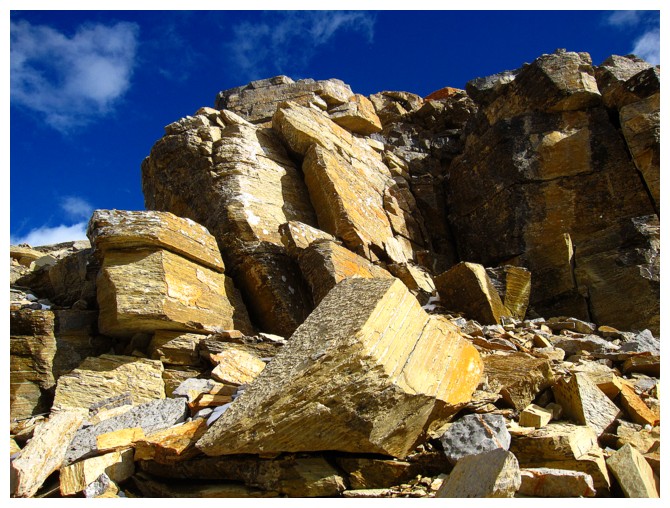
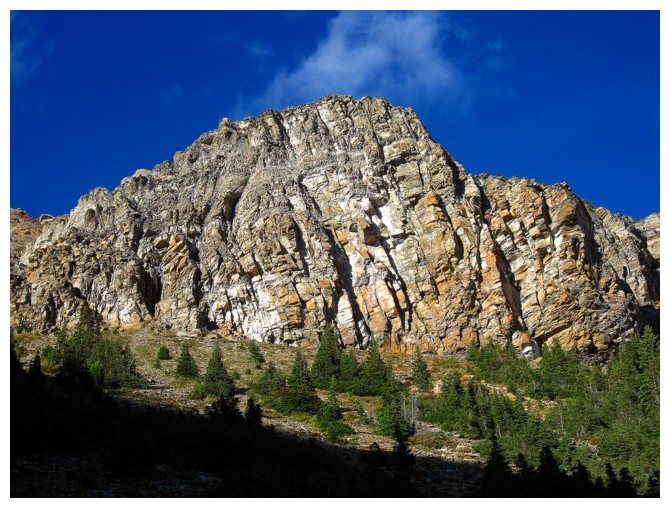
The start of a smörgåsbord of amazing rock
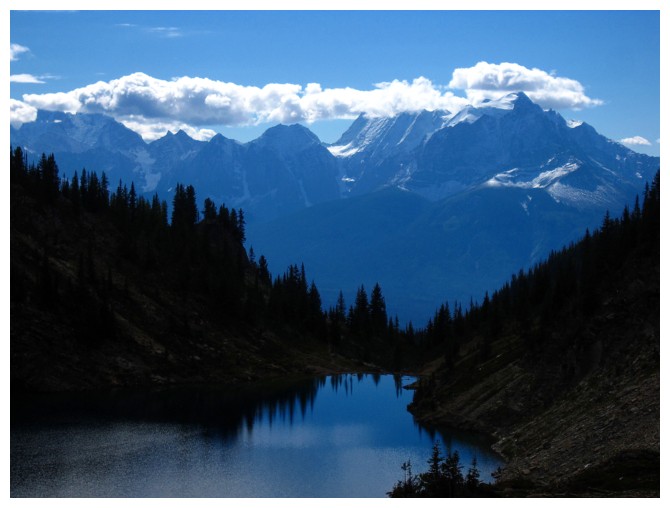
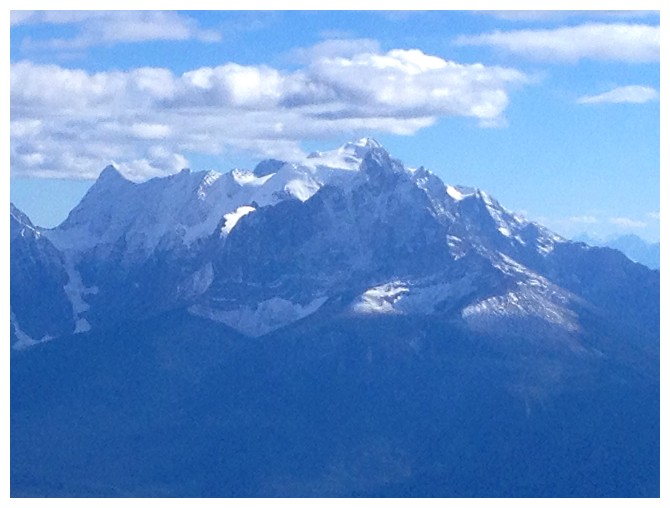
A band of clouds cover the summits of The Goodsirs and Mount Vaux
Back to the rock
Rob finds a rock that resembles a dog/wolf head (photo by Rob)
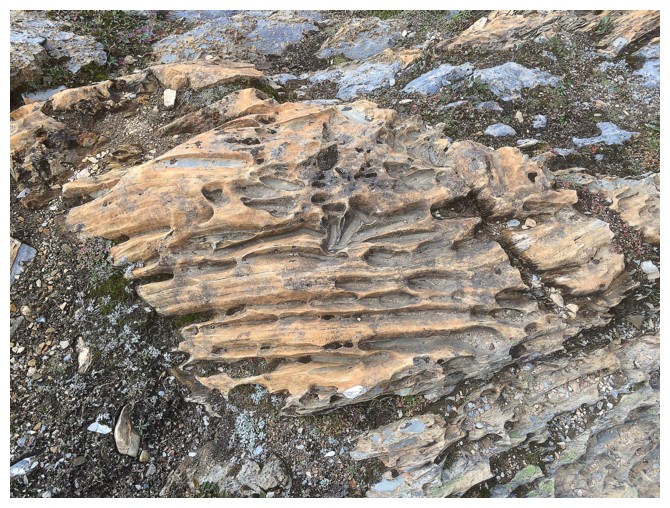
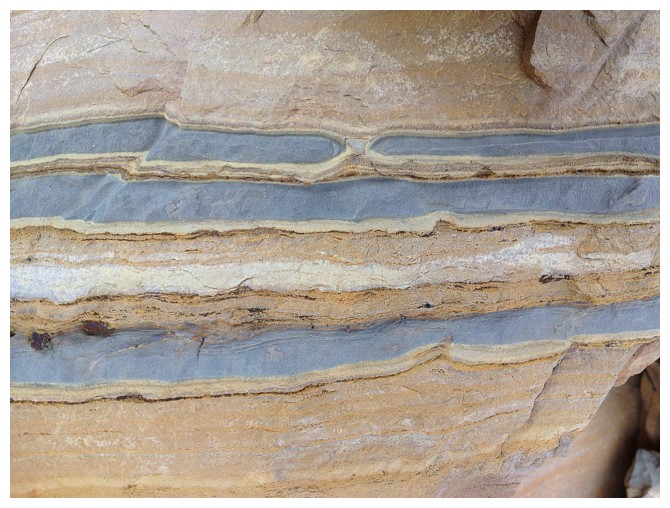
How does something that was once so haphazard become so uniform? Red and Andy know!!
How many tens of thousands or even millions of years did it take to compress this small section of rock?
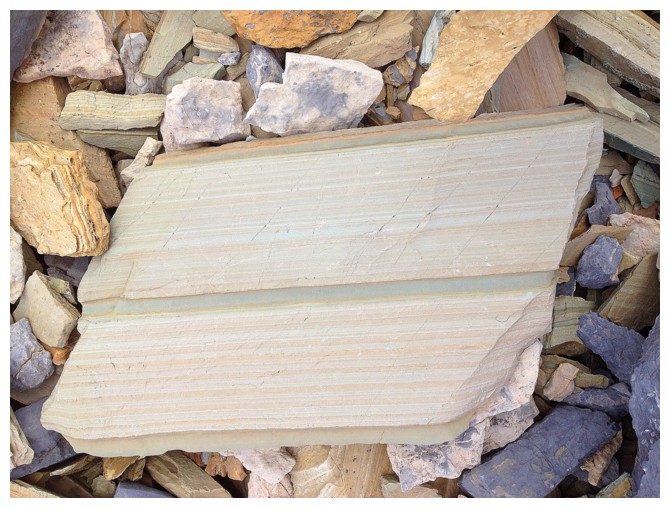
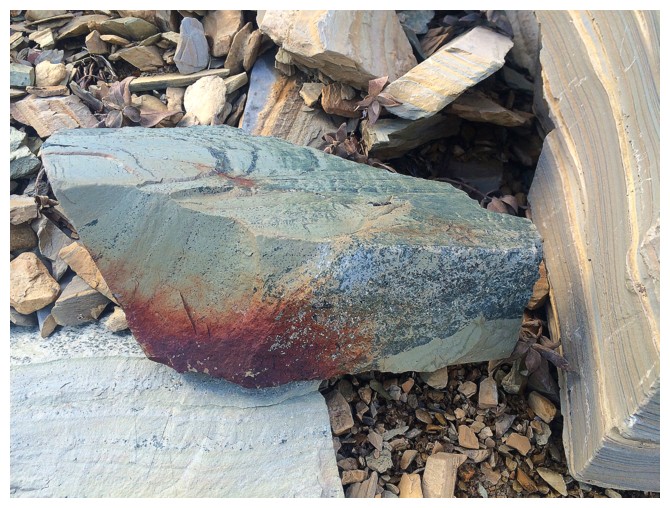
As well, the variety of rock was a great feature of this trip (photo by Rob)
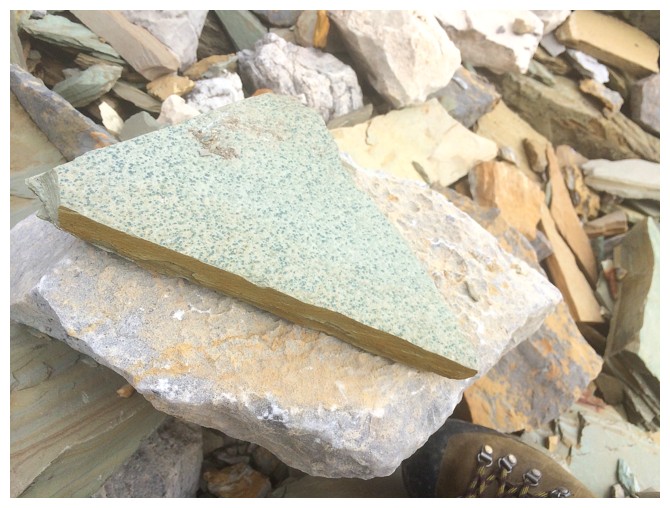
More geometrically pleasing samples (photo by Rob)
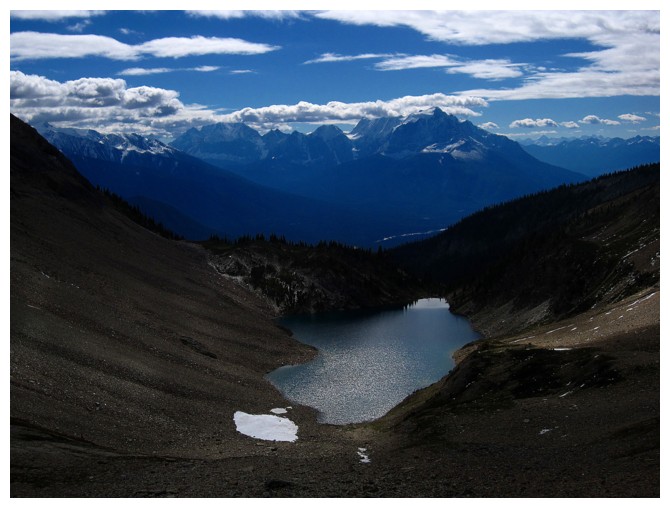
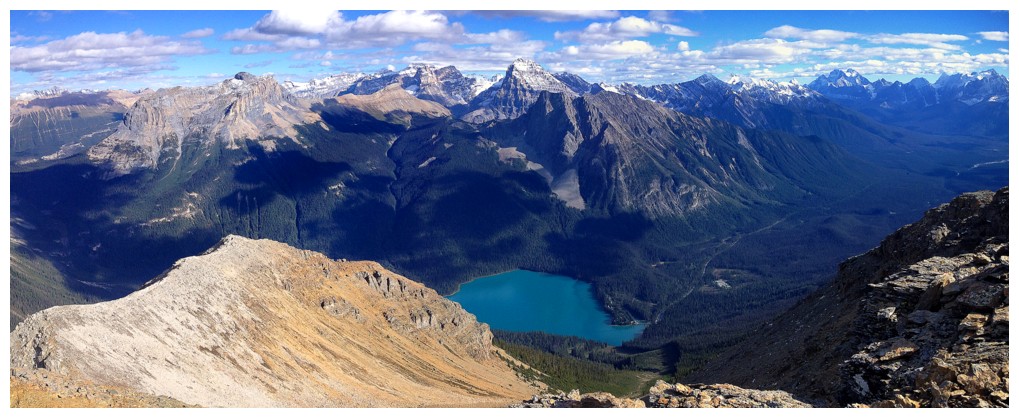
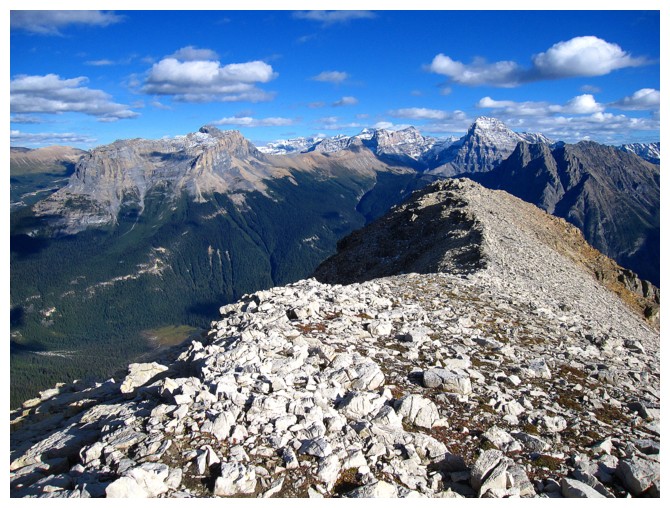
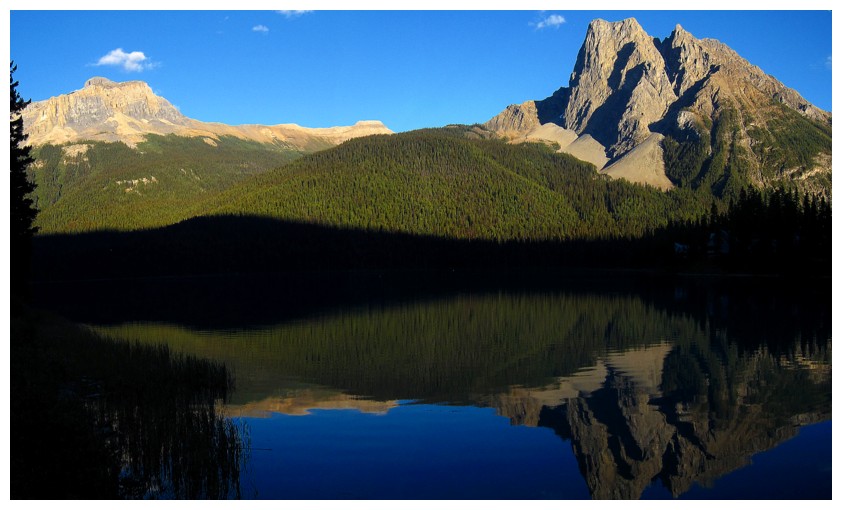
All of Hamilton Lake and the peaks of Yoho
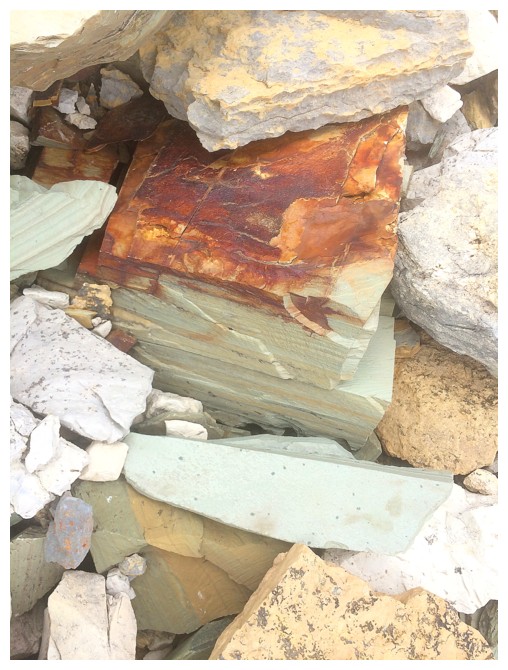
Someone (not saying who) had a violent run-in with oxygen! (photo by Rob)

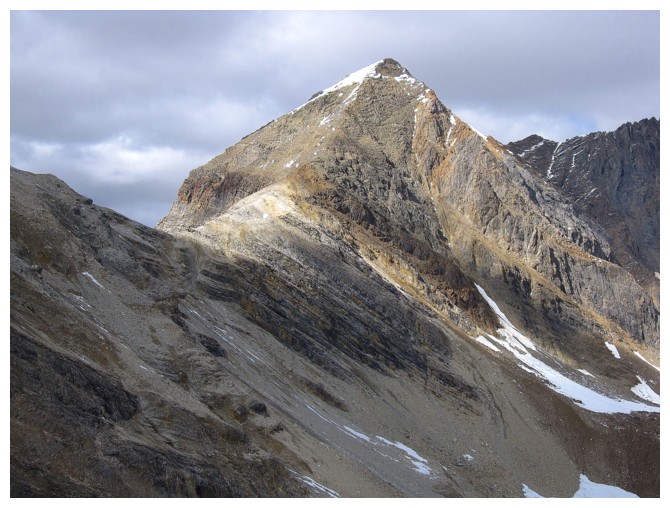
The northwest side of Emerald Peak
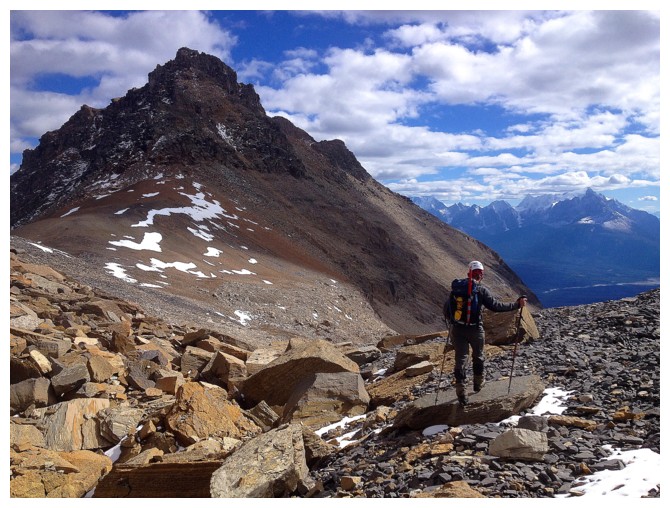
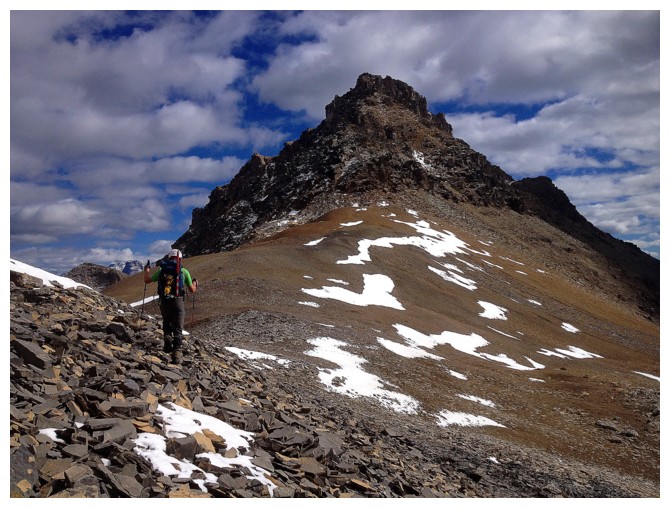
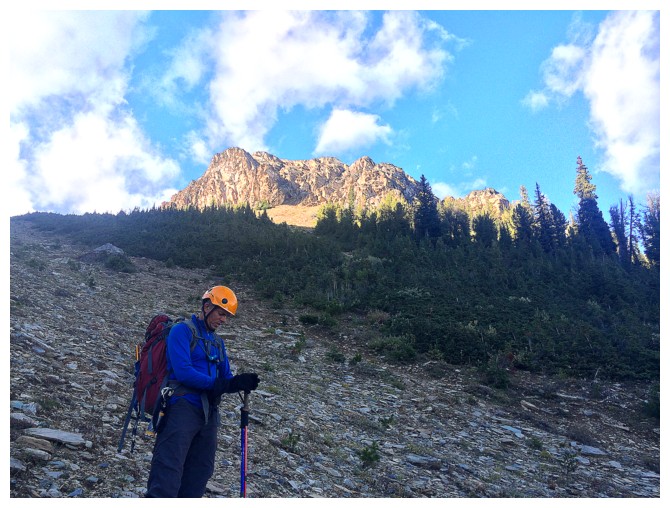
Rob leads us to the Top Hat/Carnarvon col

Brush off the debris and you have a nice, flat bed! (photo by Rob)
My turn to lead (photo by Rob)
Near the col (photo by Rob)
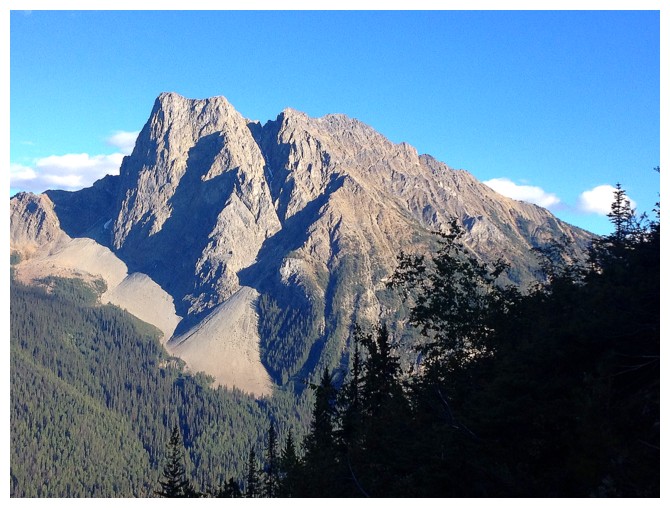
Left to right: CarMar, Marpole, and The President
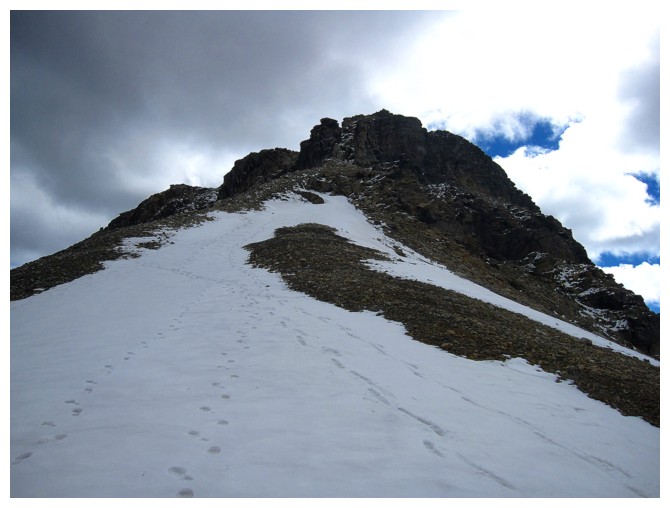
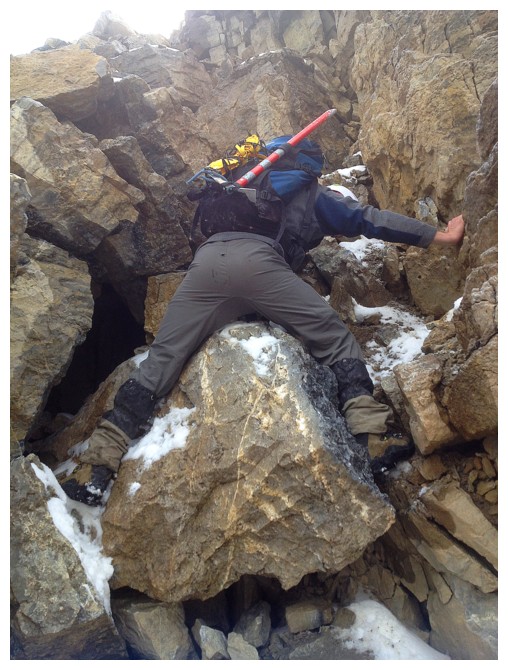
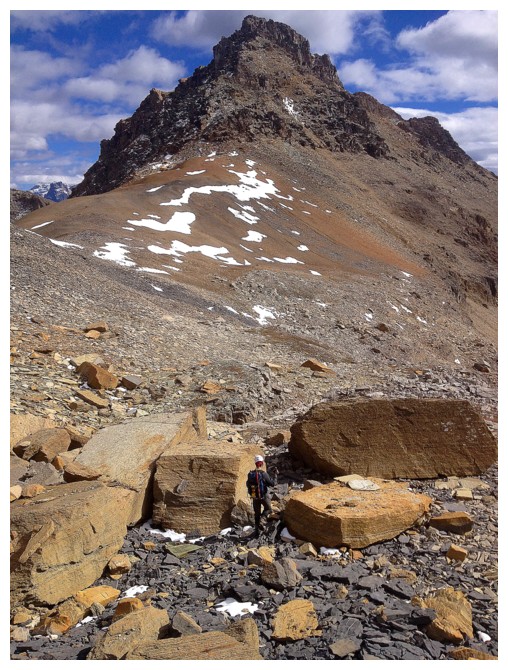
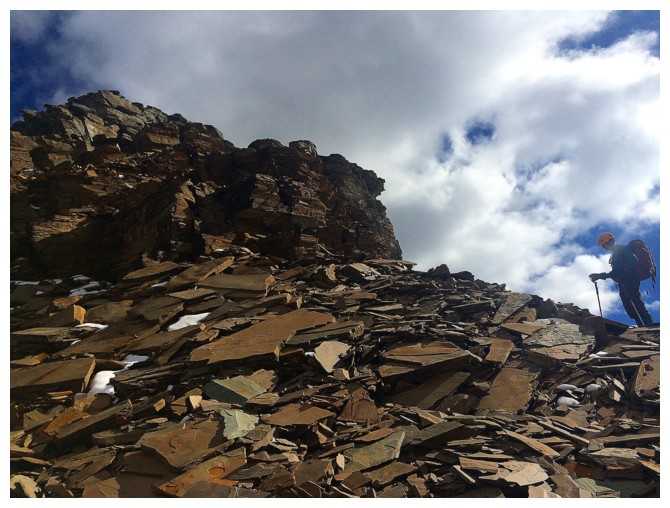
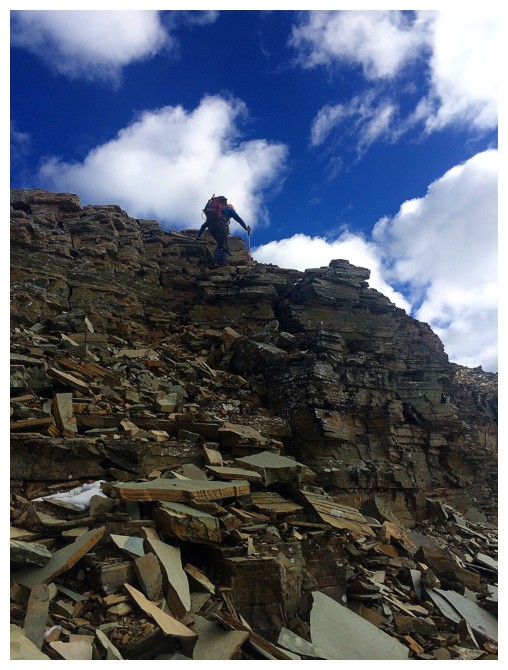
The route up Top Hat is easy until you get to the chimney
Heading up (photo by Rob)
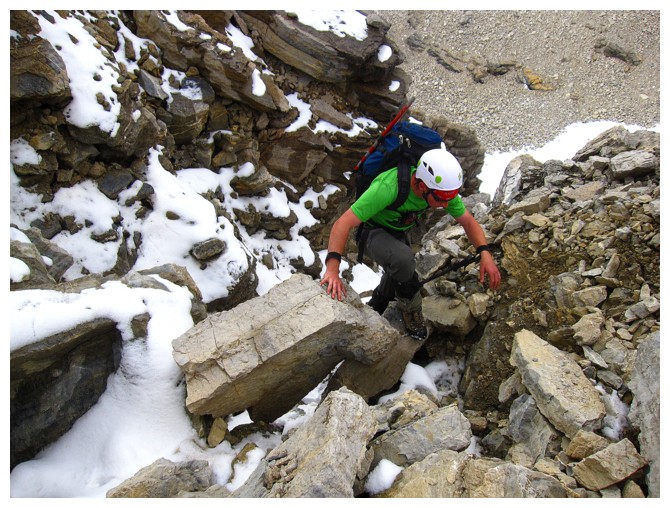
Rob climbs out of the chimney
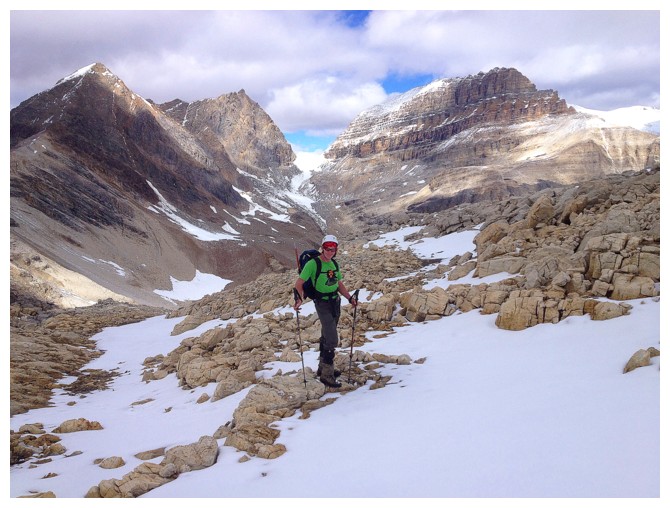
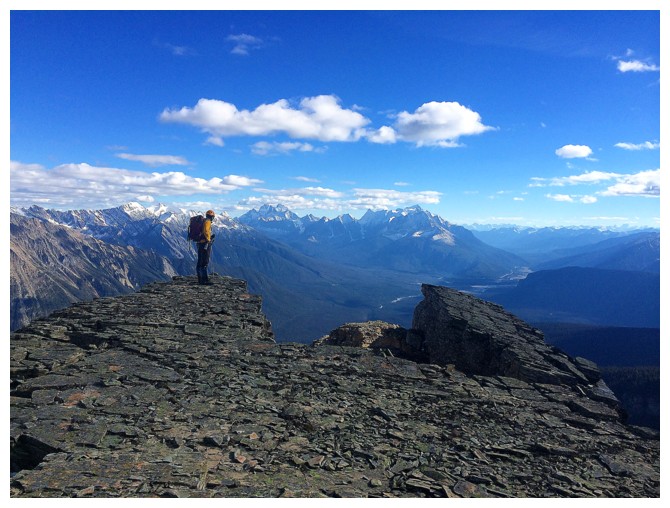
Easy trek to the summit
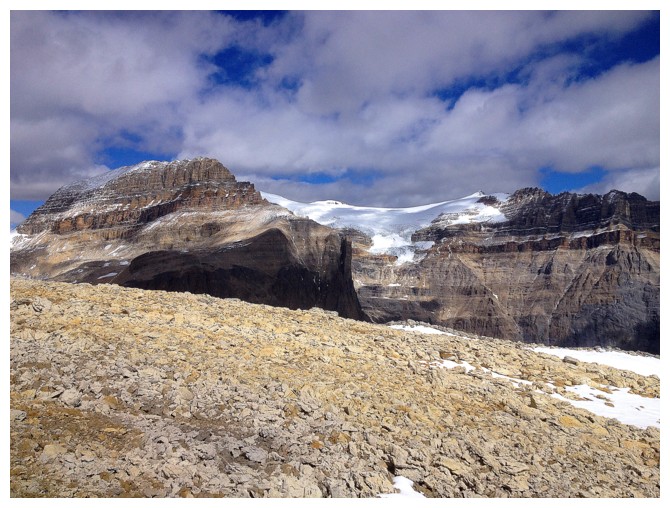
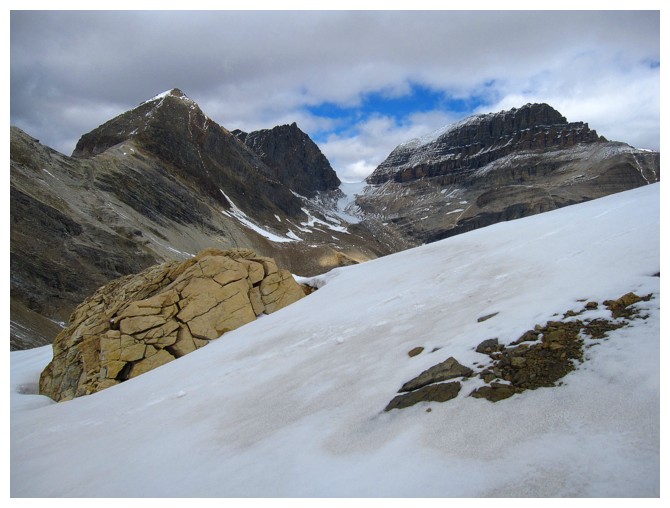
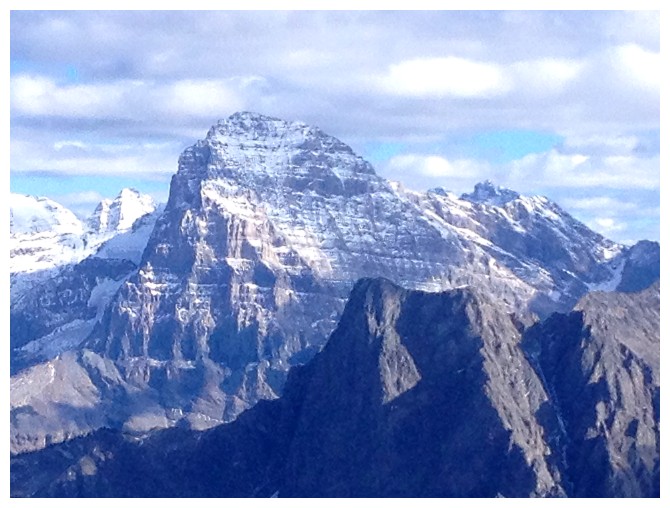
The President and The Vice President
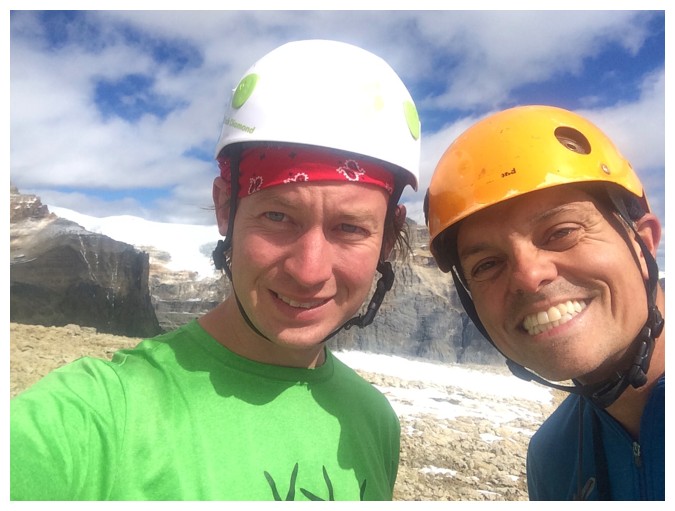
Summit selfie (photo by Rob)
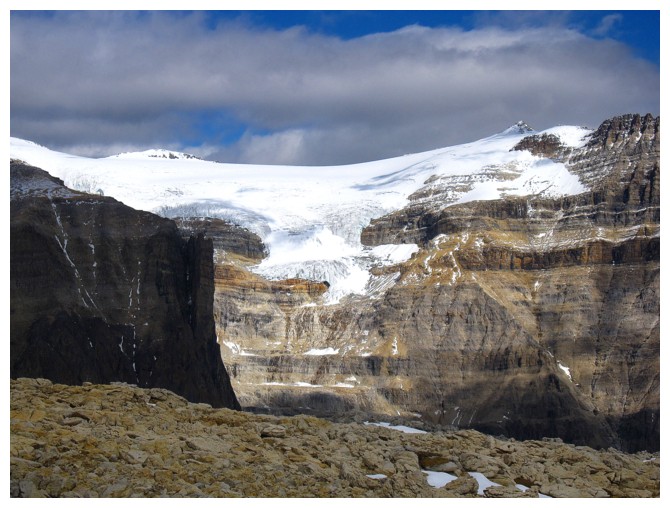
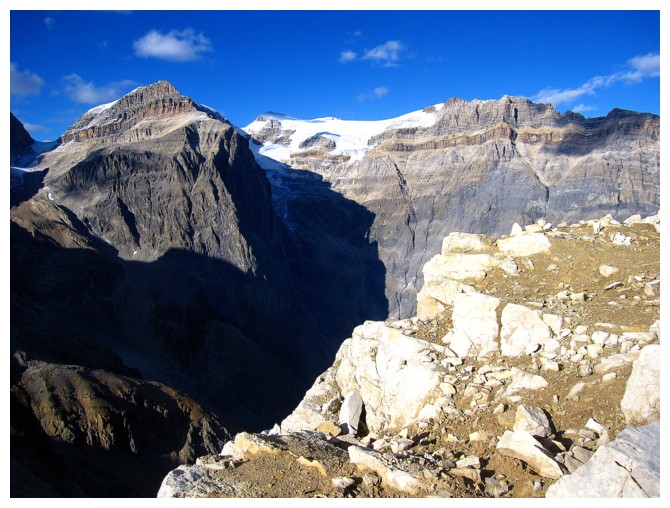
Part of the massive Emerald Glacier between The Pres. and The Vice
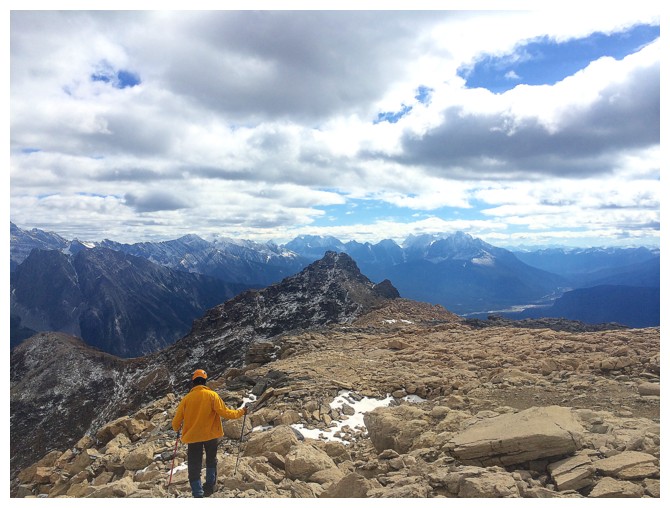
Some of the wandering around (photo by Rob)
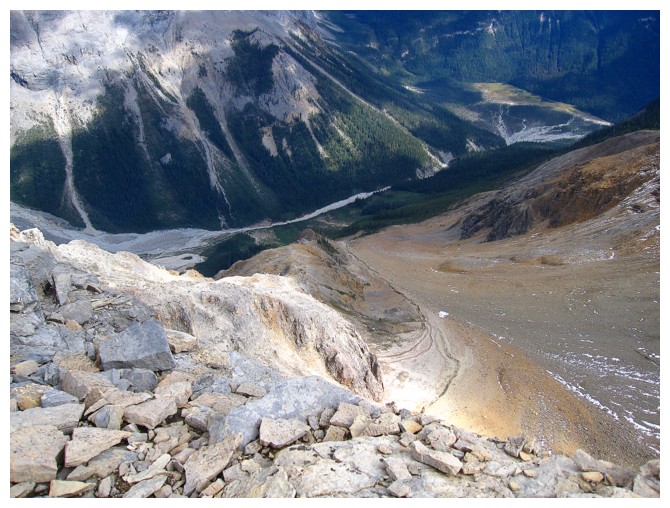
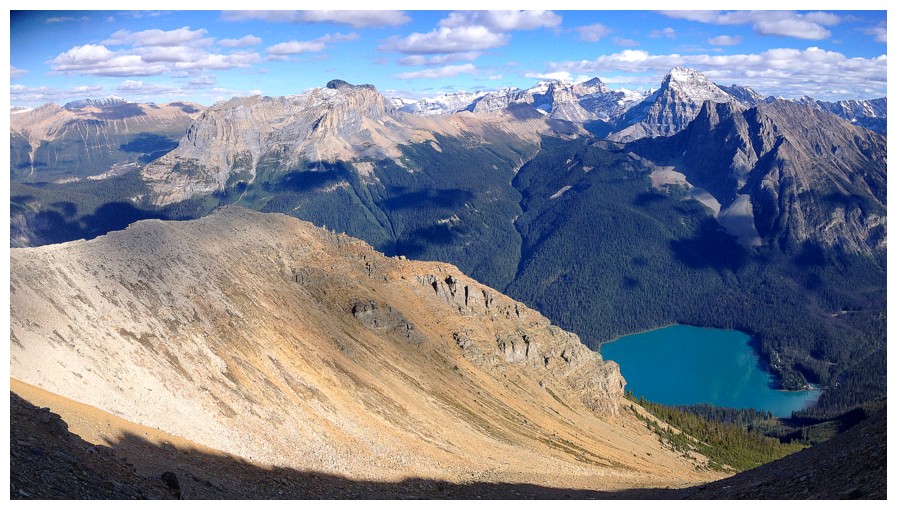
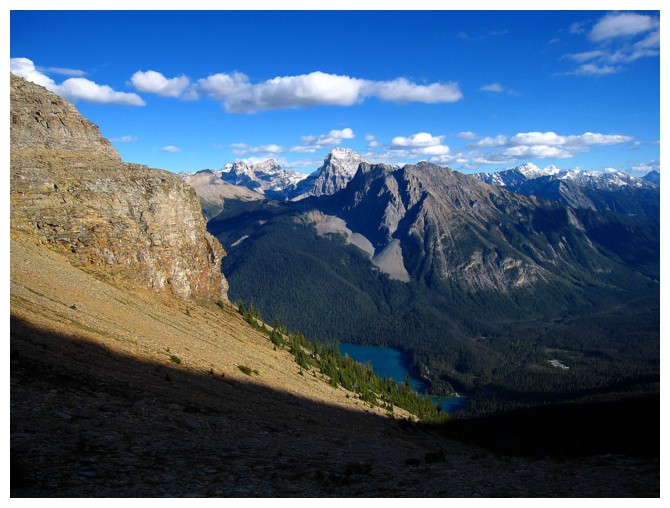
Looking down into Emerald Basin
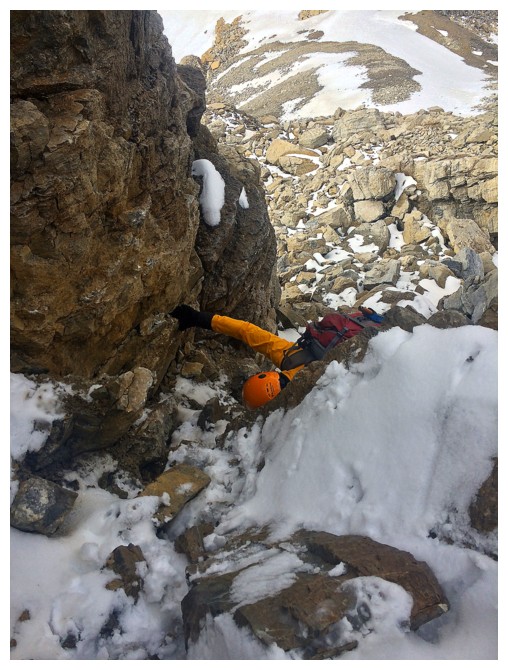
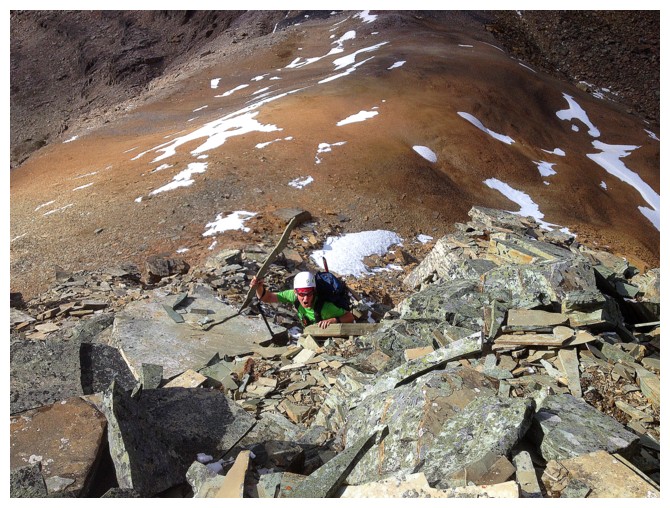
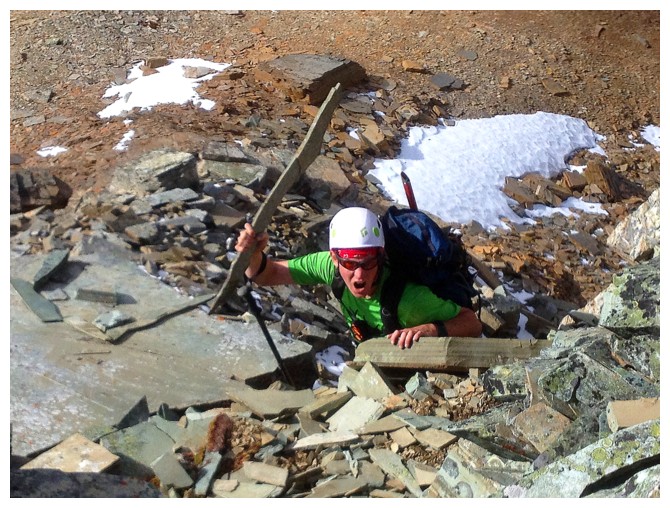
Descending the chimney (left photo by Rob)
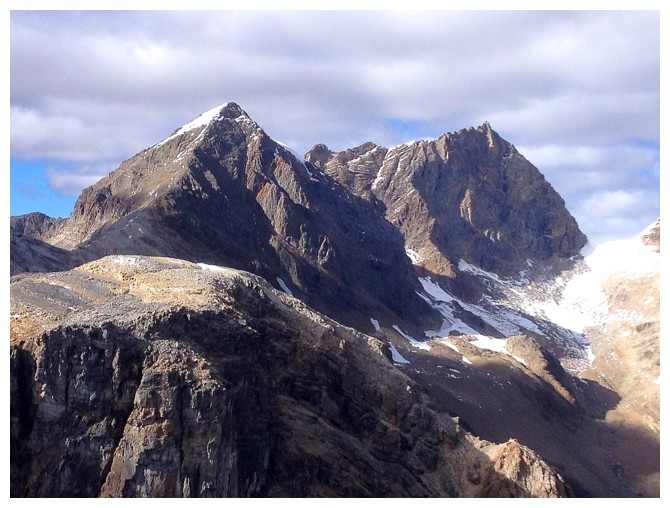
The south ridge of CarMar looks to be a relatively straightforward from
the col. Getting to the col, however, appears to be quite steep.
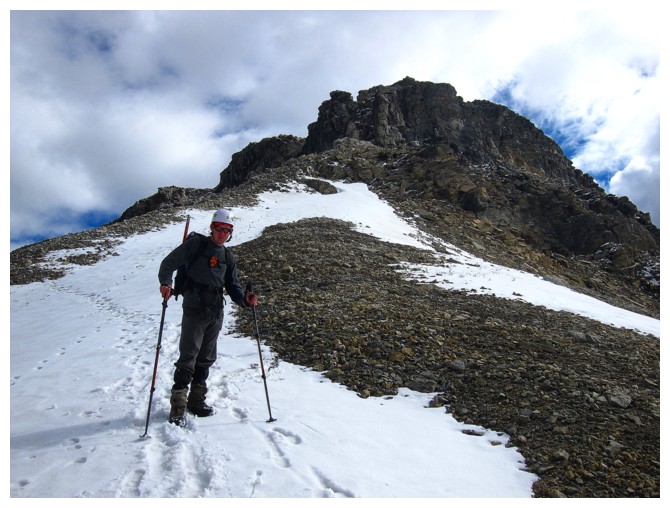
Rob and Top Hat
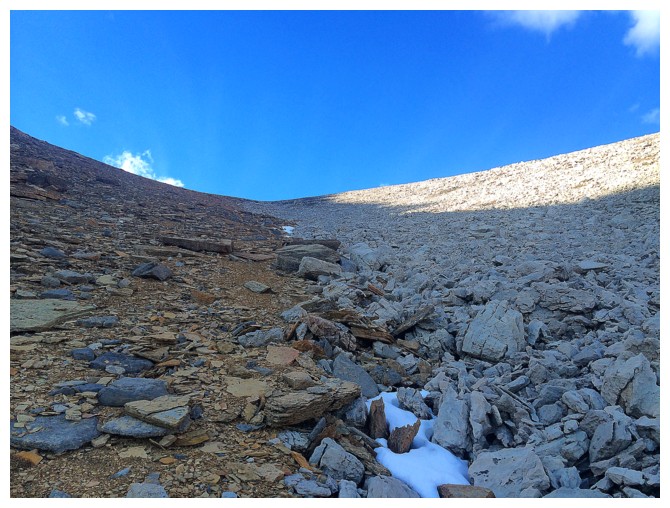
Taking advantage of the snow for better footing (photo by Rob)

Not so good footing
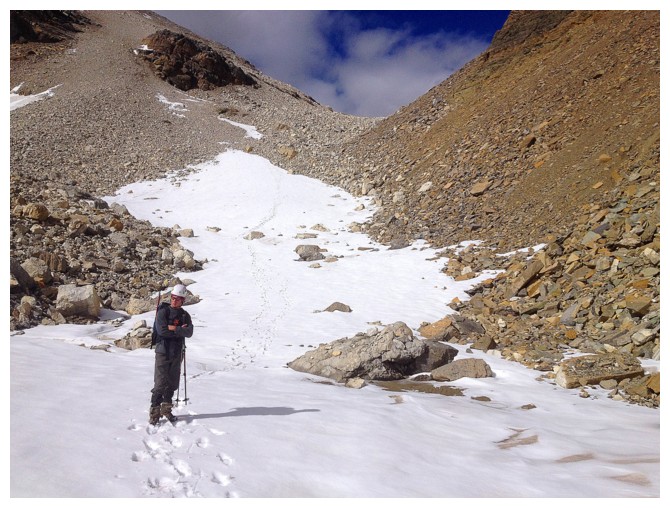
Back onto the snow
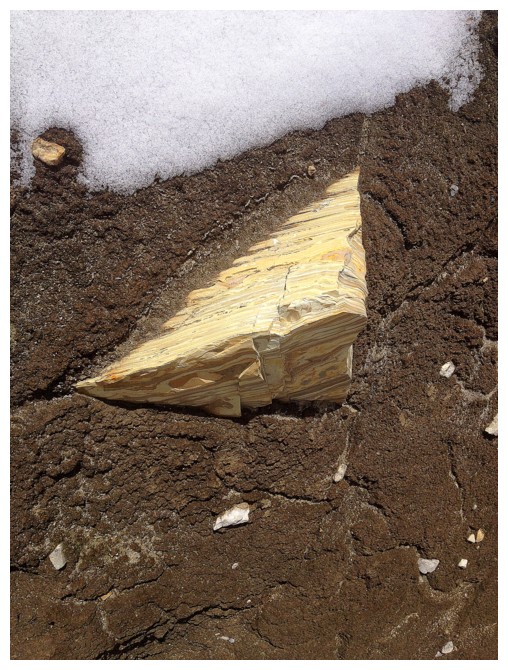
Rock embedded in mud covered snow/ice
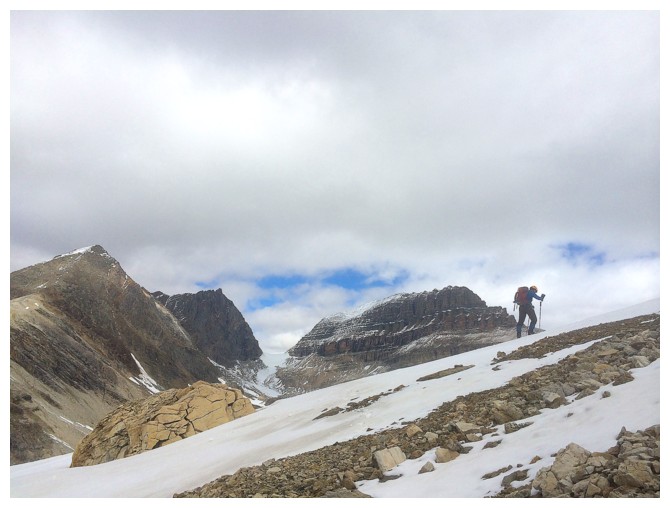
Heading for the Top Hat/Emerald Peak col at the left
Fairly obvious why the south side of Top Hat (left) is not a scramble

Another cool rock encounter
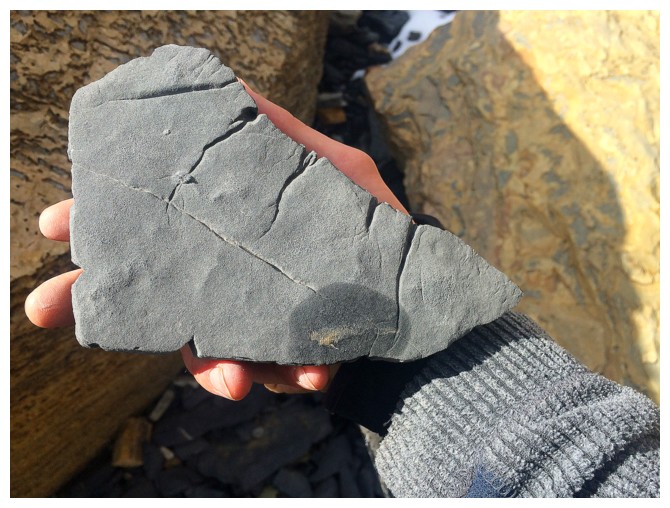
Same as above (photo by Rob)
Rob passes between a few huge boulders
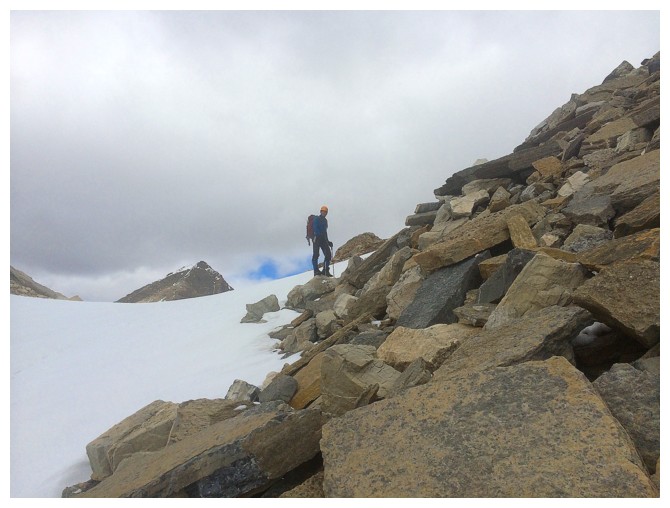
Almost at the col
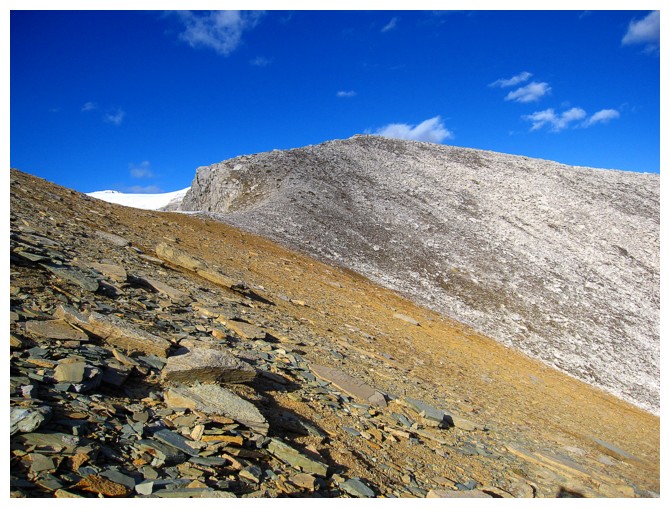
 Grinding up the other side
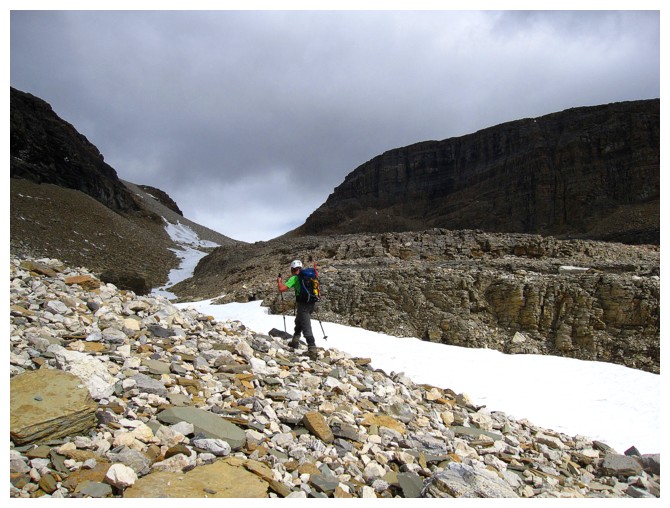
Welcome to the broken shales of Yoho! (photo by Rob)
What's going on here?
Rob has found a good use for the brittle rock!
I make haste, fearing an imminent shale attack! (photo by Rob)
Looking back to Top Hat
The summit block of Emerald is comprised of more solid materials
About some I saw some lichen!
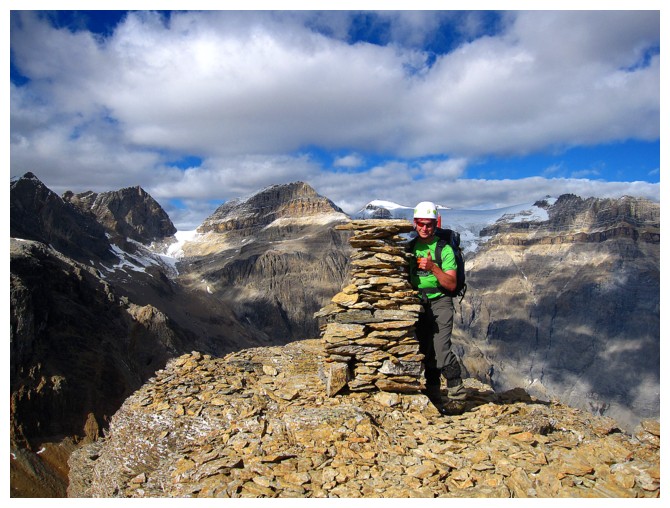
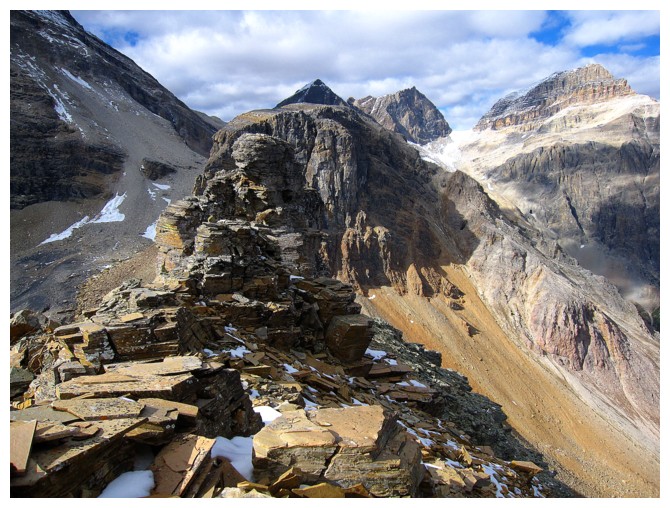
Rob and the well-constructed summit cairn
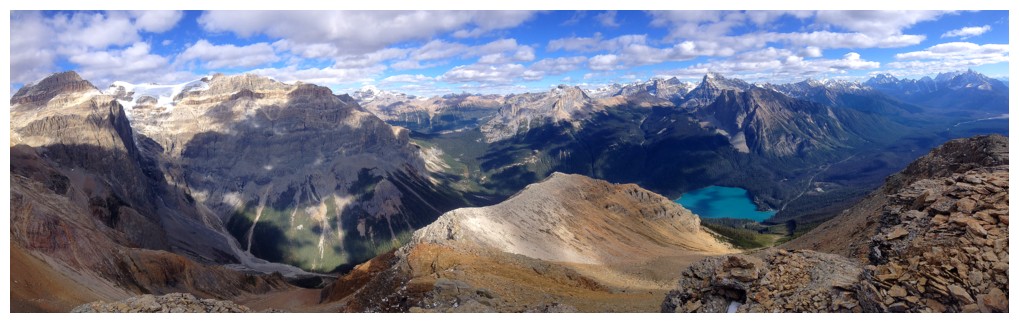
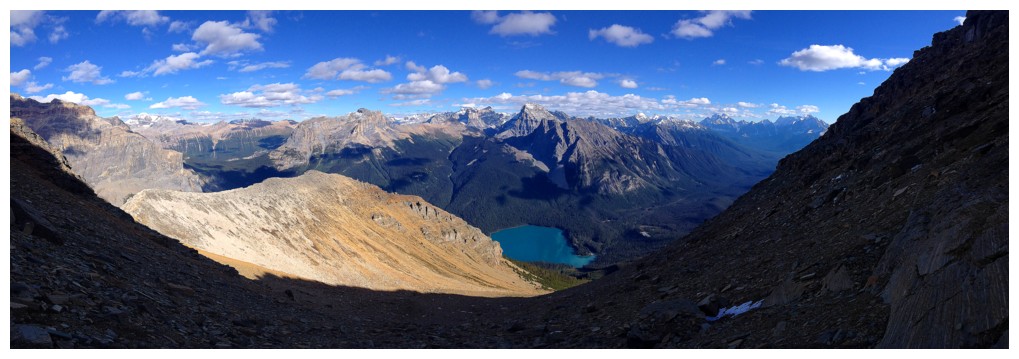
Summit pano
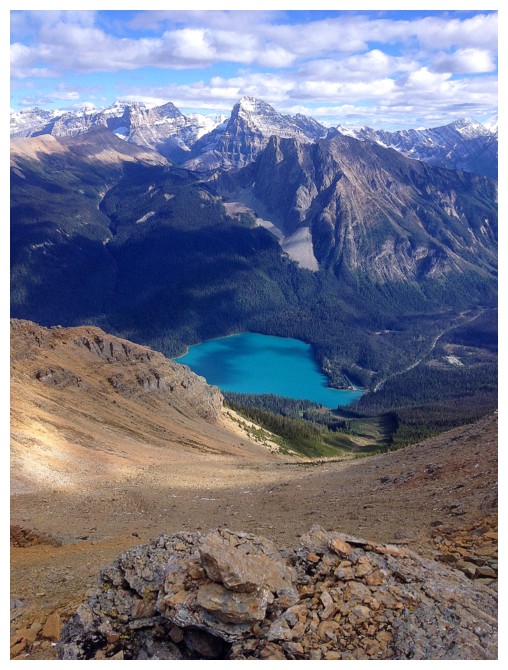
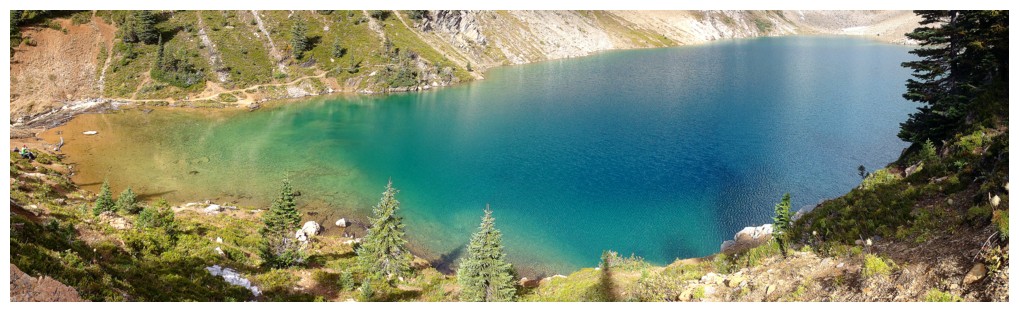
Beautiful Emerald Lake, with Mount Stephen in the background
The Goodsirs
Mount Vaux
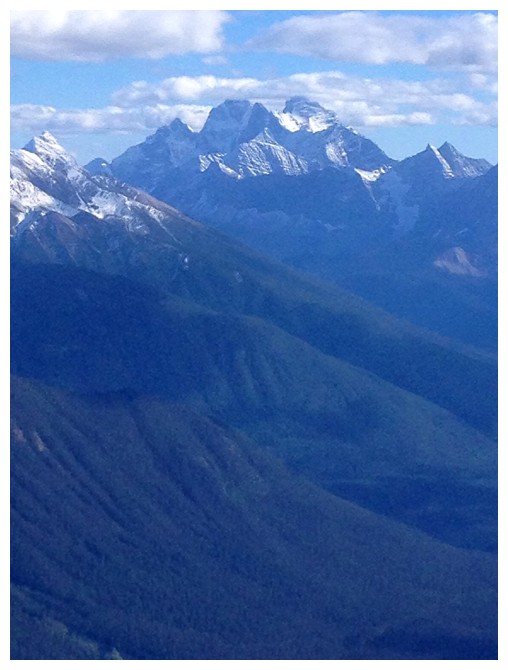
Mount Stephen
CarMar and Marpole
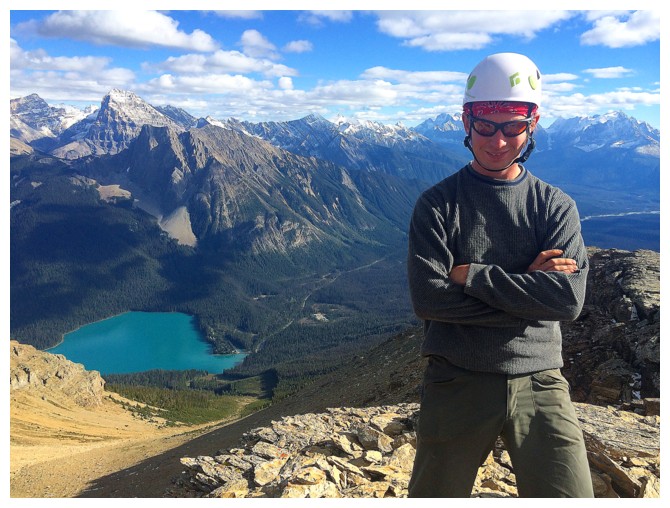
The Man at the summit

The other guy (photo by Rob)
Him again (photo by Rob)
One more summit view
Okay...two!
It's getting late; time to go
Wanted to check out the east ridge before descending the Emerald Slide Path
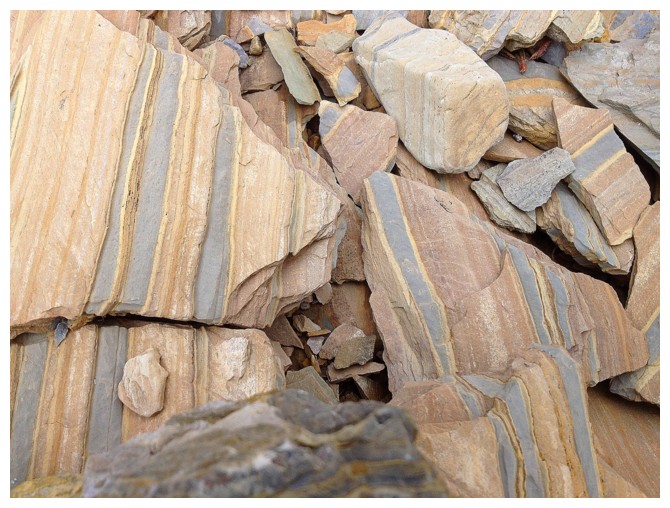
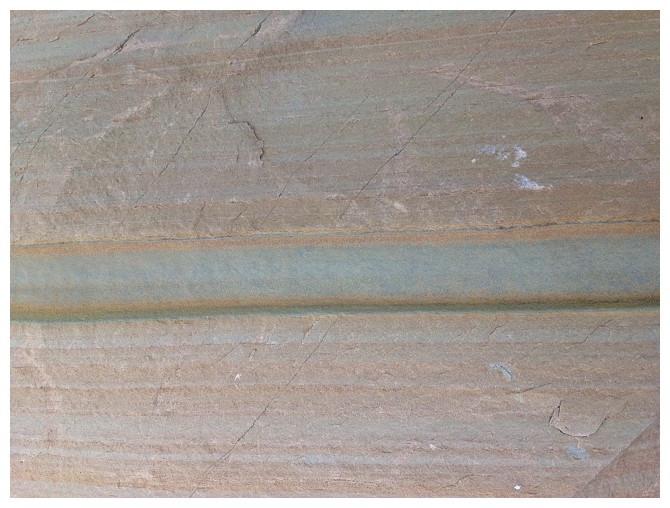
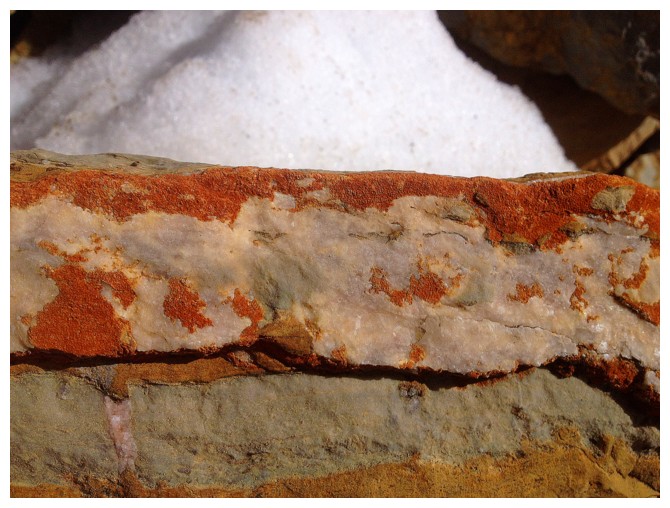
A very clear delineation of rock types
Pres and VP again
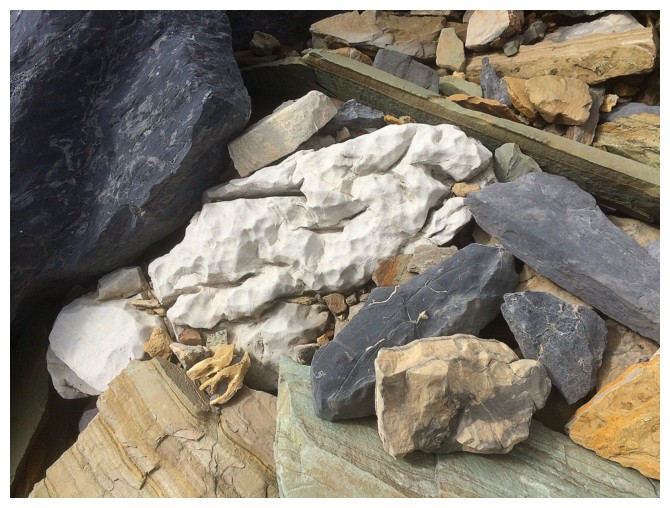
That rock has a story! (photo by Rob)
Hiking the east ridge
That clear line of rock types again (photo by Rob)
Looking back at the east ridge after descending a chunk of the Slide Path (photo by Rob)
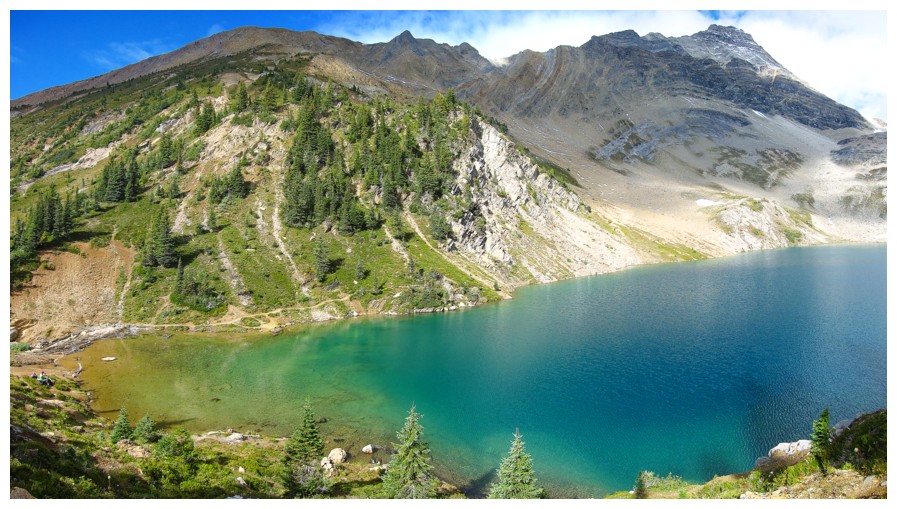
As stated, views of Emerald Lake are great throughout the descent
Close-up of the east ridge summit block
Walcott Peak and Mount Burgess sit above Emerald Lake
Close-up

And one of the lake
Nearing the bottom of the Path (photo by Rob)
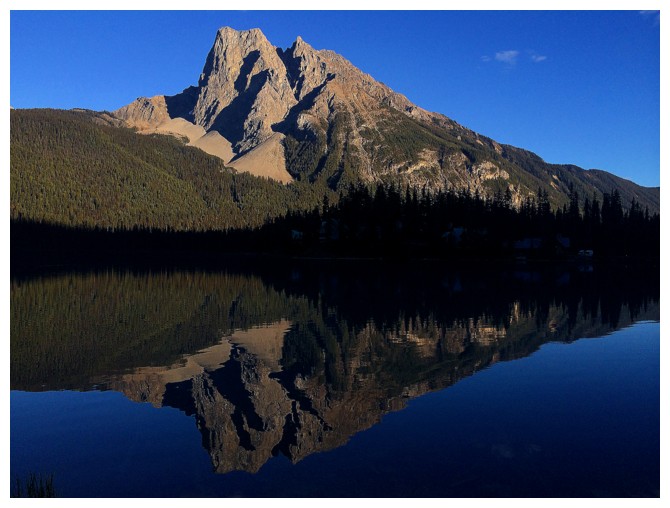
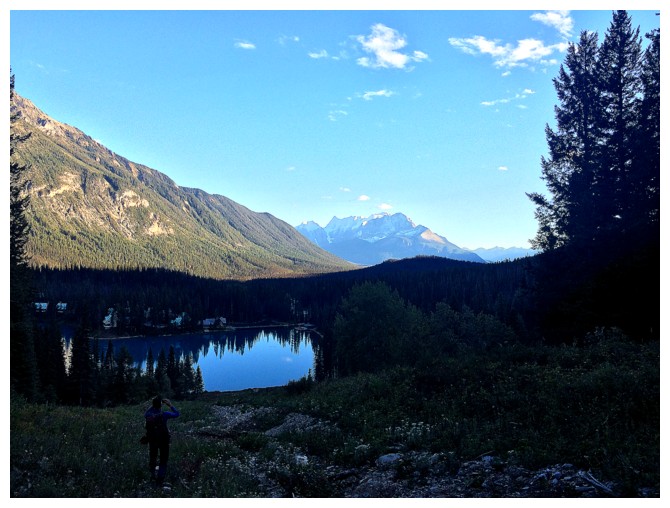
The day ends with some amazing lake reflection views (photo by Rob)
My turn
Wapta Mountain at the left

And that's a wrap
The End
LOG
