Wildhorse Ridge II
November 16, 2019
 Mountain height: 2225 m
Elevation gain: 750 m
Ascent time: 2:45
Descent time: 1:25
Scramble with Mark.
Wildhorse Ridge was not the day’s
objective. Initially we had our sights set on Evangeline Peak. As one of the
taller peaks in the eastern part of the Ya Ha Tinda area, Evangeline had
considerable appeal; other factors being the ease of ascent and a relatively
straightforward approach. Unfortunately, a critical error at the parking lot
would be our undoing, as we decided to leave our snowshoes in the car – a
surprisingly bad decision, given that we have never objected to the extra weight
of snowshoes on our packs in the past. The complete lack of snow at the
trailhead contributed to the poor decision, but we could clearly see there was
lots of snow on the mountain top.
 We covered about half the
horizontal distance towards the summit (but only a fraction of the vertical) before
concluding that the deep and unsupportive snow was going to be a huge issue.
Reluctantly, we turned around.
We covered about half the
horizontal distance towards the summit (but only a fraction of the vertical) before
concluding that the deep and unsupportive snow was going to be a huge issue.
Reluctantly, we turned around.
The good news: Wildhorse Ridge was
nearby to save the day. Already 11:30 am, we opted to take the most direct
route to the summit, described by Vern, as opposed to the south ridge route I
had completed in 2018. The weather had degraded to overcast at this point but
was far from horrendous.
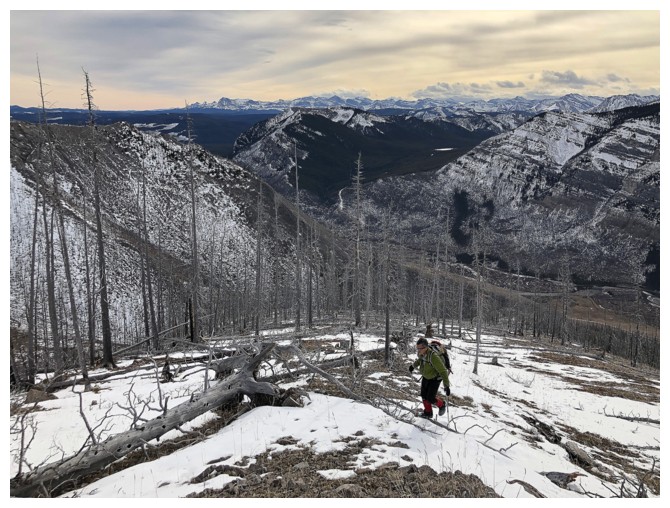
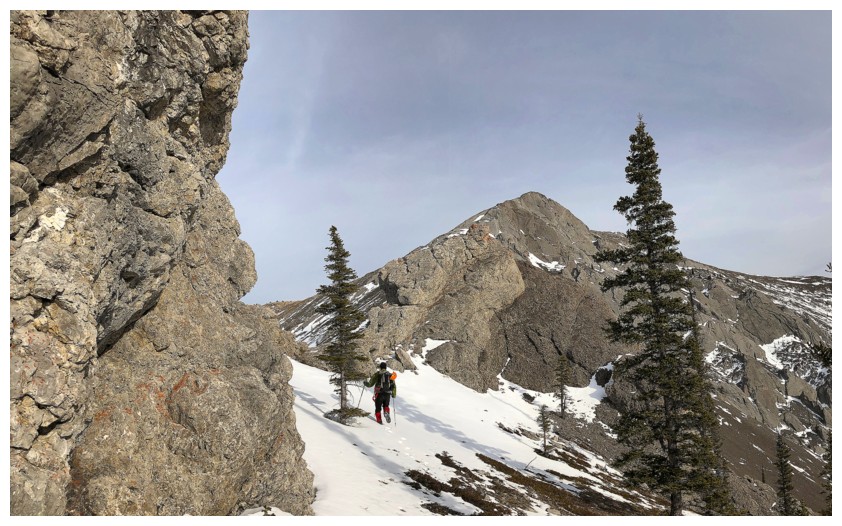
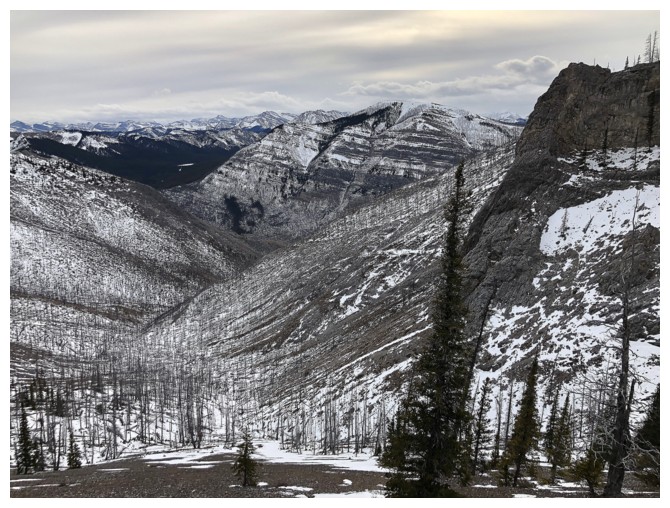
We both found the route to be very
enjoyable – mostly steep hiking up the fascinating slopes, littered with burned
out trees. The most interesting section occurred near the col between the first
highpoint and the summit. Super cool and very solid rock and a significant
narrowing of the ridge was cause for exploration. Mark led the traverse and
almost made it across. Unfortunately, the risk was too great near the end and
we backed away. An easy route took us around the obstacle and then we followed
the wide ridge, often on wonderful friction slab, to the summit.
Due to the lateness of the day we
stayed at the summit only for a few minutes and then took the super fast and
easy alternate descent route that essentially goes down the drainage east of
the summit. Eventually the route requires you to traverse back onto the ascent
route but it’s a relatively easy one.
Not the day we were expecting but a
great one nonetheless on a wonderful mountain that is full of surprises.
Wildhorse Ridge III is almost a certainty!
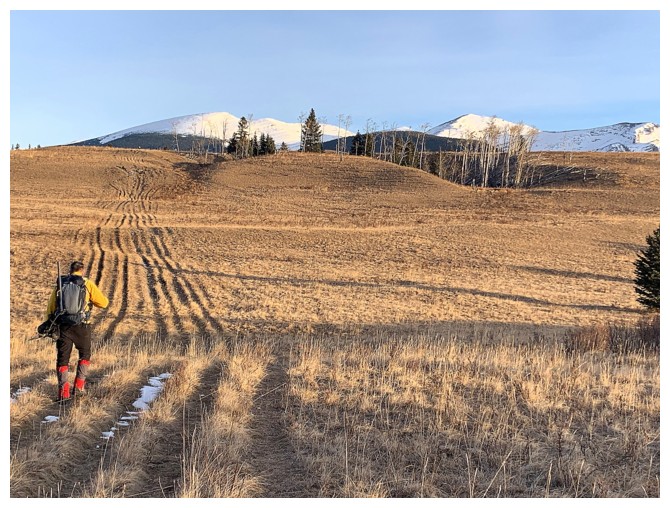
Near the snow-less beginning of the Evangeline Peak attempt. The objective is at the left.
Still fairly snow-free but that would change dramatically a little farther ahead
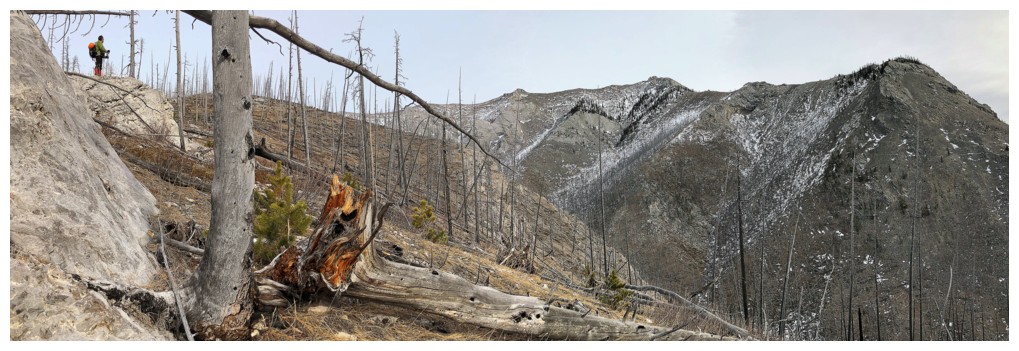
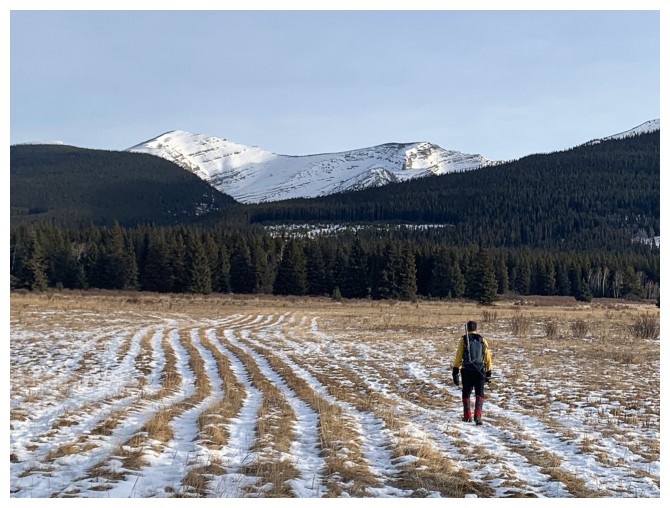
Returning via the Bighorn Falls trail after the failed attempt
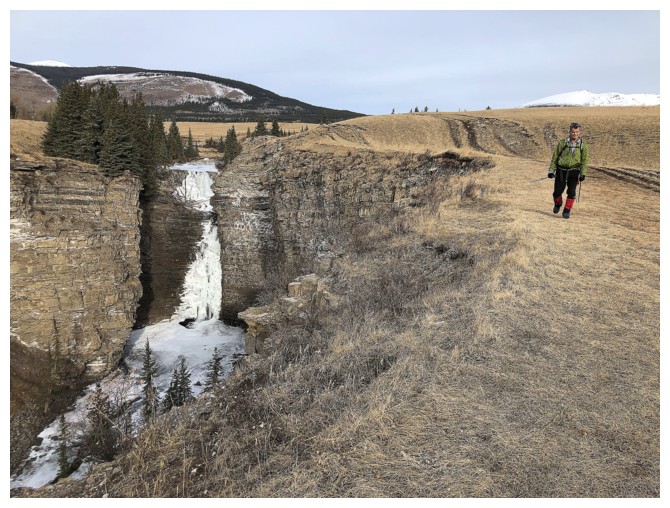
Pleasant scenery near the parking lot
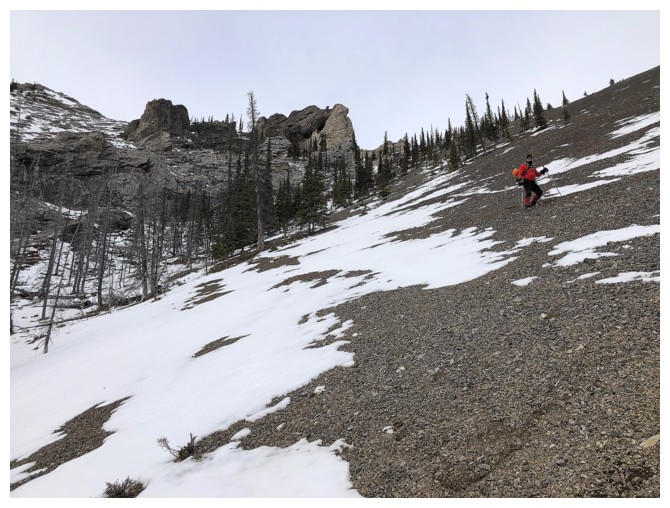
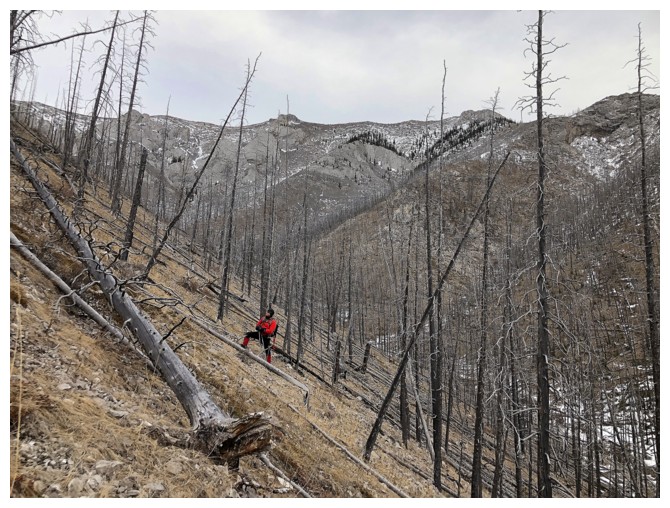
Looking up Wildhorse Ridge. The ascent route goes up the left side
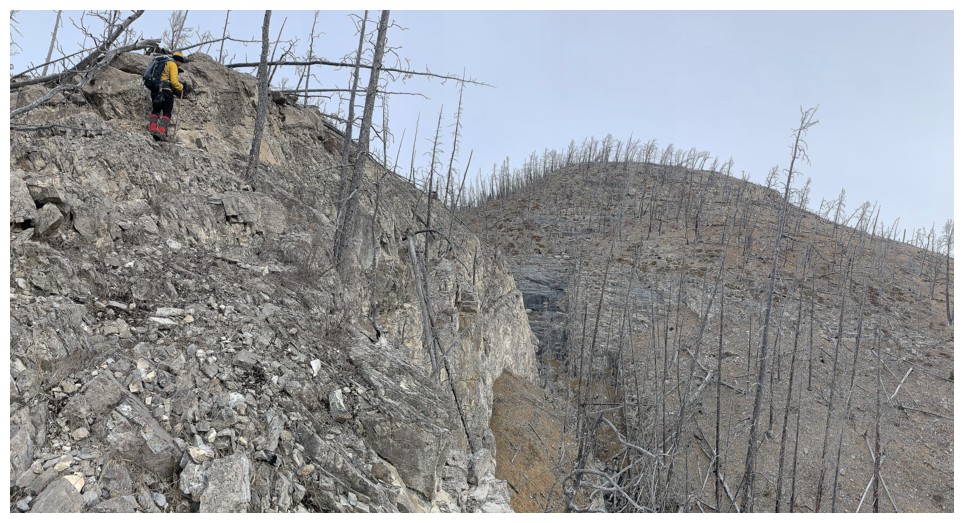
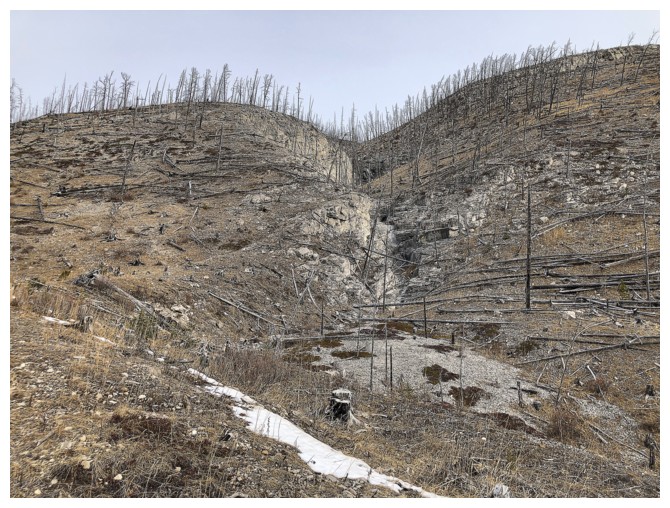
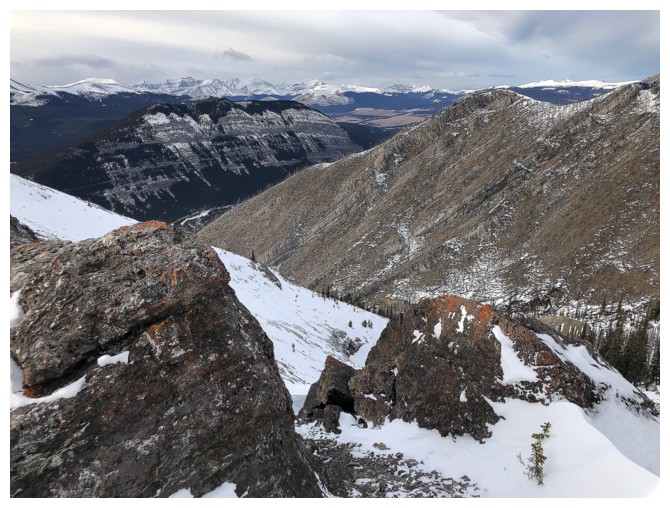
The drainage between the two ridges looked very tempting but there is definitely terrain in there that is beyond scrambling
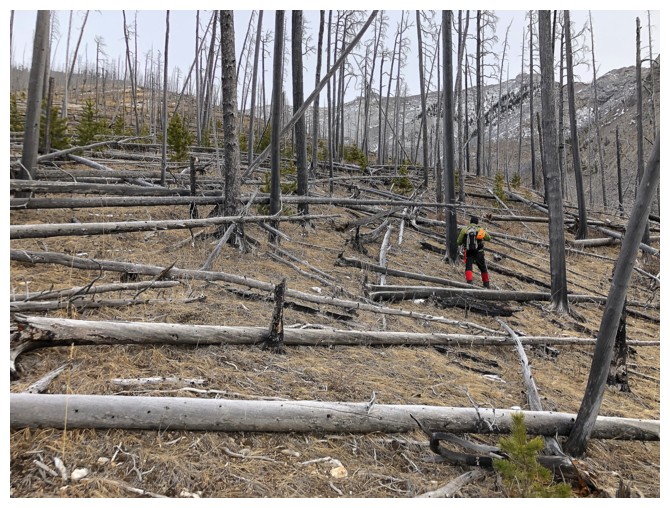
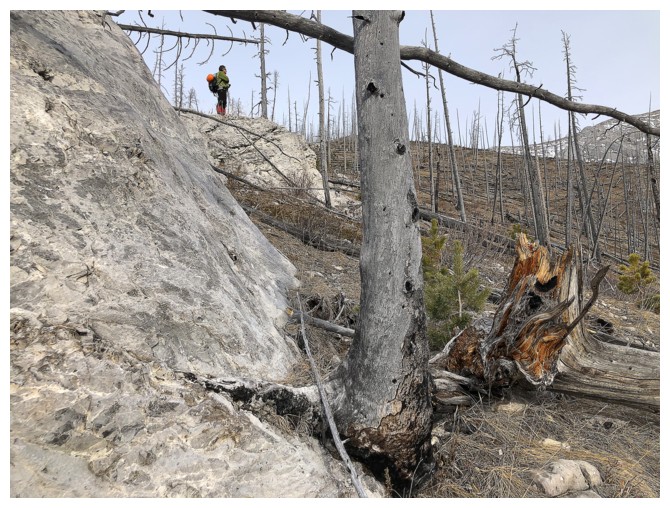
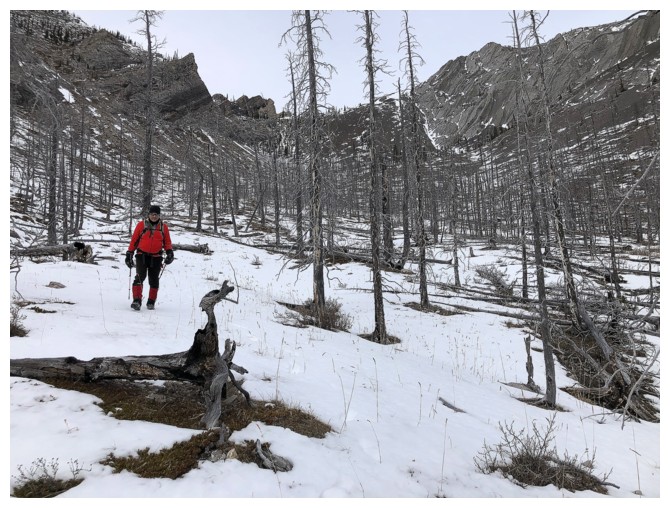
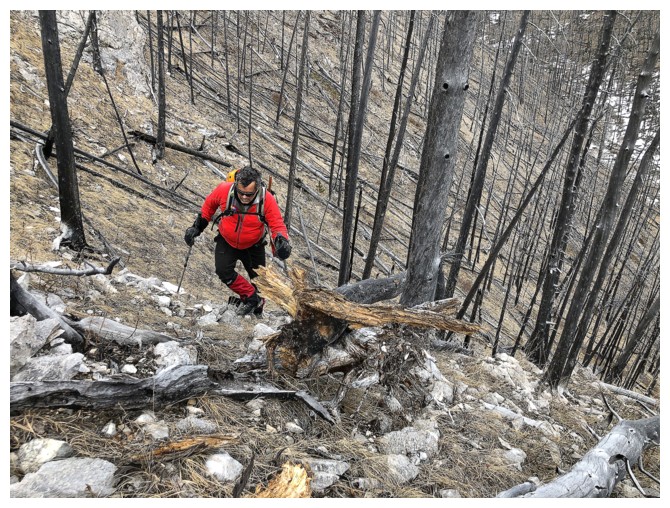
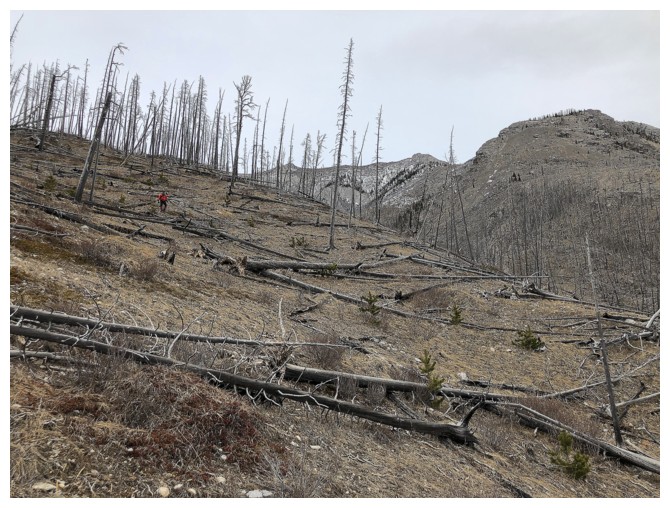
Typical terrain. Negotiating the deadfall was quite manageable.
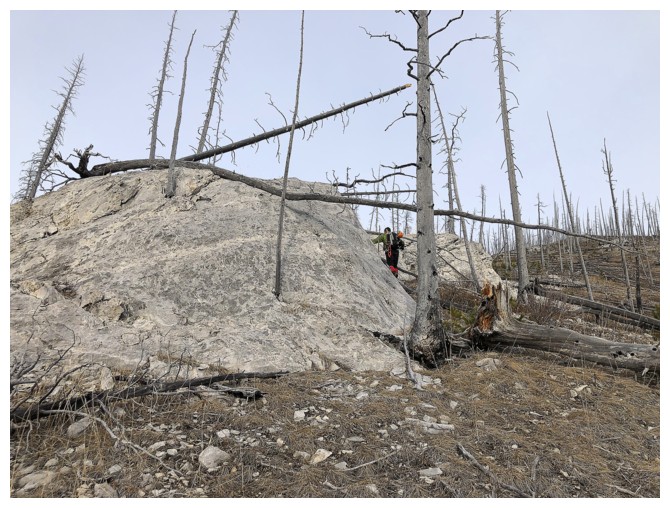
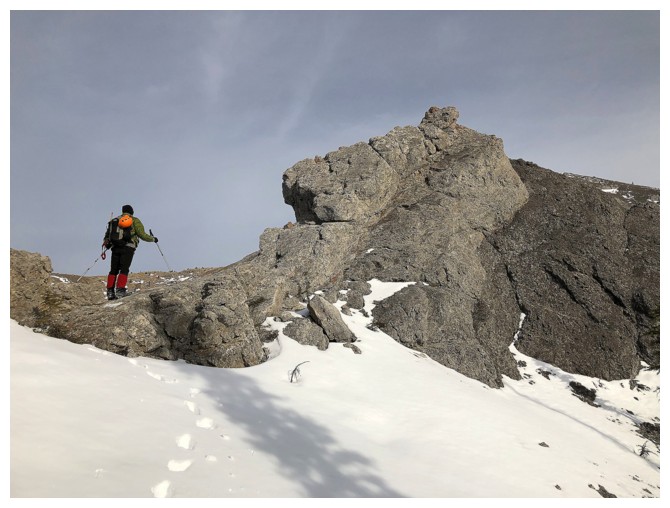
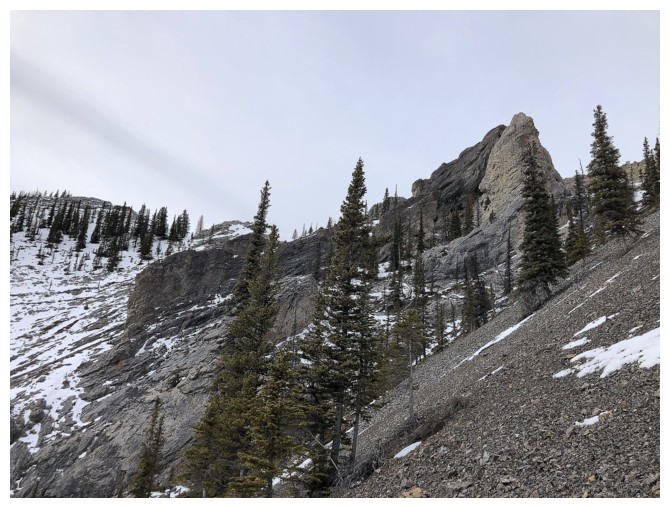
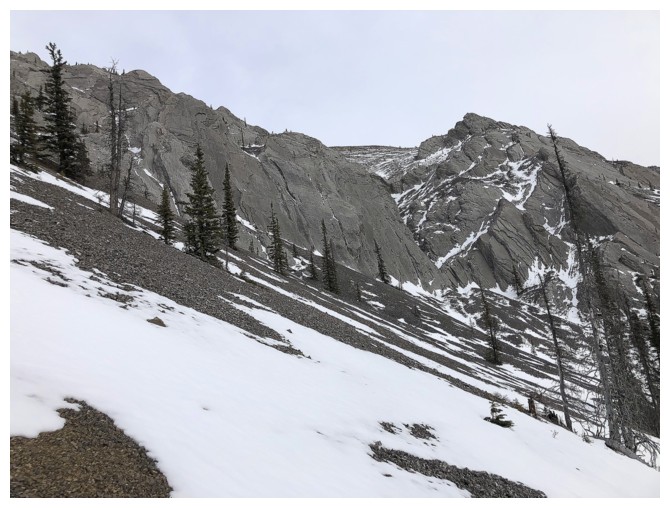
Various outcrops of solid rock interrupt the grassy ridge

A few easy scrambling moves are even required
Continuing up
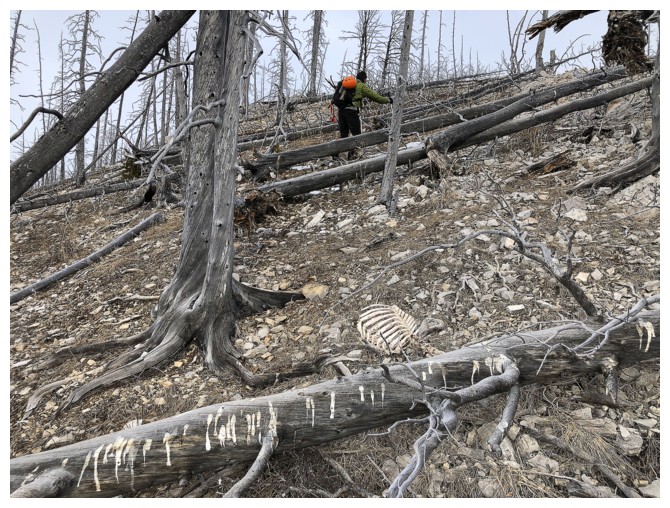
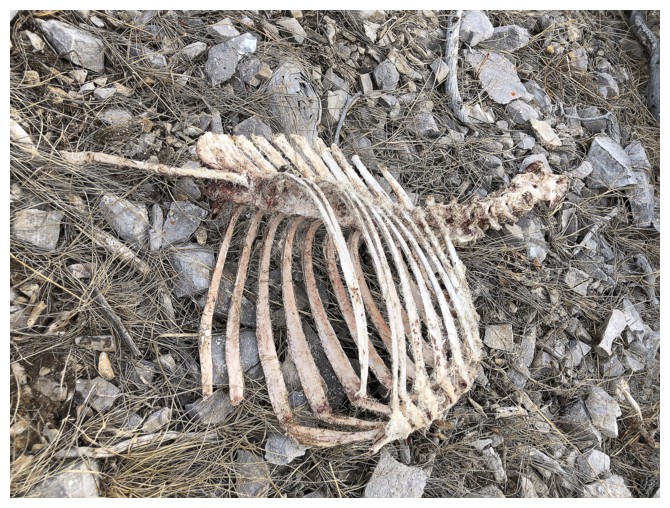
Mark leads the ascent (note the ribcage and spinal column (not Mark's))
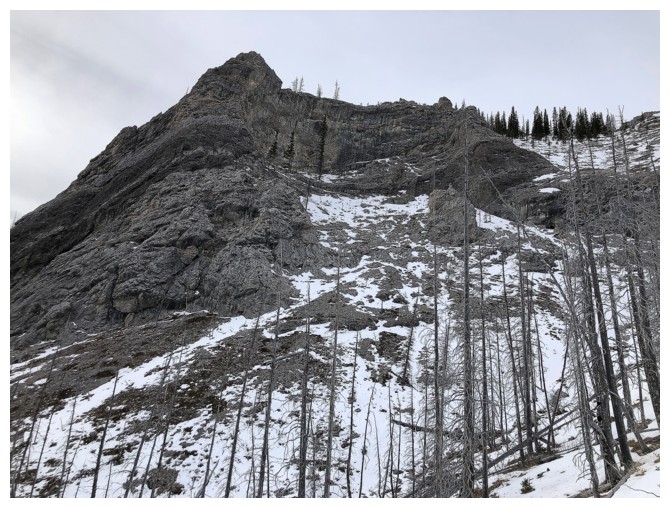
That one
Somewhat dreary skies but it could have been much worse
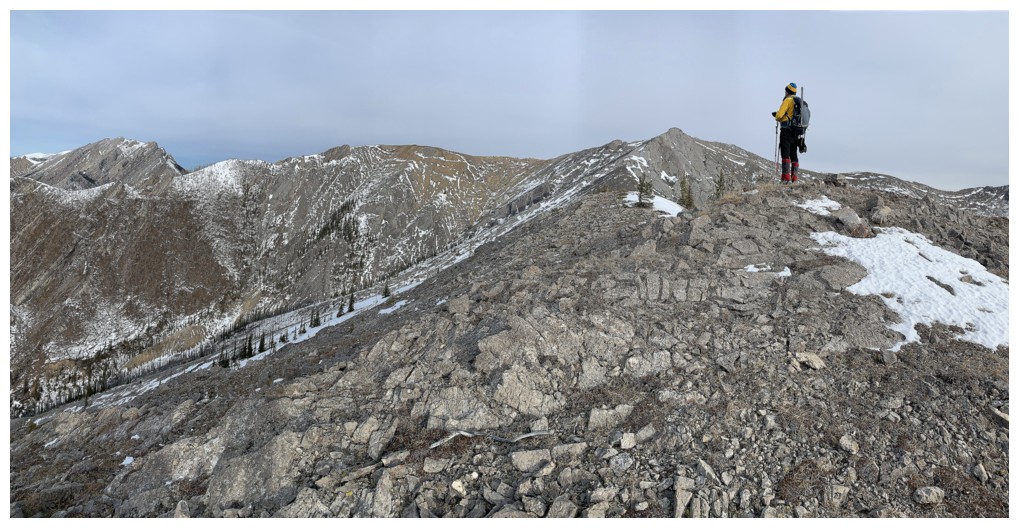
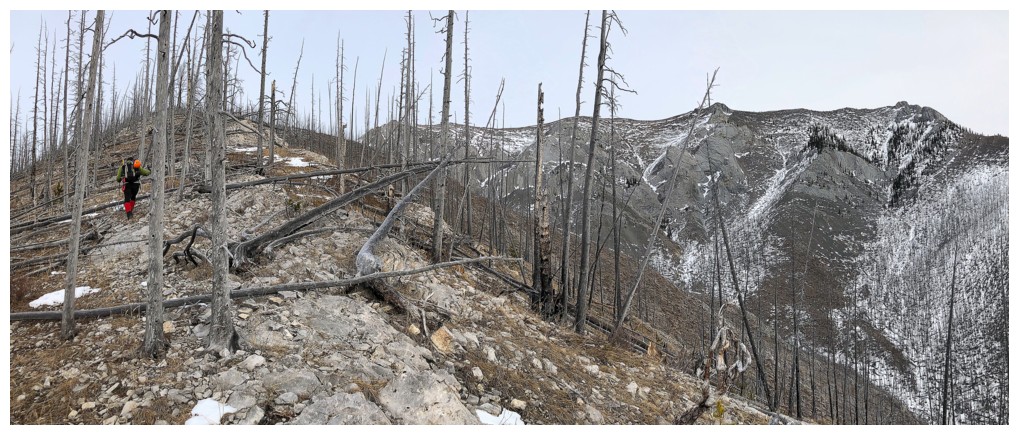
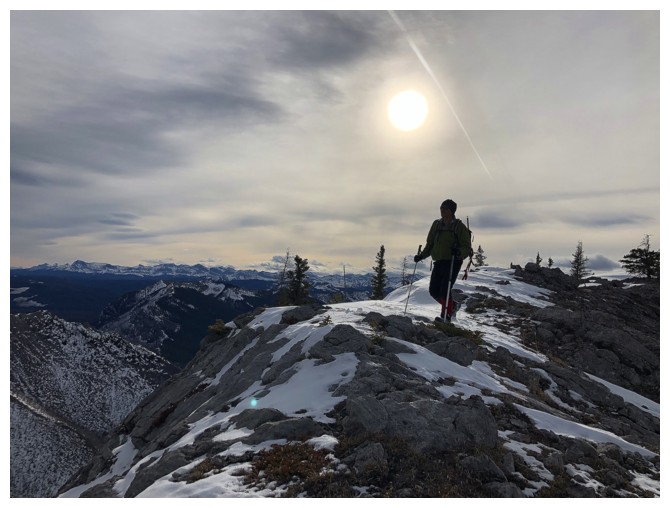
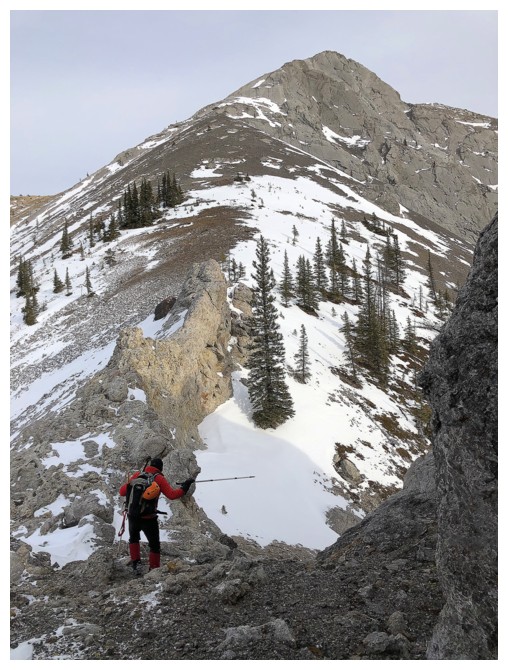
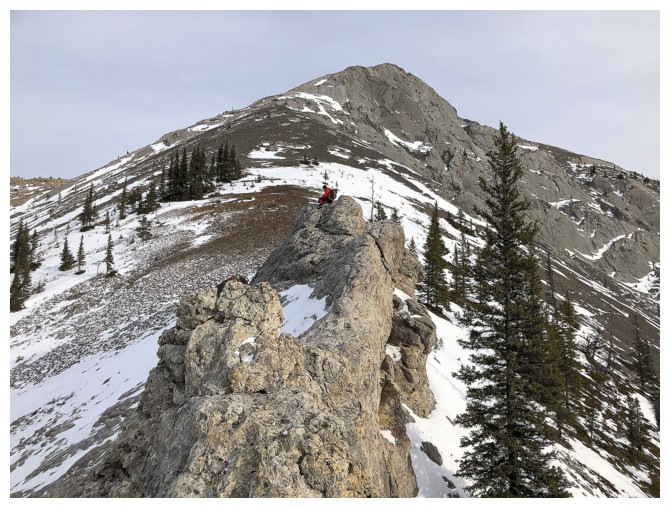
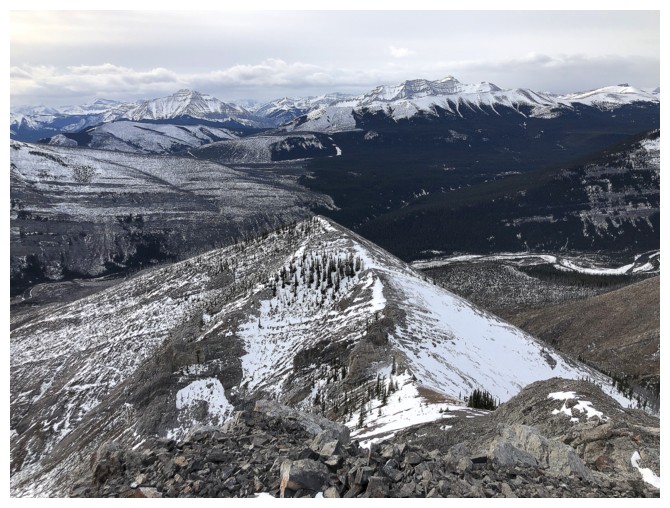
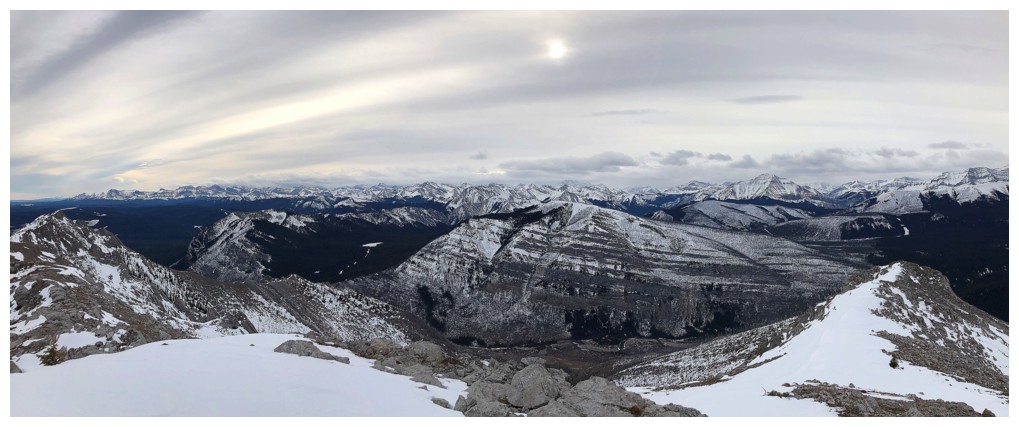
At the first highpoint. The summit is just left of me and Maze Peak sits at the far left.
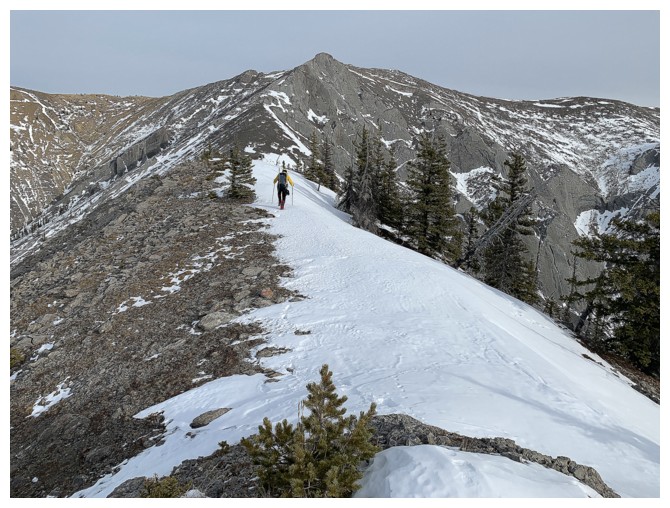
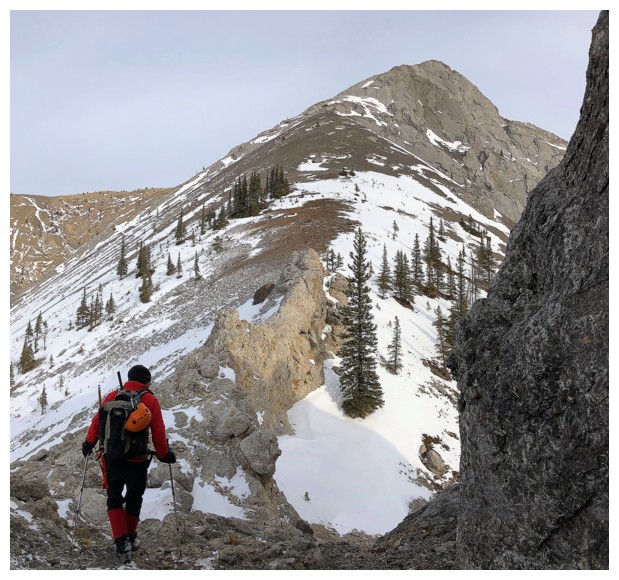
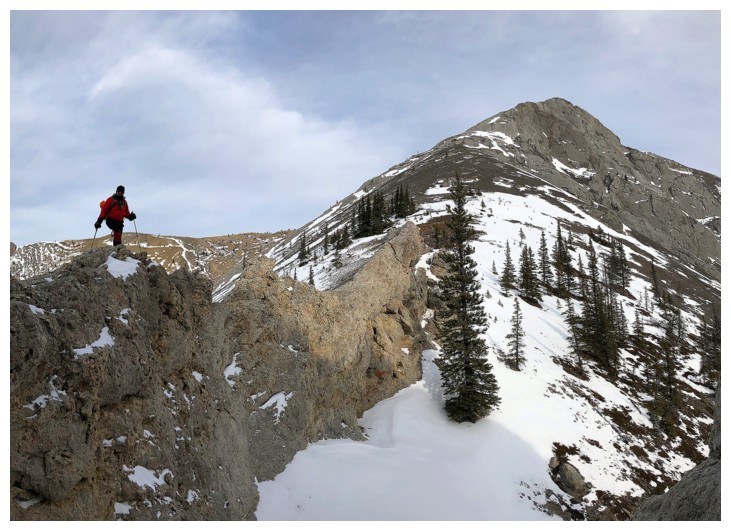
Pleasant ridgewalk before heading down to the col
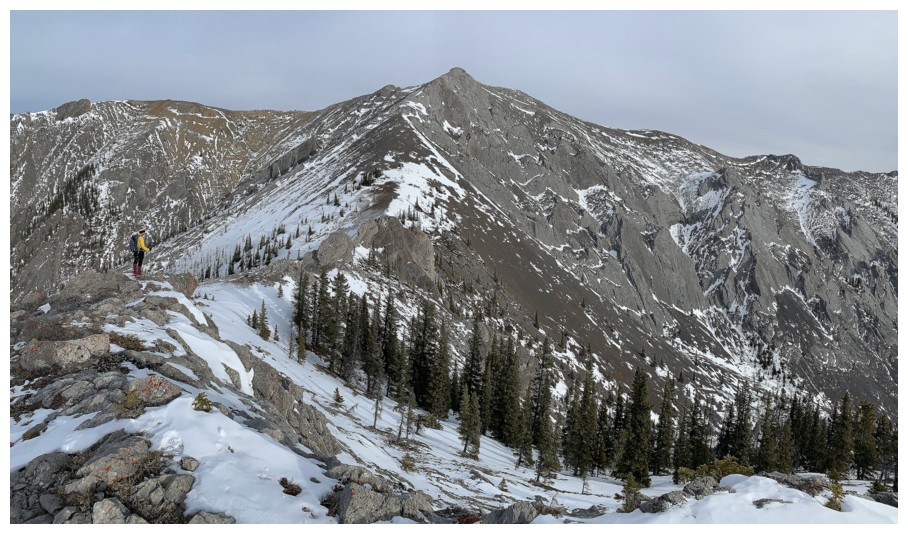
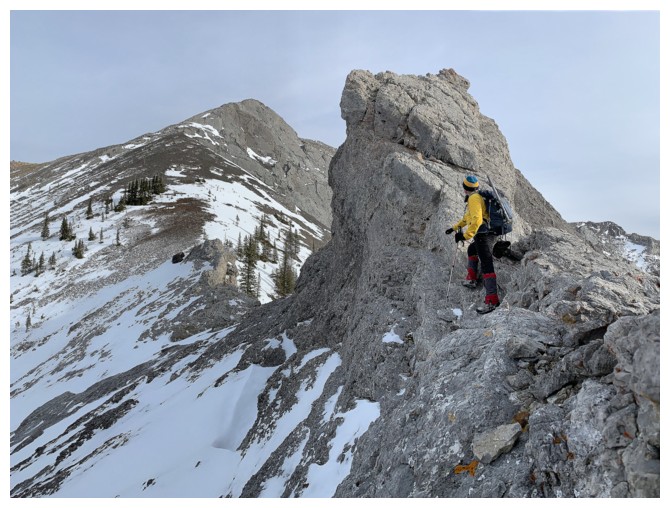
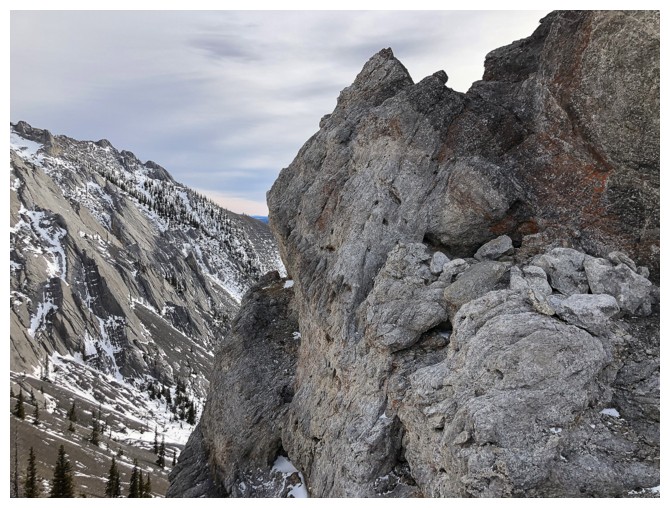
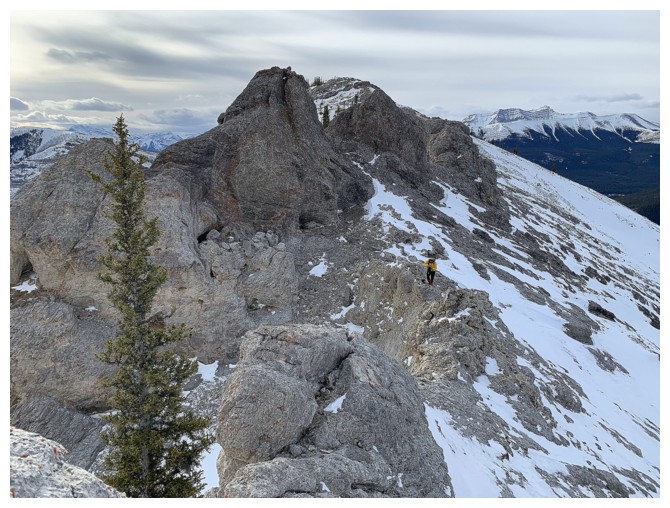
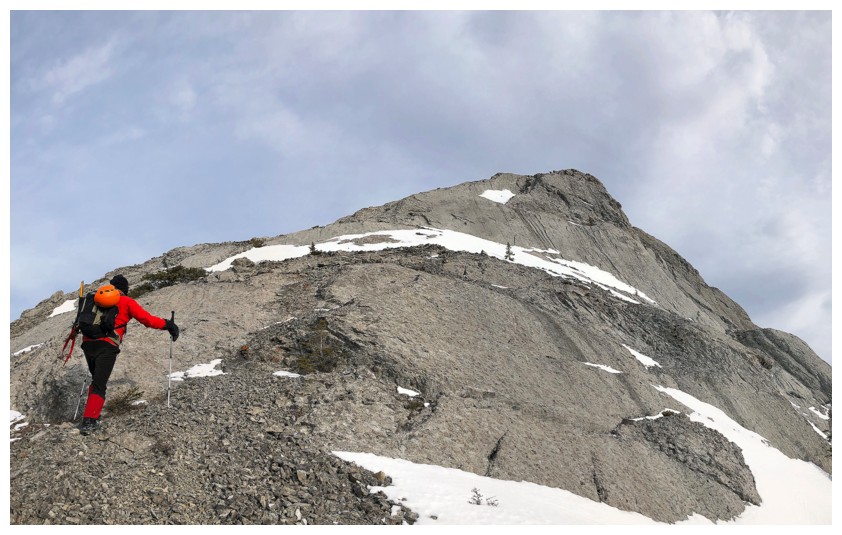
The remainder of the route looks straightforward, except for some interesting pinnacles that interrupt the ridge

Mark approaches the pinnacles
The first part is easily circumvented
This part of the ridge didn't look promising
So we dropped over the other side
The snow made this area a little tricky, but the rock is solid and grippy
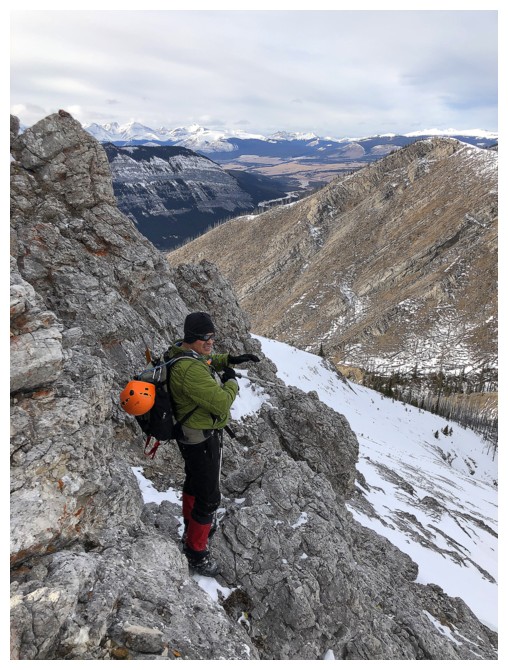
Mark points out the obvious route to the right to get around the next obstacle
But we ended up trying the ridge anyway
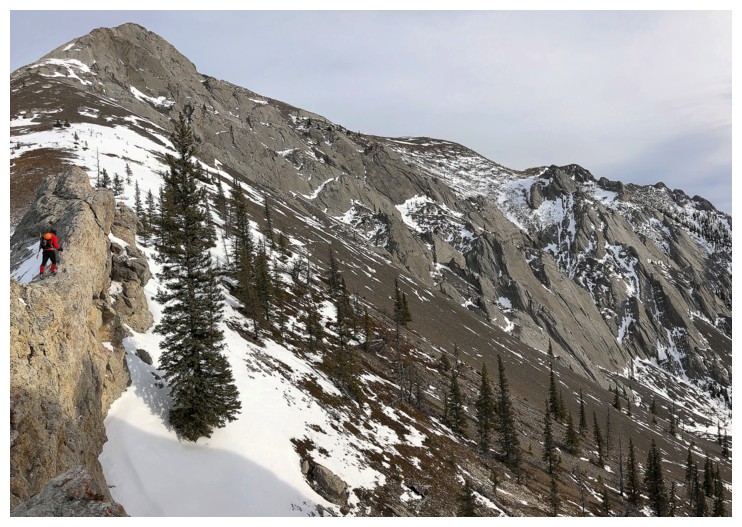
The super interesting rock scenery has been
a wonderful and consistent characteristic of all the trips we've done
in the Ya Ha Tinda area so far
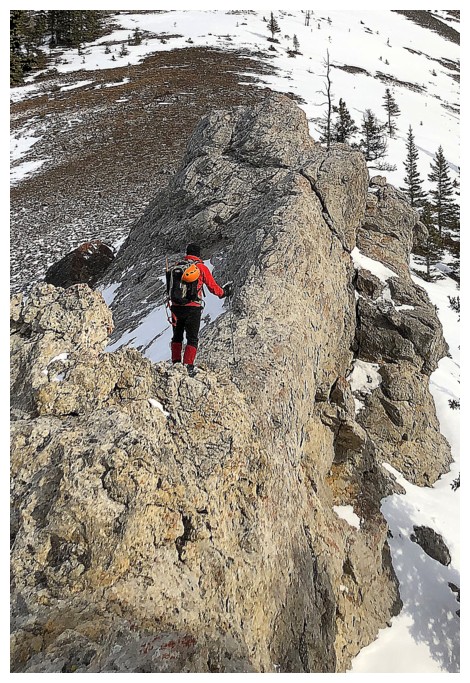
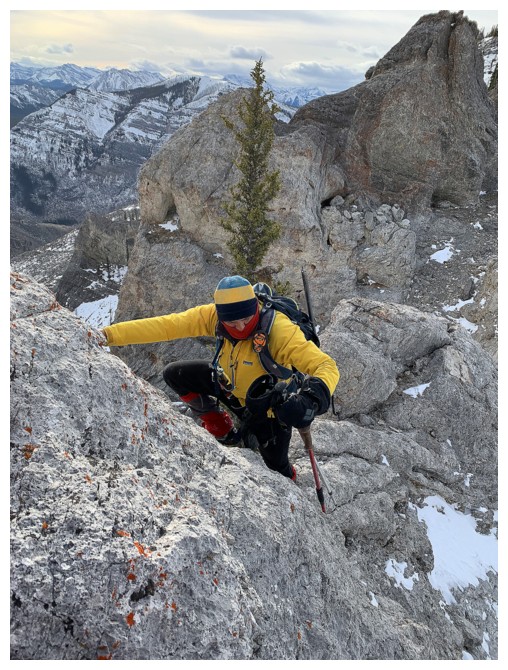
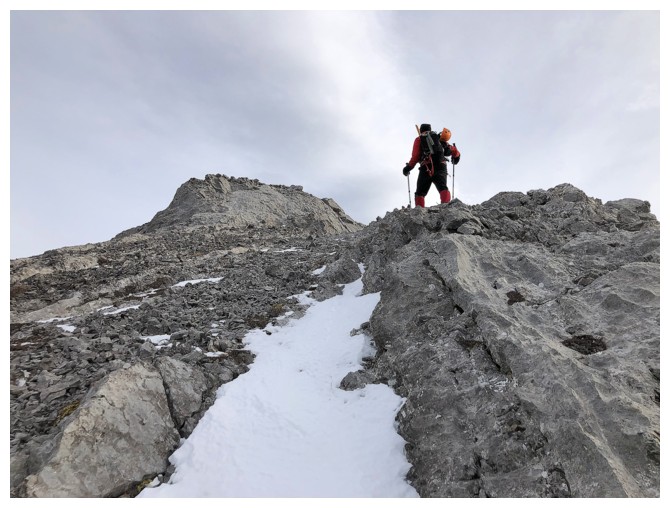
Mark leads the narrow ridge

Making progress
As far as we he got
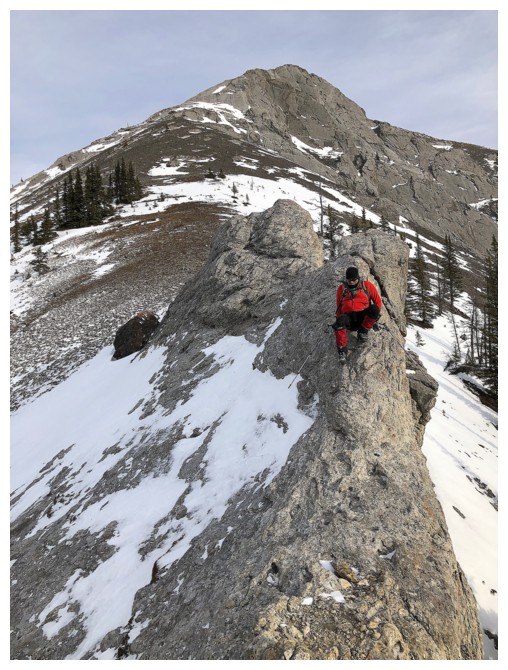
My turn to traverse the ridge
Some good exposure to contend with
The quality of the rock was amazing for this section
Backing down
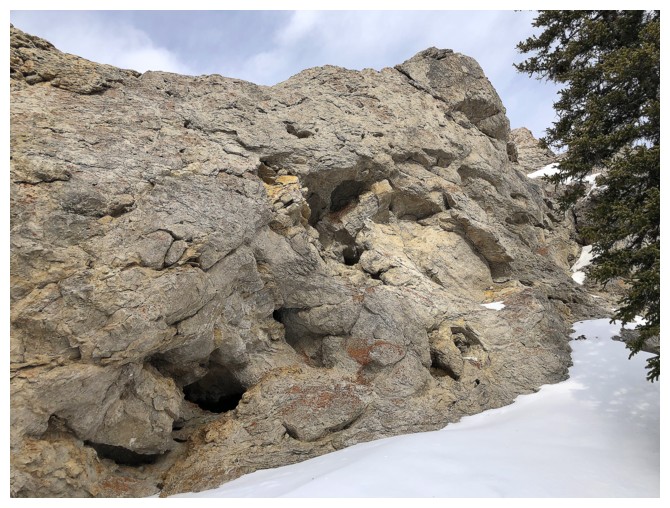
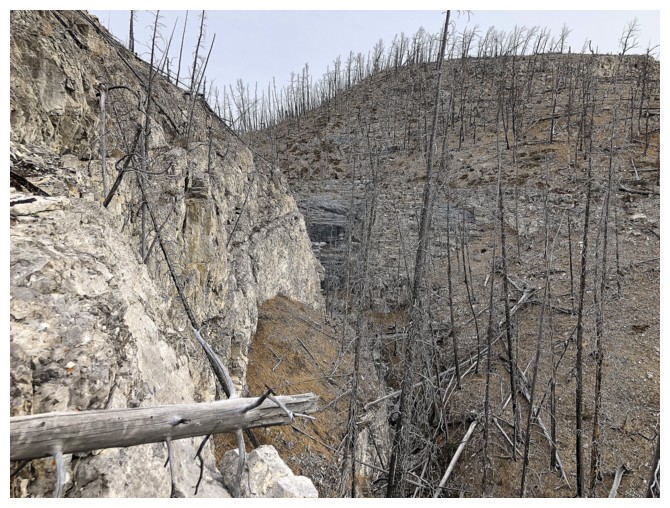
Some cave-like features below the ridge
There wasn't much lichen covered rock along the way, but enough to make me stop a couple of times
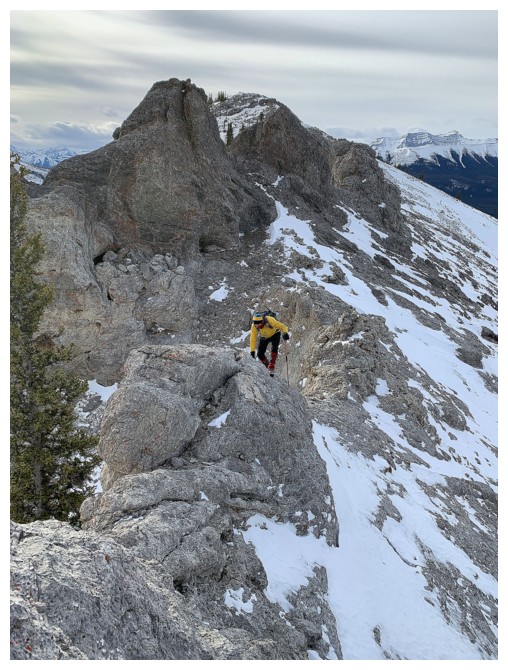
Mark reaches the slabby section just before the summit
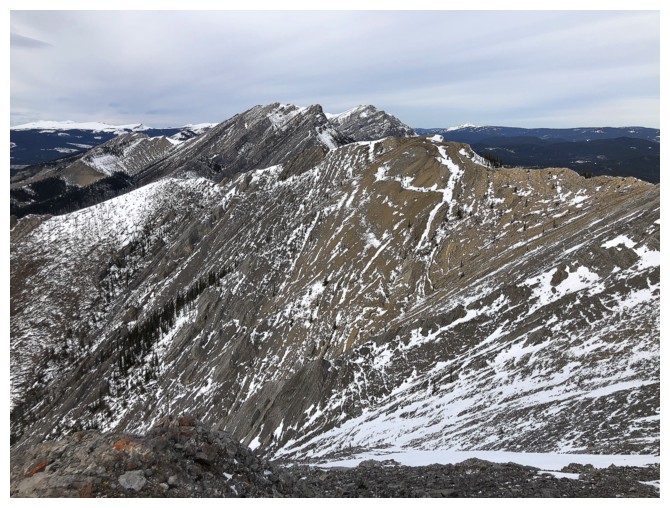
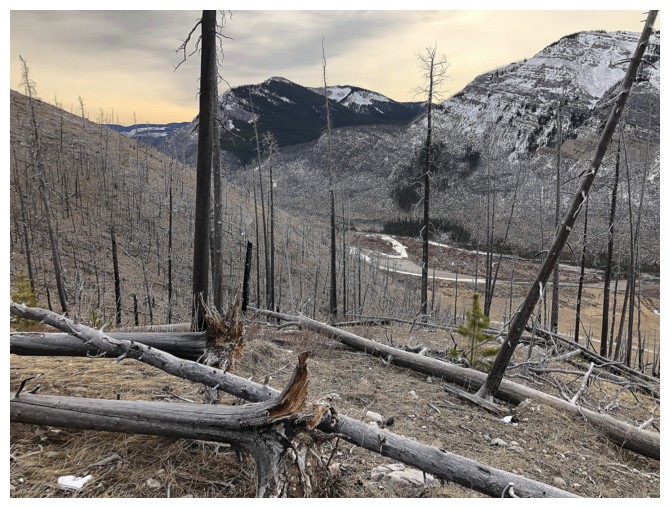
Maze Peak in the background and the north
ridge of Wildhorse in the foreground. The north ridge makes for a great
extension of the trip, time permitting.
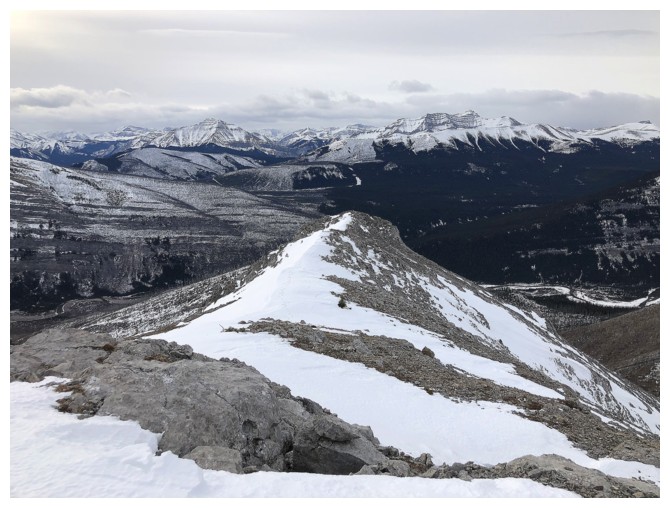
Looking down the ridge we just ascended

Summit
One of the other ridges that would interesting to explore someday
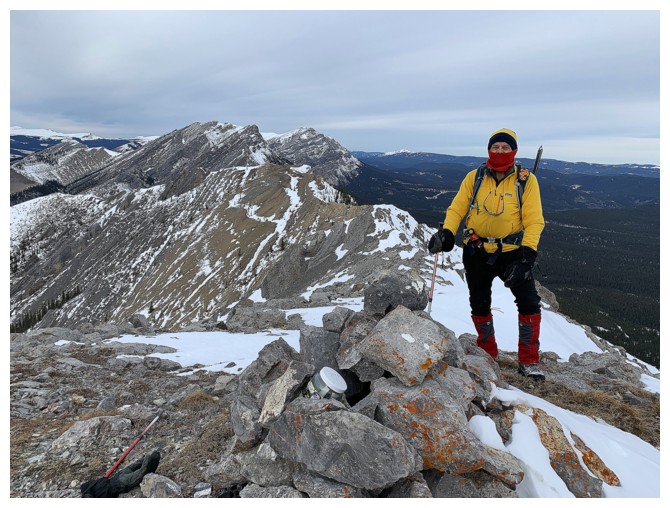
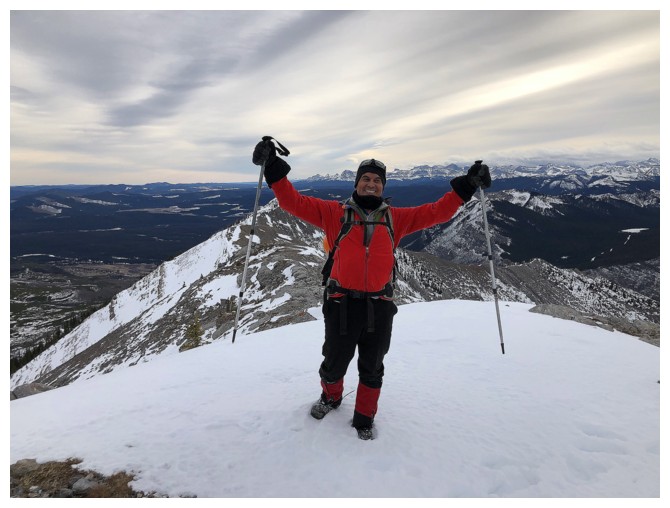
A somewhat tongue-in-cheek hero pose!
Labyrinth Mountain on the other side of the valley
Lots of great rock scenery on descent
Looking down the descent route
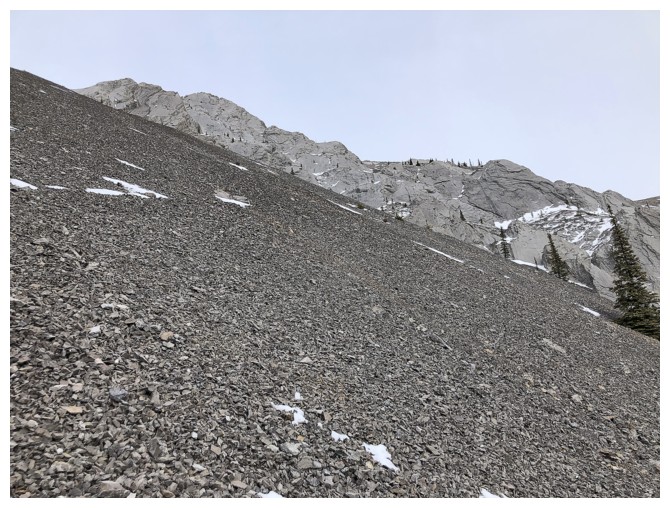
Scree and slabs
Mark descends the user-friendly scree
Would love to return to check out this area someday
Traversing back to the initial ascent slopes

Colourful tress stump, to make up for the lack of colourful lichen on rock
Mark descends the last section of the trip
The End