Mount Allan IV
October 3, 2023
Mountain height: 2819 m
Elevation gain:
1500 m
Ascent time: 4:40
Descent time: 3:20
Solo scramble.
The objective of
the day was to finish the job Mark and I had failed to complete 20 years
earlier – an ascent of Mount Collembola from Dead Man’s Flats. 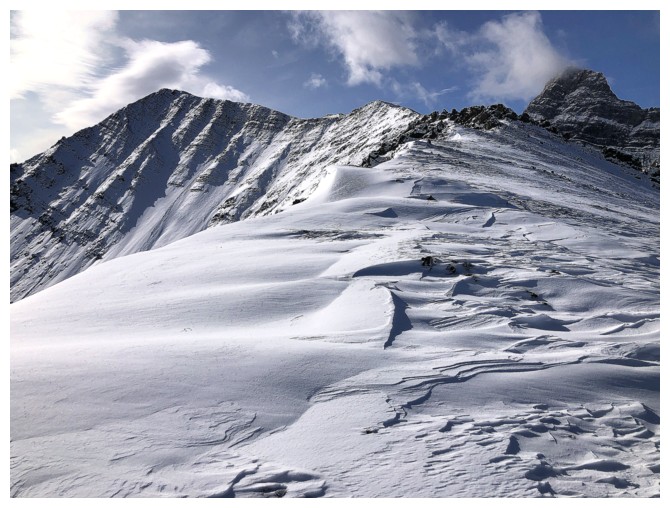 The weather
forecast was perfect, and a recent snowfall had dumped enough white stuff on
the mountains to make the trip more scenic, but probably not enough to hamper
progress up the long, steep route.
The weather
forecast was perfect, and a recent snowfall had dumped enough white stuff on
the mountains to make the trip more scenic, but probably not enough to hamper
progress up the long, steep route.
In short, the
weather was far from perfect and there was way more deep, unconsolidated snow
on the mountain than predicted. Upon reaching the point where you leave the
Centennial Ridge Trail and start up Collembola’s north ridge, I decided an
attempt wasn’t worth the effort. Likely it would have involved the same type of
strenuous travel Mark and I had encountered in 2003, I didn’t bring snowshoes (unlikely they would have helped anyway),
and, as stated, the weather sucked! (at least relative to what was predicted). As
well, the Centennial Trail had already been packed down by several generous
people and I wasn’t in the mood for any unnecessary trail breaking. 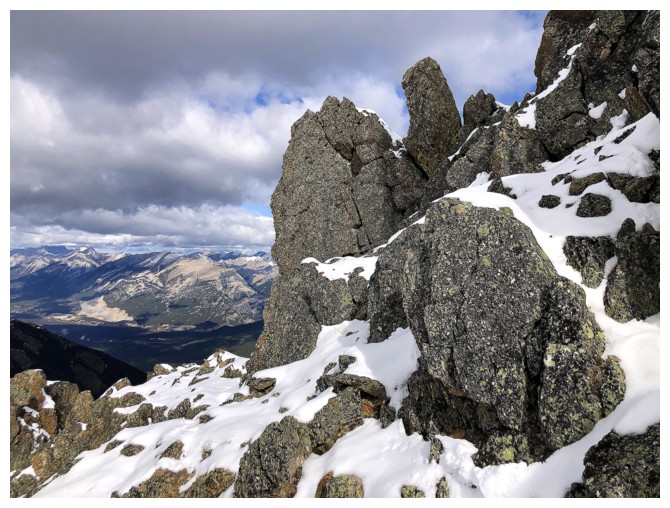 Aside from
turning around and going home, continuing on the trail towards Mount Allan was
the only option.
Aside from
turning around and going home, continuing on the trail towards Mount Allan was
the only option.
This was my
first time on the north section on the trail and though it has some interesting
features, this route pales in comparison to the awesome ascent from the Ribbon
Creek side (south). Unfortunately, the human tracks I was following ended right
where they would have been the most useful. Here the trail traverses steep
slopes below the ridge on the left side. Without snow this traverse would be inconsequential,
however, snow was aplenty and suddenly you are dealing with exposed terrain
where a slip could have severe consequences. Microspikes and slow, cautious
travel were both required to get past this section.
The remainder
of the ascent unfolded with ease, though it was much longer than anticipated. (Almost)
needless to say, my motivation was not riding that usual high experienced when
clear skies do prevail. A very brief summit stay preceded the easy but very
long descent via the same route.
A disappointing
day, due to the weather, but what a workout this route is! Having now completed
both approaches of the Centennial Ridge Trail, I would probably limit my
travels to the Ribbon Creek side for both ascent and descent. I can’t think of
a single advantage to the north approach, though it does offer slightly easier
access to Collembola. "And so fare thee well" Centennial Ridge Trail North (love Kenneth Branagh's Shakespeare!).
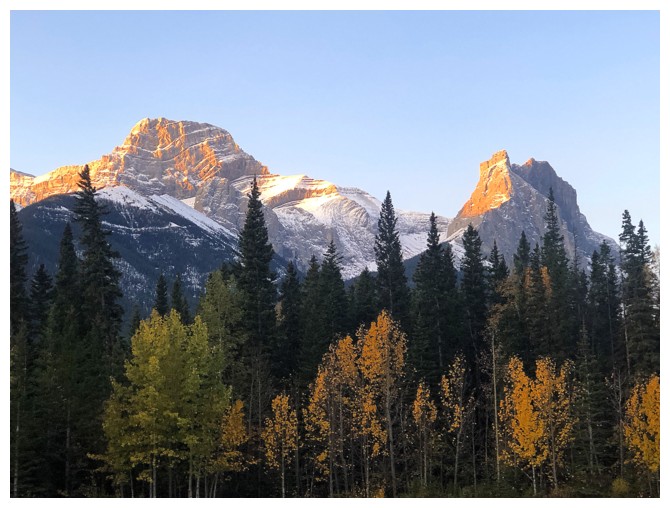
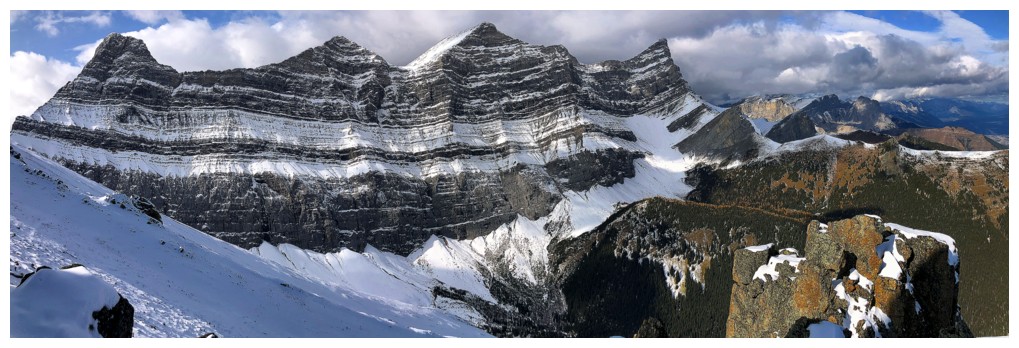
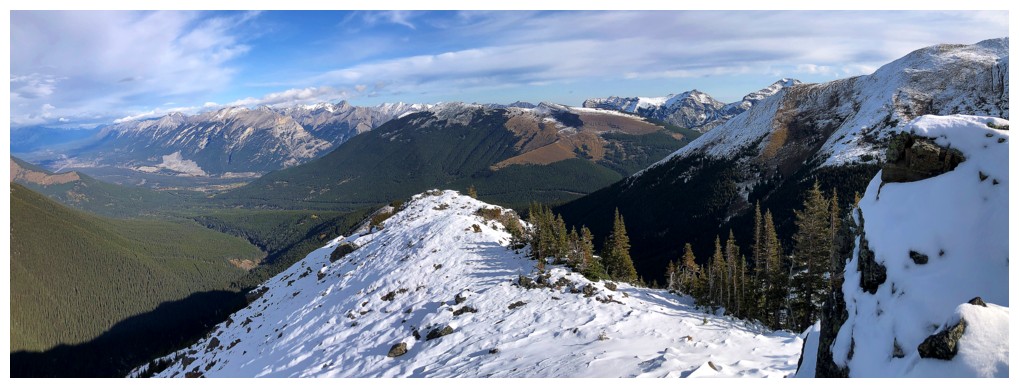
The first peak of Mount Lougheed (left) and The Windtower

A glimpse of The Three Sisters
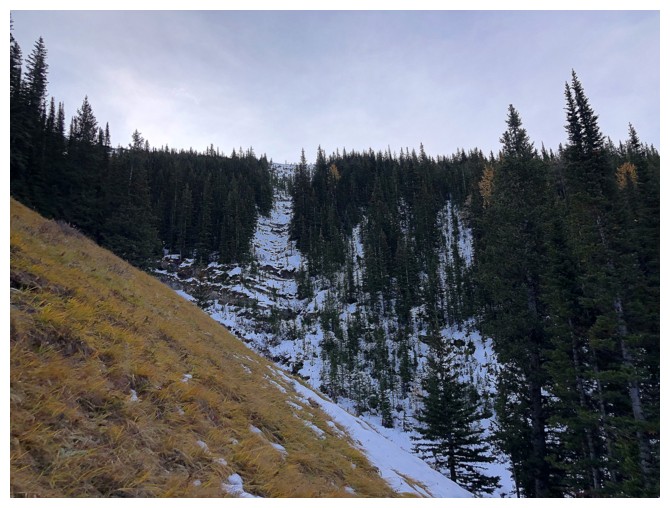
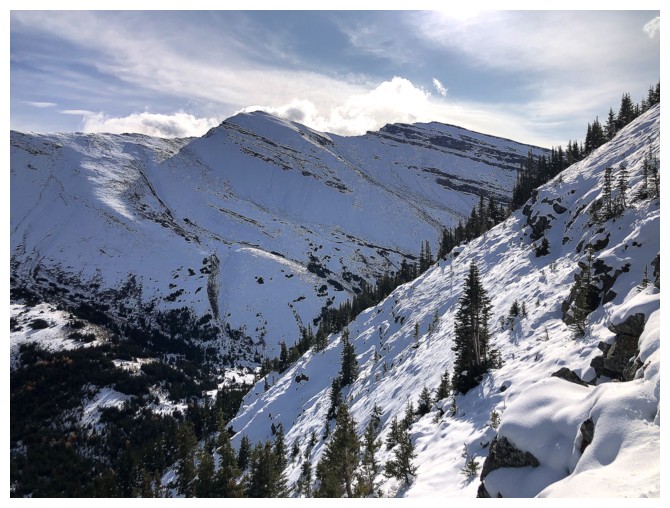
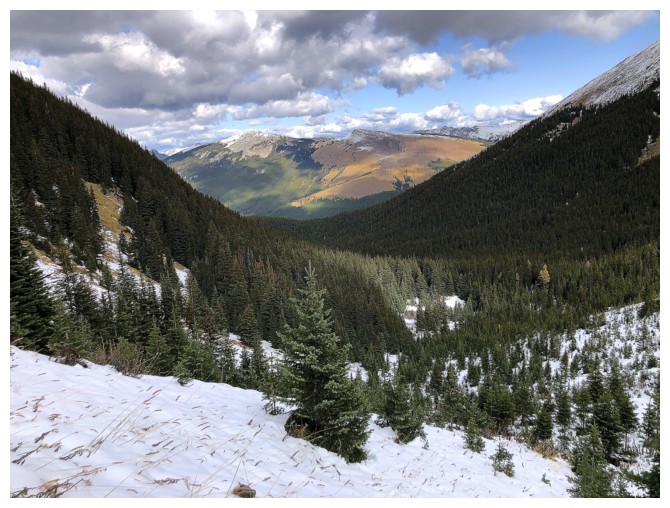
Ascending that bare slope on the left would have granted me a snow-free
ascent to Collembola's north ridge, however, at this point I had
decided against that objective because of the less than perfect weather

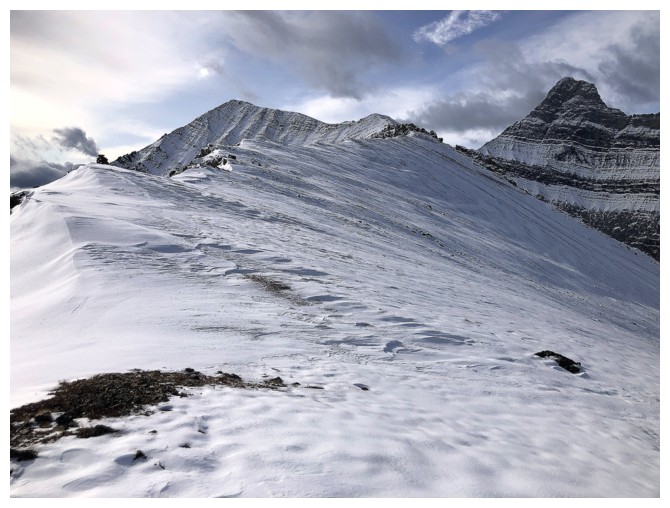
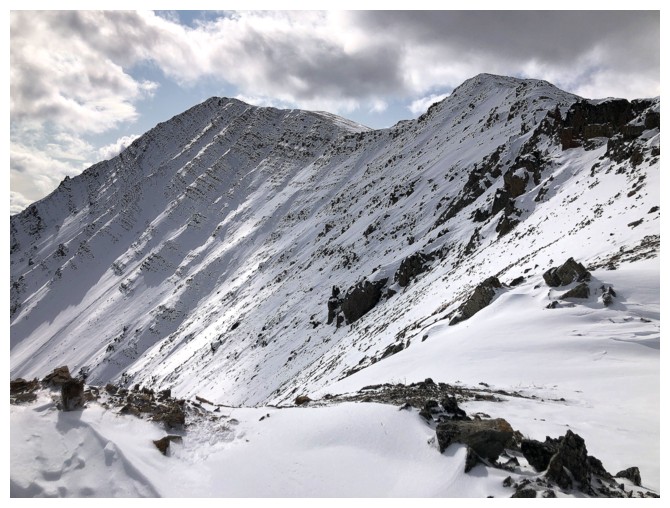
Mount Allan's north ridge is still some distance away
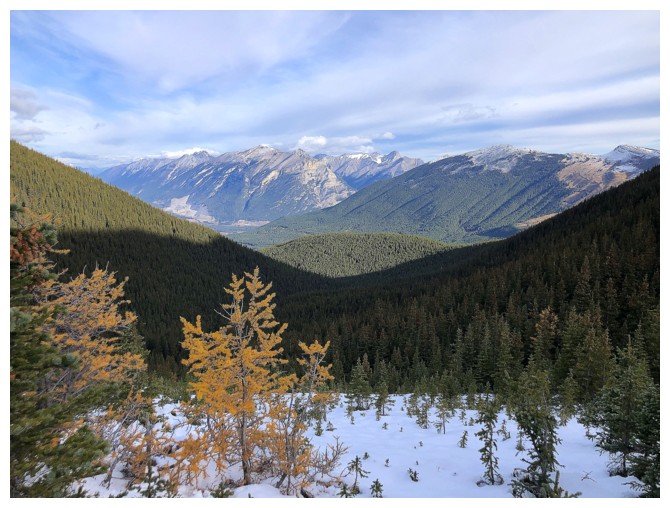
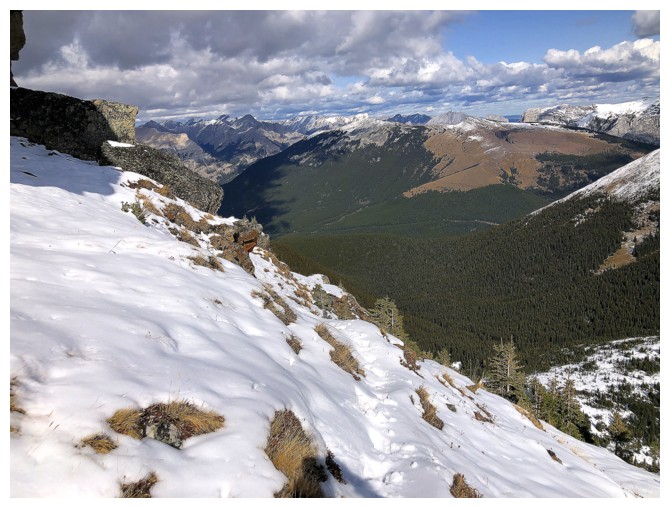
There are several random larches on the north side, but nothing compared to the swath of larches on the south side
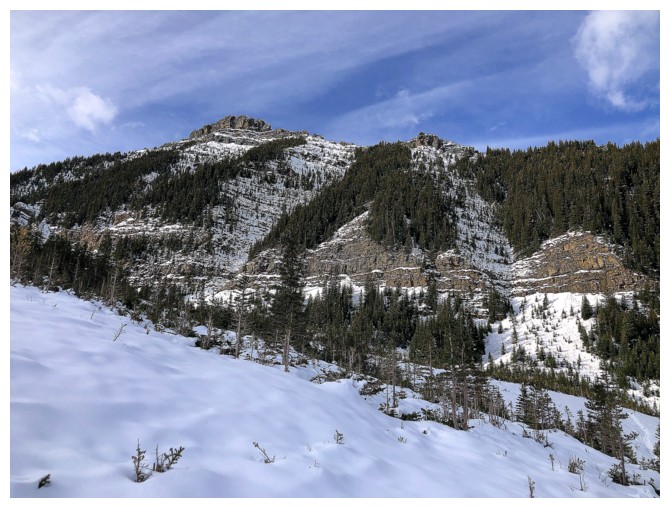
Allan's north ridge is now close. The route goes way over to the right before steeply gaining the ridge.
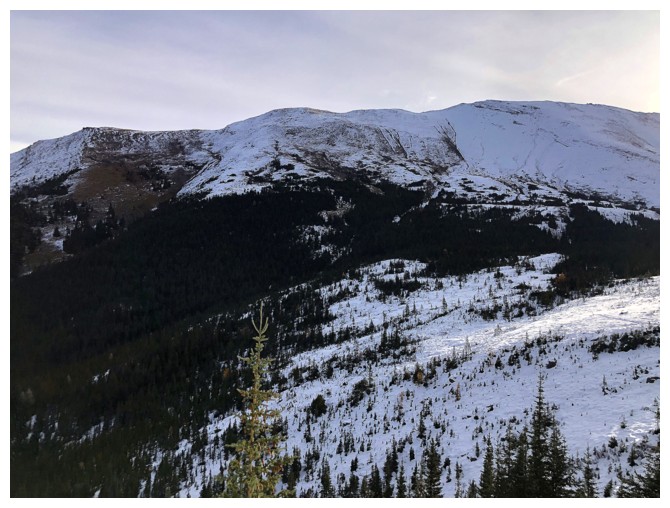
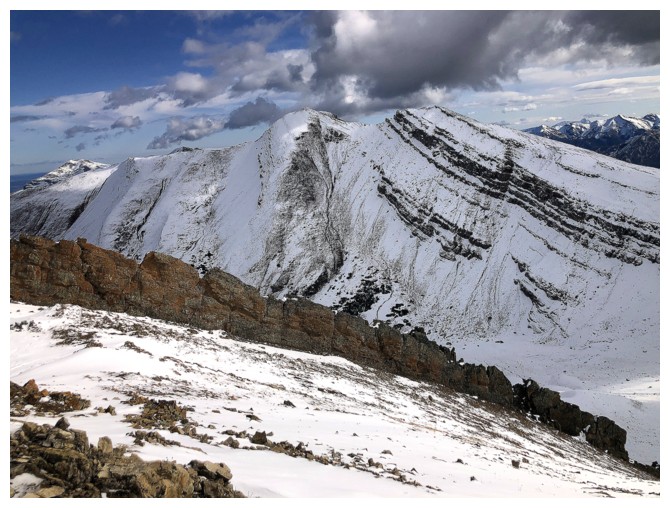
Collembola's north ridge, with that snow-free ascent route at the left.
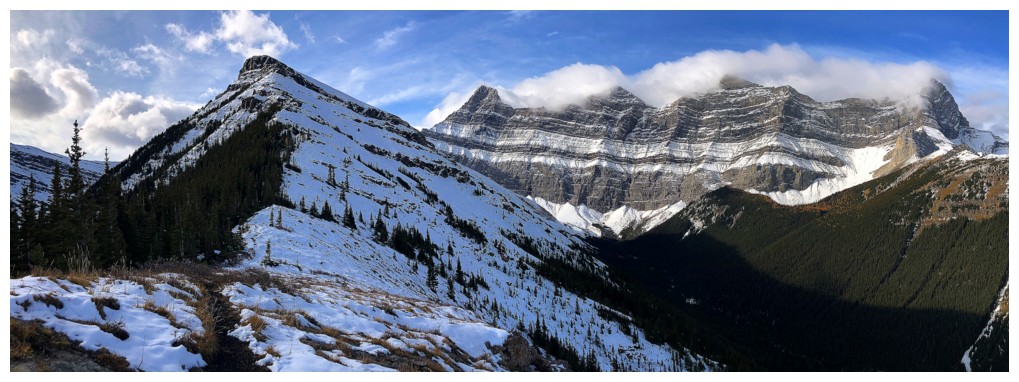
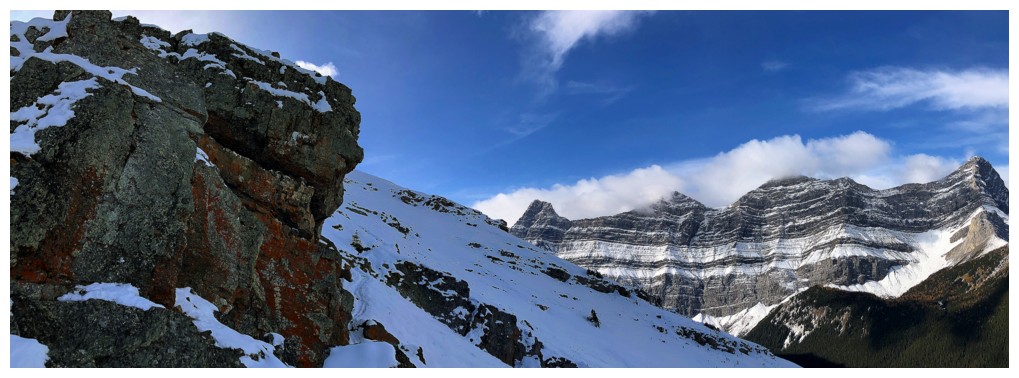
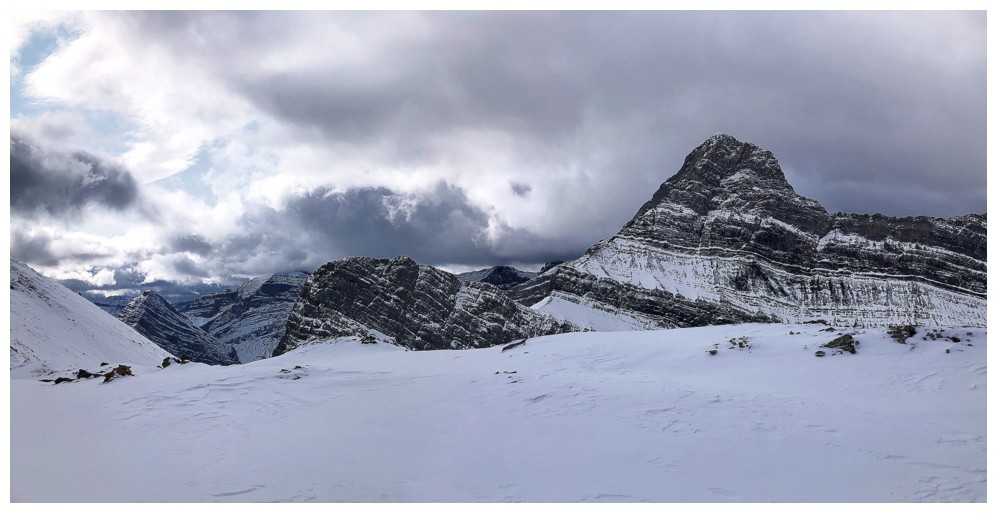
On the north ridge. The three peaks of Lougheed and Wind Mountain on full display, but those clouds are most unwelcome!
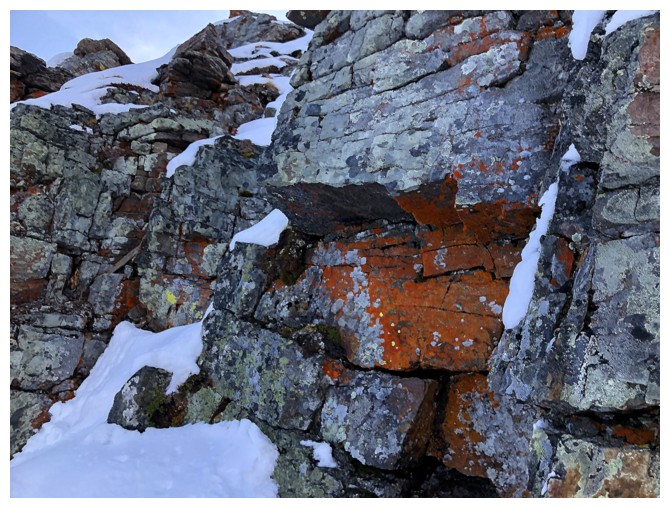
So I will turn my attention to lichen on rock
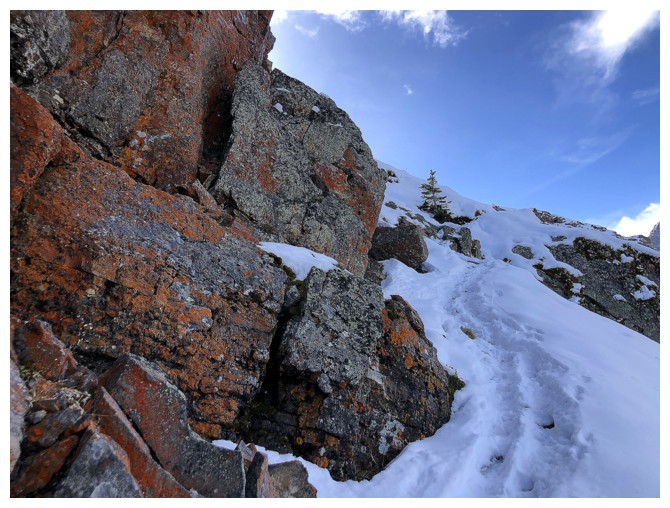
Easy travel for a while
Still easy - the trail dips around the rock band on its right side
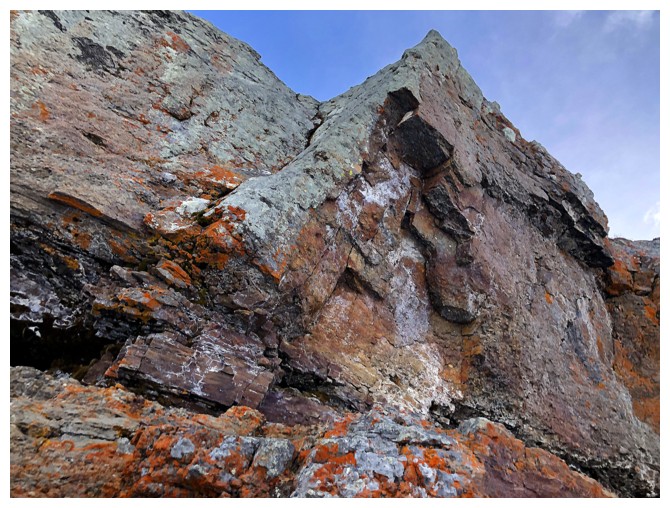
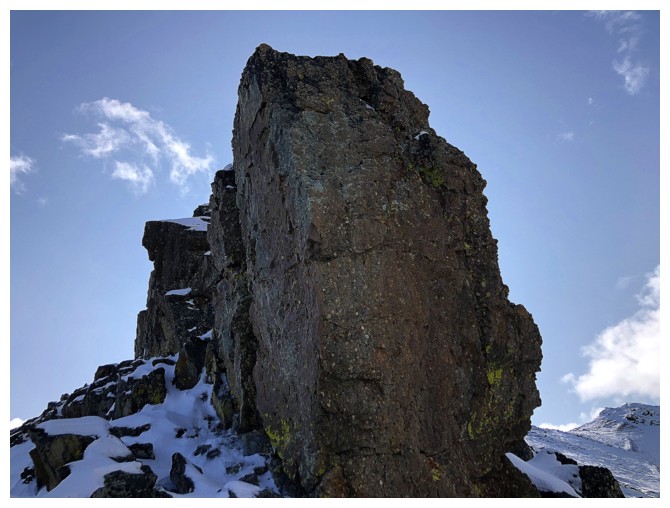
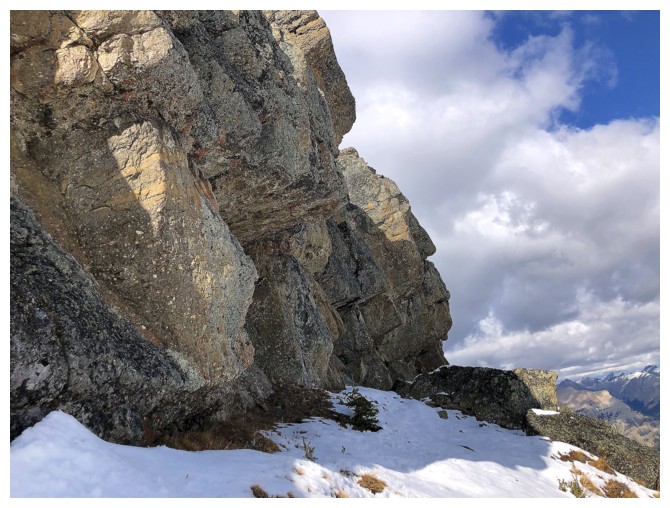
Awesome lichen-covered rock. The south side route offers an extended section to explore this kind of terrain.
And the trail goes right around it
Part of the traverse between Allan and Collembola
Looking back, down the ridge

Here's where the terrain gets more serious, on the left side of the ridge
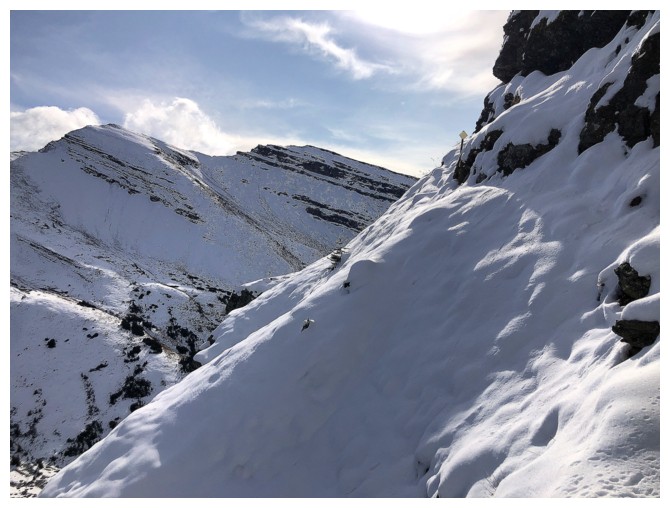
Glad I had microspikes here. Took out the ice axe too, just in case. Note the trail marker.
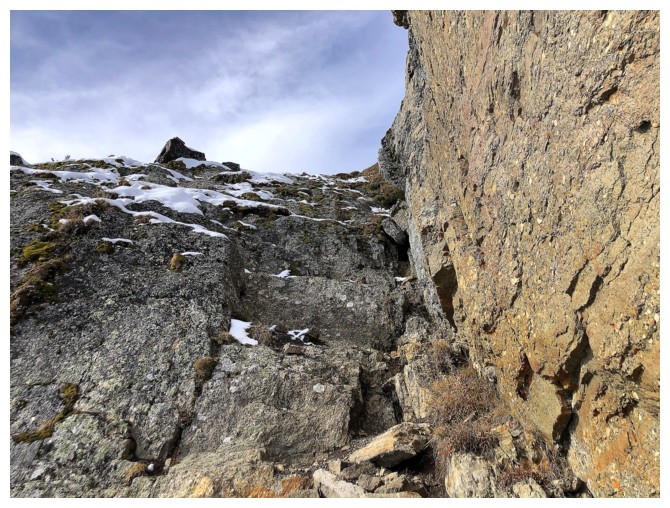
An easy scramble route leads back to the ridge
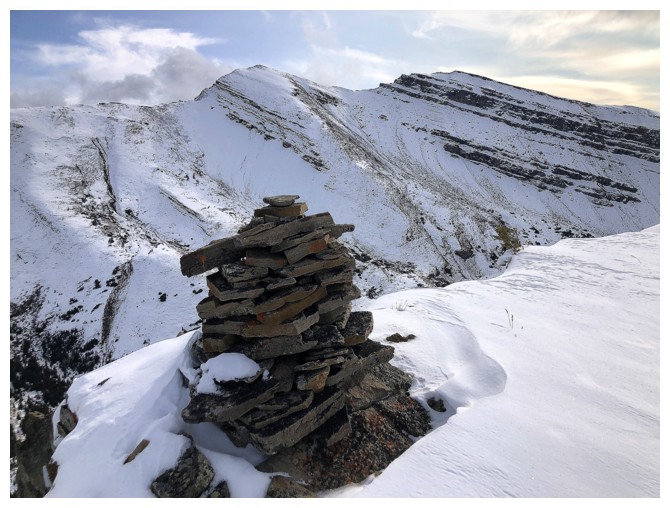
Huge cairn marks the point where the trail goes below the ridge
Looks easy from here and it is, but it's also surprisingly long
Another huge cairn that does not mark the summit
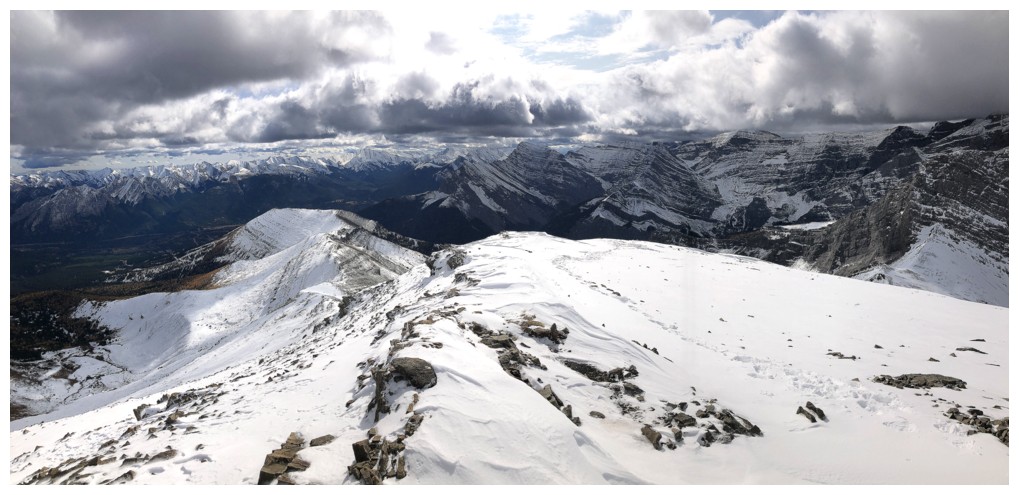
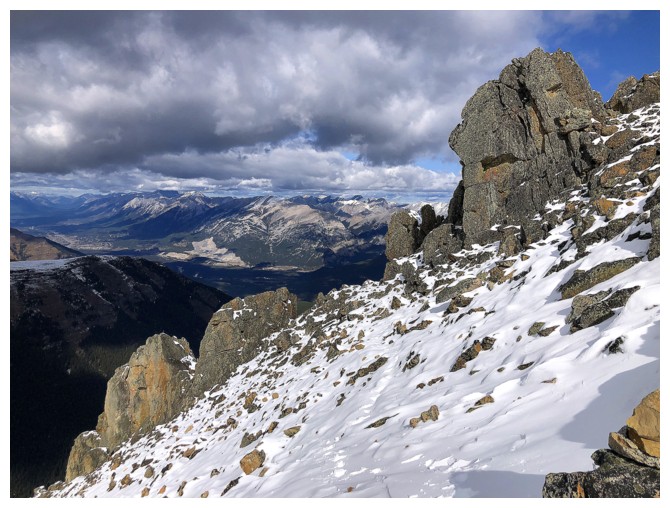
View to the northeast
Another cool rock to ogle
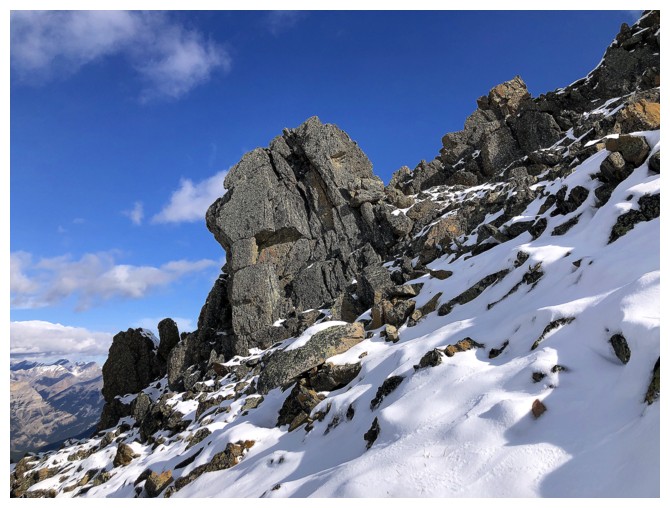
Same as above
There's the summit and yes, it's still some distance away

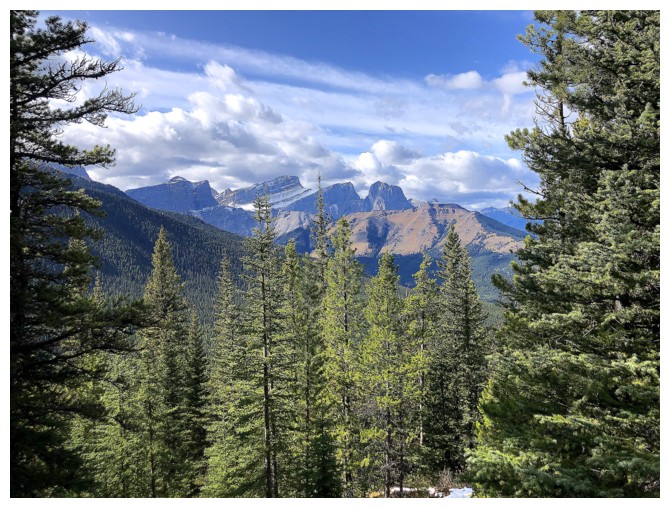
As stated, this route does have some interesting scenery
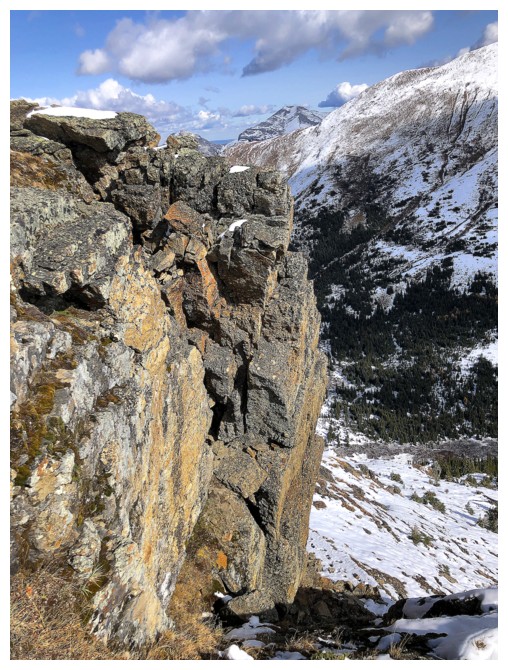
Interesting fin of rock, extending down the mountain

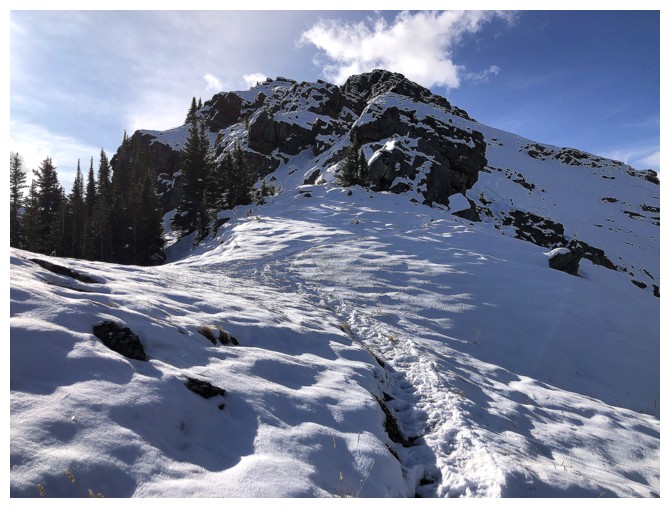
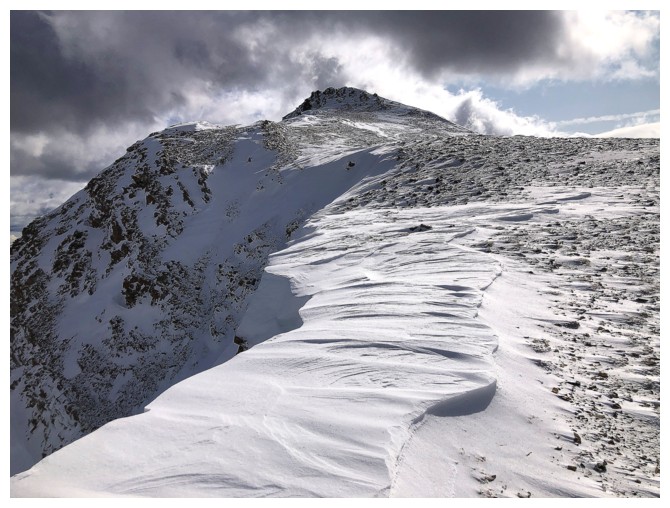
The end is in sight
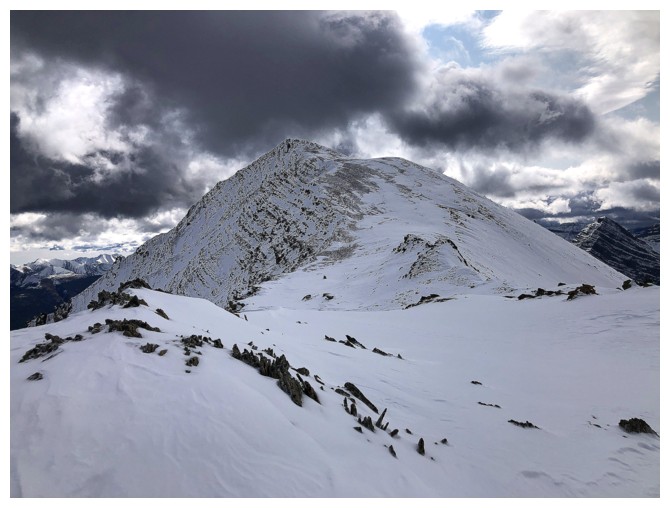
Last stretch to the top
The forecast forgot the "sunny" part
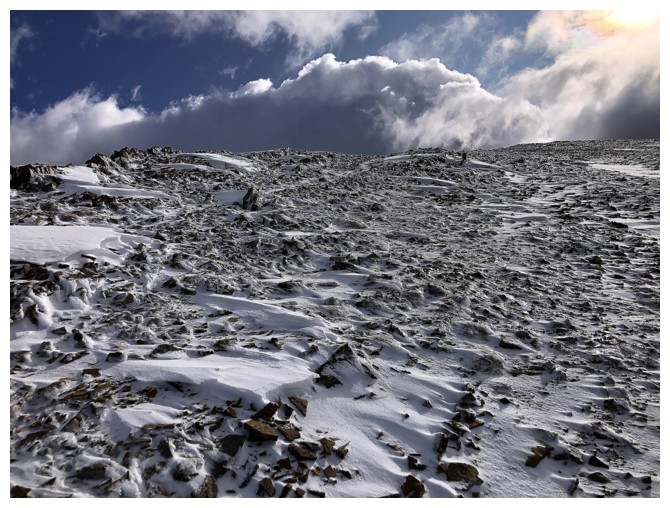
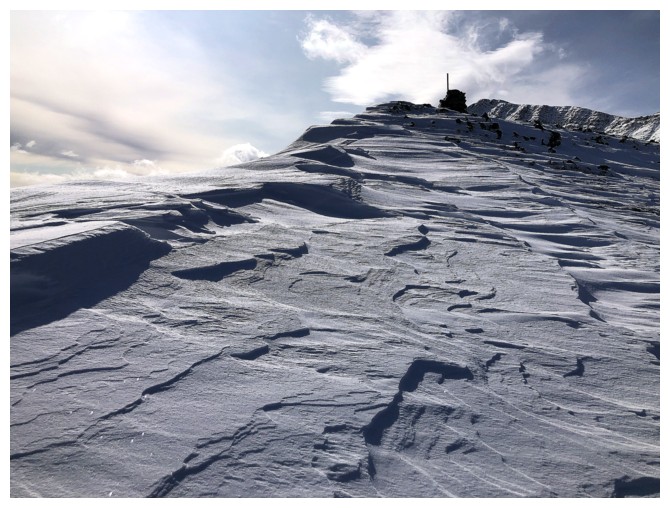
Trudge to the summit has little snow
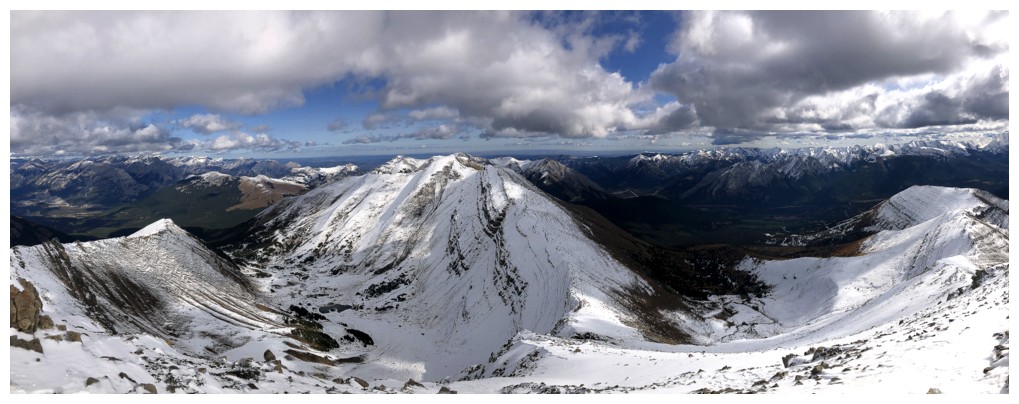
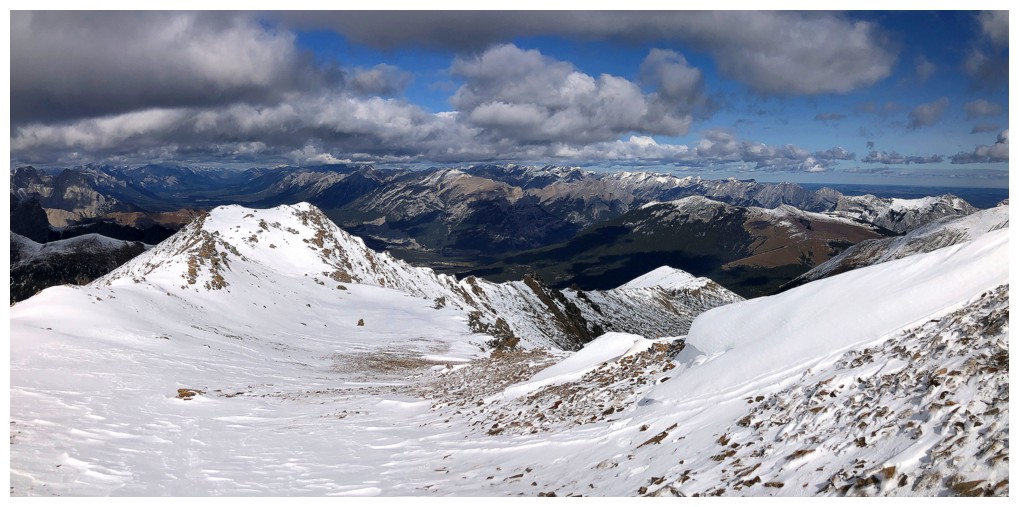
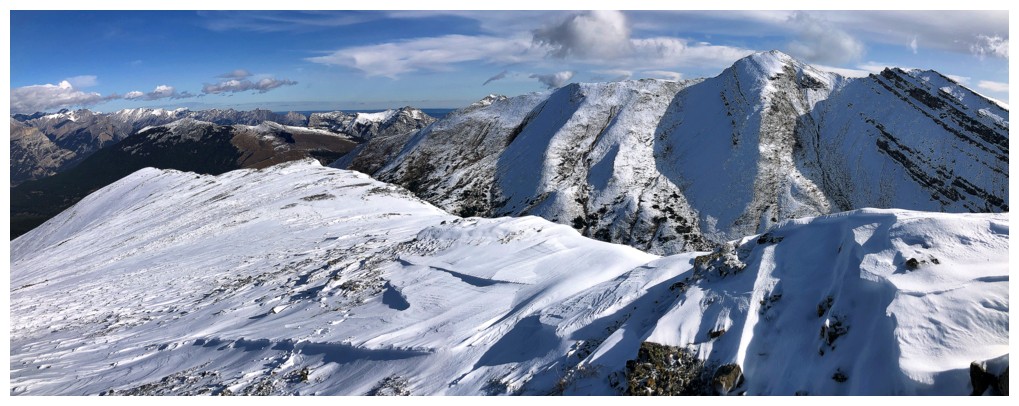
Summit view to the northeast, featuring the traverse to Collembola
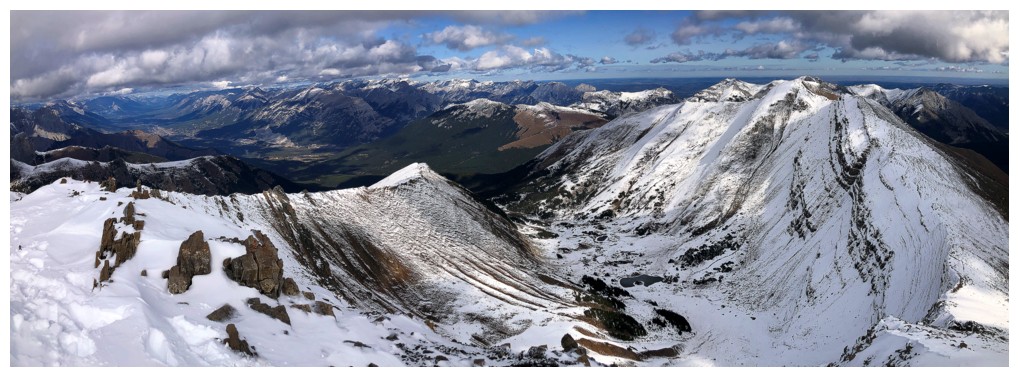
Same as above, including more of the view to the north
East
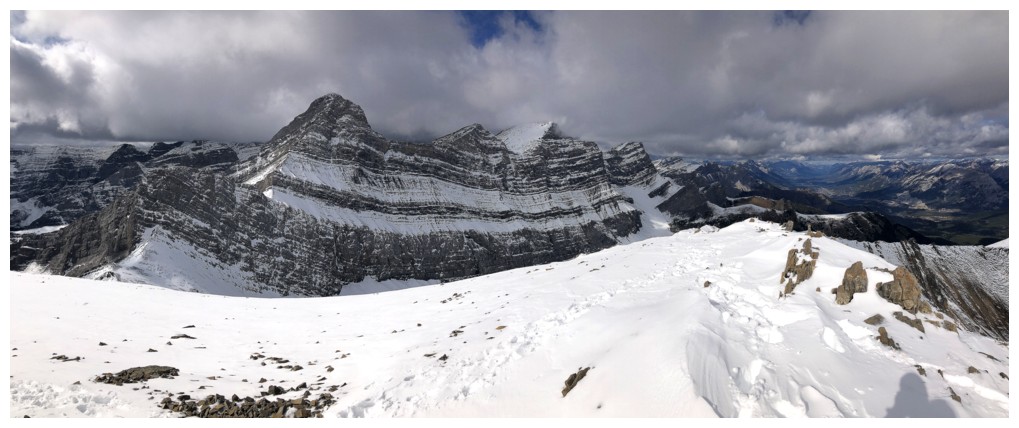
Lougheed and Wind are obviously to show-stoppers to the west
Looking back at the summit after a two-minute stay
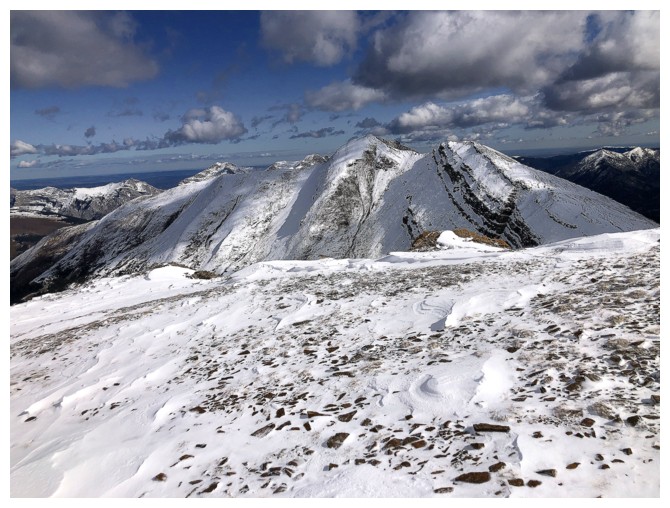
Collembola again
That rock again
That scramble again
The traverse below the ridge was easier on return
Same as above

Rock
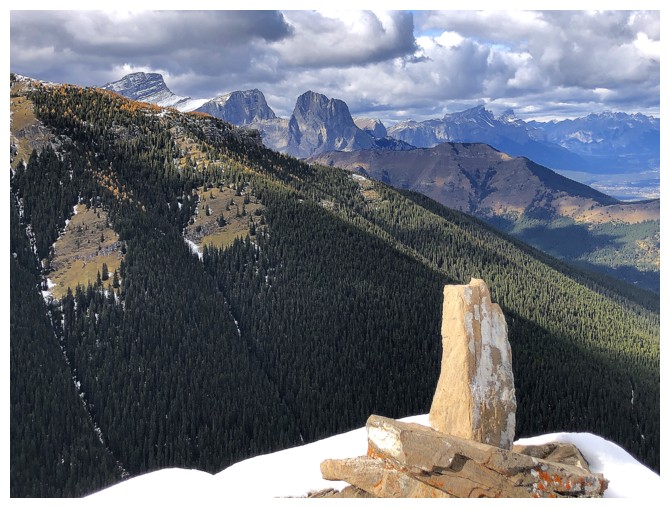
A rock and The Three Sisters
Pigeon Mountain
Back to that view of the Sisters. Endless kilometres of viewless hiking to end the trip.
The End
LOG