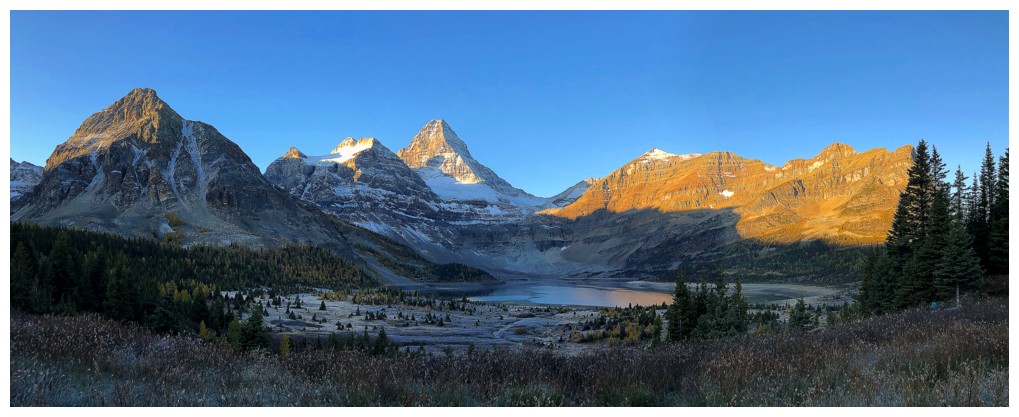
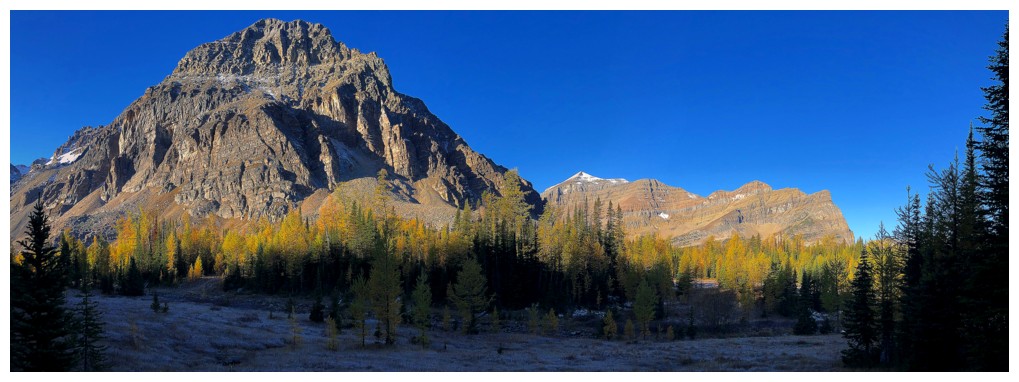
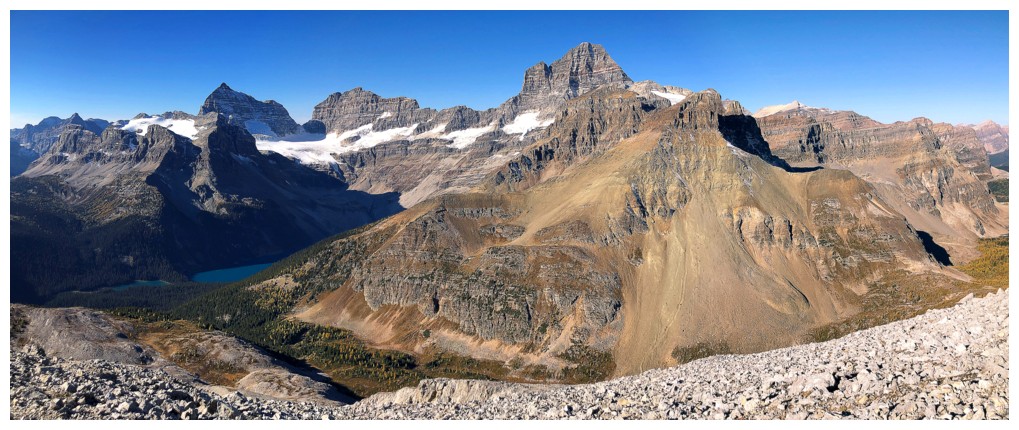
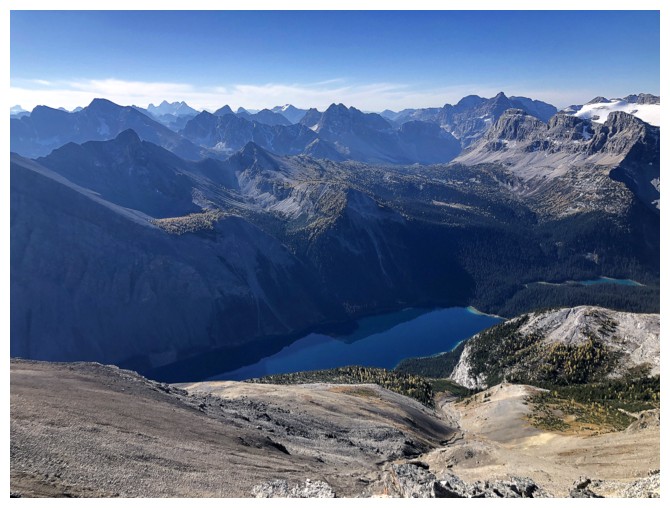
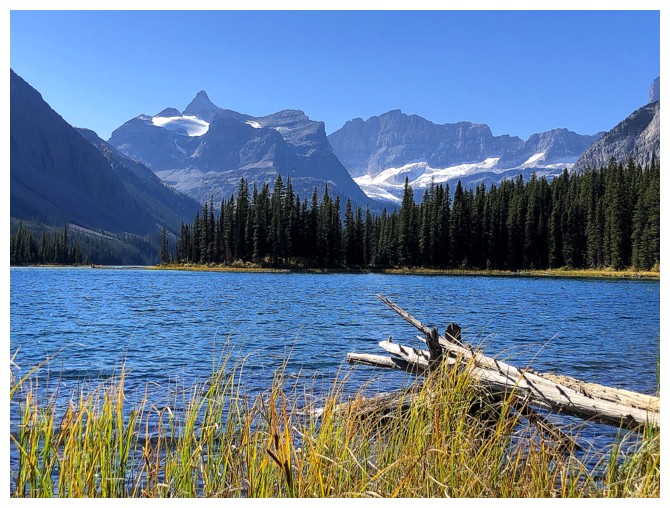
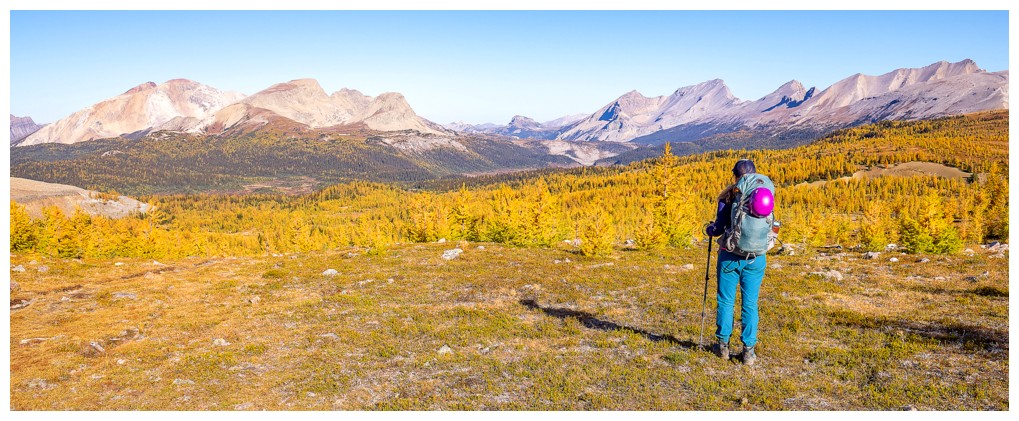
Last opportunity to see the phenomenal view of the Assiniboine area from near Lake Magog
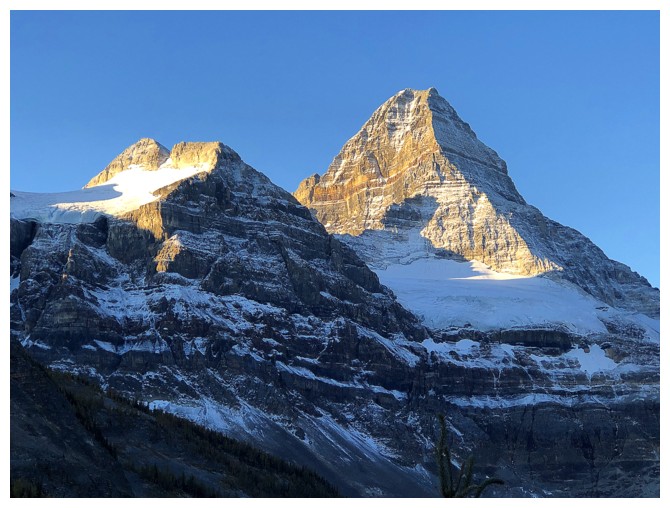
And last close-up of Mount Assiniboine's famed north ridge. Mount Magog at the left.
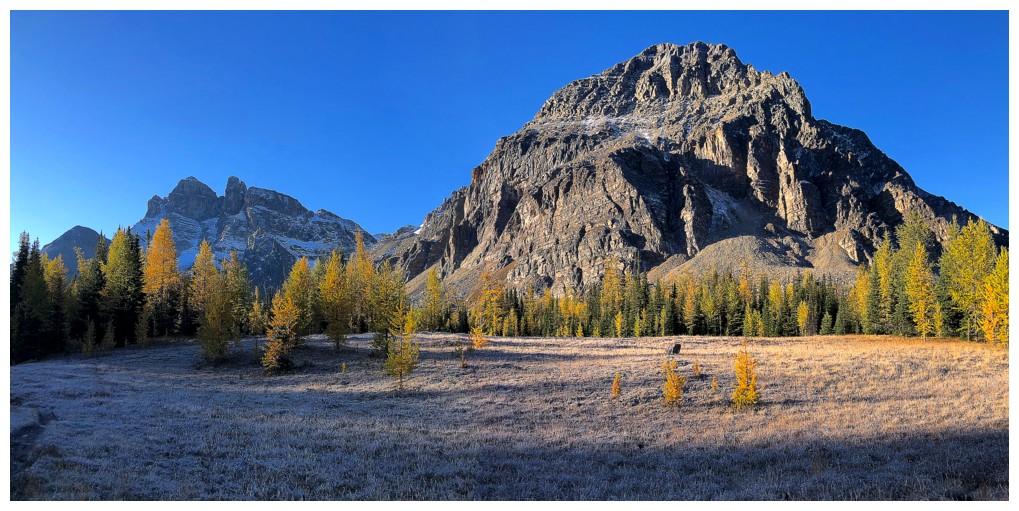
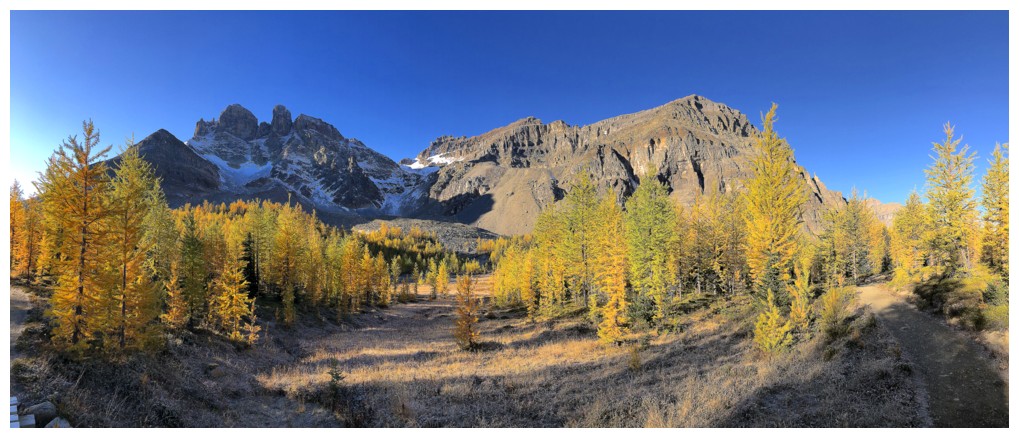
The Towers and Naiset Point on a perfect autumn morning
Naiset Point and The Sunburst Peaks
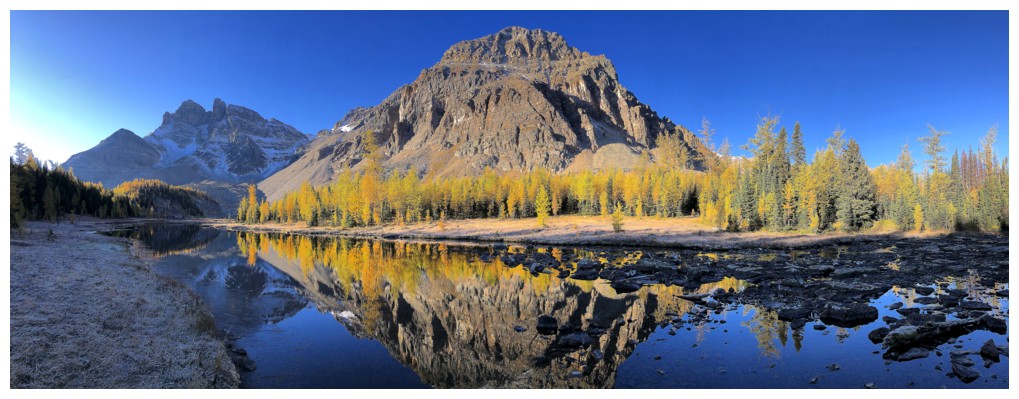
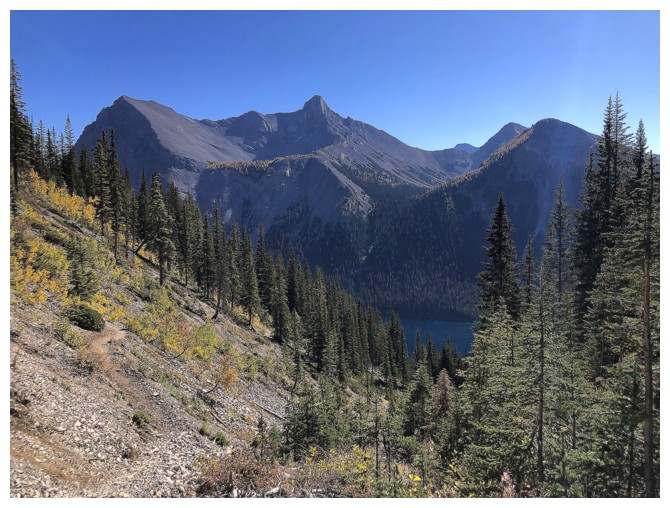
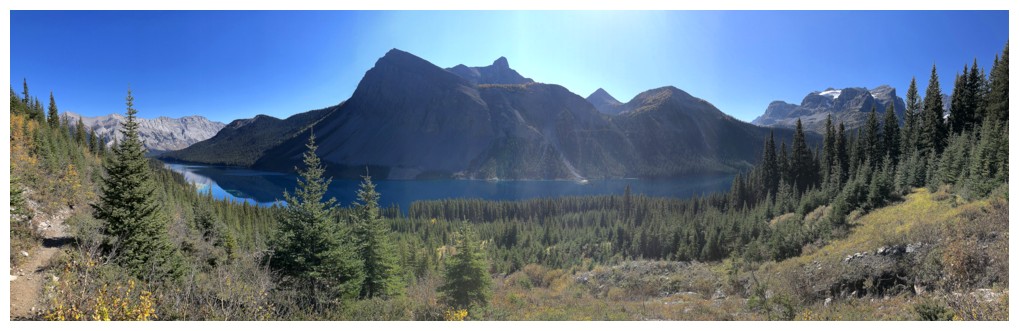
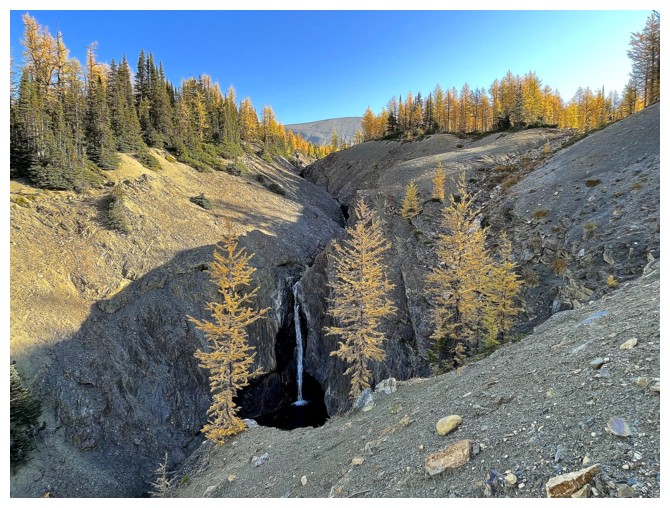
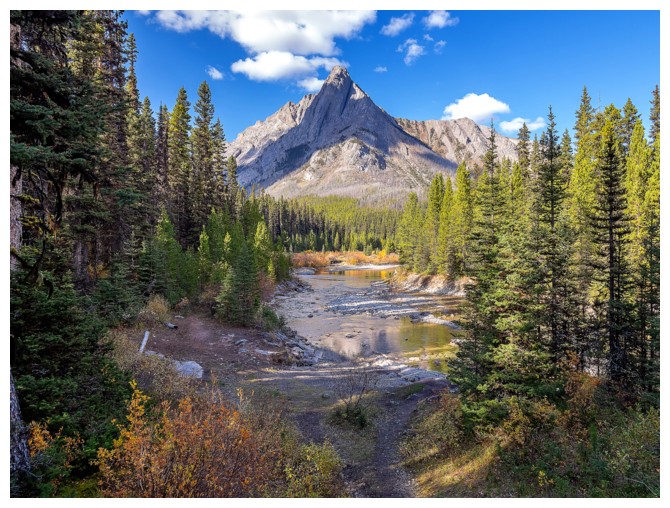
Gog Lake
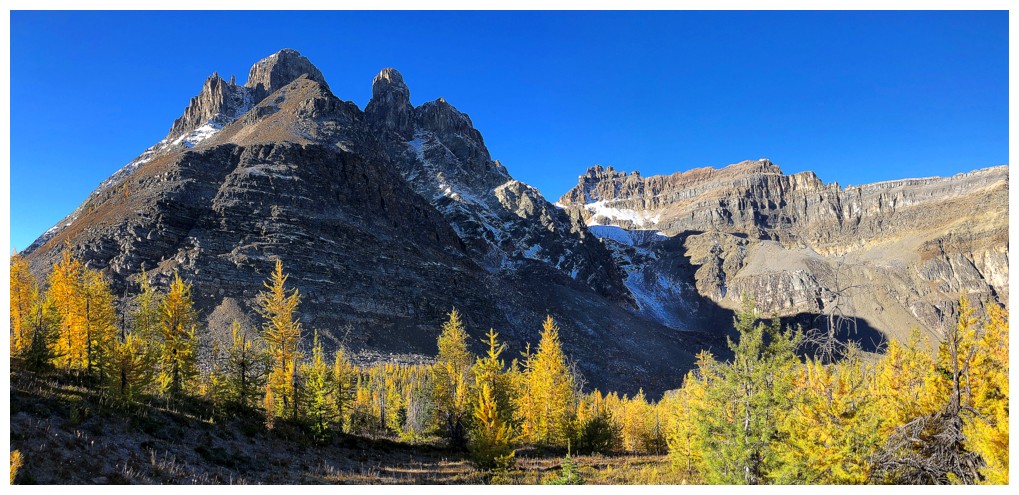
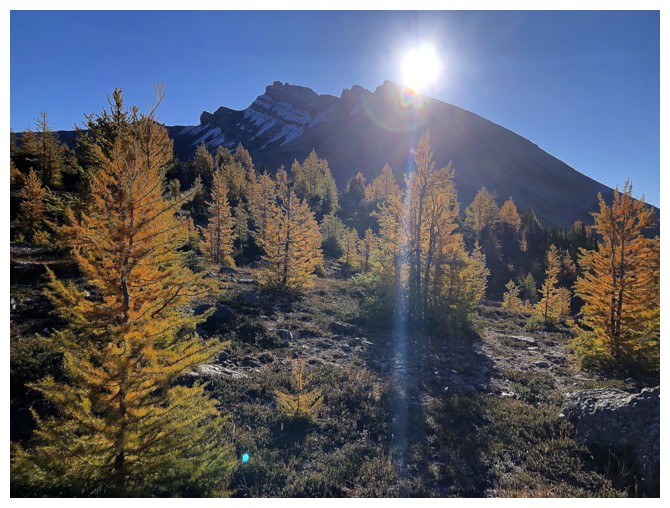
The Towers and Naiset Peak, from near Wonder Pass
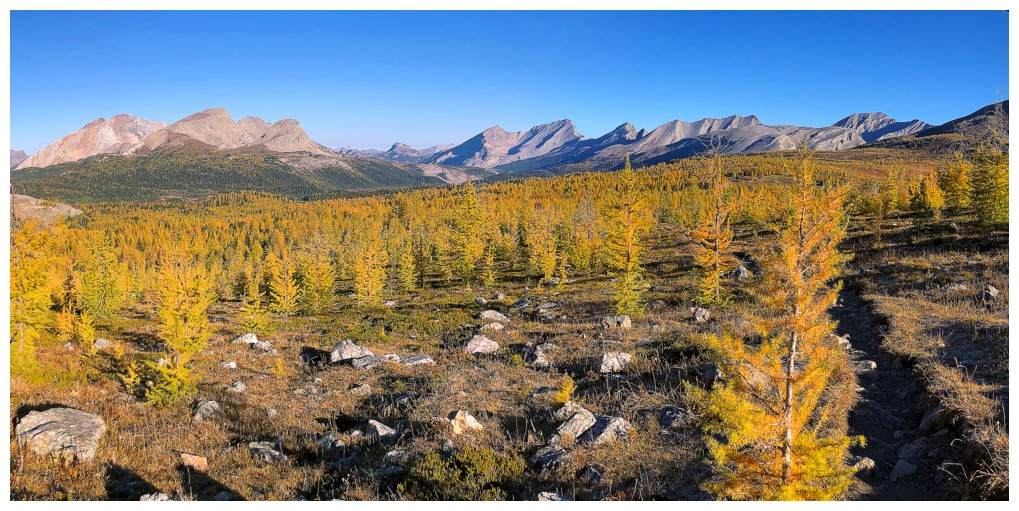
View to the north from the pass
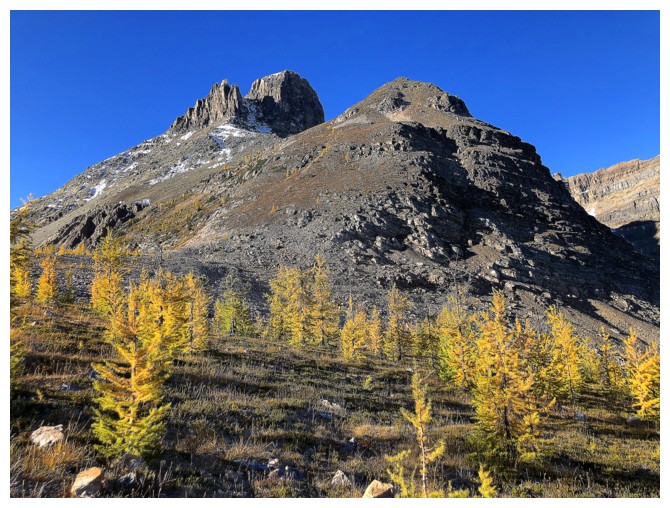
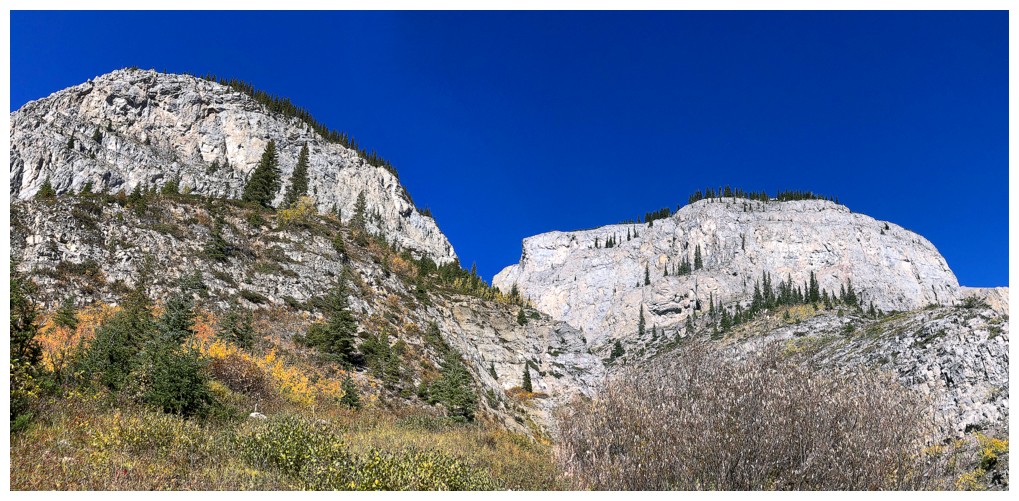
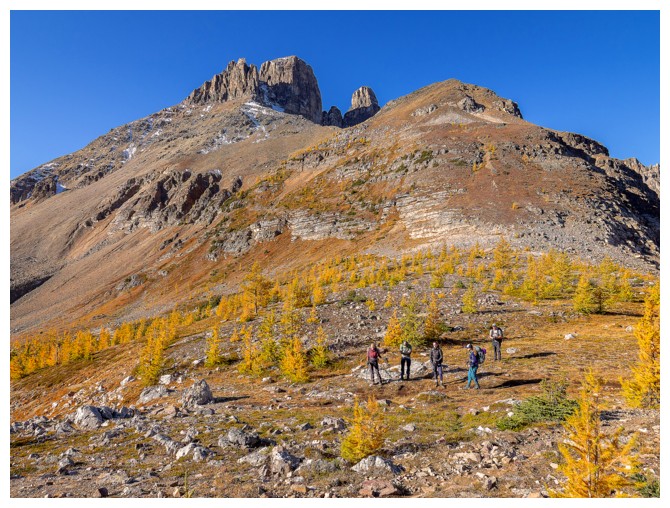
The Towers. They look daunting but apparently there's a class 2 route to the summit.
Wonder Peak
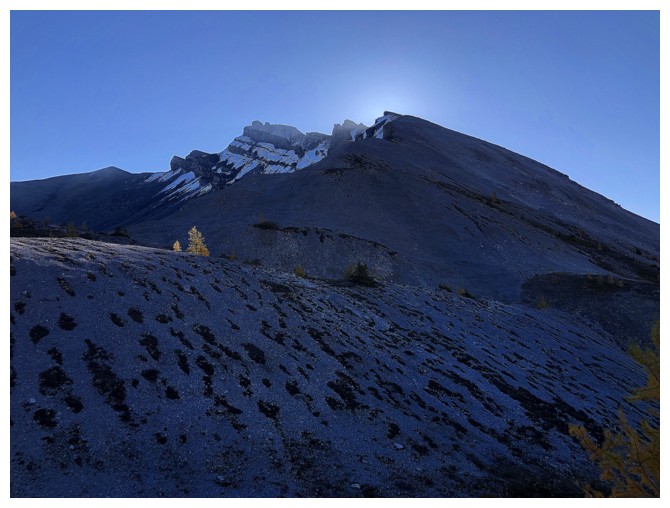
Same as above without the Sun
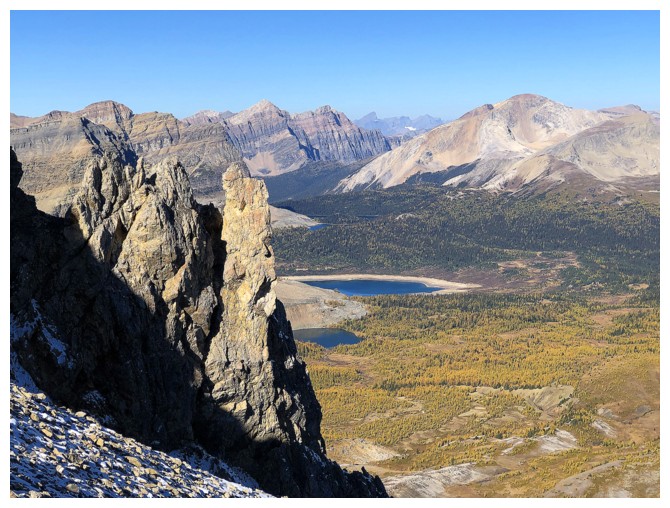
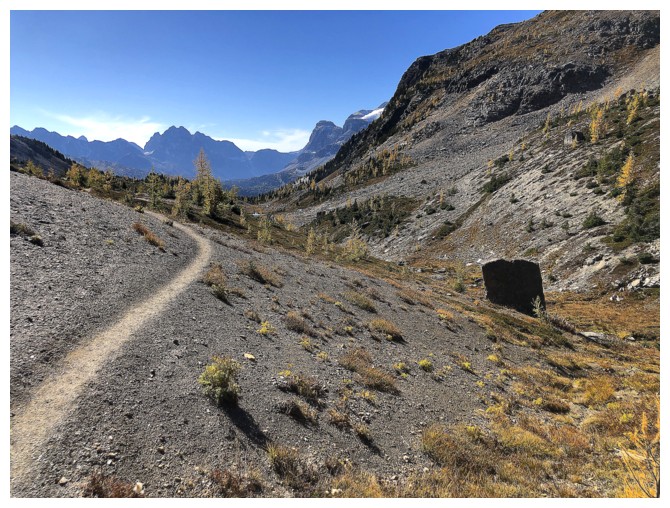
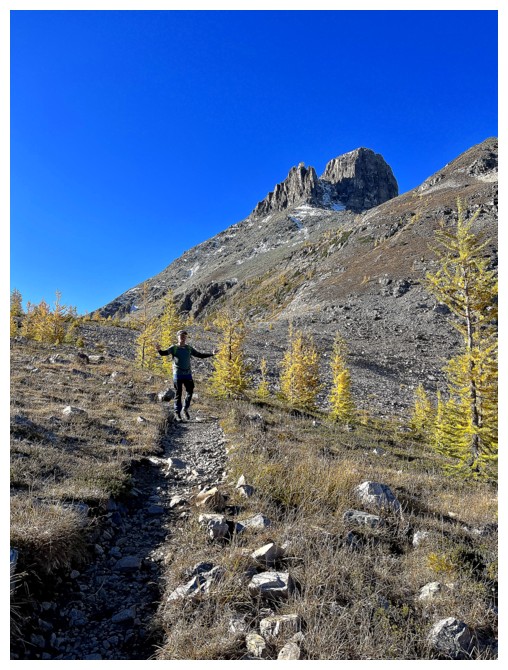
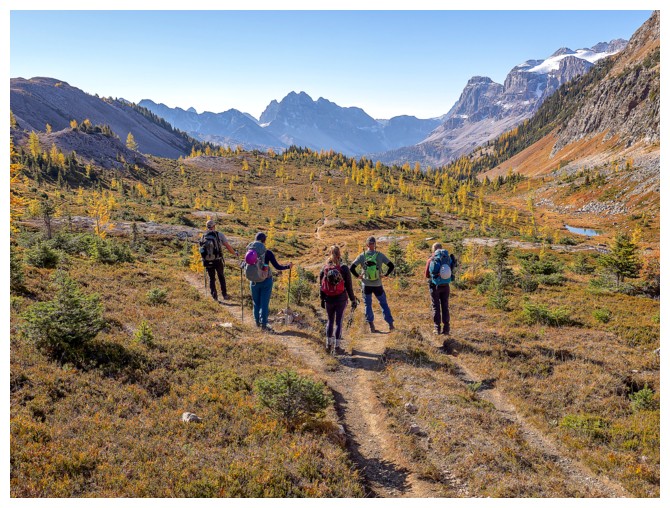
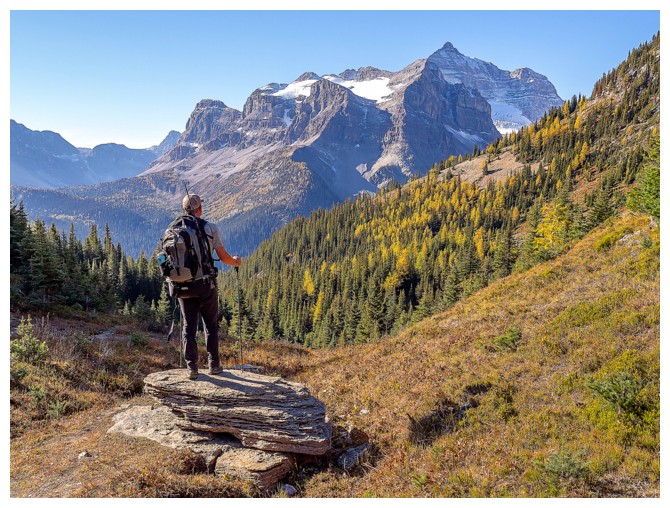
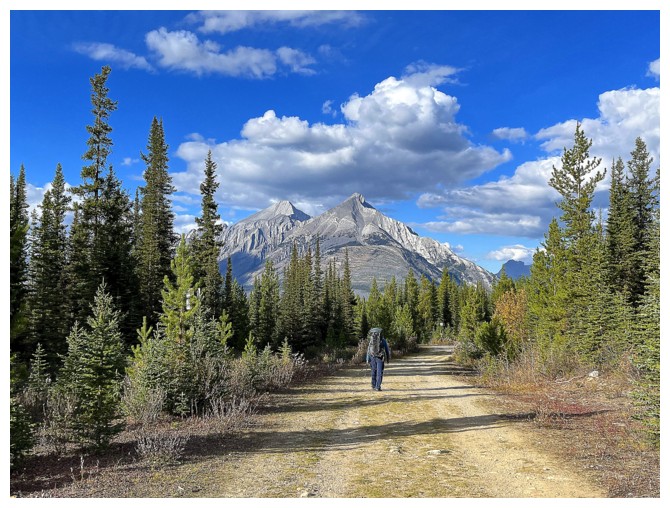
The view improves almost immediately
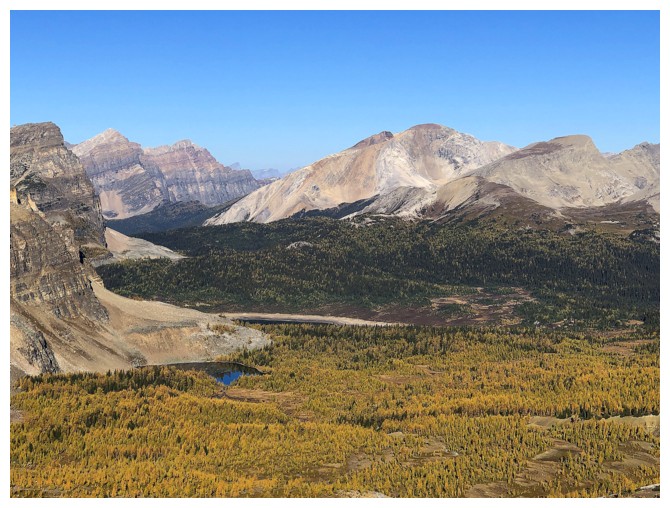
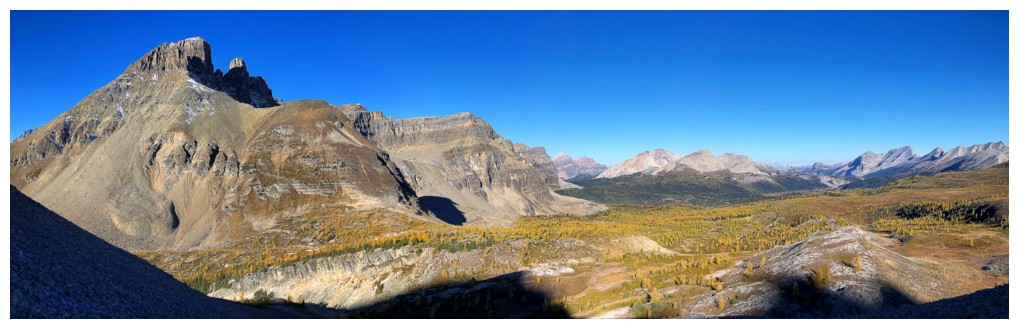
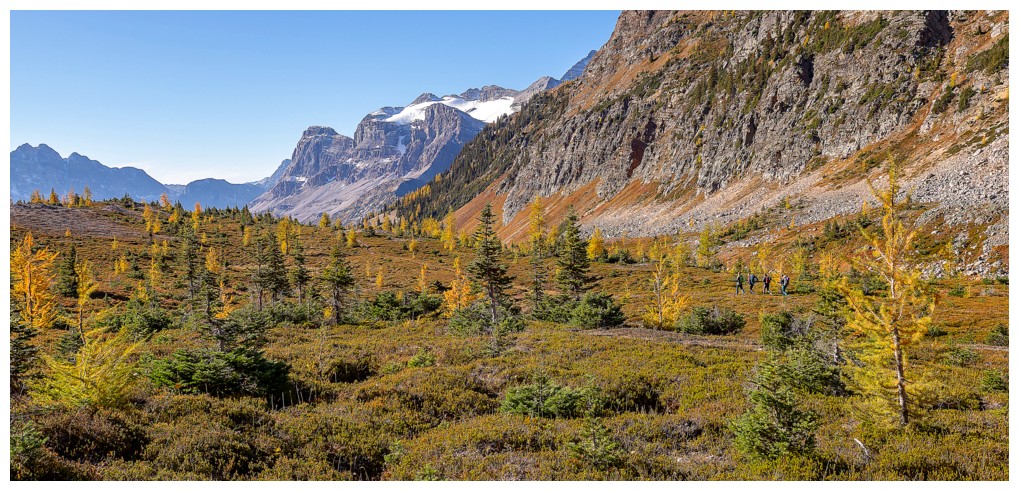
A mass of yellow larches in the Assiniboine valley. Chucks Ridge, Nub
Peak, and The Nublet right of centre; Point Raeder at the far left.
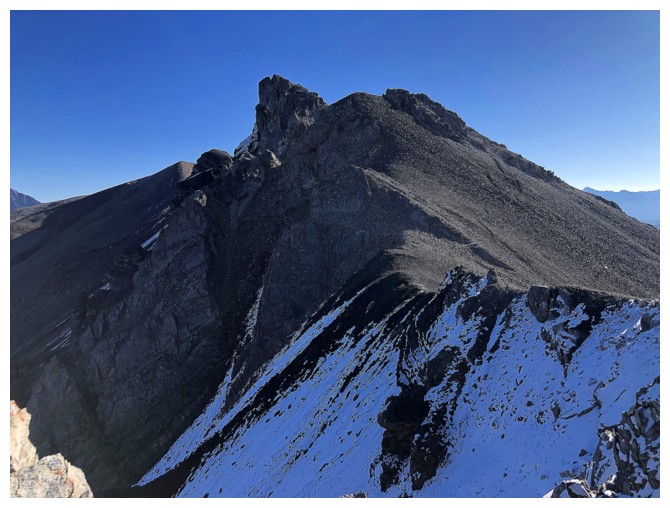
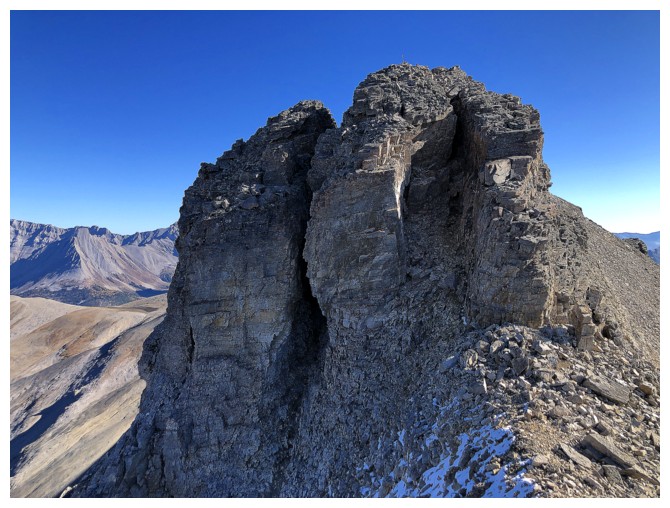
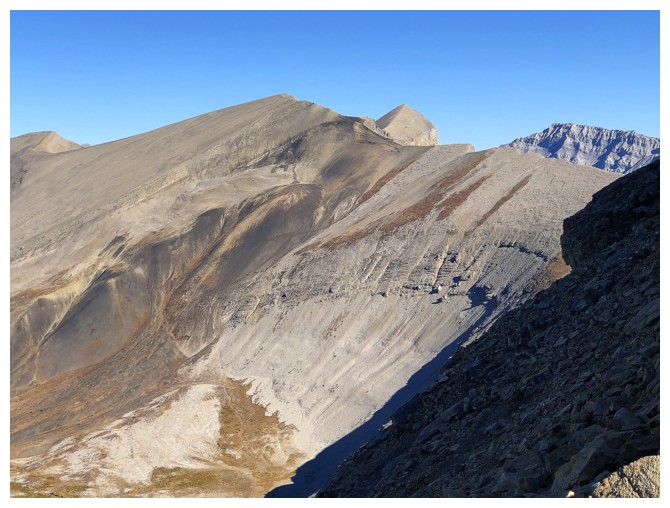
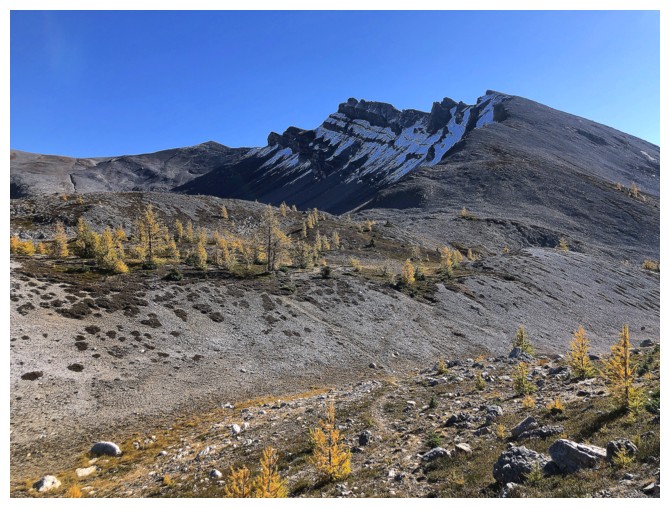
Easy travel up Wonder Peak, but the summit block looks interesting
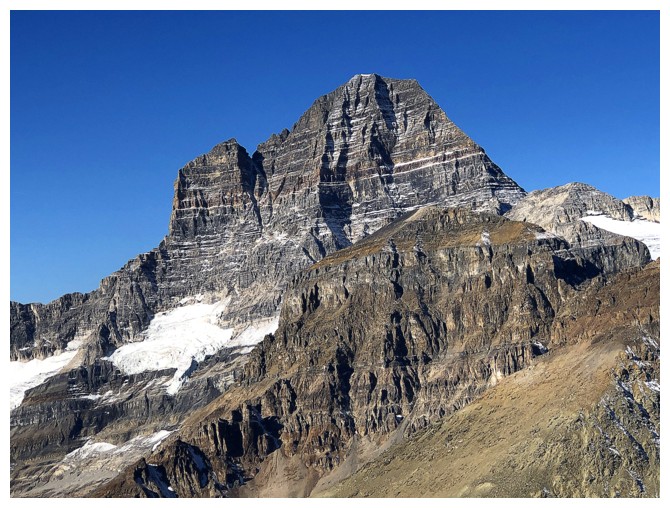
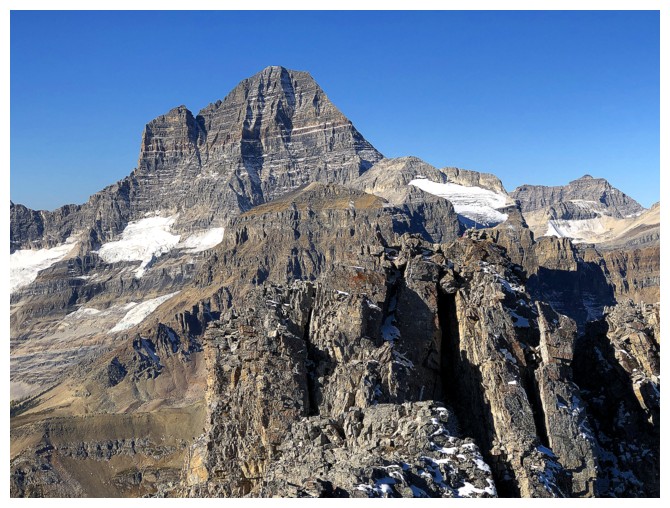
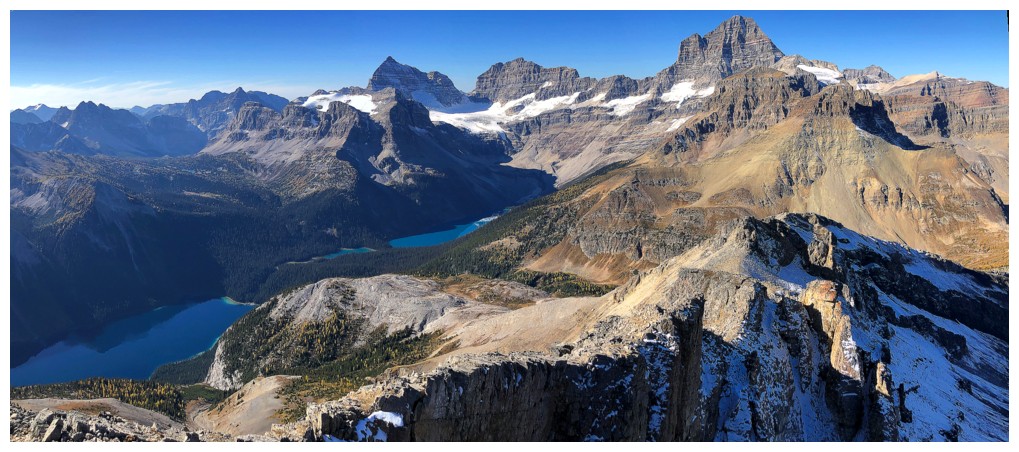
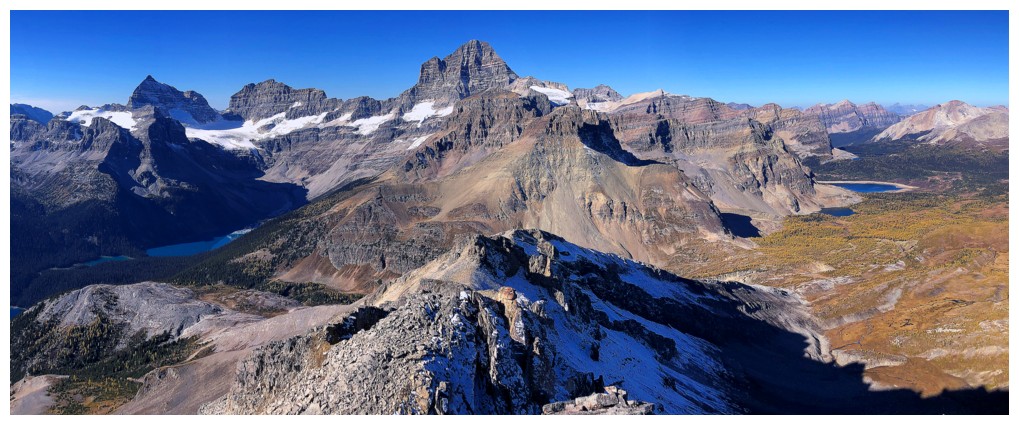
Mount Assiniboine

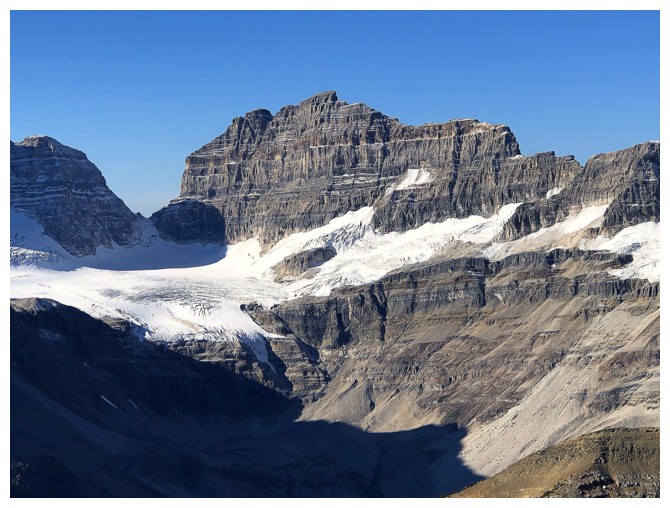
Eon Mountain
Aye Mountain
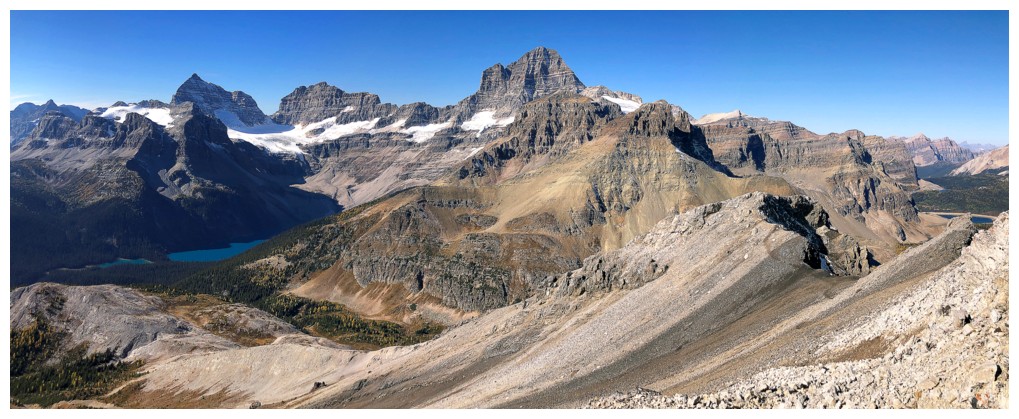
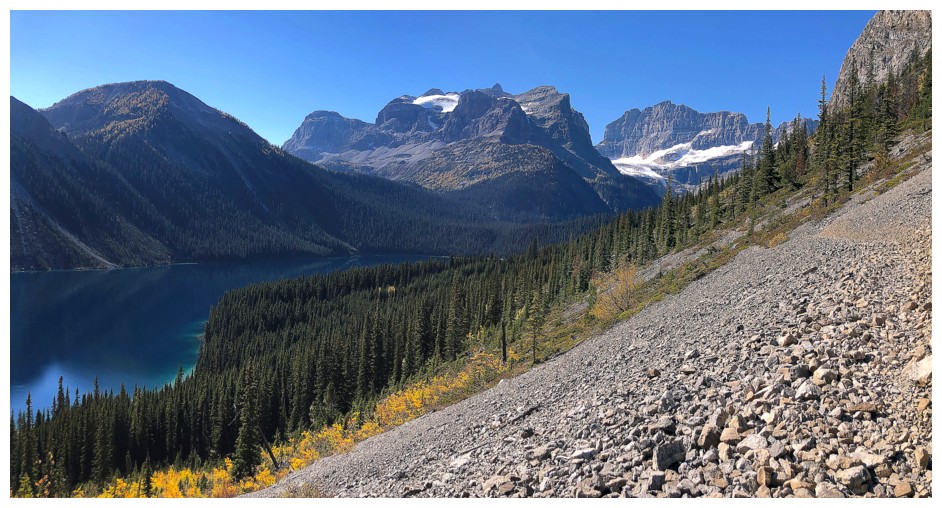
All of the above plus a few more cool peaks. Mount Gloria below Eon.
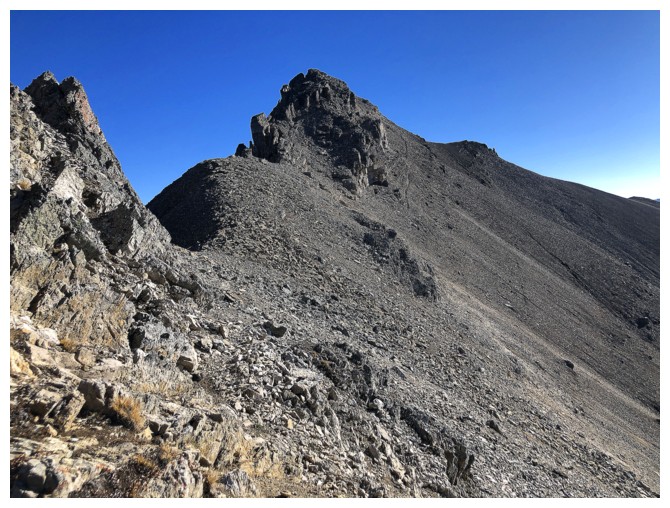
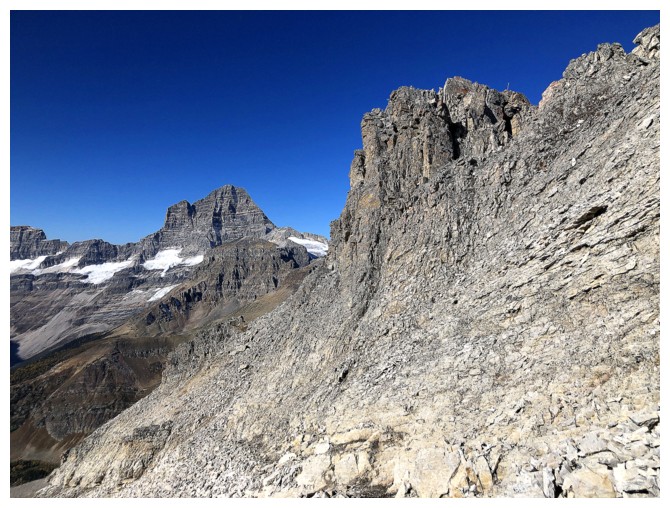
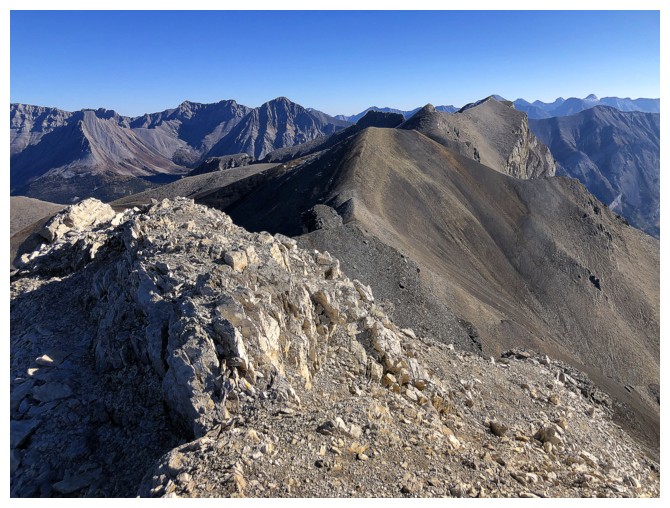
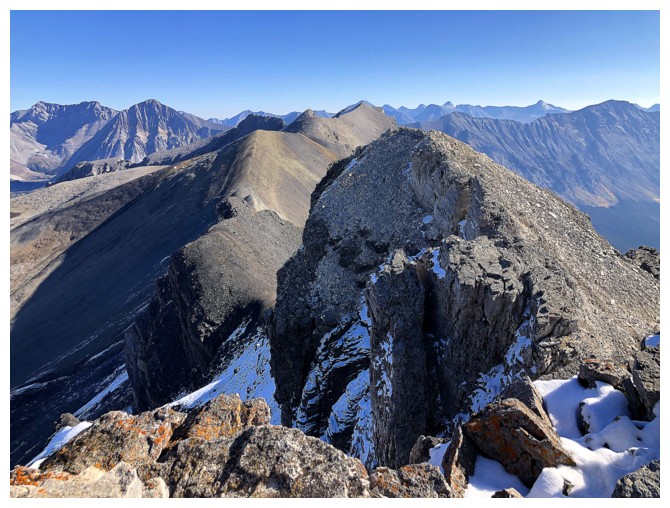
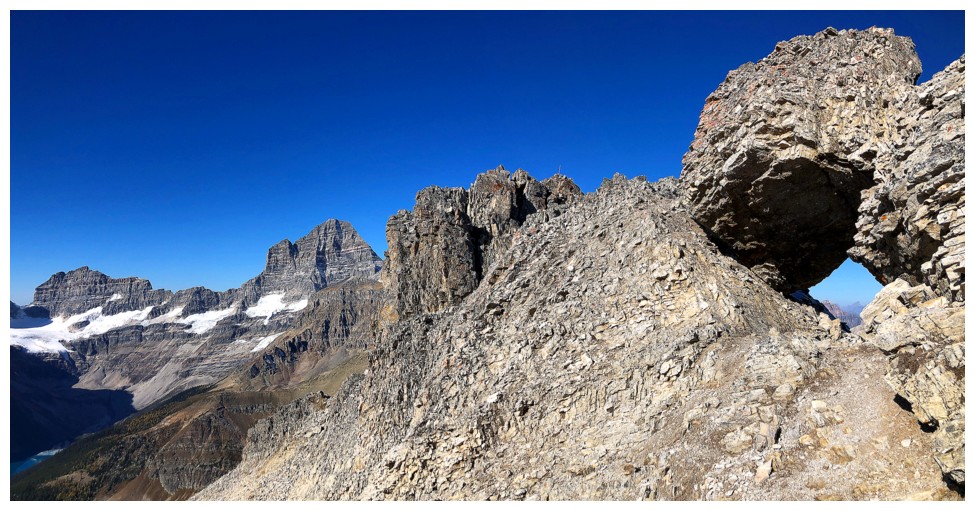
The route ahead
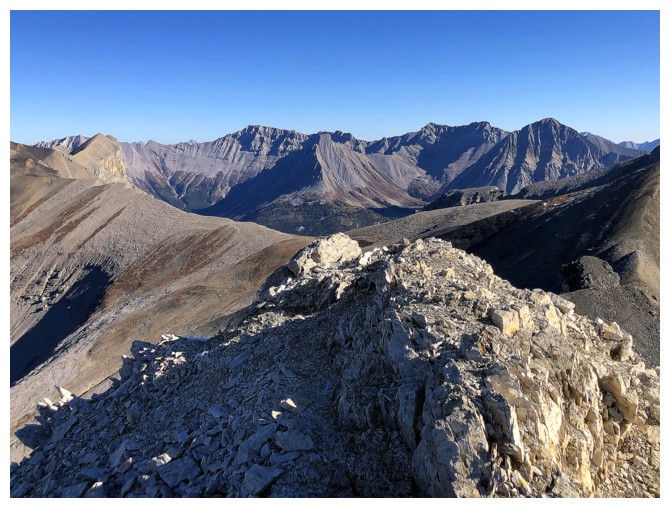
The route behind
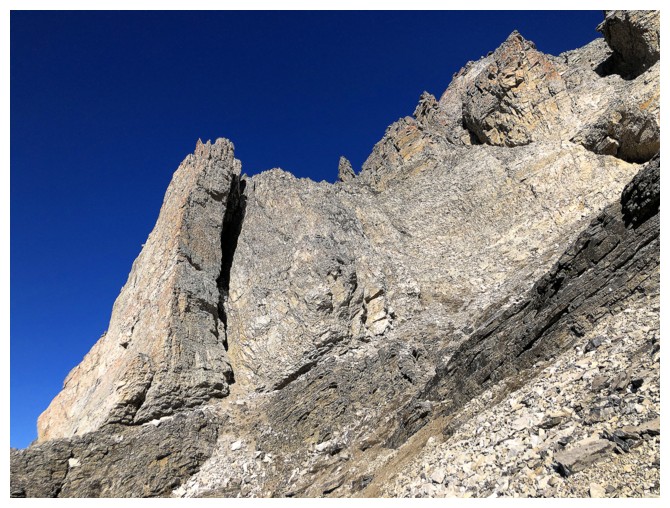
Unfortunately, a non-technical direct ascent of the west ridge is not
possible so you have to traverse below the summit block and tackle it
from the east
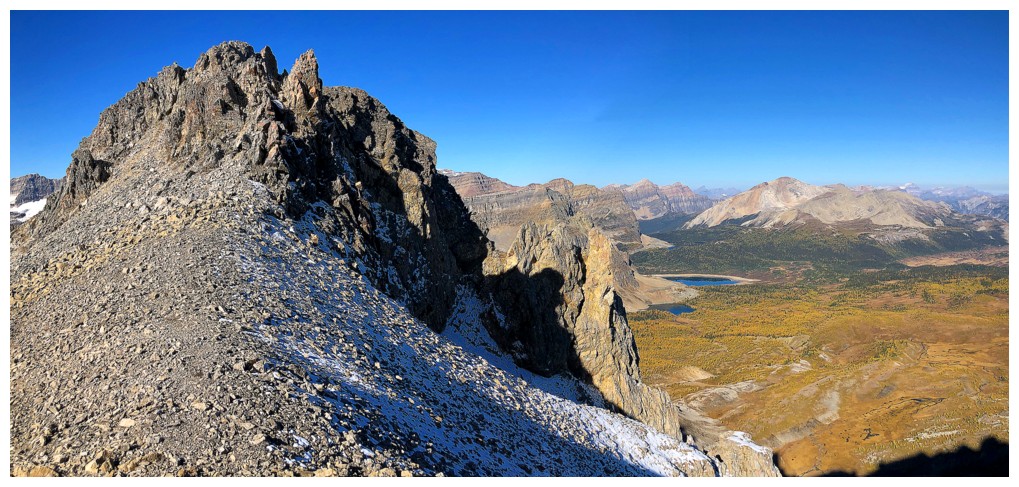
Having traversed the summit now lies to the northwest
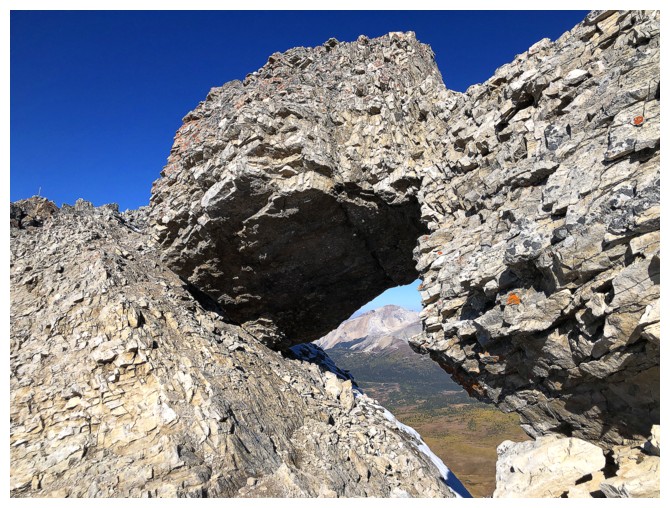
Cool rock window on the summit ridge
Looking through it

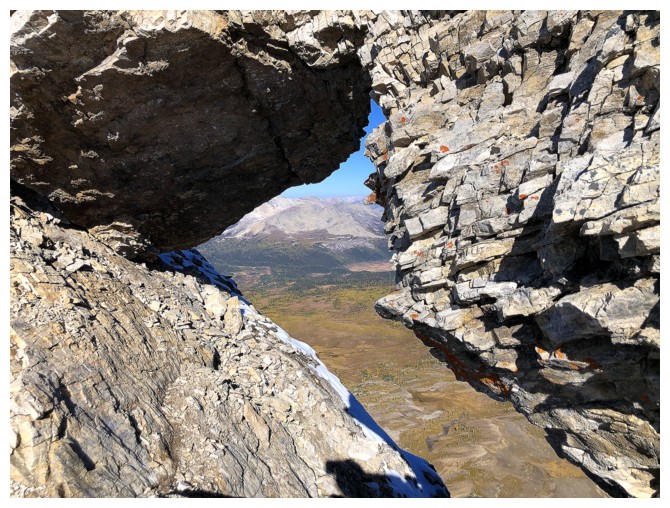
A gap to look through too
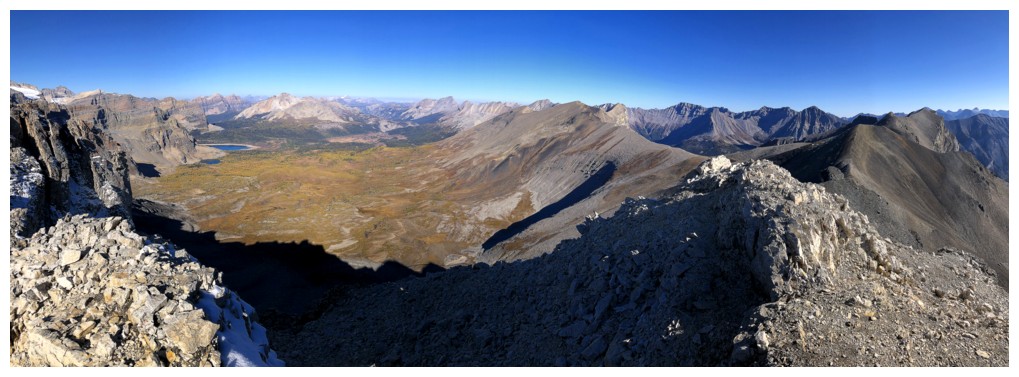
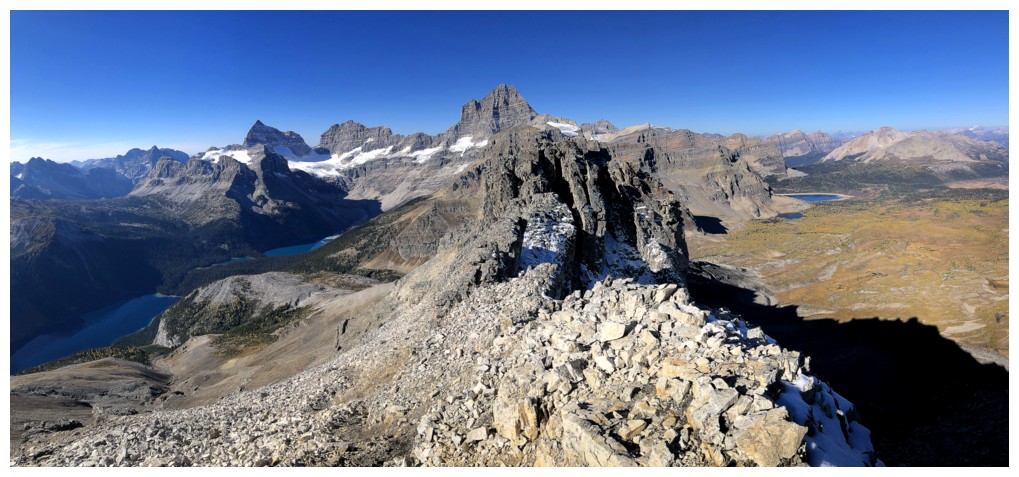
View to the north
View to the west from slightly lower east summit
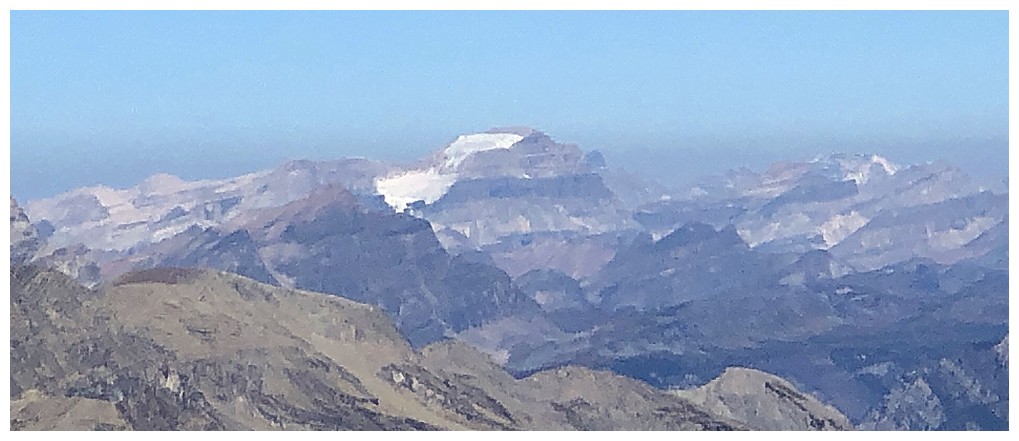
Distant Mount Ball
Assiniboine from the lower summit
Lake Gloria below its namesake mountain
The ridge continues east to Ely's Dome and then turns north to Mount Cautley
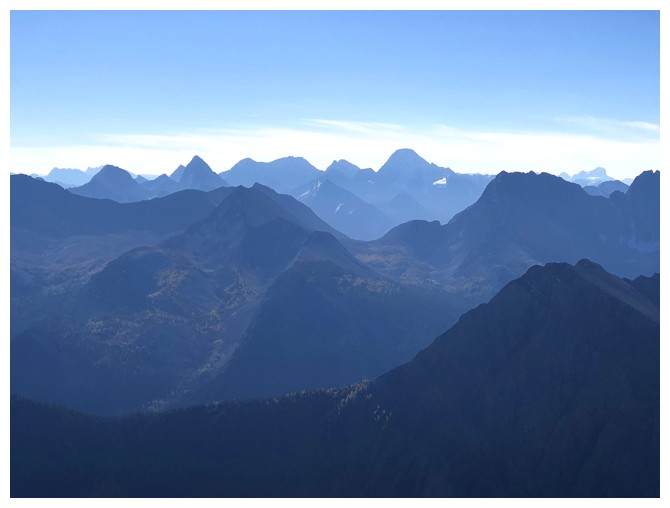
A bunch of familiar peaks far to the east, including Smuts, Birdwood, Sir Douglas, and Joffre
Cone Mountain
Other stuff to the east
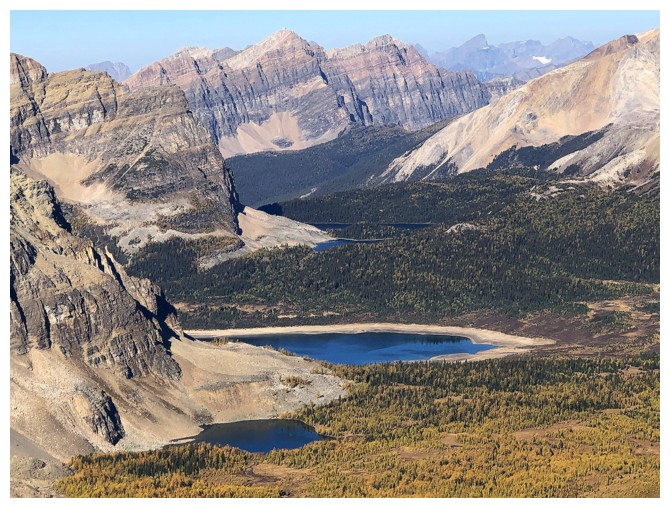
Gog and Magog lakes are clearly visible, Sunburst and Cerulean lakes are there but not as obvious

Glacier on the northeast side of Mount Magog. Wonder Peak's summit register and pole are also visible.
Better view of the Sunburst Peaks at the left
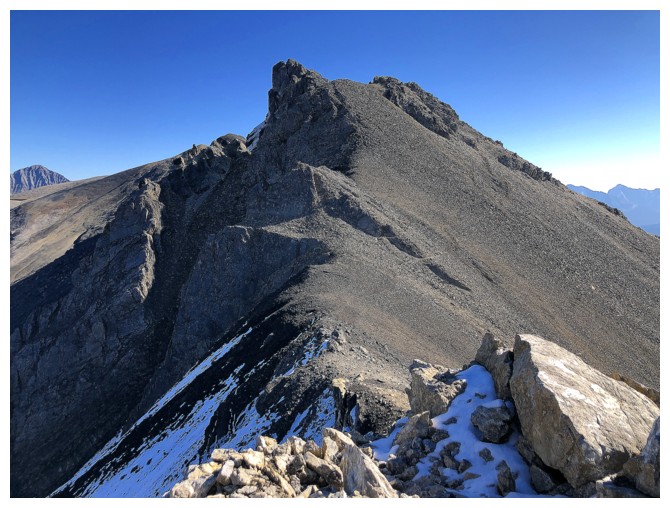
Short scramble to get to the summit
View back to the lower summit

Obviously, the view to the west is the show-stopper
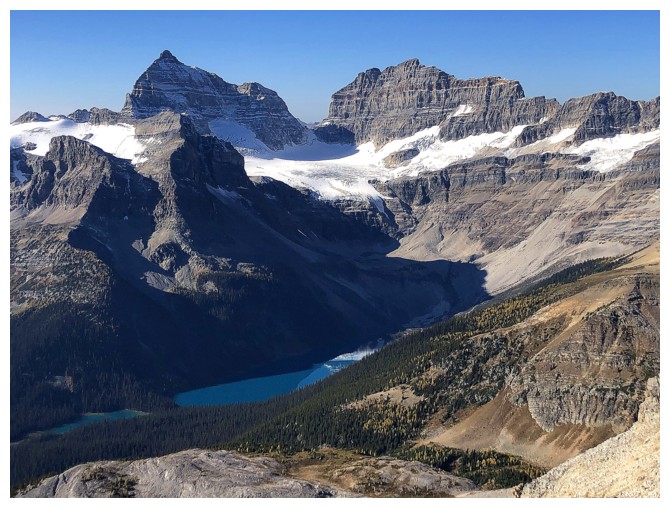
Looking down to Gloria Lake and wondering where my friends are at this point
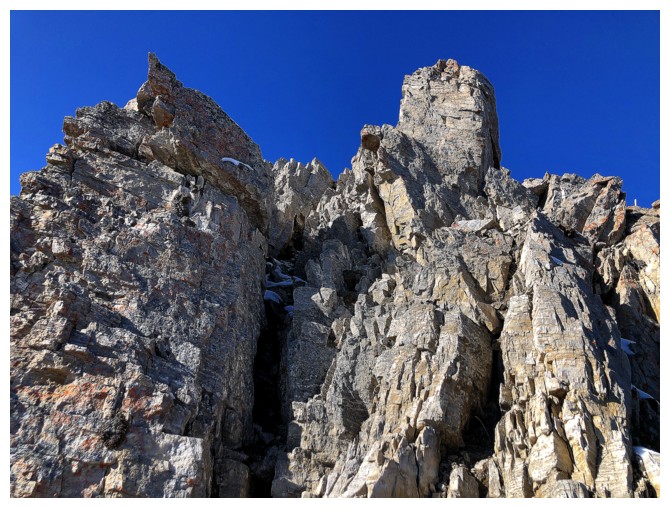
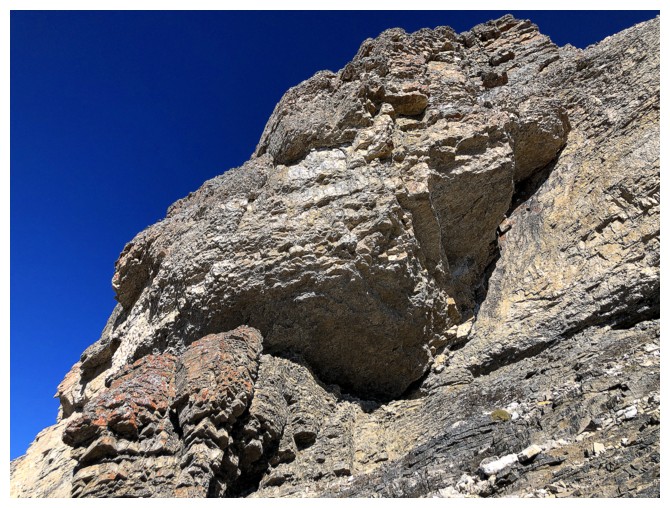
The reason why the west ridge is not a scramble
Views on descent are not that bad either
Loose but beautiful rock
Nice pinnacle on the west side of Wonder
Mount Cautley
Love the clear delineations of rock on this peak
Last look back at the west ridge
Last look back at the lower section of Wonder Peak
The Wonder Pass trail clearly sees a lot of traffic
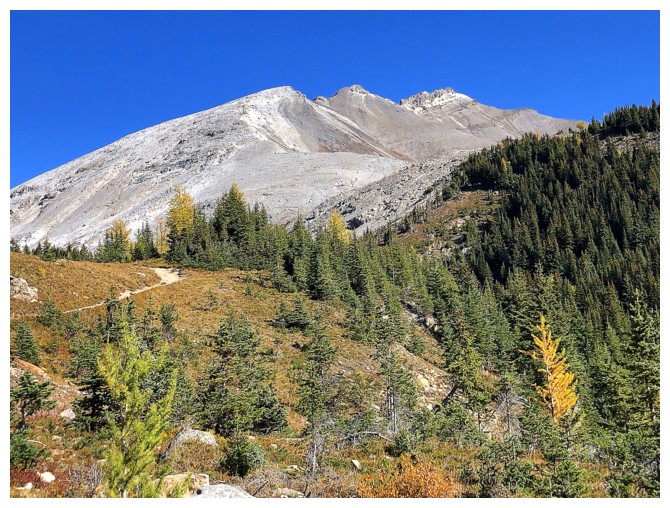
Wonder Peak from lower down on the trail
Marvel Peak in the centre
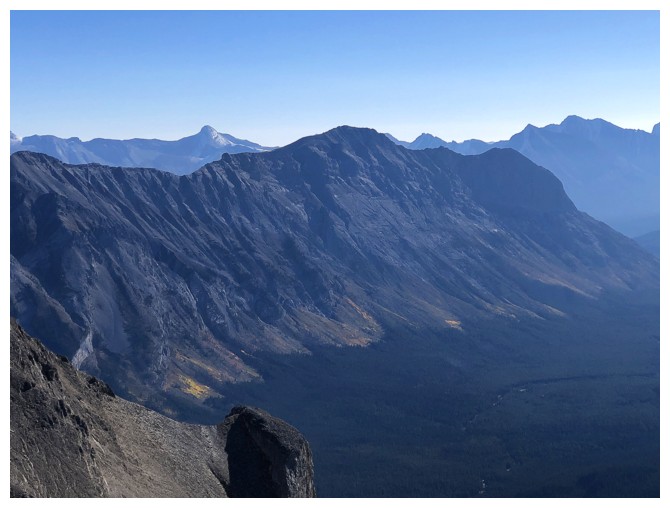
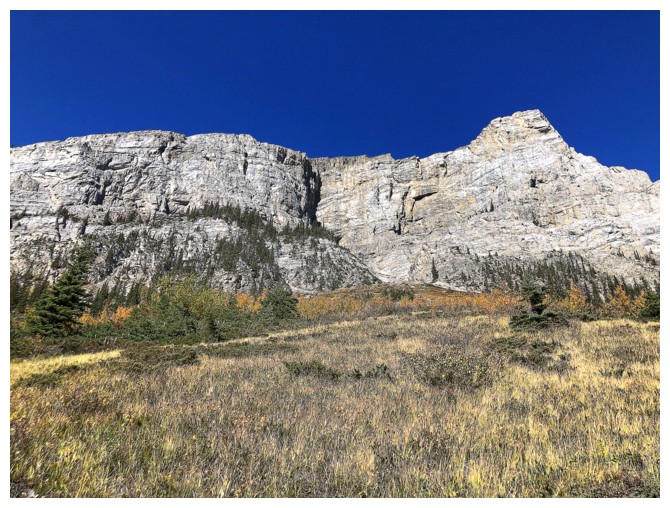
Passing by the impressive walls of rock that make up the southeast side of Wonder Peak and Ely's Dome
Bigger view of Marvel Lake and Marvel Peak

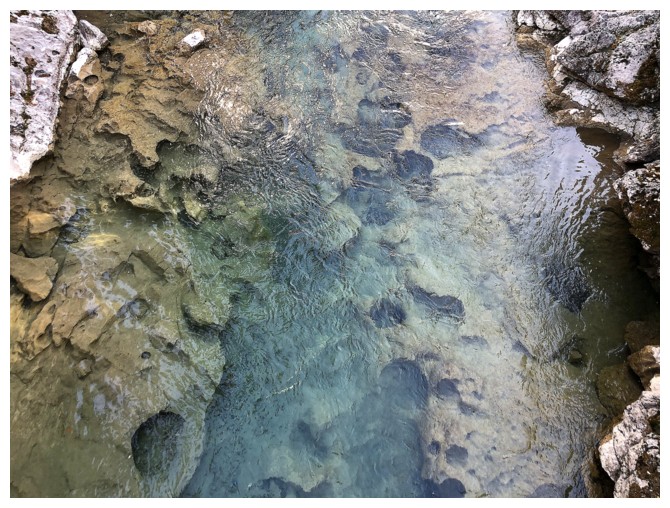
Some interesting colours reflected in the lake
Gloria, Eon, and Aye
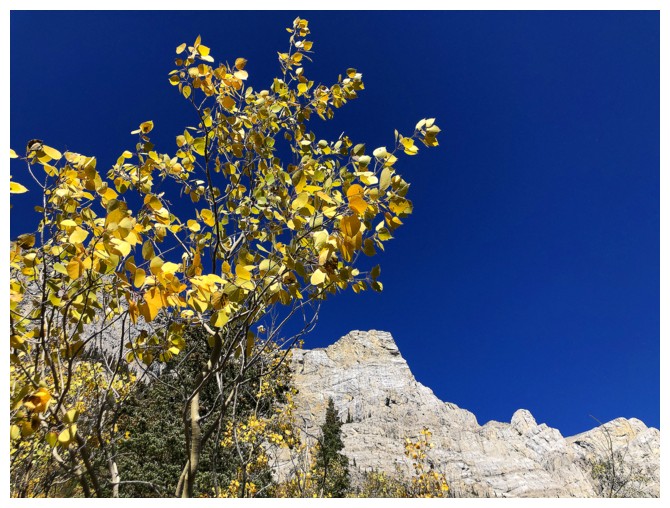
Doesn't have to be larches turning yellow. Fall colours are hands-down the best.
The scary side of Ely's Dome
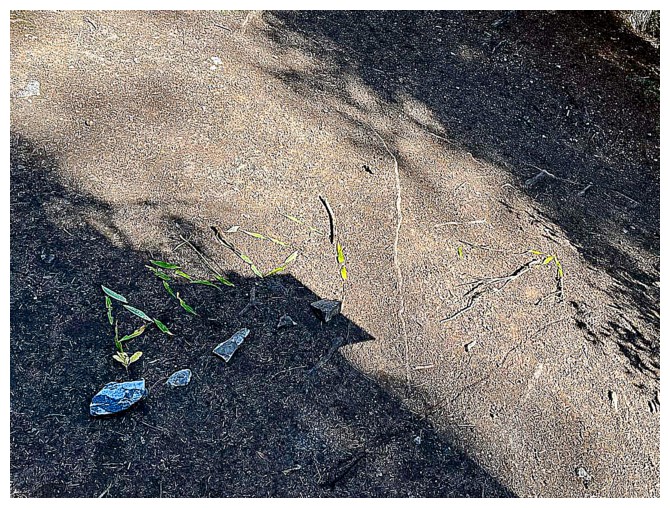
The sign the group left for me.
Unfortunately, someone later party had destroyed the "ANDY" part, but
the arrow was still there when I arrived (photo by Natasha)
Everyone's hike out
Marko,
with The Towers and Naiset Point in the background. His super heavy
backpack was an entity onto itself - turned our octet into a nonet!
(photo by Sean)
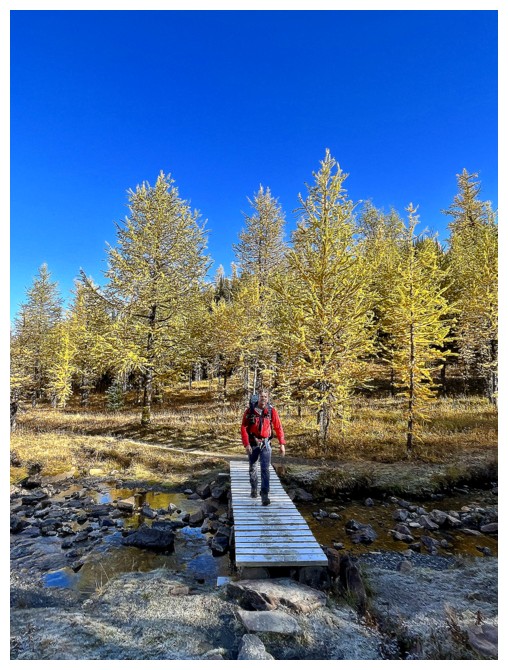
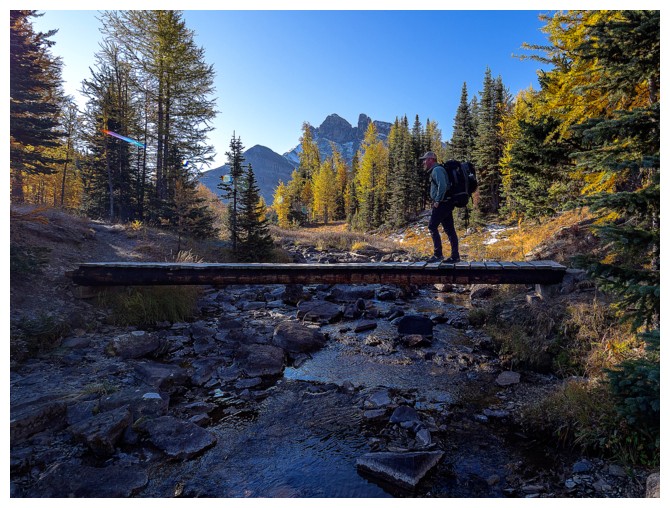 Marko crosses a Bridge Over Troubled Water
(one of the best songs ever written! Paul Simon is a songwriting genius
and Art Garfunkel's voice is true perfection) (photo by Sean)
Marko crosses a Bridge Over Troubled Water
(one of the best songs ever written! Paul Simon is a songwriting genius
and Art Garfunkel's voice is true perfection) (photo by Sean)
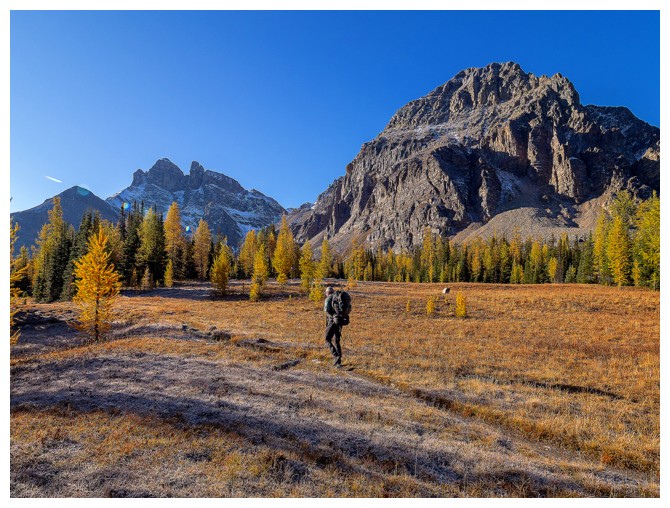
Speaking off perfection, nature has it down to an art form (photo by Natasha)
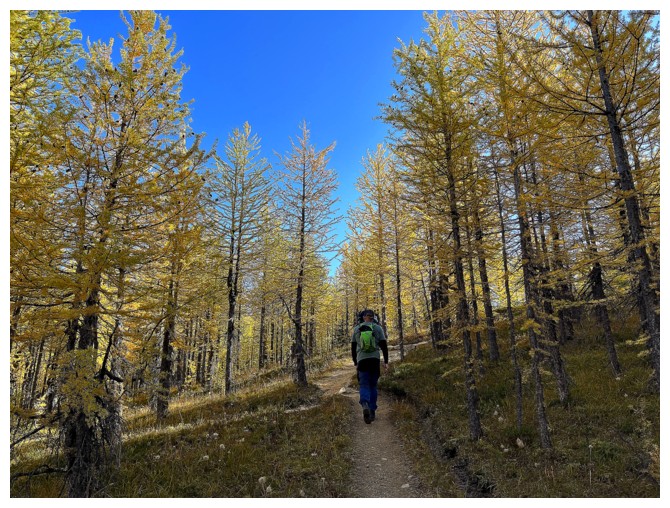
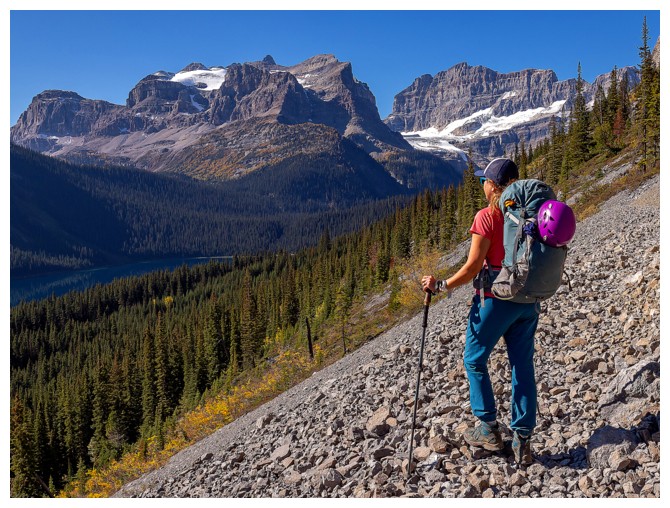
Shawn hikes up the larch-covered slopes (photo by Natasha)

And there are lots of them in this area (photo by Sean)
Marko and Baby Marko among the larches (photo by Sean)
The yellow trees thin out near the pass (photos by Natasha)
Srdjan and Orlagh at Wonder Pass (photo by Meggie)
Just Srdjan (photo by Meggie)
Just smilin' Orlagh (photo by Natasha)
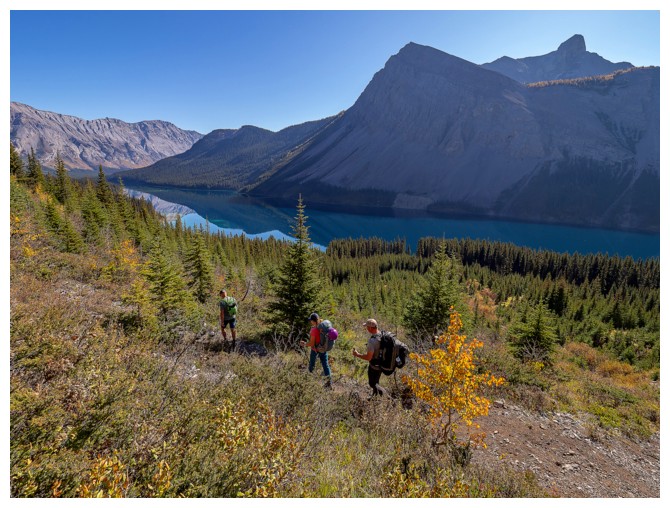
The group looks over the start of the route down the other side of the pass (photo by Sean)
Sean leaves the pass to get a shot of The Towers and the group (photo by Sean)
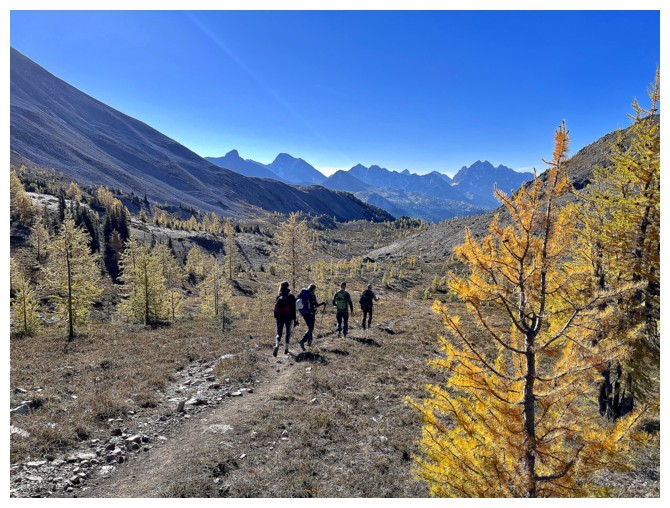
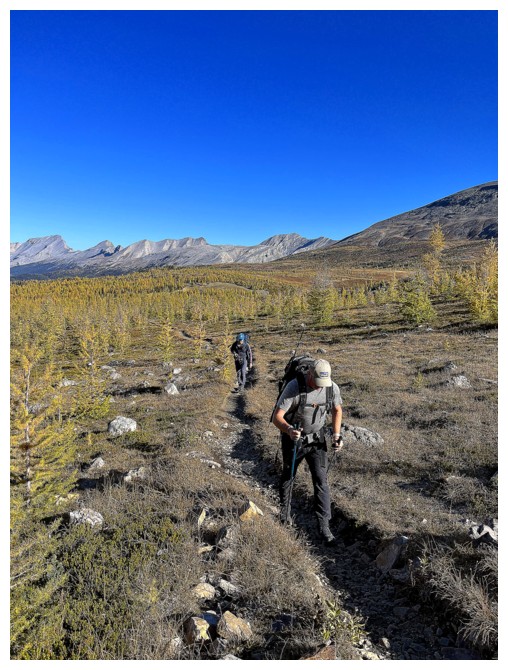
Off they go (photo by Natasha)
Same as above. The group is visible near the right (photo by Sean).
Marko and his backpack check out Mount Gloria and Eon Mountain (photo by Sean)
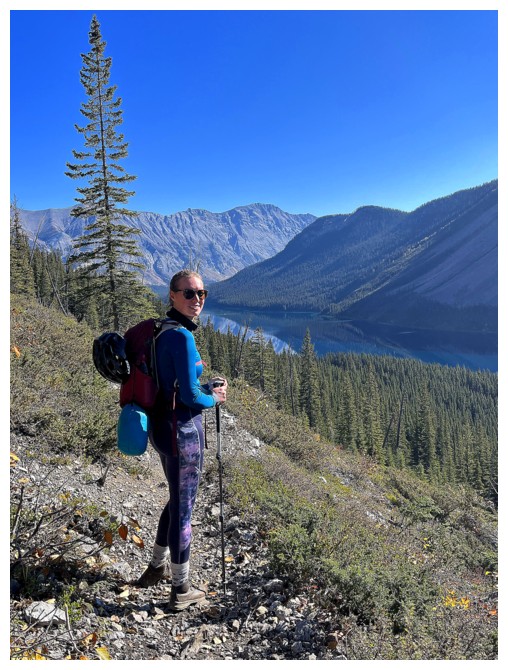
Orlagh is still smiling (photo by Natasha)
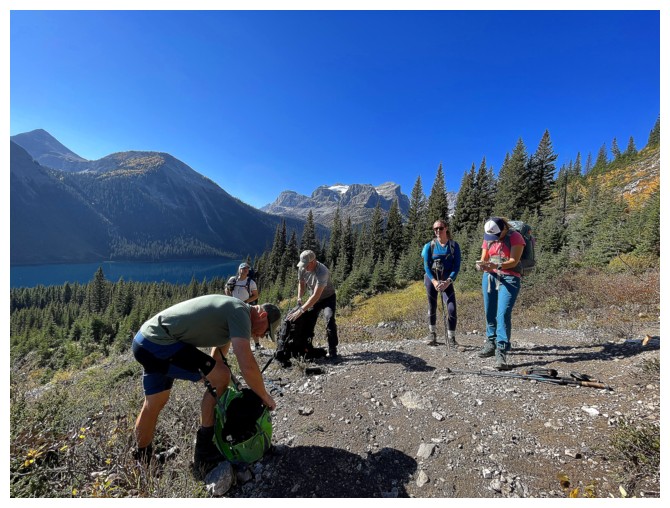
Quick break for the group (photo by Meggie)
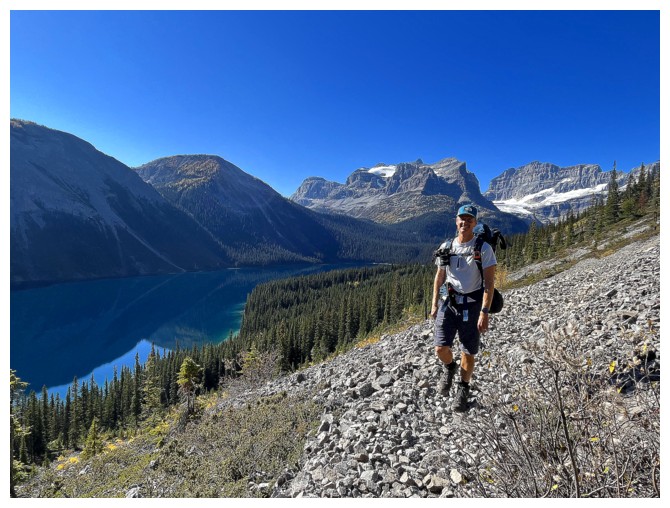
Marvel Lake is huge and takes about an hour to hike past (photo by Sean)
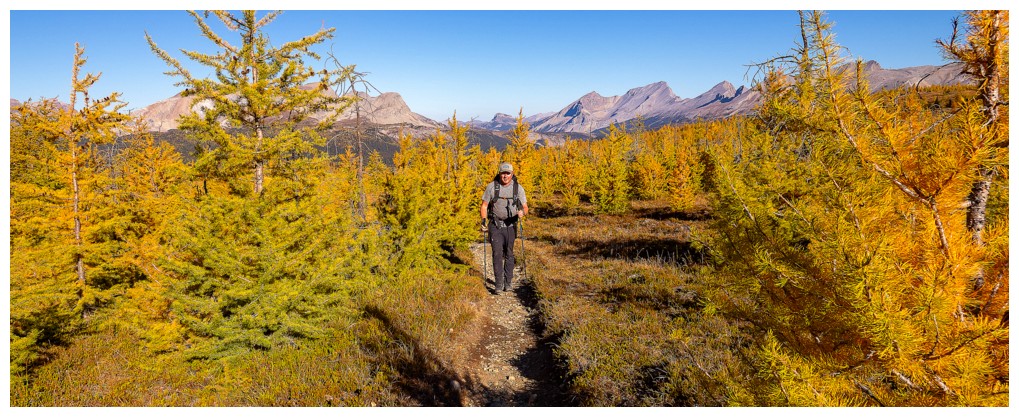
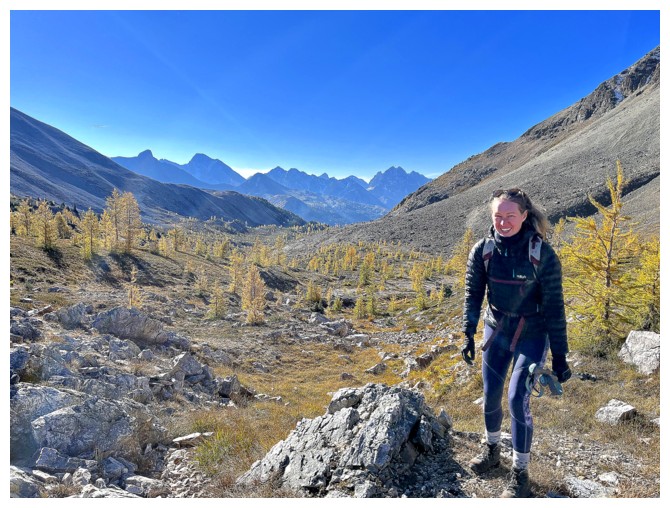
Natasha and again that great view towards Gloria, Eon, and Aye (photo by Sean)
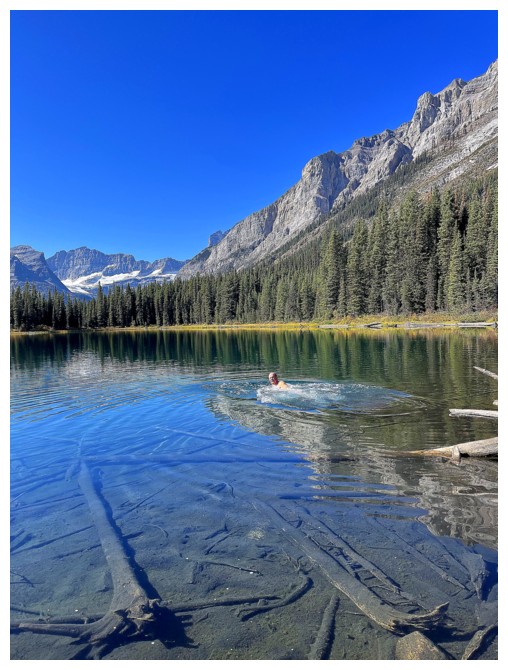
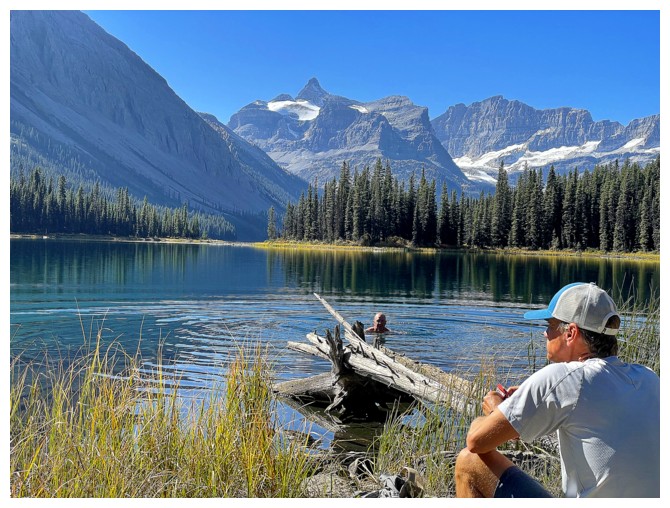
Marko bravely takes a dip in chilly Marvel Lake (photo by Natasha)
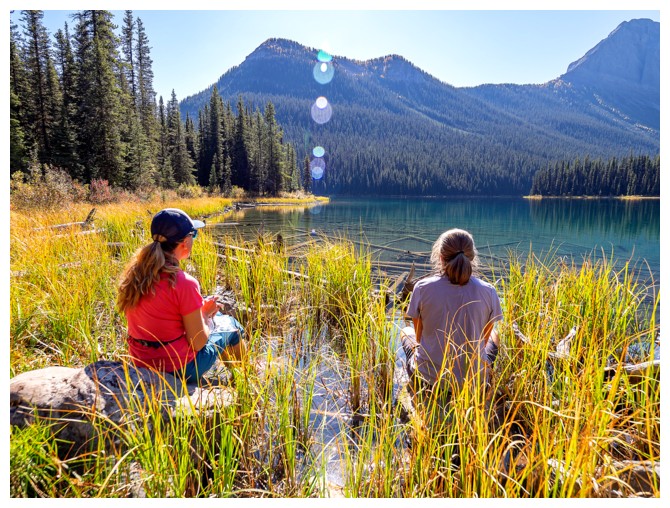
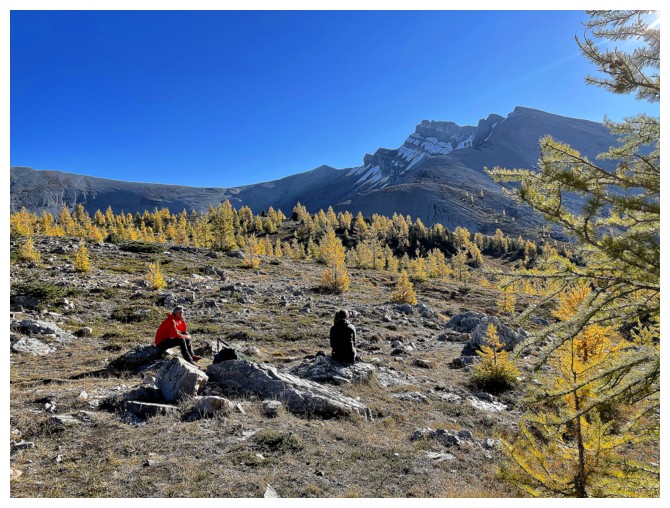
Natasha and Meggie enjoying the tranquil and beautiful surroundings (photo by Sean)

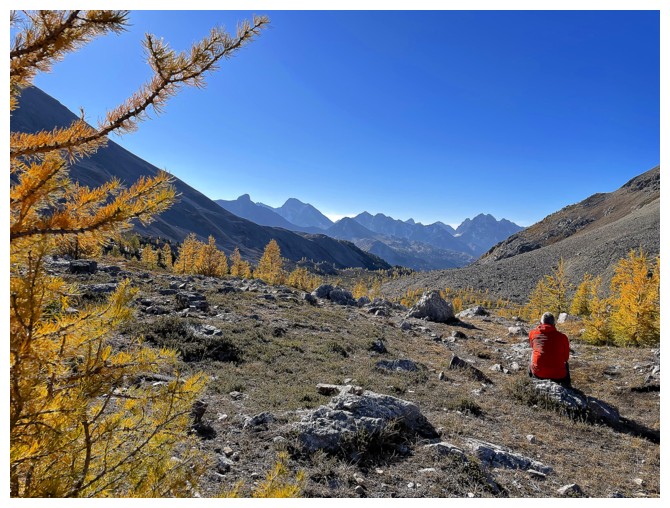
So does Shawn (photo by Natasha)
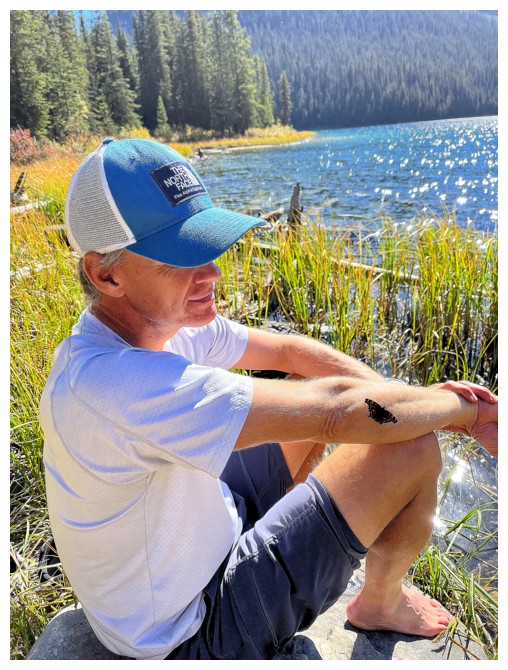
Sean has a new friend (photo by Natasha)
View over Marvel Lake. Only a small fraction of the lake is visible.
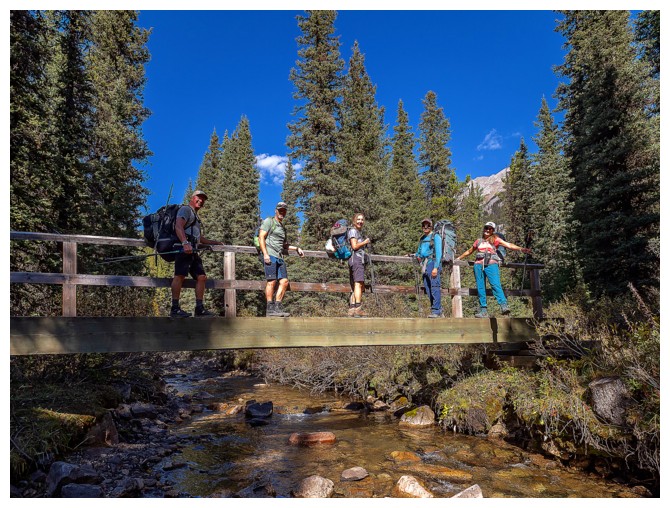
Five on a bridge over less troubled water (six if you include Marko's backpack) (photo by Sean)
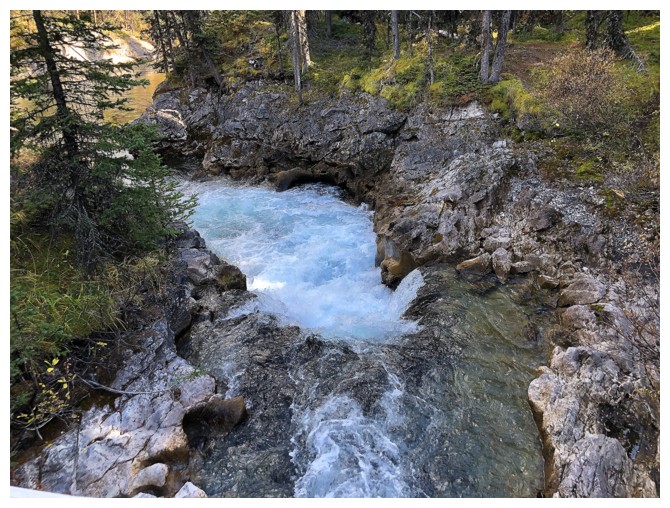
Crossing Bryant Creek was somewhat of a relief - about 7 km to go
Crossing Spray River shortly after
The Spray River bridge boasts a terrific view of Cone Mountain (photo by Sean)
The Watridge Lake trail has a good view of Mount Nestor, Old Goat Mountain, and some poor old sod suffering immeasurably from 28 odd km of hiking! (photo by Natasha)

Heaven!
Back at the parking lot and Shawn has graciously offered to give us a
lift to the staging area parking lot. It's only about 1.5 km, but at
that point of the day I would have hopped into the back of the truck if
it was 10 metres! Thank you Marko, Meggie, Natasha, Orlagh, Sean, Shawn, and Srdjan for three wonderful and incredibly memorable days! (photo by Orlagh)
The End
LOG
 dropped my pack, and started up Wonder Peak. Most of the ascent
was dead-easy on a well-trodden trail in the scree. The summit did present more
of a challenge than expected. At first, I went to a highpoint to the east that
I thought was the summit. However, a big stick protruding from the rocks on
another highpoint a short distance to the west seemed to indicate it was the
true summit. Getting there required scrambling up a steep chimney, but solid
hand- and footholds were plentiful.
dropped my pack, and started up Wonder Peak. Most of the ascent
was dead-easy on a well-trodden trail in the scree. The summit did present more
of a challenge than expected. At first, I went to a highpoint to the east that
I thought was the summit. However, a big stick protruding from the rocks on
another highpoint a short distance to the west seemed to indicate it was the
true summit. Getting there required scrambling up a steep chimney, but solid
hand- and footholds were plentiful. 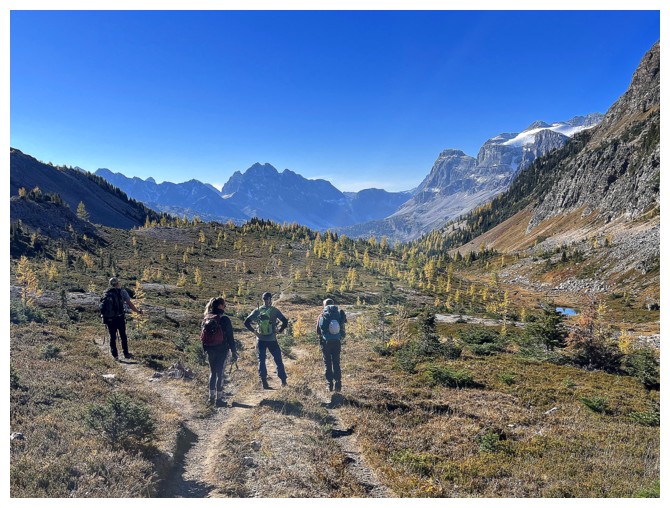 I didn’t stay long, as my
seven hiking companions were more than likely already over Wonder Pass and heading
down towards Marvel Lake and I wanted to try to catch up with them.
I didn’t stay long, as my
seven hiking companions were more than likely already over Wonder Pass and heading
down towards Marvel Lake and I wanted to try to catch up with them.