Kishinena Peak III
Mount Bauerman III
July 3, 2021
Mountain heights: 2440 m, 2409 m
Elevation gain: too lazy to figure it out right now, but a fair amount
Round-trip:
8 hours
Solo scramble.
Re-hiking the Blakiston Creek trail to its
end was my last order of business for competing all the Waterton hiking trails,
post 2017 Kenow fire. The last time I had hiked the entire length of this trail
was in 2011, as part of a “too-interesting” day on Lone Mountain.
 As alluded to in several reports, hiking in
Waterton (for now) is even more rewarding than pre-fire, thanks to the
open vistas and new growth emerging from the devastation of the fire. The
Blakiston valley was no exception, especially at the end of the valley, where
the trail forks: north to Twin Lakes and south to Lone Lake.
As alluded to in several reports, hiking in
Waterton (for now) is even more rewarding than pre-fire, thanks to the
open vistas and new growth emerging from the devastation of the fire. The
Blakiston valley was no exception, especially at the end of the valley, where
the trail forks: north to Twin Lakes and south to Lone Lake.
At this junction, I decided to check out
South Kootenay Pass, since North Kootenay Pass and Middle Kootenay Pass
had
seen me multiple times over the years. South Kootenay Pass was clearly
the most
disappointing of the three – completely treed with no views at all,
except for
stunning views of trees! Of course, I wasn’t about to call it a day
there and
started up the south ridge of Kishinena Peak - mainly because I wanted
to see why the prominent high point between South Kootenay Pass and the
highest point (presumably the real Kishinena) was identified as the
summit of Kishinena on some maps.
That summit was reached in short order and more than providing a decent
summit view, it also provided lots of motivation to continue up to the
true summit of Kishinena.
Not surprisingly, the summit of Kishinena
Peak yielded with relative ease from this direction and also not surprisingly
the ascent was intensely scenic and interesting – very similar to the wild rock
scenery on one of my favourite, newly-discovered peaks in Waterton, “Sage Senior”.
The other goal of this trip, if time
permitted, was to hike the short section of trail between the
Kishinena/Bauerman col and the Blakiston Creek Trail – one of the few sections
of trail in Waterton I had never been on. I had planned on doing that section
from the end of Blakiston Creek Trail but now I was on the summit of Kishinena,
high above that trail. No problem - I simply descended the east face of
Kishinena (direct and fast) to the col and then went the wrong way, right up to
the summit of Mount Bauerman!
Of course, this wasn’t a navigational error
but quite intentional. In the summer of 2020, I had enjoyed another round of
the awesome Anderson/Lost/Bauerman traverse with Ryan, Jill, and Karen Alston.
For the descent off Bauerman we used the steep south face even though Ryan
suggested trying the longer but easier west ridge. I felt bad about dragging
the group down that face and was compelled to complete the west ridge route.
Ryan’s assessment was bang-on. The west ridge was easy and scenic – definitely
the route of choice for future trips.
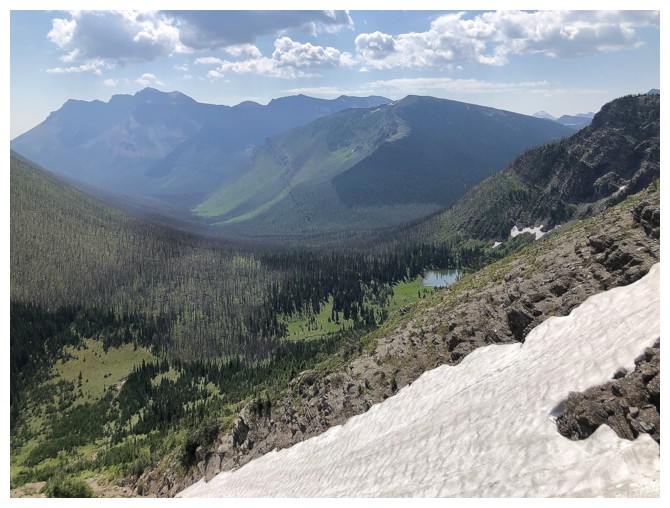
After returning to the col, I completed the
section I set out to hike. Excellent views down the valley and a pleasant,
shallow tarn proved to be the highlights. The hike back to the parking lot was a
little mind- and foot-numbing, having hiked quite a few more kilometres than
anticipated. However, I had completed what I set out to do and unexpectedly
reached the summits of two old friends, certainly taking some of the “numb”
out.
Another fantastic trip in my favourite of
Canada’s national parks.
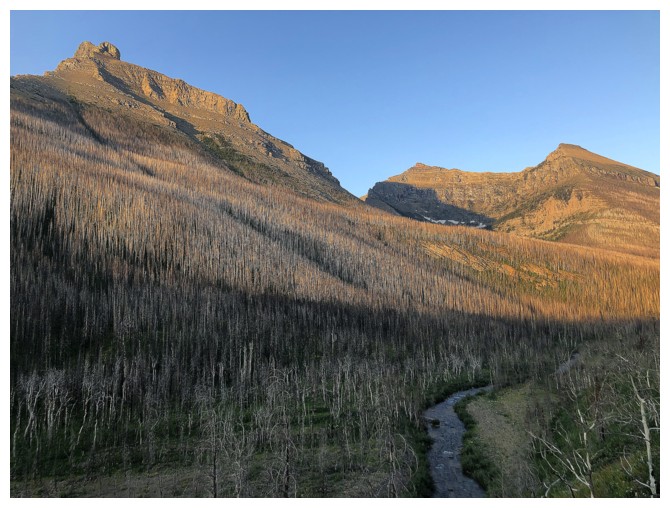
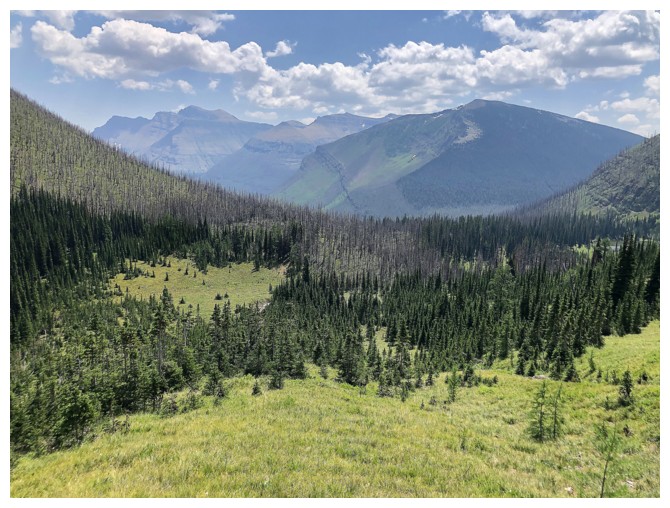
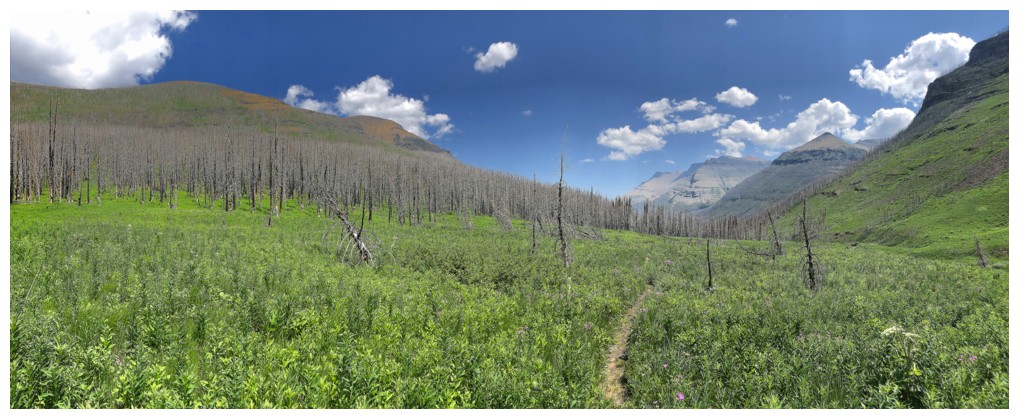
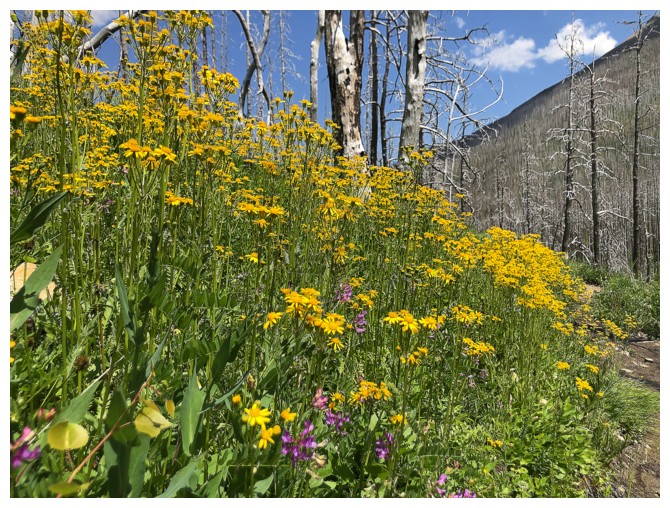
Early morning in the Blakiston Creek valley
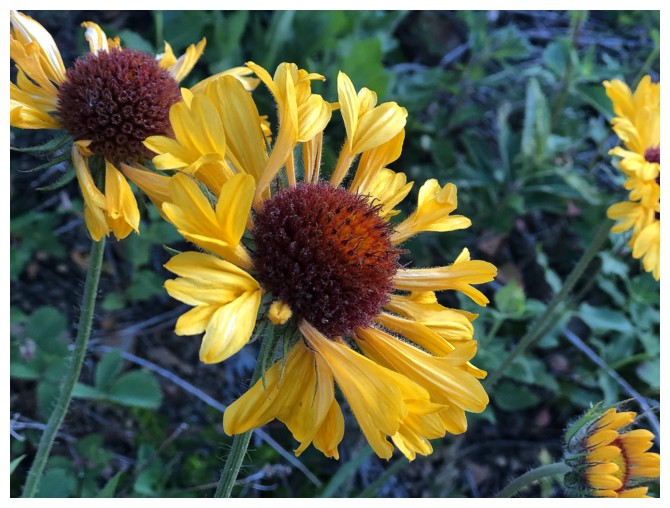
The wild flowers are out
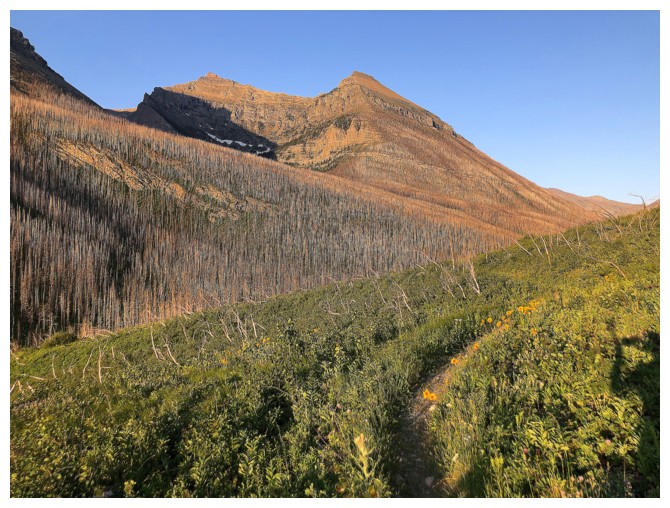
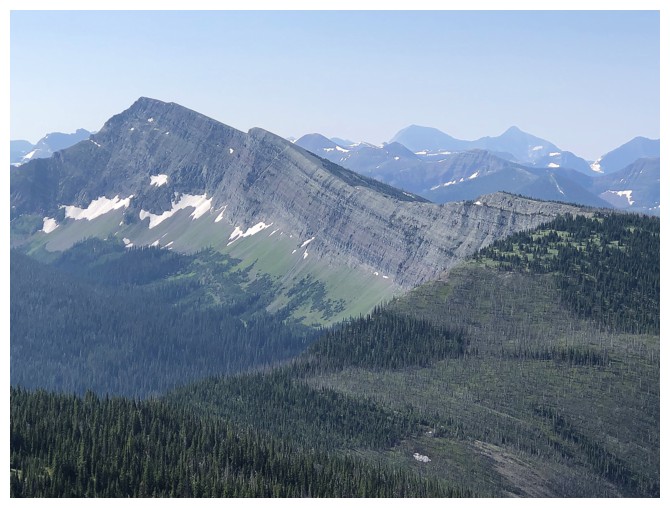
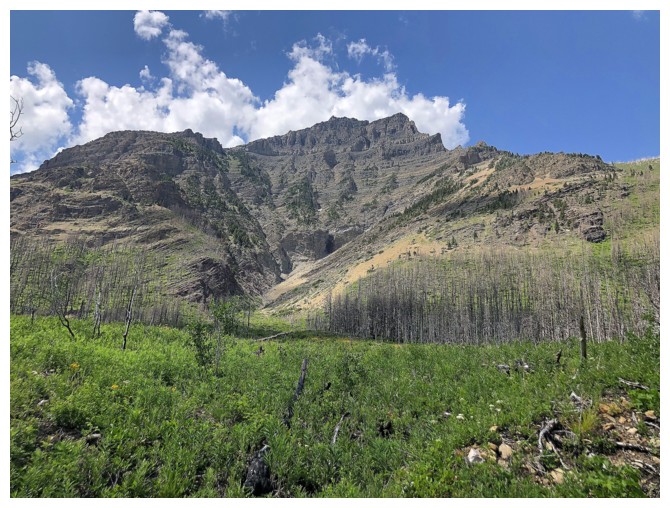
Mount Hawkins - part of the awesome Blakiston horseshoe route
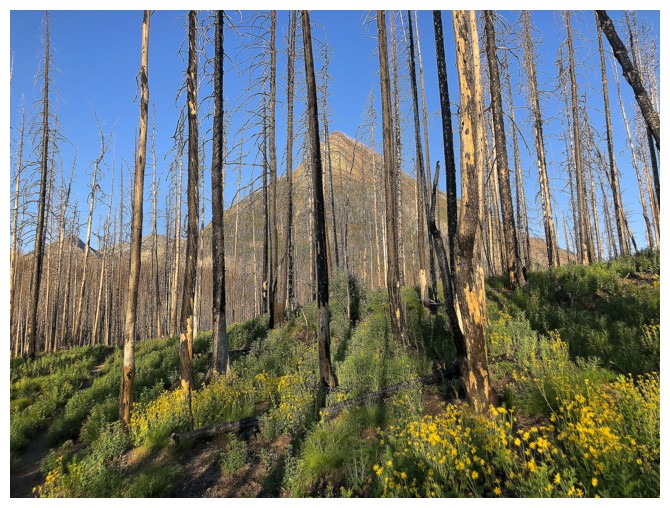
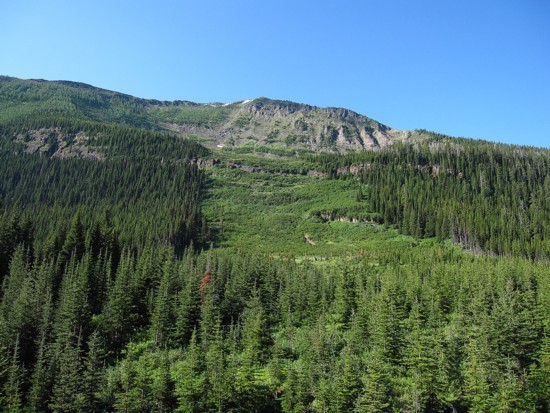
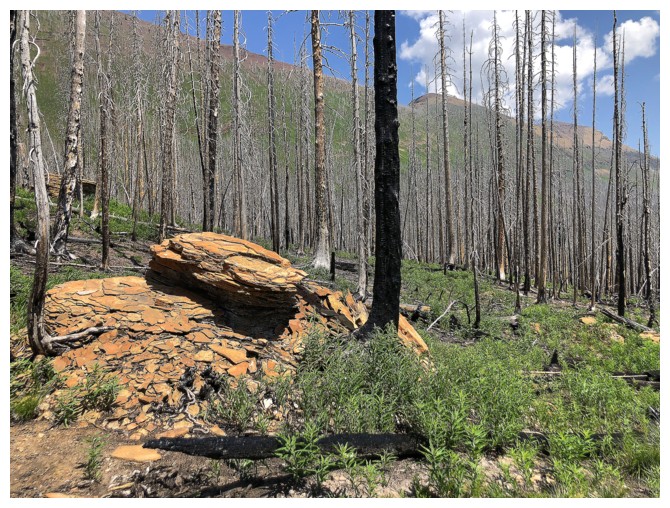
Lone Mountain, through the burned out trees
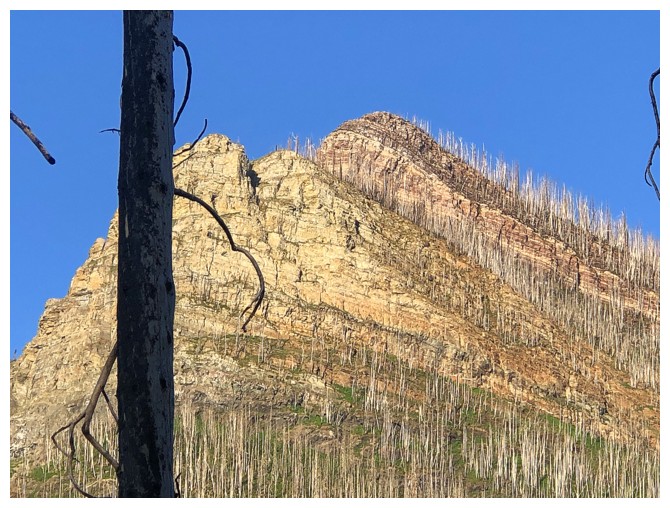
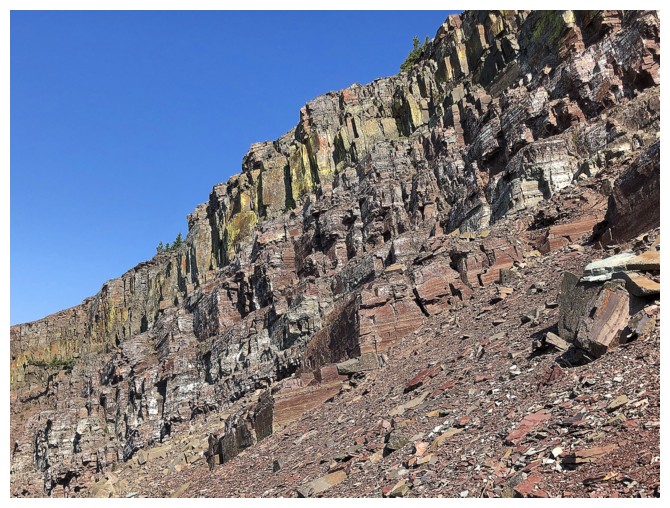
The far east end of Lone has some intriguing rock layers

Lone Mountain in 2011, before the fire
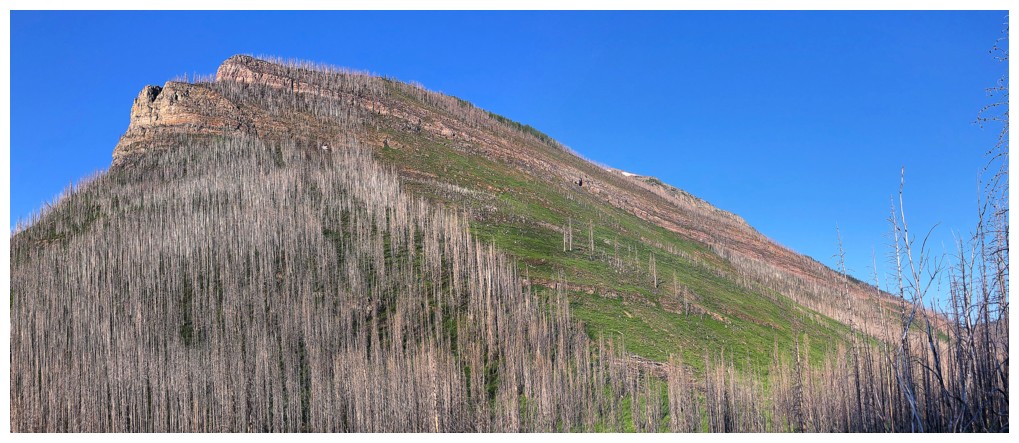
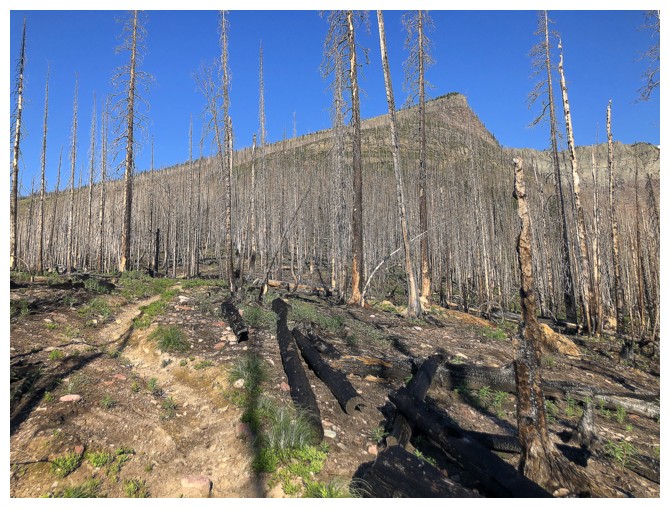
Lone Mountain after the fire.
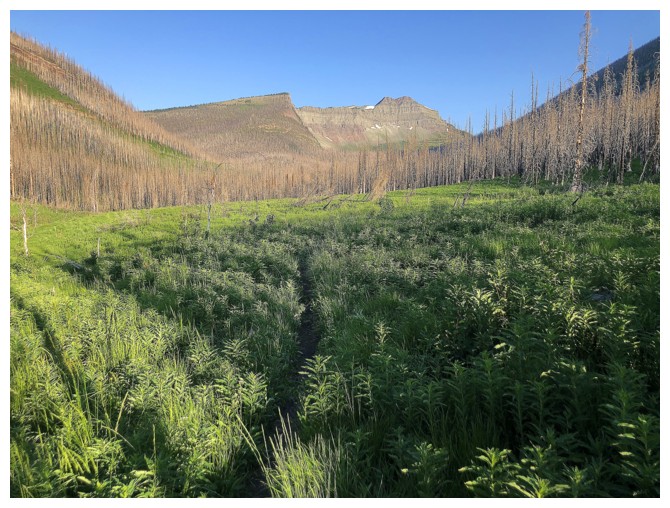
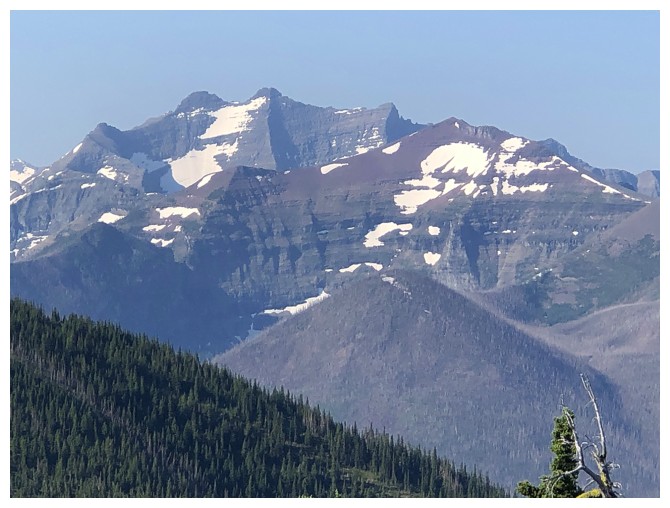
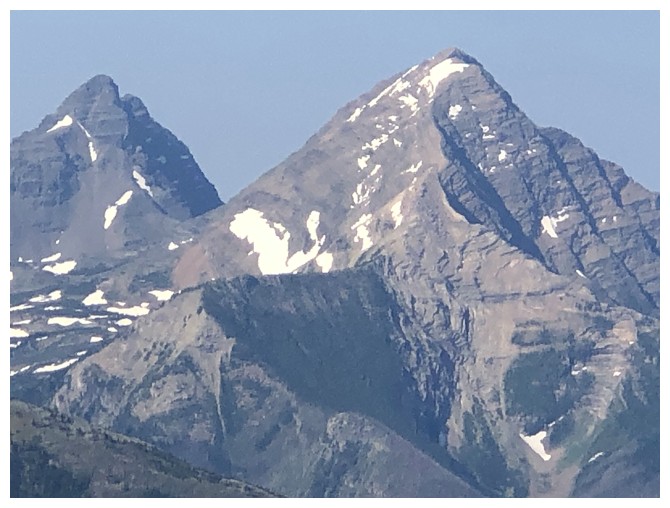
Kishinena Peak in the distance on the right. The high point on the left is identified as Kishinena Peak on some maps.
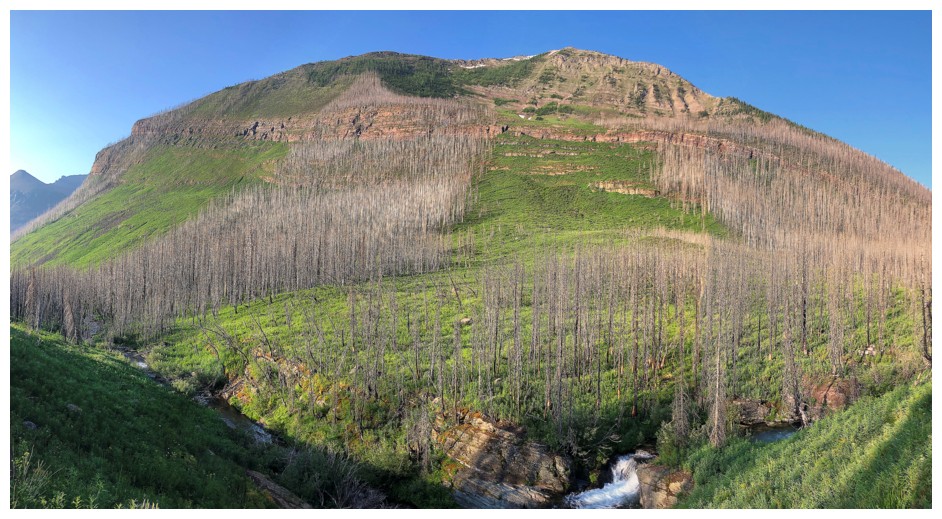
The north side of Lone. This is the tragic descent route I used in
2011. It would be significantly easier right now but that won't last.
What the route looked like in 2011. It was a bushwhacking nightmare back then.
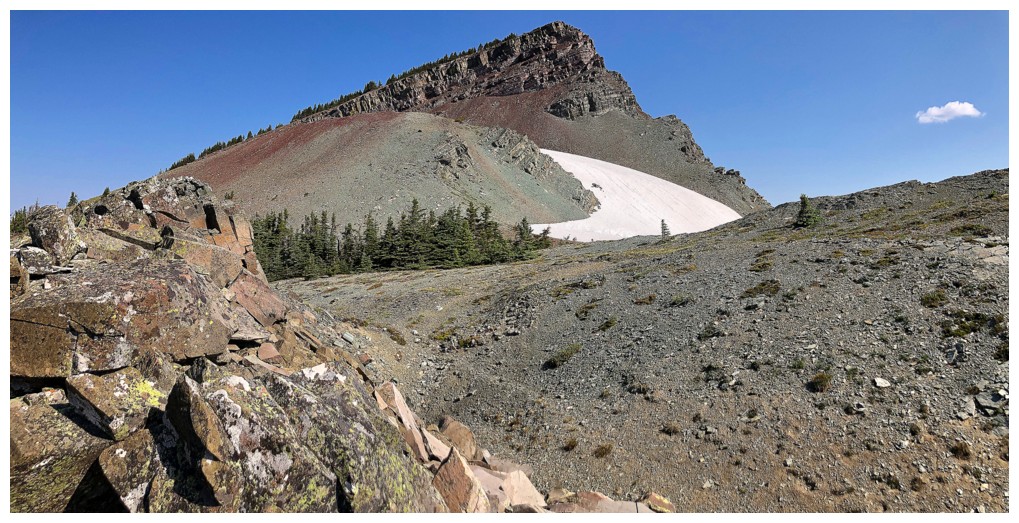
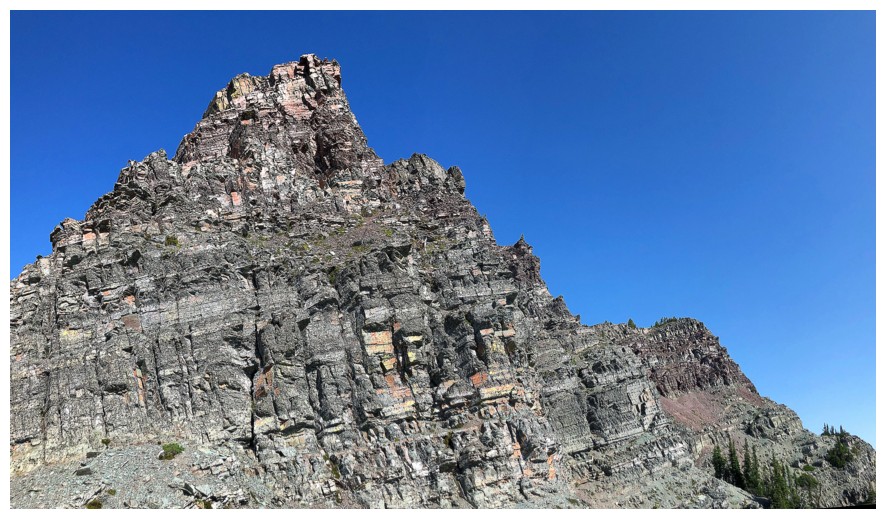
The high point does look quite significant from afar
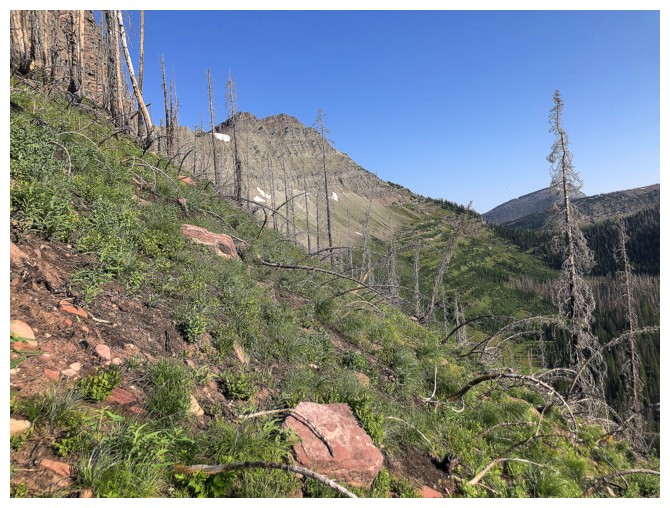
So does Kishinena
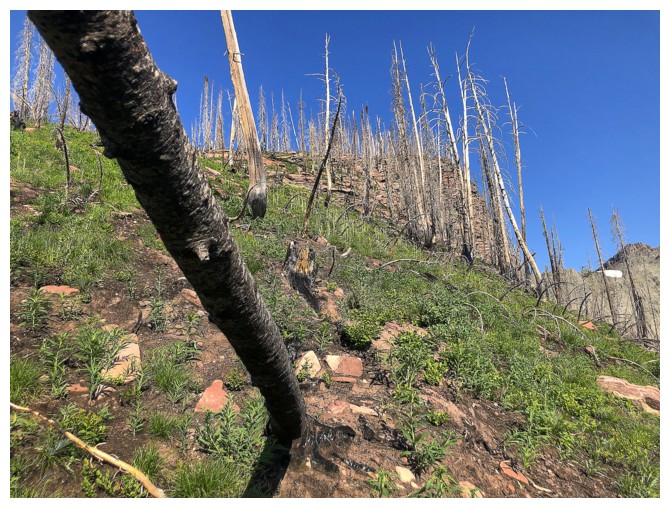
A leaning burnt tree. When they start to fall, things may get interesting in Waterton!
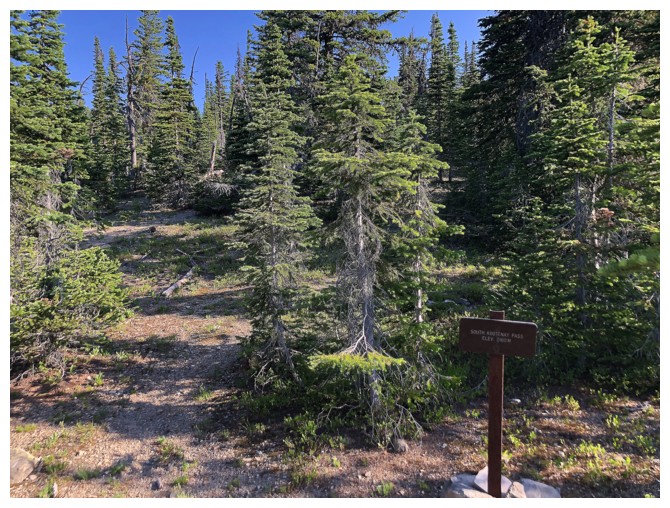
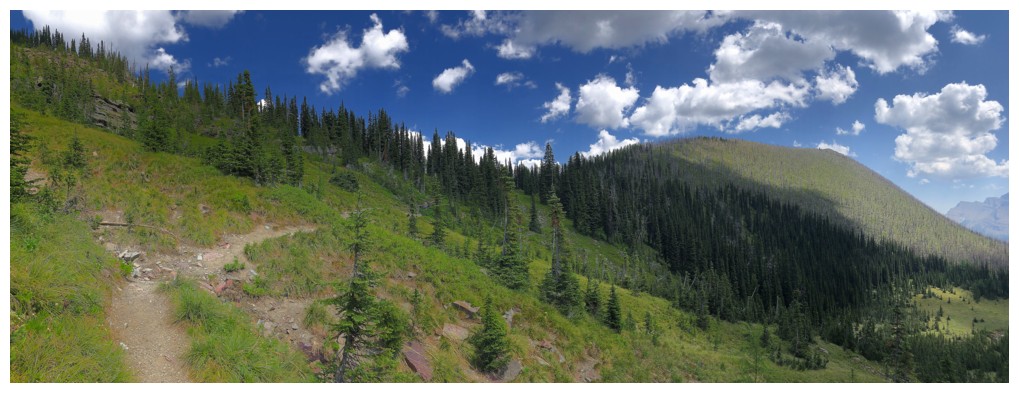
South Kootenay Pass. Clearly the Kenow fire did not make it here - great views did not make it here either!
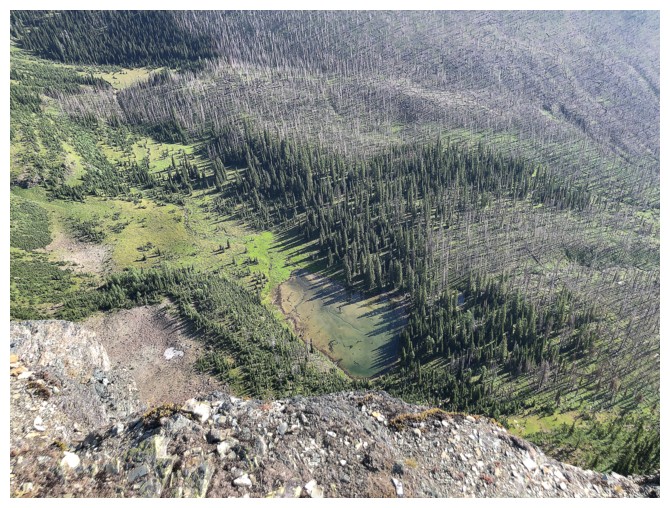
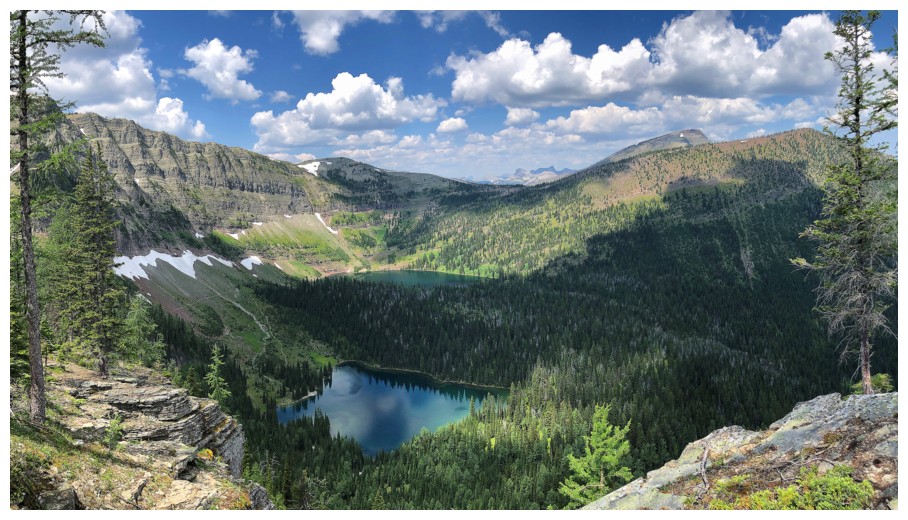
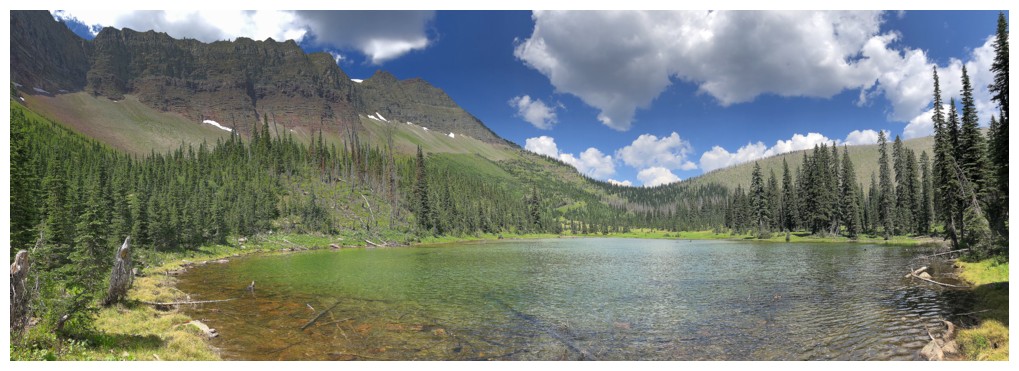
Looking down to the tarn I would visit a few hours later
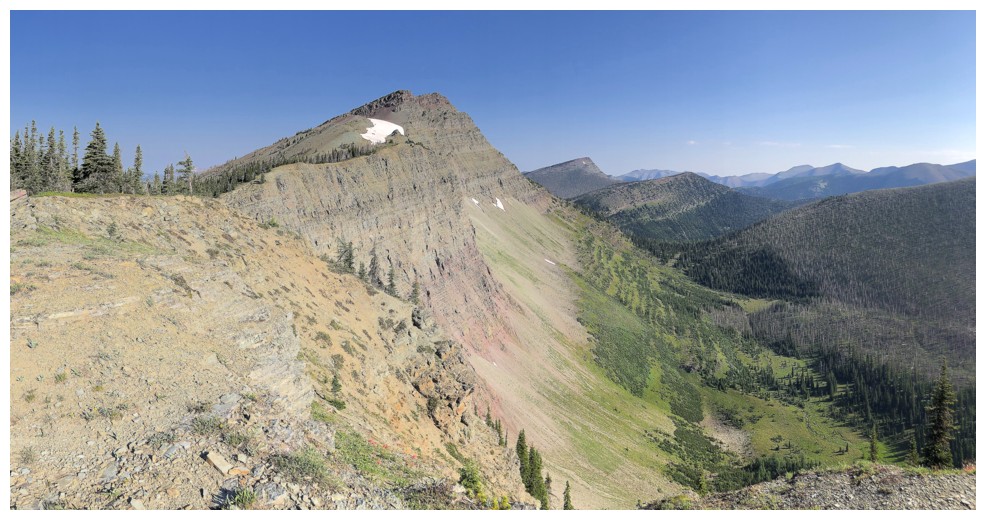
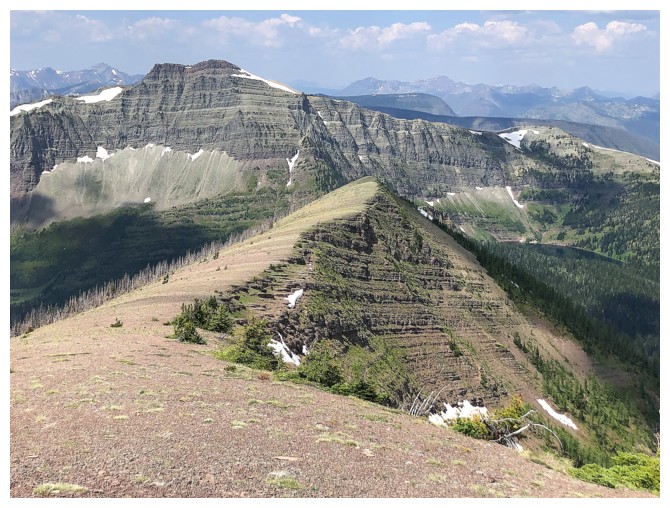
Near the high point and looking north to Kishinena Peak
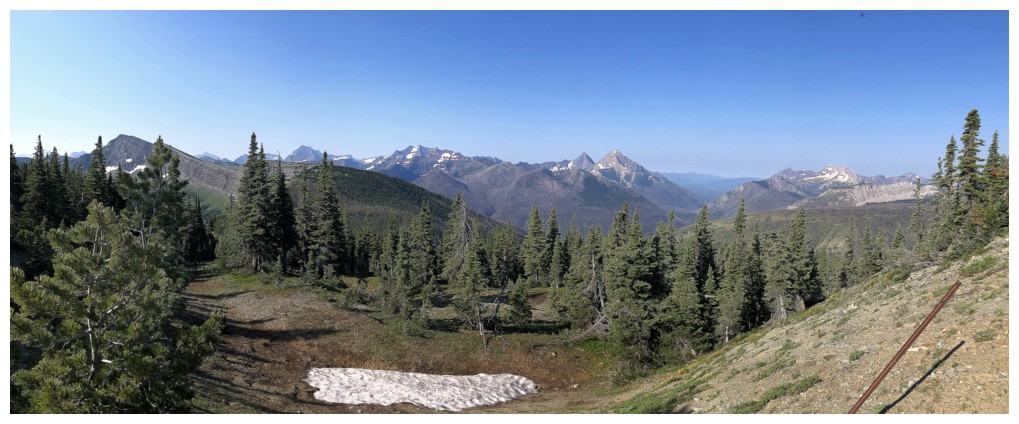
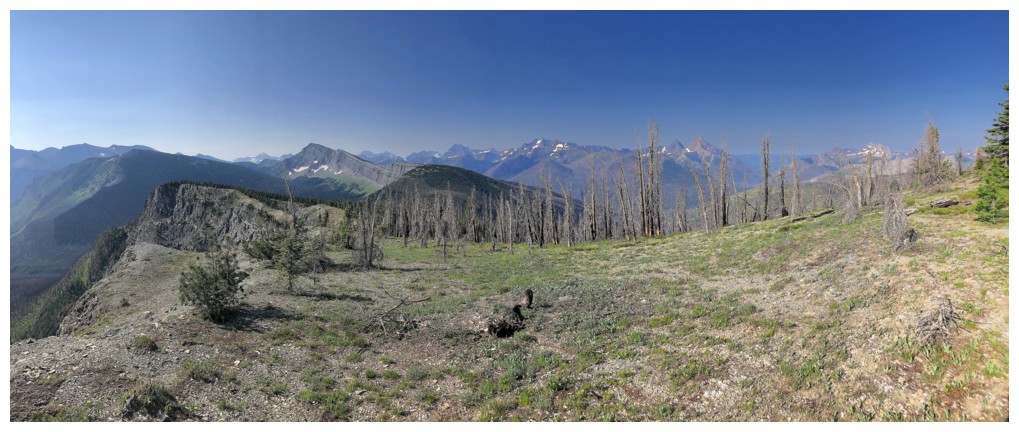
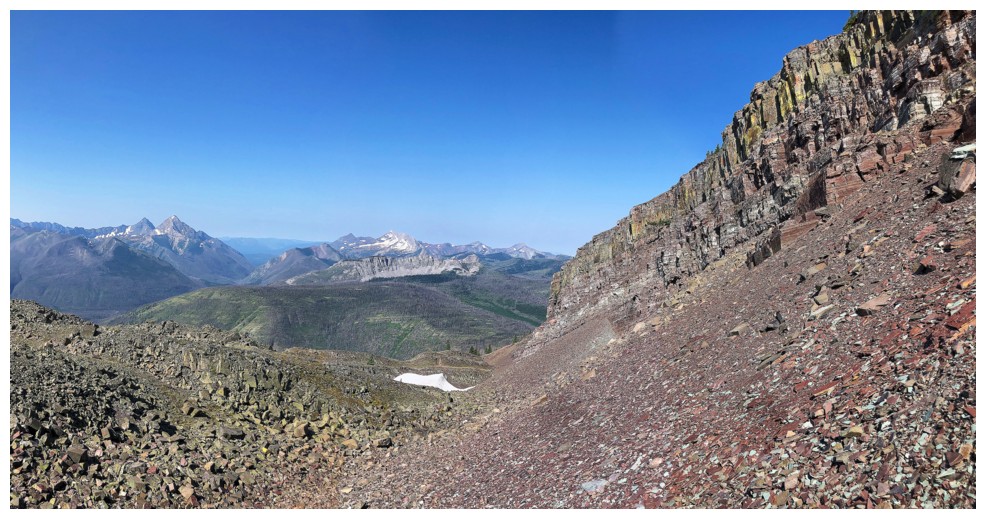
The classic view to the west and southwest includes familiar (viewing)
favourites, such as Long Knife, King Edward, Starvation, Miskwasini, and
Kenow
Long Knife Peak straddles the Canada/U.S, border, but the summit is in the U.S.
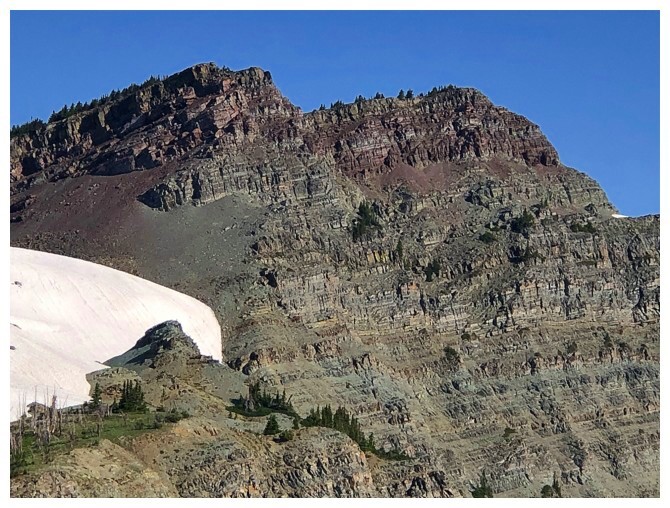
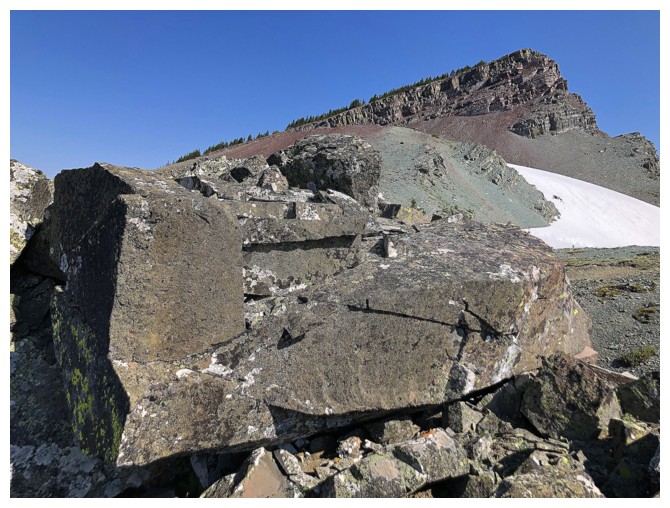
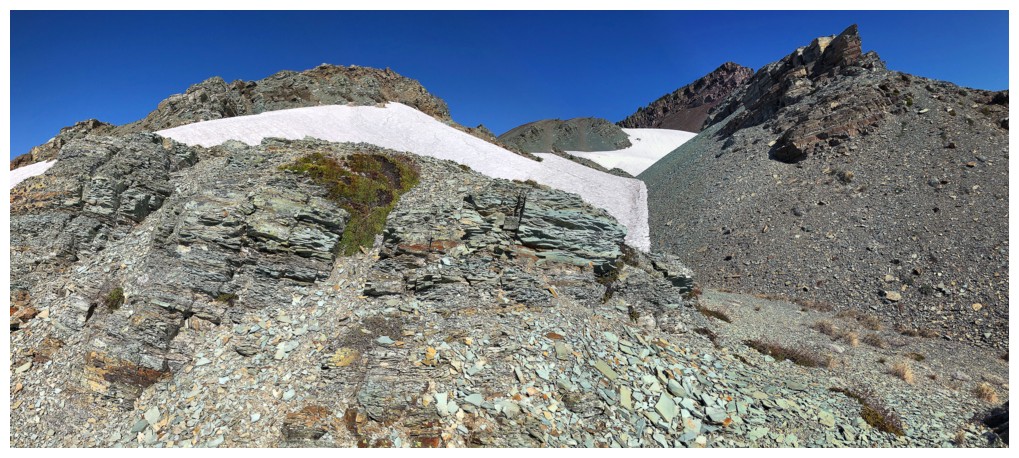
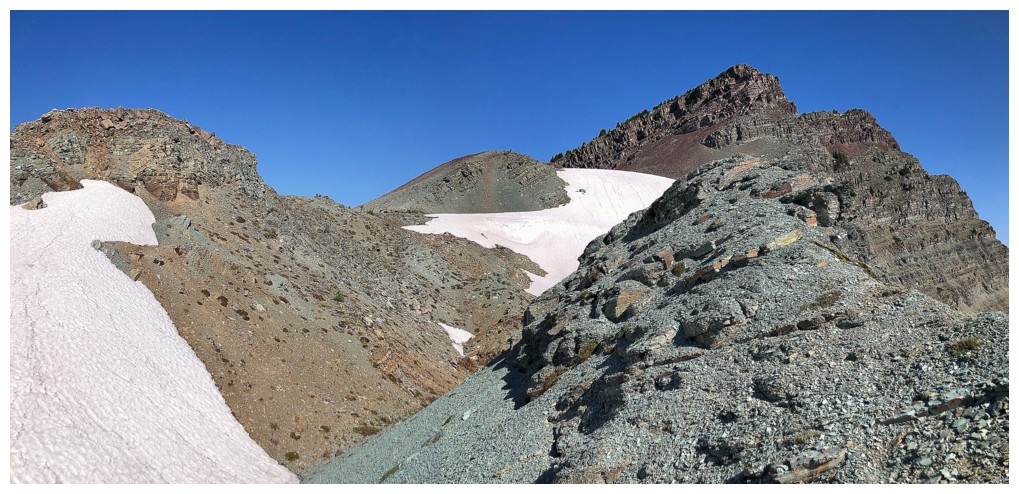
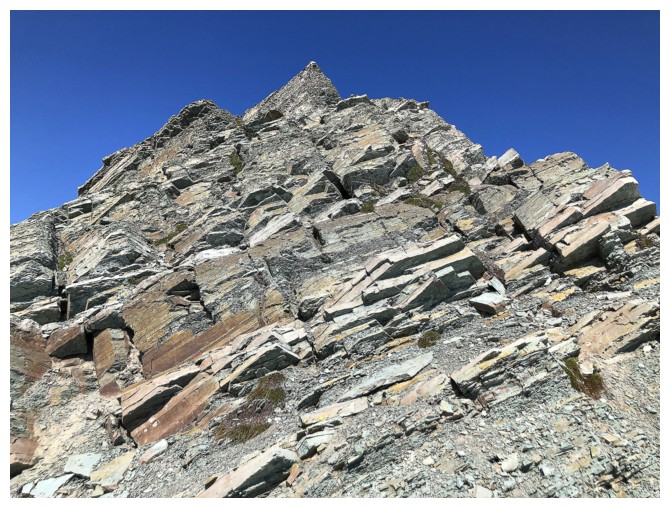
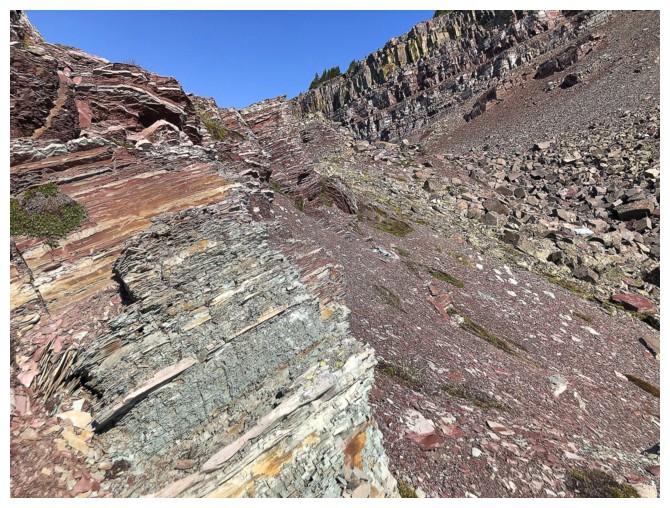
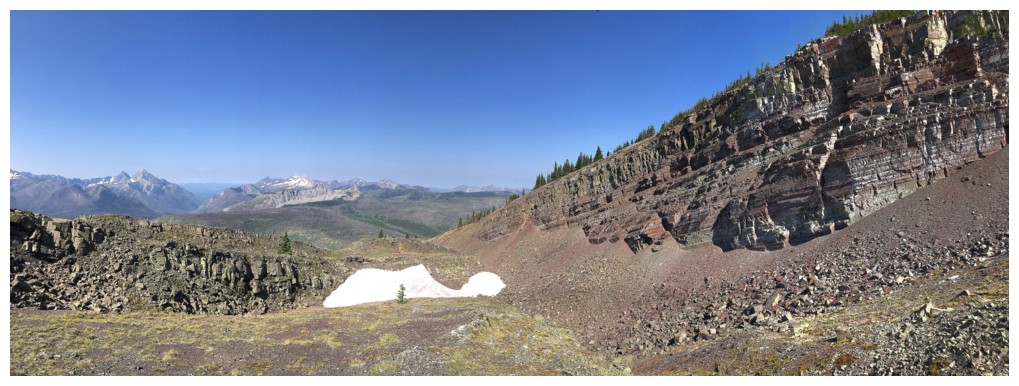
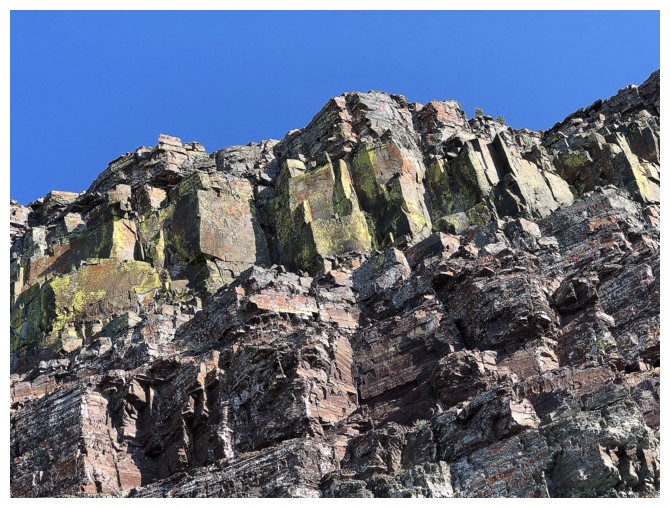
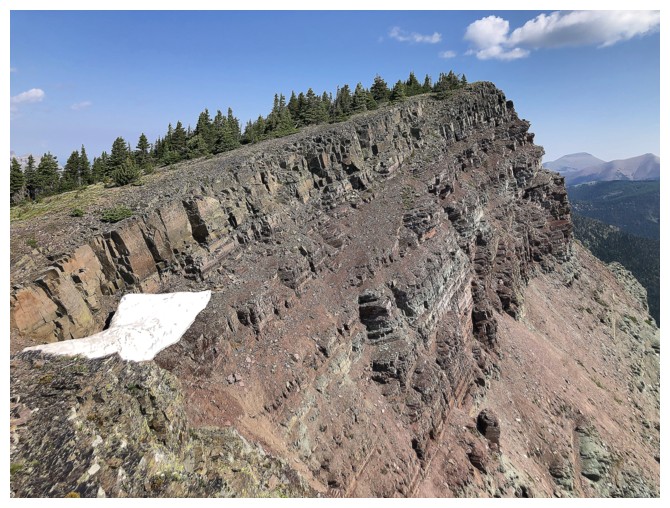
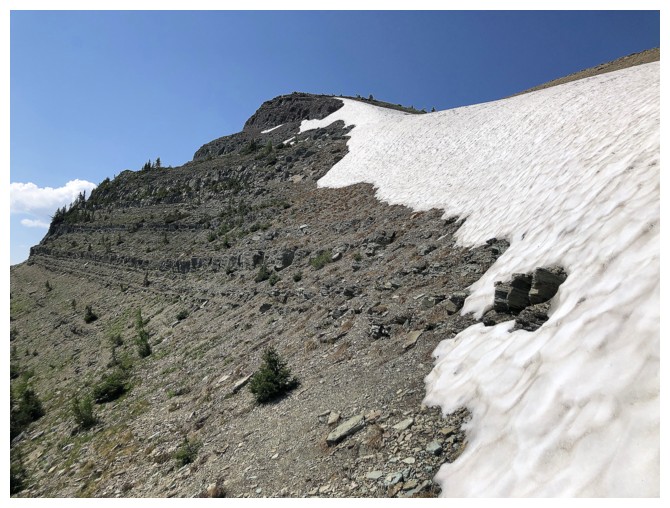
Not surprisingly, the rock strata of Kishinena's east face is very similar to that of "Sage Senior"
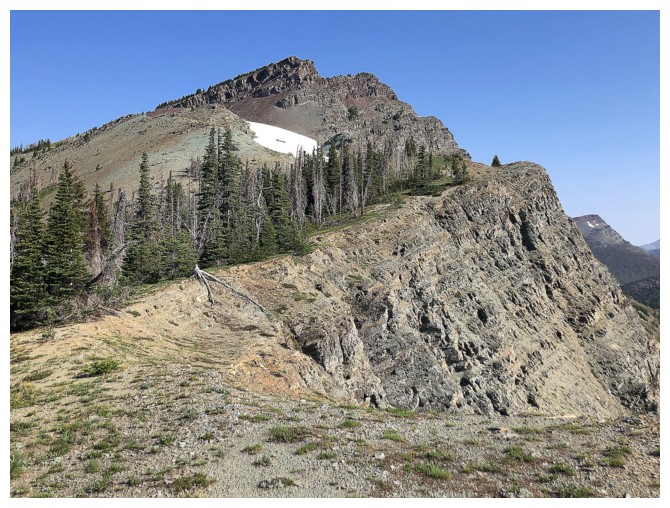
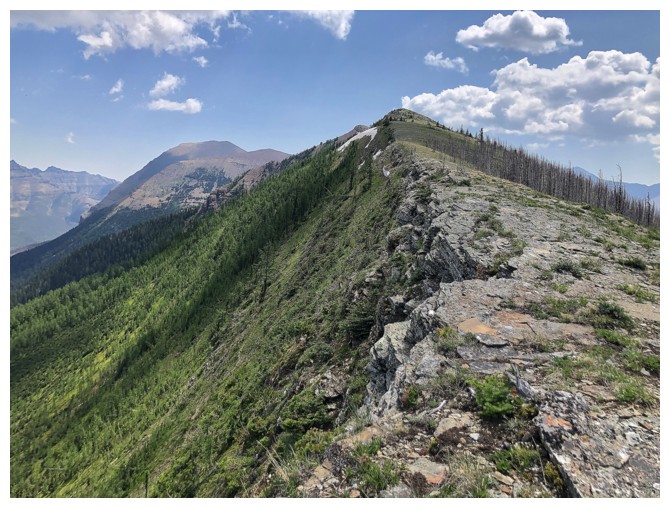
Easy travel along the ridge from the high point heading towards Kishinena's true summit
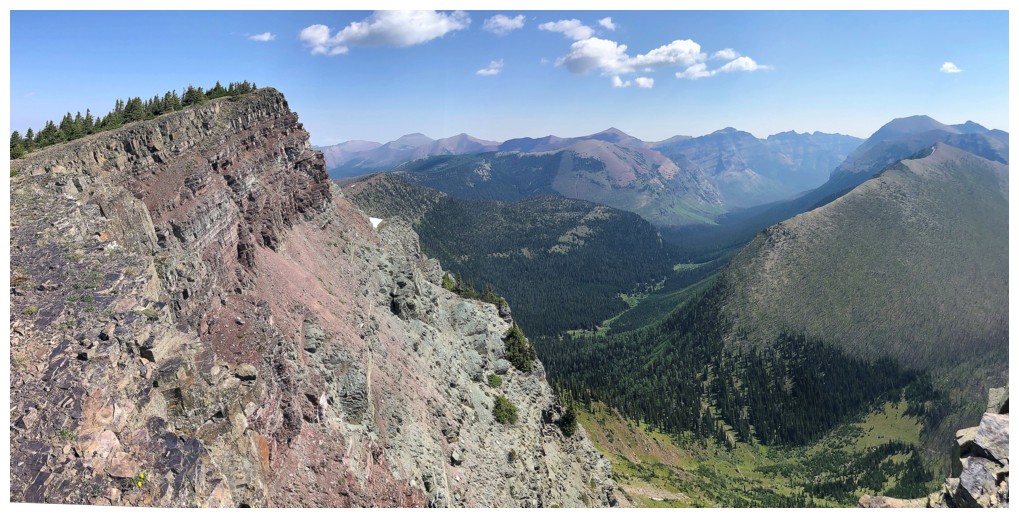
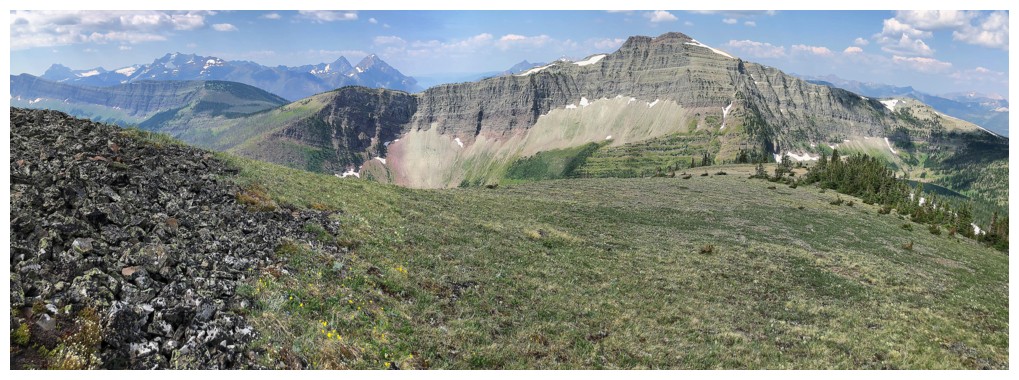
Looking back down the Blakiston valley, with Mount Blakiston dominating the horizon
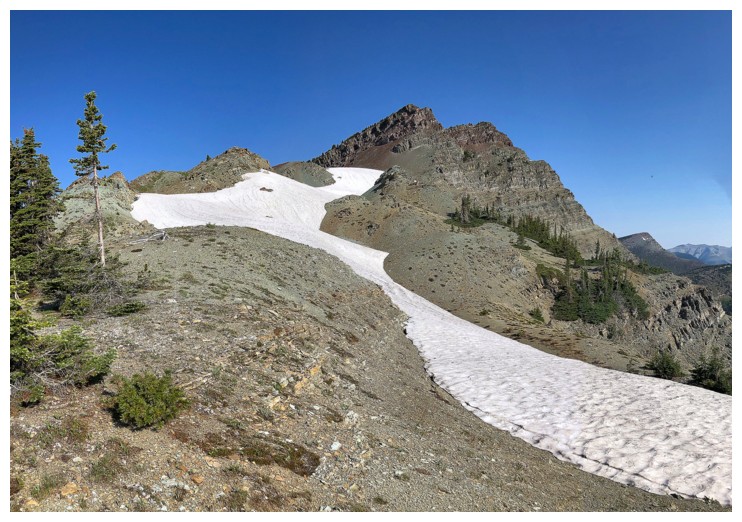
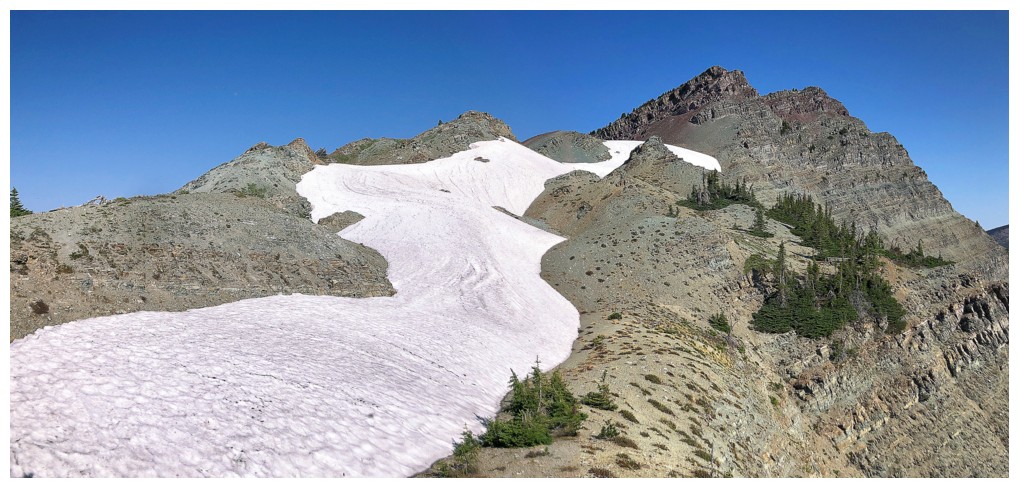
Enough snow remaining in early July to add significantly to the scenery
More pleasant views to the southwest
And several huge snow banks
This section was my favourite part of the trip
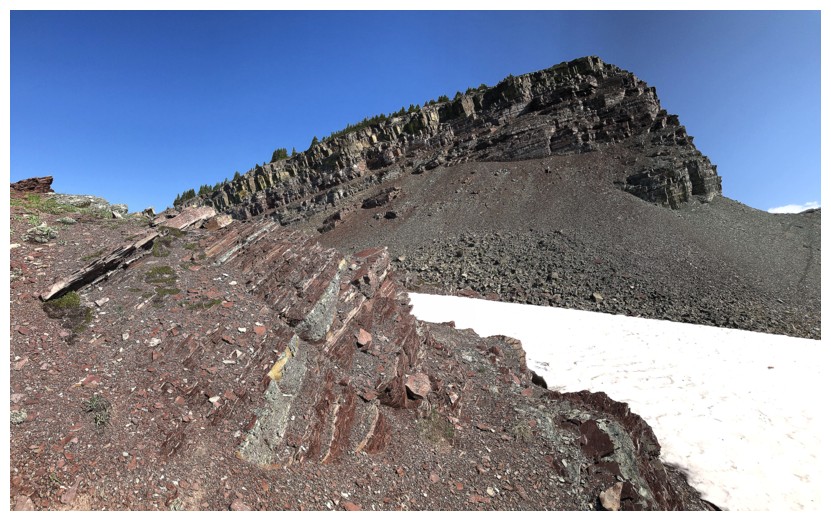
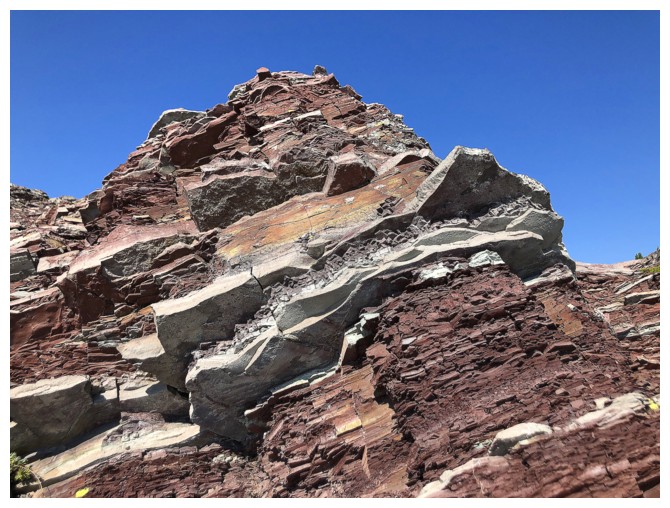
A wild variety of rock and cool scenery
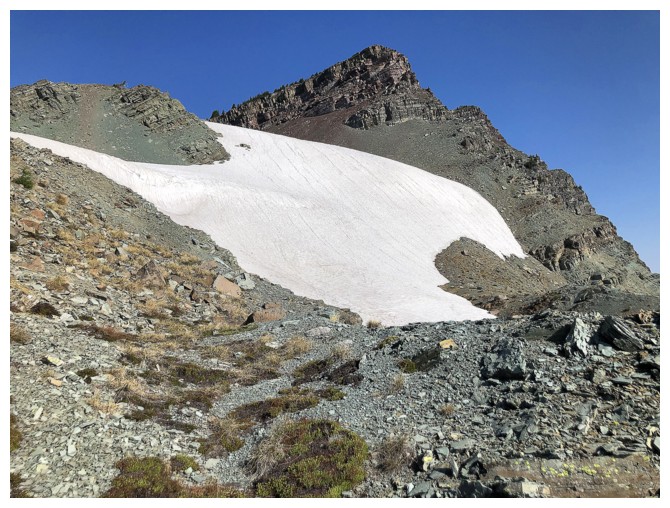
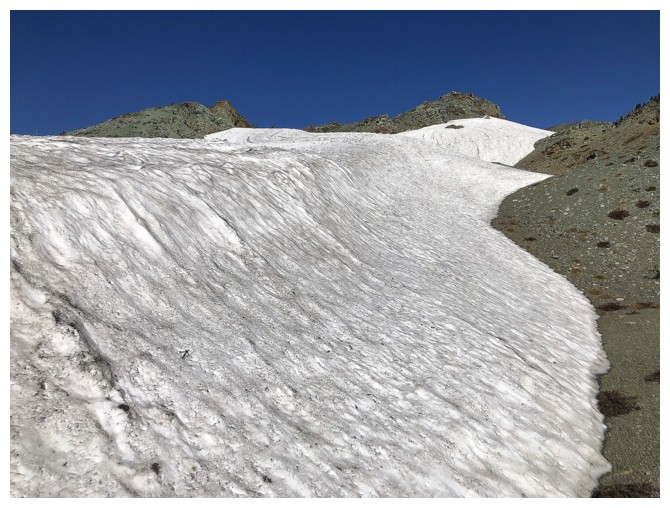
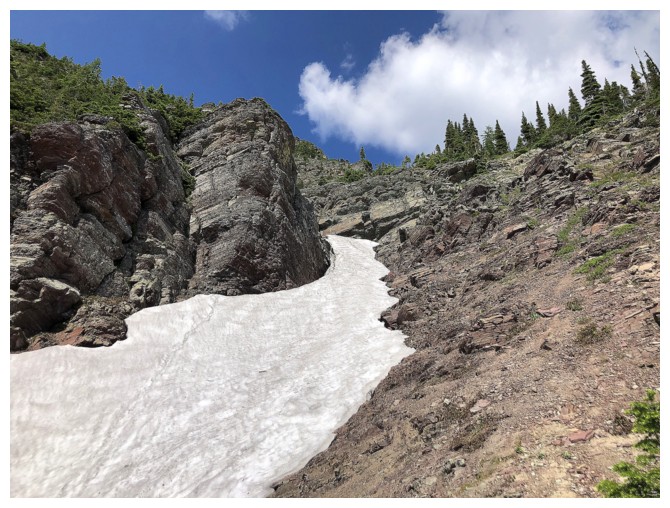
This snow bank was hard but still easy to ascend
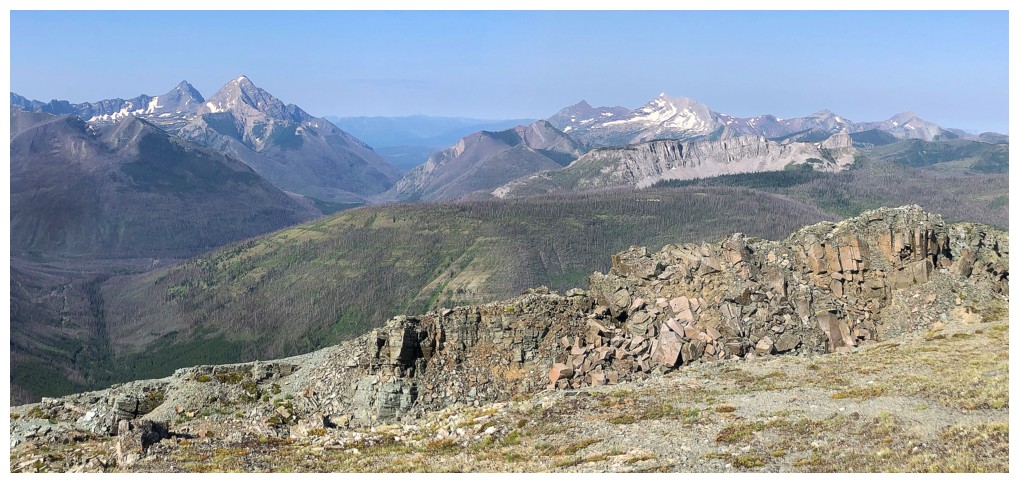
View towards King Edward, Starvation, Miskwasini, and
Kenow continue to impress
Mount Festubert at the left. Not sure if I'll ever return to that one, but never say never!
Closer look at King Edward and Starvation
Can't say it enough: I love Waterton!
Crappy, but colourful rock
Approaching the only section of the ridge that would have be to circumvented
But still mesmerized by the awesome rock for now
Not a scramble
The key to the ascent is to go down and around at this point
There were a couple of lines up the steep rock that looked very tempting
Did a little exploring before getting back on route
Heading for the break around the rock band
Back on the ridge
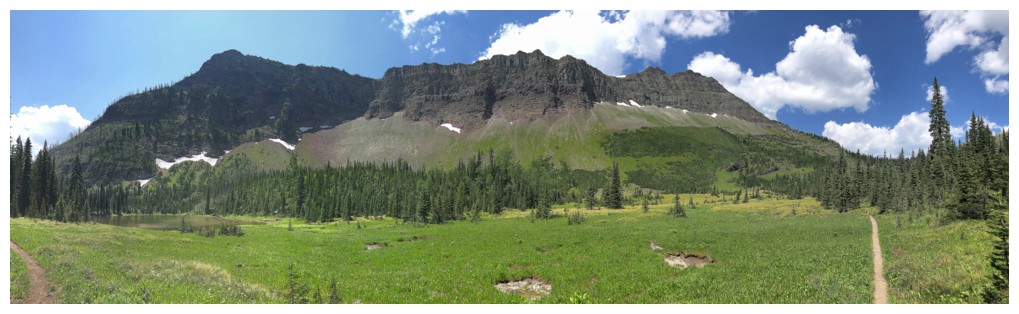
Mount Bauerman, at the right, looks much lower than Kishinena but it's only about 30 m
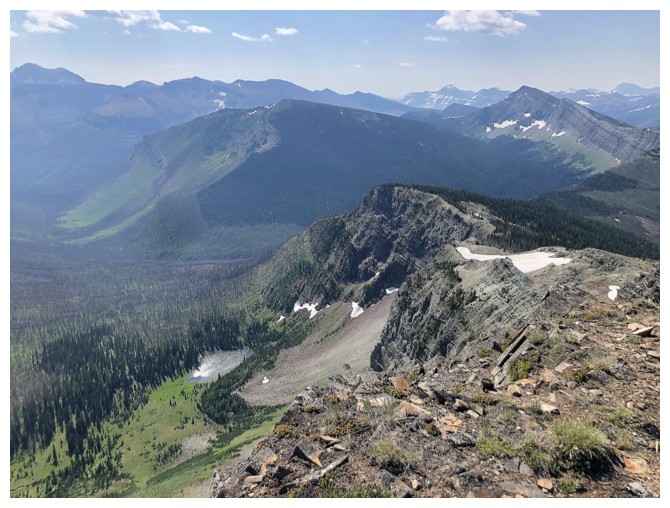
At the summit and looking down to the tarn I'll visit later in the day

The summit view to the north features "Sage Senior" (right) and Font Mountain (left)
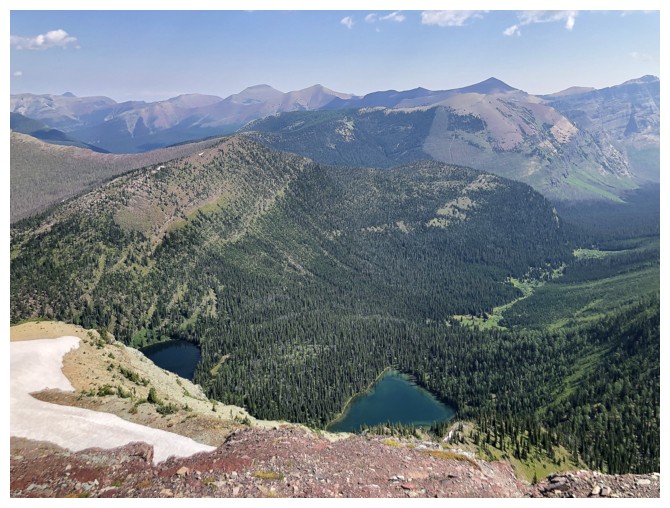
Partial view of the Twin Lakes. Lots of Castle favourites in the distance.
Heading down the east face of Kishinena
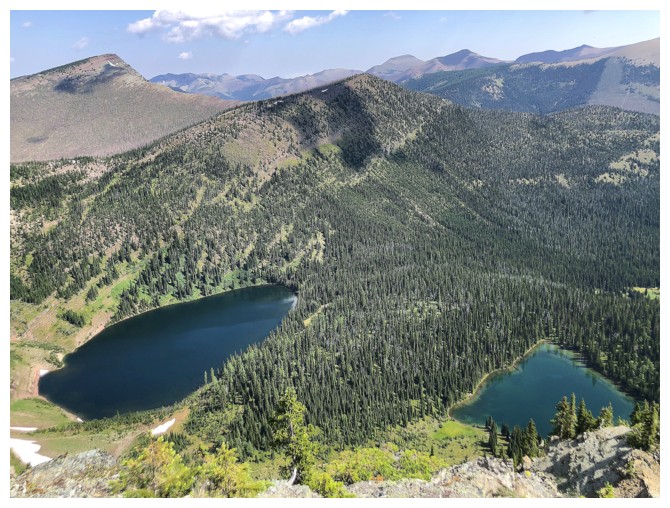
Better view of the lakes
Typical terrain on descent
Keeping an eye on the tarn

Another red argillite fix!
Heading up the easy west ridge of Mount Bauerman
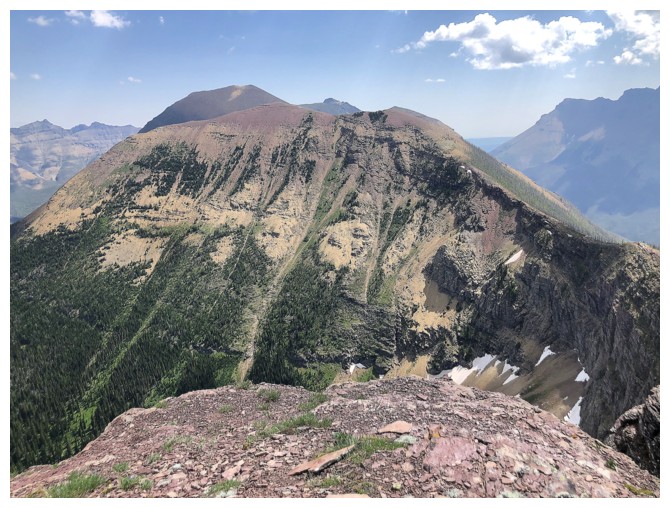
Looking back to Kishinena. The east face descent route looks very steep from this angle but it's an illusion.
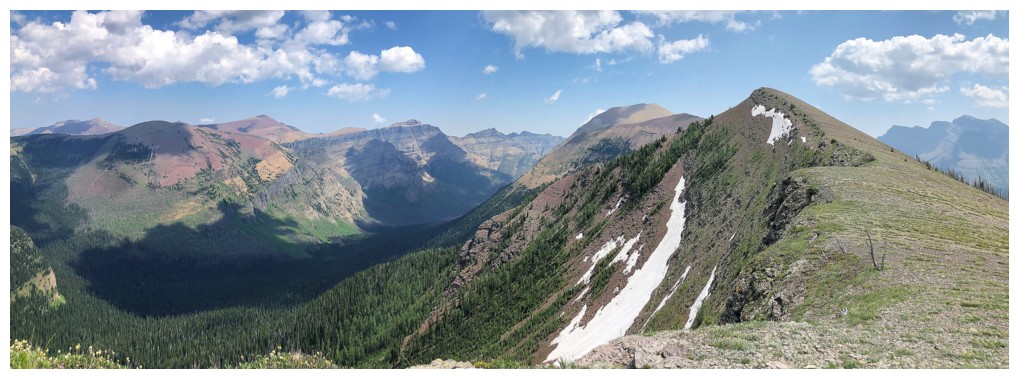
At the summit of Bauerman, looking east to parts of the awesome Anderson/Lost/Bauerman traverse
"Sage Pass Peak" and "Sage Senior" don't look to be that impressive from here, but nothing could be further from the truth up close
Returning the same way
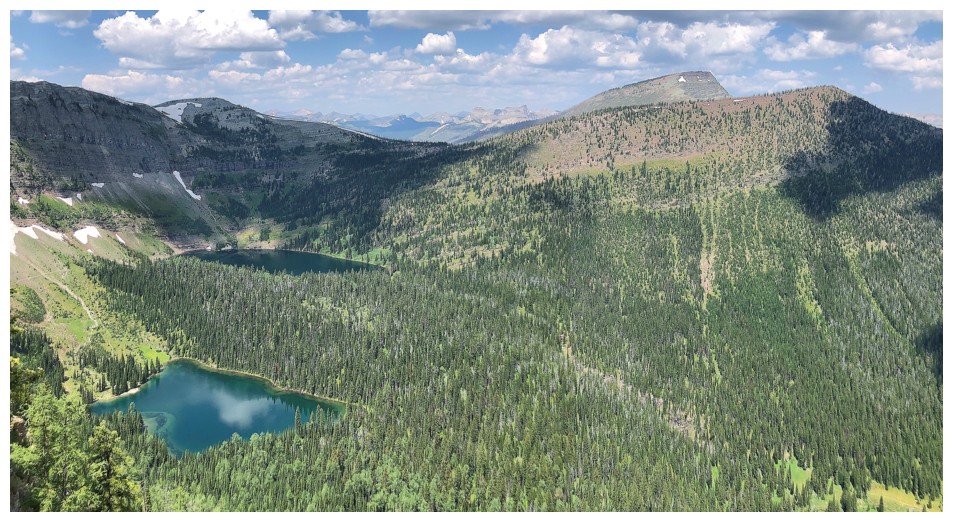
Better view of the Twin Lakes, "Sage Pass Peak", and "Sage Senior"
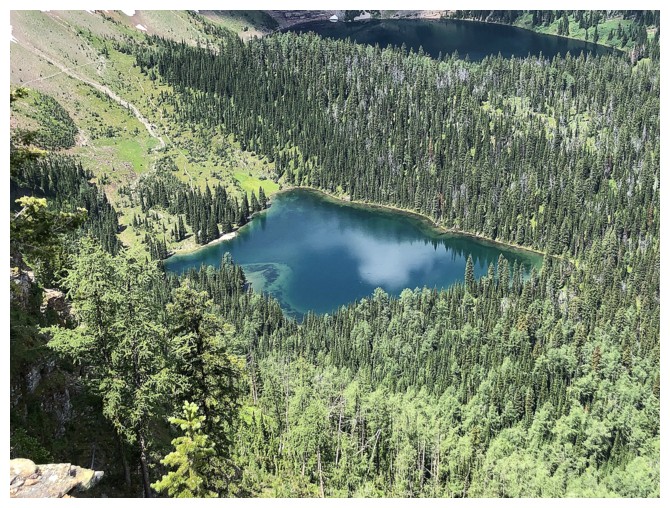
The lower Twin Lake
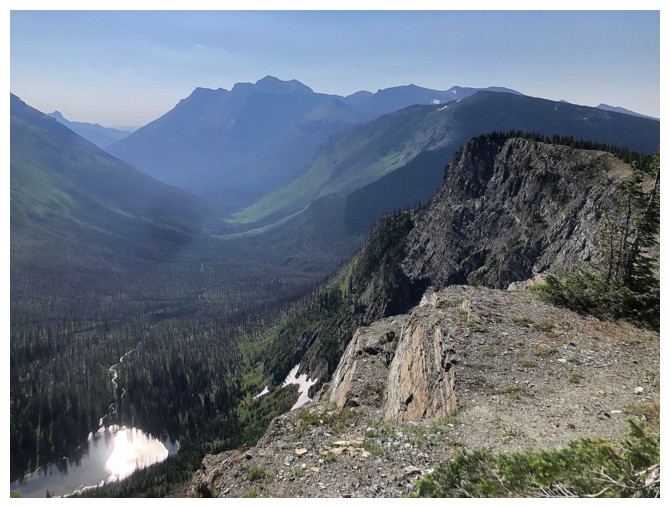
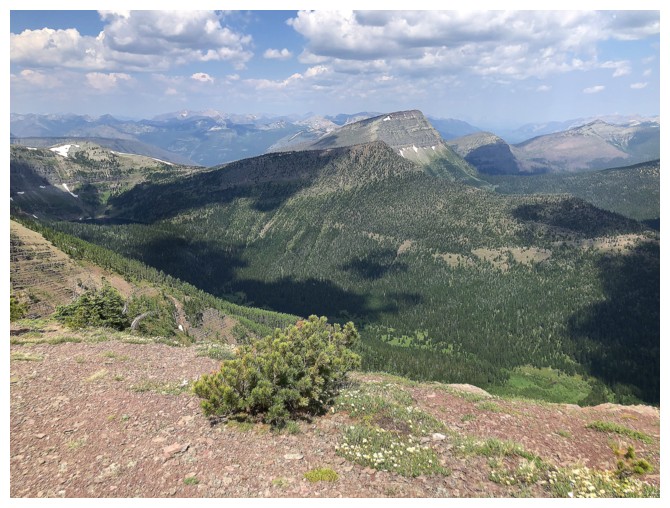
Looking down the descent valley - it's a long way back to the car from here!
On the last section of trail I had never hiked and looking back to Bauerman
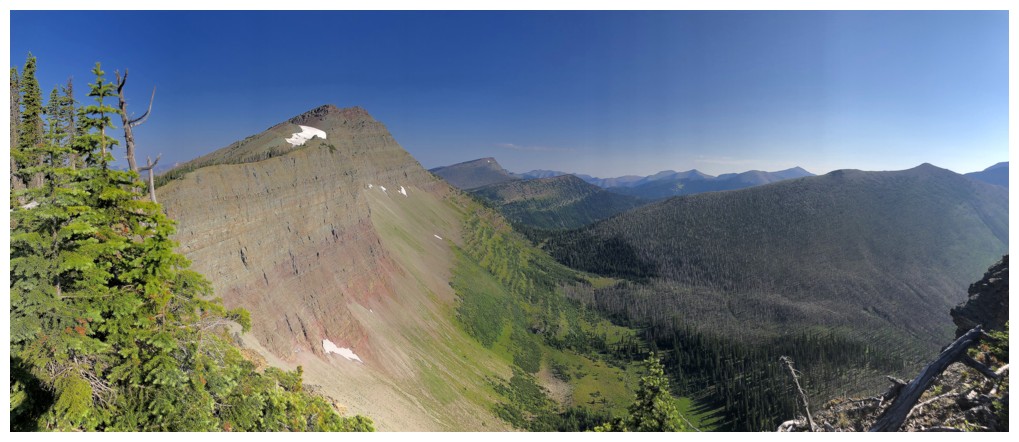
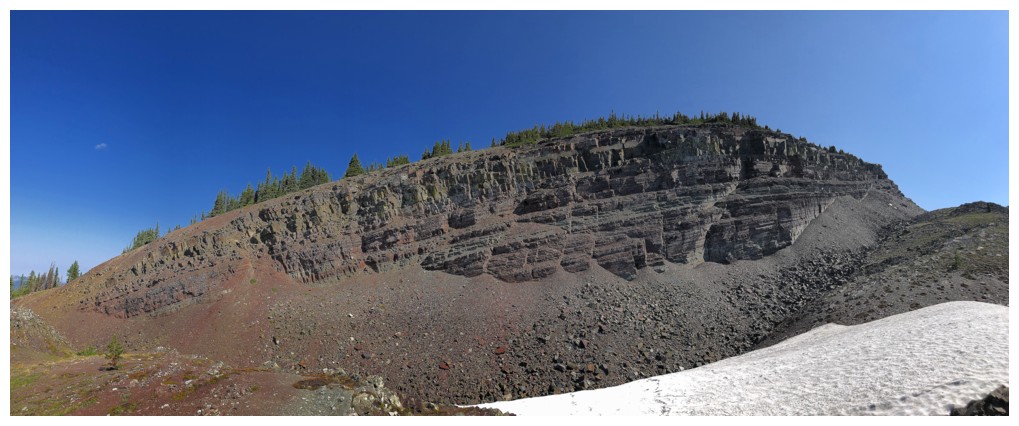
Kishinena's impressive and expansive east face
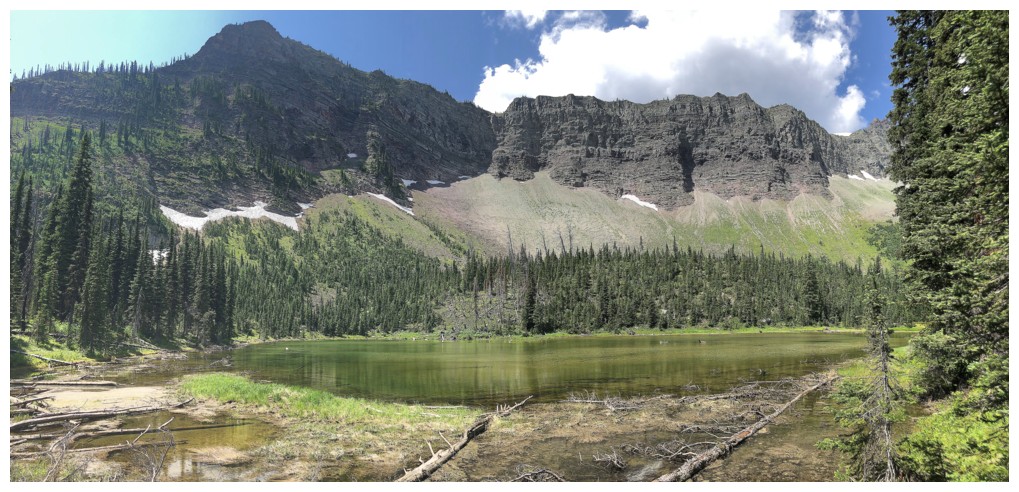
At the tarn
Burnt trees, new growth, and colourful Waterton rock
Looking back to the high point of Kishinena's south ridge
Looking forward to the long hike out ("forward", as in the opposite of
"backward", not the other meaning at this point of a long day!)
More wild flower magic helps allevaite some of the tedium of the hike out

And some cool clouds
The south face of Anderson Peak. My first attempt of this mountain, with Jodi, went straight up the middle - the route failed and is not a scramble.
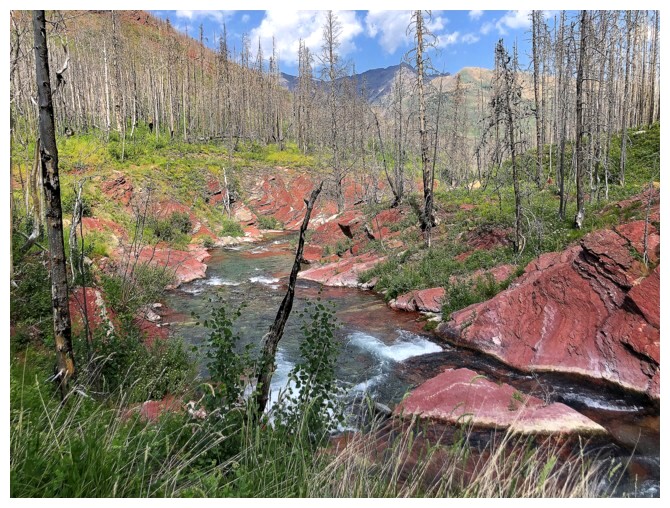
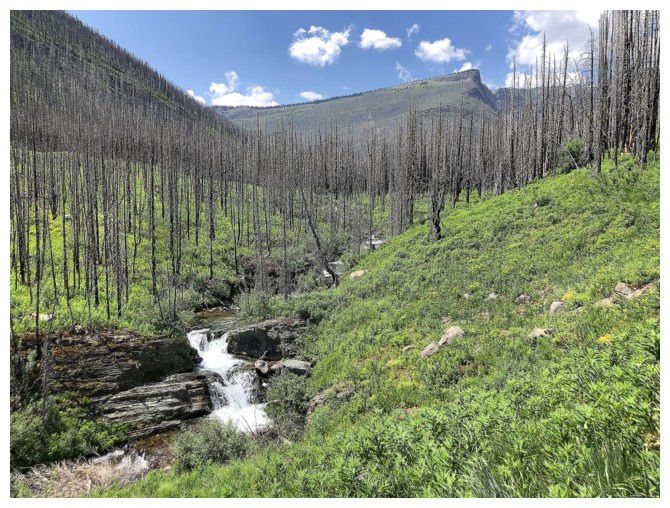
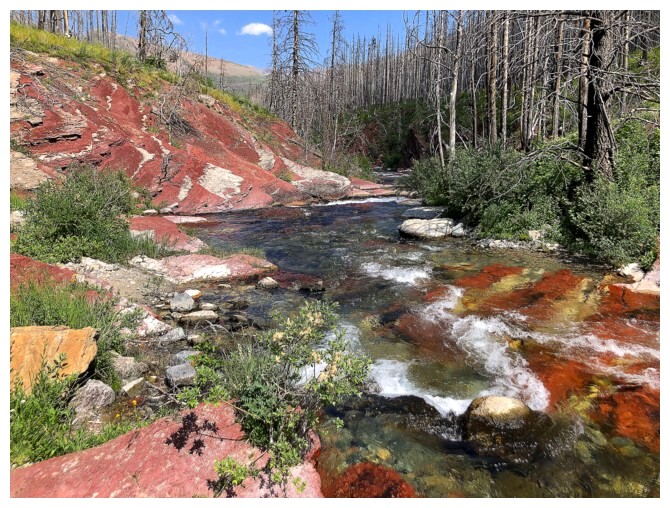
Speaking of magic - this short section of Blakiston Creek is exactly that!
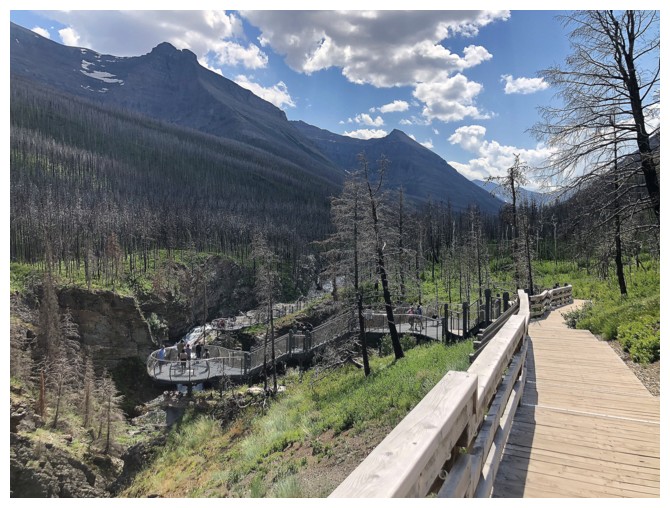
The new, improved viewing platforms at Blakiston Falls
The End
LOG