Anderson Peak IV
Lost Mountain IV
Mount
Bauerman II
August 22, 2020
Mountain heights: 2698 m, 2509 m, 2470 m, 2409
m
Elevation gain:
approximately 1550 m
Round-trip time:
11.5 hours
Scrambling with Karen, Jill, and Ryan.
I was super excited when Ryan Alston contacted
me with the proposition of scrambling up Mount Boswell. Boswell sits on that list
of “mountains I’ve done but desperately want to repeat on a perfect weather
day” and the day was looking to be just that. In addition, his wonderful wife
and mum would be joining us. The four of us, along with Reggie Williams, had
enjoyed a magnificent ascent of Mount
Richards in 2016 and another trip with these
fine individuals was long overdue.
 To eliminate the time restrictions present when taking the chartered boat, we planned to
kayak across Upper Waterton Lake, as Mark and I had done on a successful ascent
of Crypt Peak. That plan was “in the crapper” long before any of us arrived in
the park. Stepping out of our respective vehicles into a strong and gusty wind was
all the convincing we needed to change objectives. After a harrowing crossing
on our Crypt trip, I had vowed to never kayak on the lake even with light
winds, let alone anything stronger. Ryan suggested the highly enjoyable
Anderson to Bauerman traverse and although I completed Anderson only a month and
a week earlier, I was totally game for the complete traverse that takes in four
separate summits. Thus, the scene was set and we hopped back into our cars and drove to the Red Rock Canyon parking lot.
To eliminate the time restrictions present when taking the chartered boat, we planned to
kayak across Upper Waterton Lake, as Mark and I had done on a successful ascent
of Crypt Peak. That plan was “in the crapper” long before any of us arrived in
the park. Stepping out of our respective vehicles into a strong and gusty wind was
all the convincing we needed to change objectives. After a harrowing crossing
on our Crypt trip, I had vowed to never kayak on the lake even with light
winds, let alone anything stronger. Ryan suggested the highly enjoyable
Anderson to Bauerman traverse and although I completed Anderson only a month and
a week earlier, I was totally game for the complete traverse that takes in four
separate summits. Thus, the scene was set and we hopped back into our cars and drove to the Red Rock Canyon parking lot.
 Hiking right past Blakiston Falls without
stopping we soon arrived at the “moderate” gully I had used earlier in the
summer. Ryan had also completed this route up Anderson so we chose to take the
“easier” route farther west. I was excited to see up close the waterfall I had
spotted on my previous visit.
Hiking right past Blakiston Falls without
stopping we soon arrived at the “moderate” gully I had used earlier in the
summer. Ryan had also completed this route up Anderson so we chose to take the
“easier” route farther west. I was excited to see up close the waterfall I had
spotted on my previous visit.
Arriving at the point where we would leave the
trail, I was surprised to see the waterfall had all but dried up. No matter, up
we went anyway. The upside of the non-existent waterfall was that the now dry
gully provided an excellent ascent route on mostly solid, water-worn rock. Ryan
led the route, while Karen, Jill, and I followed him up but took easier lines
on a couple of occasions – he’s a ferocious scrambler!
As well as this terrific gully to ascend,
getting reacquainted with Ryan, Jill, and Karen was definitely one of the
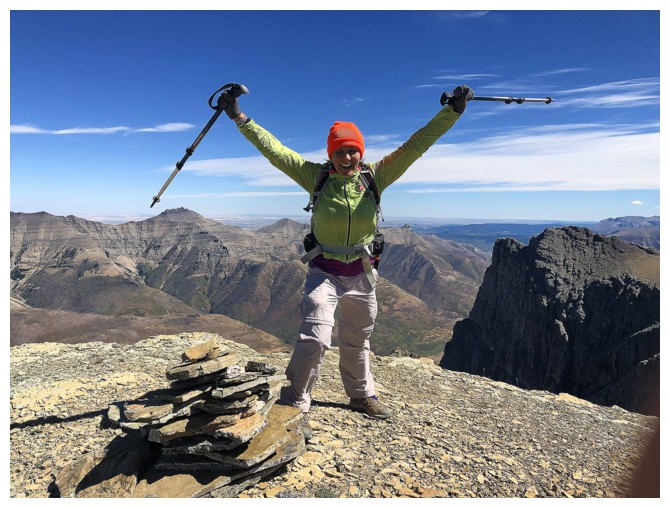
highlights of the trip – what fantastic people to share a day with! Karen (who
looks half her age and hikes a quarter of it) had given a pint of blood a few
days before and still persevered only not through the grueling ascent of
Anderson, but also through the entire 4 peak traverse! I was extremely
impressed.
The gully continued up the mountain for a
surprising length and then fizzled out. Unfortunately, the terrain above was
steep, foreshortened, and not terribly forgiving on the feet and knees. We
eventually reached the ridge, just west of Anderson’s summit and took a short
break. I was immediately reminded of the comment, “What a slog!” uttered by the
two scramblers I encountered on July 14. Although I thoroughly enjoyed the route we
took up, the moderate/difficult route to the east is superior in regard to
scrambling and overall terrain.
 Our quartet reached the summit of Anderson in
short order (and with high winds) and after a quick celebration started down
towards Lost Mountain, a fun ascent that is over way too soon. Celebration #2
and off to unofficial (but should be official instead of Lost) “Kootenai Brown
Peak”. Getting from Lost to Kootenai is arguably the best section of the
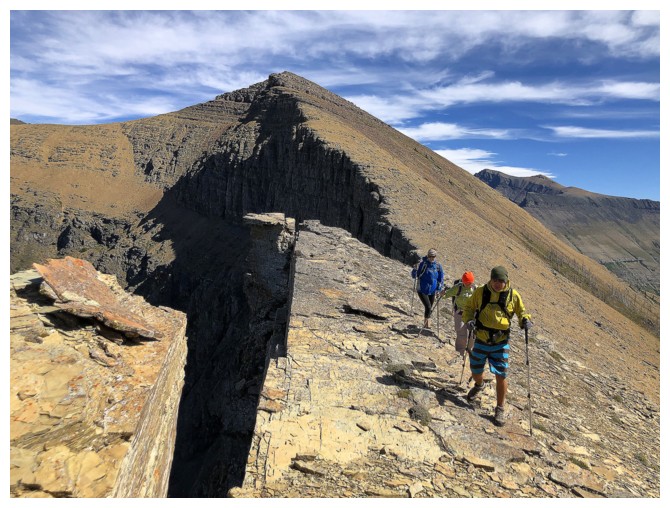
traverse of all three (official) or four (unofficial) peaks and the part of the trip I was looking
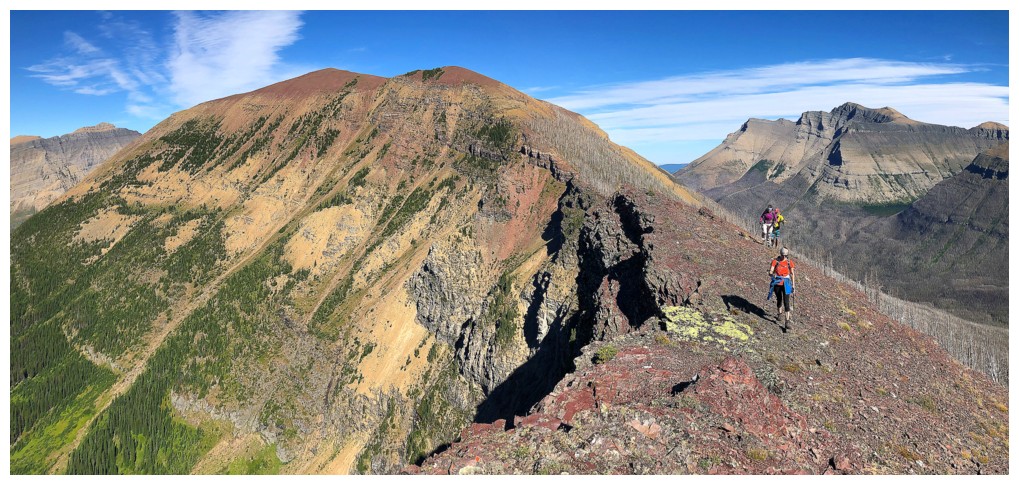
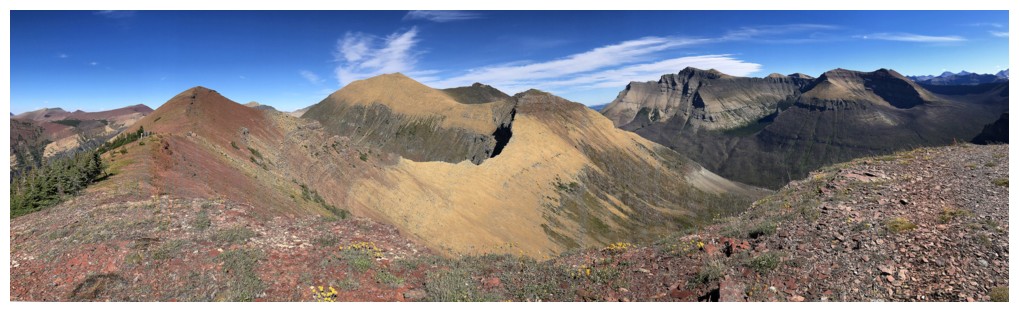
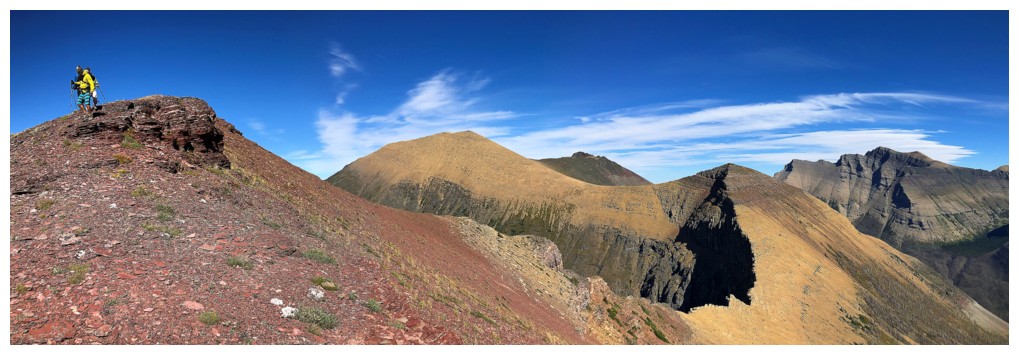
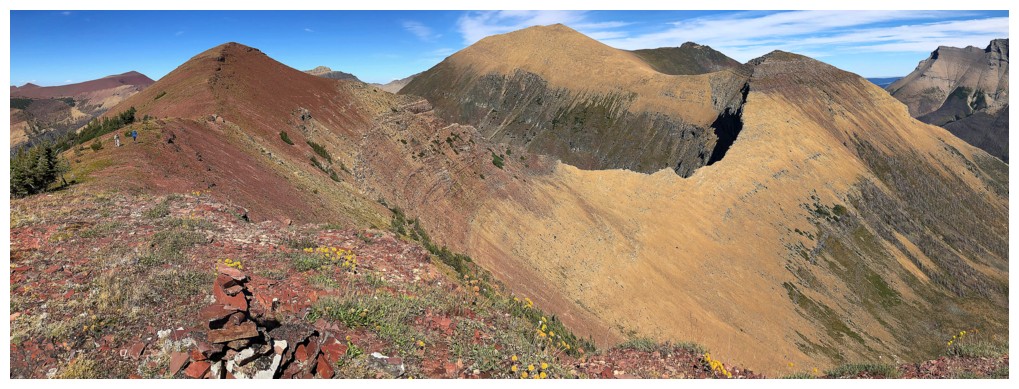
forward to the most. Views down the vertiginous north face are stunning and the
rock scenery is fantastic. In fact, at one point, I had to caution the group
that if you hear unusual sounds coming from me, it’s probably gasps of
astonishment, not my dying screams as I plummet down the mountain!
Our quartet reached the summit of Anderson in
short order (and with high winds) and after a quick celebration started down
towards Lost Mountain, a fun ascent that is over way too soon. Celebration #2
and off to unofficial (but should be official instead of Lost) “Kootenai Brown
Peak”. Getting from Lost to Kootenai is arguably the best section of the
traverse of all three (official) or four (unofficial) peaks and the part of the trip I was looking
forward to the most. Views down the vertiginous north face are stunning and the
rock scenery is fantastic. In fact, at one point, I had to caution the group
that if you hear unusual sounds coming from me, it’s probably gasps of
astonishment, not my dying screams as I plummet down the mountain!
 The
ascent and summit of Kootenai Brown was
awesome - perhaps partly due to the abundance of red argillite! From
that summit Mount Bauerman is only a few kilometres away, but it looked
more like 100 at this point of a long day! However, there are few that will not want to go
the extra distance to complete the full traverse once they have made it
all the
way to Kootenai. Within the hour, our happy but growing tired group of
four
achieved the final summit of the day where congratulations were
exchanged, and
a short break was taken. In truth, I think I was the most exhausted of the group at
this
point!
The
ascent and summit of Kootenai Brown was
awesome - perhaps partly due to the abundance of red argillite! From
that summit Mount Bauerman is only a few kilometres away, but it looked
more like 100 at this point of a long day! However, there are few that will not want to go
the extra distance to complete the full traverse once they have made it
all the
way to Kootenai. Within the hour, our happy but growing tired group of
four
achieved the final summit of the day where congratulations were
exchanged, and
a short break was taken. In truth, I think I was the most exhausted of the group at
this
point!
For descent, Ryan suggested we keep following
the ridge west to where it eventually descends to the Great Divide Trail. A
long, but easy hike would then complete the trip. And that’s the route we should
have taken! I suggested a direct route down the south side, fondly recalling an
awesome scree descent for much of it. What my selective memory failed to recall
was the very steep, and less than friendly terrain below the scree.
Unexpectedly this section became the crux of the day. Fortunately, all were up
for the challenge and soon we were back on the Blakiston Creek trail. About
9 km of trail hiking later we were reunited with our vehicles. I was
completely exhausted, but my hiking companions seemed to still
have all kinds of energy!
A totally awesome day and with three totally
awesome people. Thank you Ryan, Jill, and Karen!
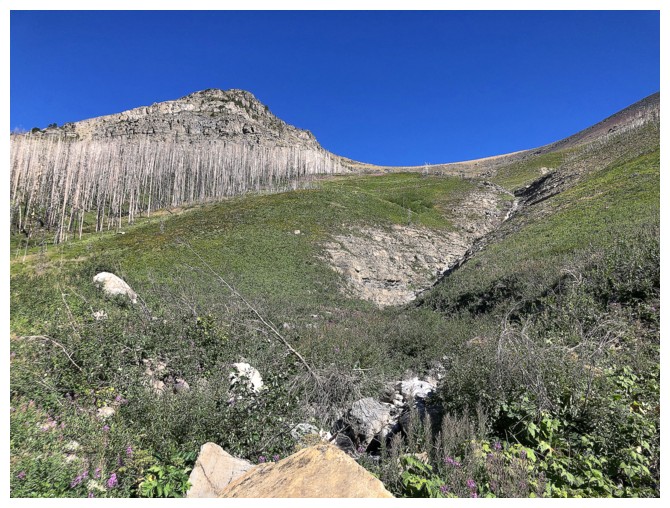
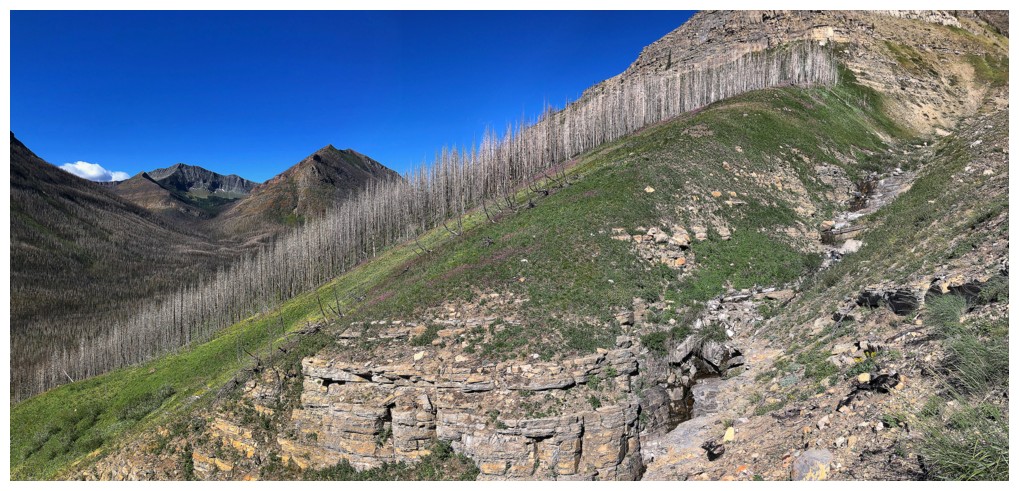
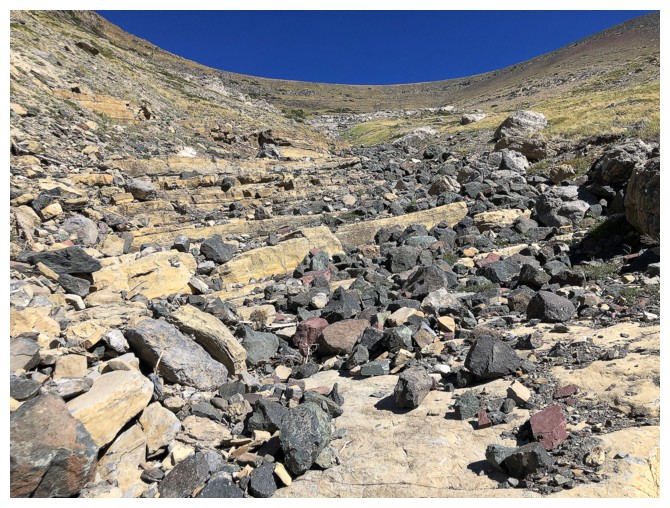
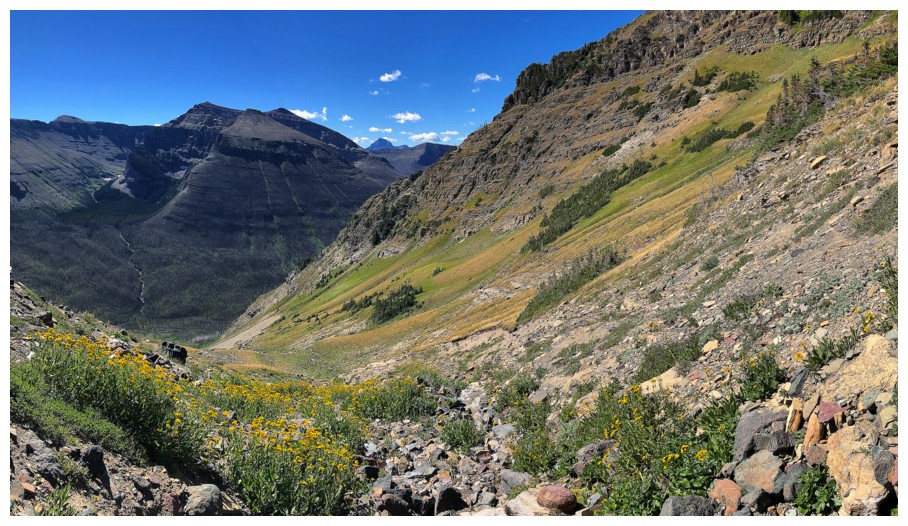
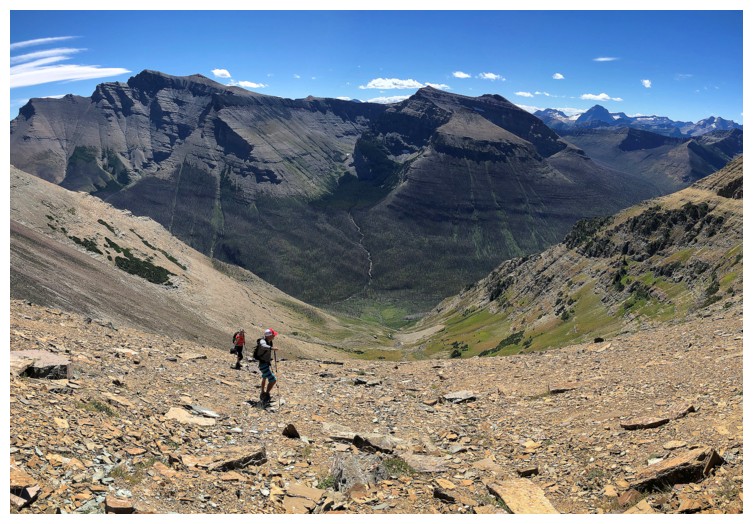
Looking up our ascent drainage
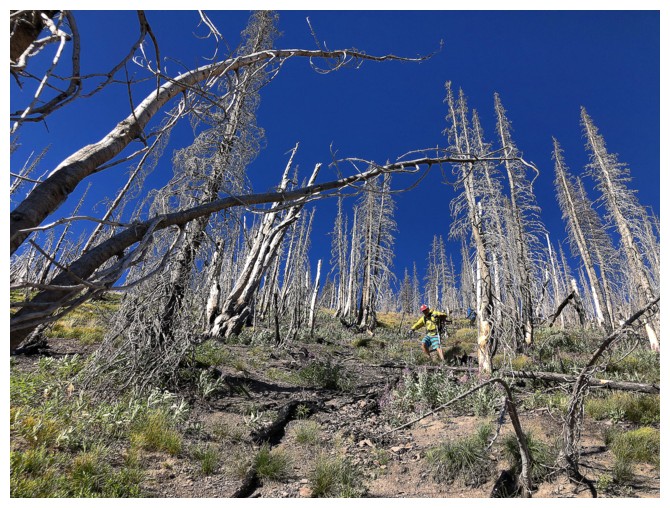
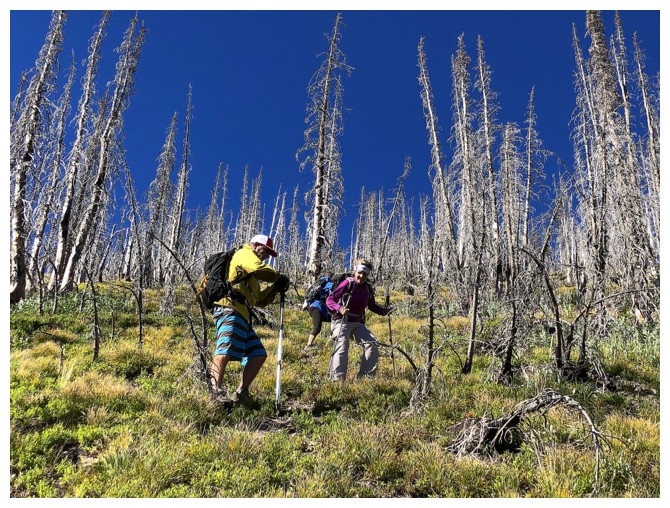
Ryan negotiates some bushy terrain at the beginning, but it's all rock after that
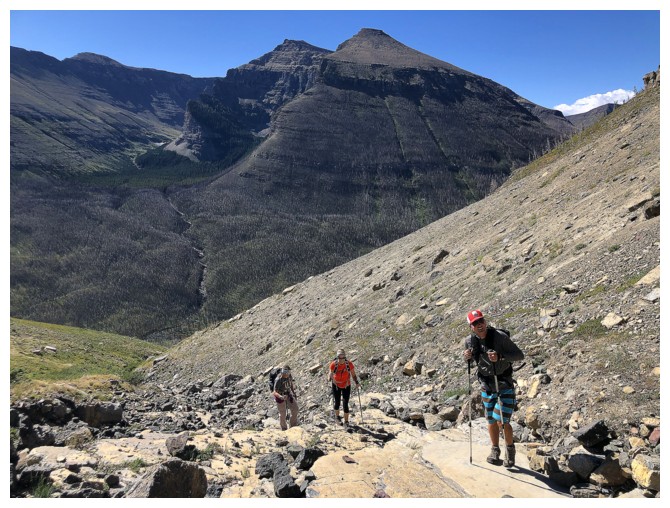
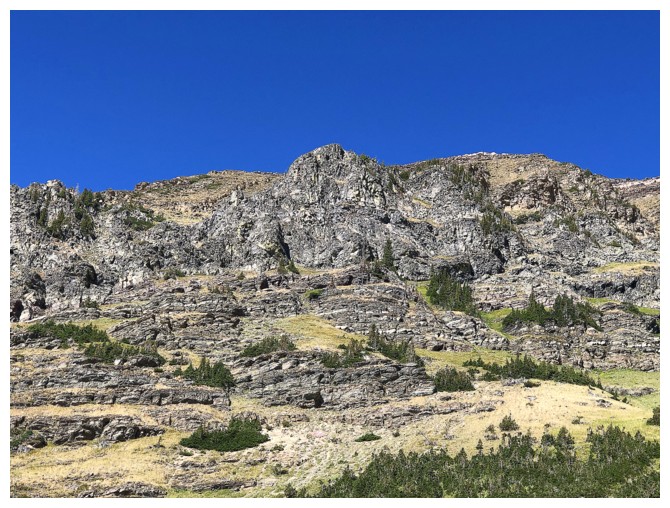
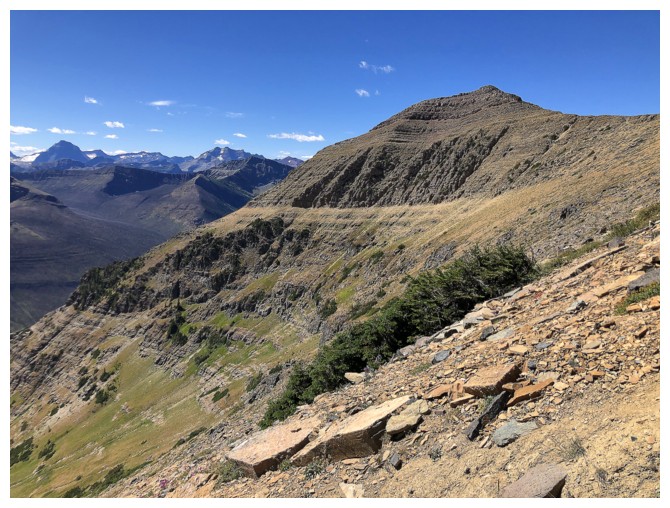
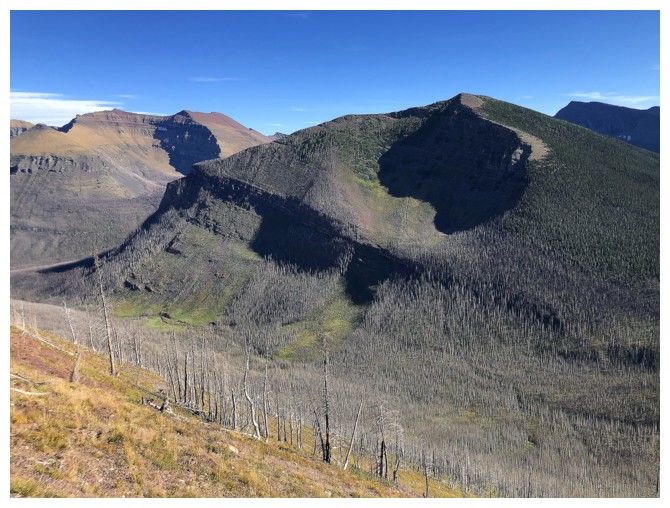
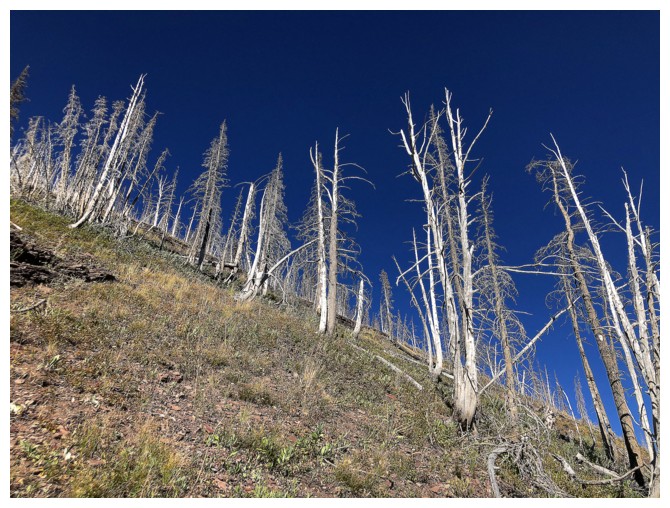
Looking back at a section of Mount Blakiston's fire-ravaged north side
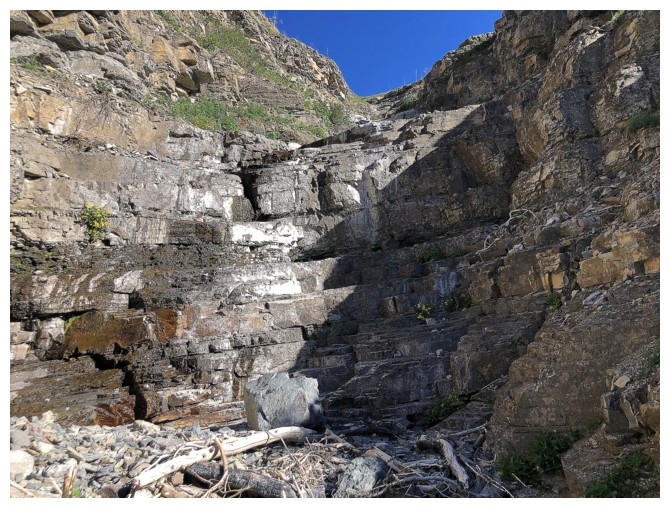
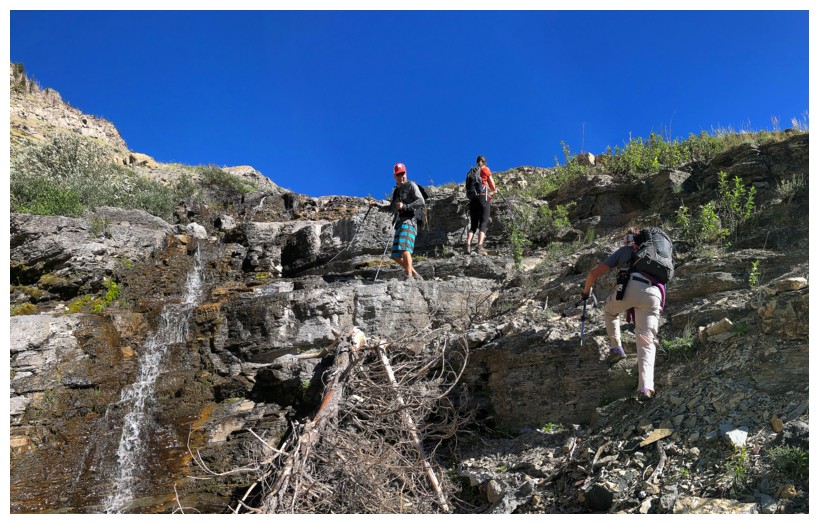
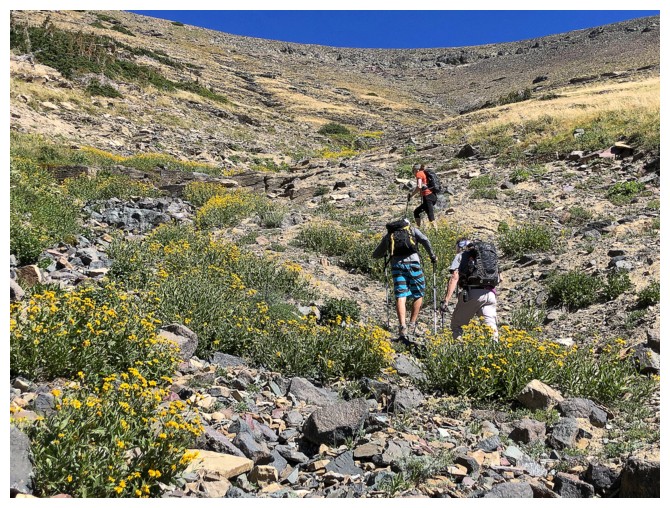
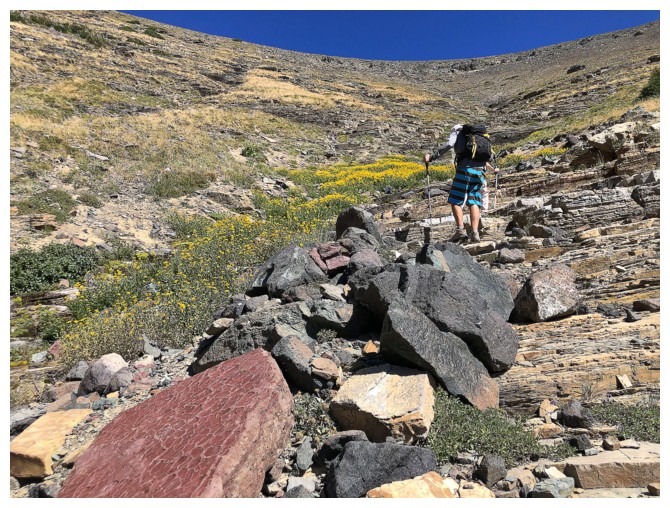
In the drainage and looking forward to ascending this type of super fun terrain
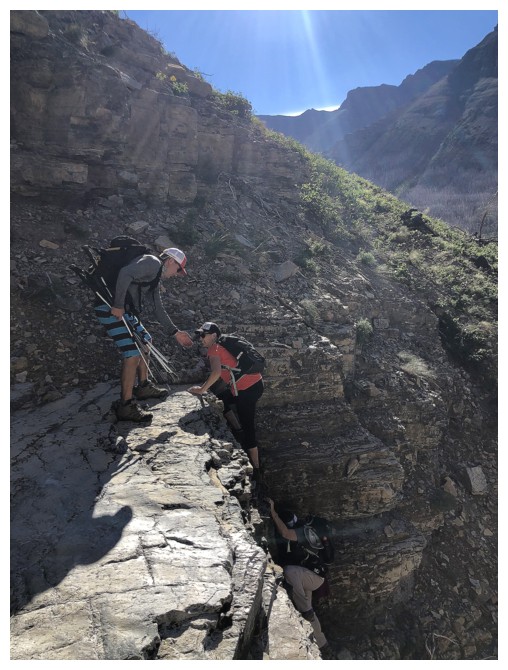
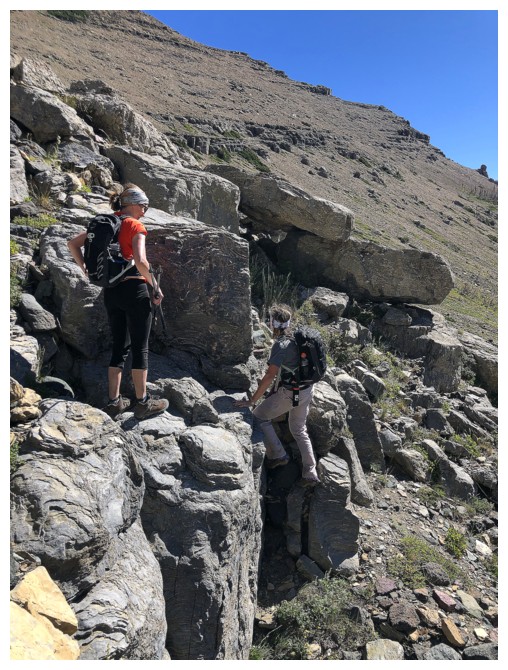
Ryan offers a hand to Jill - a well-trained husband (and/or just a plain good guy!)
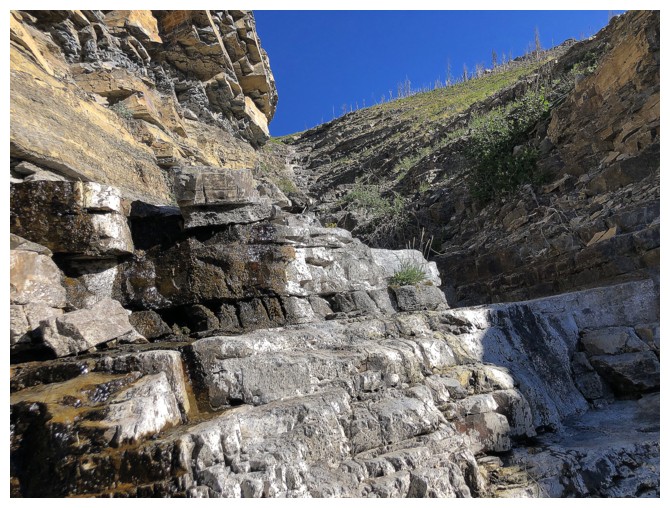
Simply an awesome way to gain elevation
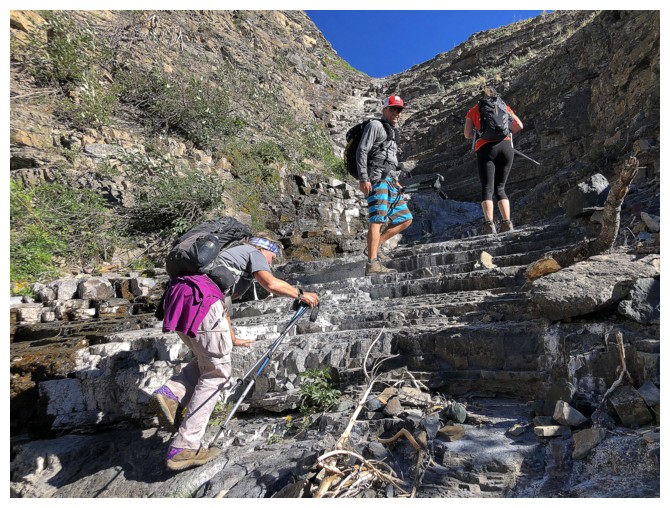
The troops are all enjoying the step-like nature of the drainage
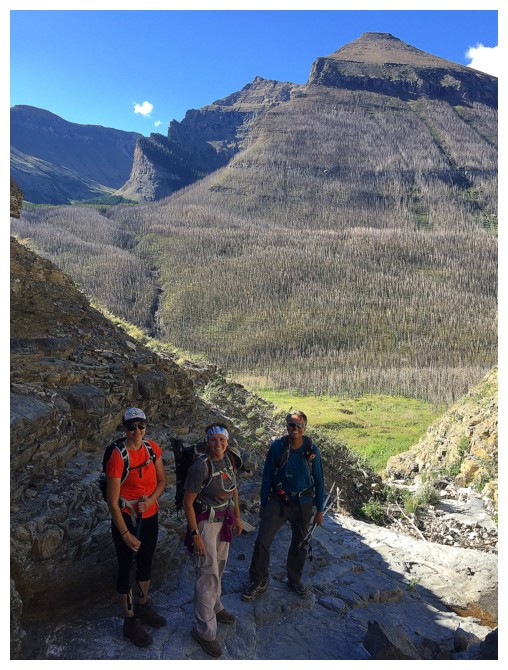
A happy group of scramblers (photo by Ryan)

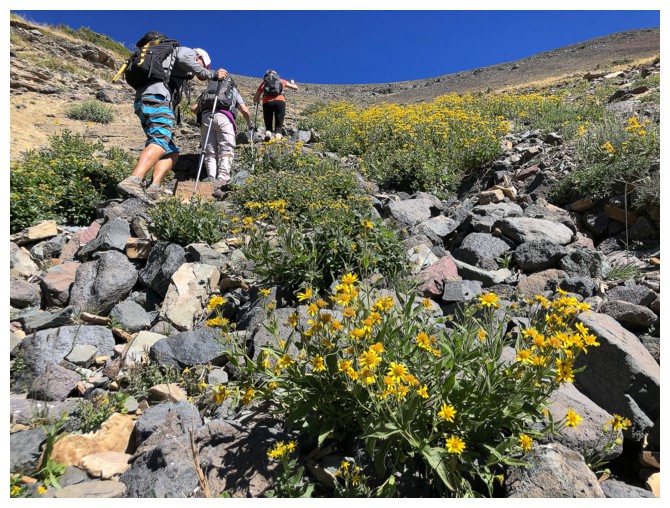
Continuing up
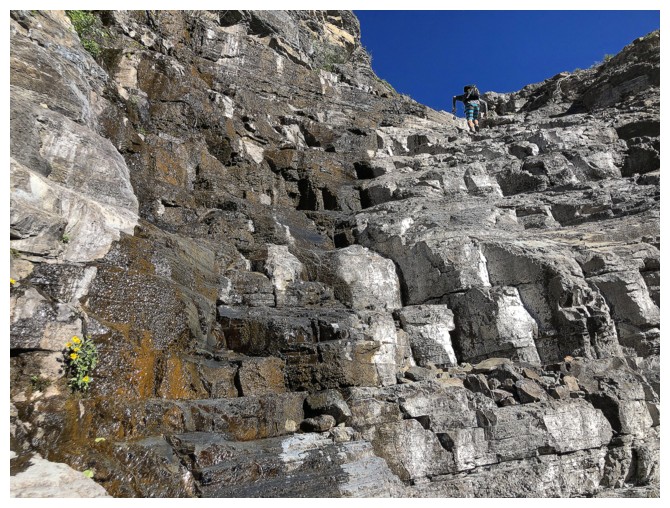
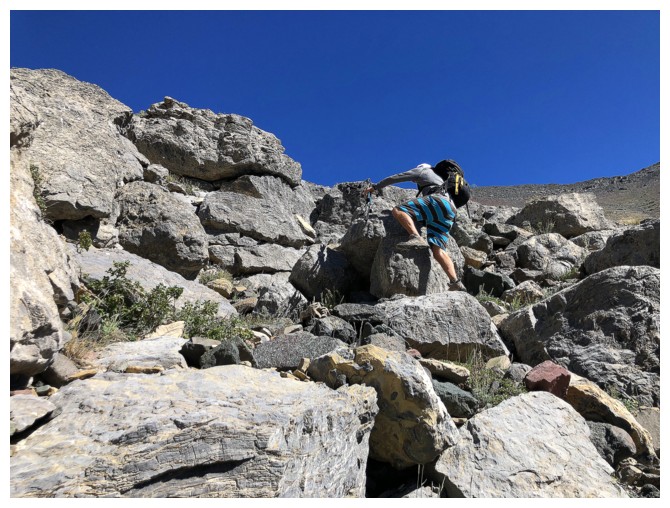
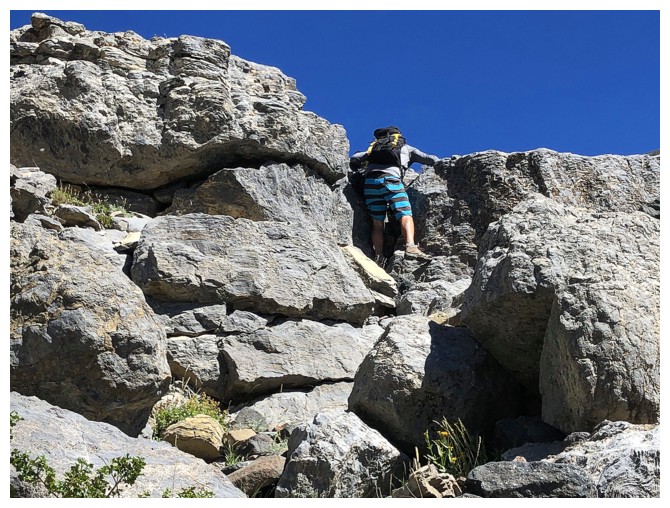
Ryan led the way for most of it, picking a few challenging lines
Like this one. The three of us detoured around this obstacle but Ryan went straight up it (photo by Ryan)
Ryan in the drainage
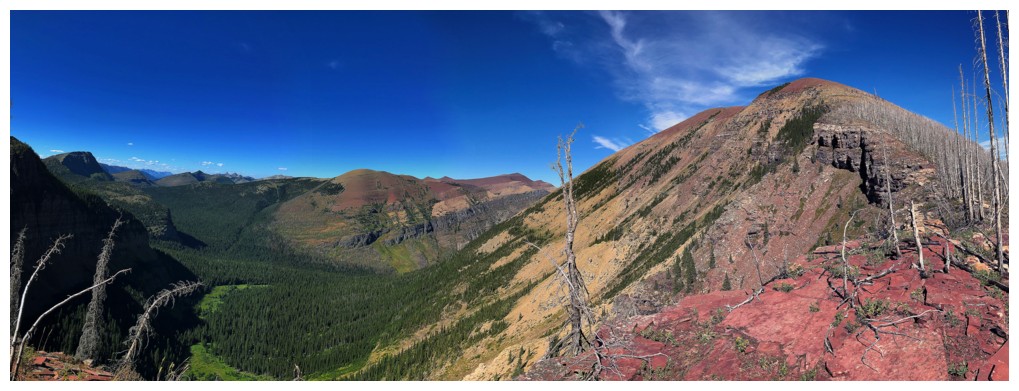
Views to the southwest start to open up

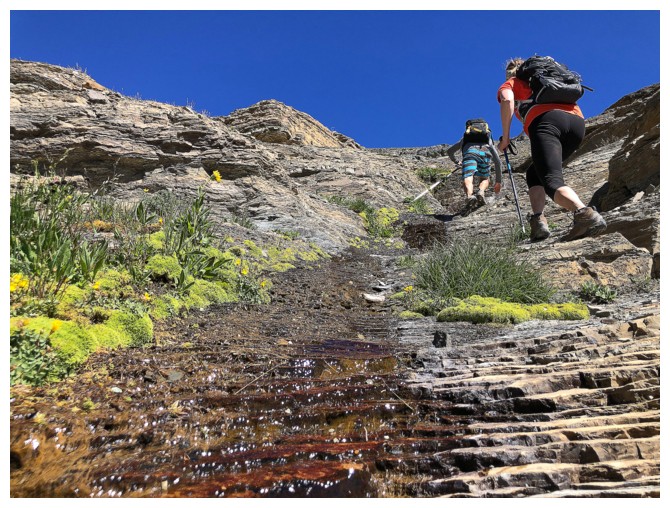
One of only a few sections of running water. This is where I topped up my water supply.
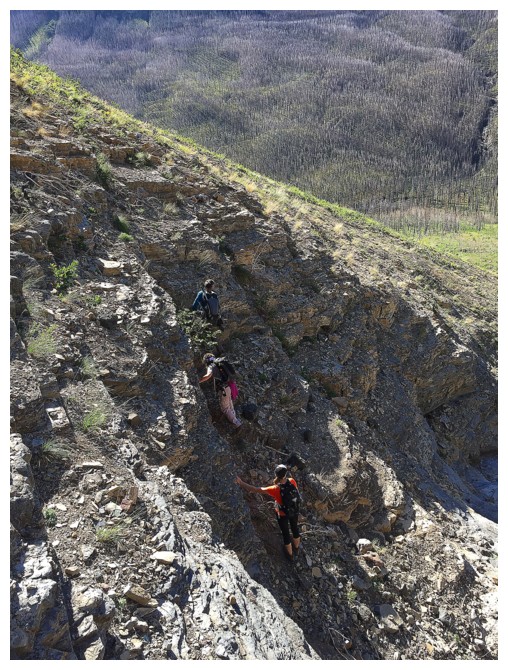
Karen follows Ryan's leads up some scrambly terrain (photo by Ryan)

Not good!!!! Hard to see, but the decomposing innards of an animal
(sheep maybe?) are right in the middle of the drainage where I filled
up my water about 10 minutes earlier. And yes I had drank some of that
water already. In fact, I continued to drink it throughout the day and
fortunately had no ill effects.
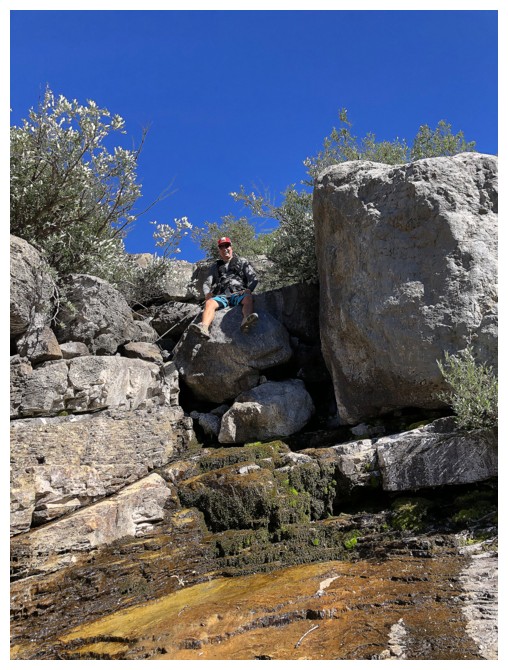
Ryan finds a nice rest spot (photo by Jill)
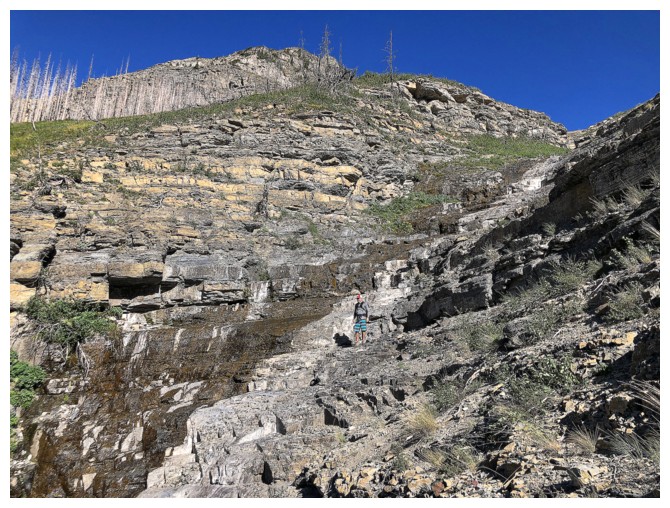
The drainage ends, in favour of more gentle, but rubbly terrain
Still pleasant to walk on though
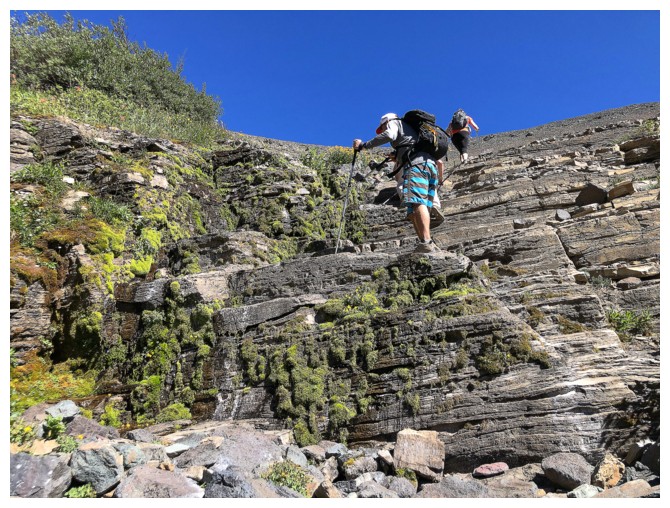
Ryan reaches another scrambly section
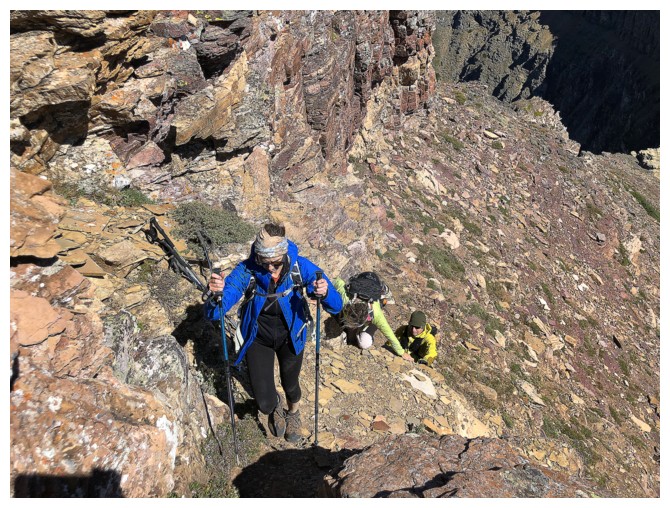
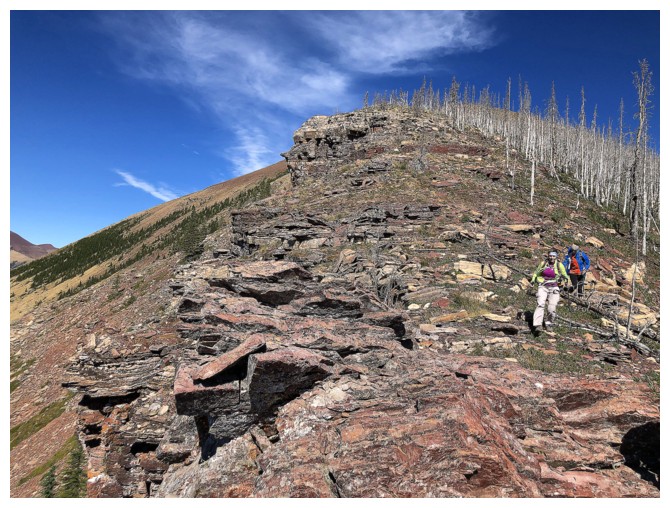
Jill and Karen enjoying the good rock and fun scrambling
As stated, a ferocious scrambler!
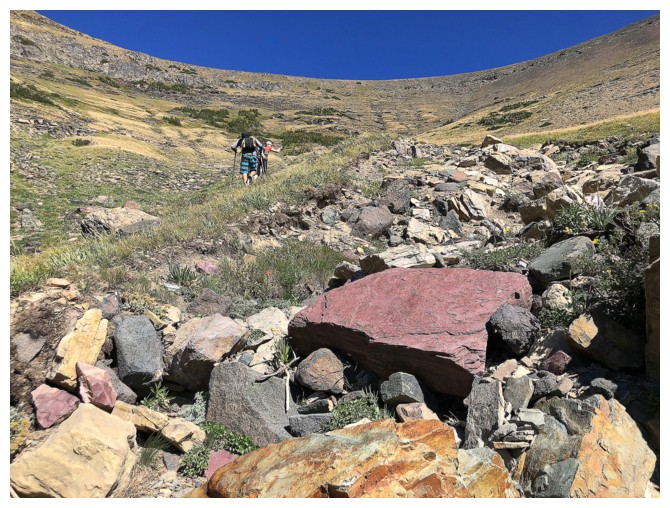
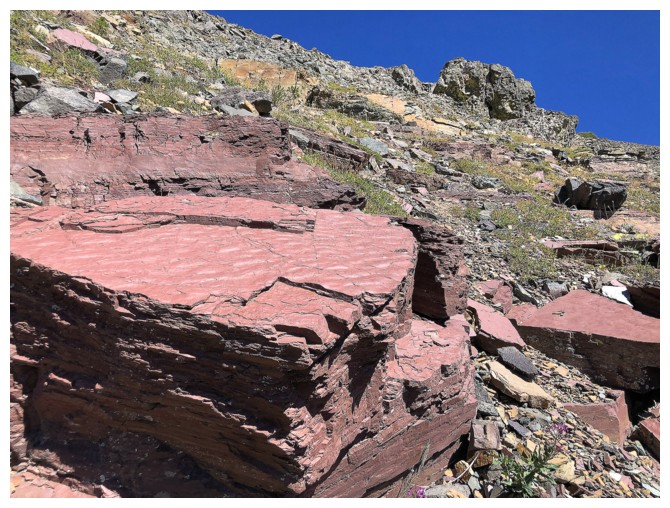
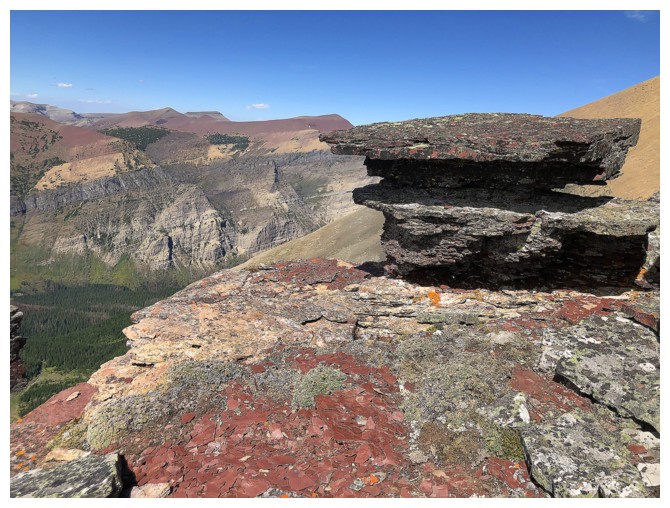
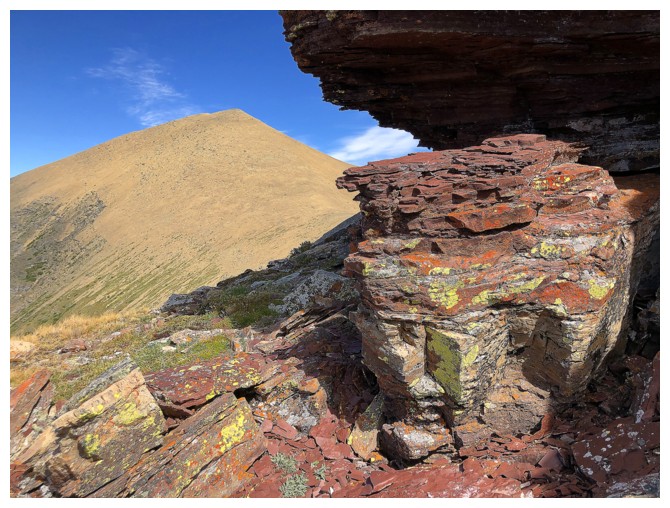
Our luck with great footing and ease of ascent will ran out soon, but
at least there's some sweet, red argillite to take my mind off the
upcoming drudgery
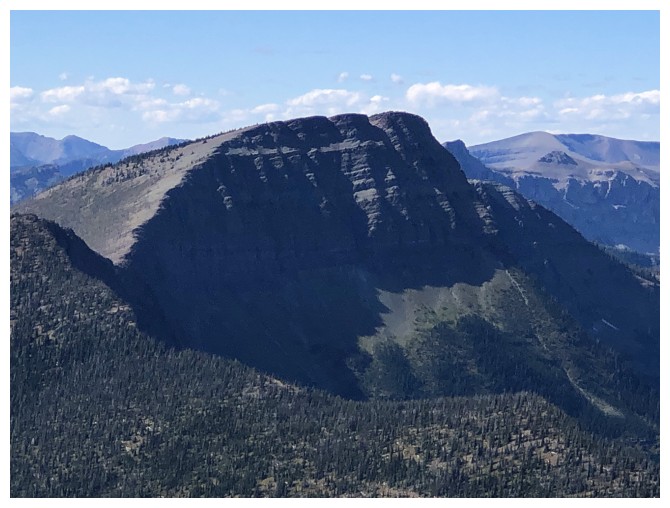
There appears to be tons of interesting terrain to explore on the east face of Lost Mountain
Still on good terrain for now
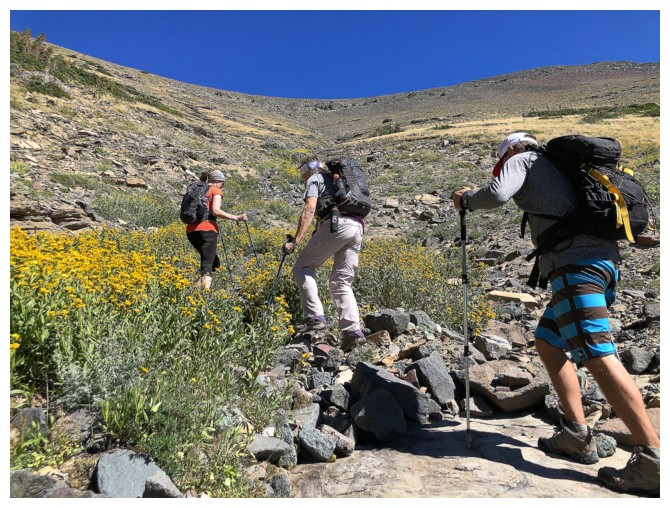
Running into these colourful , flowery bushes was a pleasant surprise

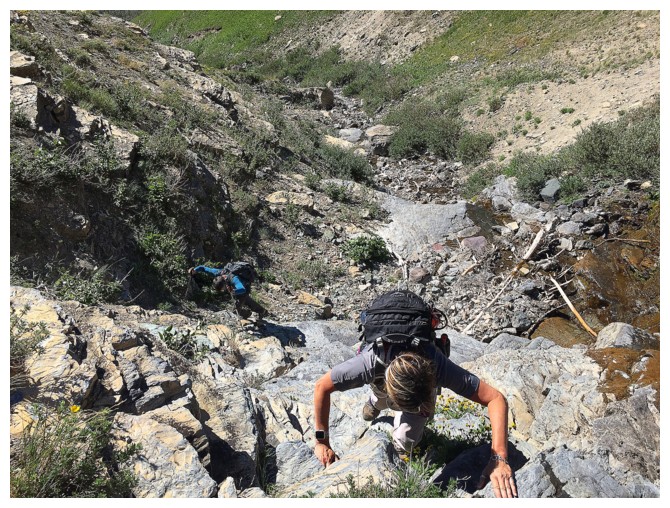
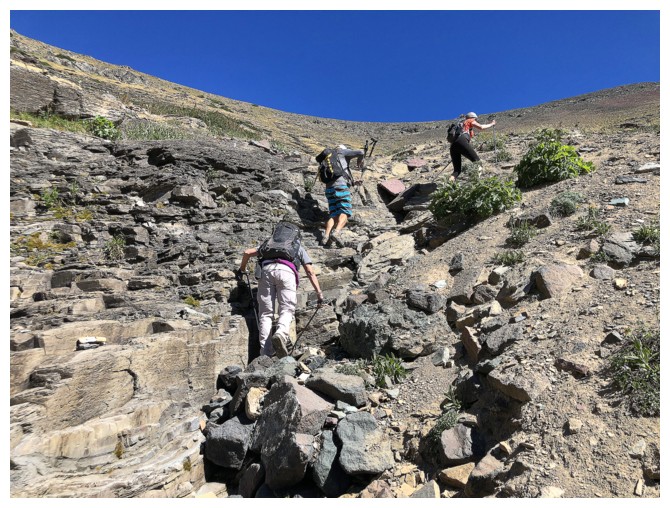
Looking down our ascent route
Each time I thought the terrain would be reduced to rubbly scree, we stumbled on terrain that was a pleasure to ascend
Ryan approaches the next "flowery" section (I should really take a botany course!)
The last vestige of water
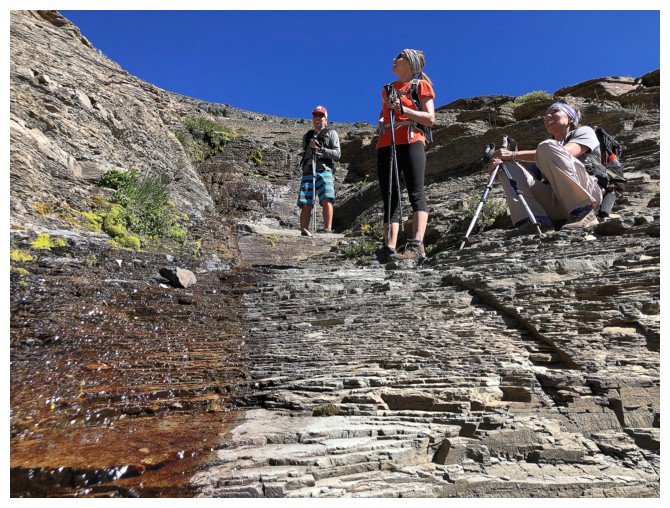
The gang surveys the awesome surroundings
Another random run-in with red rock
Looking over to Lost Mountain
Nearing the end of a long section of steep scree
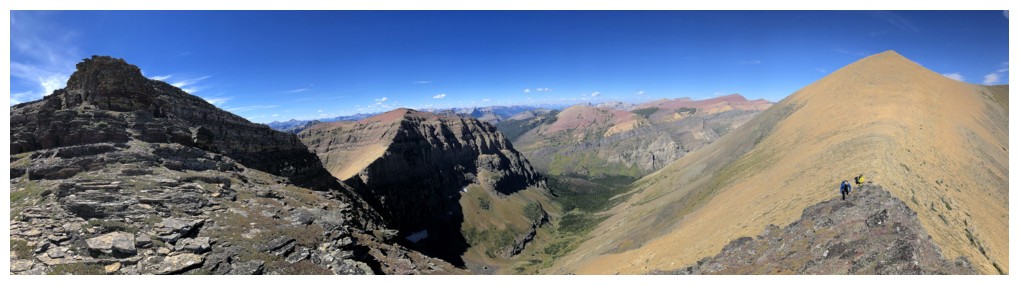
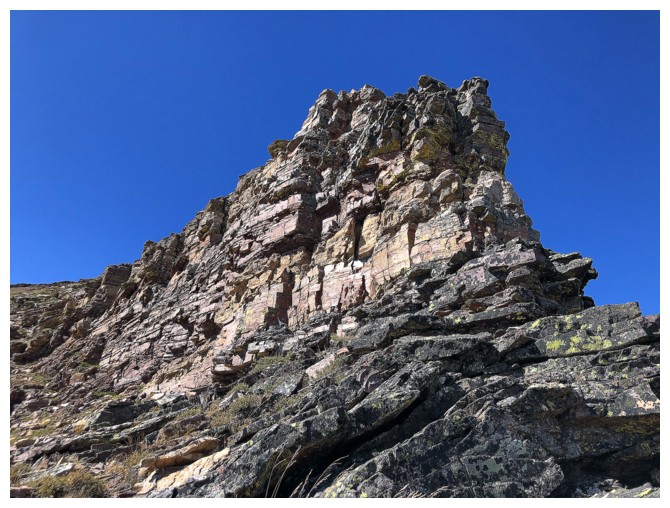
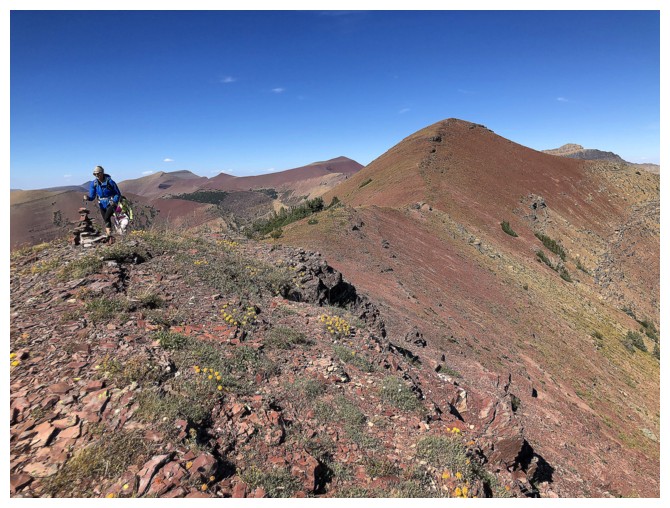
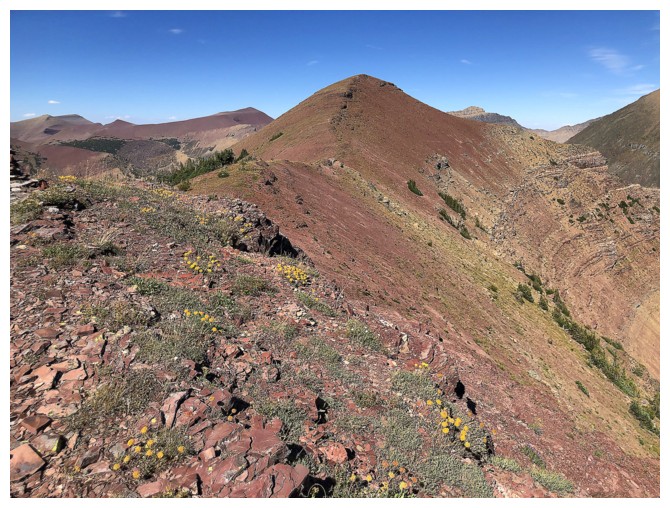
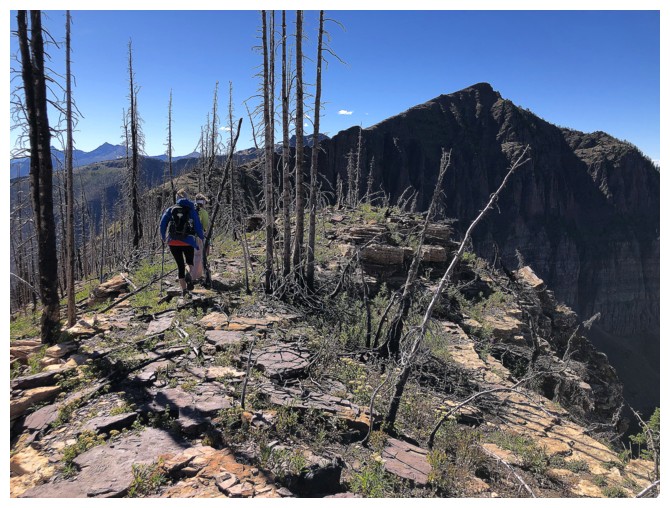
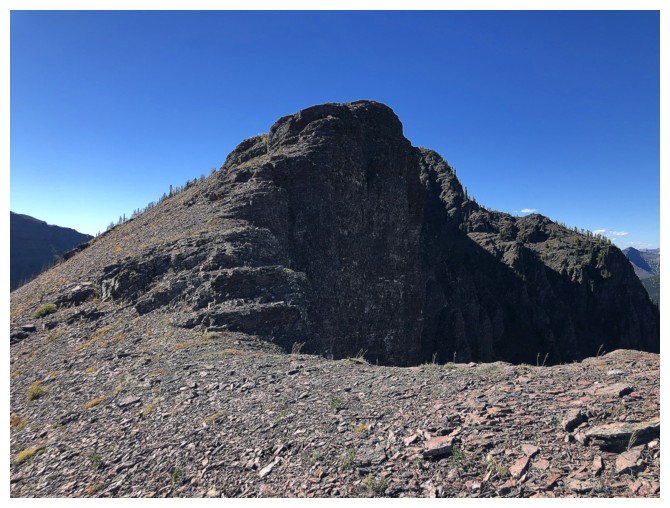
One of the first views upon reaching the ridge is that of the day's third objective, Kootenai Brown Peak
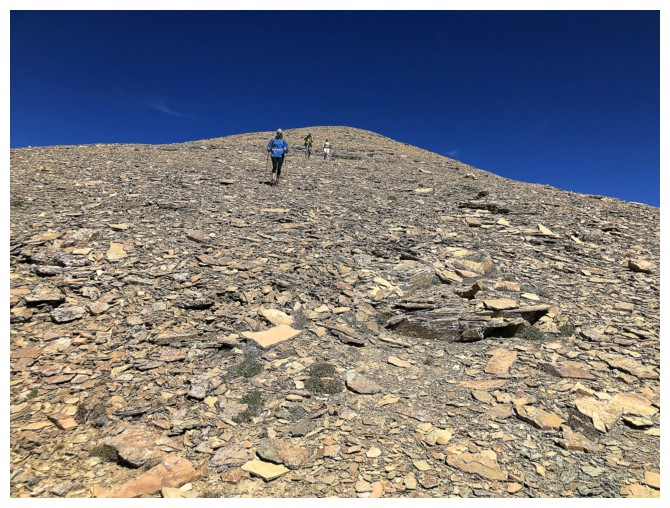
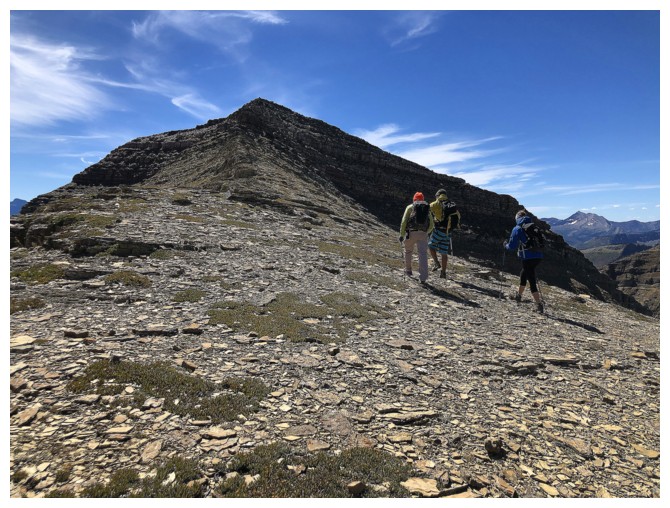
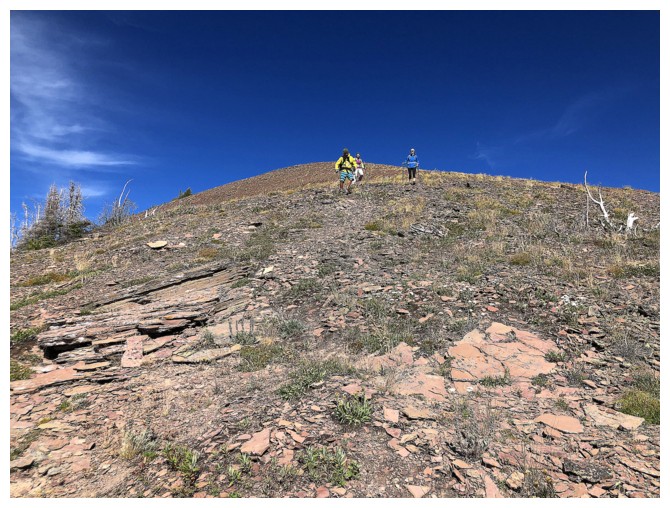
Easy terrain to the top
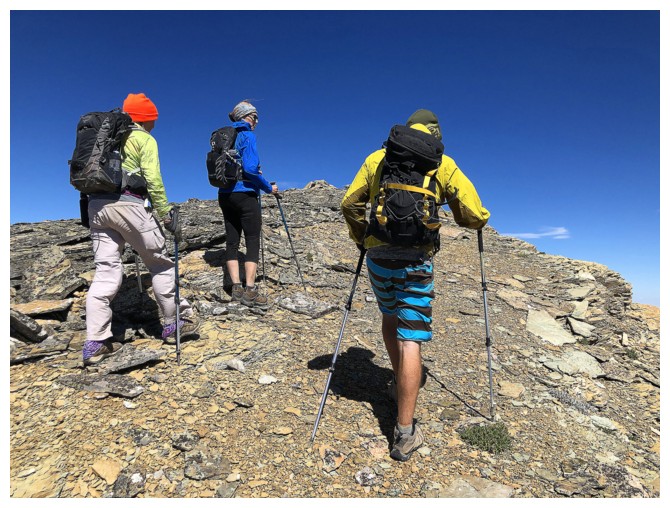
Last few steps to the first and highest summit of the day, Anderson Peak
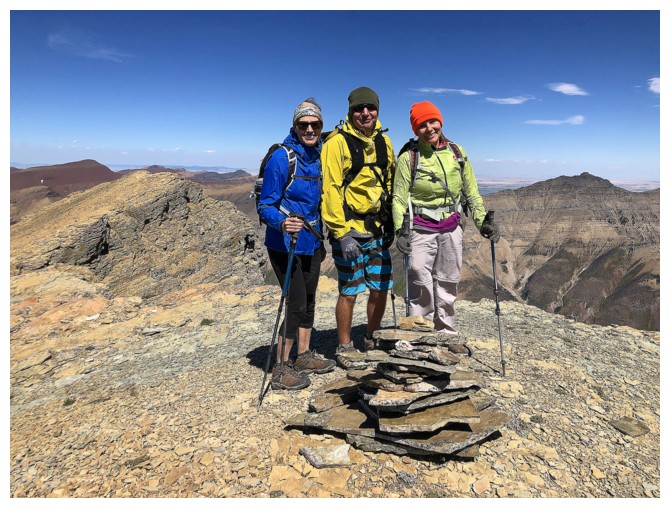
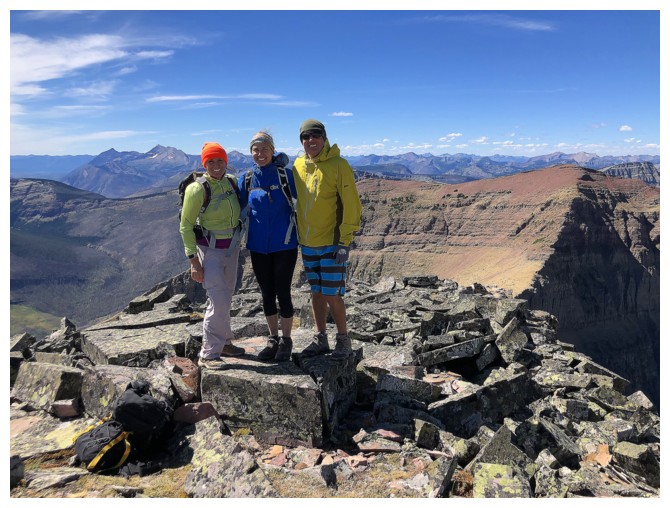
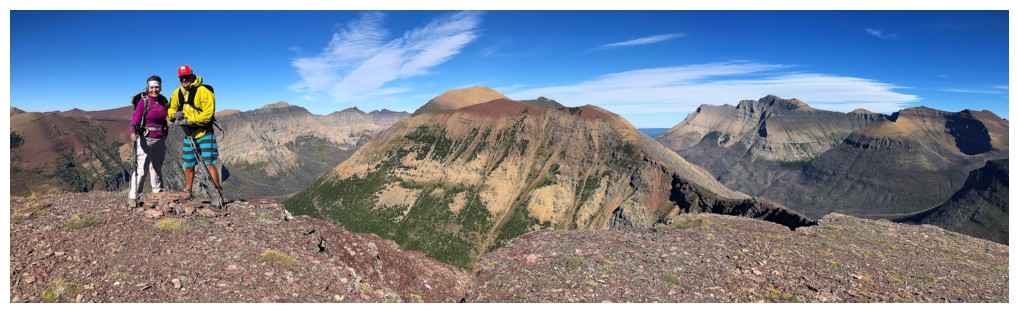
Three quarters of "The Dream Team" atop Anderson Peak
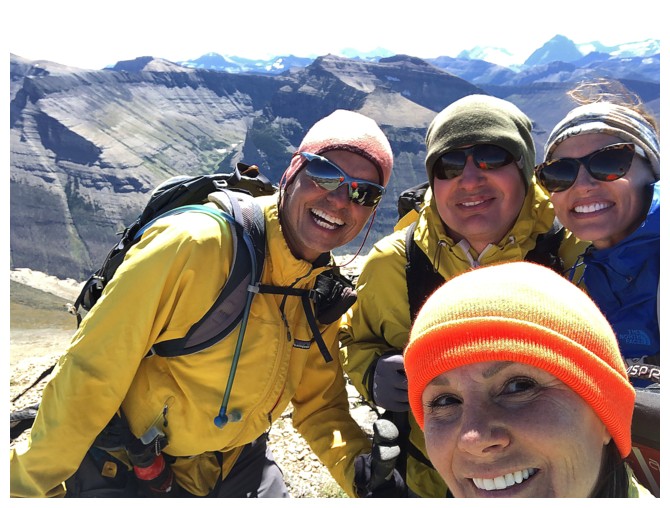
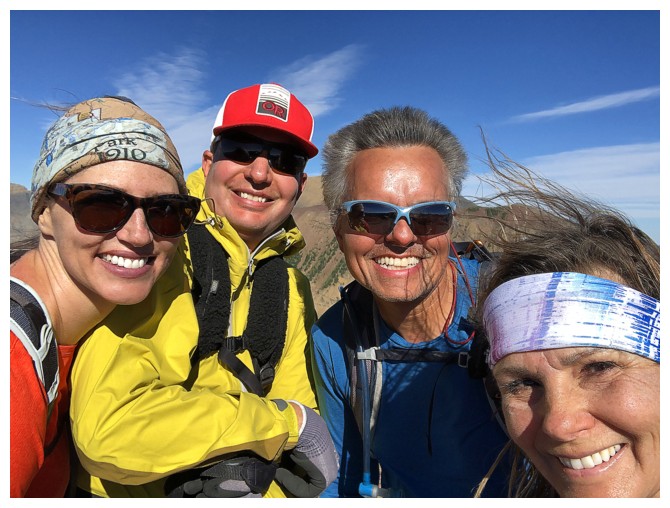
A great selfie by Karen captures four quarters! (photo by Karen).

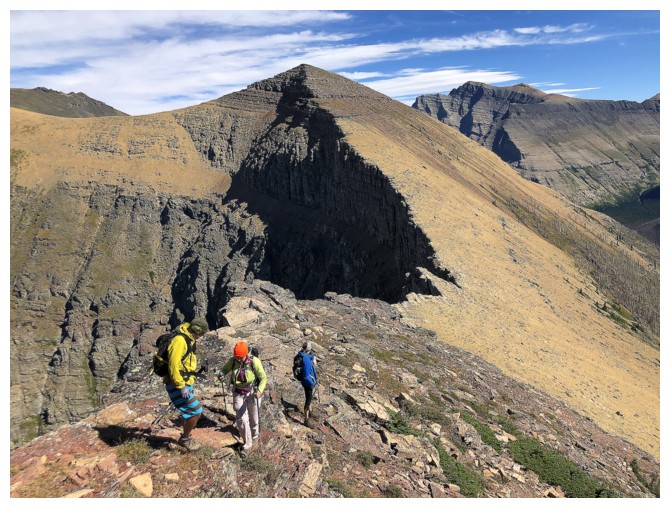
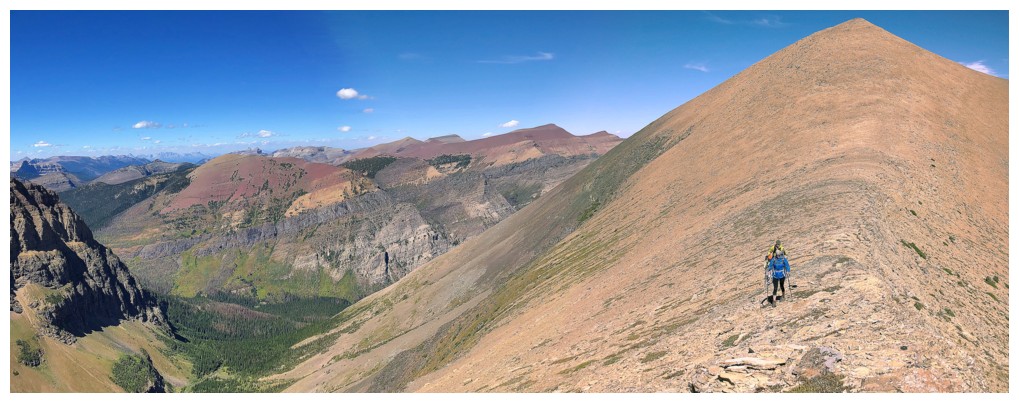
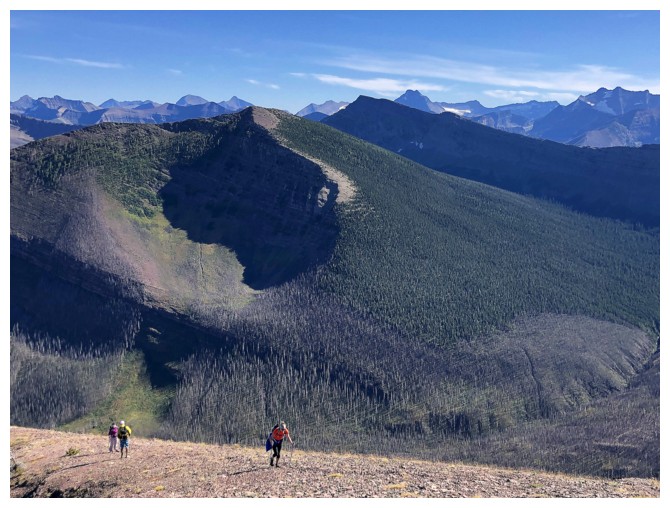
Descending Anderson and heading for Lost. King Edward and Starvation
peaks are the distinctive mountains near the right (photo by Ryan)
The west slopes of Anderson are mercifully easy to descend
The start of 50 grueling metres of elevation gain to the summit of Lost!
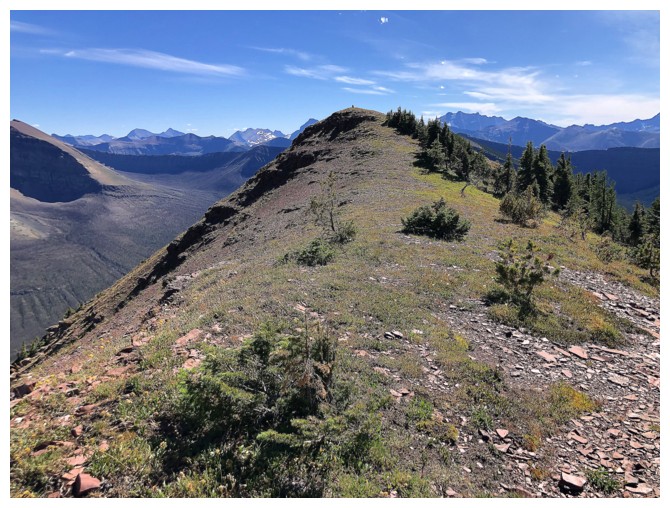
The troops arrive at the Anderson/Lost col, where the beautiful red-topped ridge of Avion Ridge and Newman Peak appear to the north
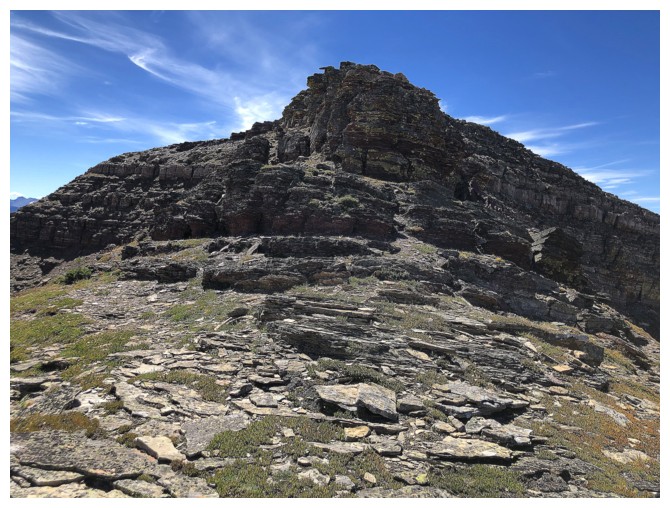
Approaching the summit block of Lost
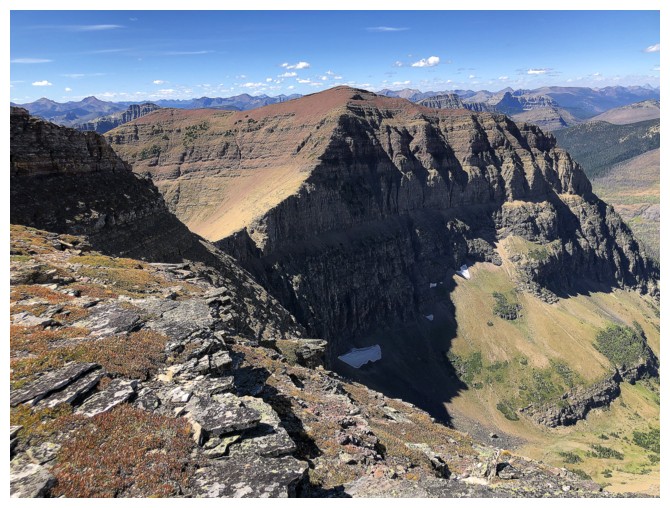
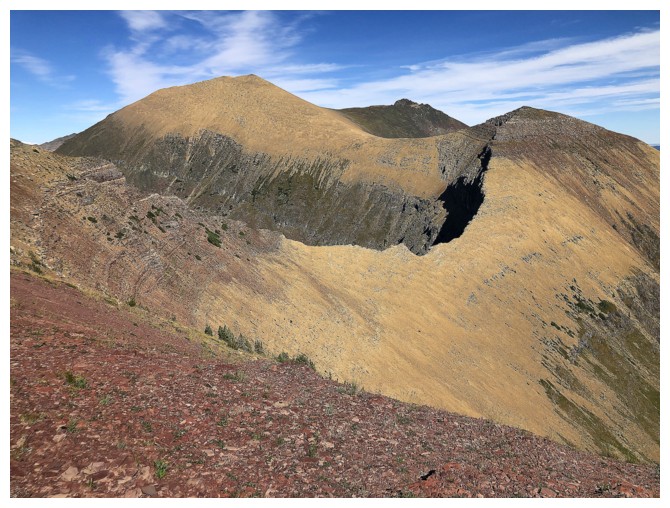
The near vertical east face of Kootenai is very impressive from this angle
All of the three above photos in one
Jill is the first to arrive at the summit of Lost
The verdict is in - Ryan helps his mum up the last few metres - he's just a plain good guy!!
Summit montage of our team (photos by Ryan, Karen, and Jill)
Karen is great at portrait photos too, not just selfies (photos by Karen)
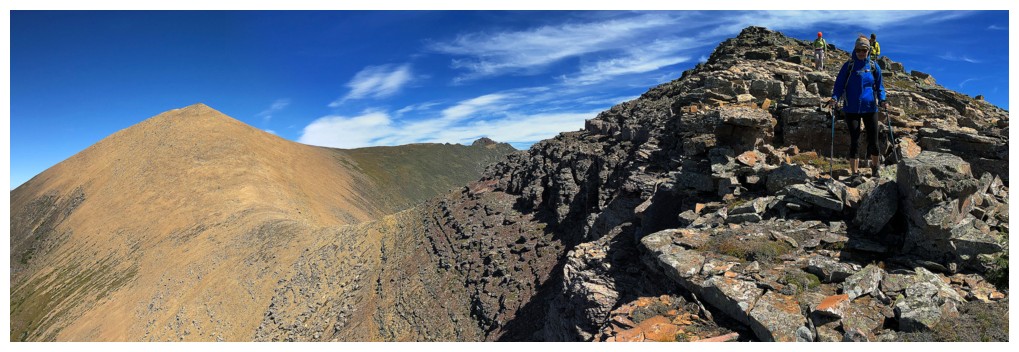
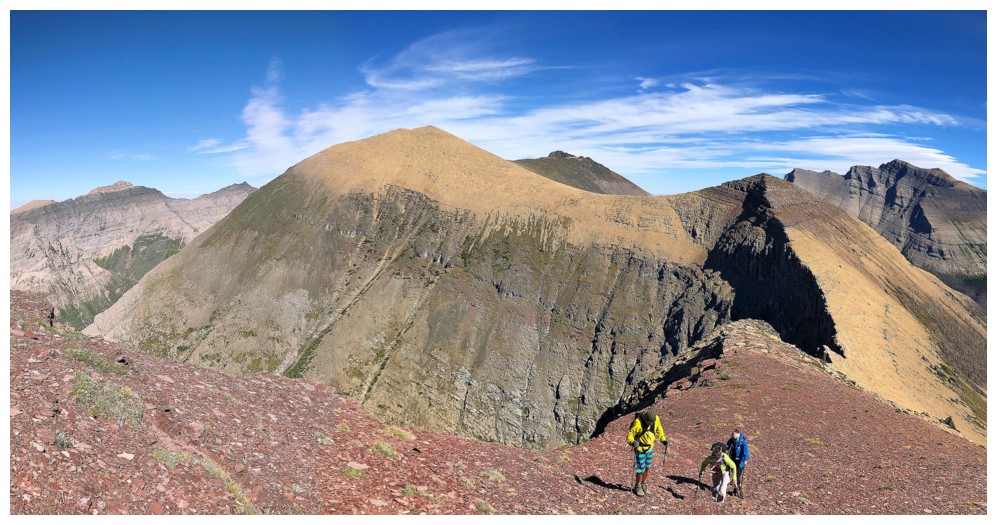
Next on tap - Kootenai Brown Peak
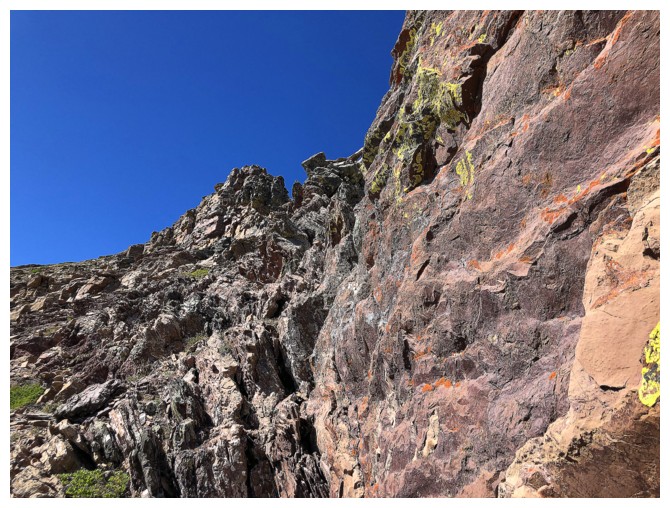
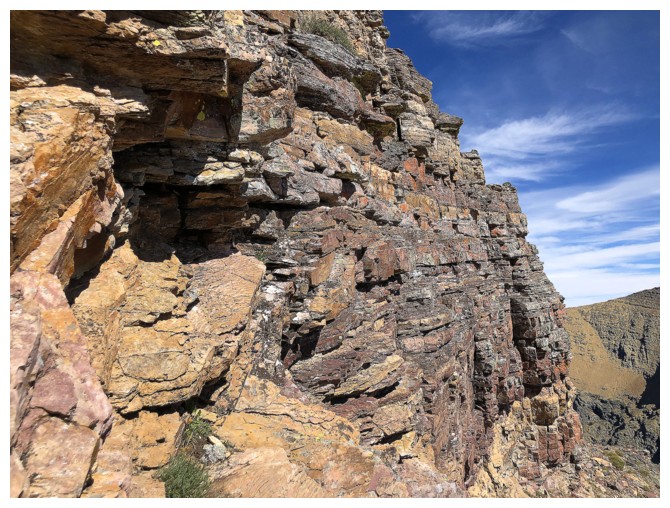
The rock between Lost and Kootenai is the most colourful and interesting of the whole traverse

Looks like we are in for some red argillite magic!
Yes we are!!!!!

The Alston's, at the left, descend easy terrain to the col
Some wild mountain terrain near the ridge
Looking back to Lost and Anderson
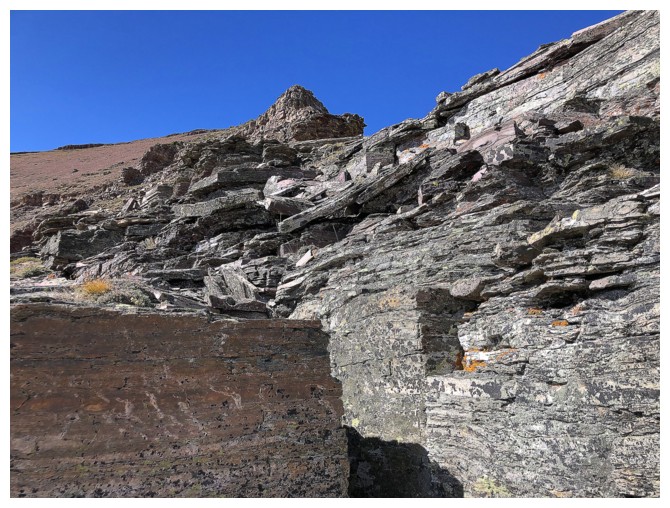
The rock scenery is about to get crazy!
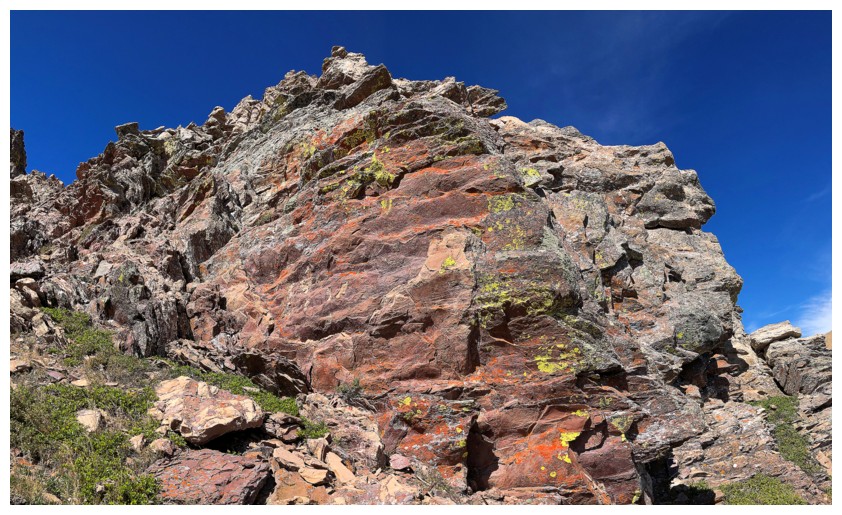
Stunning!!
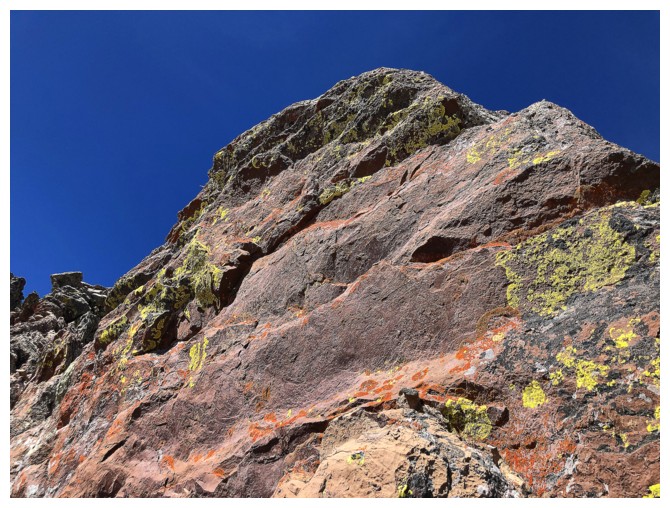
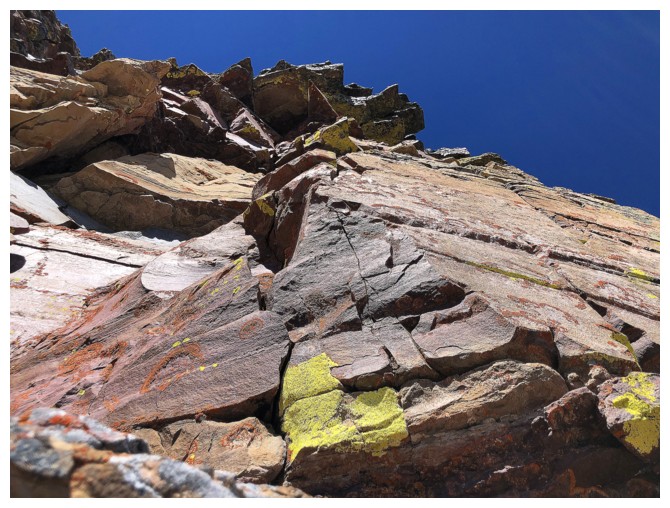
Blue sky, and yellow lichen on red argillite - there's nothing better!
Reminds me of the flag of Chad
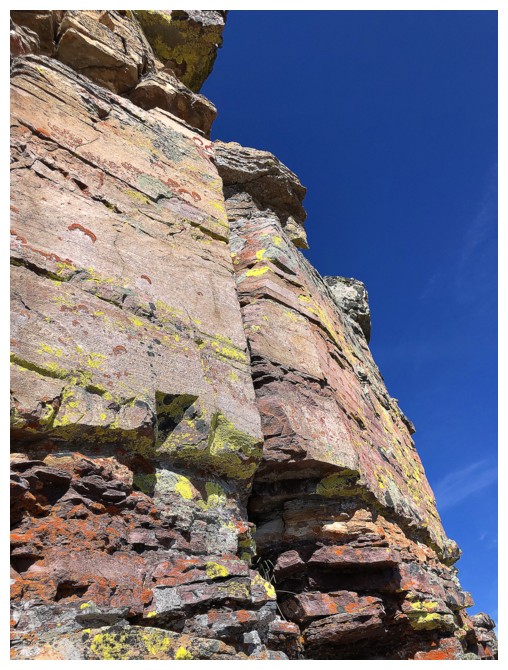
Jill is enjoying the scenery too
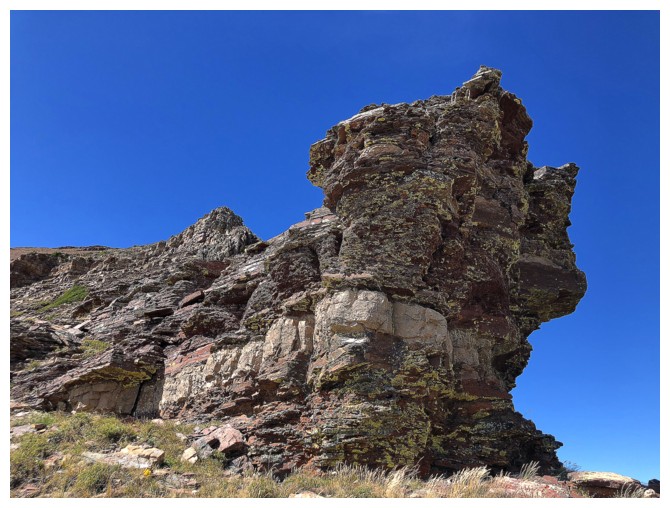
A wall of sweet rock
The gang ascends a steep, scrambly section to gain the ridge above
Back on the ridge
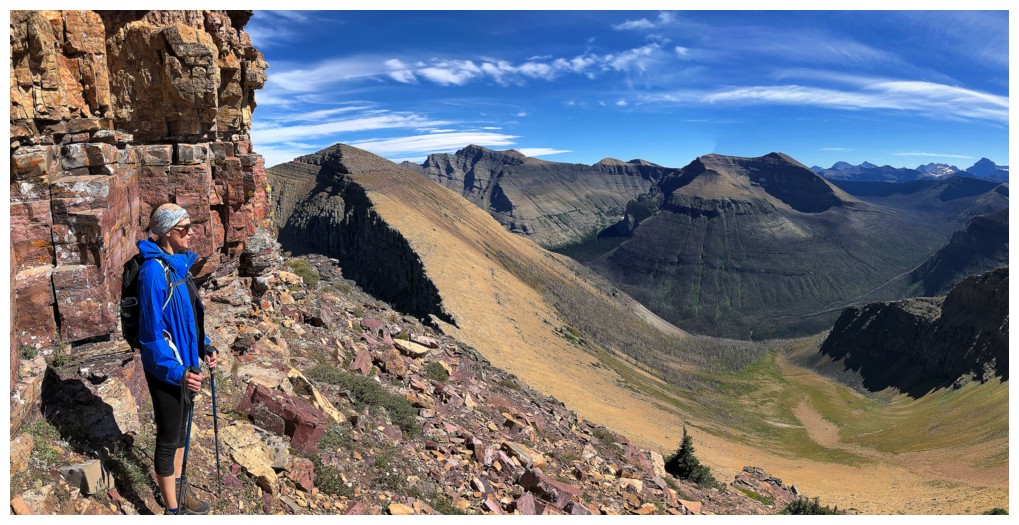
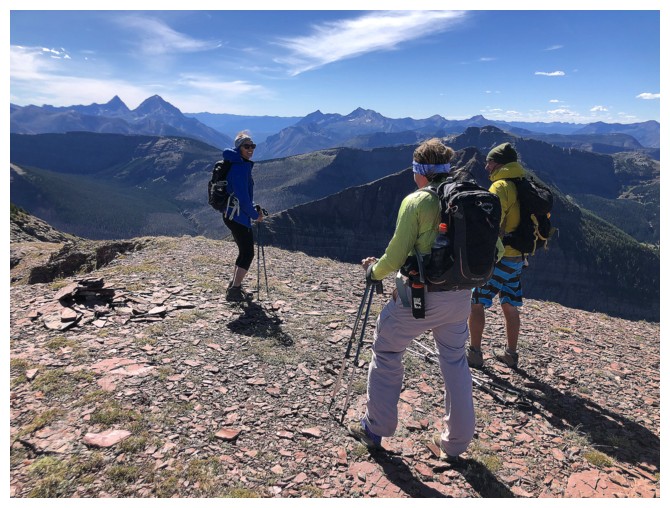
In addition to the great rock scenery on the mountains, the distant
views include, from left to right: Drywood, Loaf, Avion, Newman, Newman
Senior and Glendowan
The Alston's on the summit of Kootenai Brown Peak
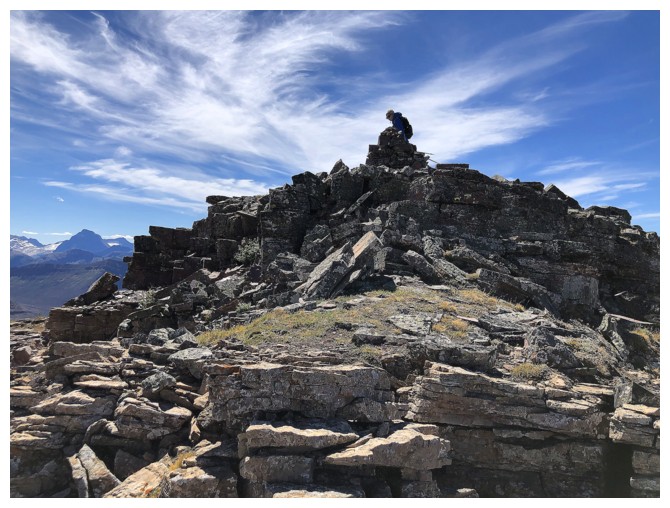
Ryan leaves the main summit to go to a nearby highpoint
The next highpoint
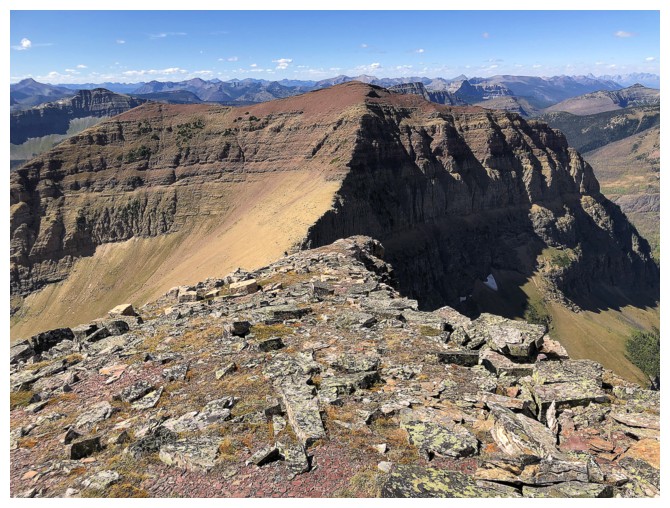
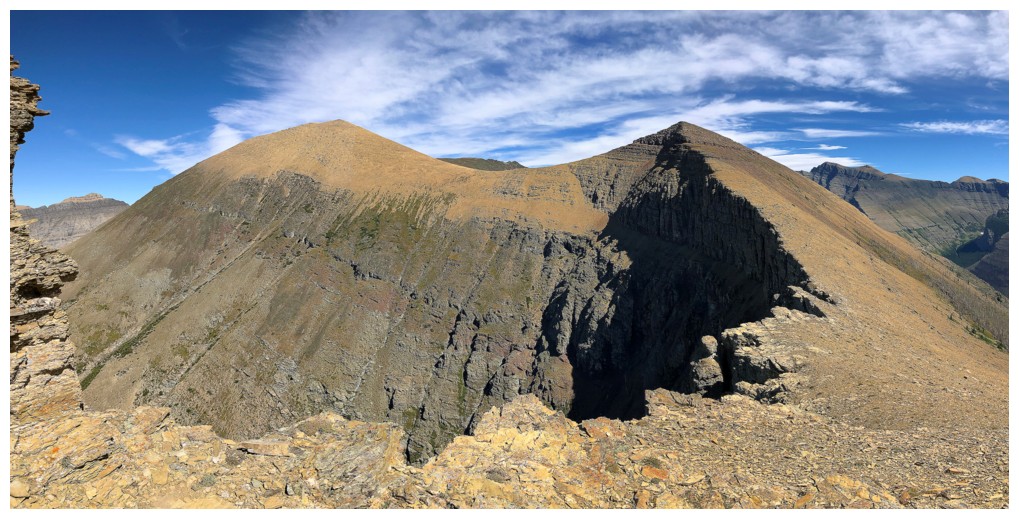
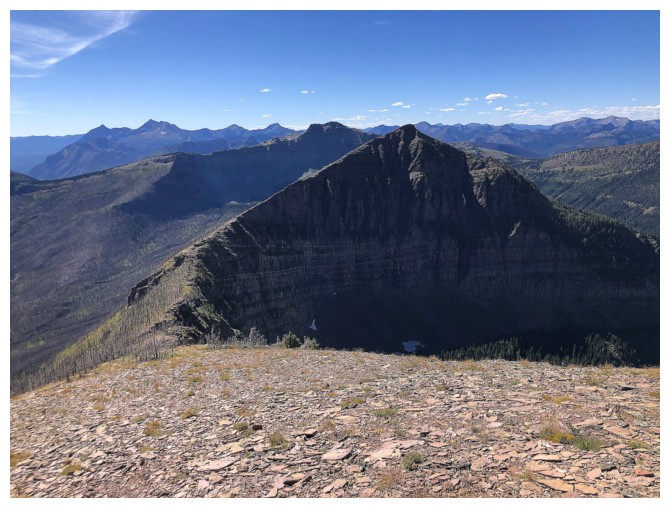
The dark peak in between Anderson and Lost is the east summit of Anderson and certainly worth a visit
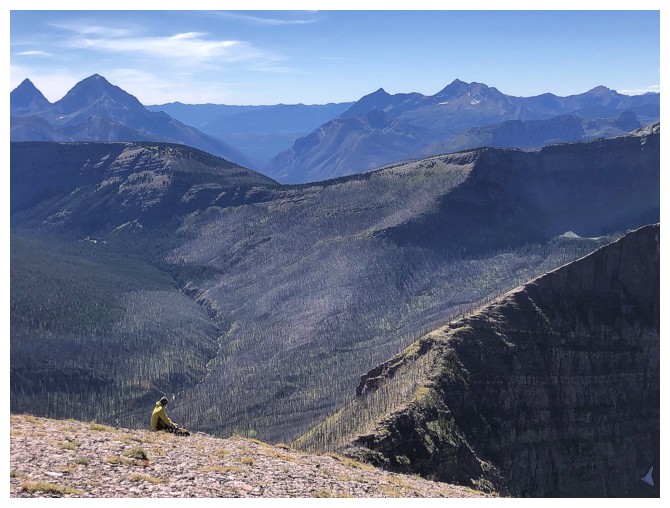
Ryan checks out of the view to the south
Jill and Karen are just visible at the left, making their to the other
highpoint. The view back towards Kootenai, Anderson, and Lost from this
point is one of my favourite in Waterton.
Ryan finds a good spot to wait for the rest of us
Mounts Blakiston and Hawkins are part of the awesome Blakiston Horseshoe route
Jill and Karen arrive at the lower summit
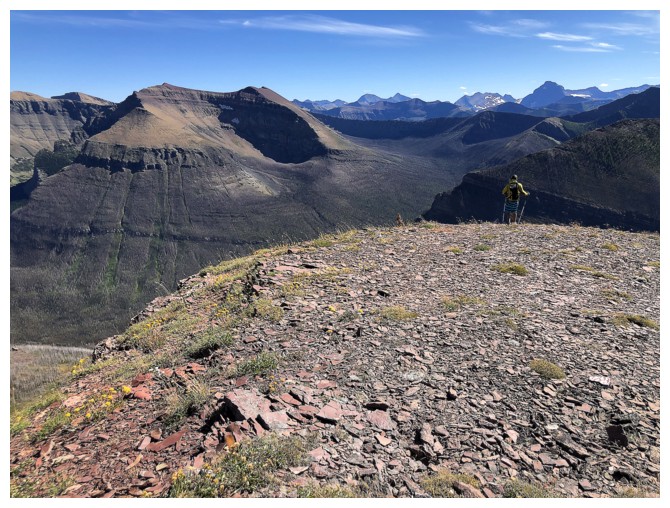
Regrettably leaving Kootenai, but Bauerman is waiting
It's an easy descent off Kootenai too
Speaking of impressive east faces, Bauerman is no slouch either
Blue, yellow, and red again - Ryan is playing the part of the yellow lichen!
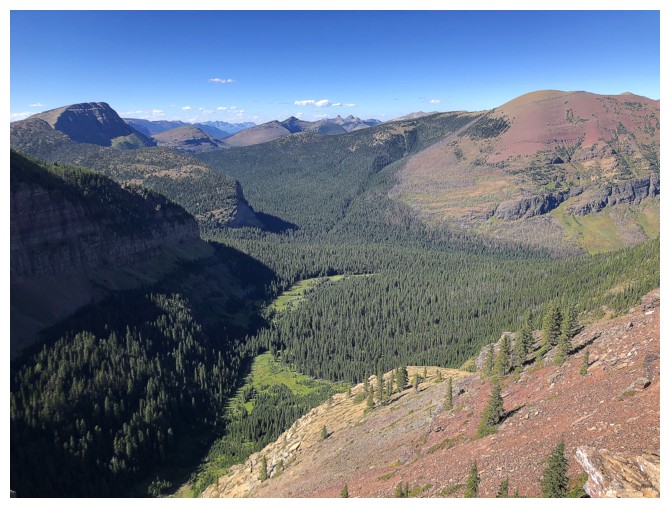
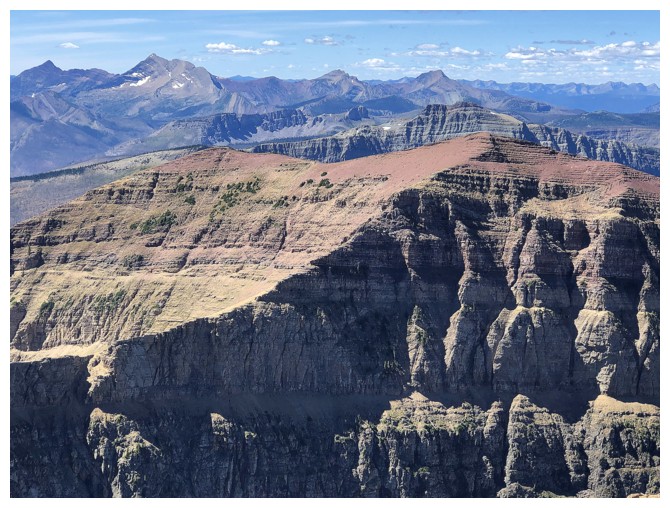
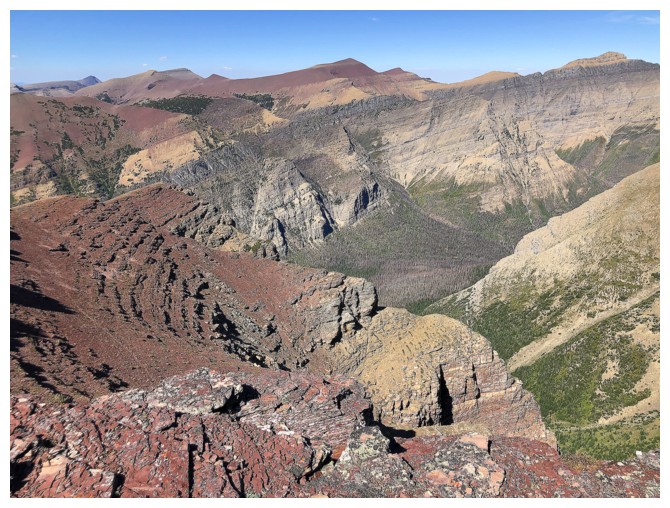
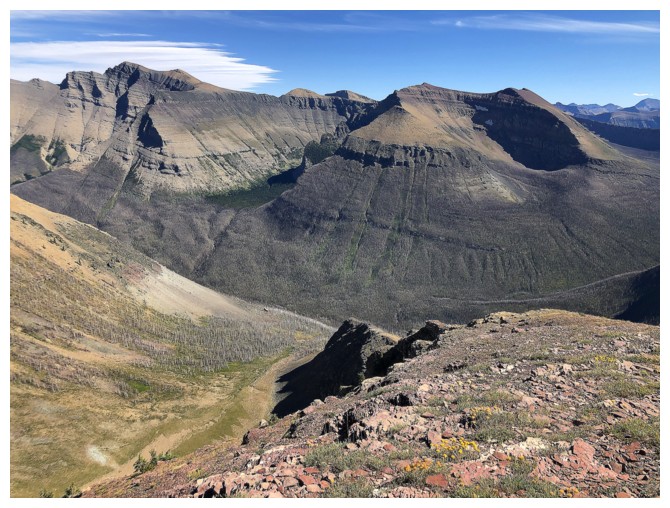
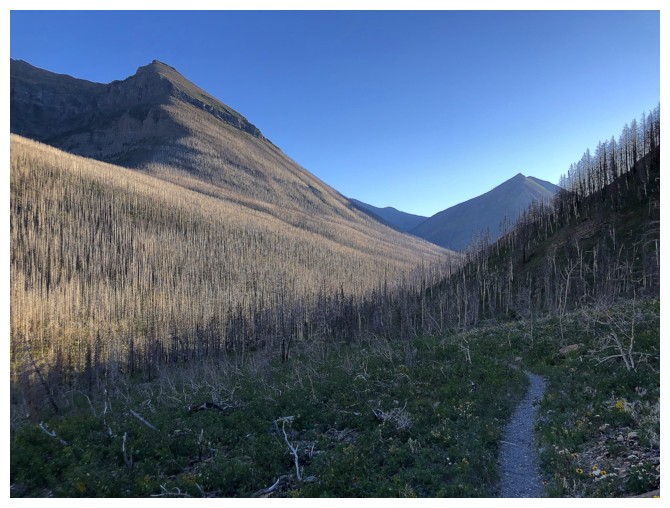
Shockingly, the valley to the north was untouched by the 2017 Kenow fire. Also a big (and awesome) surprise was an ascent of "Sage Senior", at the far left, 12 days earlier.
Close-up of Sage Senior. It's summit block is all red and green argillite!
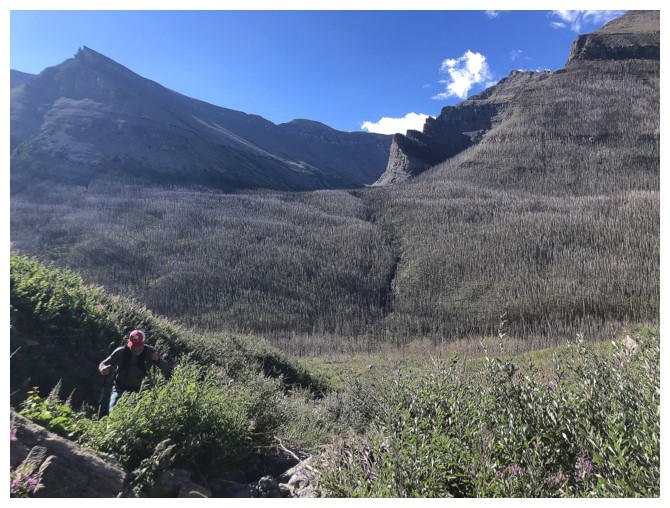
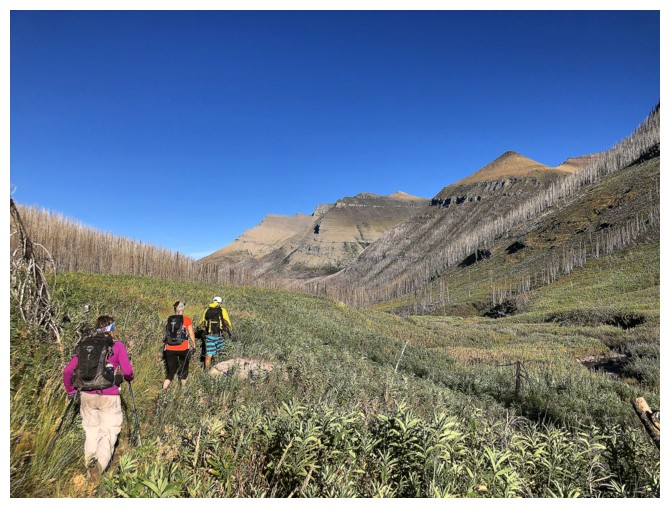
Note the trees at the right. The valley south of the Mount Anderson and company was devastated by the 2017 fire.
Near the Kootenai/Bauerman col
Looking back to Kootenai
Almost there

The west side of Kootenai is not steep, but it sure is colourful
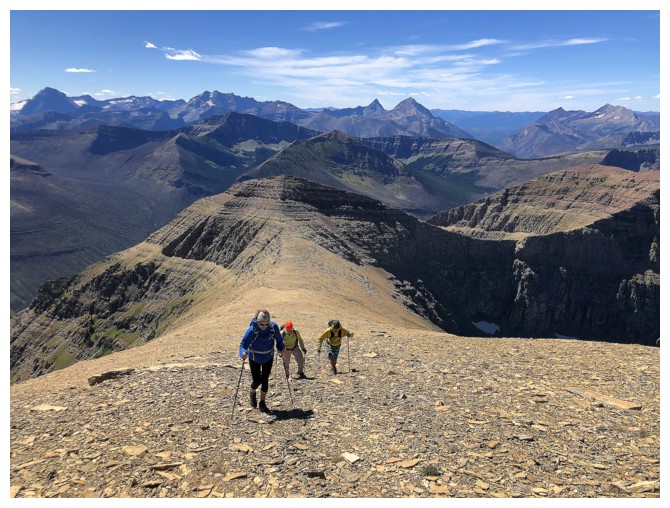
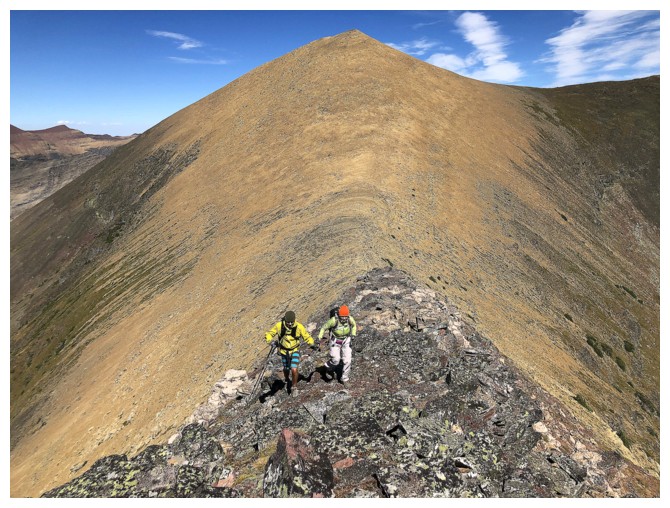
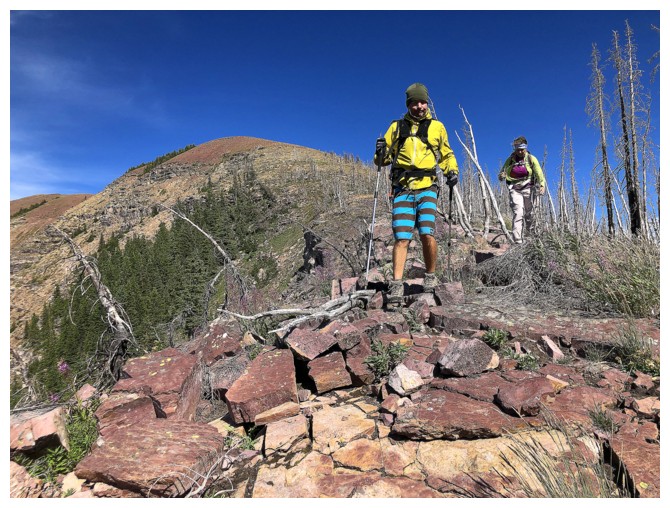
The troops make the final push to the summit
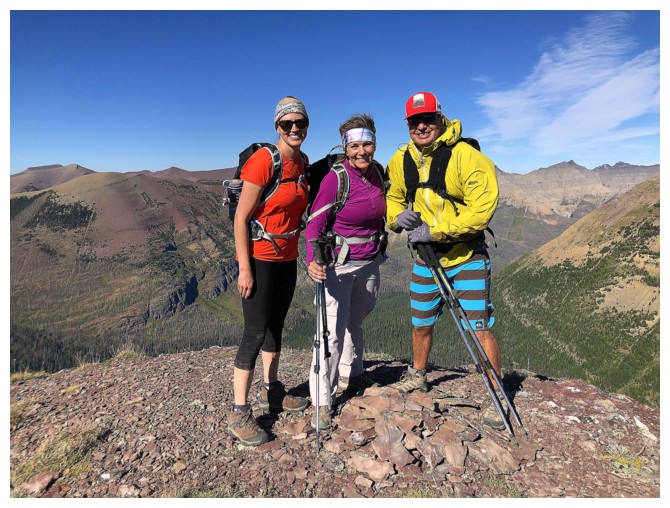
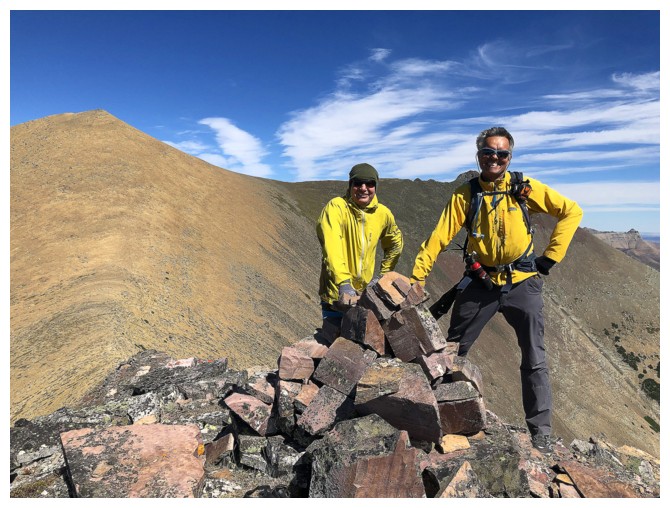
Success! The Alston's complete the 4-peak traverse.
Mother and son (and a pretty amazing view)
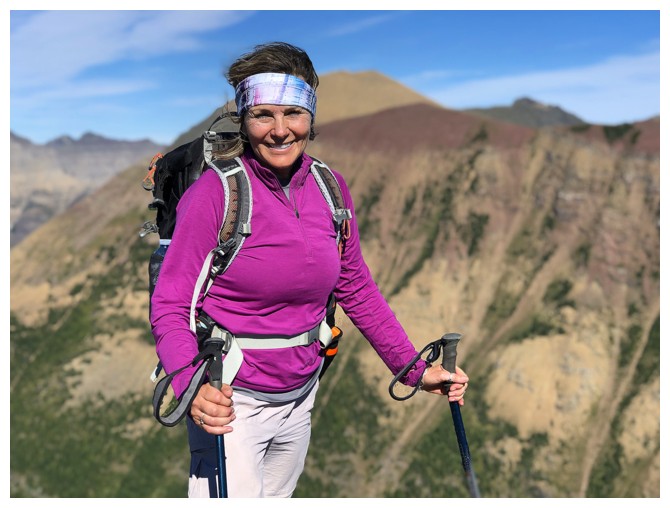
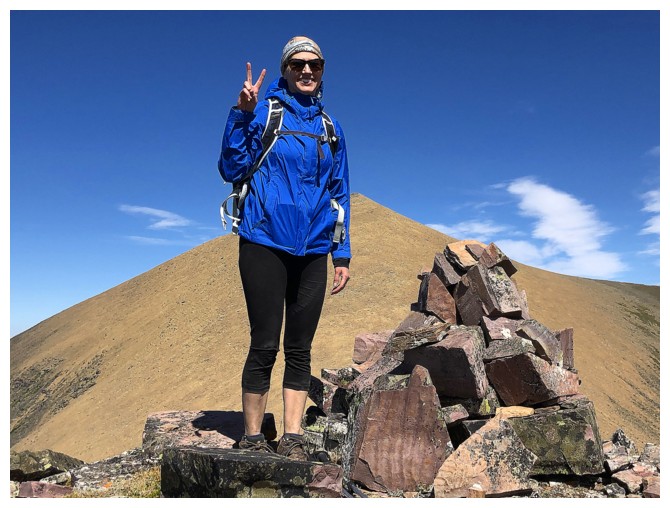
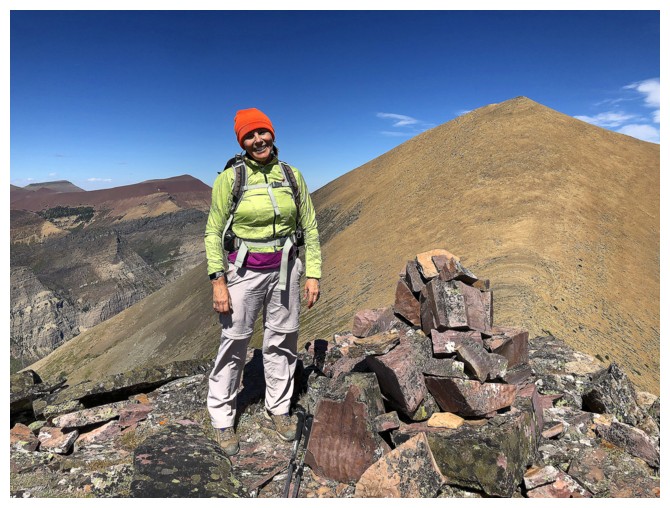
Hero of the day - gives blood and then climbs 4 mountains!
Ryan and Karen tackle the steep slopes on the south side of Bauerman,
after the easy scree. The angle is much steeper here than it appears.
Lone Mountain - very memorable descent on that one too!
Better indication of the steepness of the descent
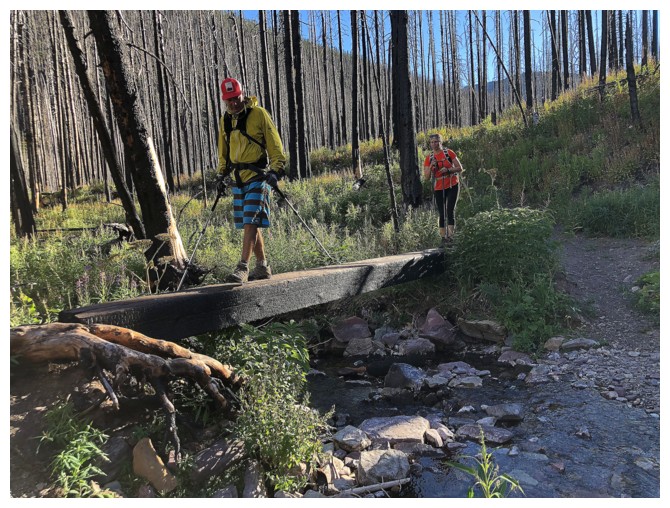
Back on the Blakiston Creek Trail
Easy, but long hike back to the start
The Sun is setting
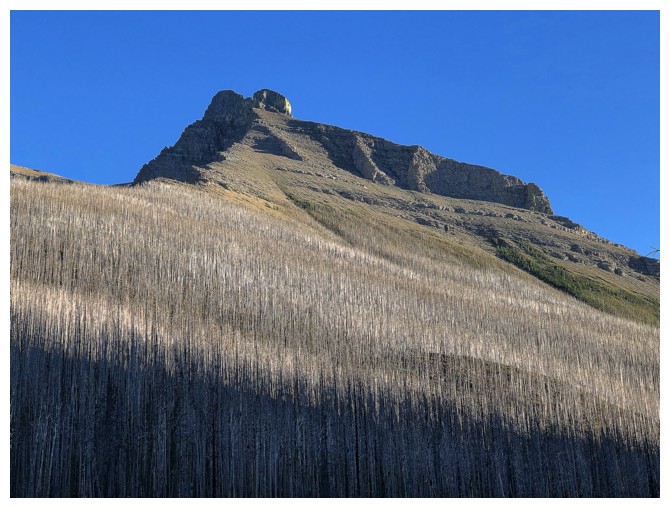
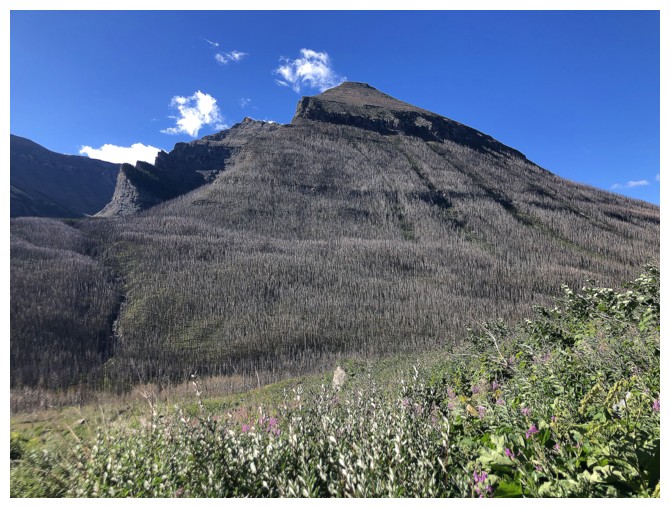
Last look at Blakiston and the results of the fire
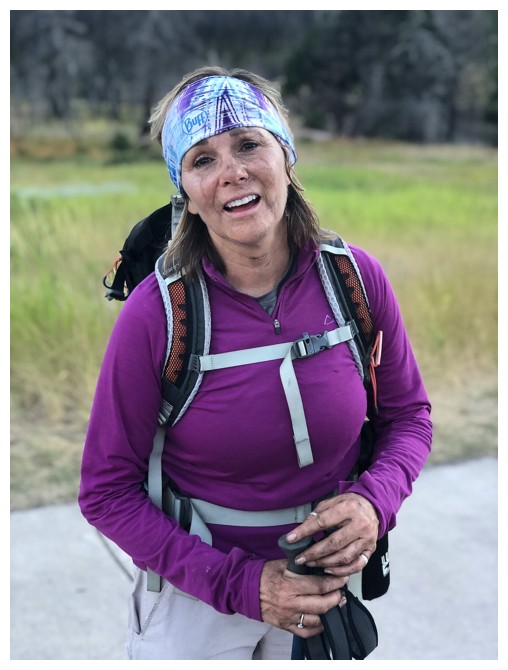
Karen is showing signs that a fierce battle took place, but a battle that she convincingly won!
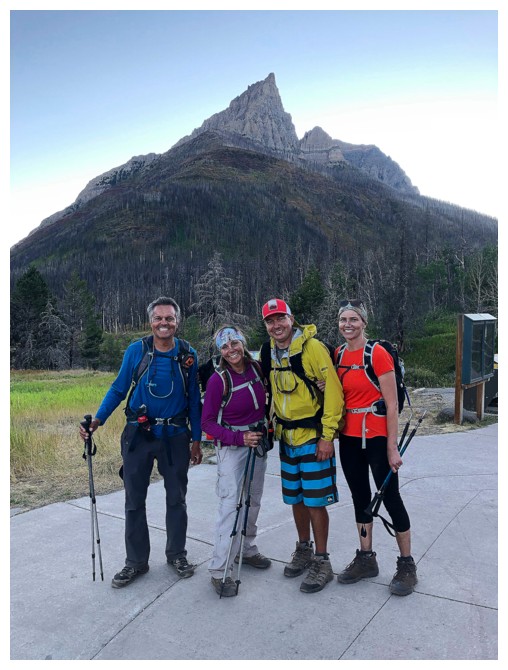
A tired, but very happy Dream Team at the end of an amazing day
The End
LOG