Hassel Castle
attempt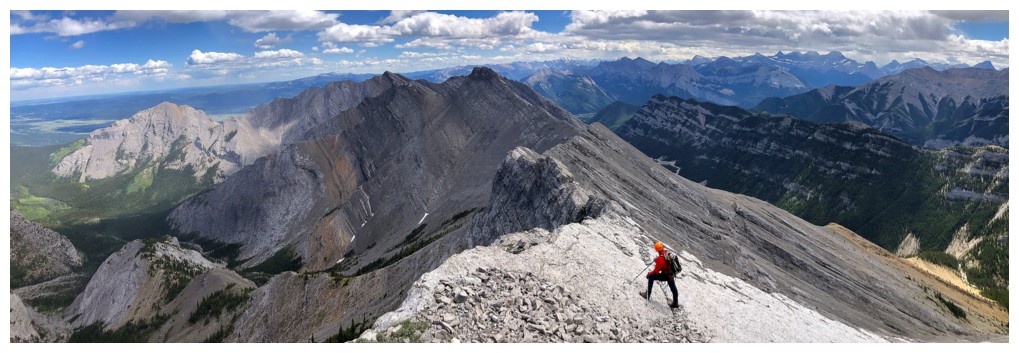
Morrowmount II
July 10, 2022
Mountain height: 2541 m
Elevation gain: approximately 1400
m
Round-trip time: 10:20
Climbing and scrambling with Mark.
Hassel Castle had long been on our to-try list.
Although we had a bigger objective in mind for the day, the downgraded weather
forecast prompted a change in plans. Front-range would be the order of the day
and Hassel Castle fit the bill perfectly. 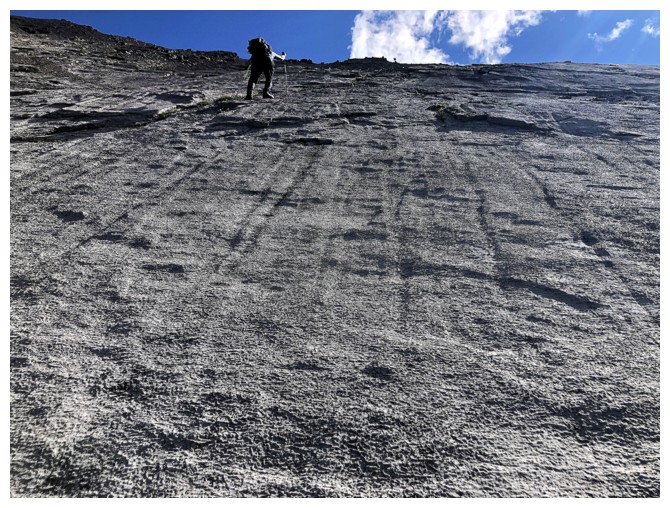 Kevin Barton and Cornelius Rott had
reached the summit via Hassel’s north ridge, grading it at 5.4.
Kevin Barton and Cornelius Rott had
reached the summit via Hassel’s north ridge, grading it at 5.4.
Geared up to the hilt, we hiked about 7 km up
Jura Creek. Though the canyon near the beginning and the false fault a few
kilometres up are super fascinating, the terrain between and after is somewhat
mundane and tedious. We were quickly reminded of why we rarely hike this way
these days.
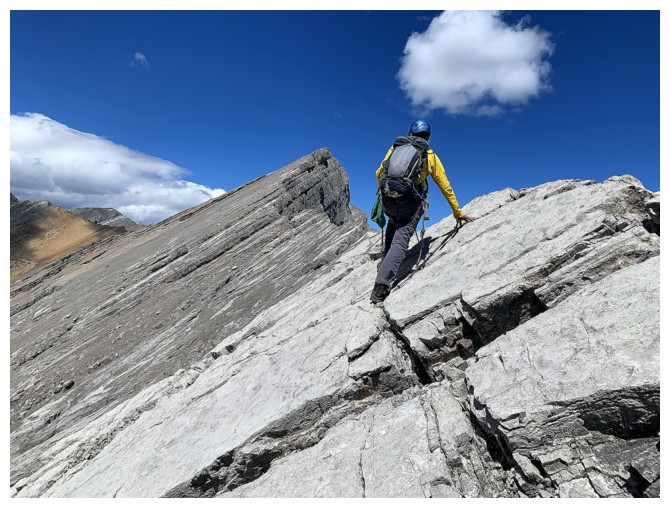
The next section of the route involved fun
scrambling up steep, friction slabs to the ridge. Good and bad news awaited us there.
The good: terrific views, especially towards the imposing form of the objective.
The bad: a ferocious wind. Our third failed attempt at Mount Birdwood came to
mind immediately. After some discussion we decided to go as far as our comfort
levels dictated and bail when/if necessary.
I was able to squirm my way up the first and
reportedly hardest pitch of climb, but communication became increasing
difficult and of course a strong wind makes even the easiest climb unnerving. In
fact, I banged in a piton atop the step, just to secure myself to the mountain.
We both agreed our comforts levels were well on their way to being surpassed
(or already had in my case) and opted to back down. I decided to leave the
piton in, allowing me to downclimb the step with a top-rope belay.
Once onto easier terrain our options were to go
home or salvage the day by traversing north to Morrowmount. We chose
Morrowmount. Reportedly it’s south ridge offers excellent scrambling. That was
not meant to be either. In the interests of time and, more importantly, staying
away from any exposed terrain while being assaulted by the wind, we primarily traversed
below the ridge. The ascent took far longer than expected but we eventually
topped out, had our minor summit celebration, and then started down the “normal”
route.
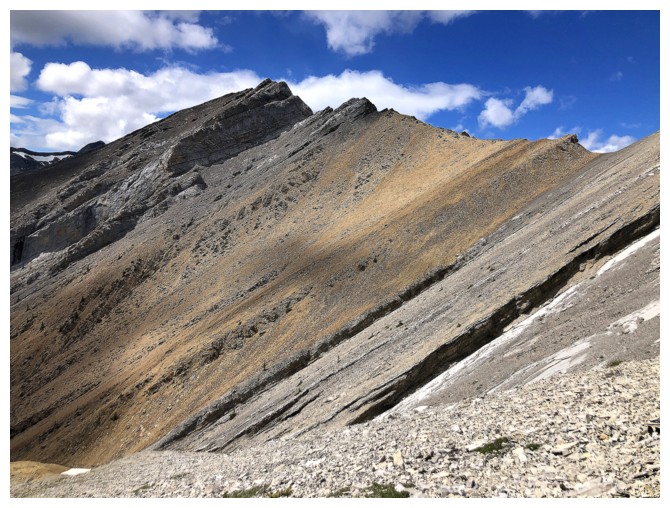
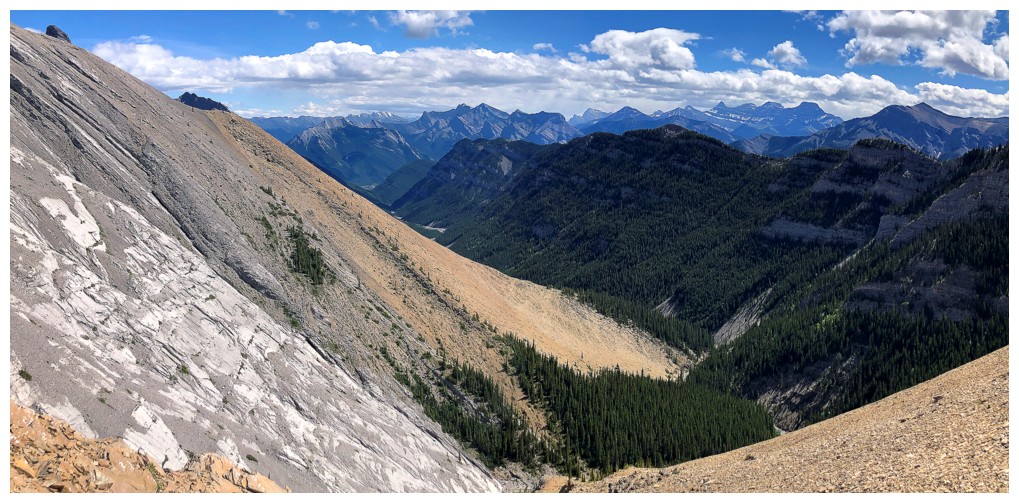
The first part of the descent route is terrifically
scenic, featuring a beautiful delineation of gray limestone rock and light brown
shale. However, once down to the creek, the remainder of the trip was a little soul-sucking.
We were both very relieved to stumble back to the car.
Hard to say if we’ll return to try Hassel again,
but the experience was more than worthwhile and Morrowmount provided an
excellent consolation objective.
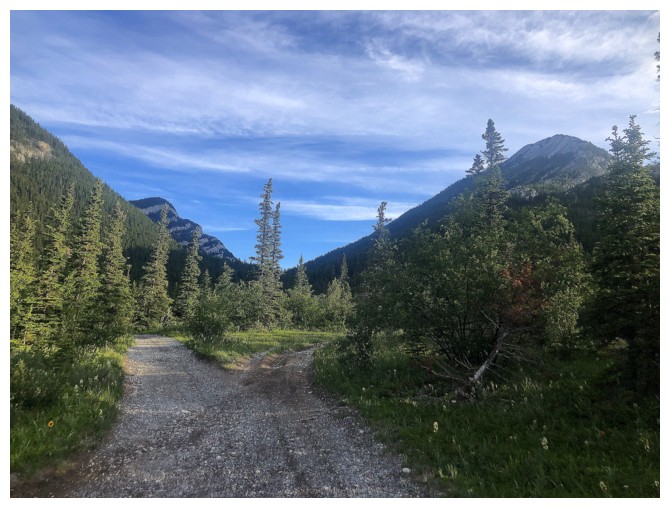
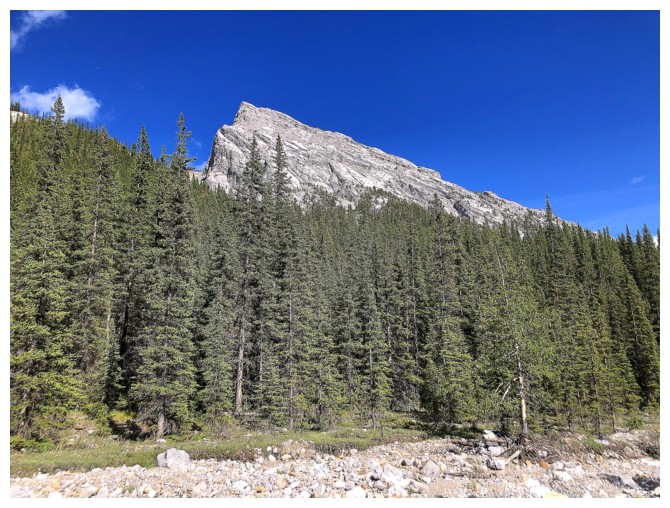
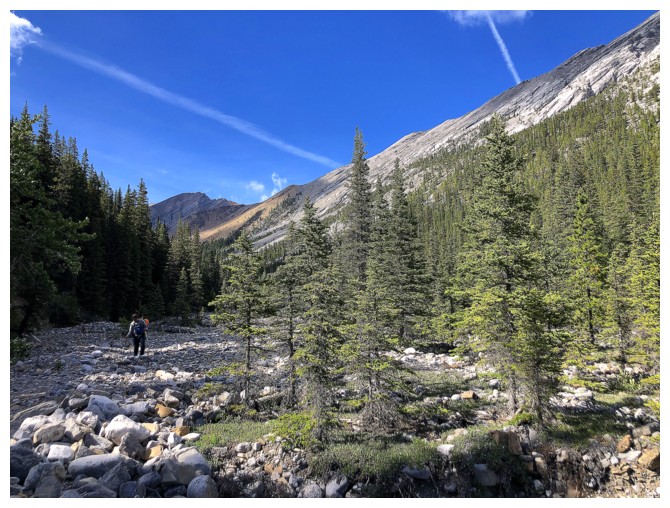
The start of the trip. Door Jamb Mountain at the right.
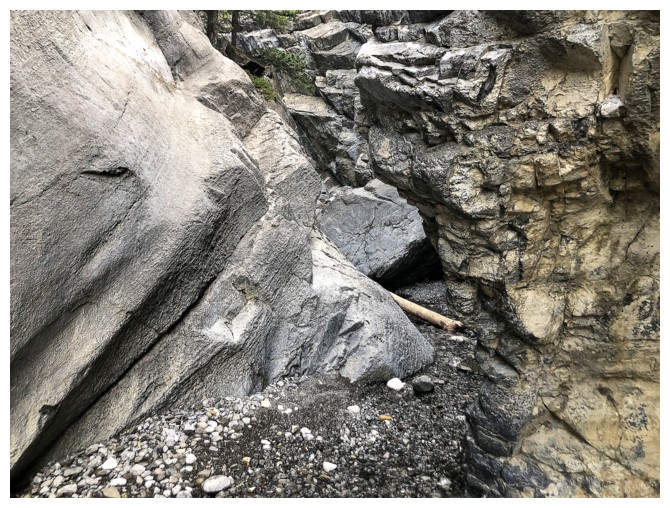
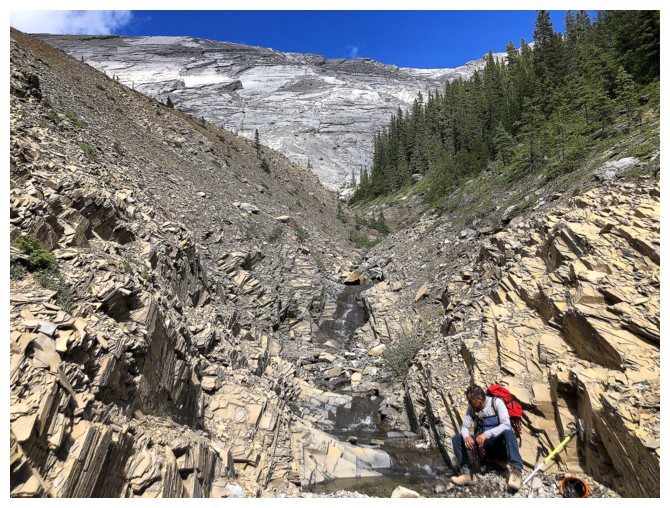
The exciting Jura Creek Canyon
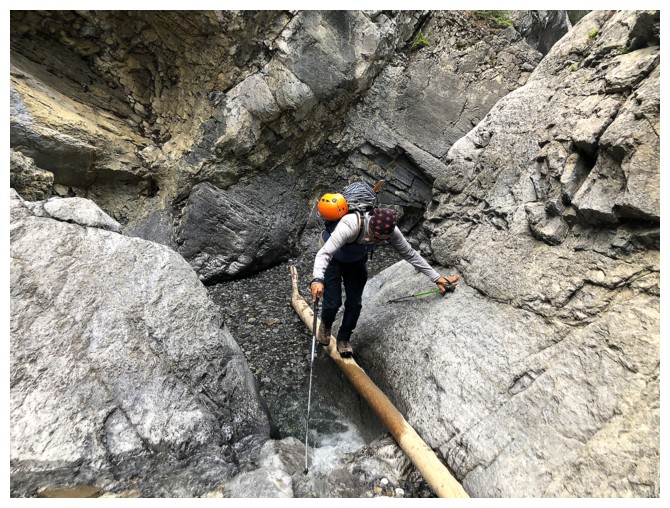
Might as well keep the feet dry for now
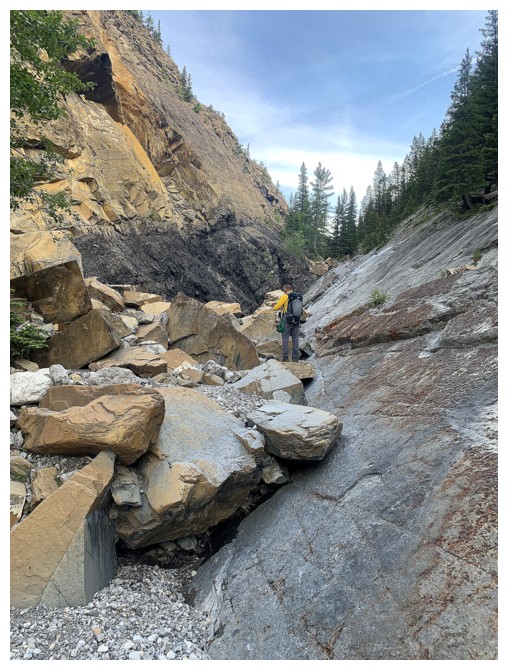
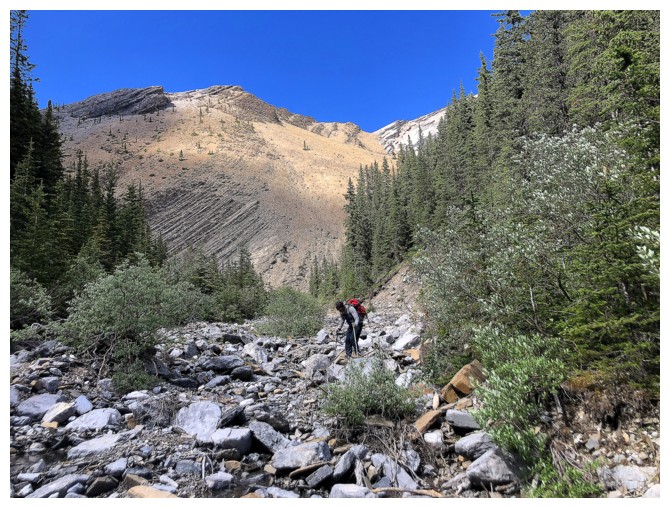
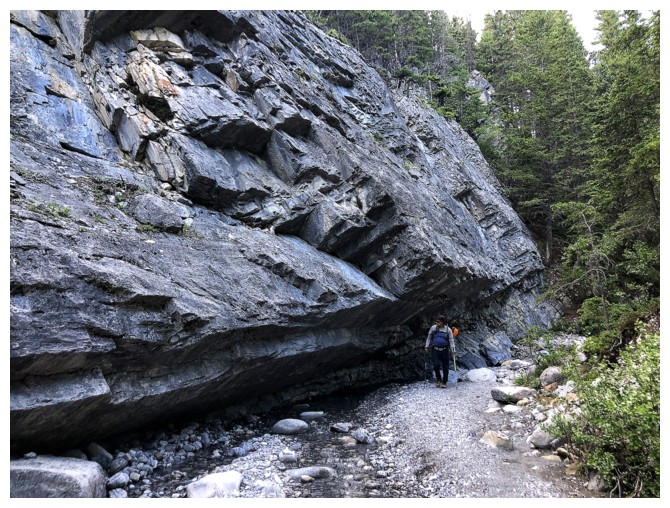
The fascinating false fault
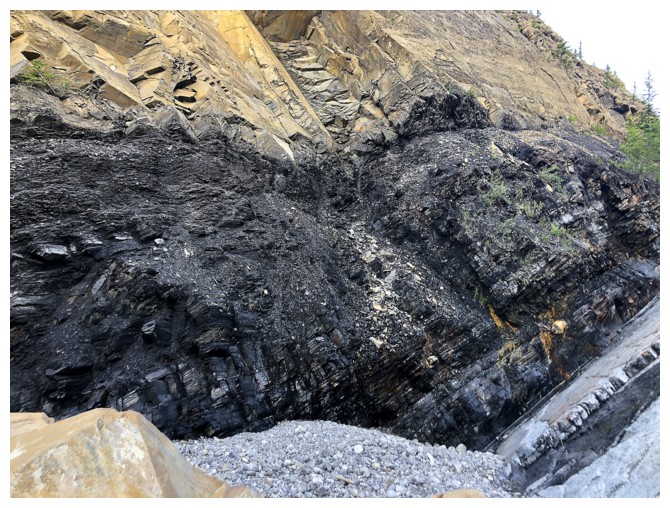
Cool coal seam
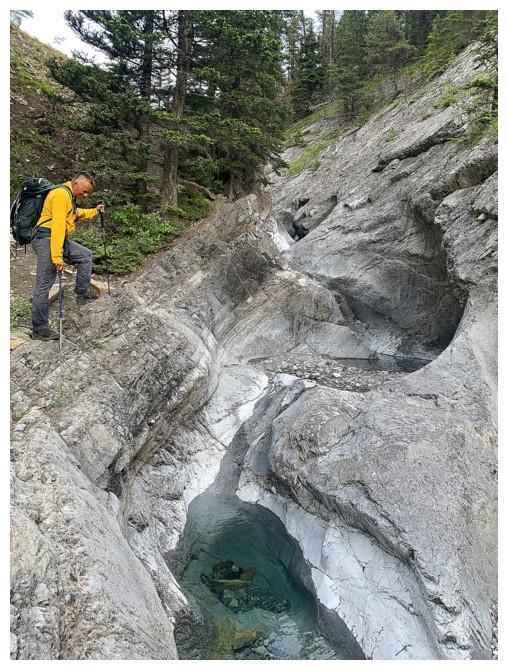
The water eroded section here is really cool
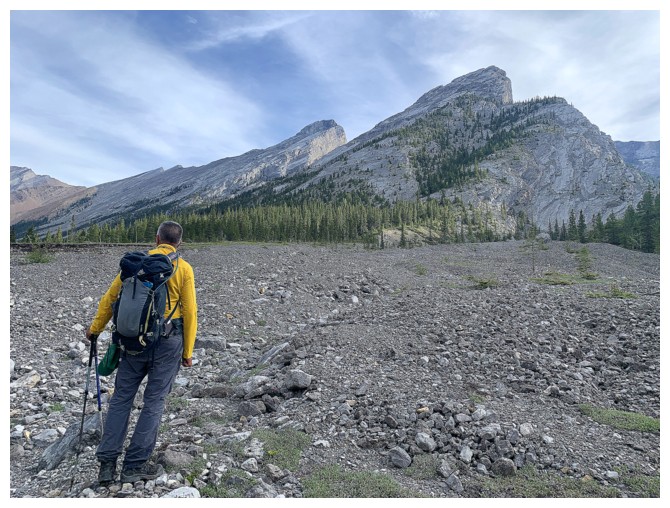
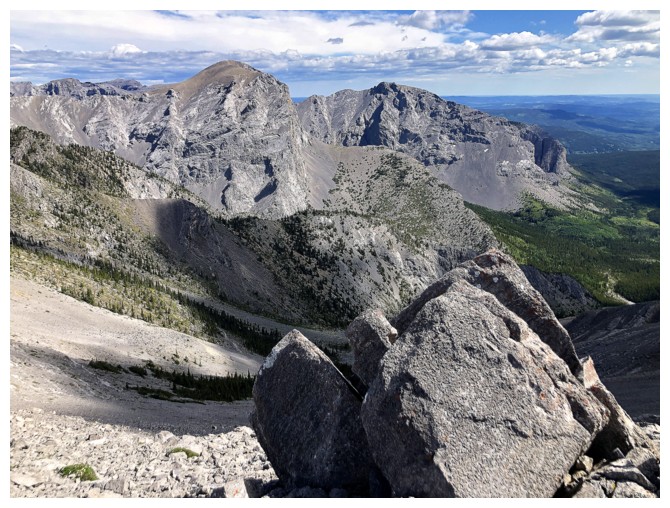
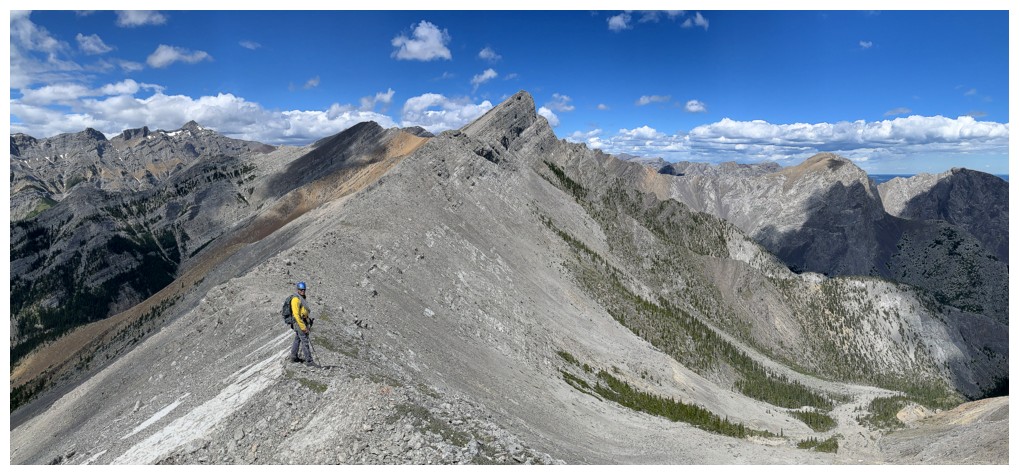
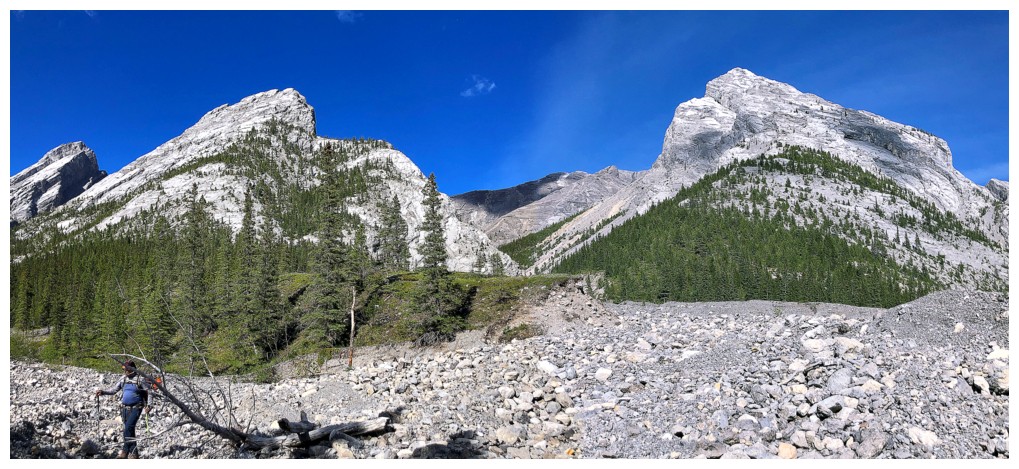
Out in to the open. Hassel Castle in the centre and "Little Goat" to the right.
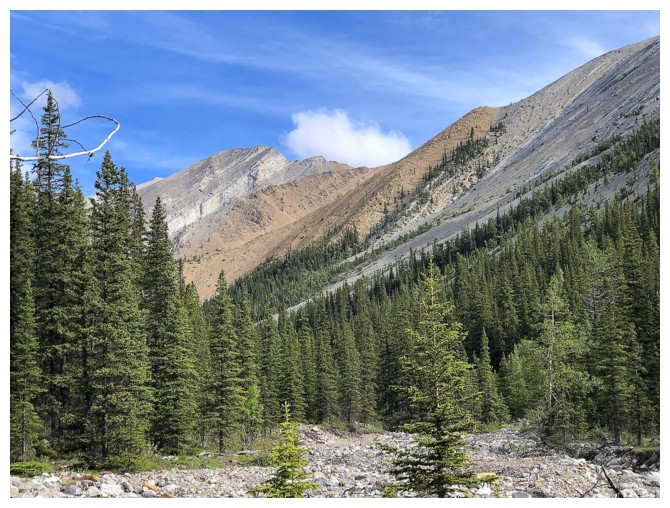
Big, unofficial peak to the north, but I'm sure it has an unofficial name by now
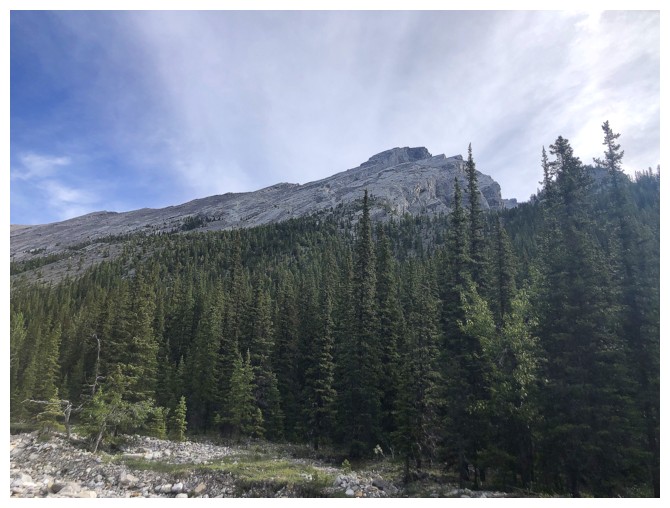
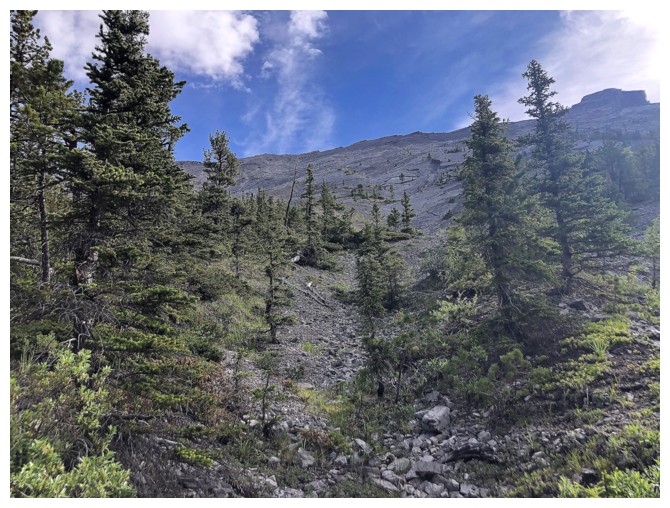
Approaching the point where we will turn right and head up to the ridge
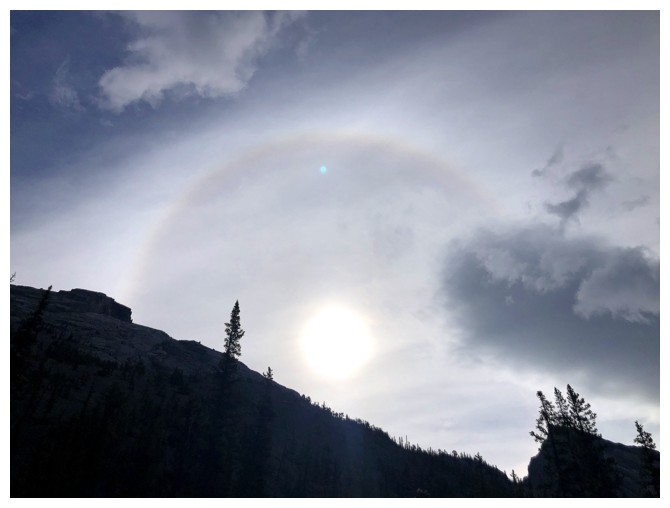
Sun halo
Heading up. Hassel at the far right.
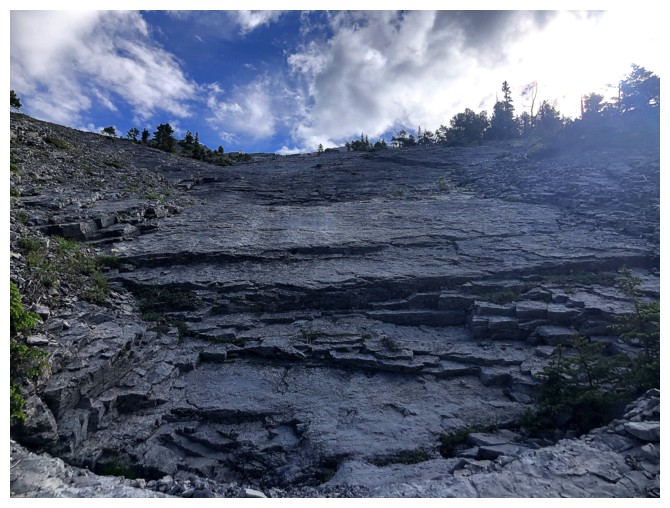
Wonderful slabby terrain to ascend
Same as above
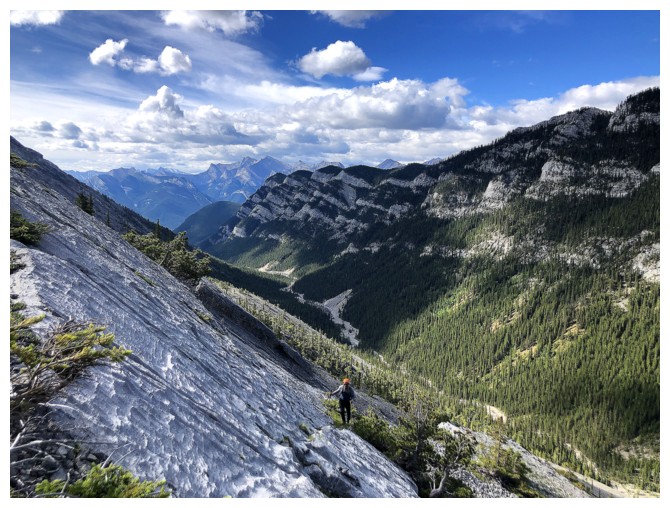
Getting a good view of some of the length of Jura Creek
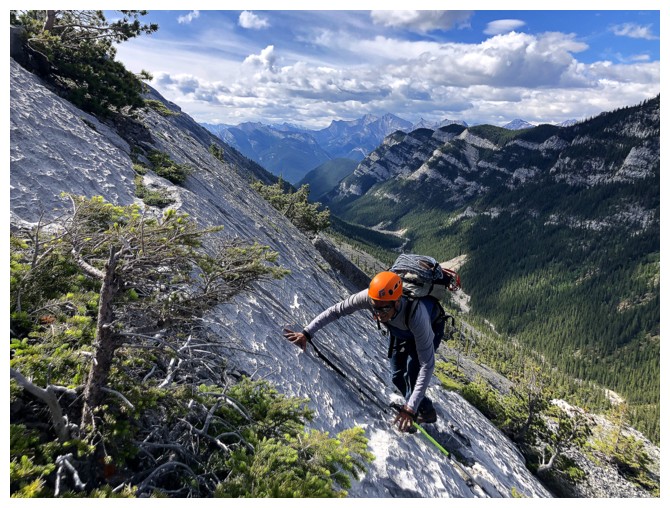
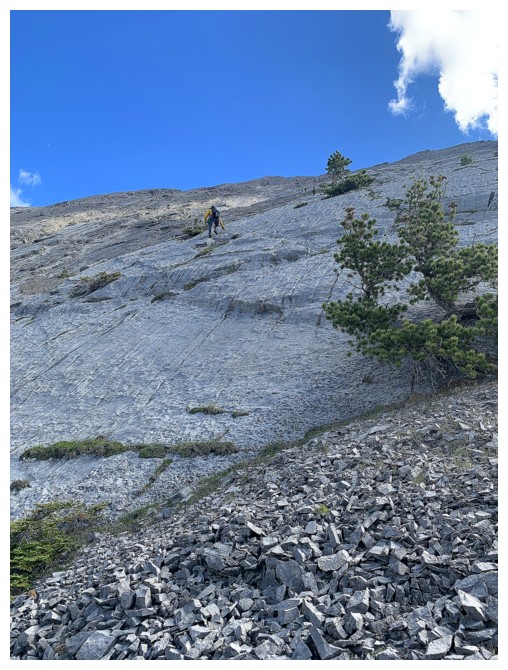
Still enjoying the slabs
Same as above
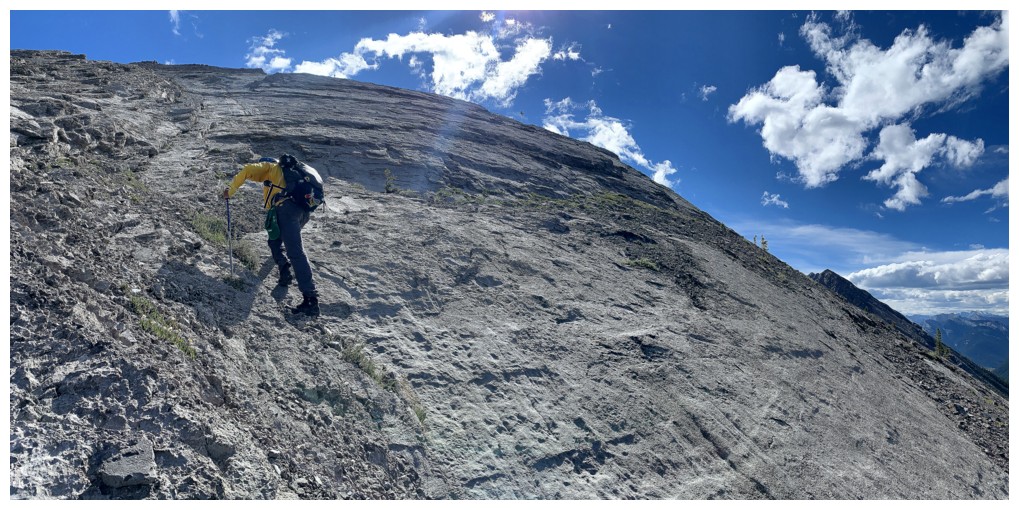
Same as above
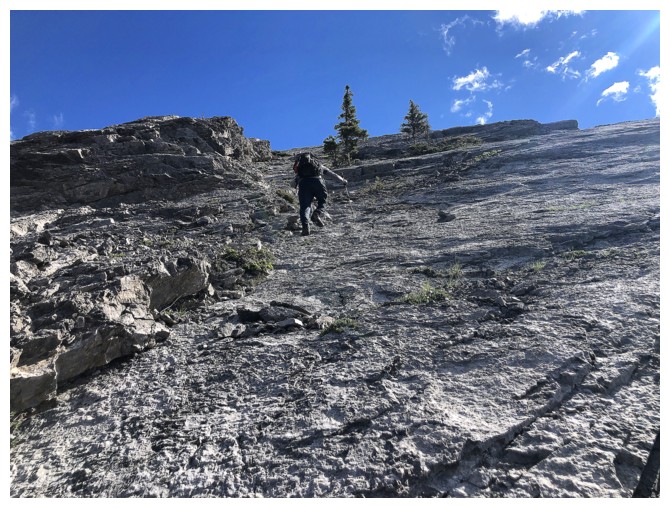
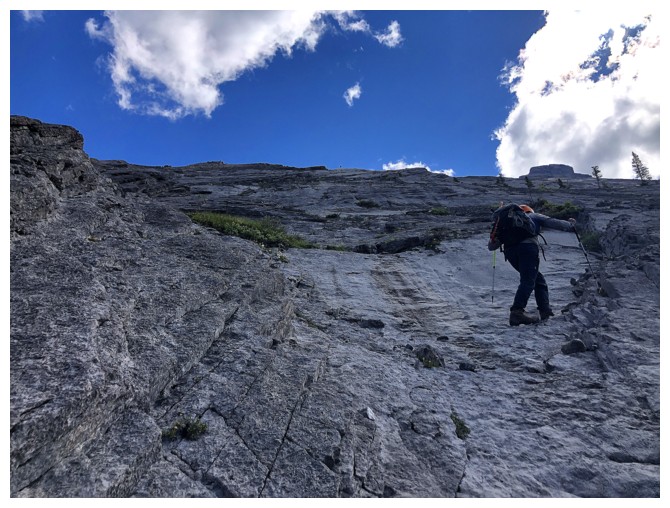
Same as above, but it's getting steeper

Same as above
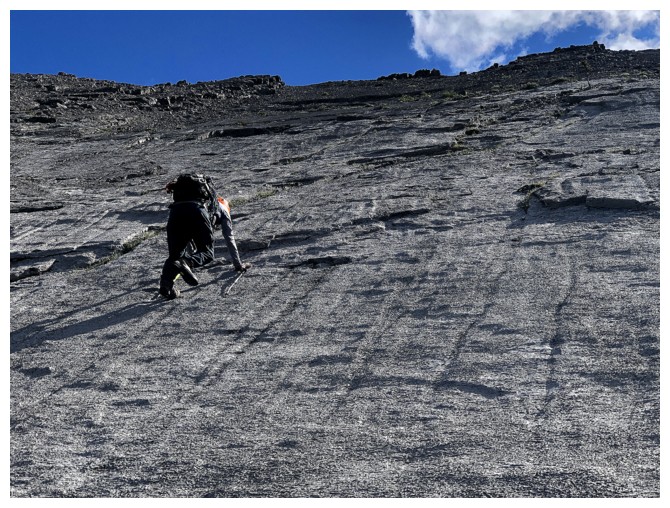
Close-up of Mark on the slabs
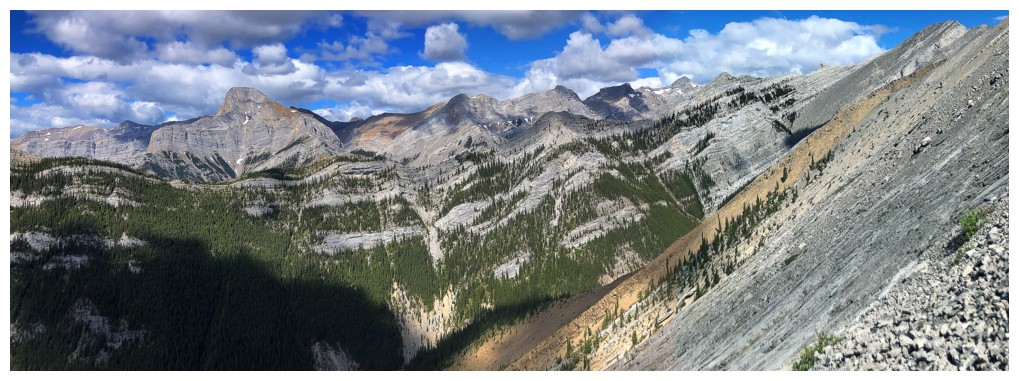
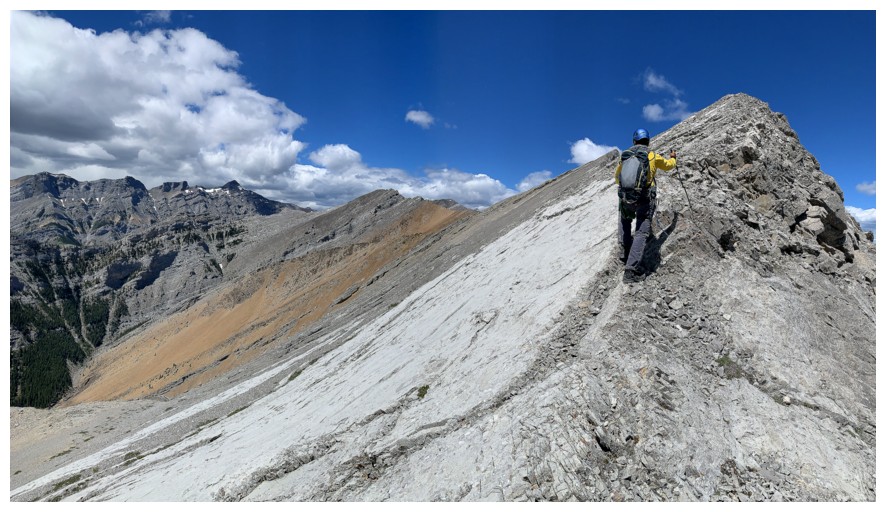
The
view to the west starts with Mount Fable at the left and continues
north over a string of peaks, including The Mythic Towers and
Mount Townsend
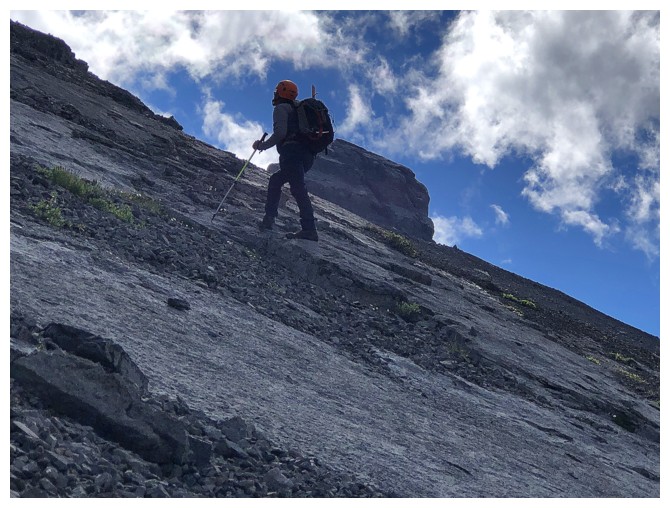
Nearing the top of the slabs with Hassel behind
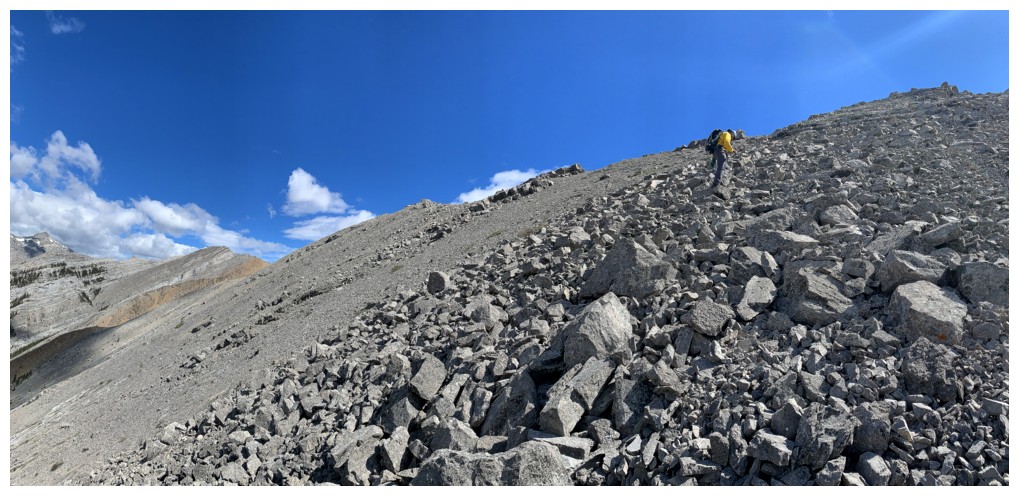
Unfortunately the slabs eventually give way to rubble

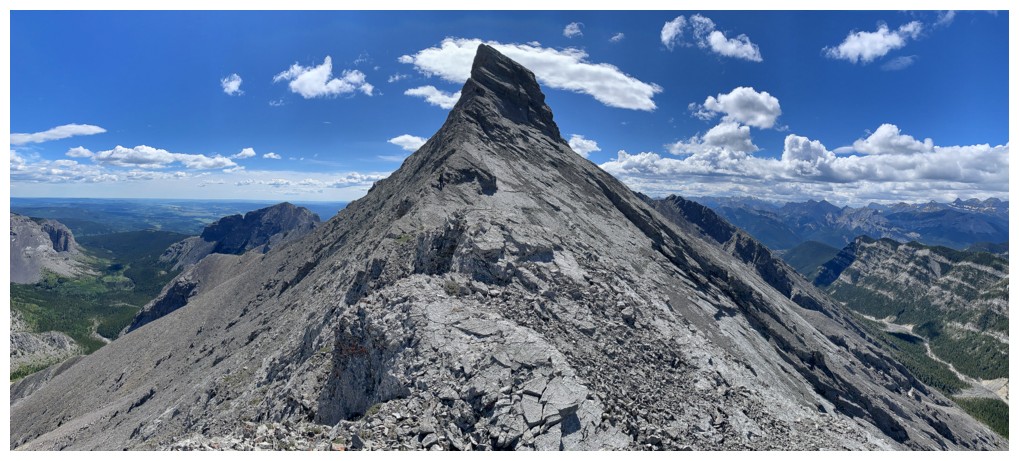
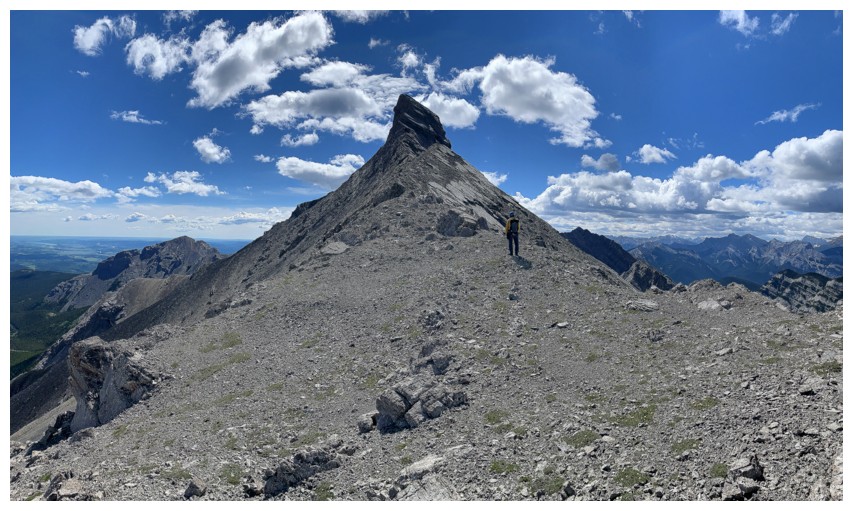
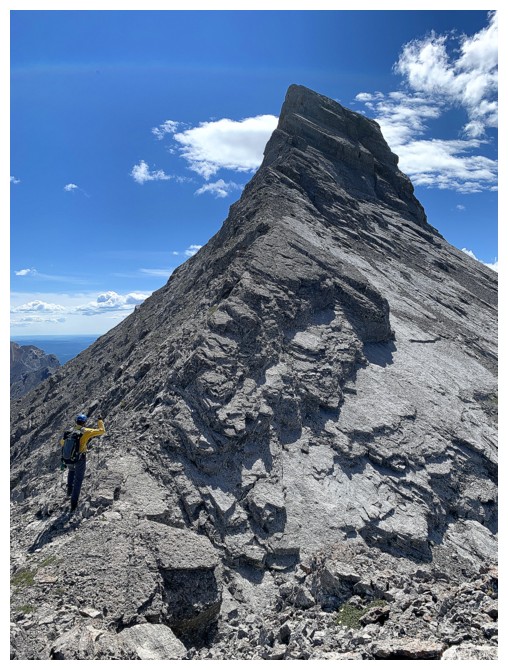
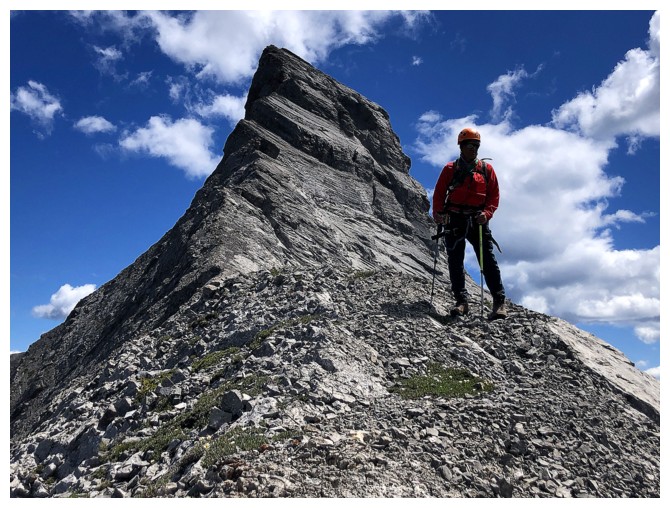
On the ridge and there's Hassel Castle - also called Old Fort Peak
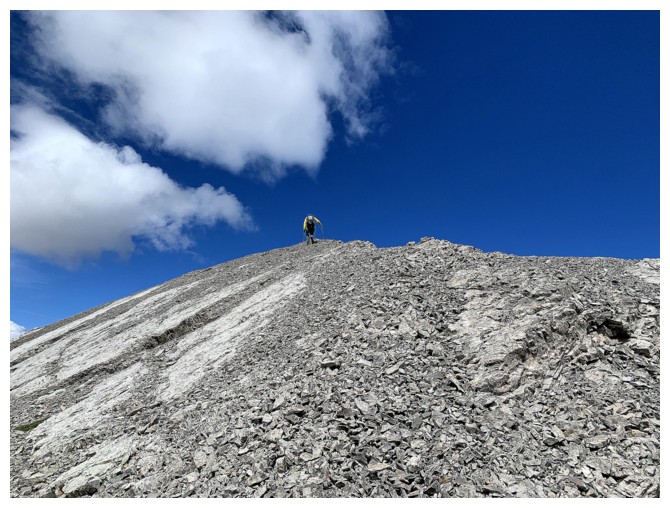
Mark takes the final few steps up to the ridge
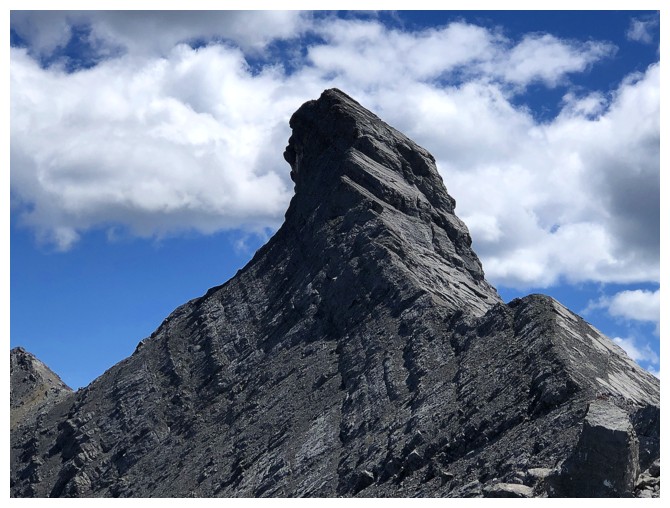
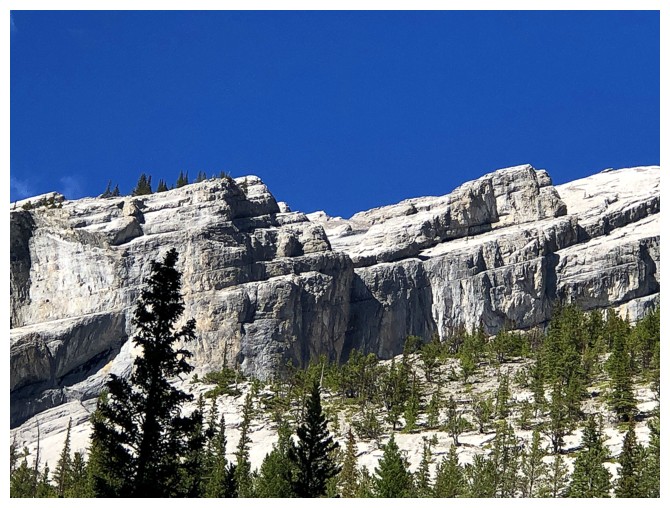
Close-up of the route up Hassel - it simply follows the ridge
Wendell Mountain (left) and the more enjoyable East Peak of Wendell
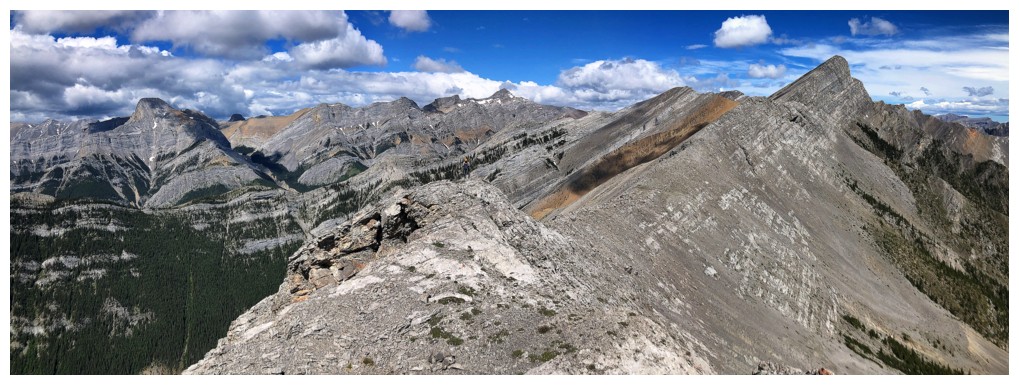
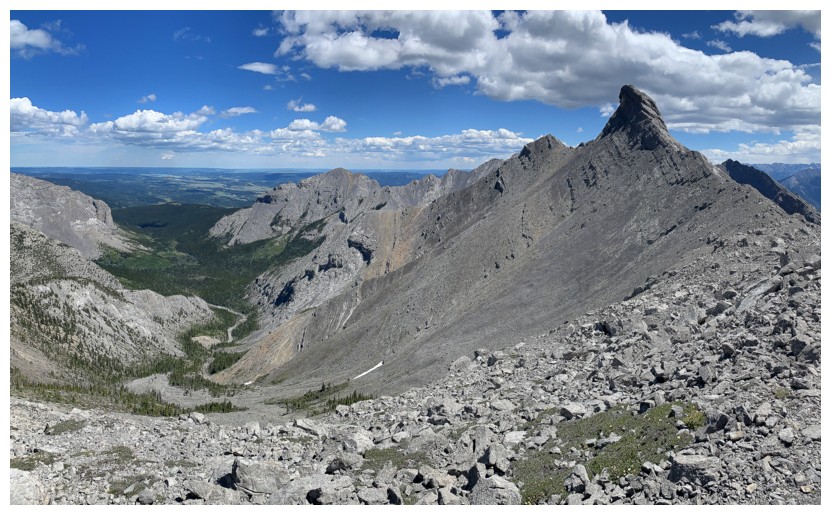
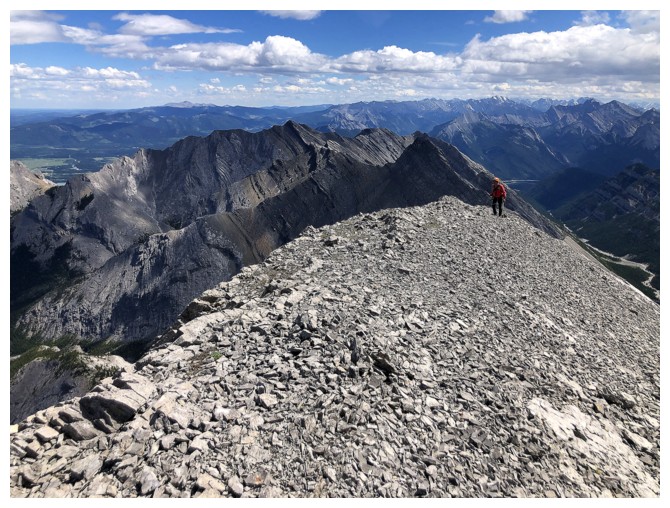
More comprehensive view to the north, northeast, and east
The ridge is super wide..... for now!
View to the northwest
At this point we decided to rope up due to the vicious wind

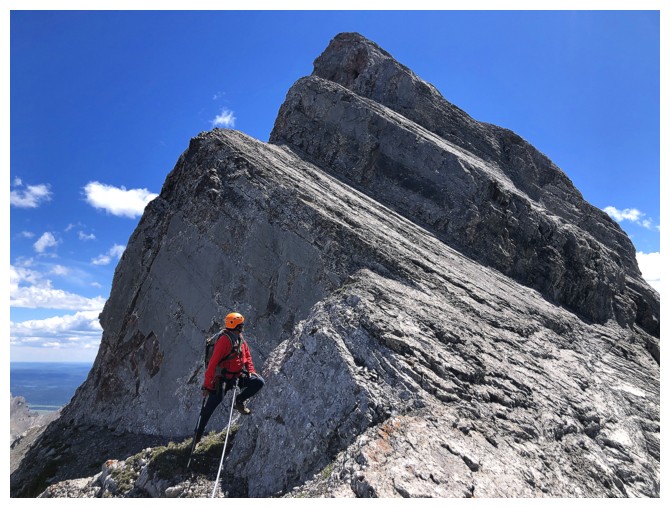
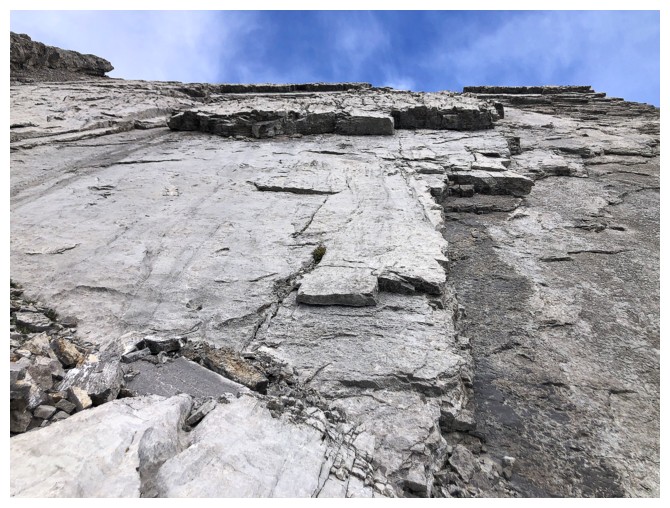
Below the crux
Ready to ascend the crux. Due to the precariousness of the next section neither of us took any photos.
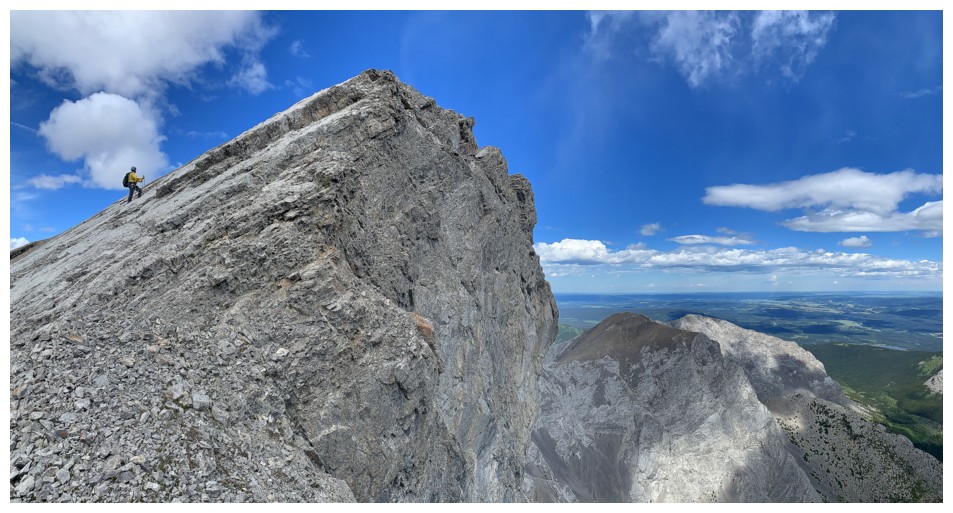
Looking back up after starting our retreat. I made it up the first step but that's all.
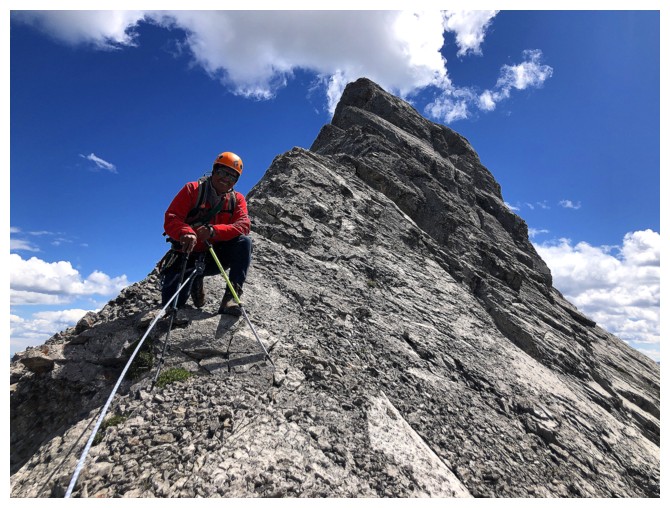
The curving rope gives some indication of the wind
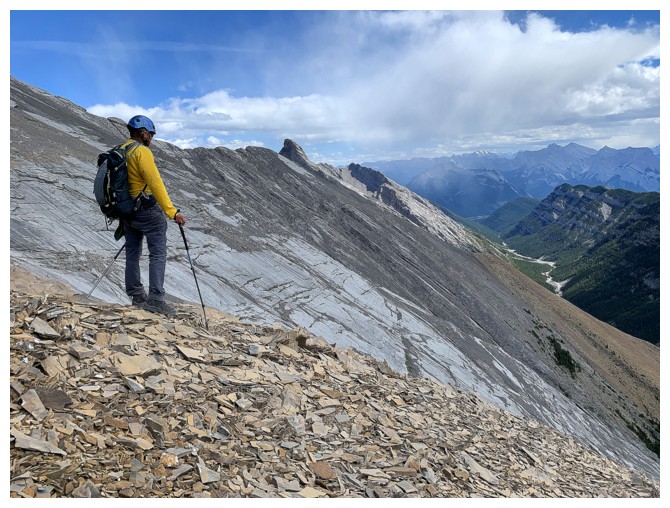
Back onto easy terrain and heading north to Morrowmount
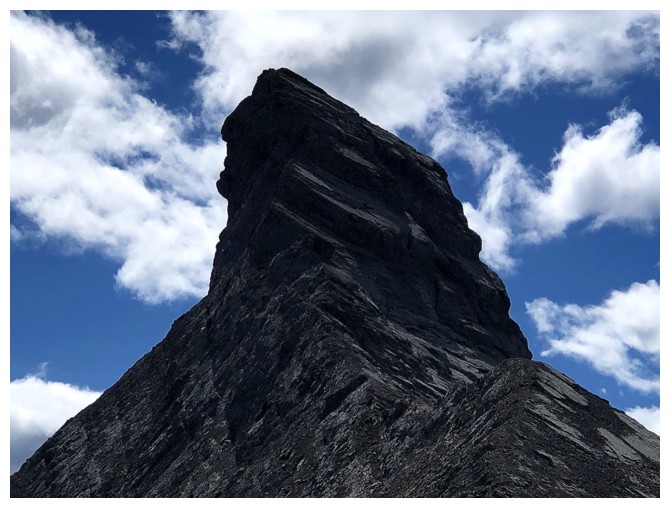
But still a little obsessed with Hassel
Maybe more than a little!
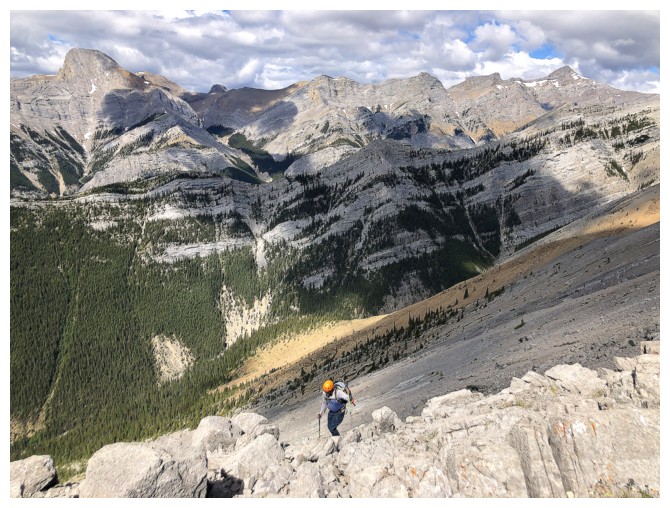
Staying on the east side of the ridge offered some protection from the wind
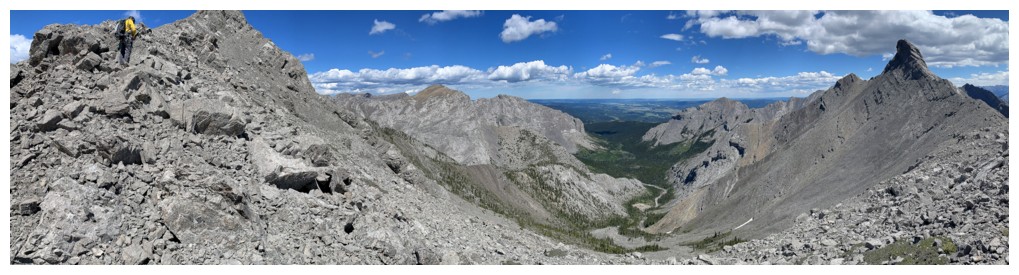
The CMC valley. The backside of famous Yamnuska, just left of centre
Same as above
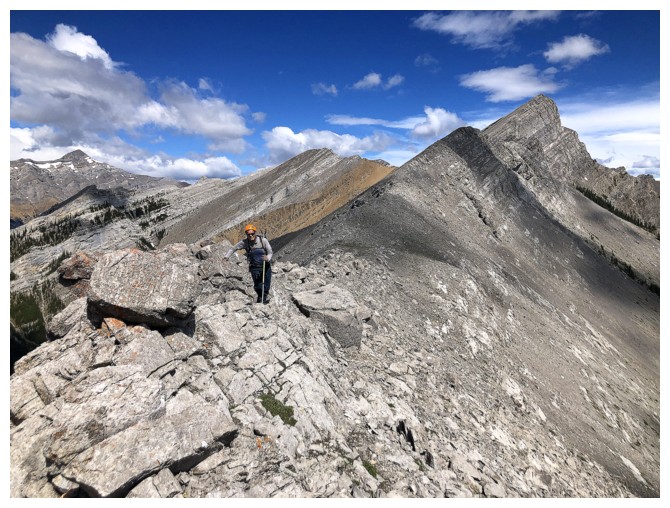
Pleasant travel on Morrowmount's south ridge
Same as above
And again
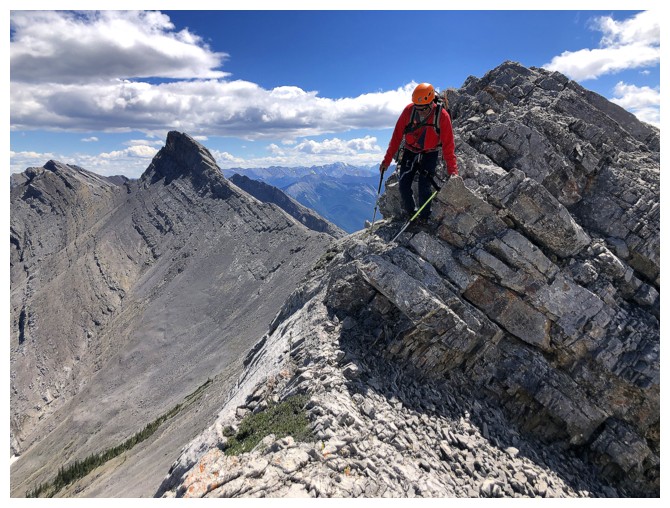
There are a few mildly exposed sections en route
We bypassed this section by traversing below the ridge
Back on the ridge
The summit is close
Final few steps for me
Final few steps for Mark
I guess a few more steps for me
Wendell Mountain
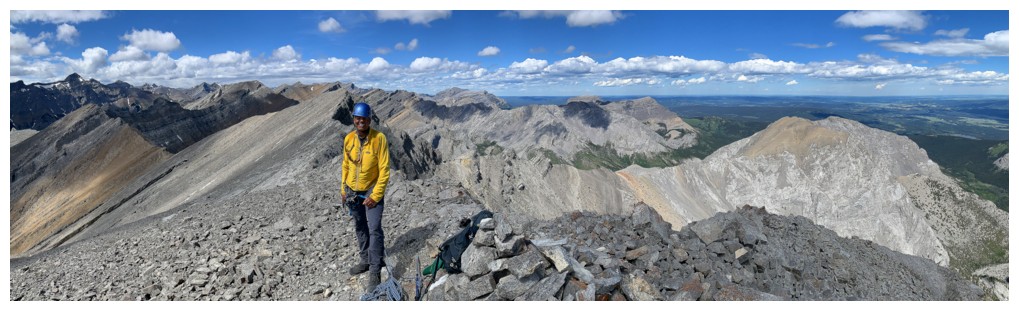
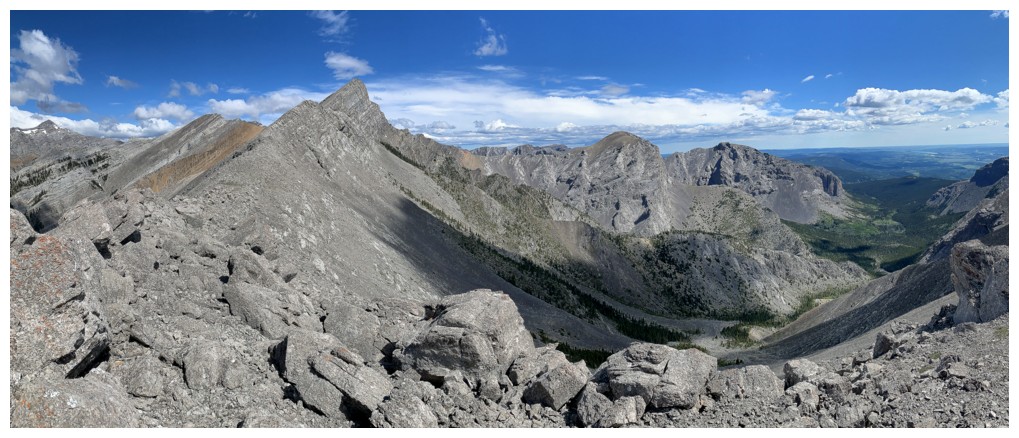
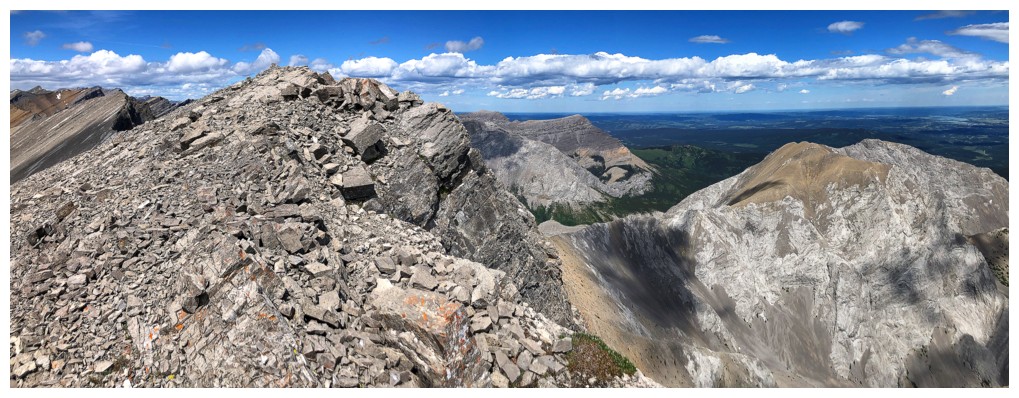
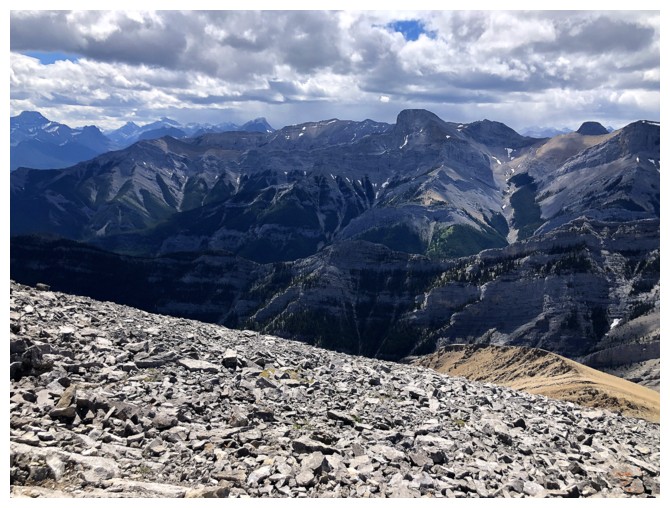
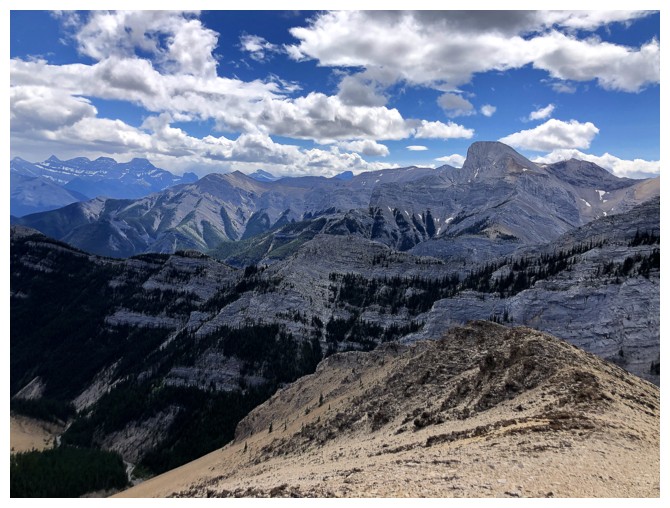
Summit view to the north
Summit view to the south
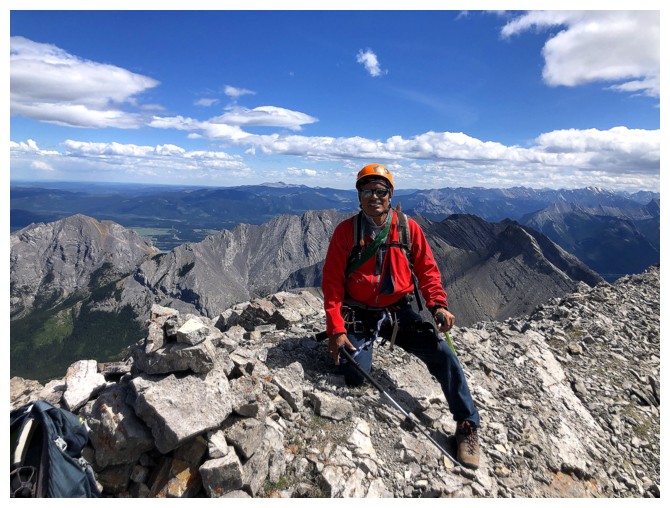
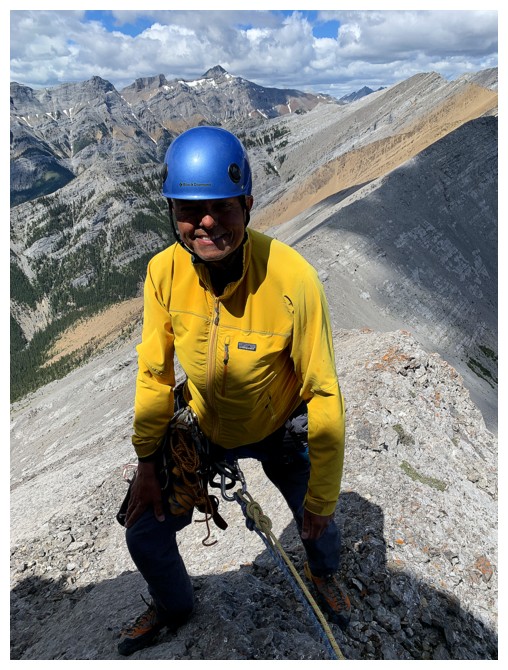
Summit view of my brother
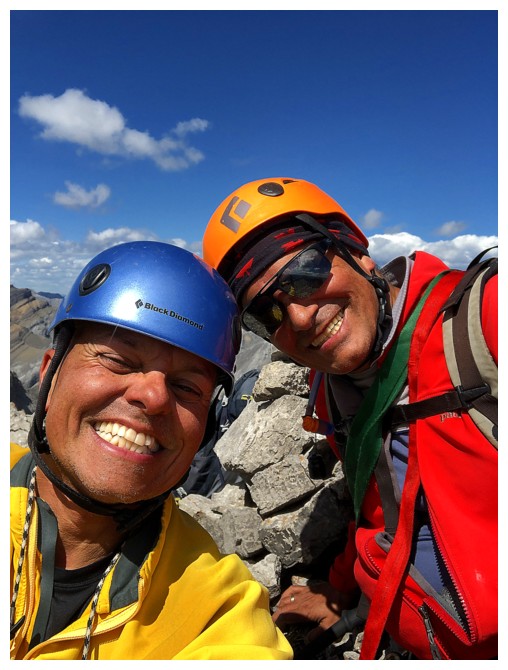
Summit selfie
Dark clouds to the southwest
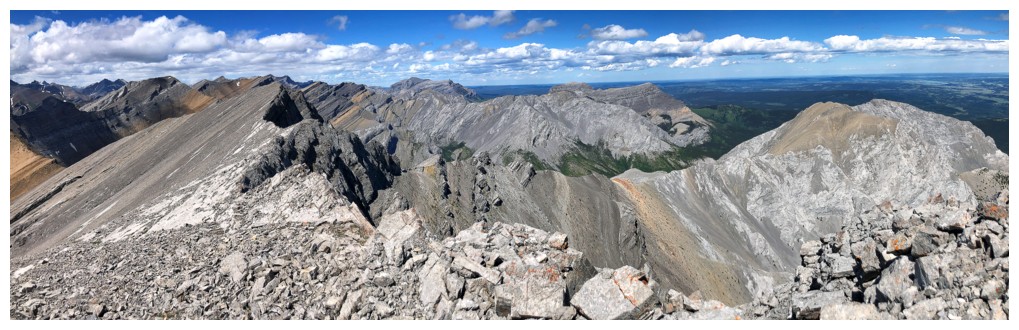
But still relatively clear to the north. Association Peak is the mountain in the distance, to the right - as stated in the report, "Glad I did it, but never again!"
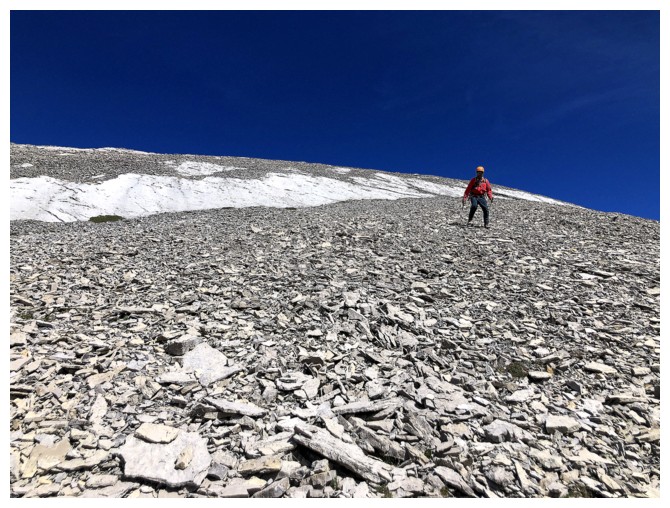
Descending slopes of broken shale
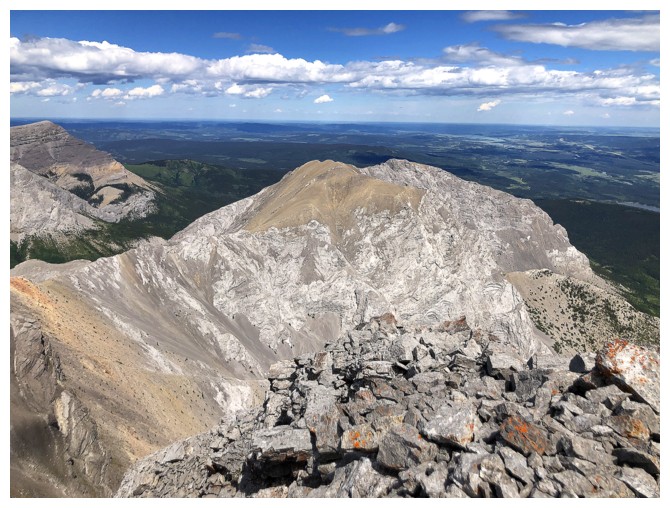
Looking
over to that big unnamed peak. If I were still in my 30's if probably
give it a go. However, "Not a snowball's chance in you know where" in my present
decade of existence!
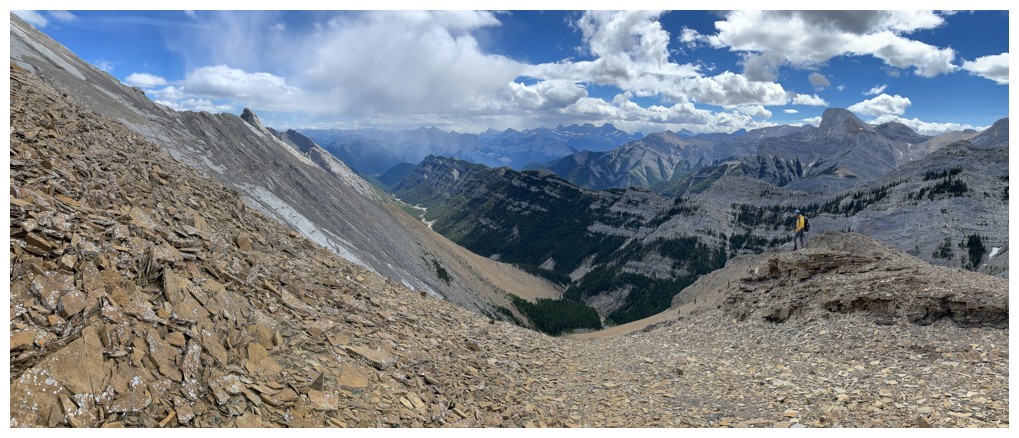
The descent route is going to go right down the middle
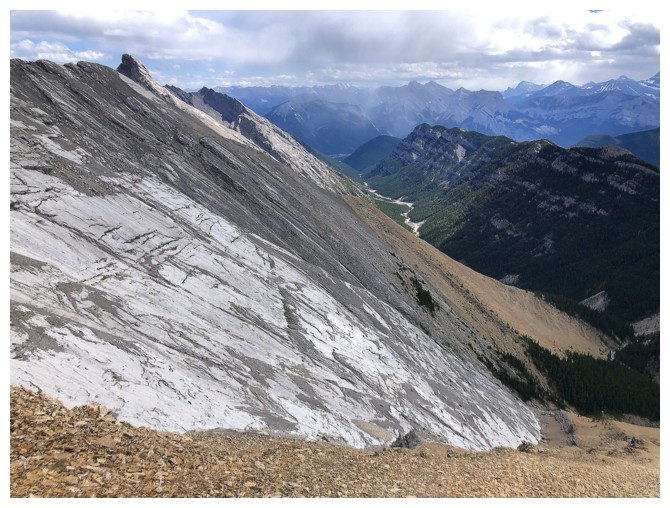
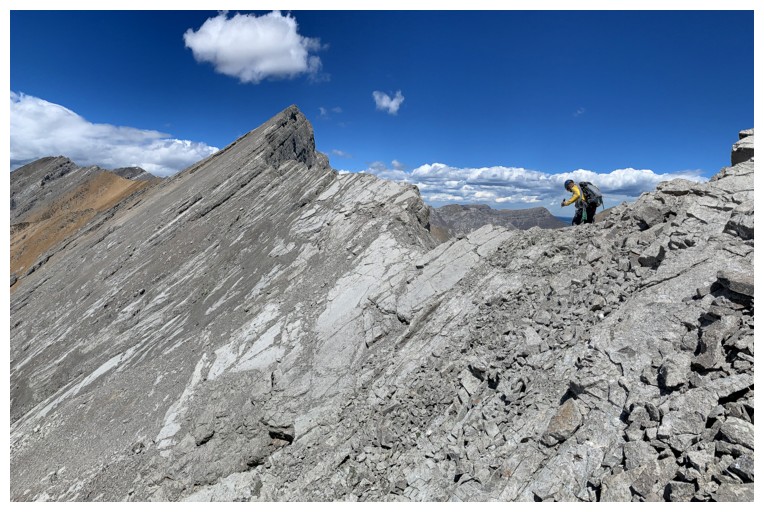
Love the delineation of rock here
Clearing up a little to the west
Admiring the delineation before we bomb down the shale

So much for bombing - guess we needed the rest first!
I doubt I'll ever be back this way so better take a ton of photos!
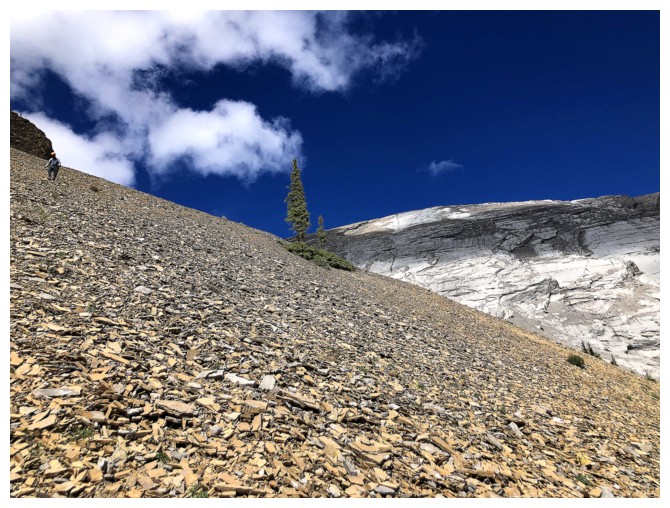
Single tree between the lines of rock
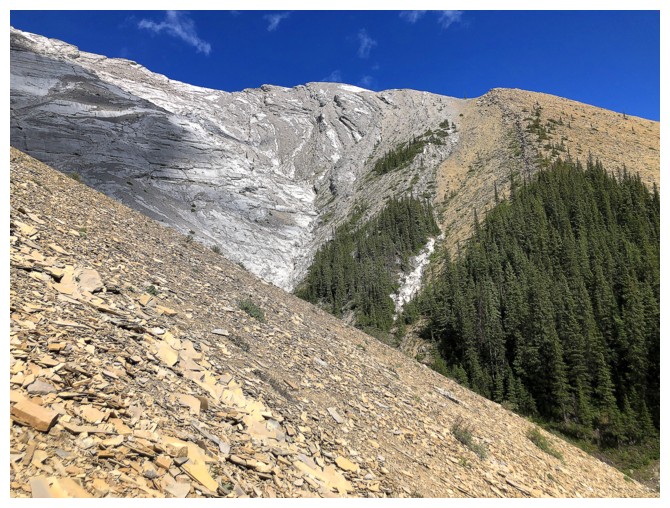
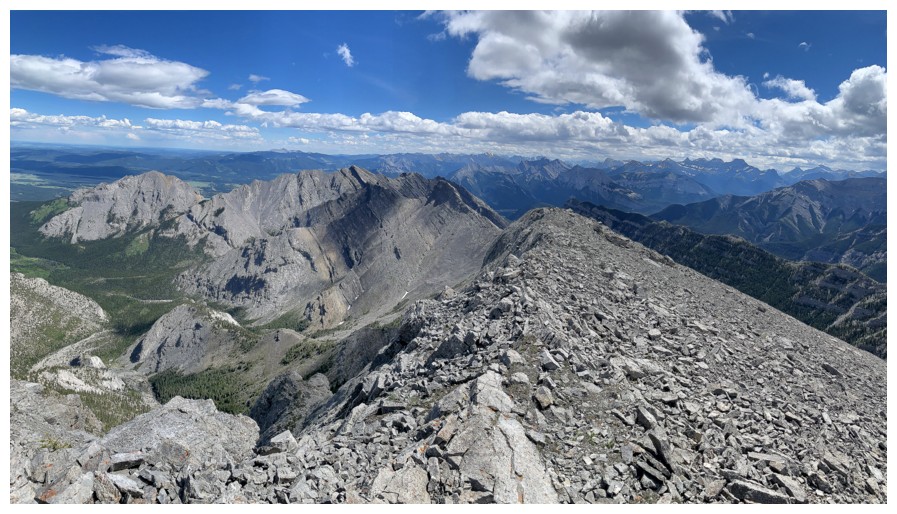
Looking back up to the connecting ridge between Hassel and Morrowmount
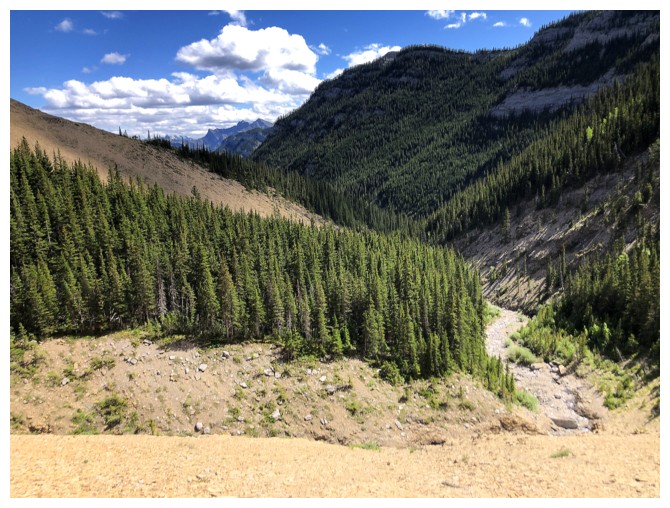
Almost down to Jura Creek
Mark cools down with water from a tributary
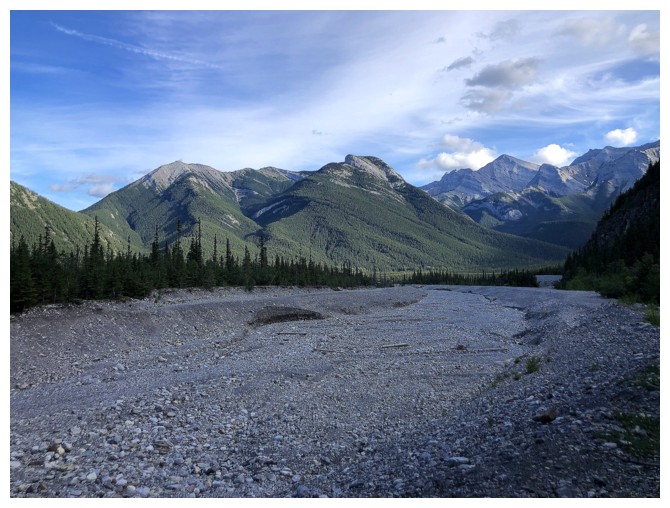
Start of the long and at times tedious hike down Jura Creek
Little Goat
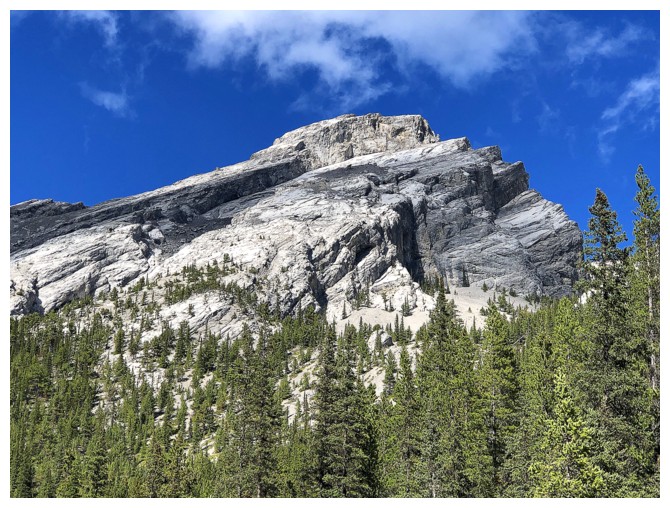
Hassel Castle
Still tedious
Hassel Castle, Little Goat, and part of Goat Mountain
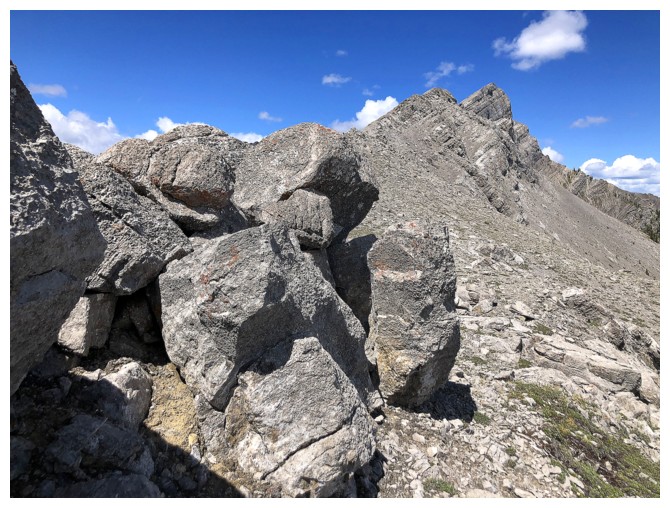
The rock is this area is awesome (the stuff on the mountains, not in the creek)

Back at the false fault
Almost back to the canyon
The end is finally in sight!
The End
LOG
