Prairie Bluff XIX
(Northeast face route)
January 25, 2025
Mountain height: 2258 m
Elevation gain: 680 m
Ascent time: 3:35
Descent time: 1:55
Mountaineering
with Dave and Brad.
When my two
favourite humans, south of Calgary asked me to join them on an intriguing
ascent of Prairie Bluff’s east face, declining the offer was not an option. 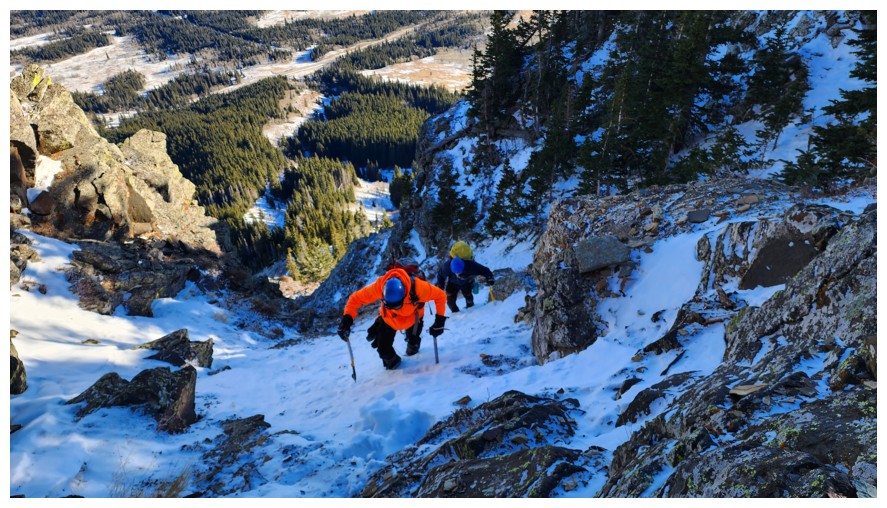 The
route goes directly to the summit up several steep snow couloirs. Brad had
completed it three times and this would be Dave’s second. We wisely chose we
bring climbing gear just in case; and two ice axes/tools would be mandatory.
The
route goes directly to the summit up several steep snow couloirs. Brad had
completed it three times and this would be Dave’s second. We wisely chose we
bring climbing gear just in case; and two ice axes/tools would be mandatory.
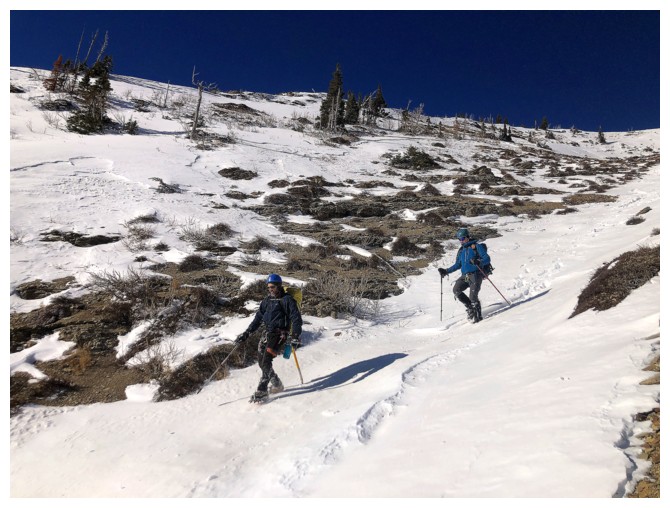
After a short
approach, we geared up in the trees and then traversed into the first couloir.
Right off the bat it became clear while two axes were going to be essential.
Brad had graciously lent me an ice tool to compliment my mountaineering axe.
Were I to repeat the route, I would take two ice tools, as Brad and Dave had
done.
Brad, in HIS
element as much as I’m in mine in a chocolate store, led most of the ascent,
with Dave taking the lead for a few sections. I was more than happy to follow
the “snow staircase” they were creating for me! Snow conditions were generally
excellent. However, in a couple of sections, sugary snow disintegrated after
Brad and Dave ascended them, leaving bare slabs with small sketchy holds. I
immediately called for a rope in these sections and Brad was quick to set up an
anchor and throw a rope down.
We took a much-needed
break about two-thirds of the way up, enjoying the warm Sun and complete
shelter from the wind. 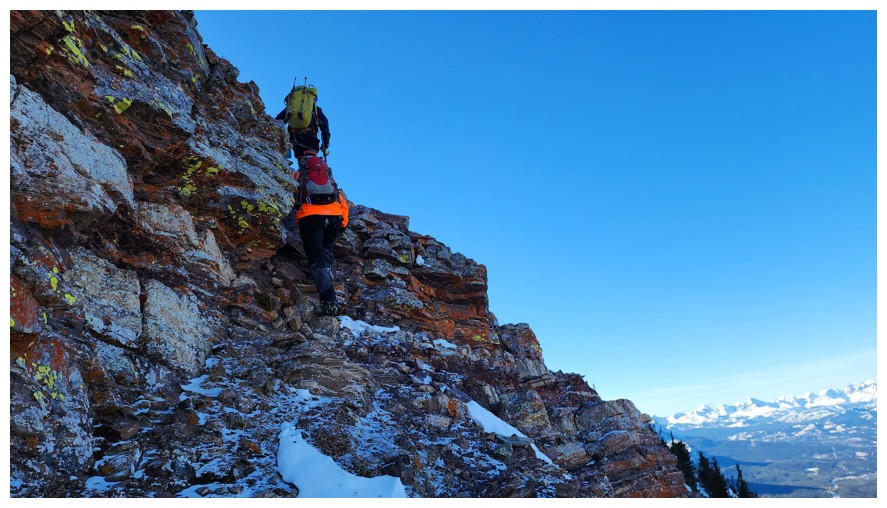 Dave led the next section, and we were soon at the base
of the last couloir, directly below the summit. Unfortunately, the anemic snow
conditions rendered this couloir a dicey proposition at best. We unanimously
decided to bypass the couloir, finding an easy scramble route to the right.
Dave led the next section, and we were soon at the base
of the last couloir, directly below the summit. Unfortunately, the anemic snow
conditions rendered this couloir a dicey proposition at best. We unanimously
decided to bypass the couloir, finding an easy scramble route to the right.
Our summit stay
was no more than two minutes. With no shelter from the wind, bone-chilling
temperatures were cause for a hasty descent. We started down the wide gully
west of the summit. While taking a photo of Brad bombing down the snow I
dropped my phone – and down it went too! Miraculously, after its hair-raising journey
several hundred metres down the mountain, crashing over snow and rocks, the
phone was completely undamaged and worked fine. Way to go Apple!
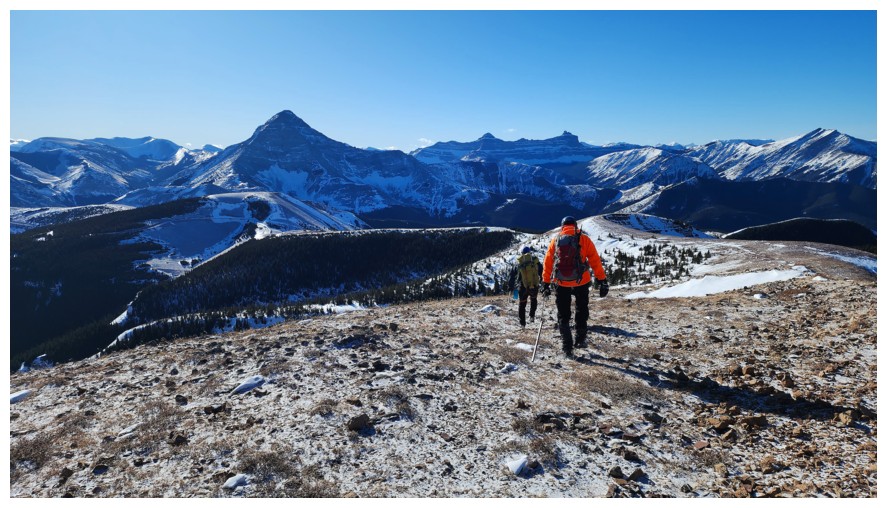
We completed
the descent, circling around the south end of the mountain and then hiking
along the road back to our vehicles.
What a day! A
fantastic climb with two fantastic climbers/friends. Huge thank you to Brad and Dave
for taking me up (and getting me up) this amazing route!
Click HERE to see Dave's outstanding report.
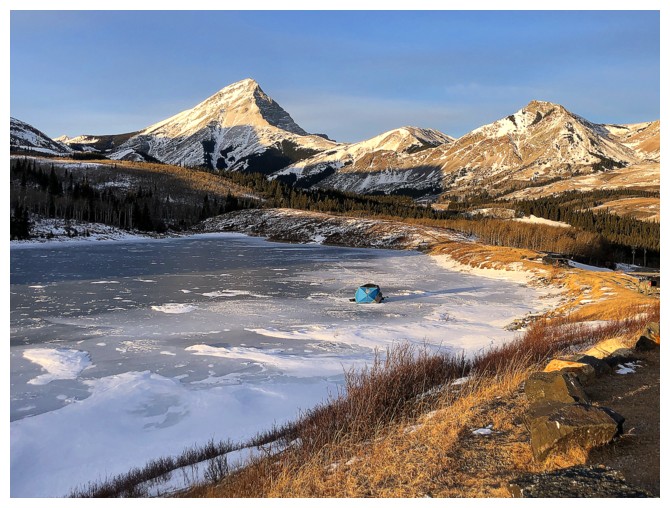
Brief stop at Butcher Lake. There were two ice-fishing tents set up on the lake.
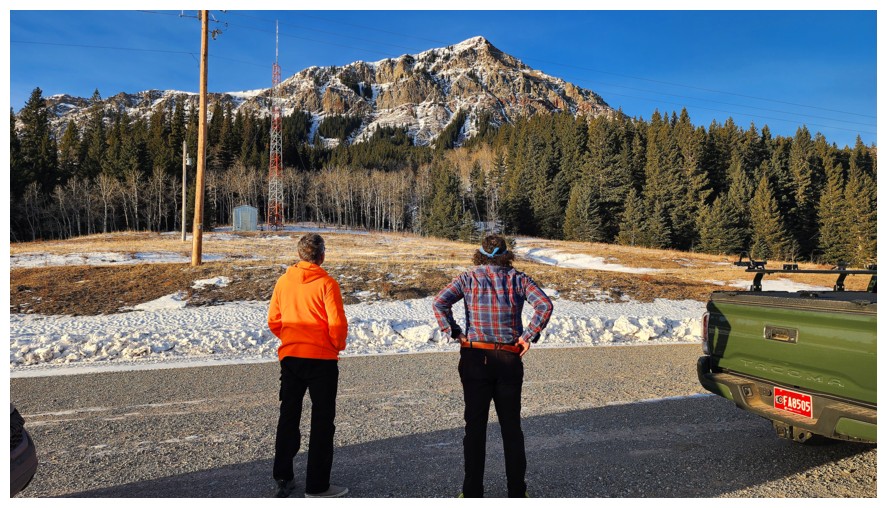
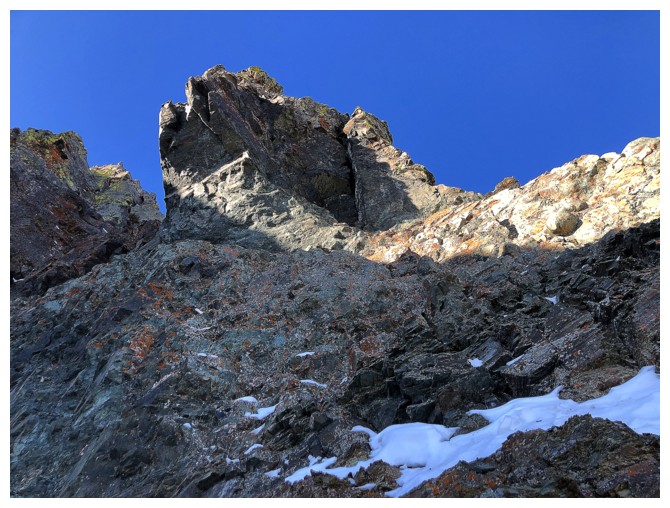
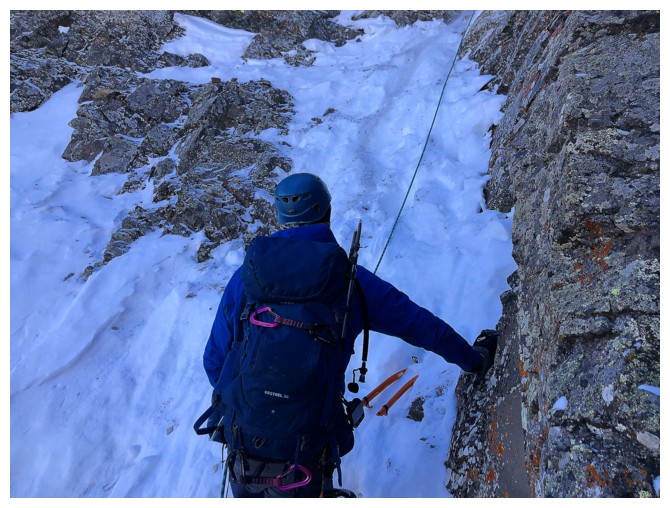
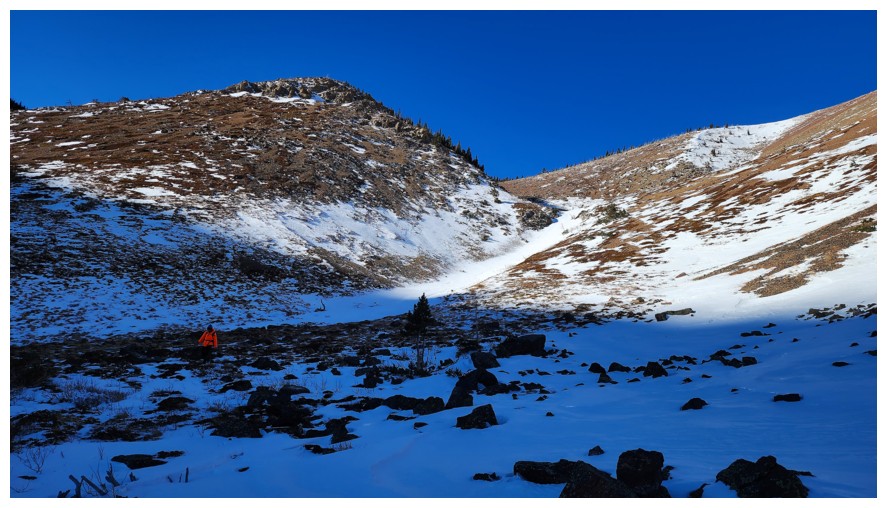
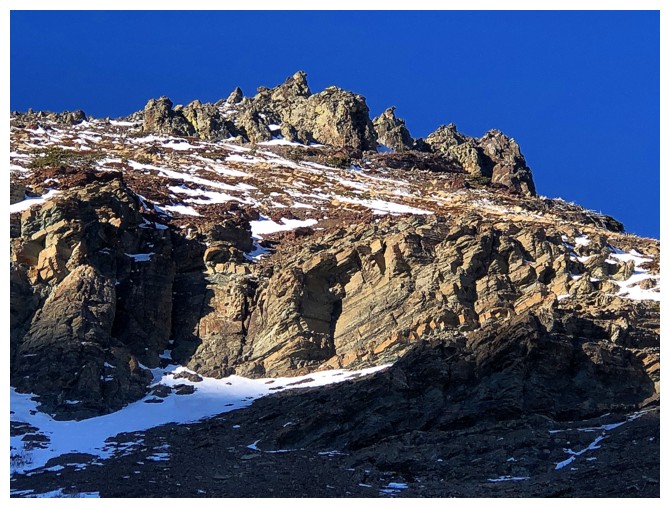
Brad and I check out the route. It goes directly to the summit (photo by Dave).
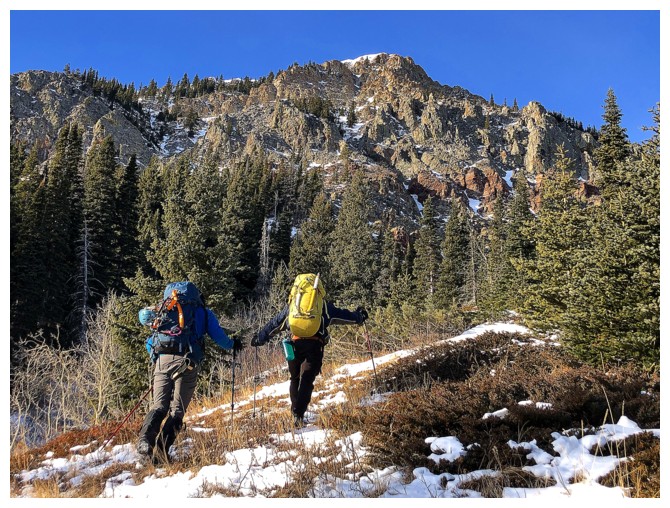
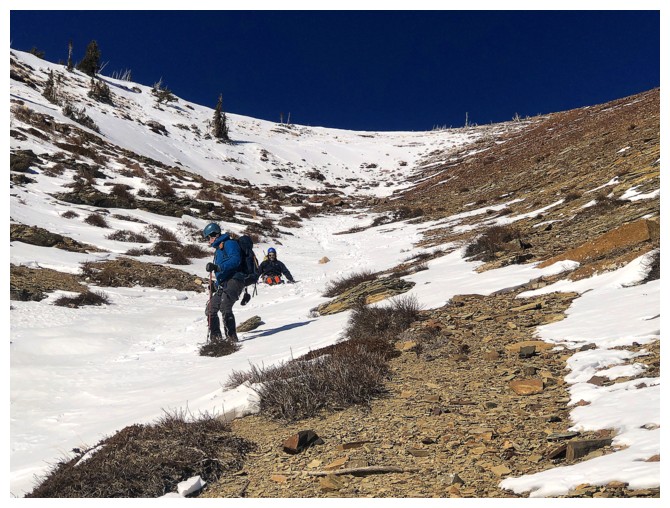
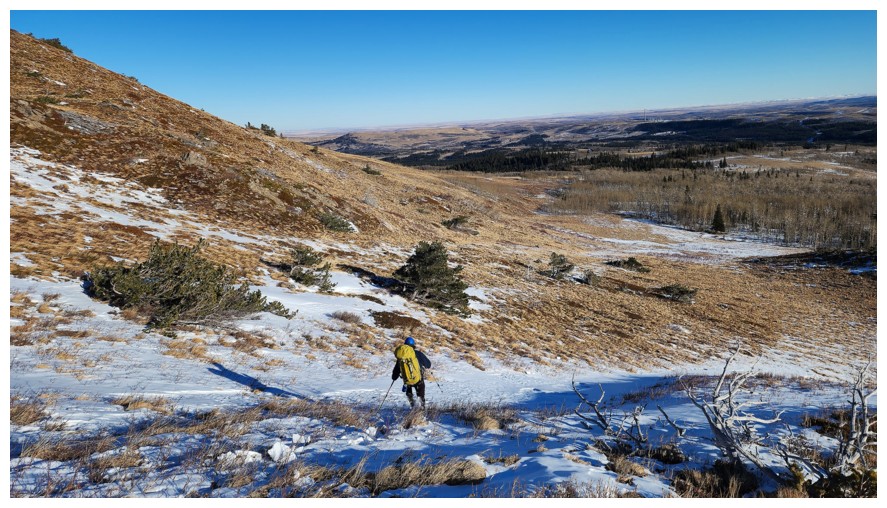
Brad leads us to the base of the first couloir

Gearing up in a sheltered area (photo by Brad)
Traversing over to the snow slope that leads to the first couloir (photo by Dave)
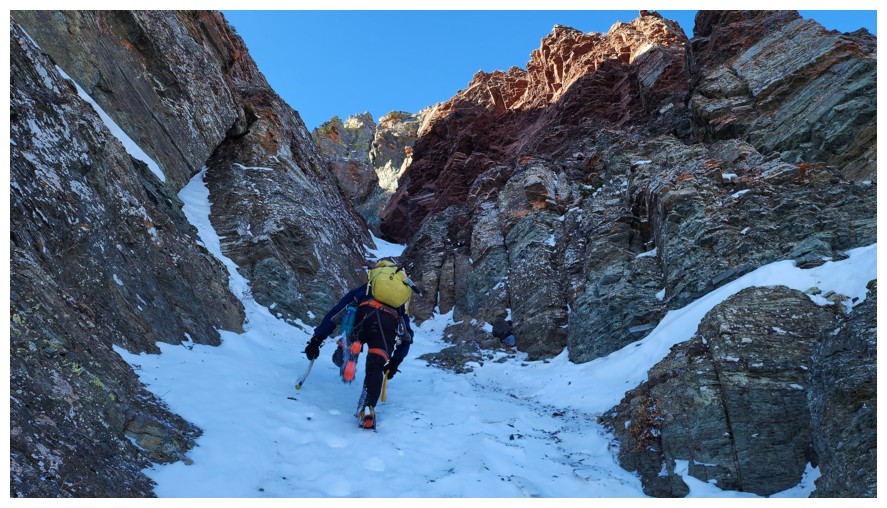
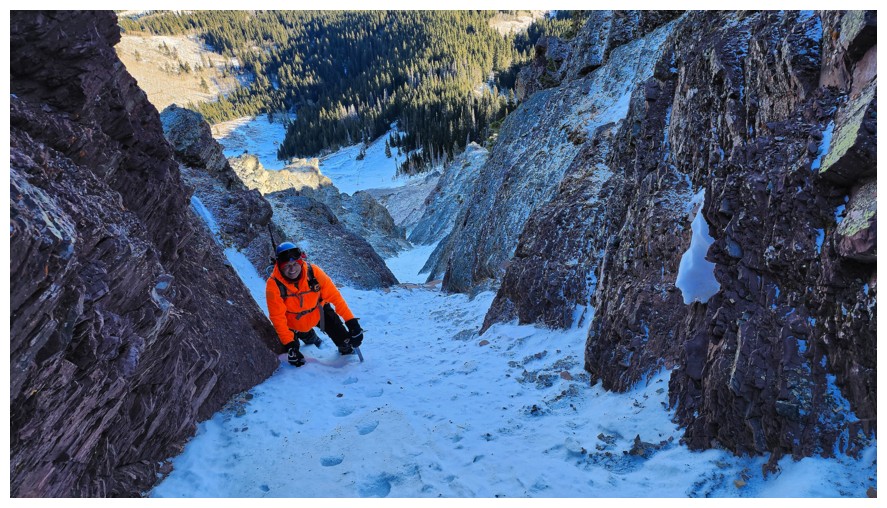
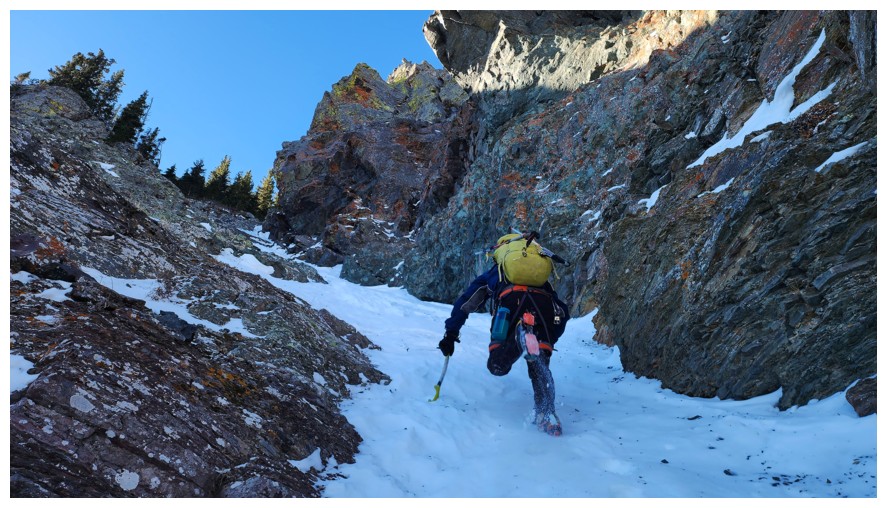
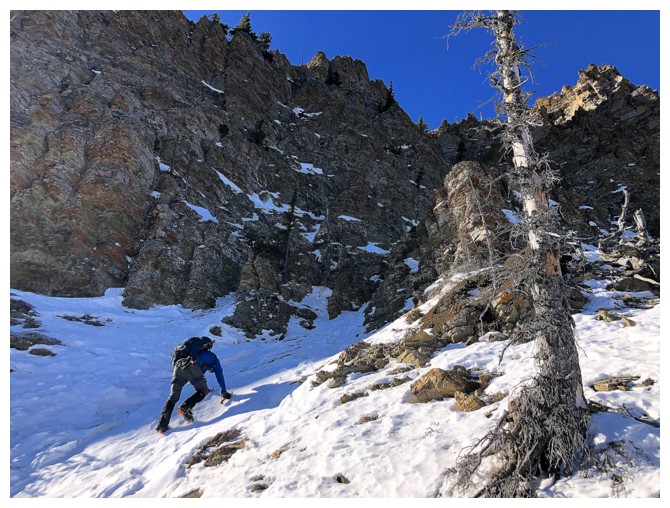
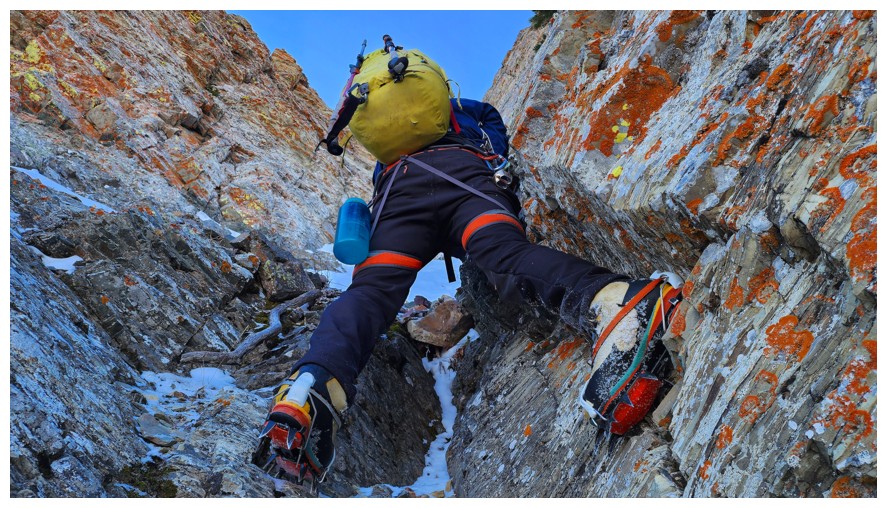
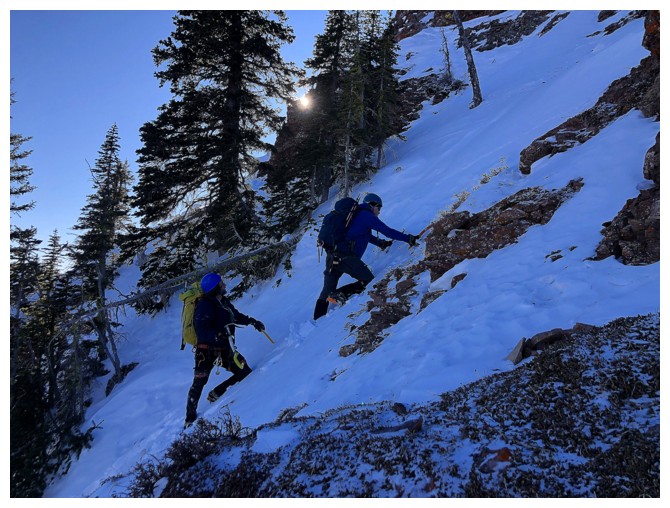
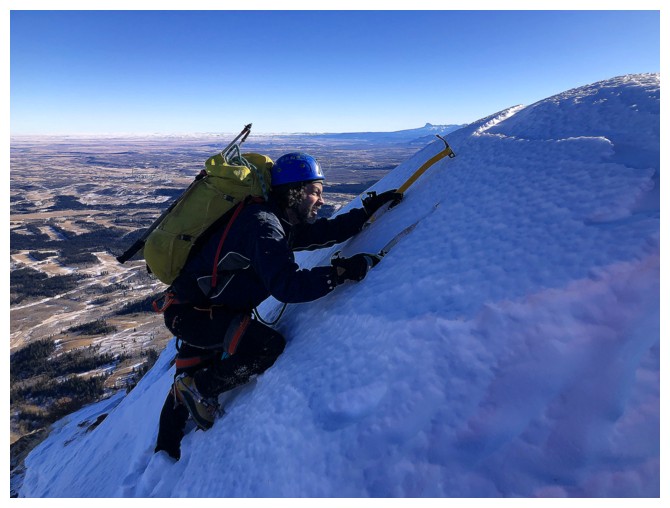
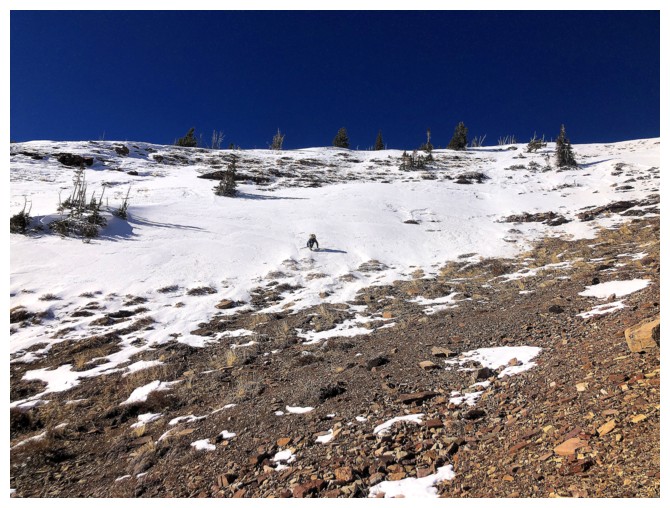
I'm bringing up the rear and would do so for almost the entire climb (photo by Dave)
The step-kicking commences. Brad leads... (photo by Dave)
...we follow (photo by Brad)
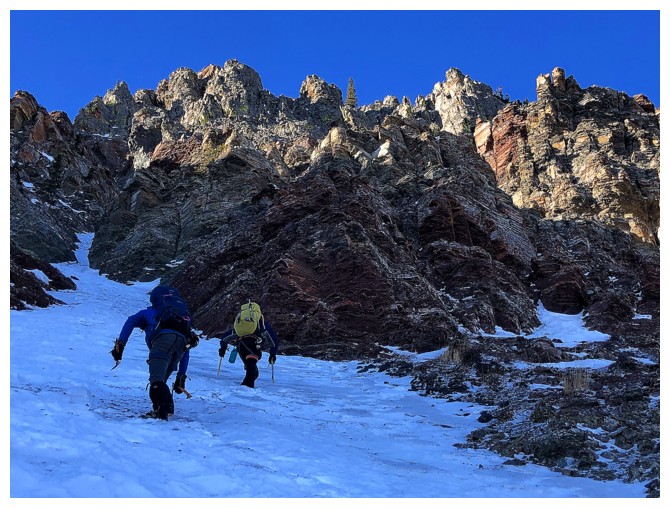
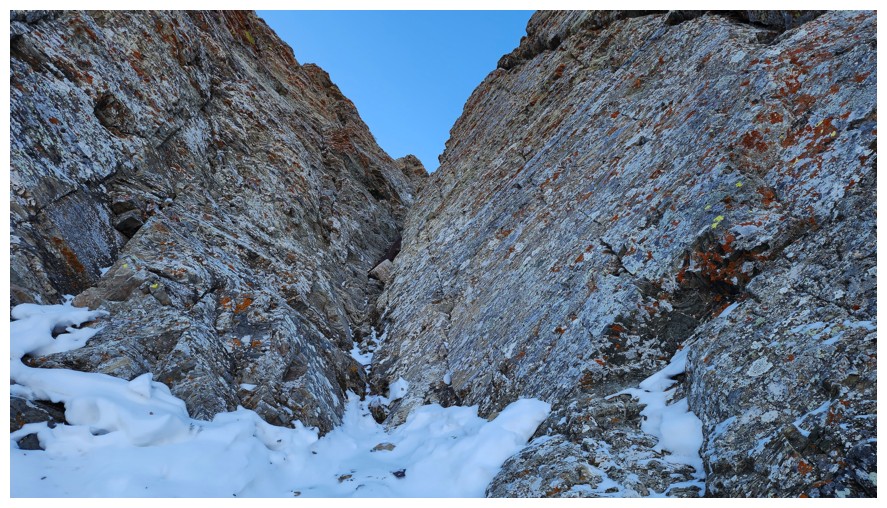
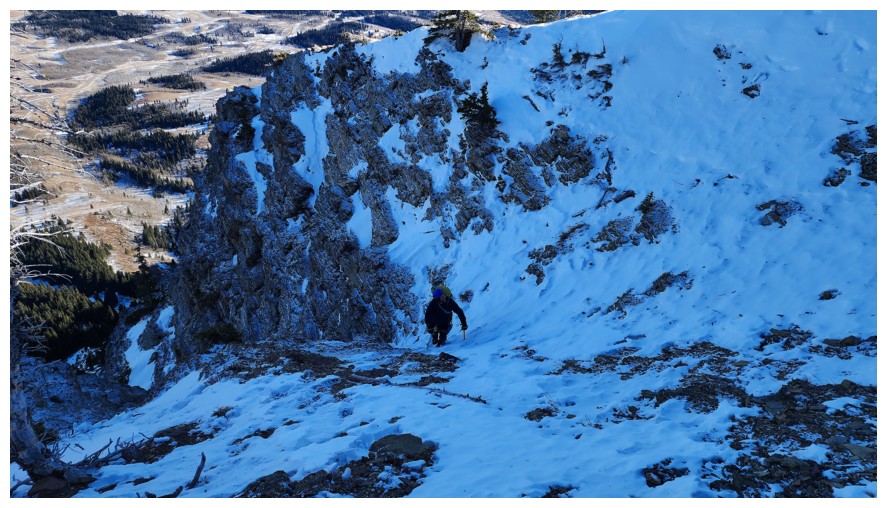
Approaching the base of the first couloir
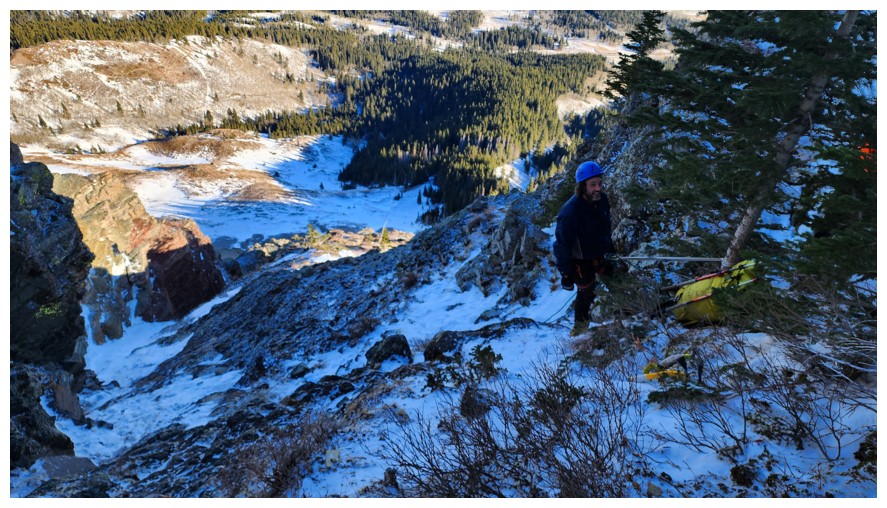
In the couloir
Brad in his element (photo by Dave)
There's no chocolate, so I wouldn't say I'm in mine (but I loved it anyway) (photo by Dave)
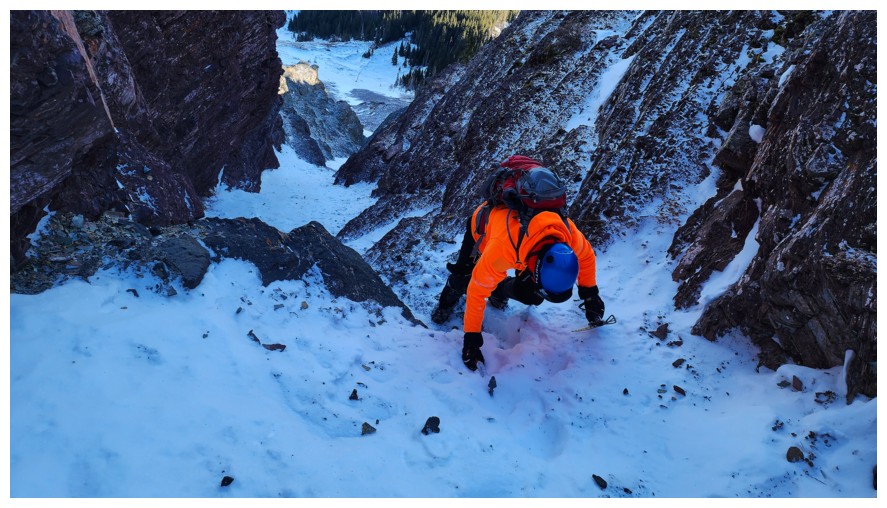
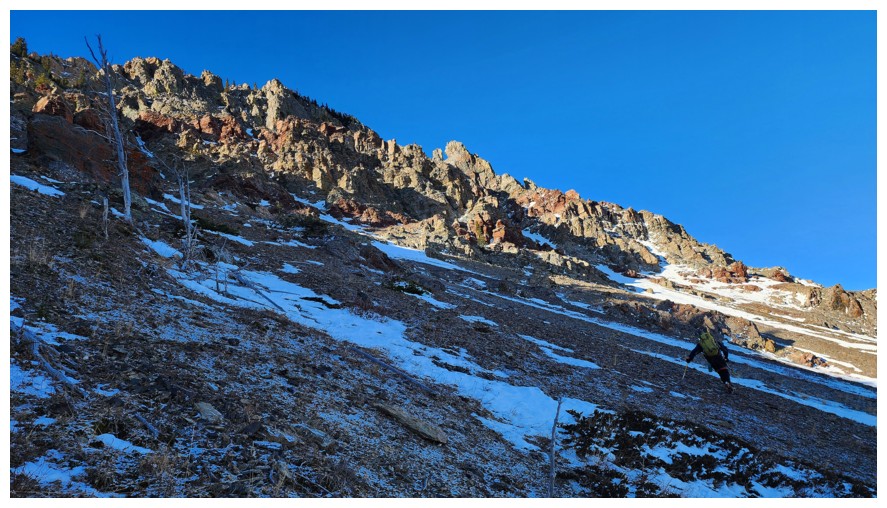
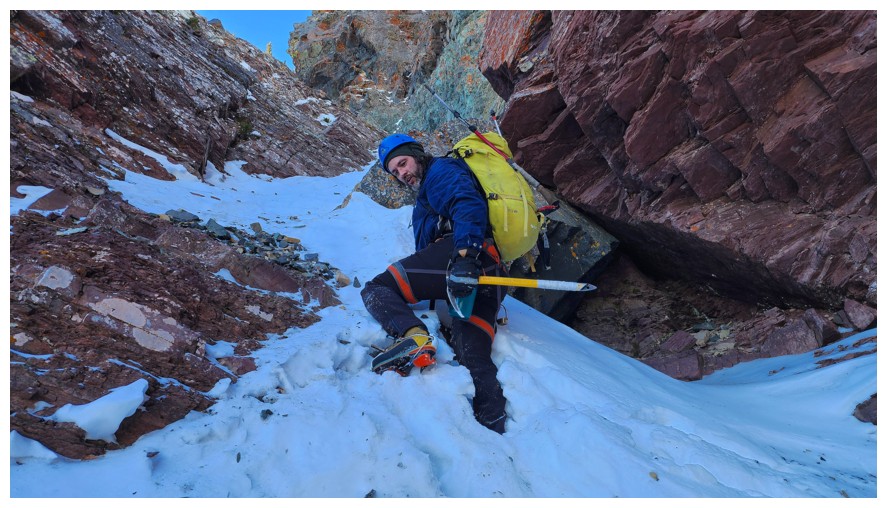
Note:
all the terrain from here to the summit is much steeper than it looks.
This is not a route to be taken lightly. Two axes were mandatory (photo
by Dave).

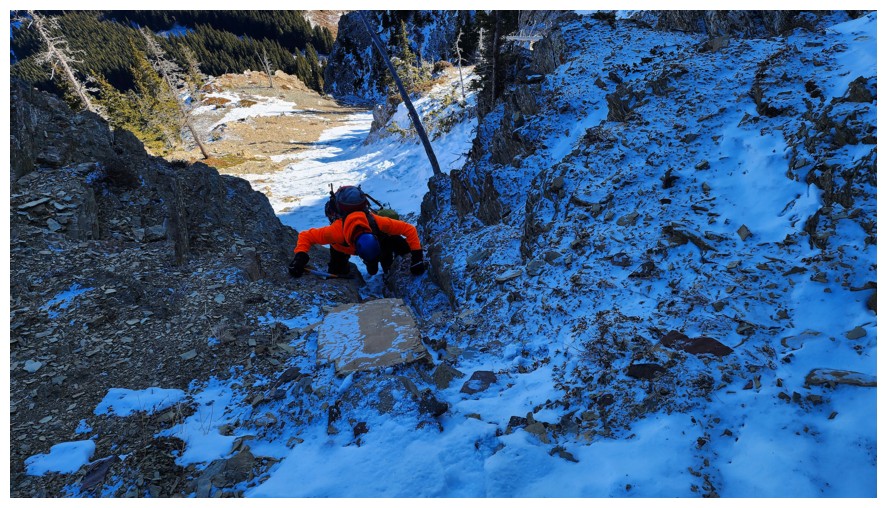
Brad ascends the first rock step (photo by Dave)
We follow (there will be a lot of "we follow" throughout!) (photo by Brad)
A little stemming (photo by Dave)
Back
to kick-stepping. Brad has a great set-up for this type of terrain: La
Sportiva mountaineering boots, aggressive 12-point crampons, and two
ice tools (photo by Dave)
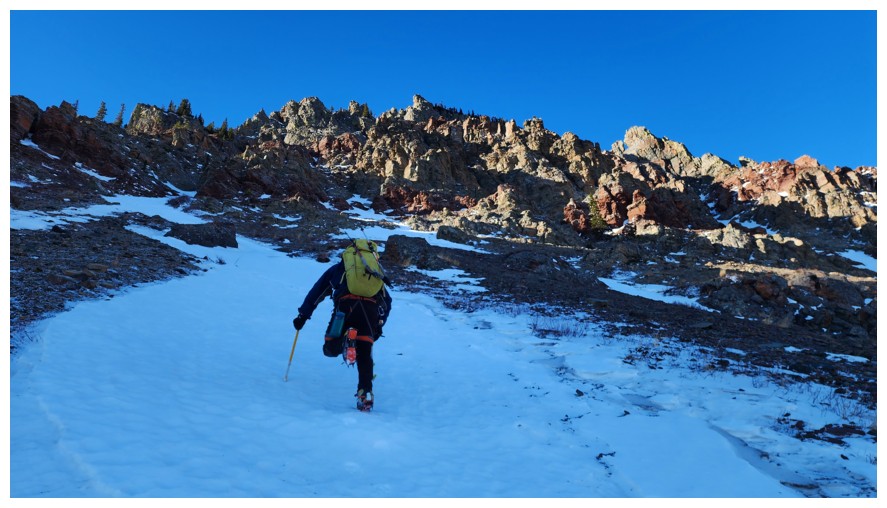
I
was wearing hiking boots with Camp crampons and although I love those
crampons for less serious terrain, they were not aggressive enough for
this type of climbing. A rigid boot would also have been preferable
(photo by Dave).
Brad "The Climbing Equipment Model" Wolcott models his climbing equipment (photo by Dave)
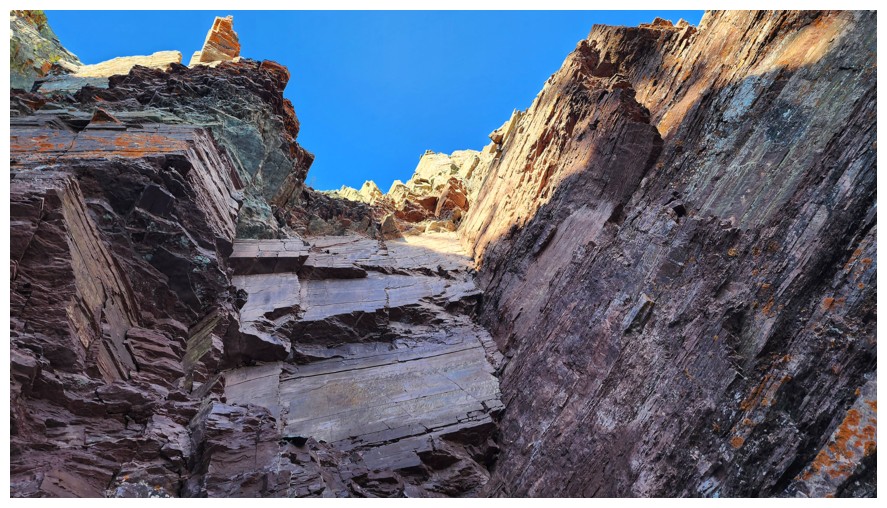
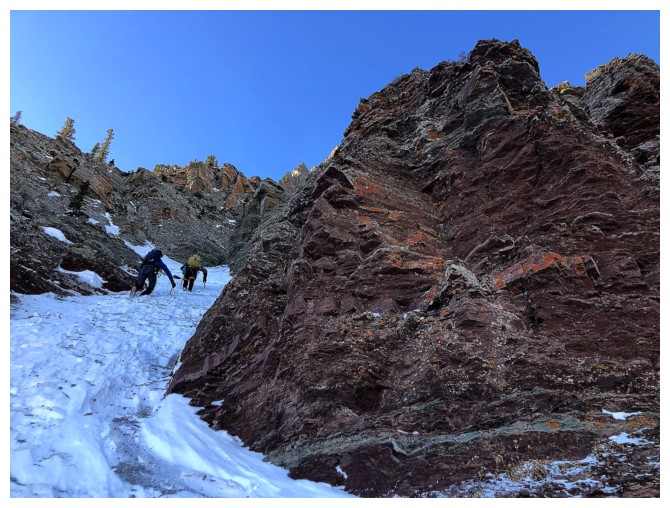
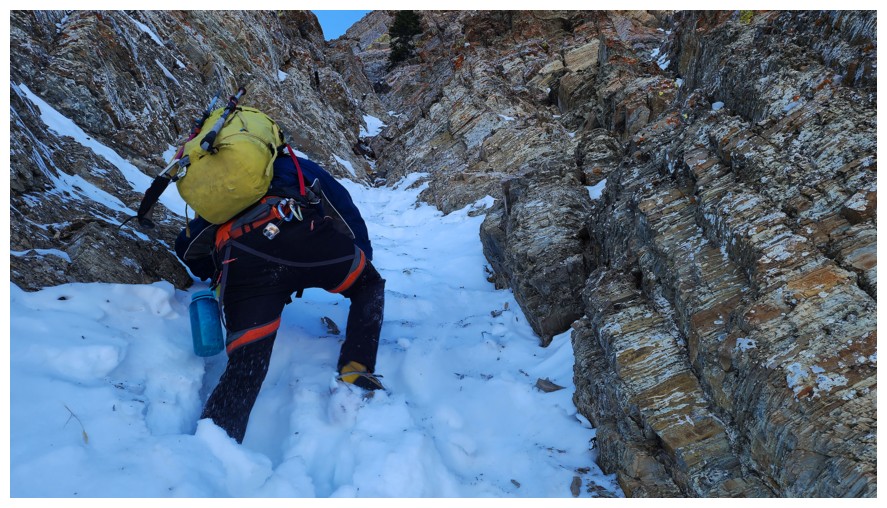
Amazing rock on both sides of the couloir (photo by Dave)
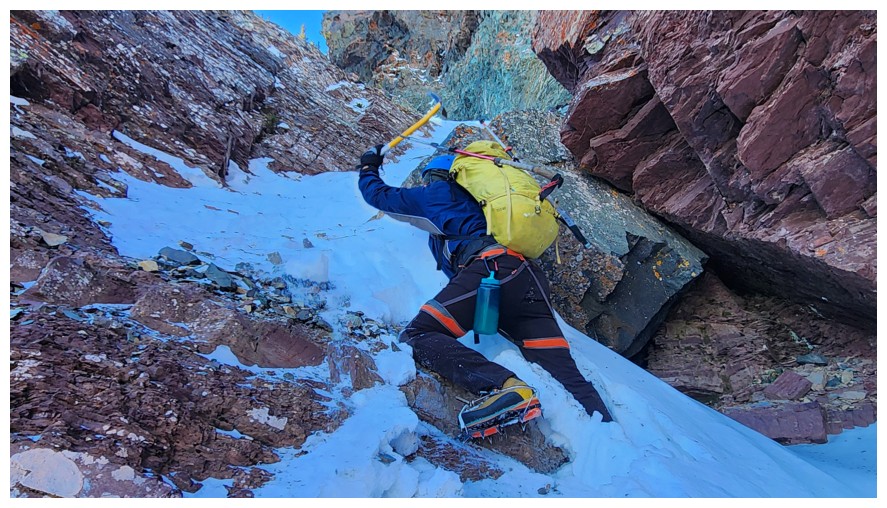
A
classic example of where the terrain is way steeper than it looks.
Without a solid axe placement, getting up this small step would have
been scary and dangerous (photo by Dave)
Resuming "easier" travel (photo by Dave)
Nice overhang

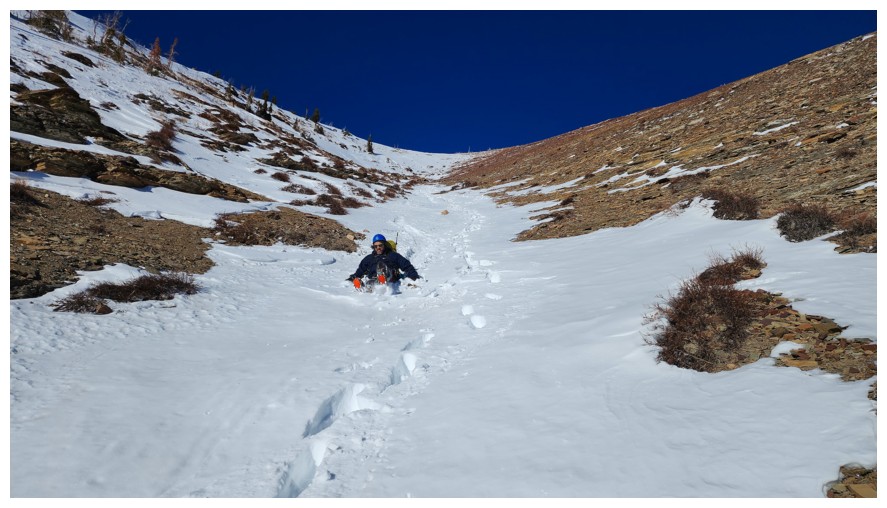
A slightly better representation of the grade of the first couloir
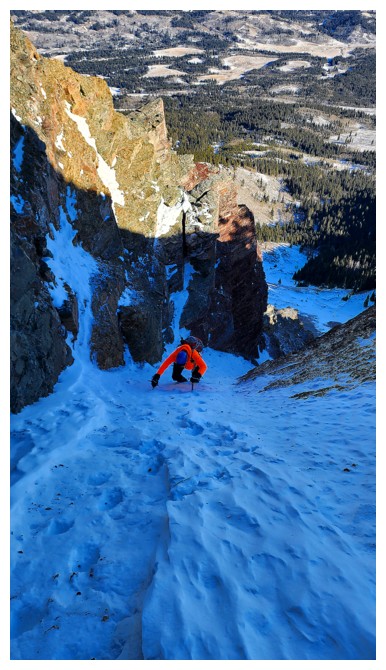
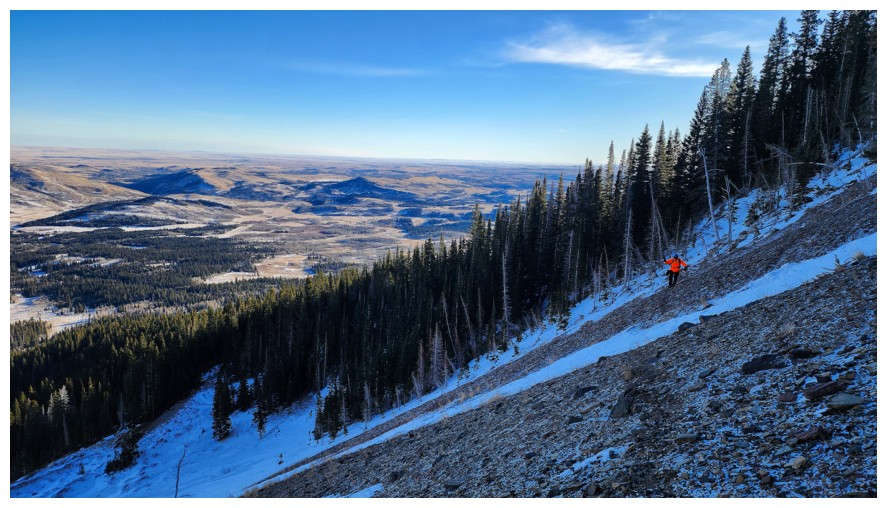
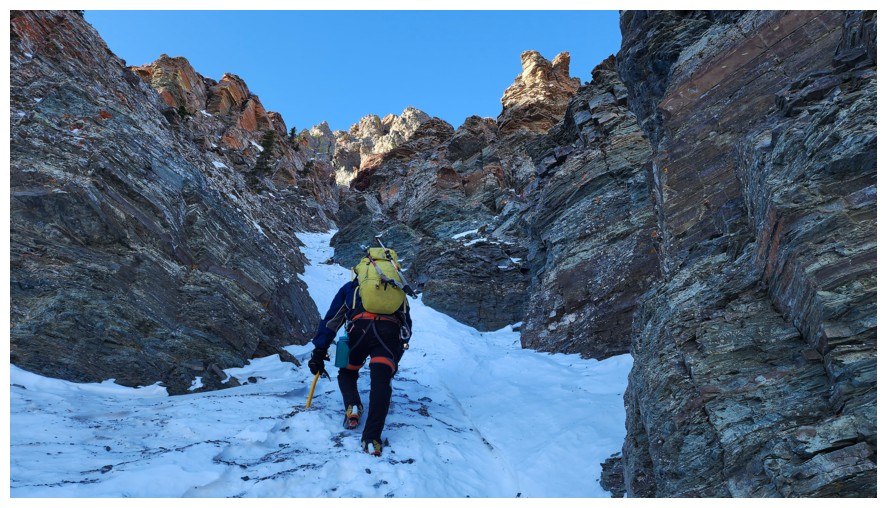
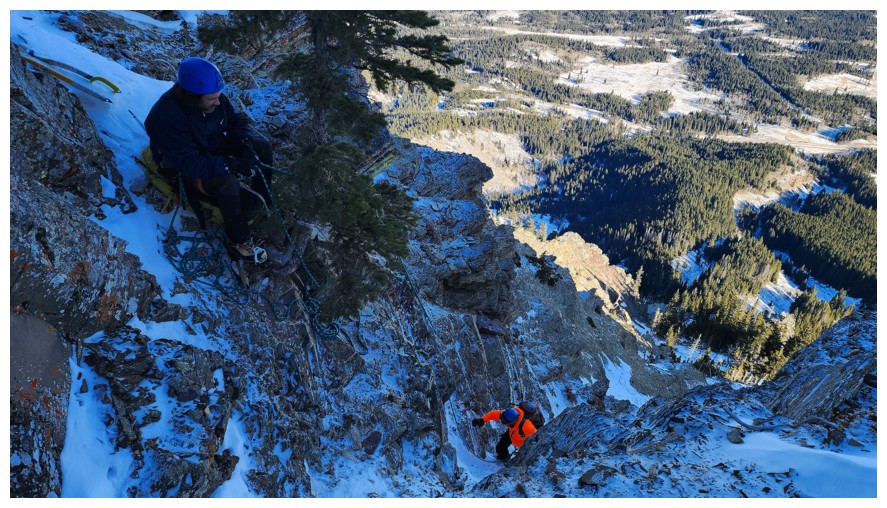
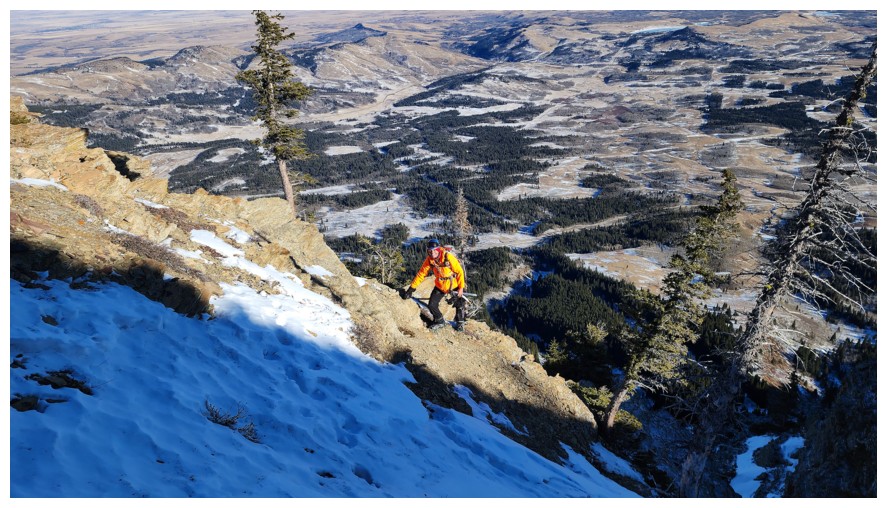
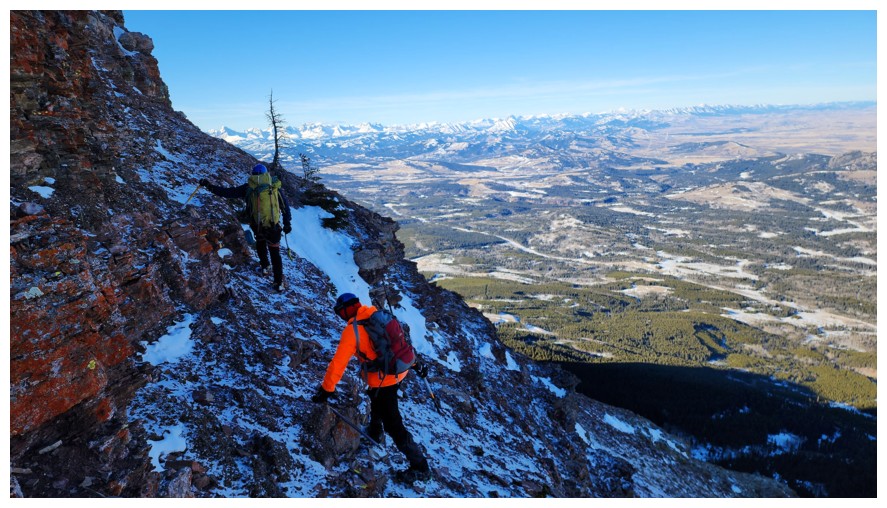
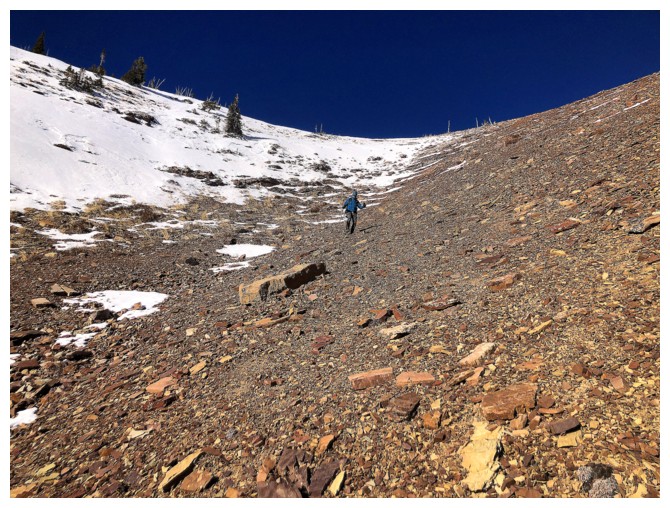
No matter how far I fell behind, my bright orange Baerskin Hoodie was going to ensure I'd always be visible (photo by Dave)

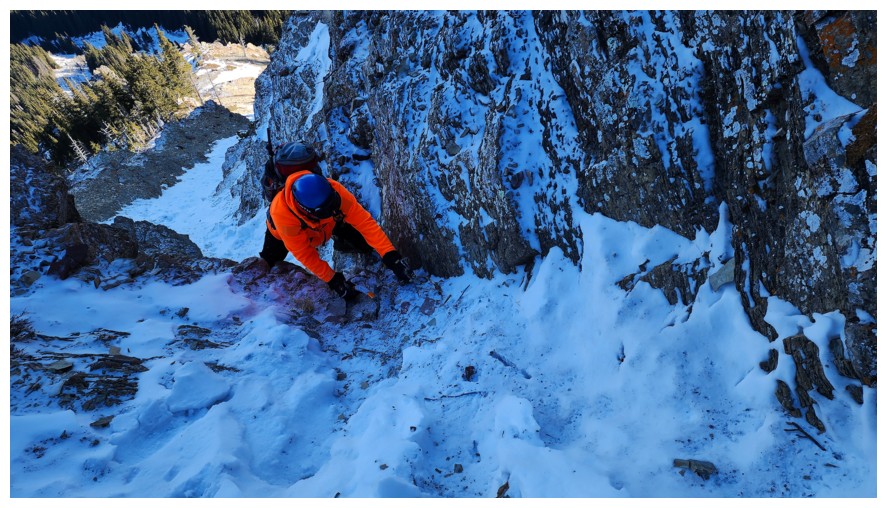
Brad and Dave have ascended a particularly steep step. I'm stuck and called for a rope at this point (photo by Dave).
 I love a good belay (photo by Dave)
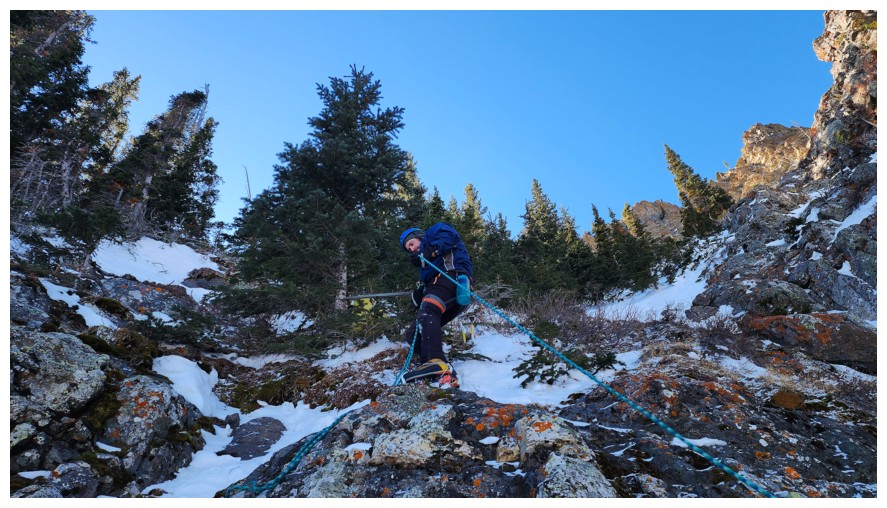
And I love a good belayer (photo by Dave)
Brad belayed from a tree. I love trees too! (photo by Dave)
Continuing up with Dave taking the lead (photo by Dave)
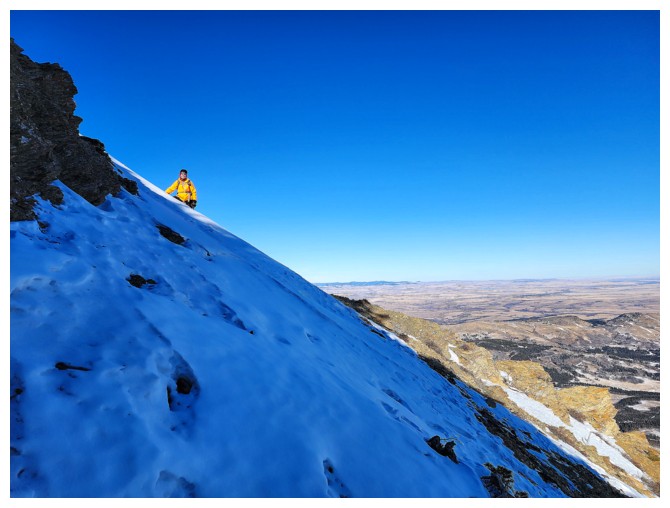
Finally into the beautiful Sun

My position in the middle didn't last long; back to bringing up the rear
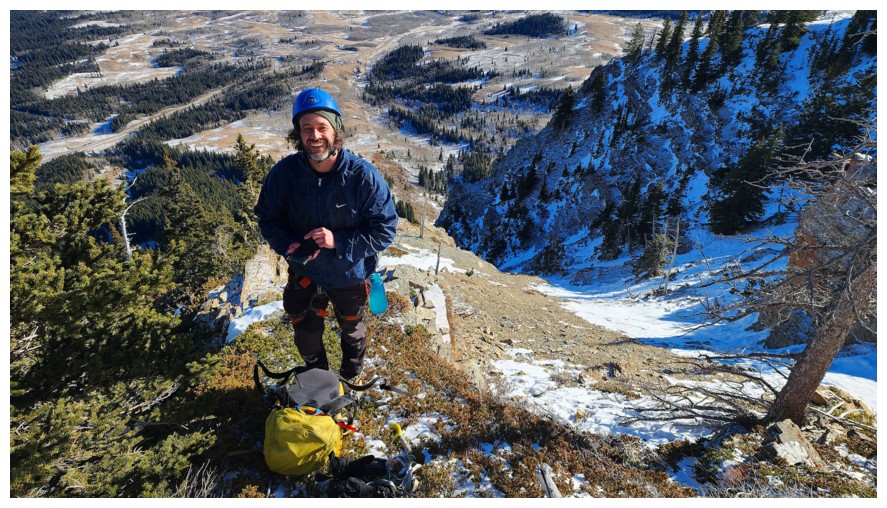
A much needed and deserved break in the Sun. Brad is in his other element with a flask of Ouzo (photo by Dave).
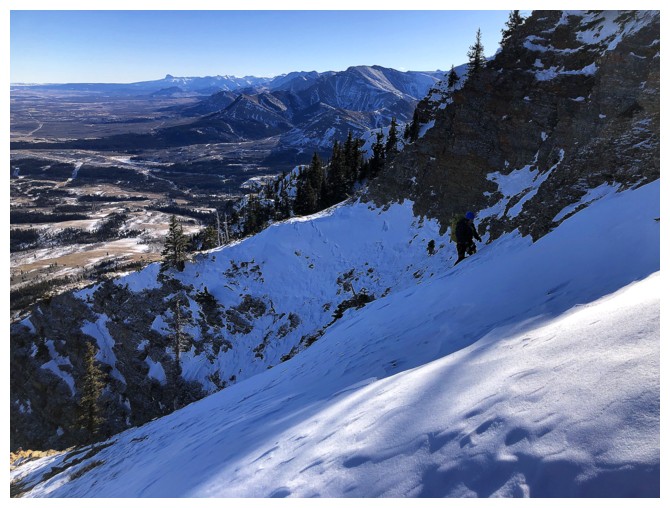
The terrain ahead (photo by Dave)
Dave leads again
I follow (photo by Dave)

The second couloir splits into two here and we took the left fork
Up goes "The Climbing Equipment Model" (photo by Dave)
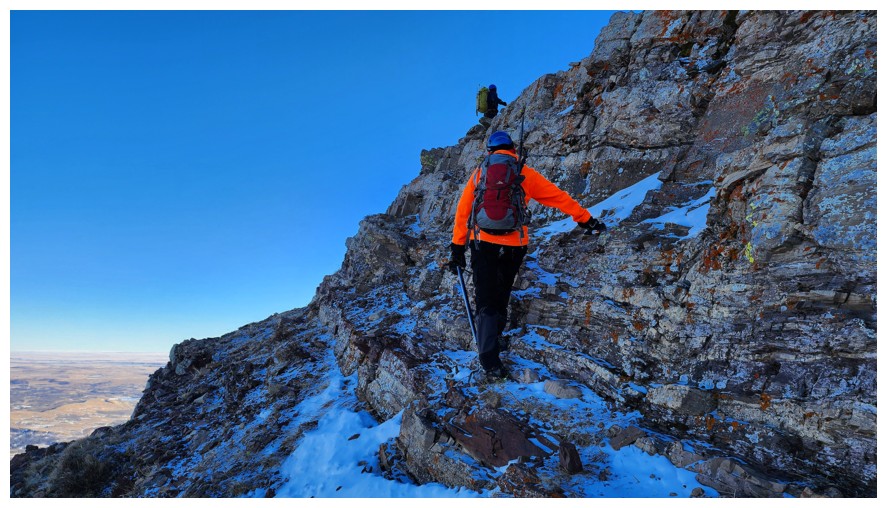
Followed by "Visible From Outer Space" (photo by Dave)
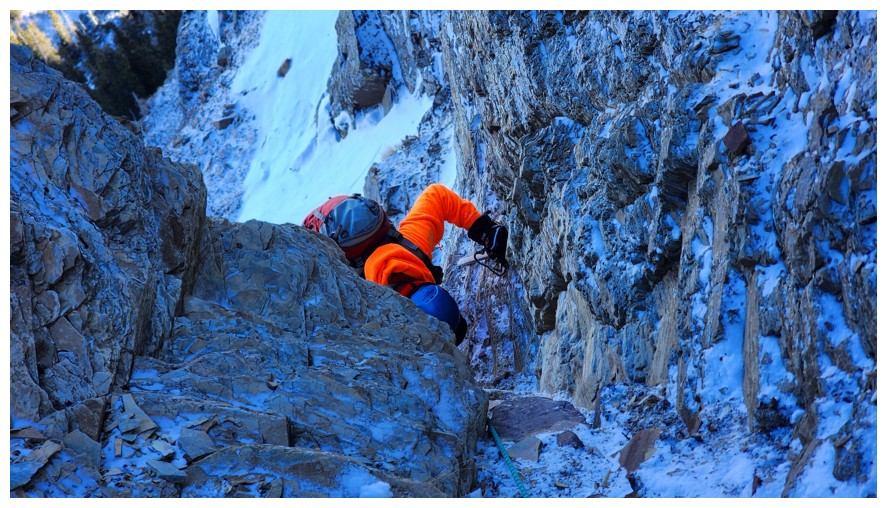
Brad leads a near vertical step in the couloir, followed by Dave (photo by Dave)
Visible
From Outer Space didn't want to become Visible and Dead At The Base Of
Prairie Bluff so he called for a rope (photo by Dave)
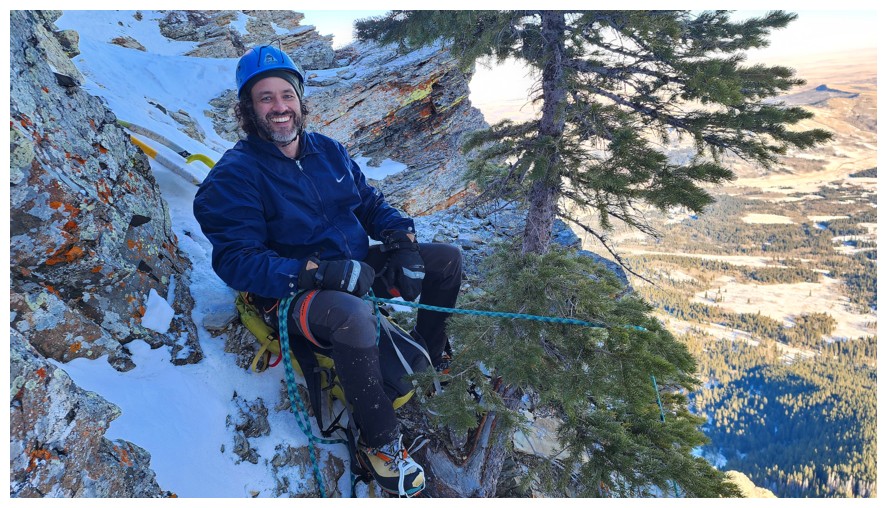
Brad could be the happiest belayer on the planet (or perhaps it's the ouzo) (photo by Dave)
Dave checks out the next step, which is also near vertical (photo by Dave)

Brad leads (photo by Dave)
Dave and I both get a belay
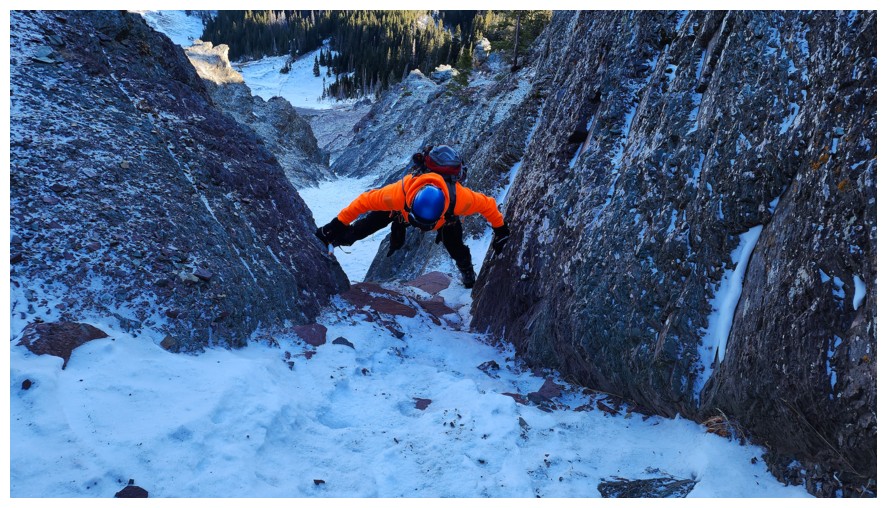
My turn
It was a tight fit, causing me to experience a brief and traumatizing flashback to Owl Rock in Moab, Utah, in 2018 (photo by Dave)
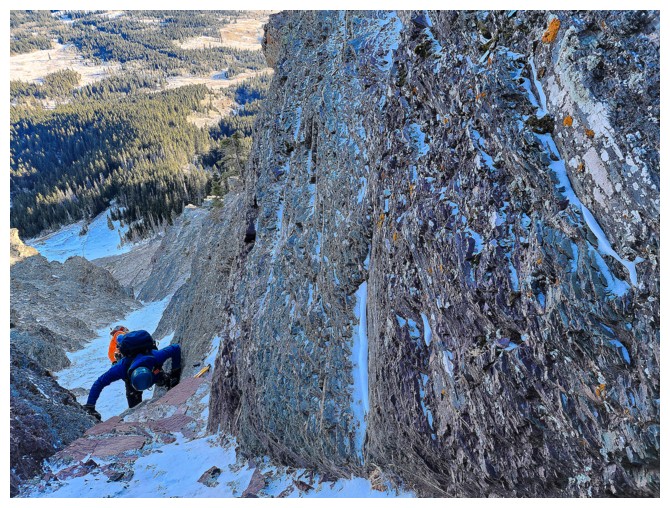
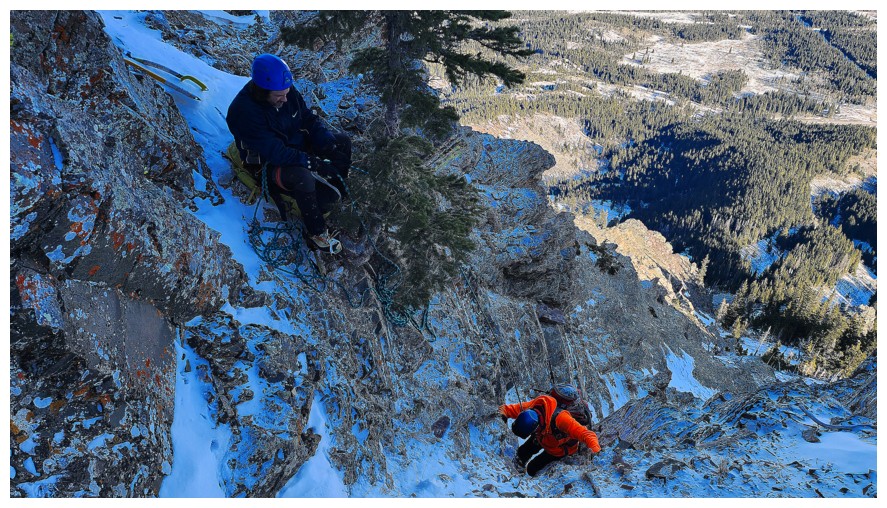
Above the rock step, I veered off to the left onto some solid rock
steps. Dave is lying down near the left, getting photos of me and Brad.
Dave's view of me (photo by Dave)
Dave's view of Brad (photo by Dave)
Brad's view of me (photo by Brad)
My view of Brad.
Too bad we didn't get "Brad's view of Dave" and "My view of Dave" to complete the creepiness
My view of Brad and Dave - almost!

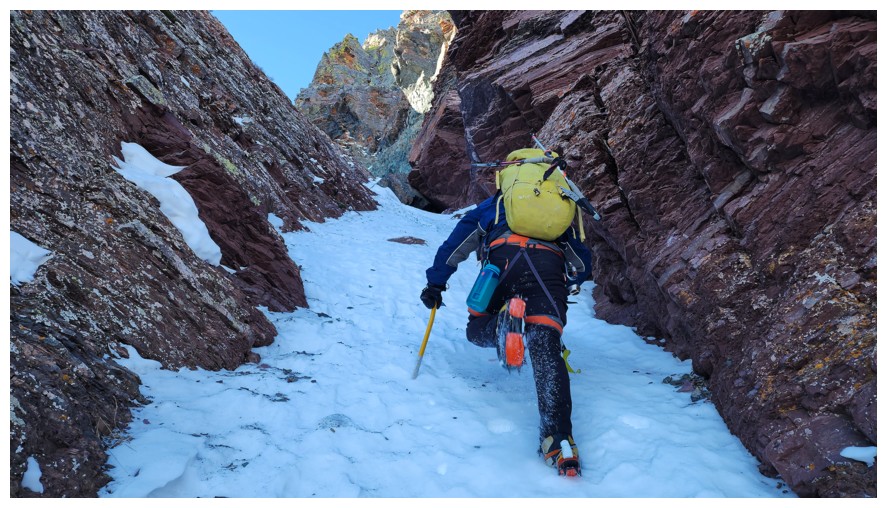
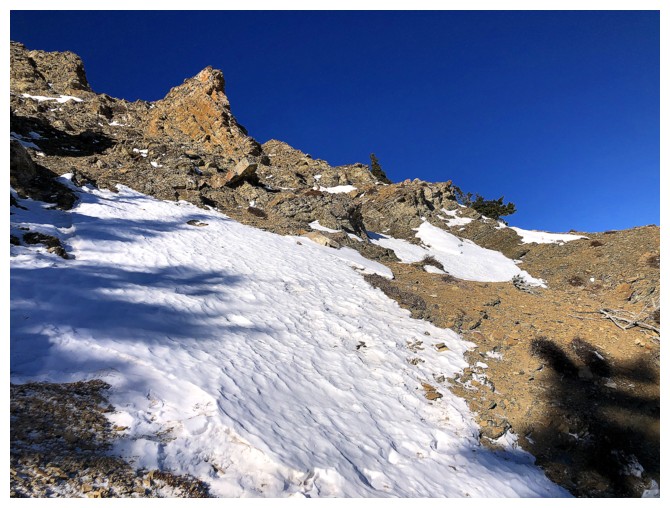
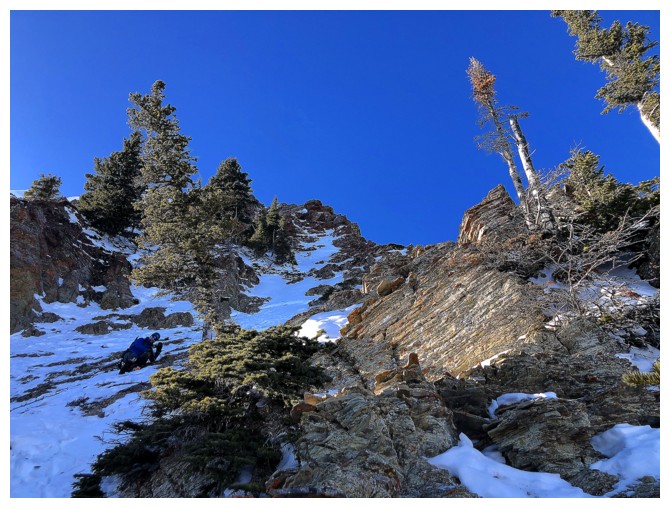
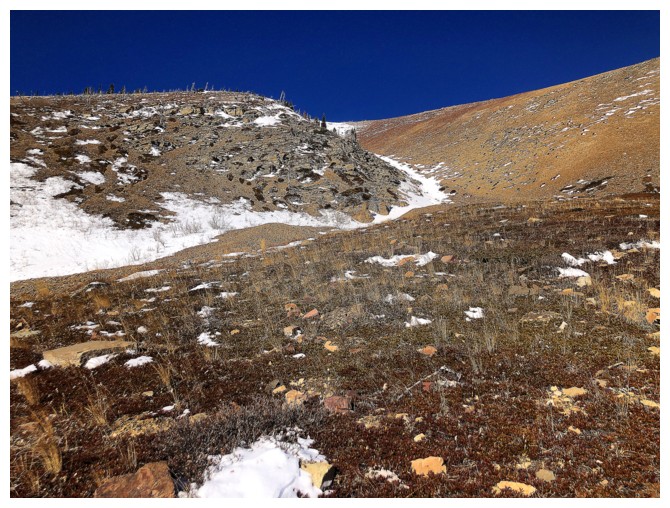
Approaching the third and final couloir at the left. We opted to avoid
it and go to the right. I would later recognize this spot and at least
one other from a previous ascent, via an ascending and traversing route
in 2021.
Easy scramble to get to the summit from here (photo by Dave)
Very ledgey (photo by Dave)

Looking down the snow-starved third couloir. Glad we didn't ascend it (photo by Dave).
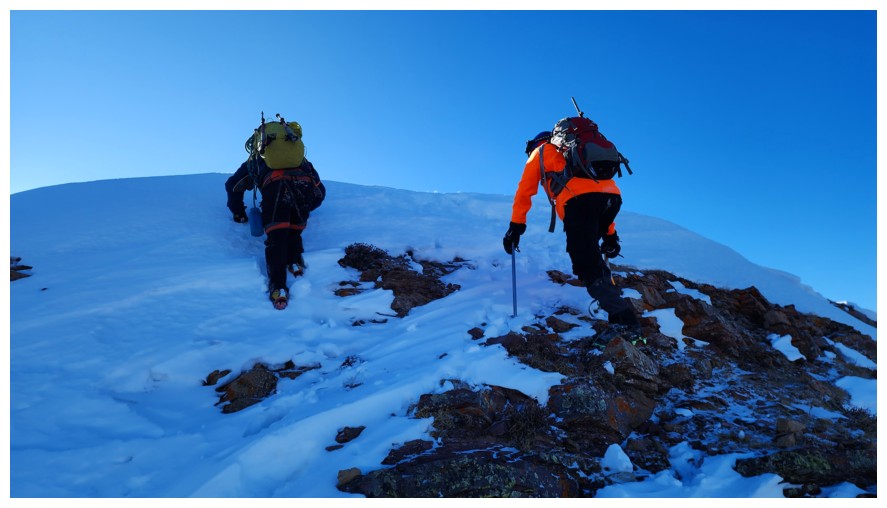
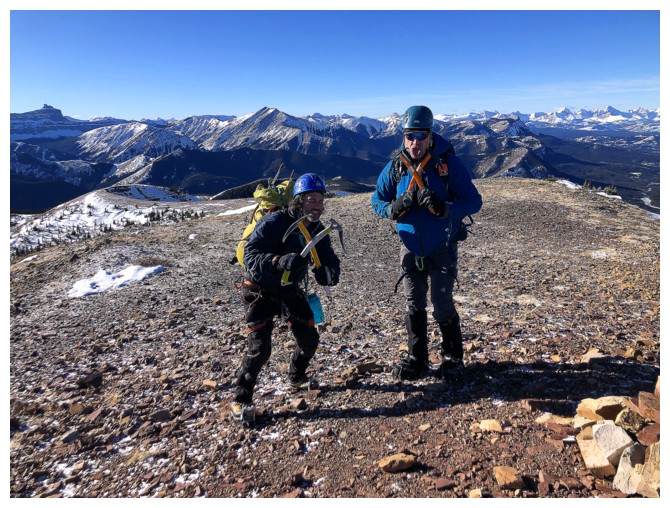
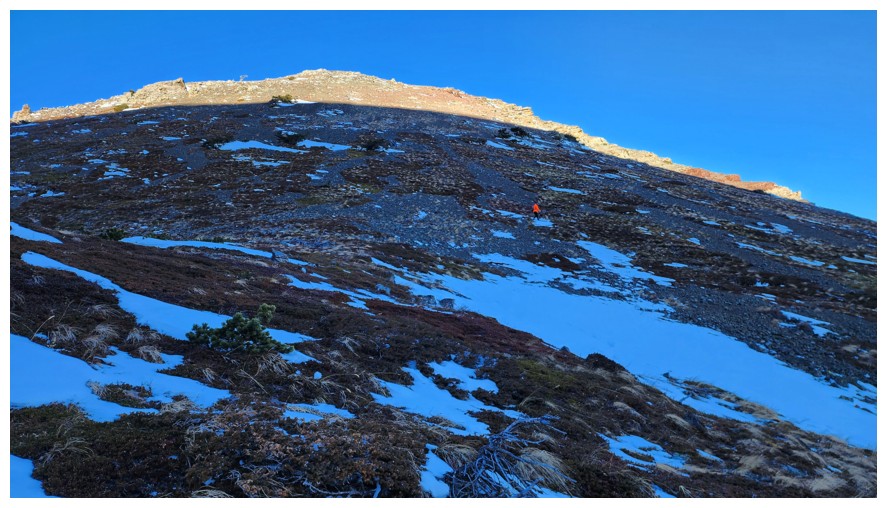
Brad tackles the crux of the day, in the form of a viciously steep snow slope to get to the ridge (photo by Dave)
Maybe not that steep, but the man is determined!
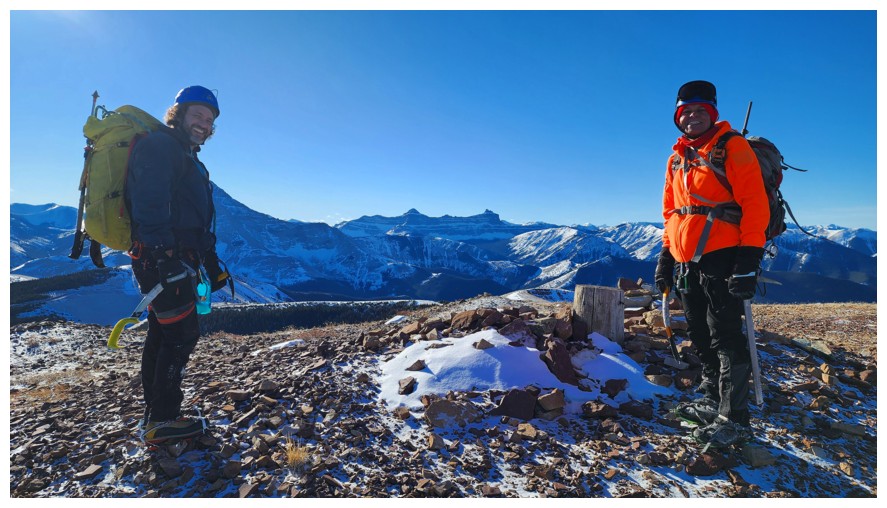
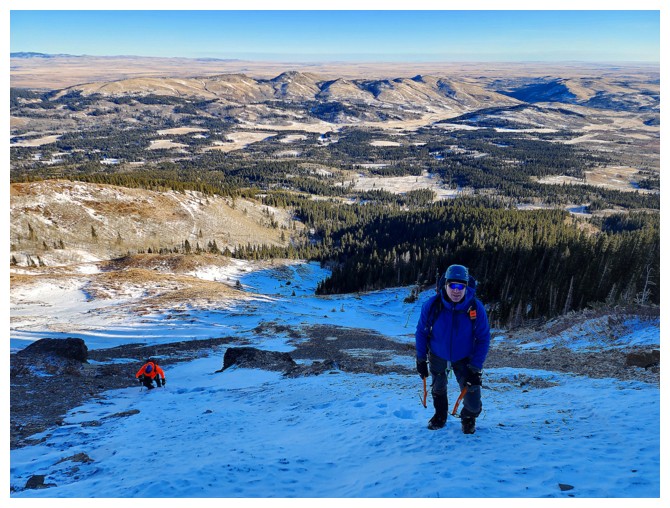
Success! (photo by Dave)
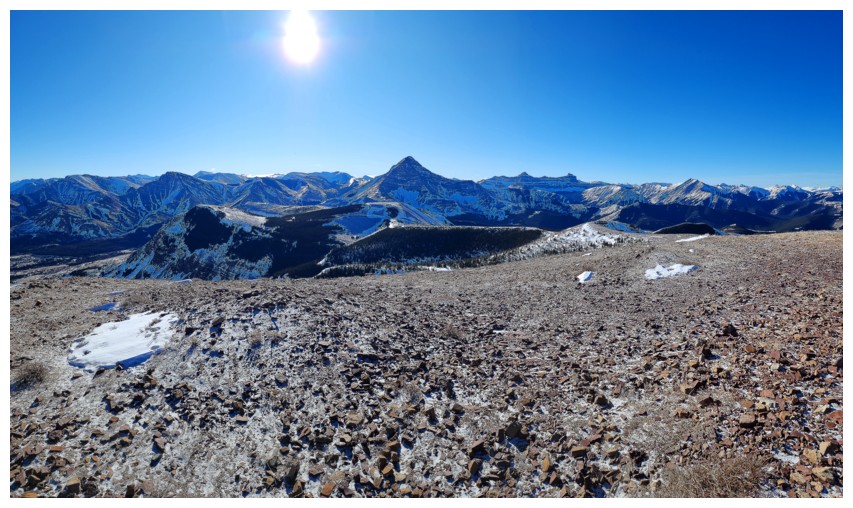
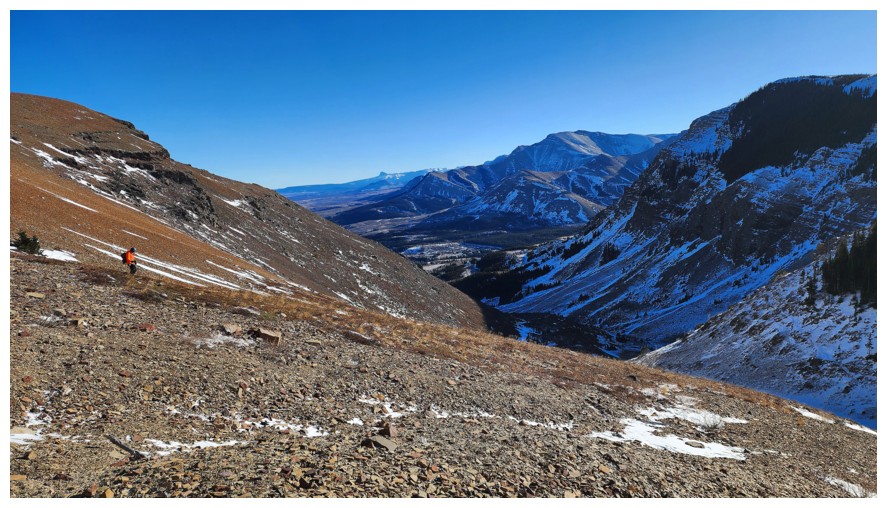
View
to the west, featuring Victoria Peak in the centre. No trauma when
recalling a wonderful day and route with Brad and Dave on that mountain in 2020 (photo by Dave).
Your worst nightmare in any dark alley at 2 am
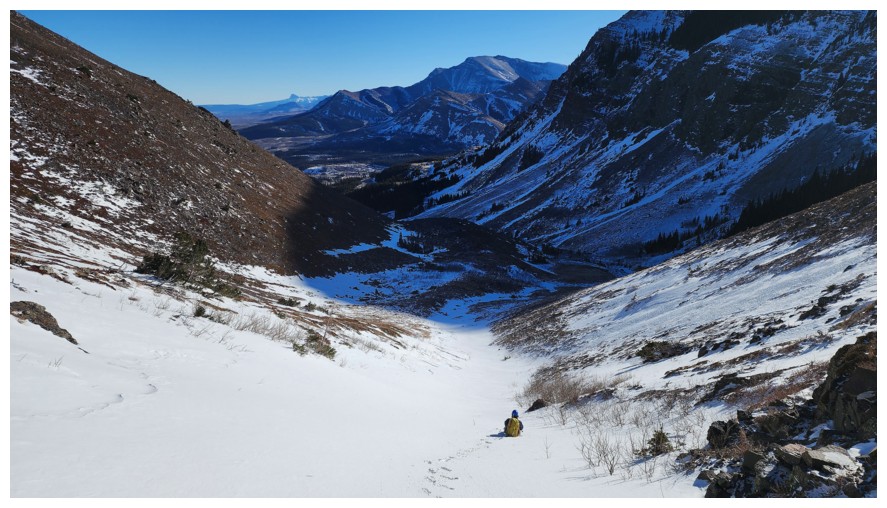
Heading down to get out of the wind; not a strong one, but a very cold one (photo by Dave).

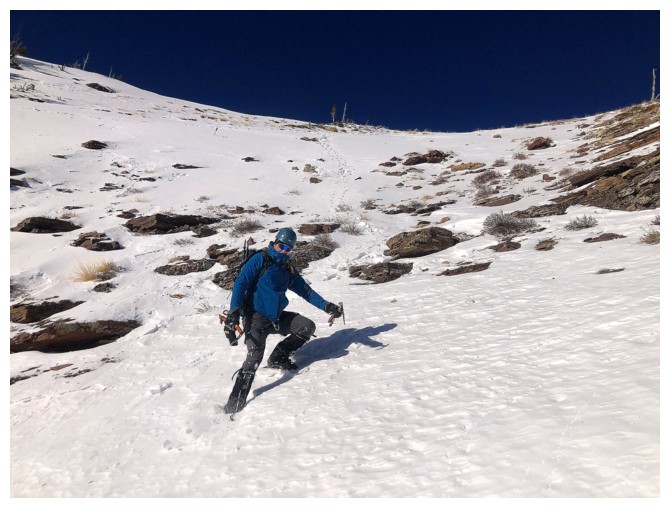
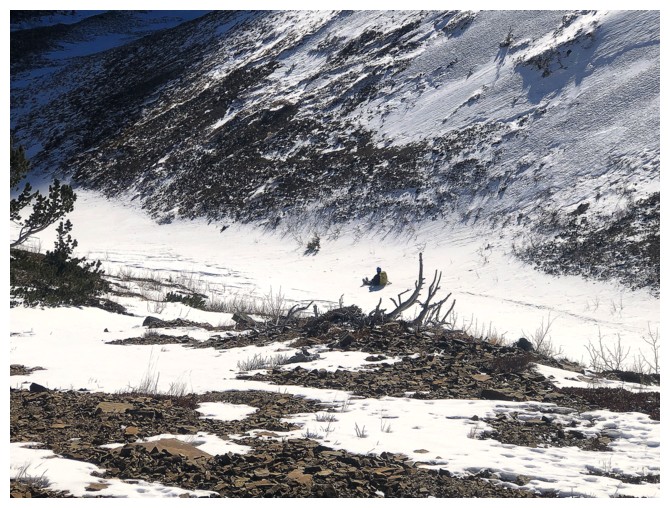
Brad picked a line down the snow farther west (photo by Dave)
Down he goes. Moments after this, I dropped my phone down the snow slope. It made it onto the rocks below before stopping.
The phone works!
Dave chose the snow
So did Brad
Dave switches to the scree before going back into the snow gully
Brad was able to glissade in a few sections
I stuck to the rock and scree throughout (photo by Dave)
The bluest sky of the day
More glissading for Brad (photo by Dave)
My view of Brad
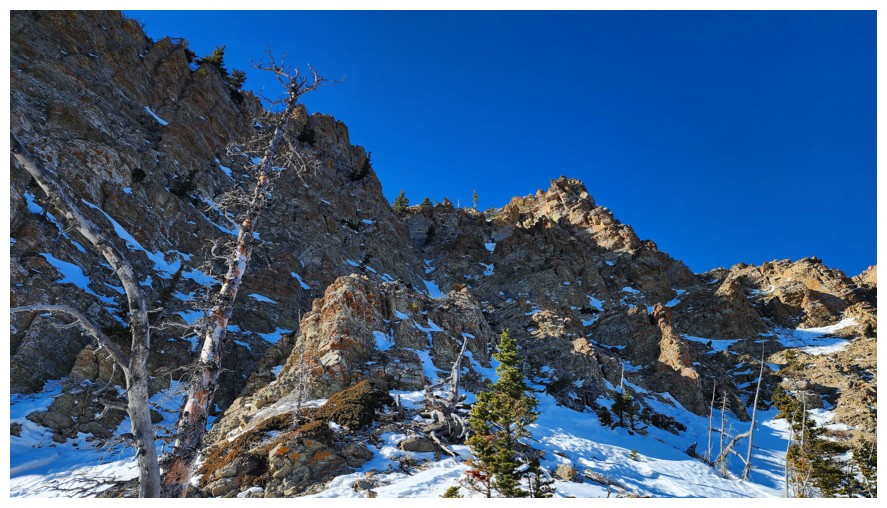
The south ridge has this very cool rock band on it's west side
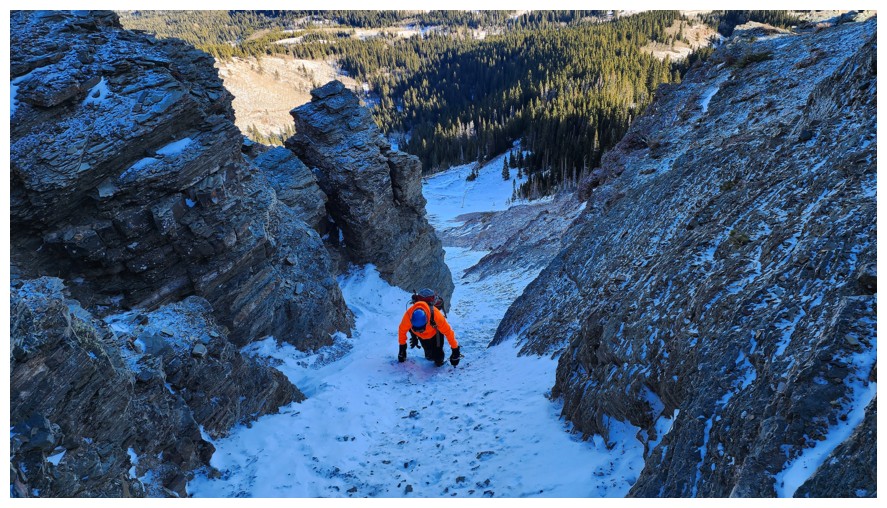
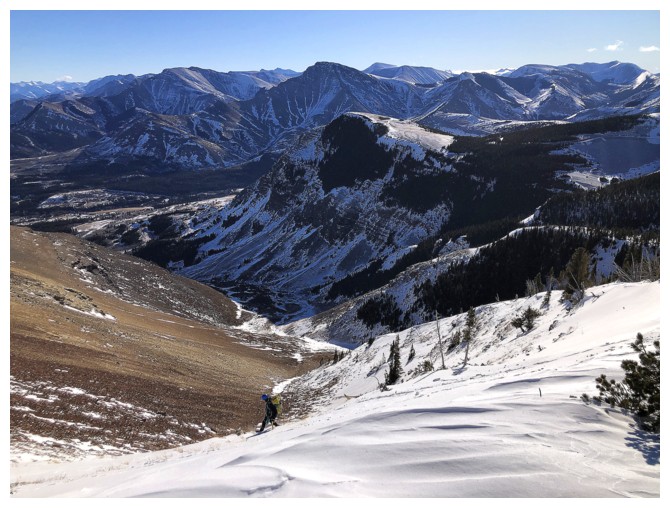
Looking back to our descent route (photo by Dave)
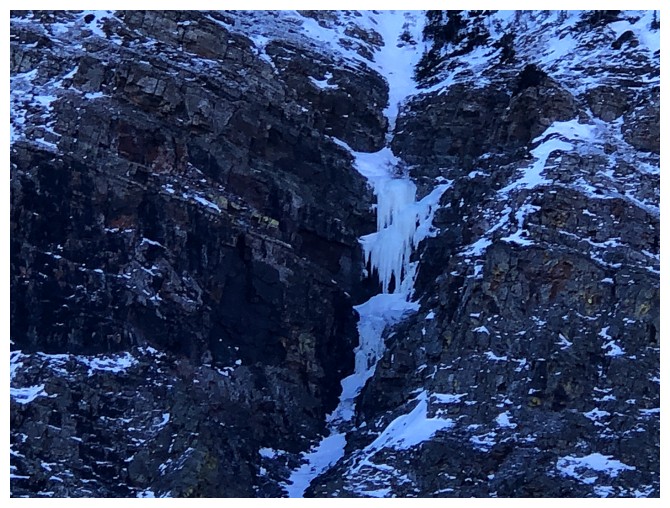
If this ever becomes fully-formed it would potentially be an awesome ice climb
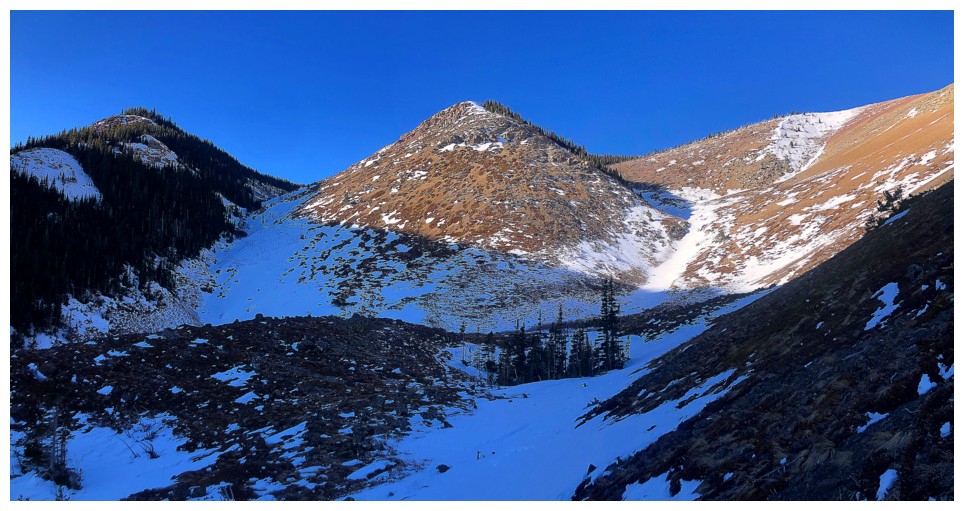
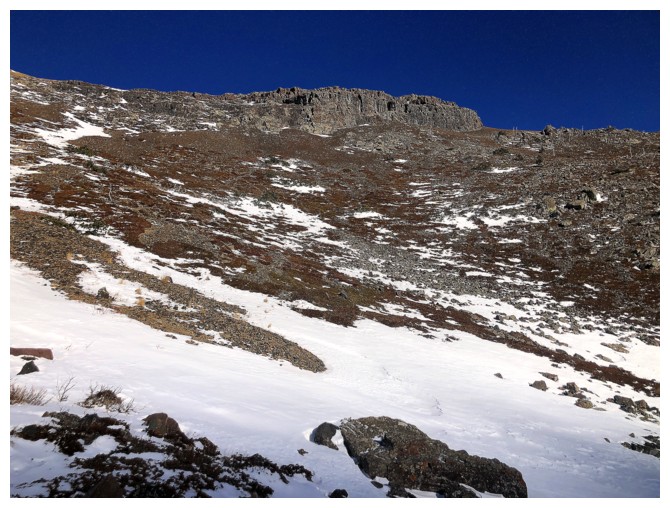
Looking back again. The gully on the left makes for a terrific ascent route.
As stated, visible from outer space! (photo by Dave)
Cool rock at the south end of the peak
Circling around the south side of the mountain (photo by Dave)
Now heading directly to the road (photo by Dave)
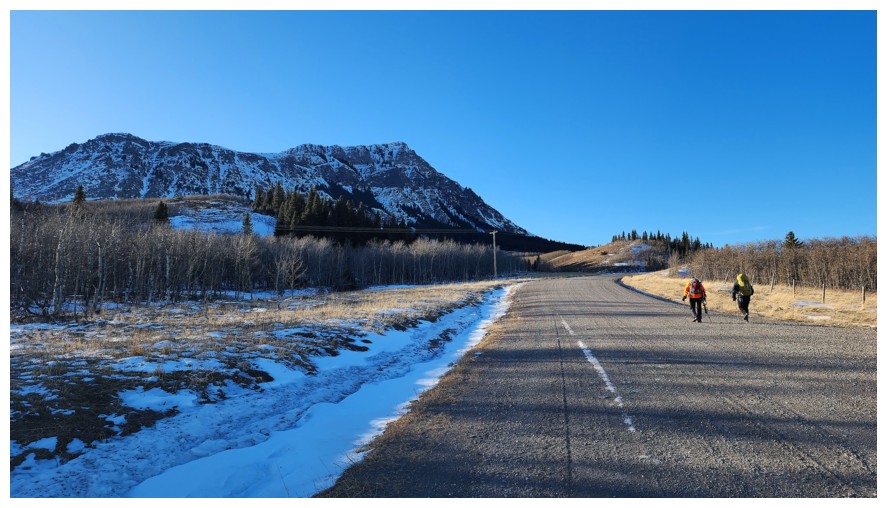
Easy road walking to end a challenging and super fun day with Brad and Dave - the class of the South! (photo by Dave)
The End
LOG