Junction Mountain II
and Pyriform Mountain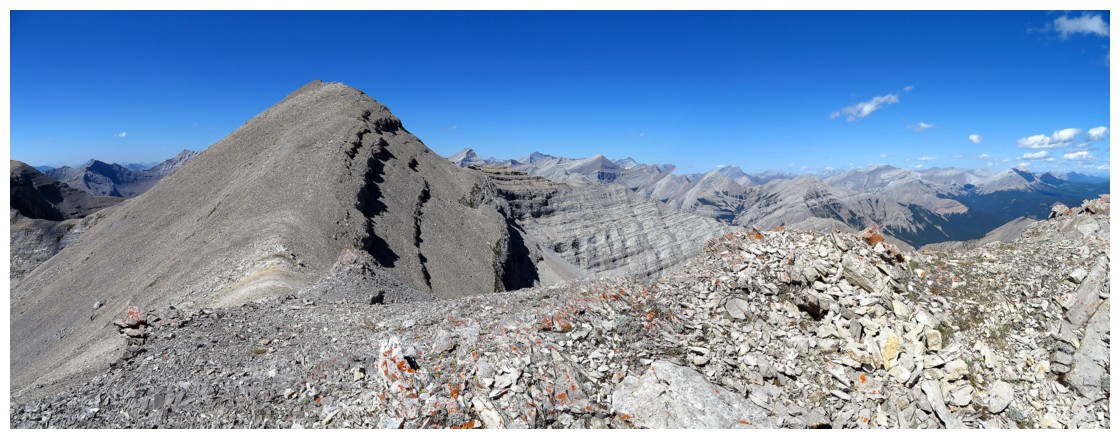
August 2, 2016
Mountain
heights: 2682 m, 2770 m
Total elevation gain: approximately
1700 m
Ascent
time to Junction: 4:30
Traverse
time to Pyriform: 2:20
Descent
time from Pyriform: 5:00
Solo
scramble.
I was
more than happy to return to Junction Mountain on a mostly perfect weather day
and complete the unfinished business of connecting Junction and Pyriform. Kevin
Barton and I had ascended Junction via its north ridge way “back in the day”! I was also
delighted to see that Jamie Junker
and Geoff Hardy had already completed the trip a month and a half
earlier.
The somewhat
nostalgic ascent of Junction Mountain went smoothly, although the crux was a
little trickier than I remembered – shades of two trips up Goat Mountain
with Mark! Traversing over to Pyriform, an interesting and entertaining, if not
totally aesthetic experience. There were a few route-finding challenges and
some moderately difficult scrambling, but nothing too unnerving – in other
words, “it ain’t no Goat Mountain!”
Unfortunately
the weather deteriorated a little in the interim, but I seem to have acquired a
definitively warped view of “deterioration” – ie. a single cloud in the sky! After
enjoying the summit panorama, featuring the fascinating layers of the Dogtooth
Mountains, I descended the west face and finished the day along the well-used
Junction Creek Trail.
A long
but worthwhile trip.
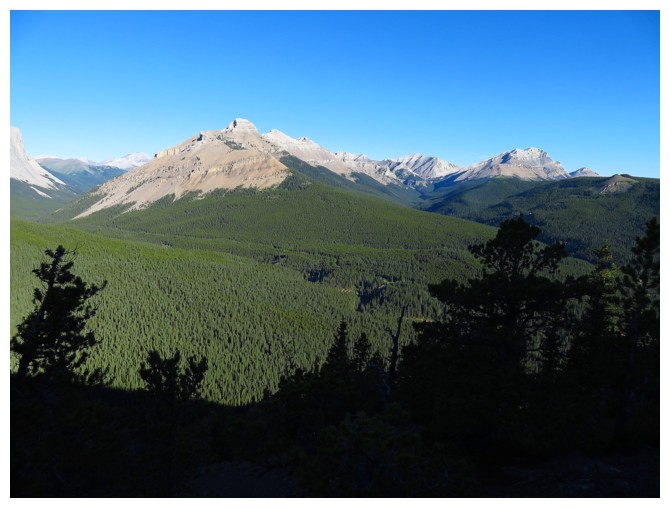
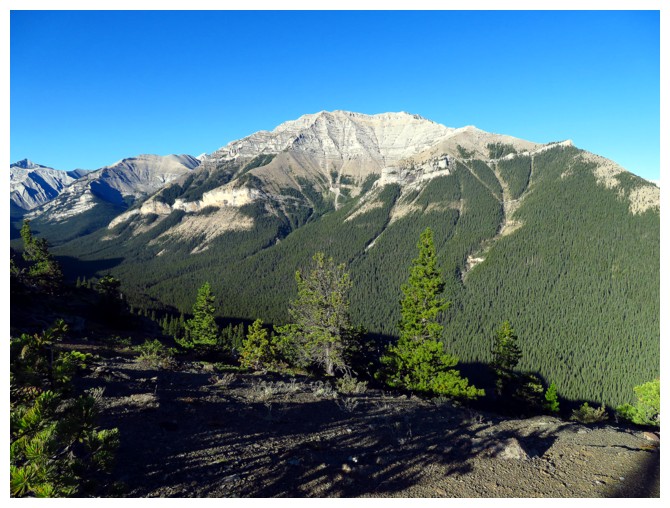
Lengthy Mount Burns and Bluerock Mountain (right) are revealed to the north, once out of the trees
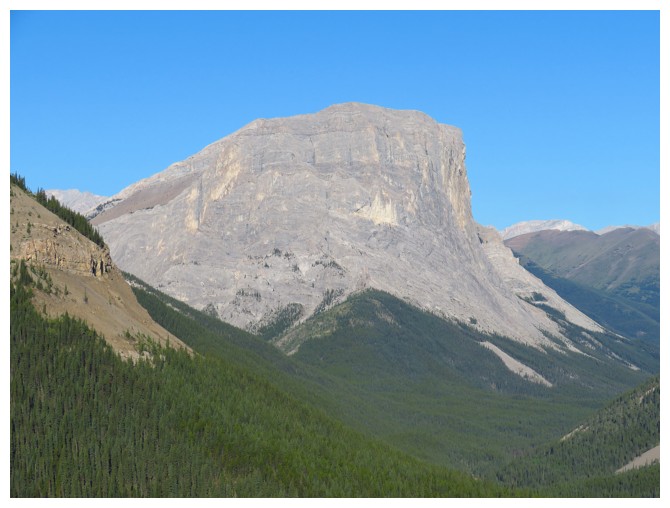
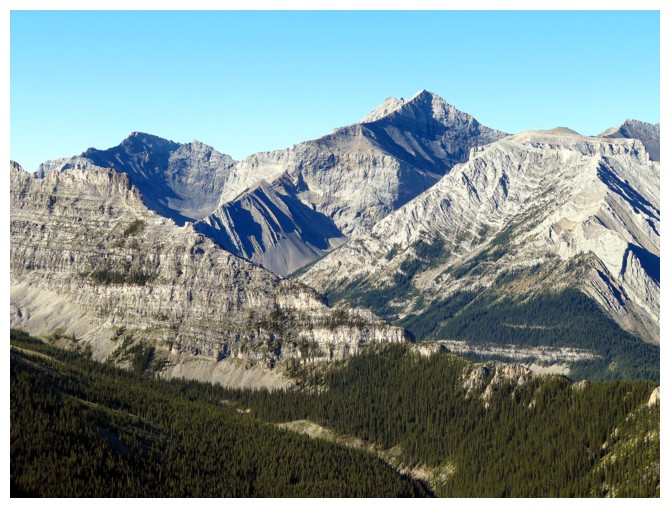
The imposing east face of Gibraltar Mountain (not the route we took!)
Shunga-la-she
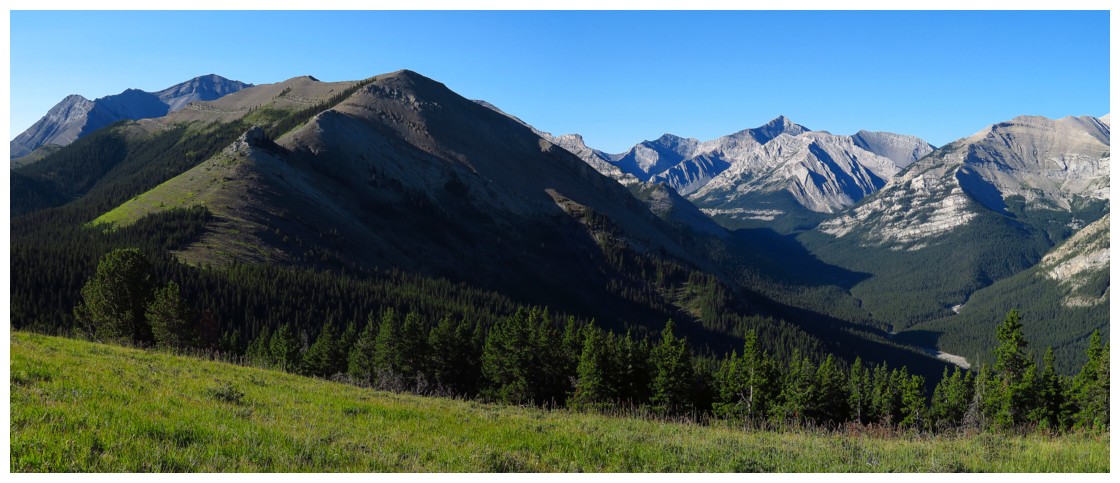
The long north ridge of Junction Mountain to the left and some of the unnamed peaks to the west
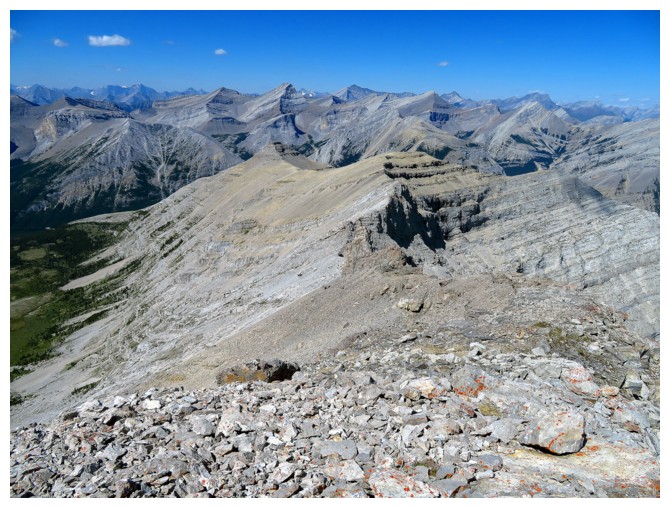
Typical terrain along the ridge
More unnamed stuff
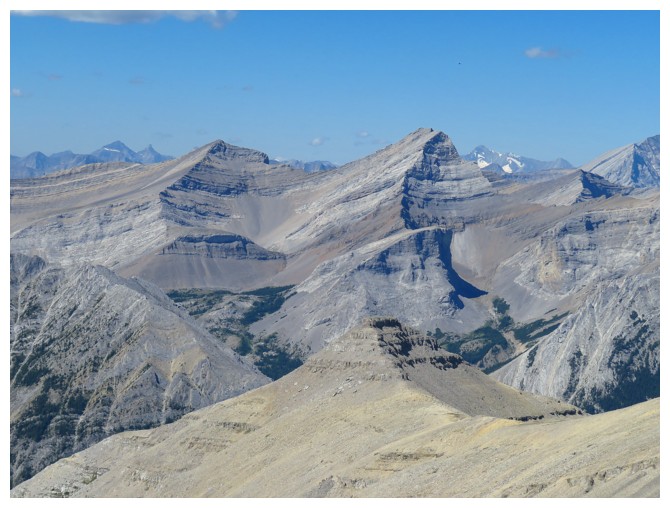
The highest peak back there is unofficial "Highwood Peak"

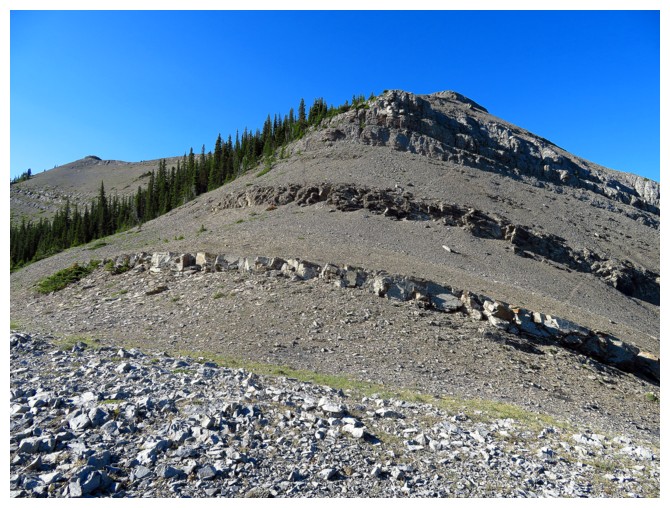
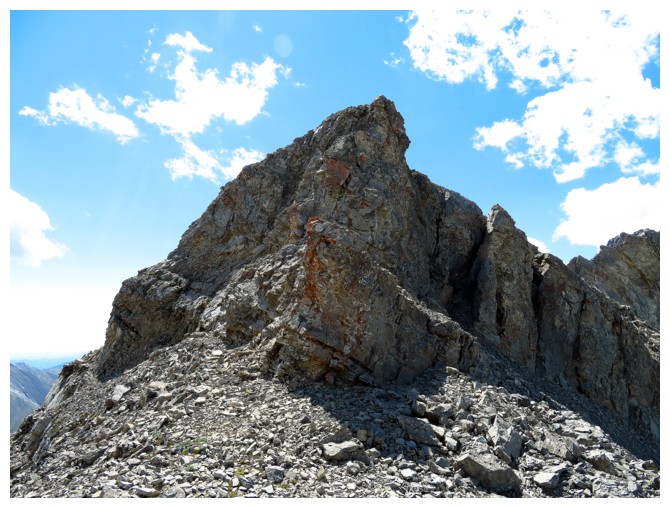
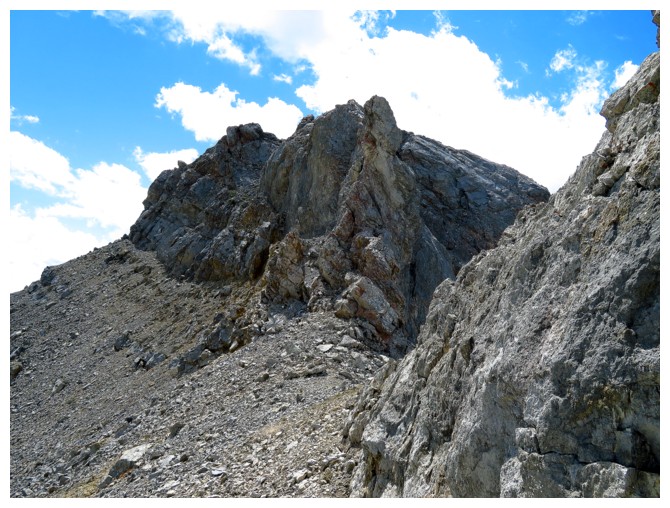
Approaching the crux rockband
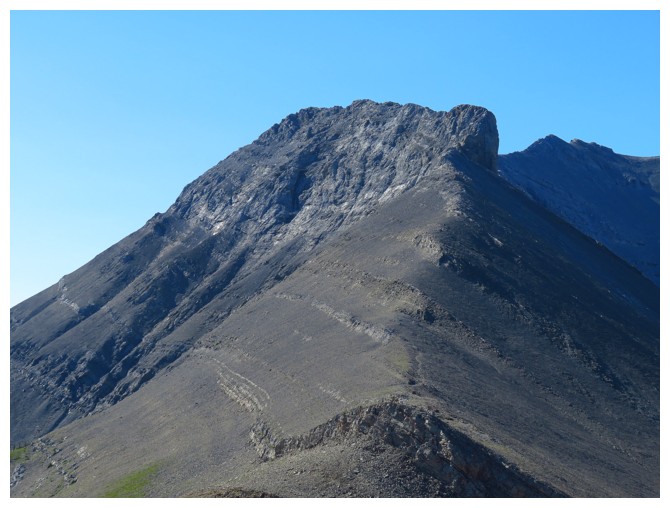
Same as above
Traverse the down-sloping ledge and then scramble up to the ridge - easy!?
Looking back along the ridge
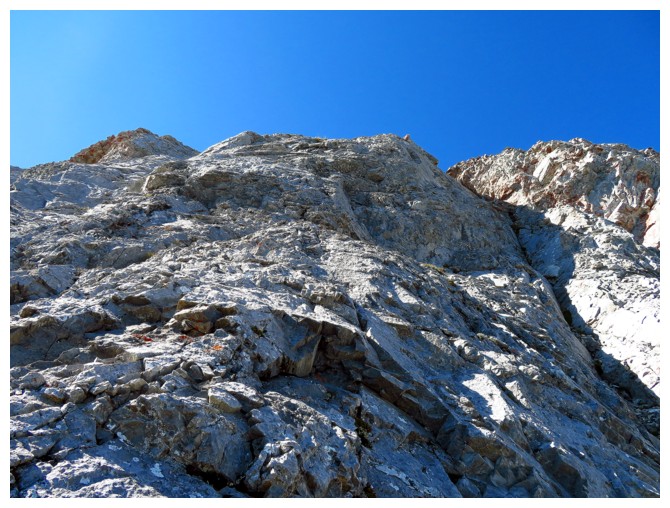
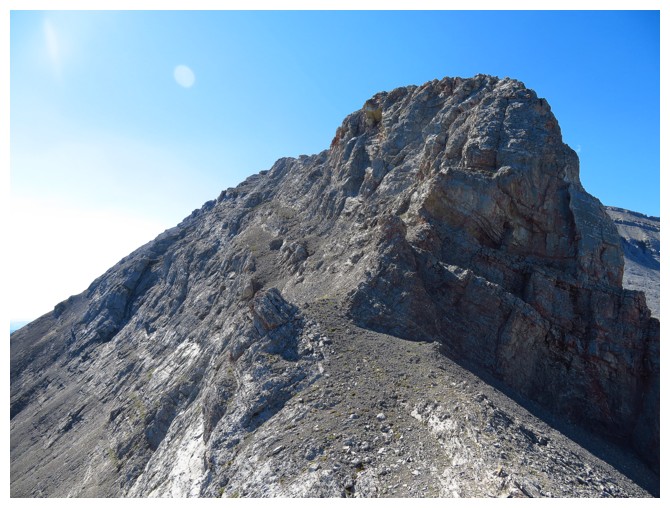
From the ledge, looking up to the ridge - it's quite steep!
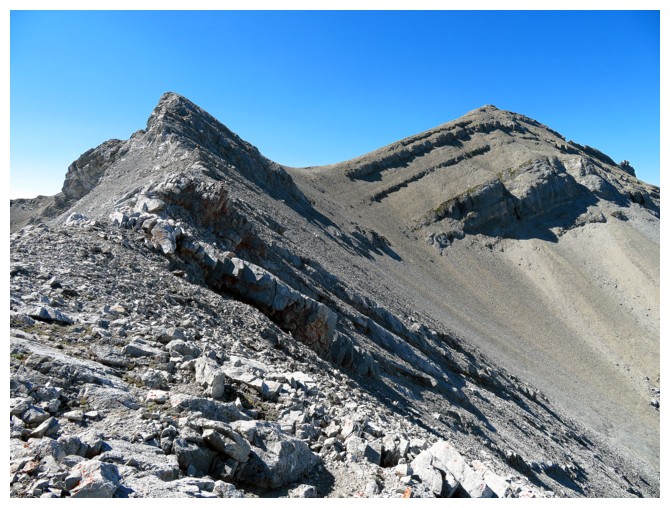
Back on the ridge, with the summit at the right
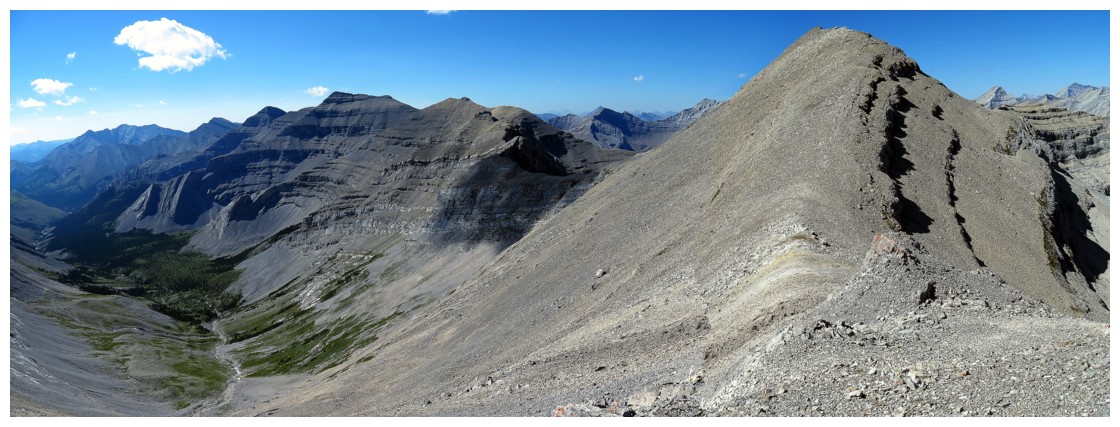
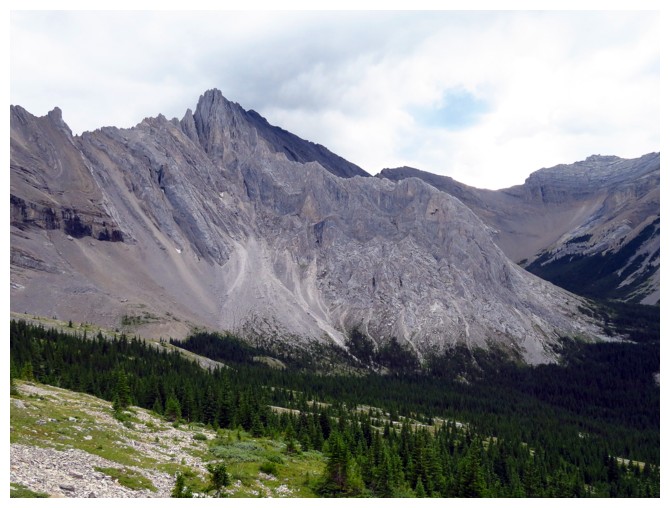
The southeast ridge of Junction (left) and Pyriform Mountain (right)
The summit of Junction (right) and Pyriform (left)
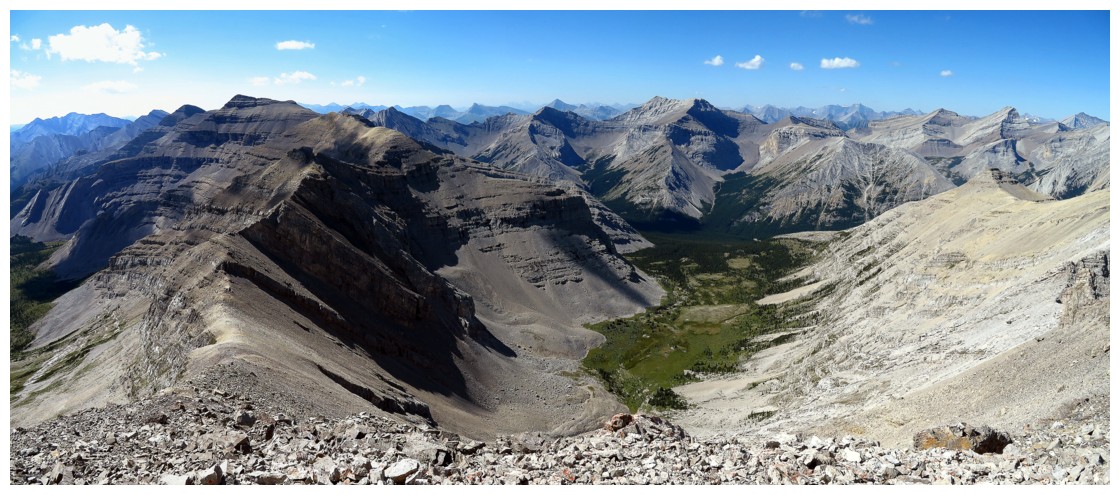
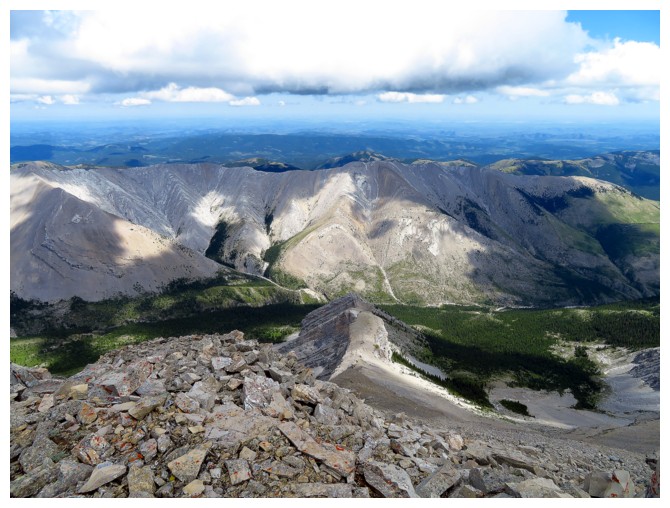
Summit view includes the west ridge of Junction
Highwood Peak
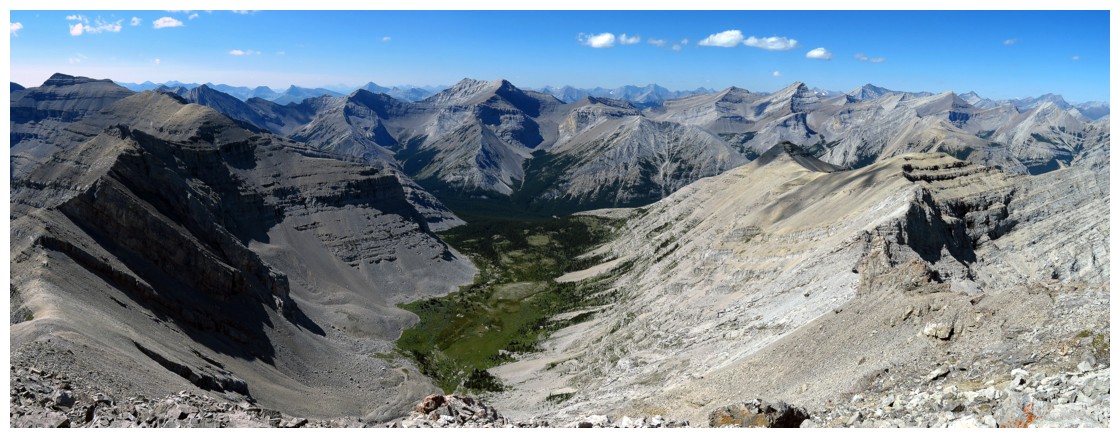
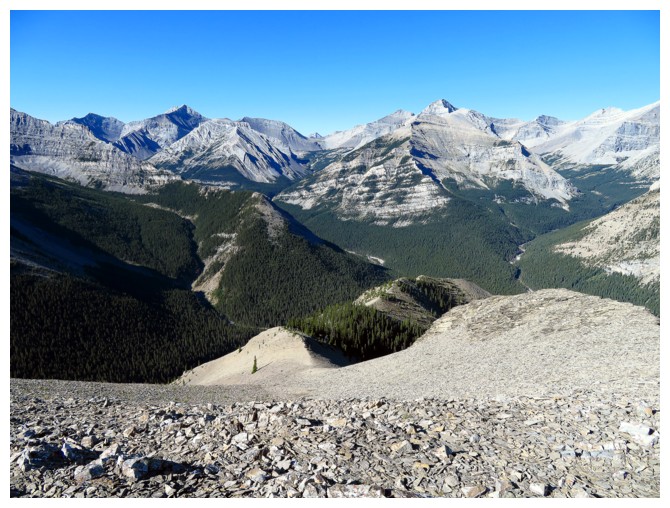
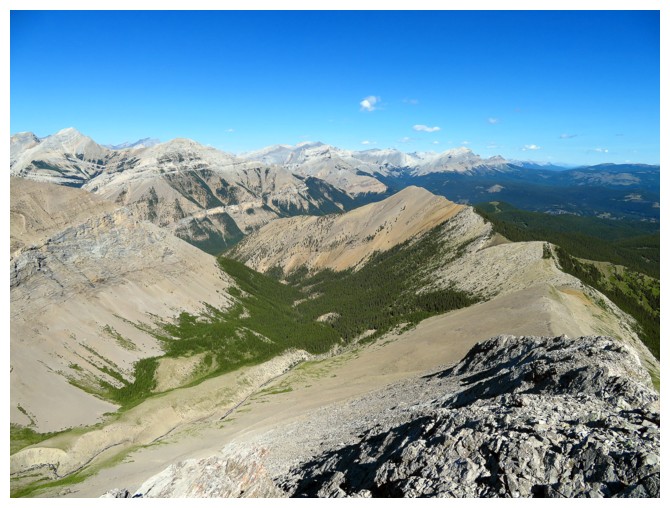
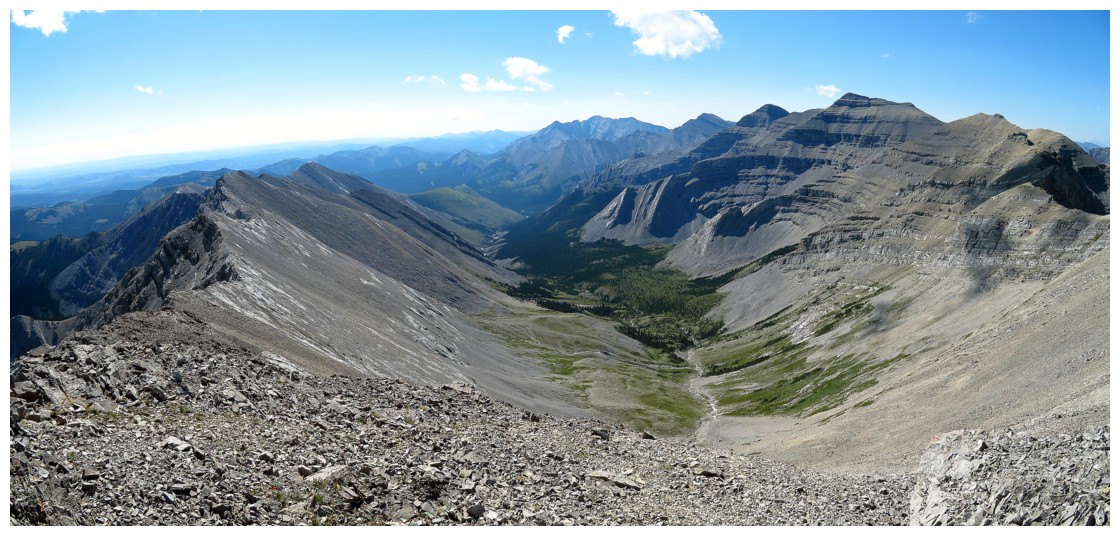
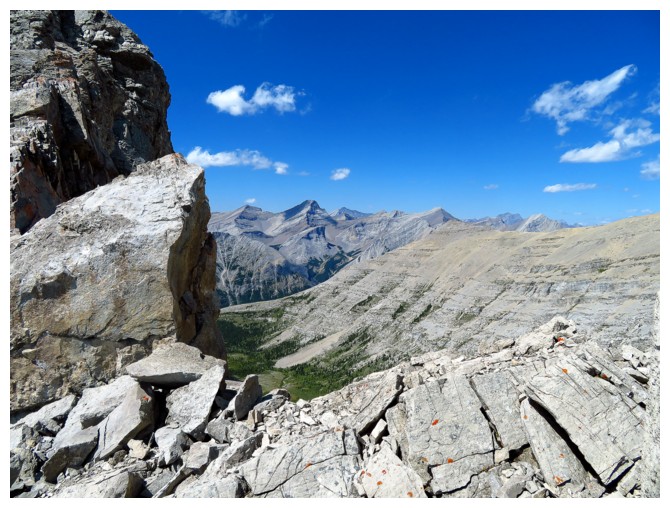
Big views to the west. The valley in the middle can be used as a descent route from Junction.
One of the obstacles on the ridge, when traversing to Pyriform
Another one at the left
One of the last obstacles

Mist Mountain peeks out to the right of Highwood Peak
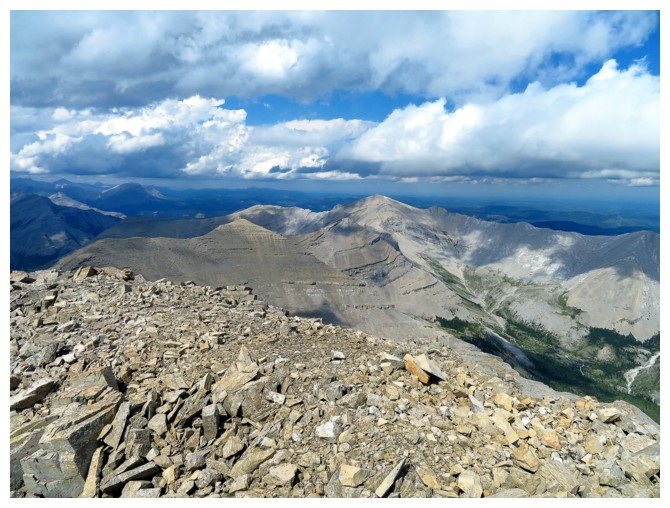
The summit view from Pyriform features the Dogtooth Mountain immediately south
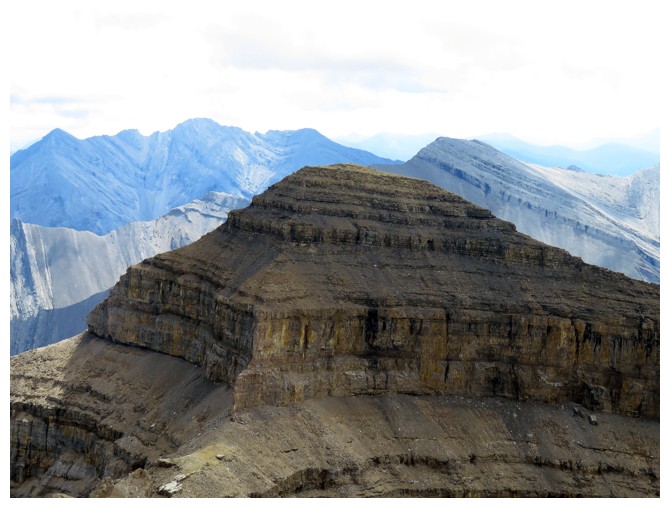
Close-up of Dogtooth
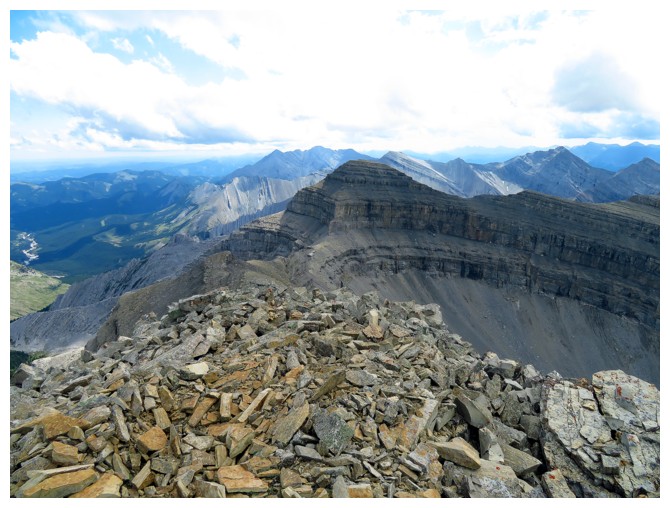
The southeast leg of Junction Mountain stretches way past Pyriform
Looking back to Junction
The "gloomy" weather I constantly whine about!
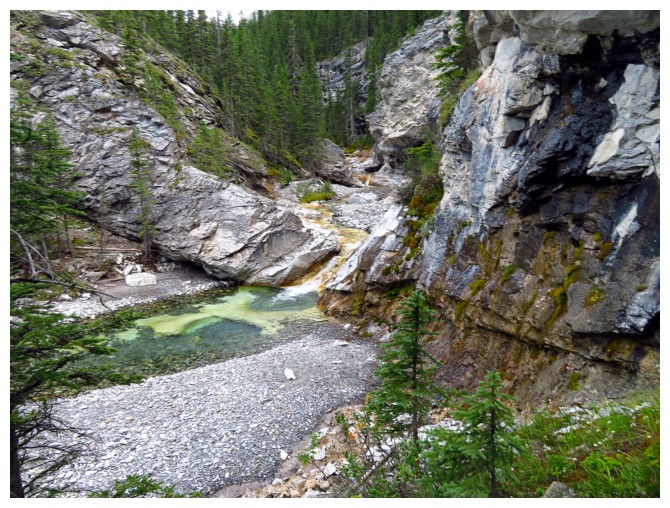 Pleasant scenery along Junction Creek
The End