Sapper Peak
August 13, 2023
Mountain heights: 2375 m and 2469 m
Total elevation gain: 1652 m
Round-trip time: 9:50
Scrambling with
Dave.
Mount Haig is
the centre and highest point of an amazing spider-like massif that also
includes a host of cool Southern Alberta peaks: Middle Kootenay Mountain, Mount
Miles and Krowicki Peak, Tombstone Mountain, Mount St. Eloi, Syncline Mountain,
to name a few. All these peaks and many more are connected by high-level
ridges.
The objective
of the day was to explore the northwest ridge of 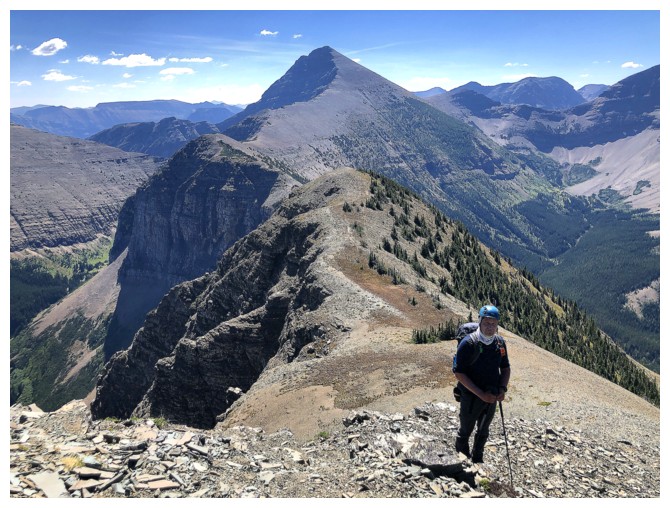 Mount Haig that eventually
connects with St. Eloi Mountain. Dave and I had no illusion (or perhaps
delusion is a more fitting word) of getting all the way to St. Eloi, however, several
significant highpoints along the way could potentially offer terrific views of
the area and hopefully a lake or two to the west. Also, we wanted to see how
much of the trail to Haig Lake was appropriate for biking. I had hiked it
several times and it seemed to be a good candidate for two wheels (and
especially if one had a motor to supplement those wheels!).
Mount Haig that eventually
connects with St. Eloi Mountain. Dave and I had no illusion (or perhaps
delusion is a more fitting word) of getting all the way to St. Eloi, however, several
significant highpoints along the way could potentially offer terrific views of
the area and hopefully a lake or two to the west. Also, we wanted to see how
much of the trail to Haig Lake was appropriate for biking. I had hiked it
several times and it seemed to be a good candidate for two wheels (and
especially if one had a motor to supplement those wheels!).
And in fact it
was. We were able to bike to a point within several hundred metres of the lake
before finishing on foot.  We did have to walk the bikes up several steeper
sections, but knew the return trip would be fast and effortless.
We did have to walk the bikes up several steeper
sections, but knew the return trip would be fast and effortless.
From Haig Lake,
we hiked/scrambled up to the col between Haig’s north ridge and Gravenstafel Ridge
– a surprisingly steep affair with lots of route-finding decisions to make, and
perhaps the crux of the day. The scramble up to the north ridge was far more enjoyable.
Finally on new
terrain for both for us, we started the long hike north and then northwest. The
next several hours were absolutely amazing! Perfect weather, fantastic views in
all directions, and varied terrain conspired to render this ridgewalk one of
the most gratifying I’ve ever done – pretty sure Dave felt the same way. We eventually
reached a significant highpoint along the ridge, southeast of another prominent
summit, identified as St. Eloi SW1. Given its prominence we decided to give this
peak an unofficial name, though the specifics would come later that evening.
A decision
needed to be made here. We had been looking longingly at Packhorse Peak through
much of the ridgewalk and had toyed with the idea of making an attempt.
However, after some discussion that plan was kiboshed. While the technical crux
of the trip may have been getting to the Haig/Gravenstafel col, the more
pressing crux was water, or lack of it more specifically. We had both brought 4
litres of water and various energy drinks along for the trip. However, 30+
degree temperatures meant we were rapidly consuming our liquids and there were
no water sources along the ridge. Attempting Packhorse would have been
dangerous on that premise alone. Instead, we agreed to head northwest to Eloi
SW1.
Again, the
terrain between the highpoint and Eloi SW1 was very easy to negotiate and now
we had the added bonus of good views of a large, unnamed lake below us to the
west. 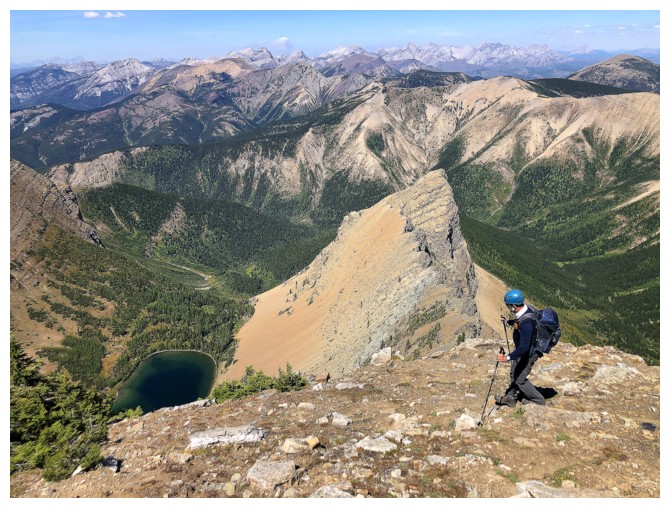 SW1 was reached without much ado, and boasted an outstanding summit view.
The summit of
St. Eloi was now relatively close. However, the hydration concern remained we had
to put that idea to rest also. Instead, we took a brief detour down SW1’s
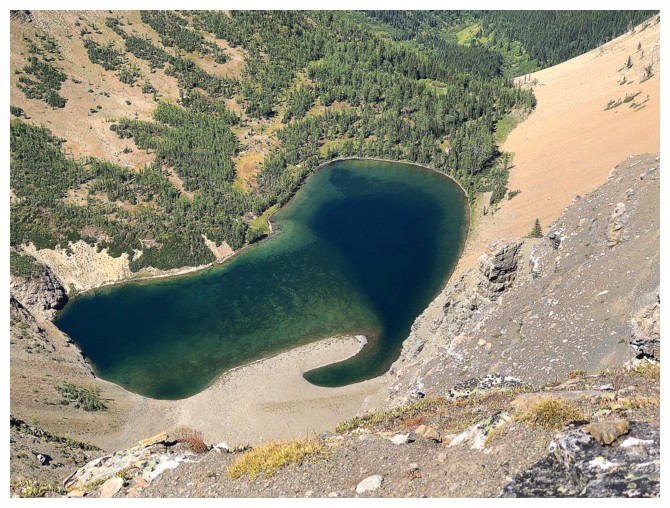
stunning northwest ridge, hoping to get a glimpse of another unnamed lake to
the northwest. That lake did not disappoint either, a beautiful green oasis in
a remote valley.
For descent, we
retraced our path almost exactly. En route we discussed the very wise decision
to not attempt Packhorse or St. Eloi. The heat had been oppressive all day and our
liquids were nearly exhausted. After a refreshing head dunk in Haig Lake, we
were backs on two wheels, ready for a wicked ride down. Wicked it was, until
Dave blew a tire! Fortunately, we were most of the way down at that point and
walking the rest of the way was faster and easier than waiting for Dave to change
the tire.
Totally awesome
day! Hopefully, we’ll be back someday for those other summits and more glorious
high-level ridge-walking.
Note: later
that evening, Dave unofficially named the first summit, “Sapper Peak”, in
reference to the 1916 Battle of St. Eloi. See Dave’s outstanding report for the
details.
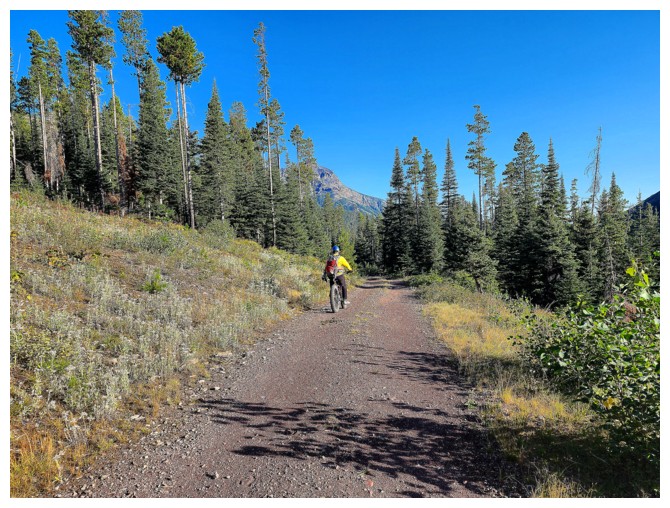
On our way up the Haig Lake Trail (photo by Dave)
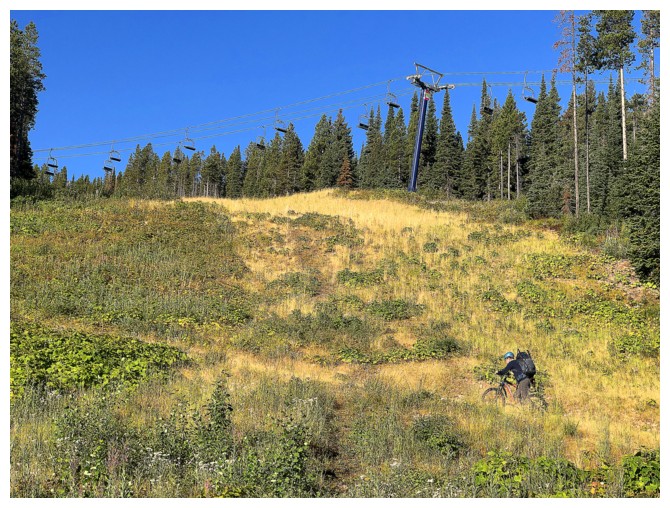
Dave pushes his bike past one of the Castle Mountain Ski Resort's chairlift
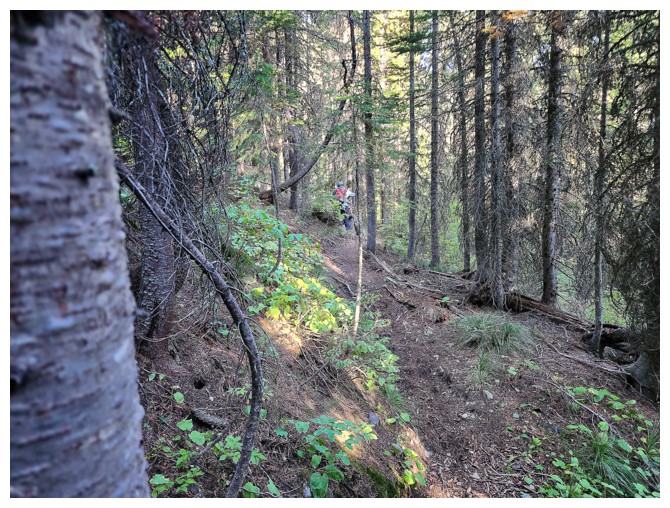
A short section where the trail narrows to a single track. We both walked our bikes here (photo by Dave).
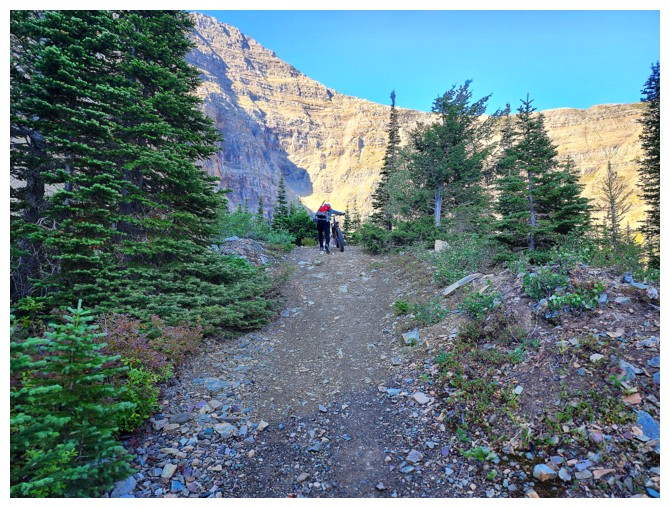
Had to walk my ebike up this part (photo by Dave)
Arriving at Haig Lake (photo by Dave)
Still on a trail above Haig Lake (photo by Dave)
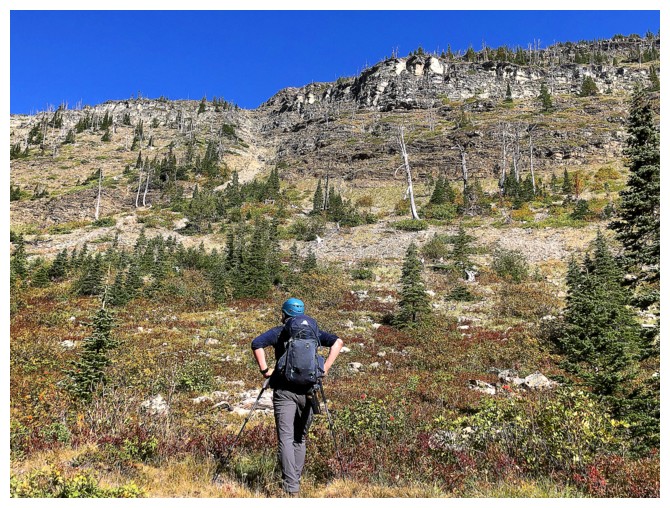
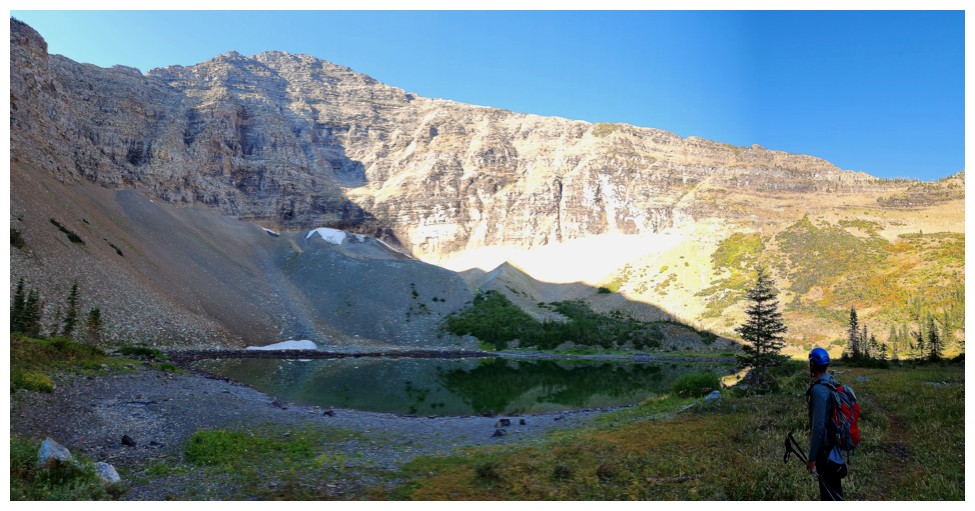
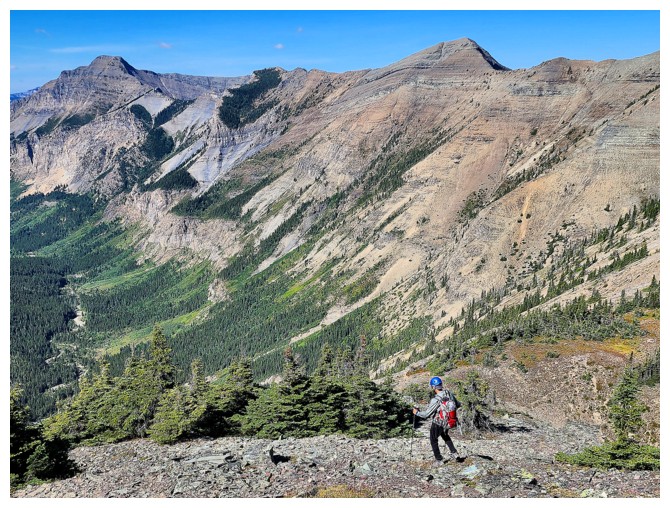
Dave surveys on the route ahead to the Gravenstafel/Haig col
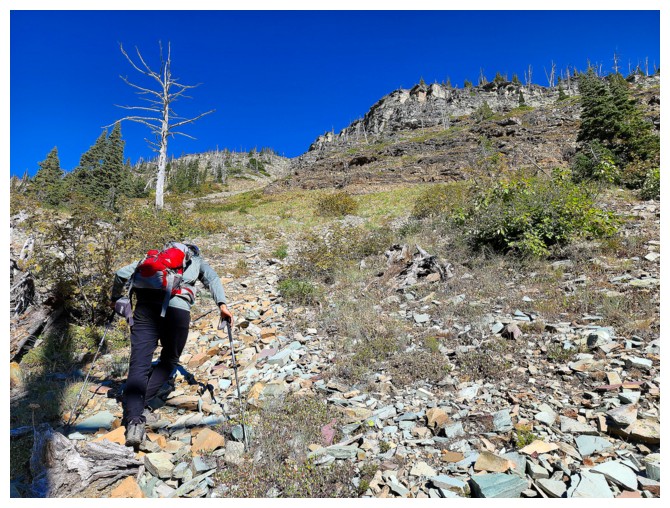
Up we go (photo by Dave)
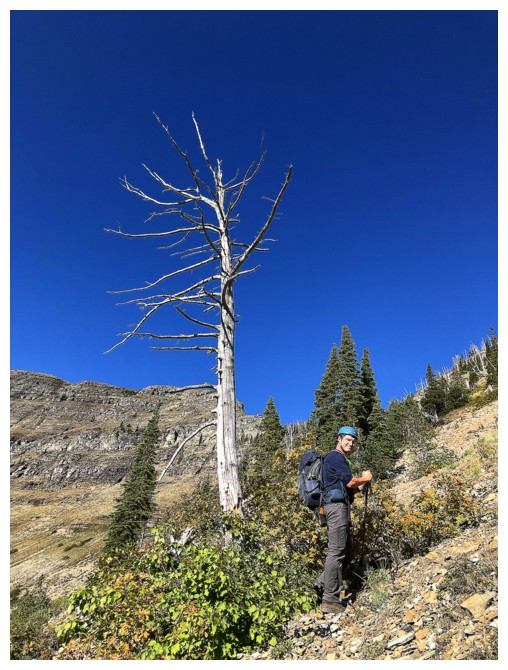
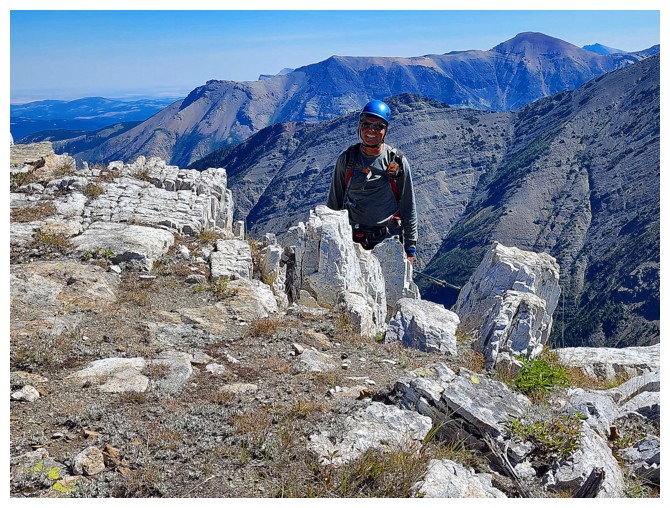
Big tree and a good man
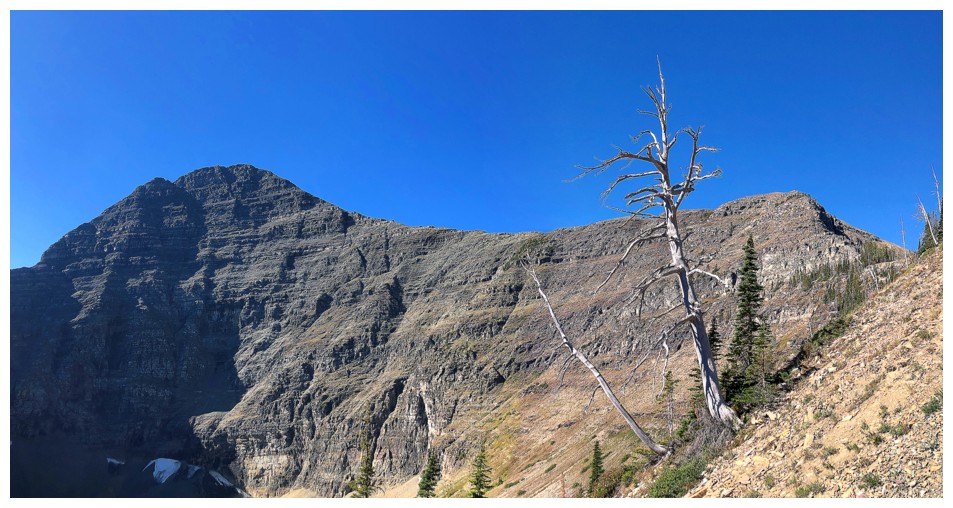
Mount Haig at the left
This gully goes more directly to Gravenstafel Ridge
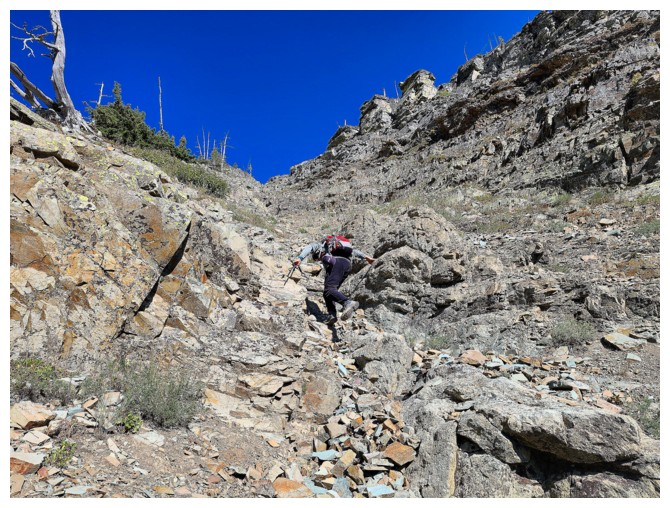
We ascended it for a while... (photo by Dave)

..then started traversing directly to the col (photo by Dave)

Barnaby Ridge in the background

At the col. It's a fun scramble up the ridge at the right (photo by Dave).
Right to left: Gravenstafel, Dave, Syncline, St. Eloi, St. Eloi SW1, and Sapper
The fun begins (photo by Dave)
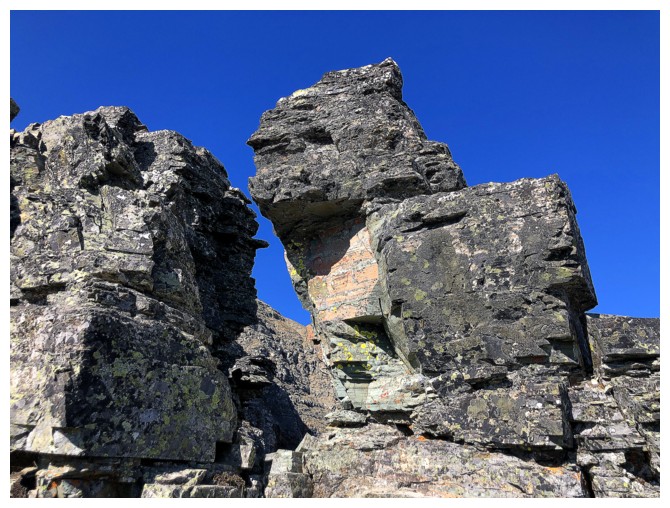
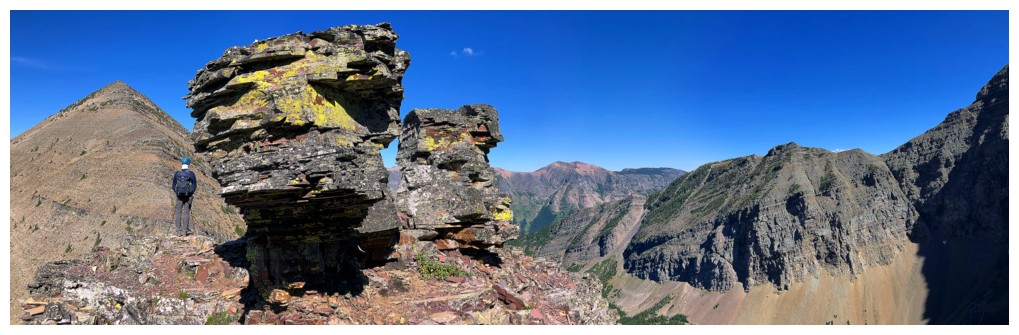
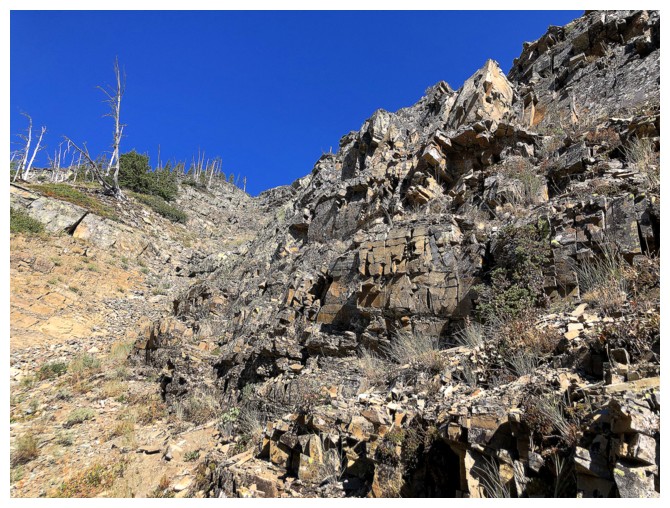
Cool rock to scramble up and between
And colourful too!
Easy scrambling
And nice perches (photo by Dave)
And colourful views
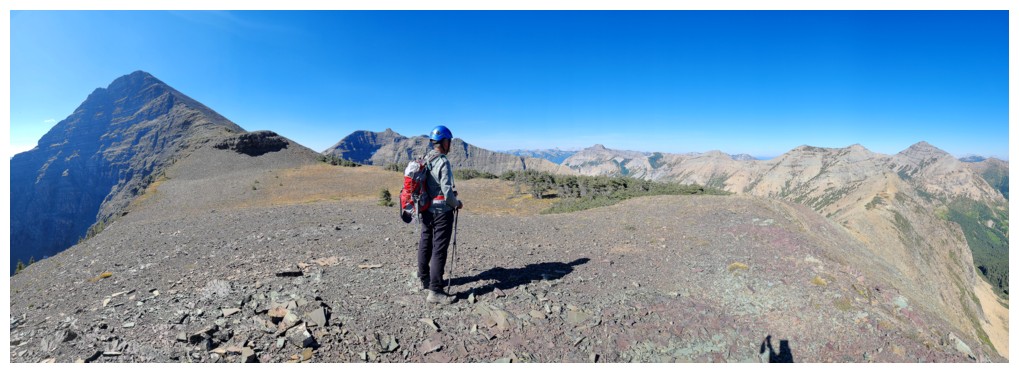
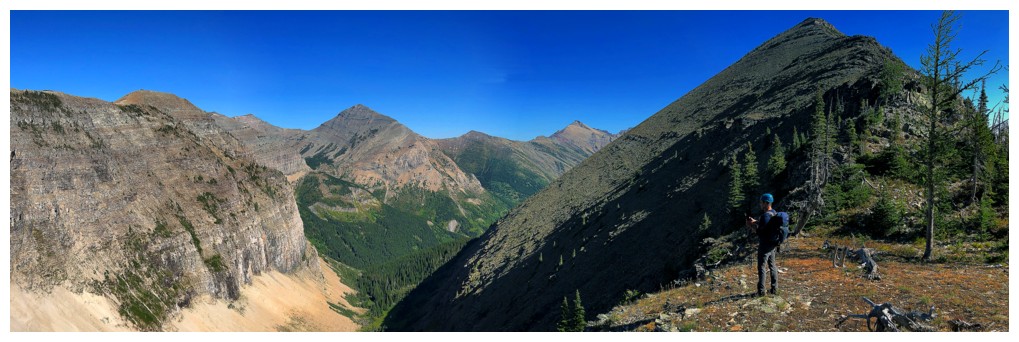
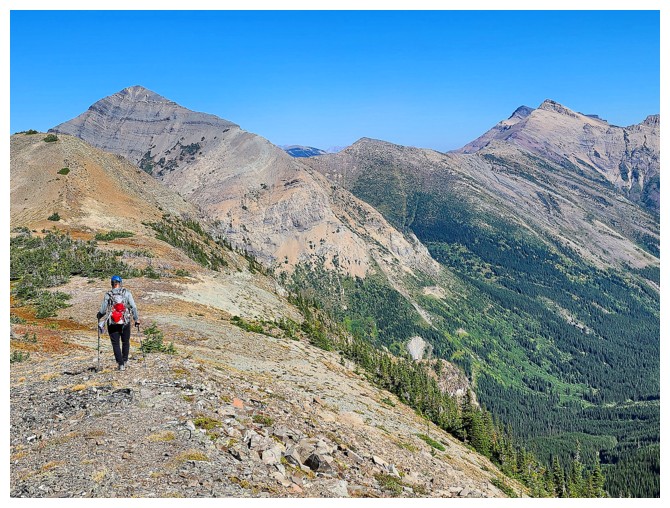
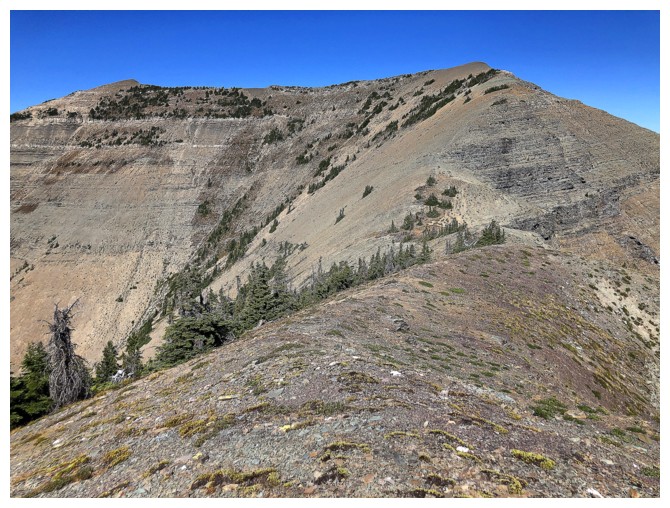
At the highpoint, north of Haig, and ready to start the long hike north (photo by Dave).
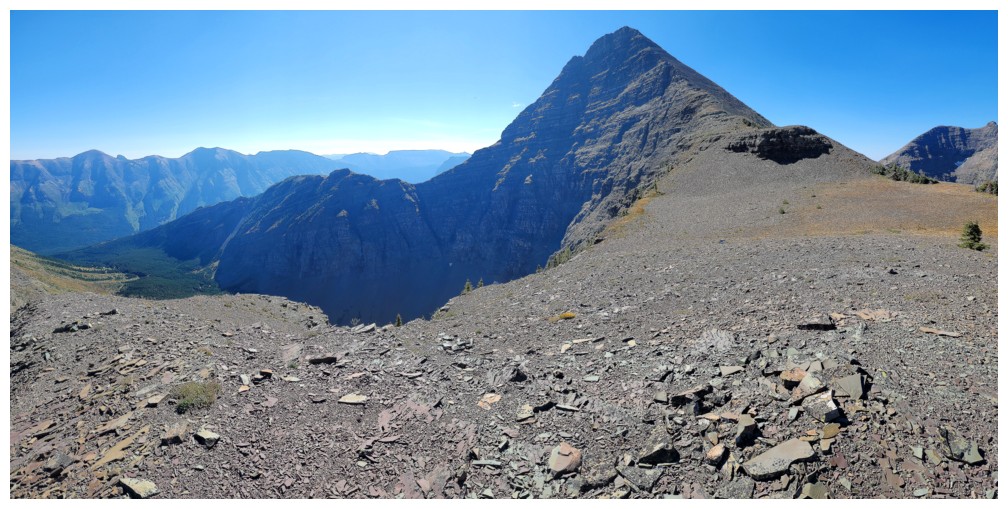
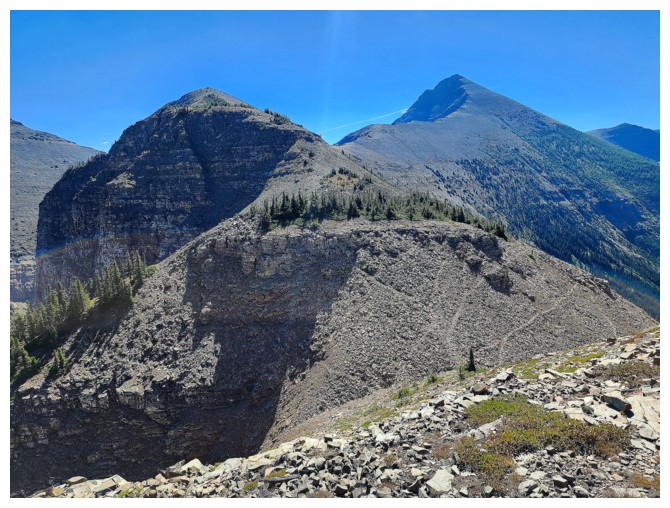
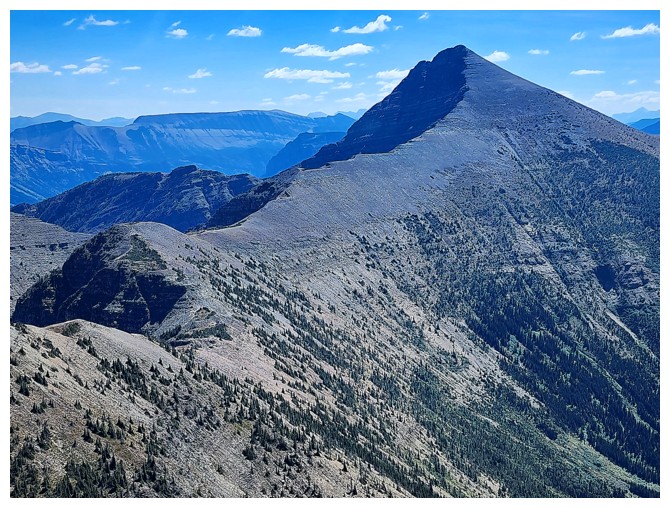
Mount Haig (photo by Dave)
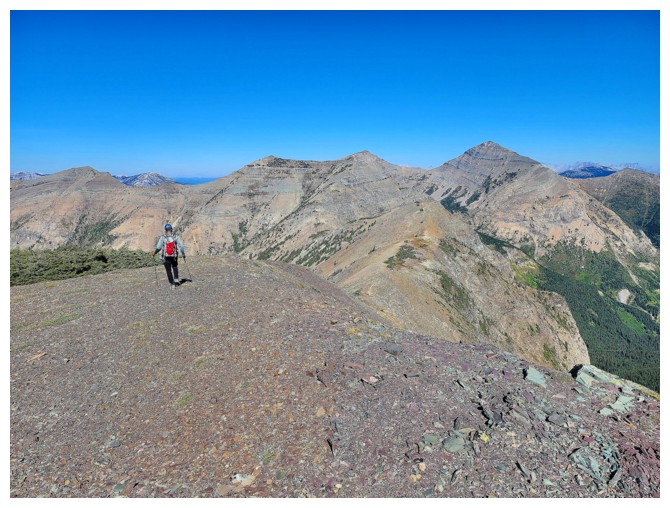
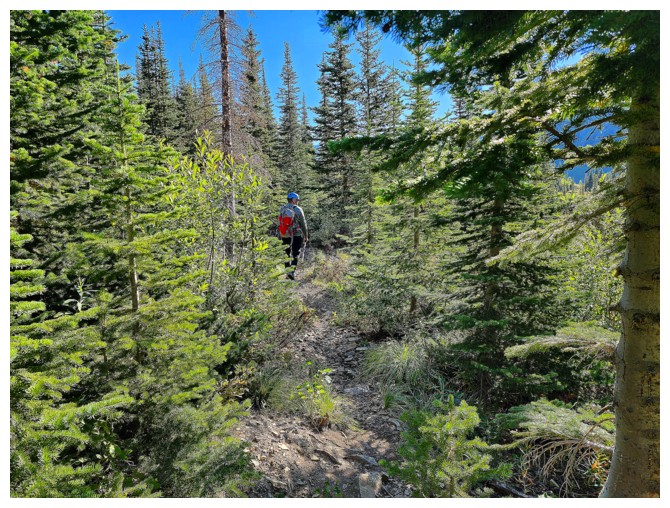
Easy, but scenic travel from here to both summits (photo by Dave)
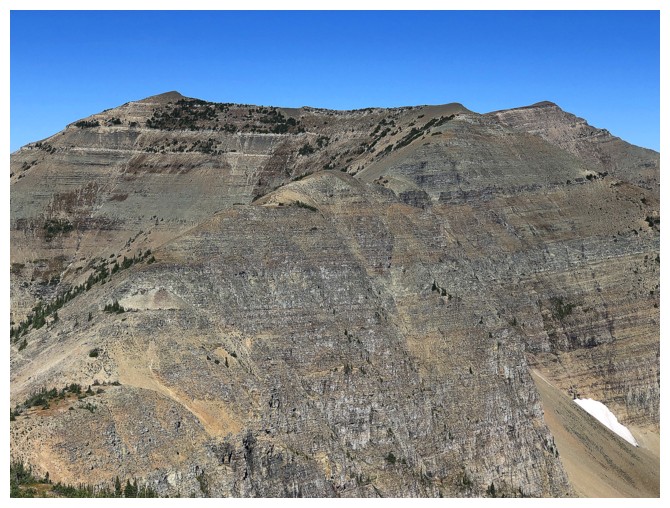
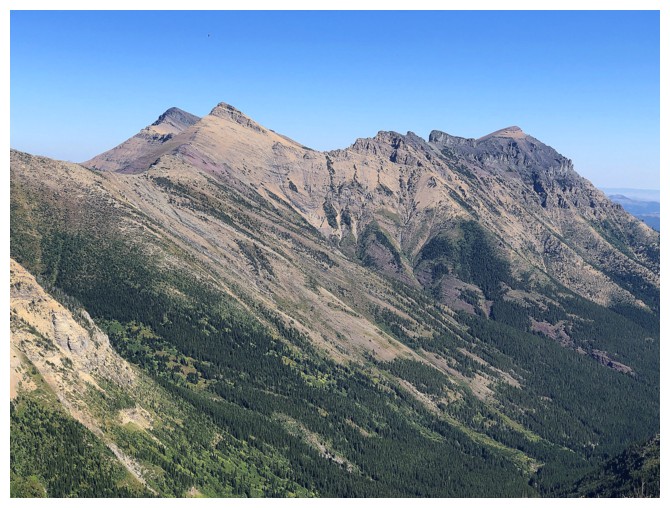
Gravenstafel looks as impressive as Haig from some angles
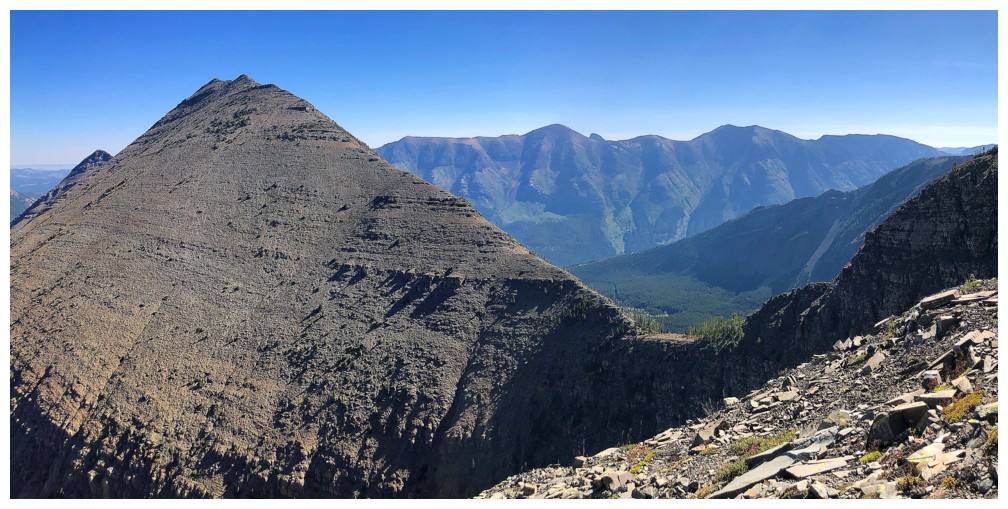
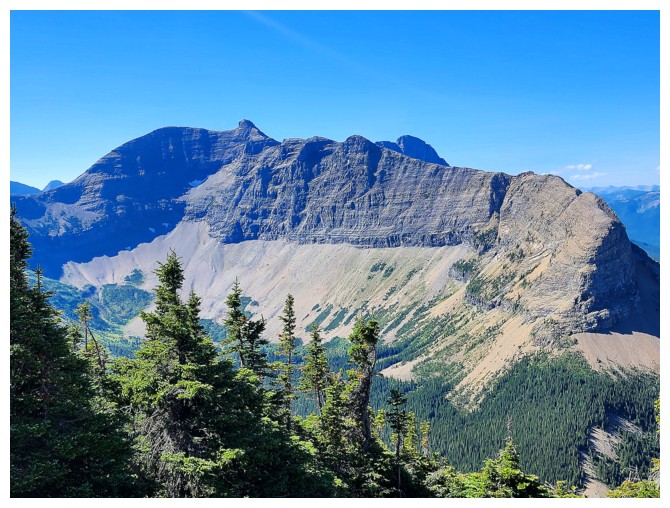
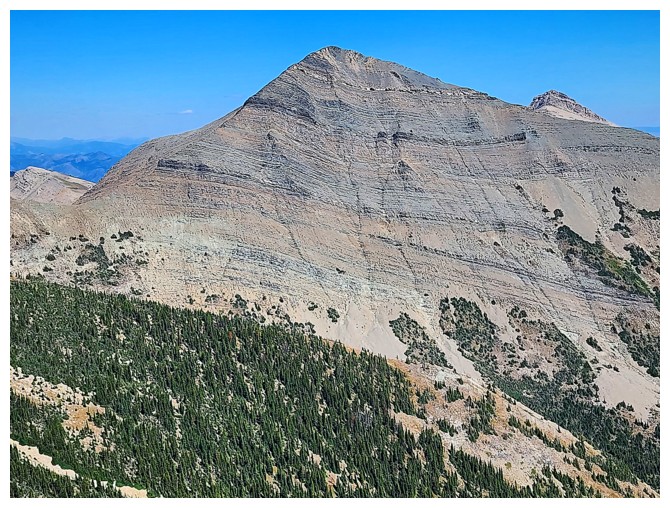
St. Eloi Mountain (left) and two of Syncline's three summits at the right (photo by Dave)
Boot Hill now appears at the right. Had a terrific day on that peak and a few others on a route I'd never, ever, ever, repeat!!
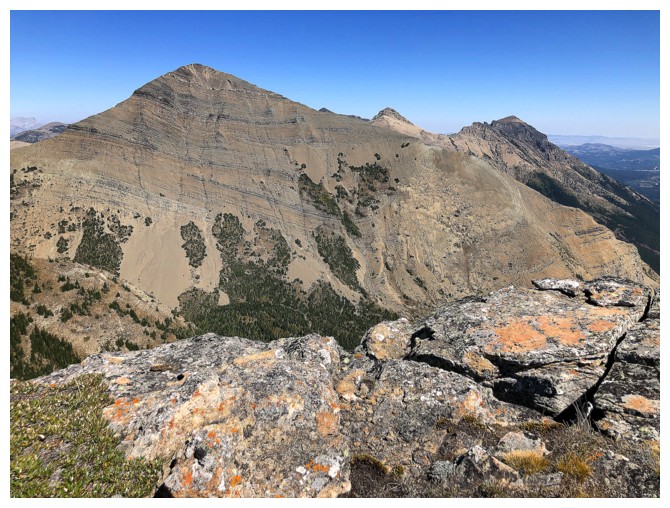
Close-up of Sapper (left) and St. Eloi SW1 (right). They are still far away.
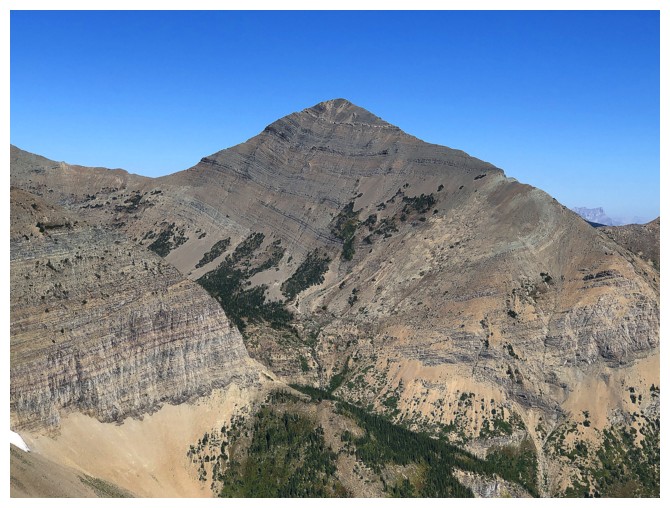
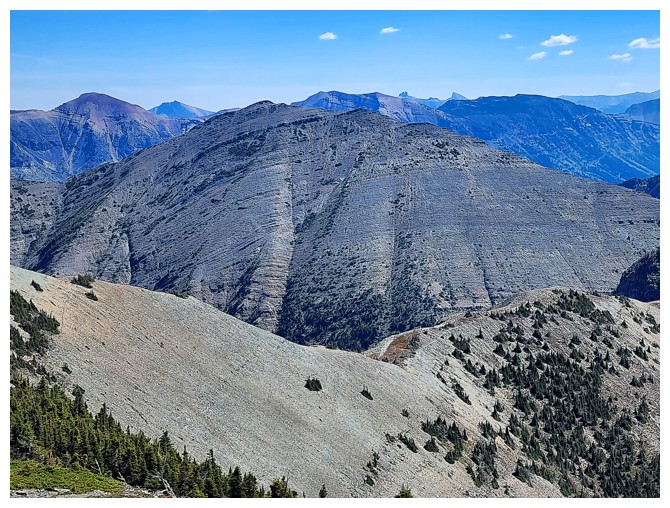
Close-up of St. Eloi
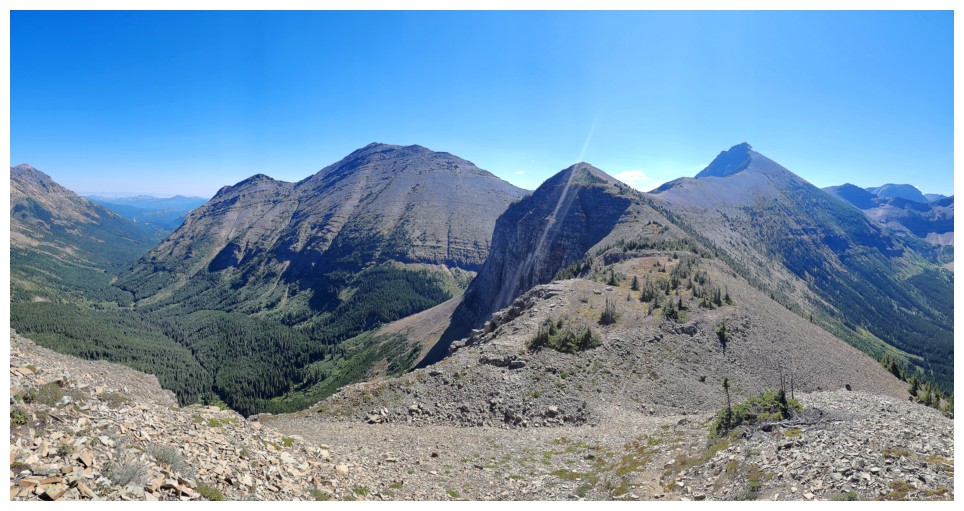
All three summits of Syncline. The official summit is the one at the right, but the highest summit is the furthest left.
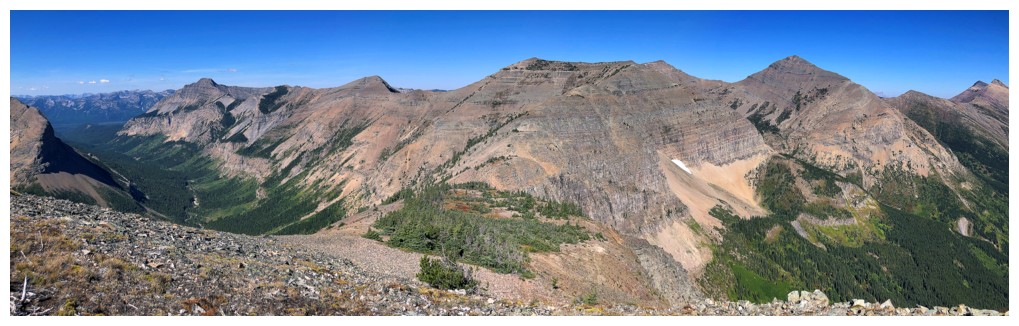
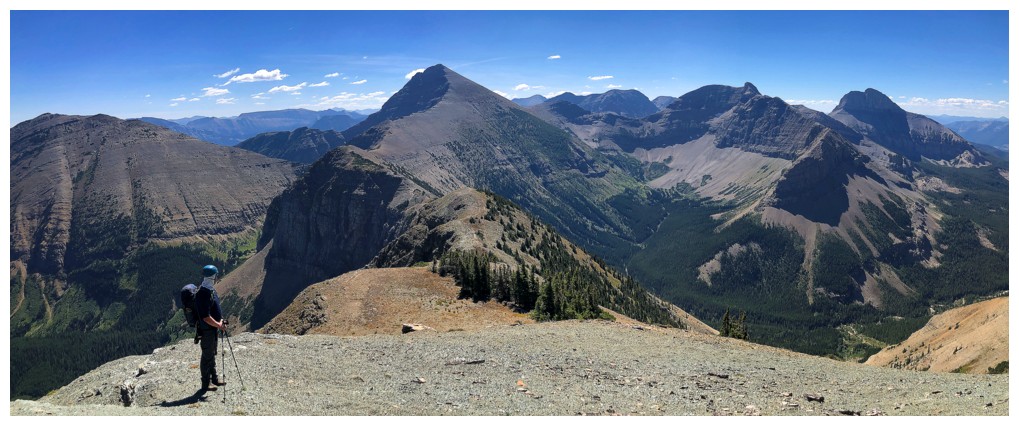
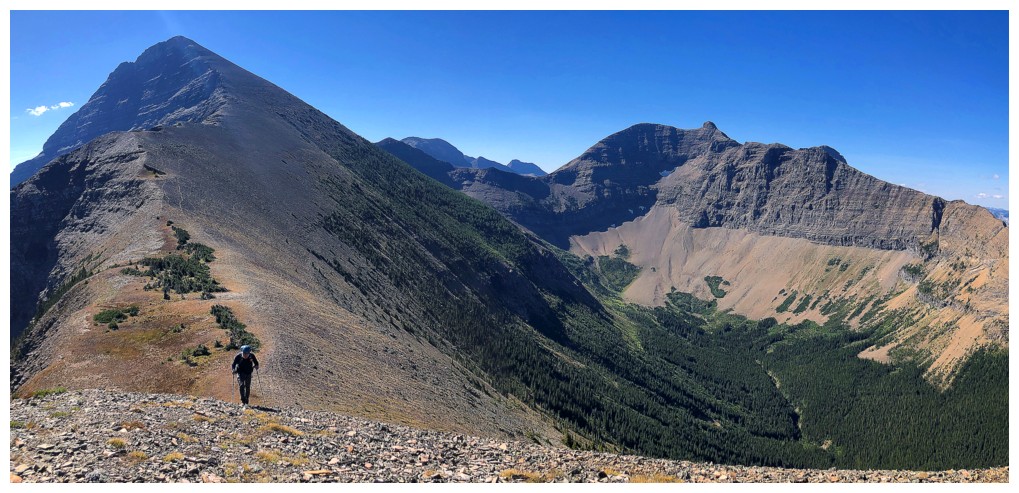
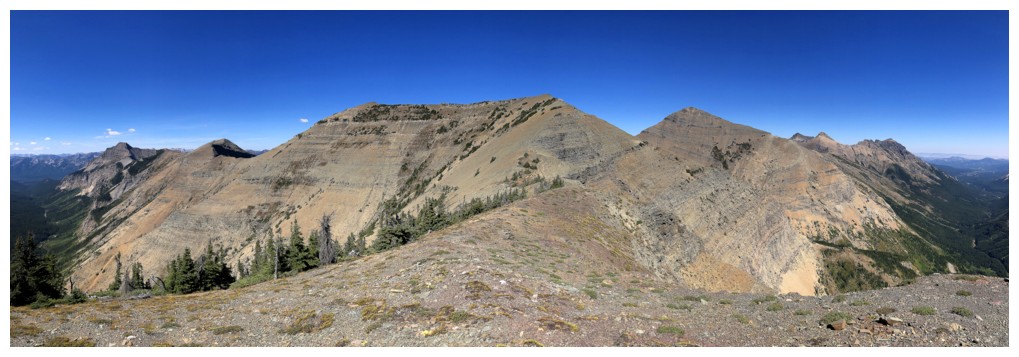
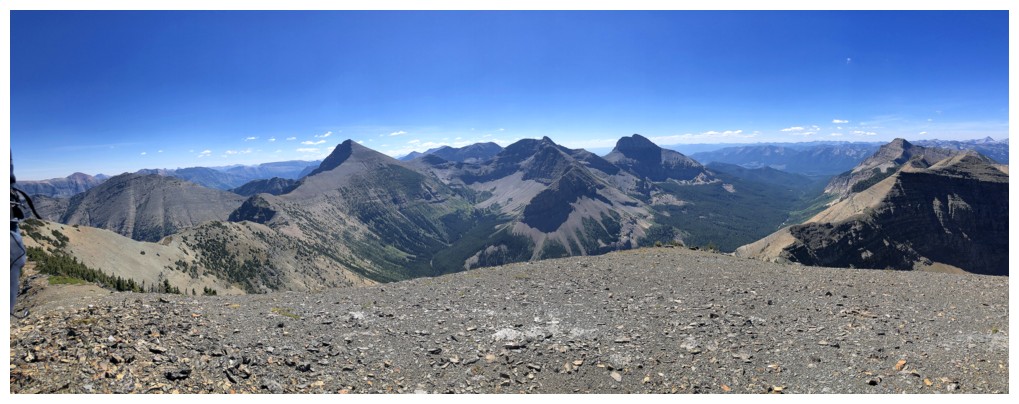
Pano of the view in front
Better view of Boot Hill's impressive north ridge (photo by Dave)
The long ridge that leads to Packhorse Peak at the far left (photo by Dave)
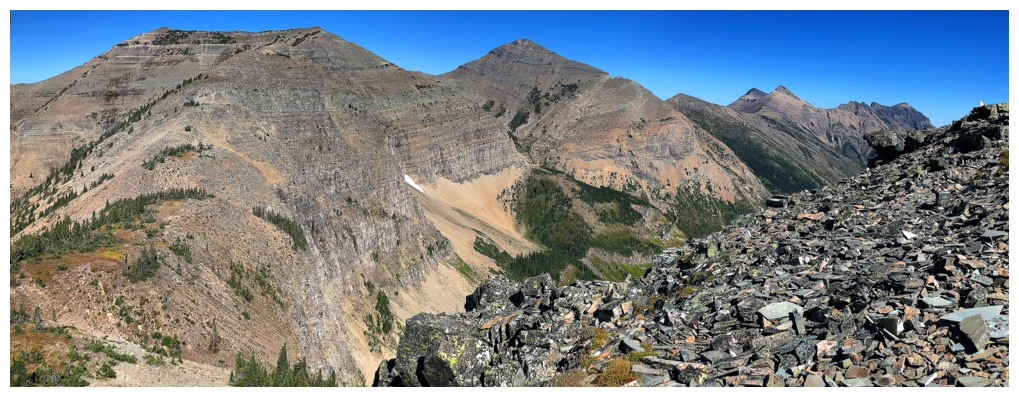
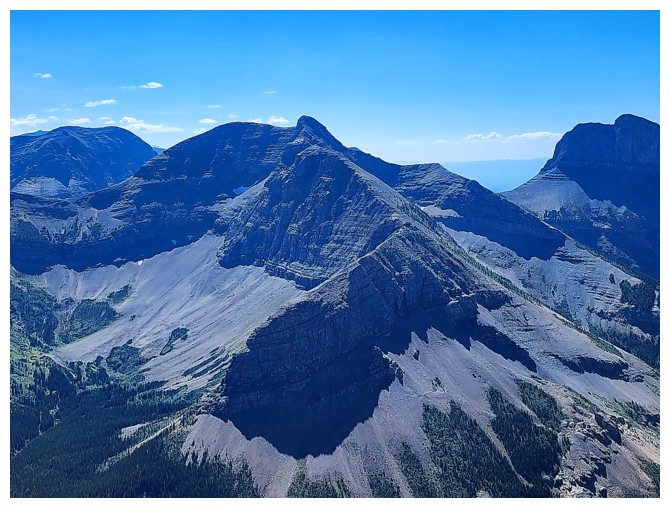
Sapper, St. Eloi, and Syncline are going to get tons of attention
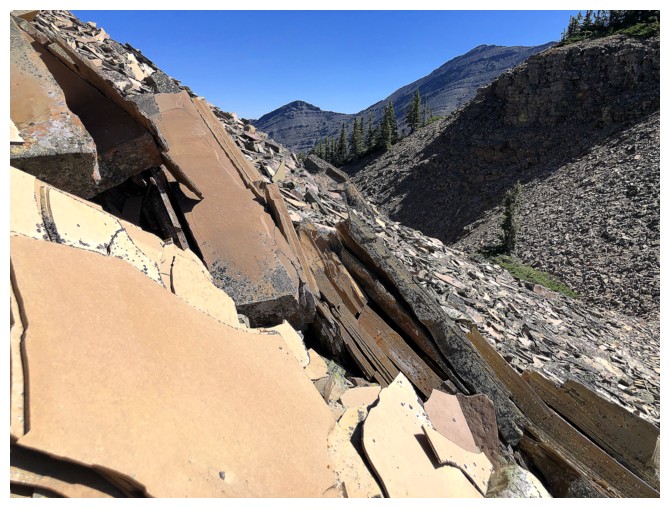
Hail to the shale!
Looking back. Note all the animal trails in the scree (photo by Dave).
Looking forward. Note the lumbering Neanderthal in the foreground (photo by Dave).
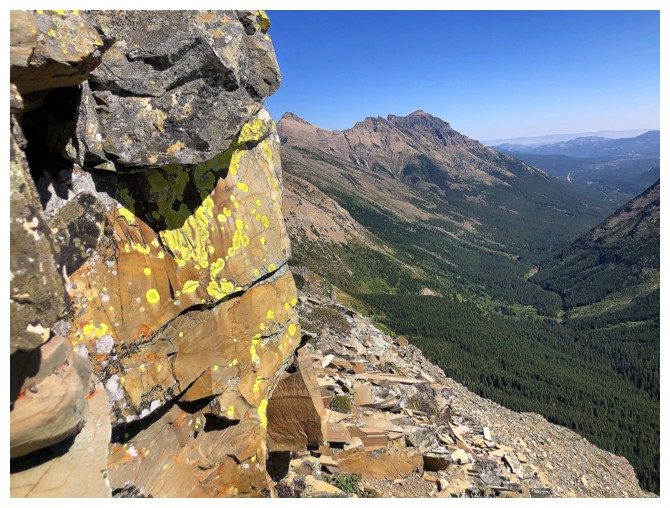
Lichen and Syncline
The view behind gets better all the time (photo by Dave)
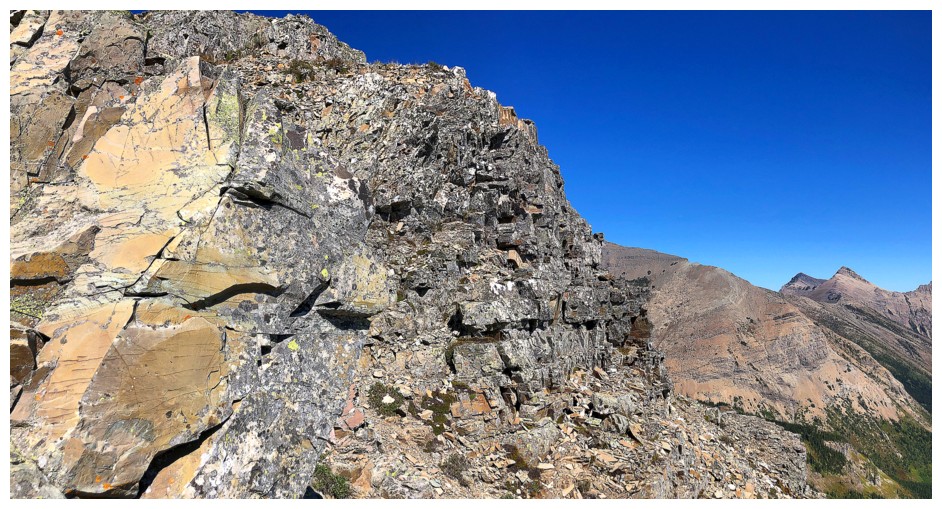
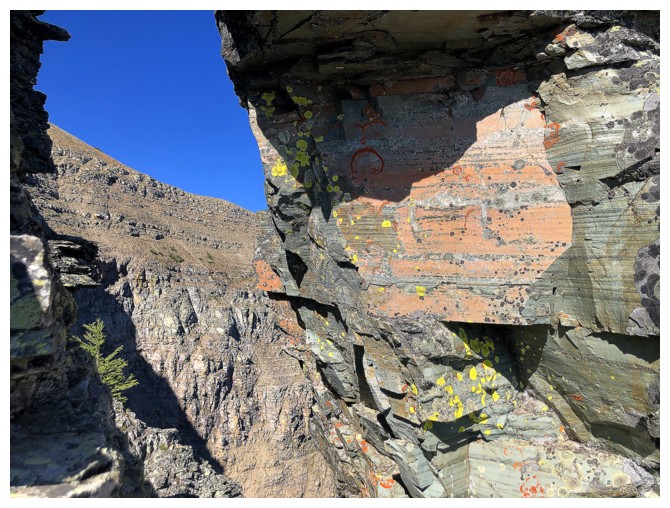
While the route from the first highpoint to both summits was devoid of
my favourite type of rock (red argillite), it did feature a variety of
others

Tombstone Mountain peaks over Boot Hill's north end
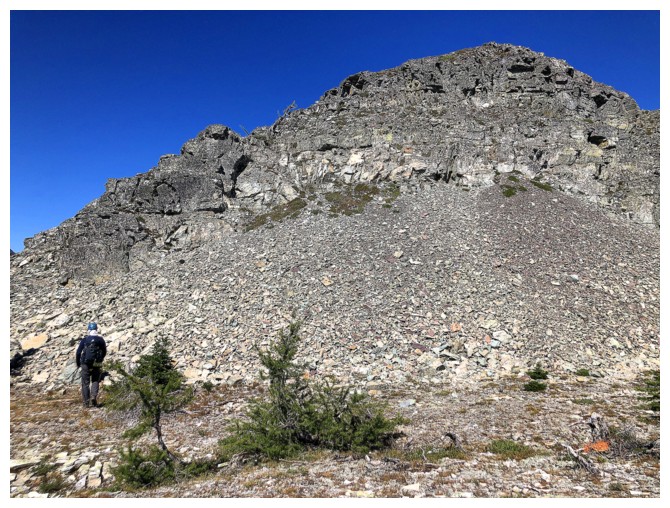
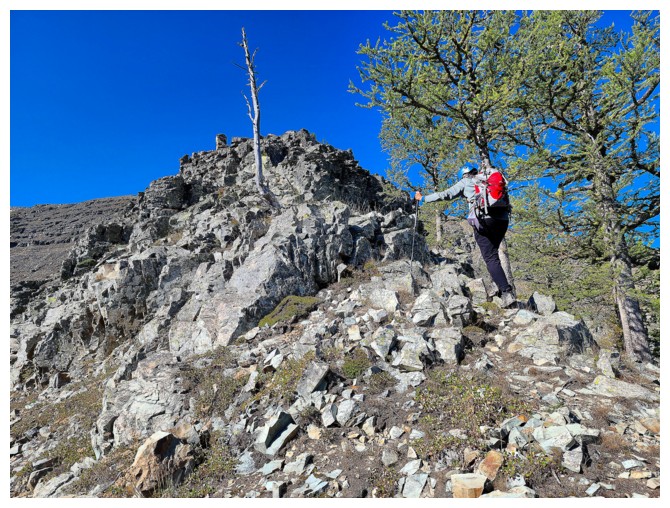
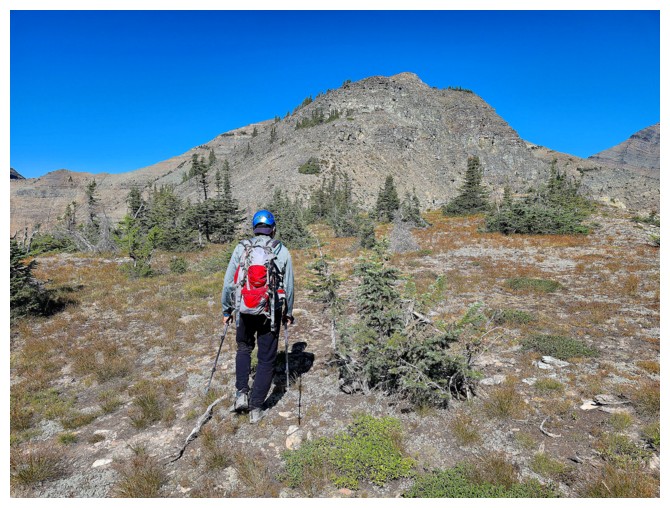
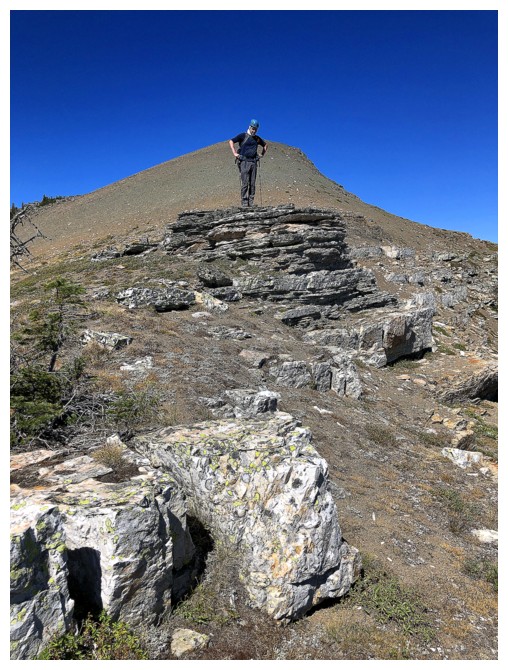
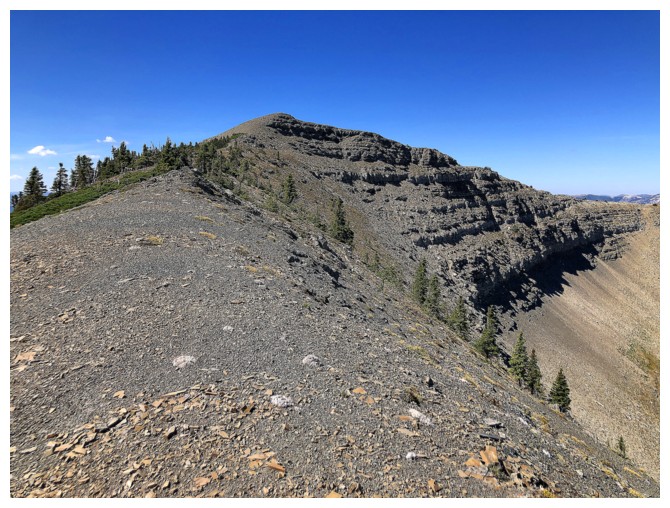
Approaching a highpoint along the ridge
Apparently these peaks can also be accessed from the Syncline Brook
valley at the right, but there's some serious bushwhacking to contend
with
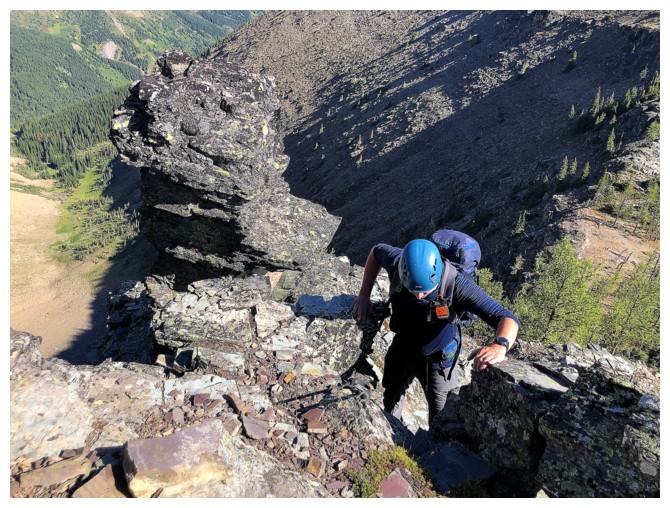
Dave heads up to the next highpoint
Peaking over the steep east side of the ridge (photo by Dave)
Almost there
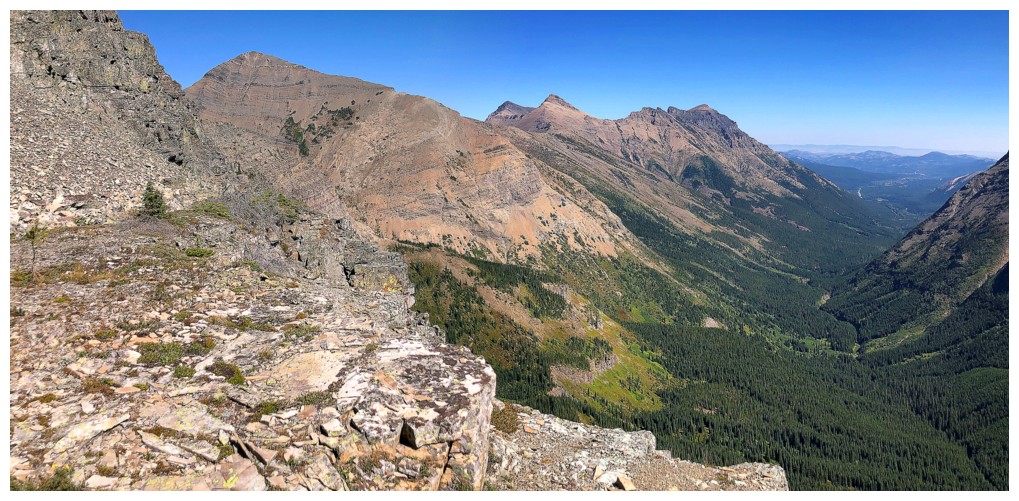
The view ahead from that highpoint
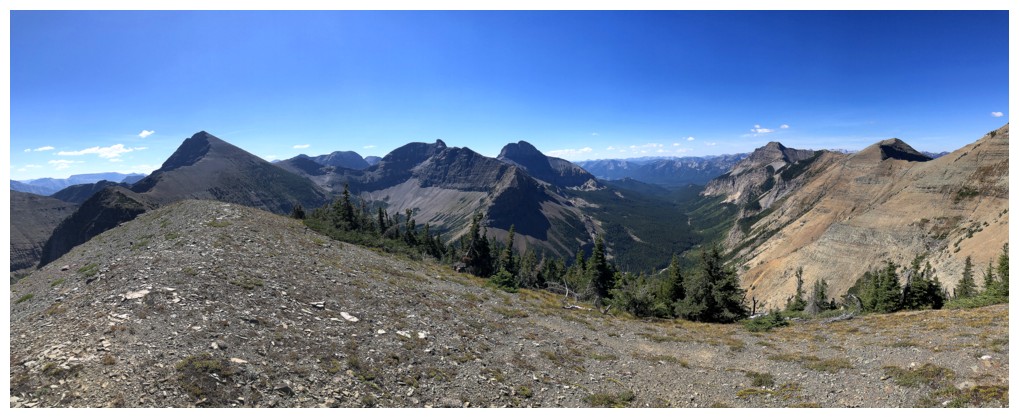
View to the west and south
South and east
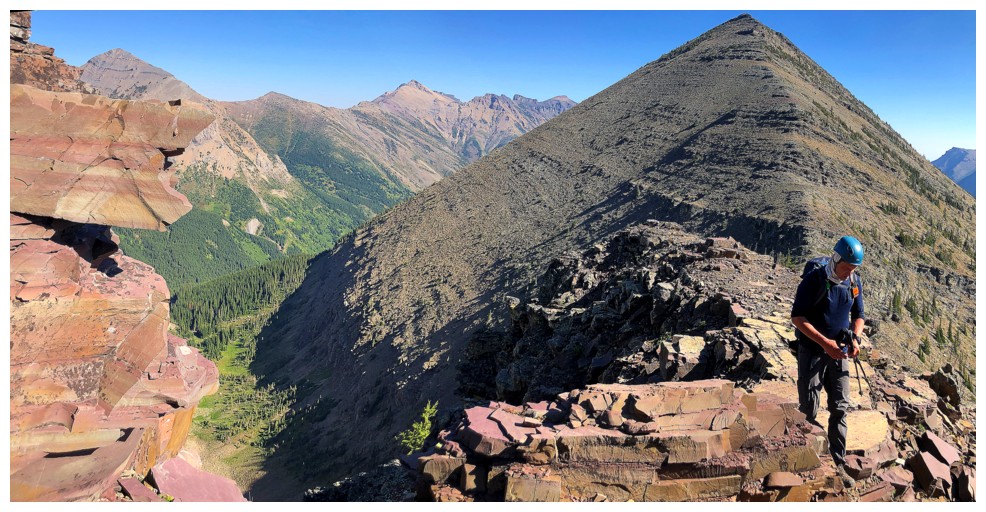
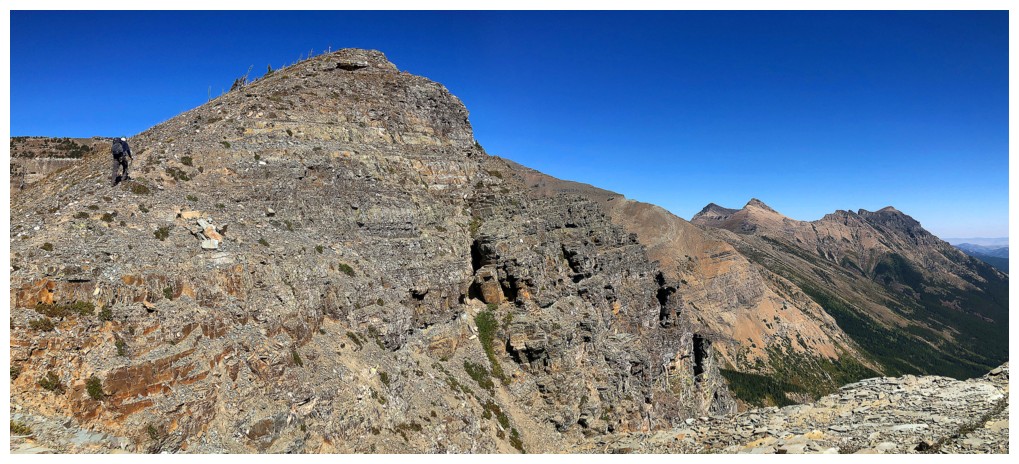
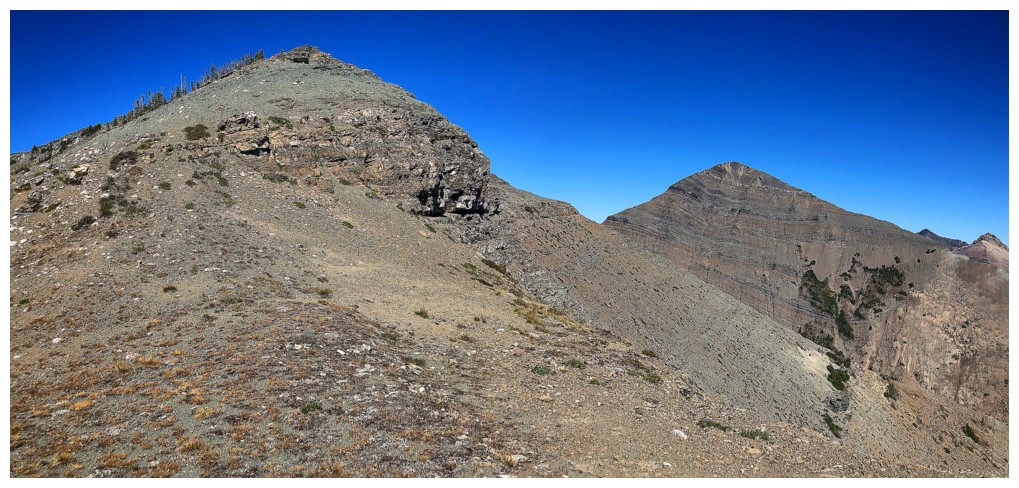
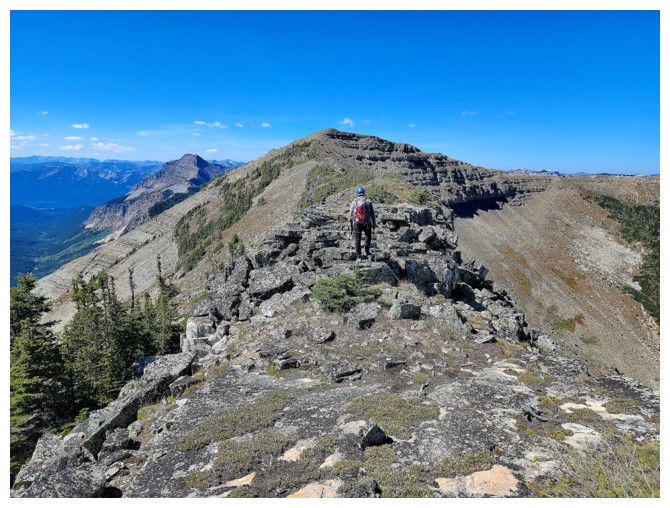
The next section. Sapper Peak at the far left.
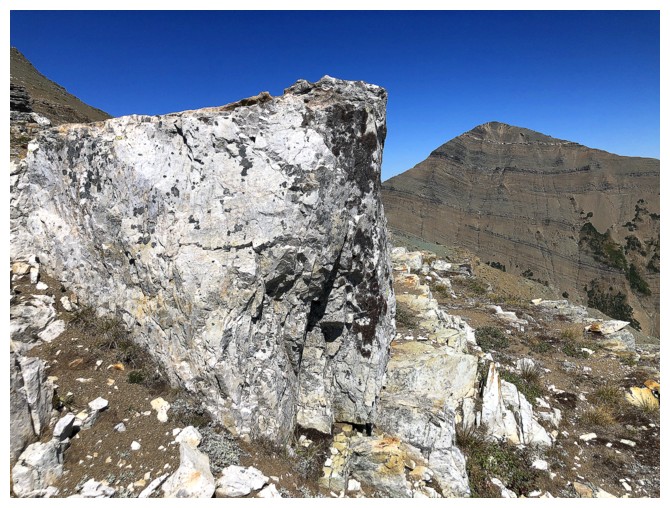
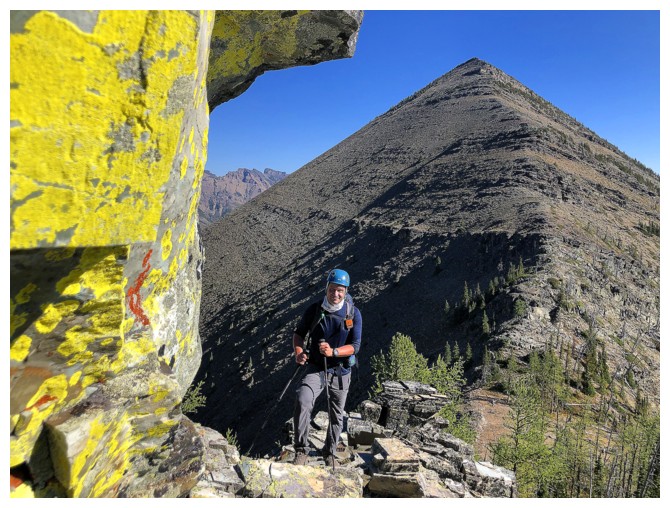
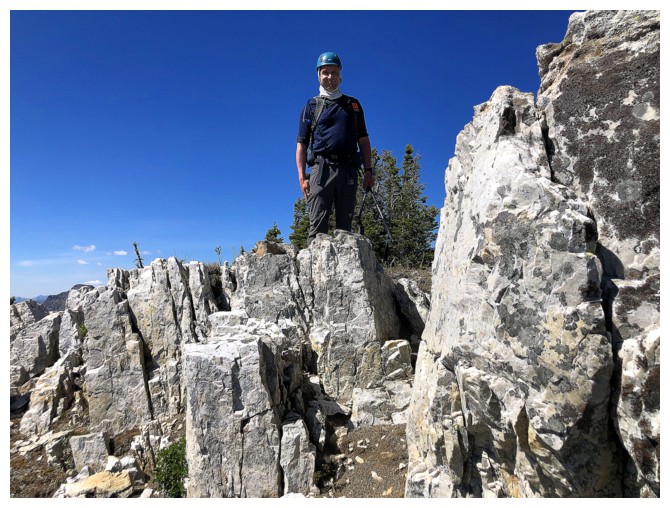
Running into this section of white quartzite was one of the highlights of the ridgewalk
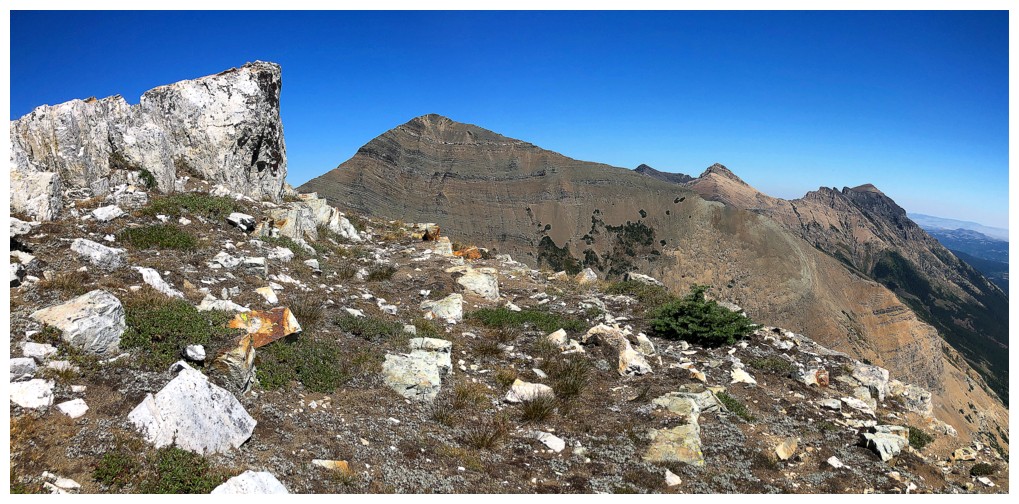
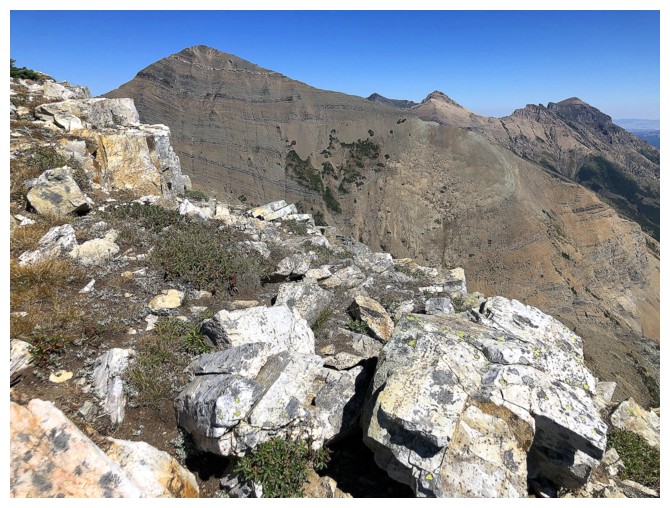
The quartzite, St. Eloi, and Syncline
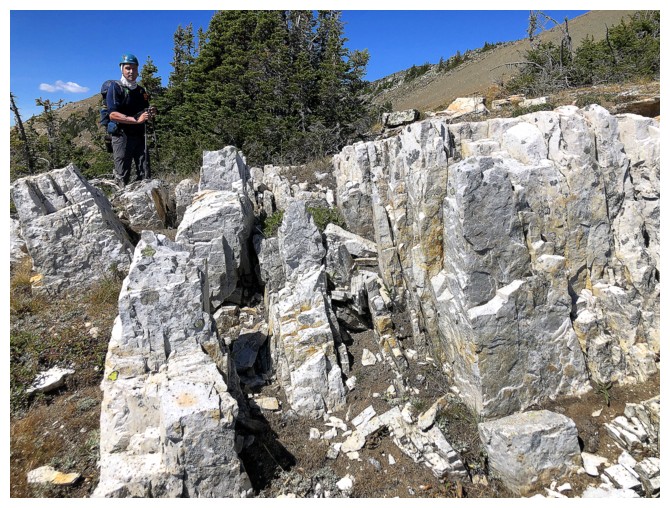
Dave and the white rock


Dave's view of me (photo by Dave)
My view of Dave
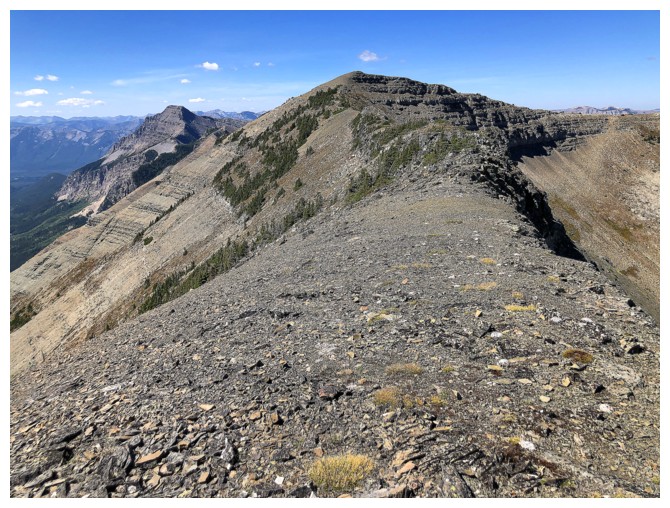
Sapper Peak (centre) and now only a short ridgewalk away

Mount Darrah (just right of centre) and several of its outliers
The view from the highpoint features Sapper, a Neanderthal, St. Eloi SW1, St. Eloi, and Syncline (photo by Dave)
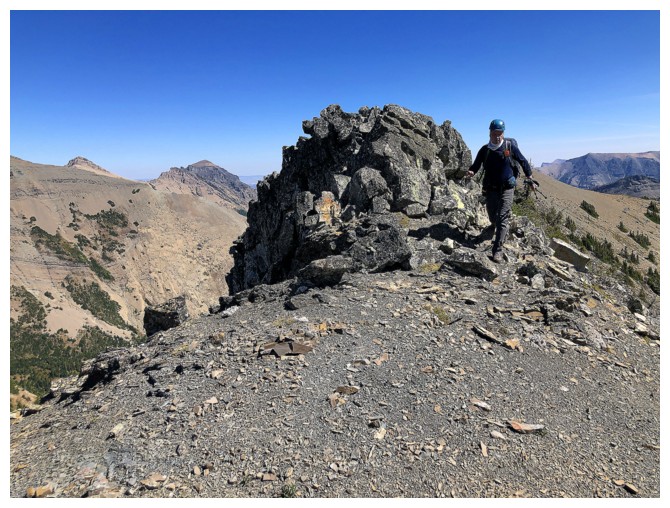
Heading to Sapper (photo by Dave)
Nice rock as a foreground to St. Eloi
The east side of the ridge is consistently steep
Dave passes by some cool rock
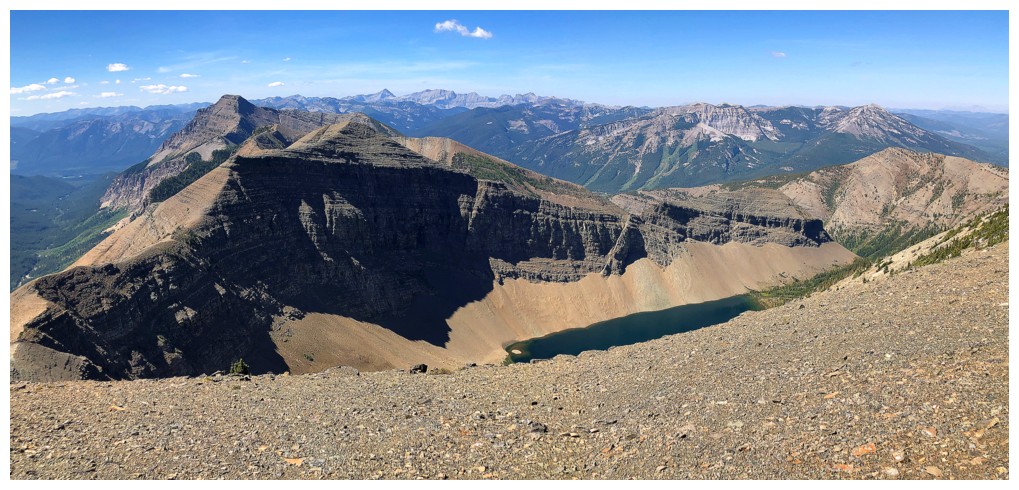
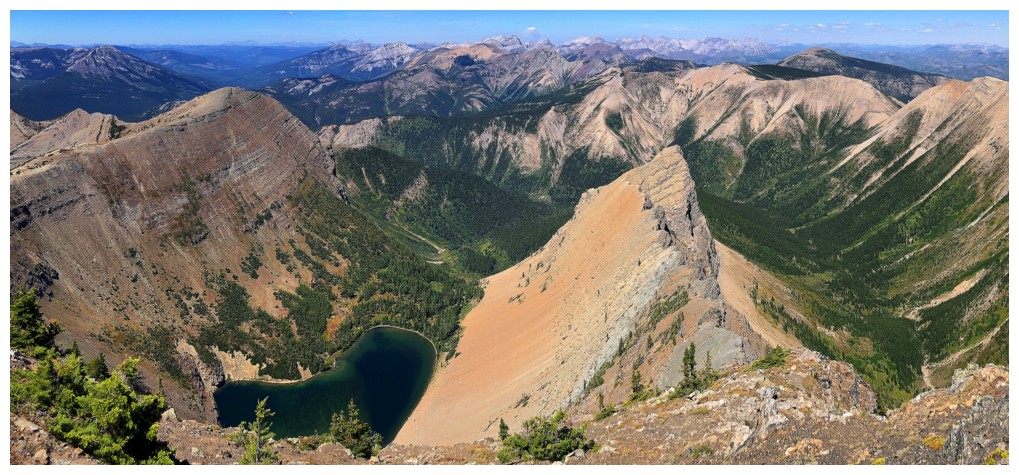
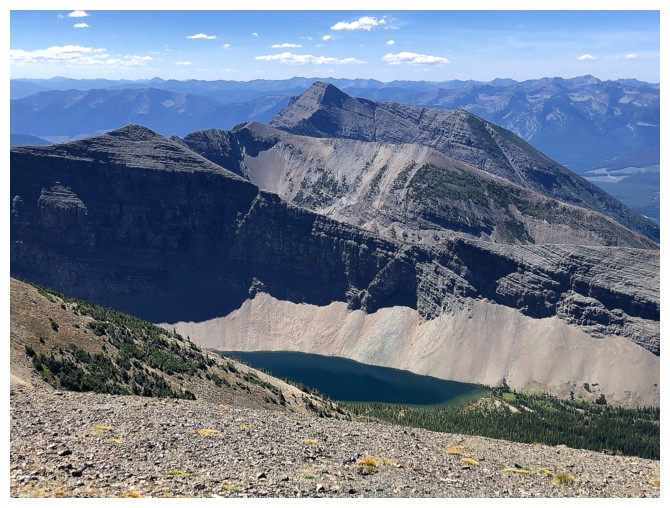
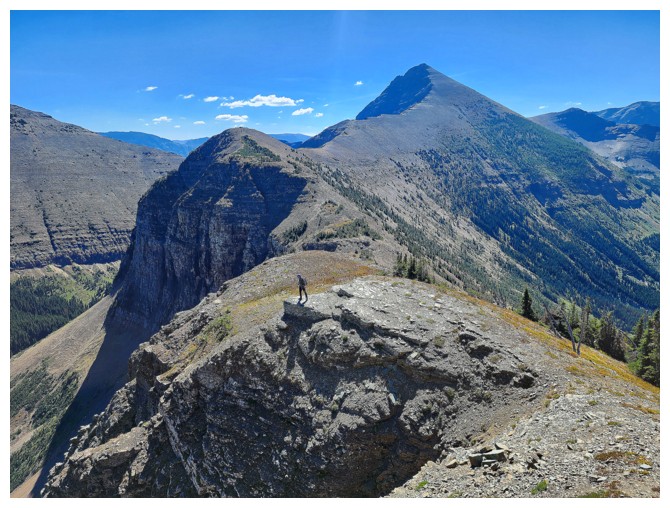
View to the west from Sapper Peak and the unnamed lake
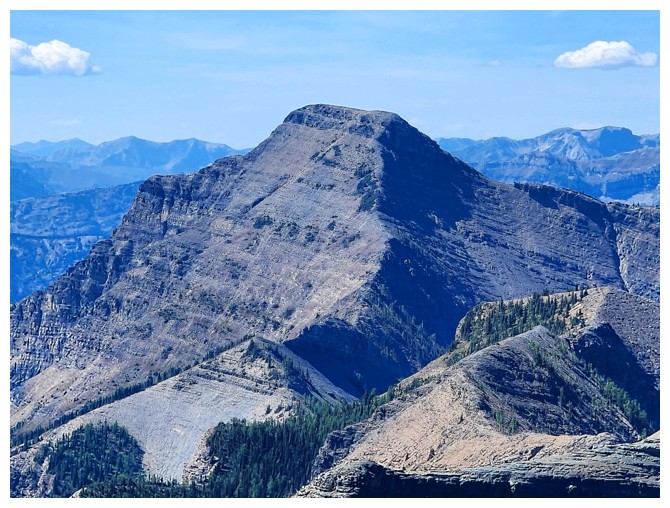
Packhorse Peak (photo by Dave)
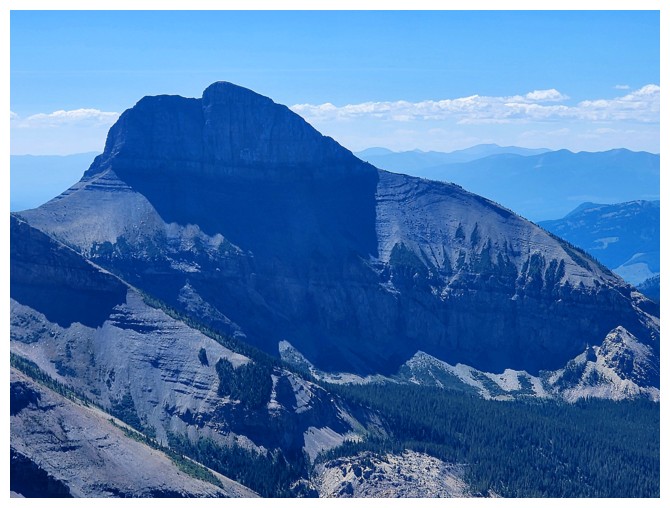
Tombstone Mountain (photo by Dave)
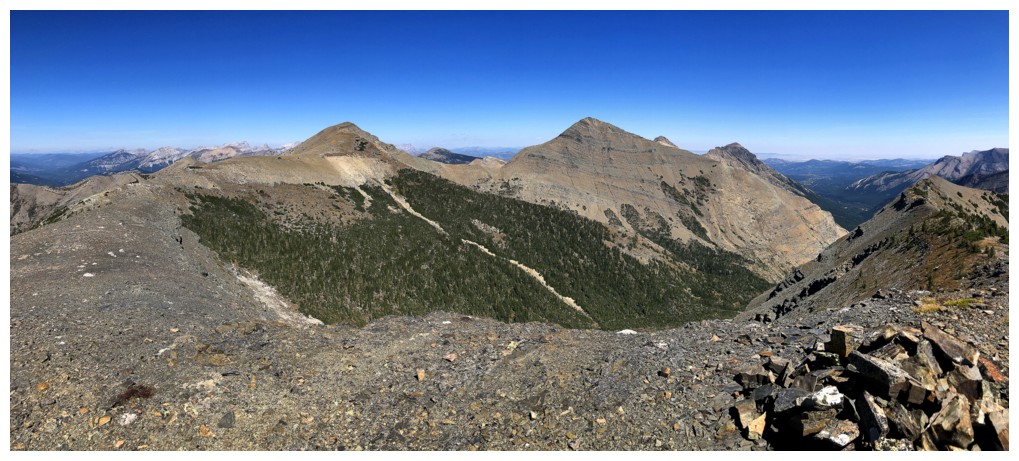
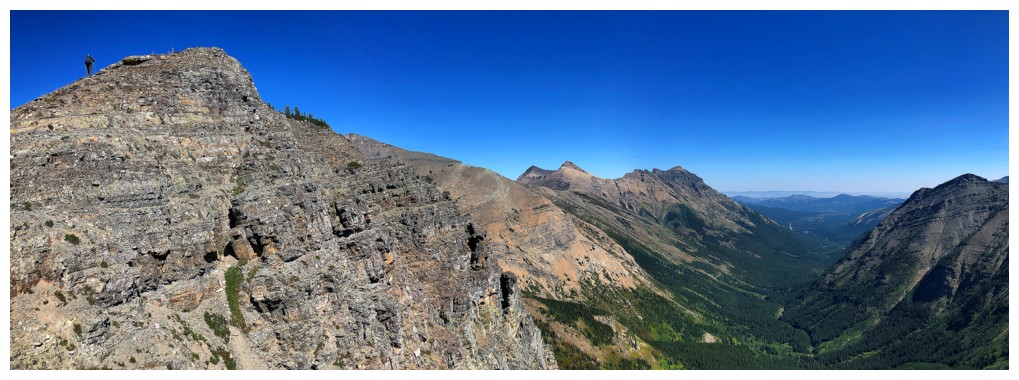
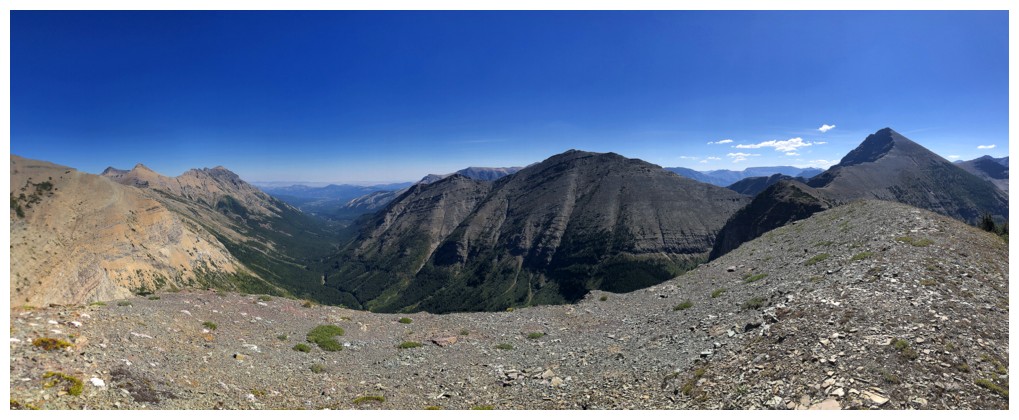
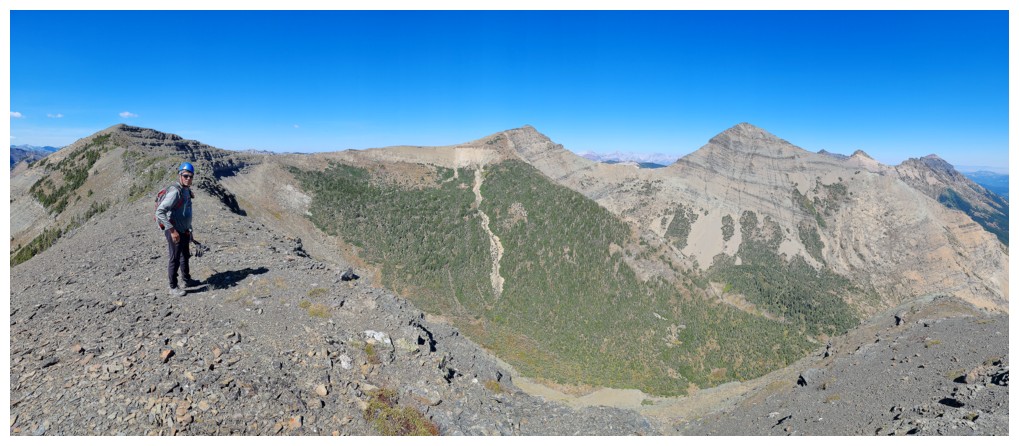
Pano to the north. Summit cairn at the lower right.
Middle Kootenay Mountain at the far left, Boot Hill (centre), and Tombstone (left) (photo by Dave)
Haig (photo by Dave)
Gravenstafel Ridge (photo by Dave)
St. Eloi. Rick Collier scrambled down the peak's southwest ridge, encountering a few short, but difficult sections (photo by Dave)
All of the above
Click HERE to continue to St. Eloi SW1
LOG