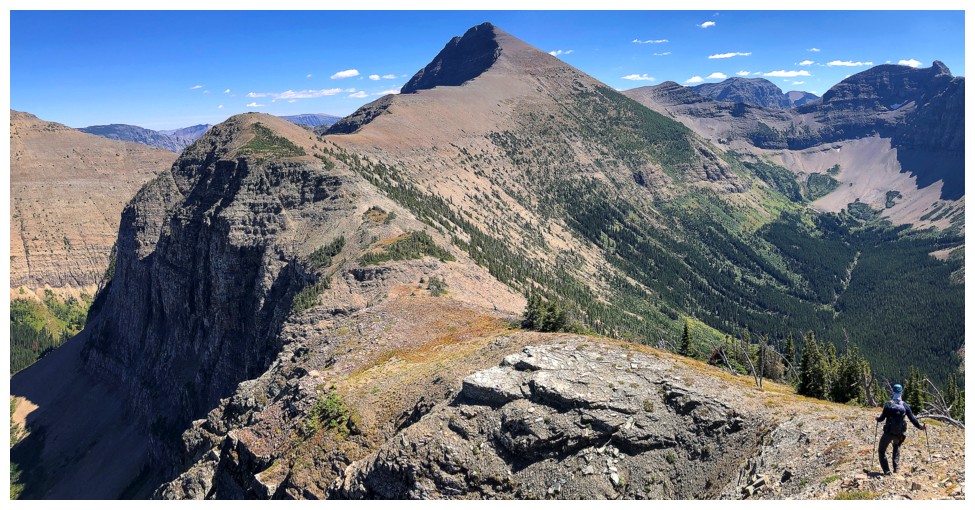
Leaving for St. Eloi SW1 (photo by Dave)
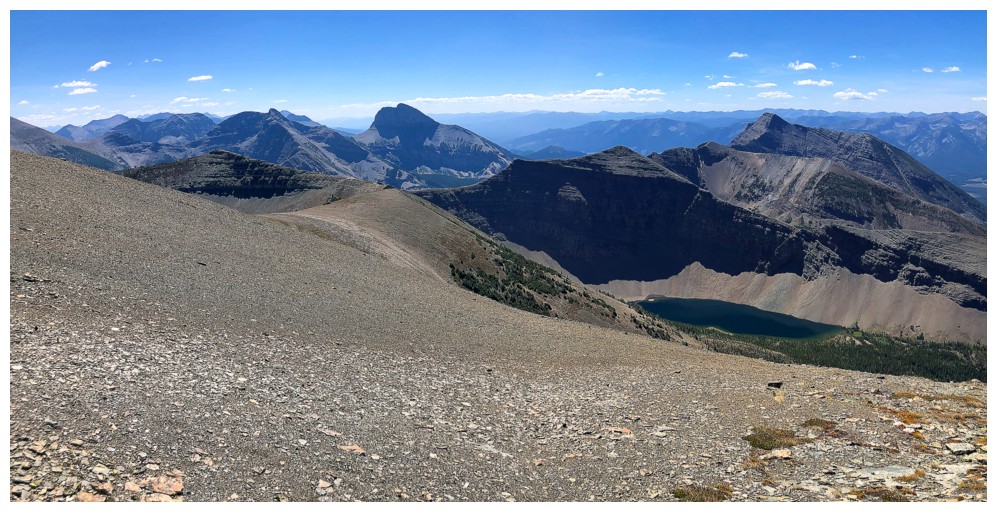
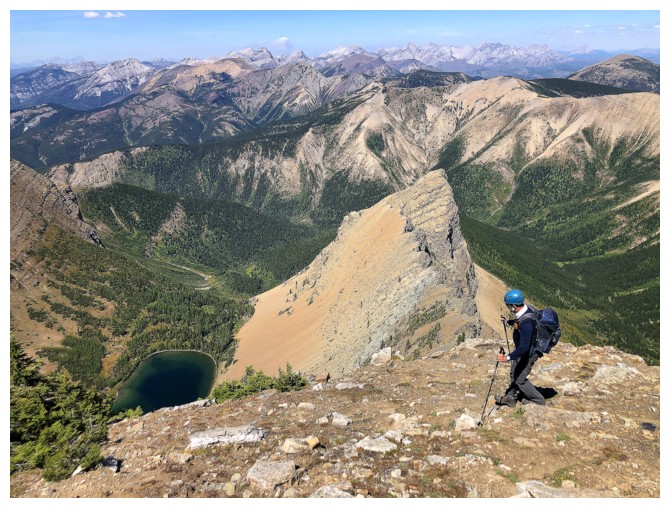
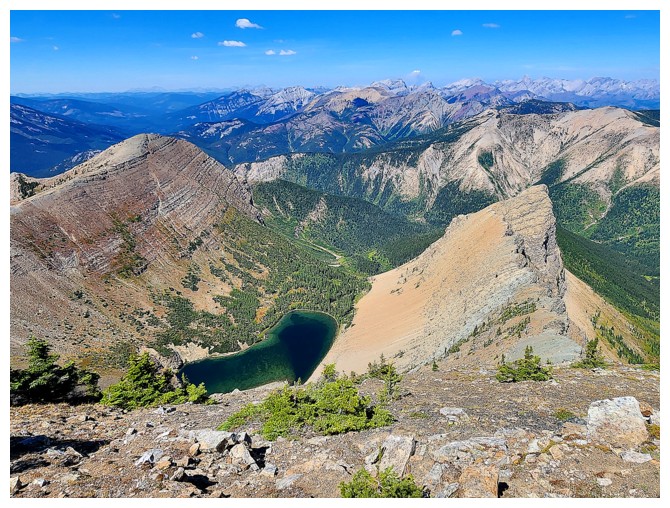
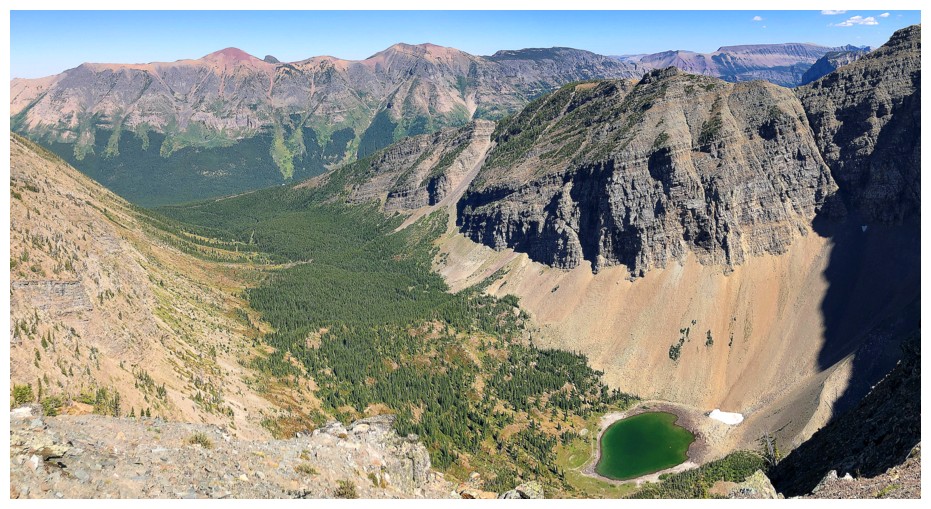
The unnamed lake
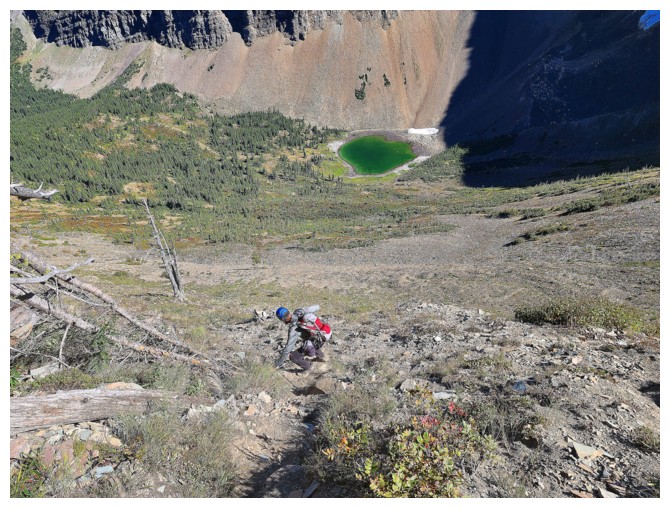
Had to lose some elevation to get a better view of it
Dave stayed on the ridge
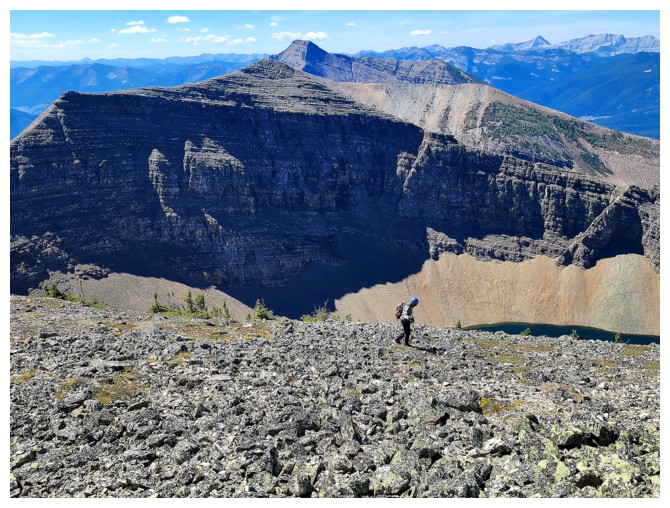
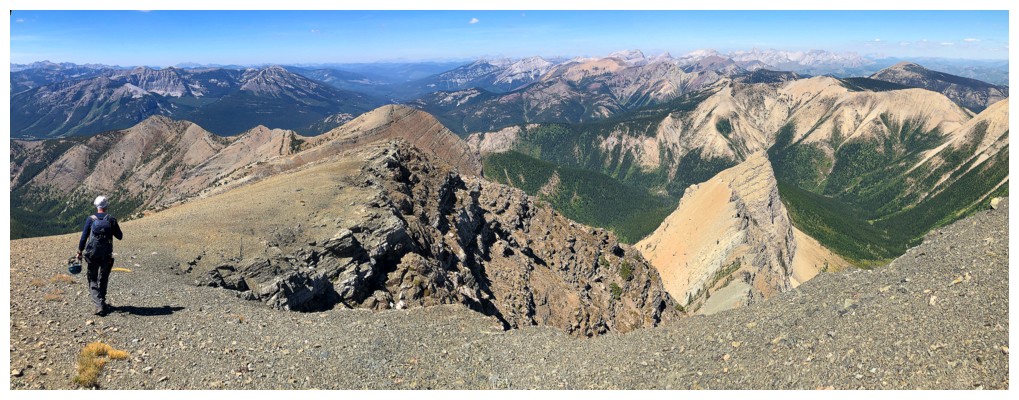
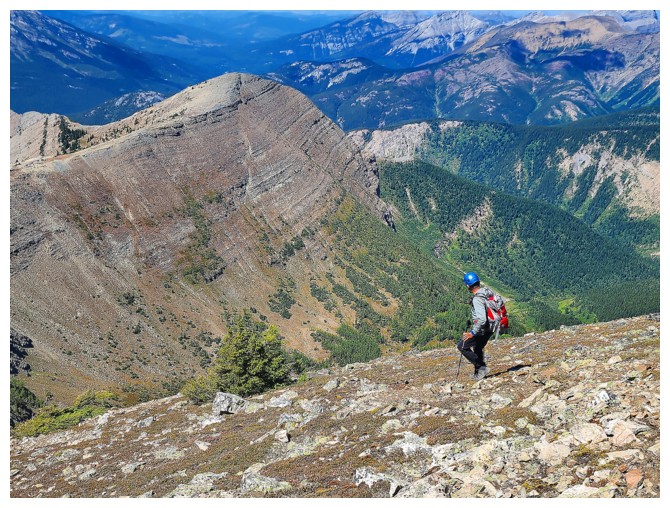
I'm hiking below it (photo by Dave)
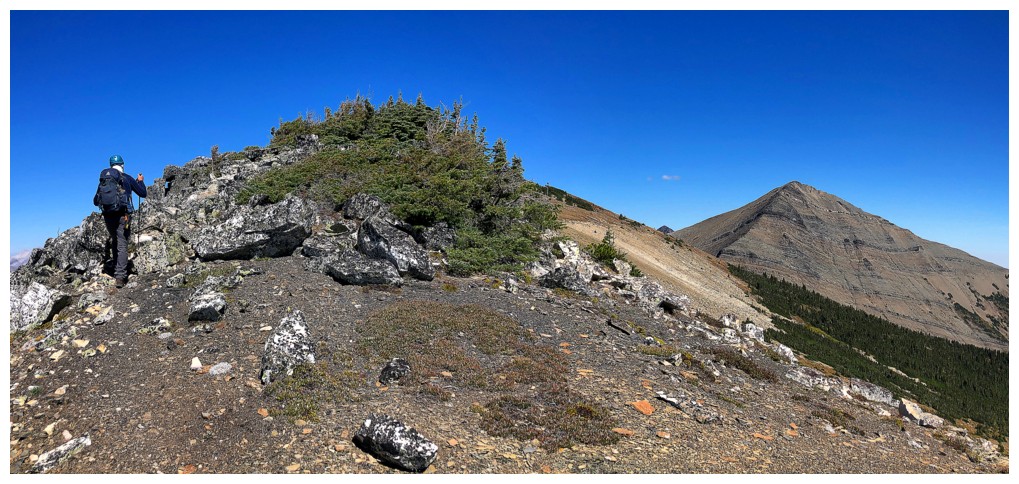
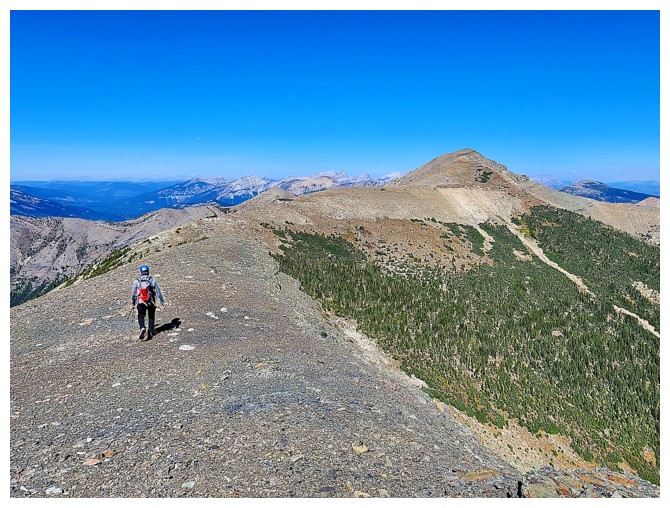
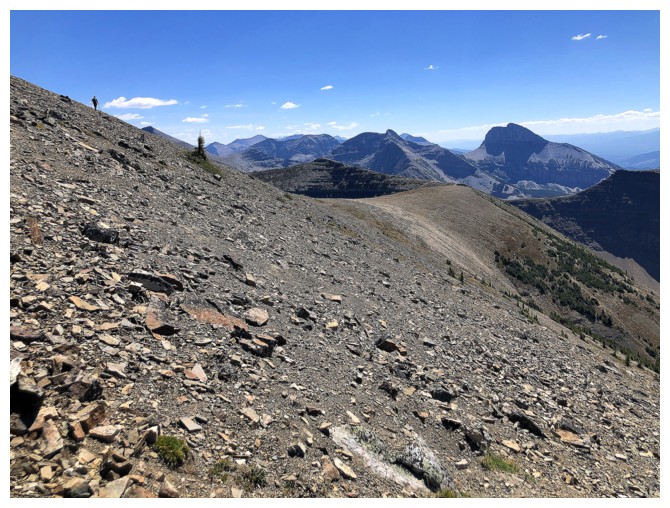
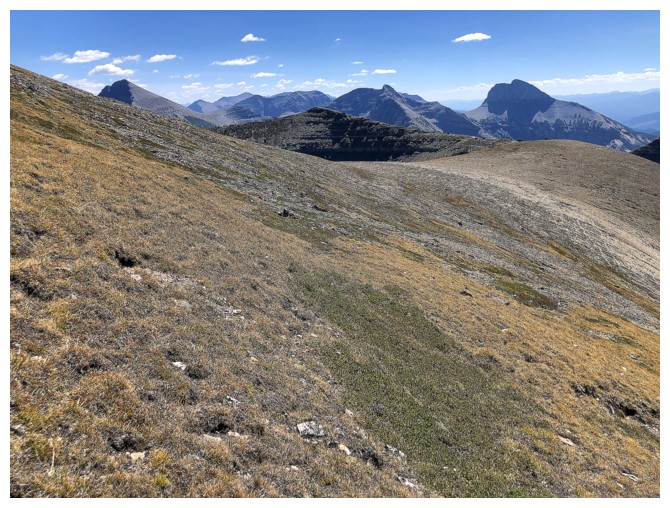
One of only a few sections where trees were encountered on the ridge
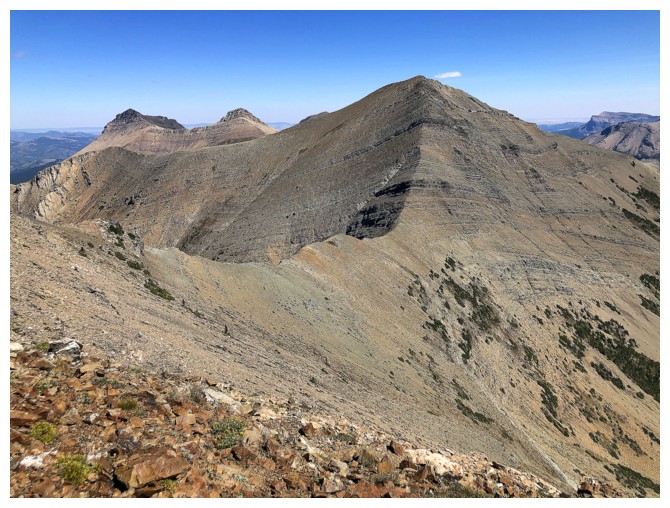
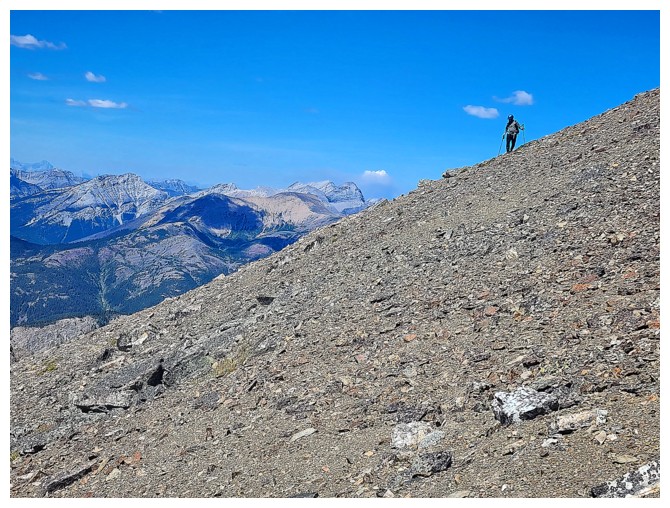
A barren landscape from here to the top (photo by Dave)
In both directions!
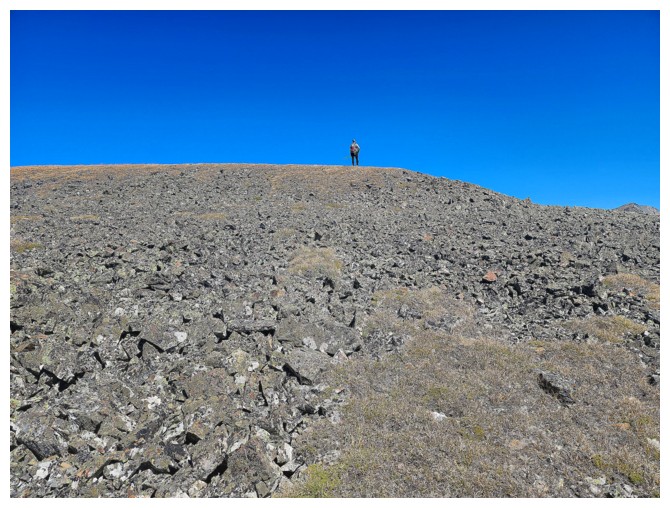
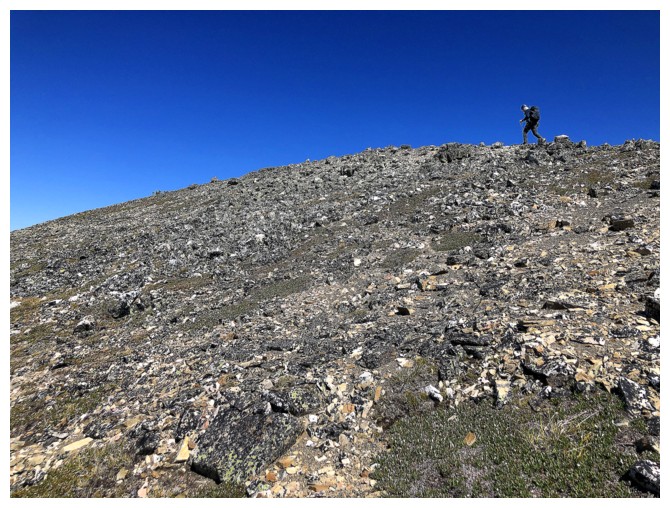
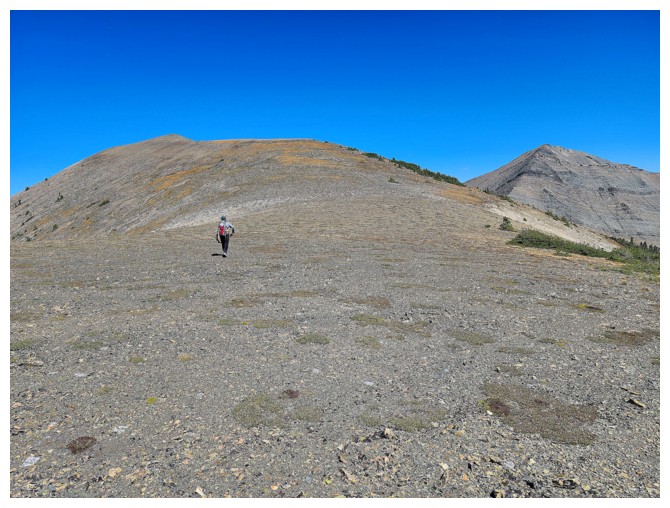
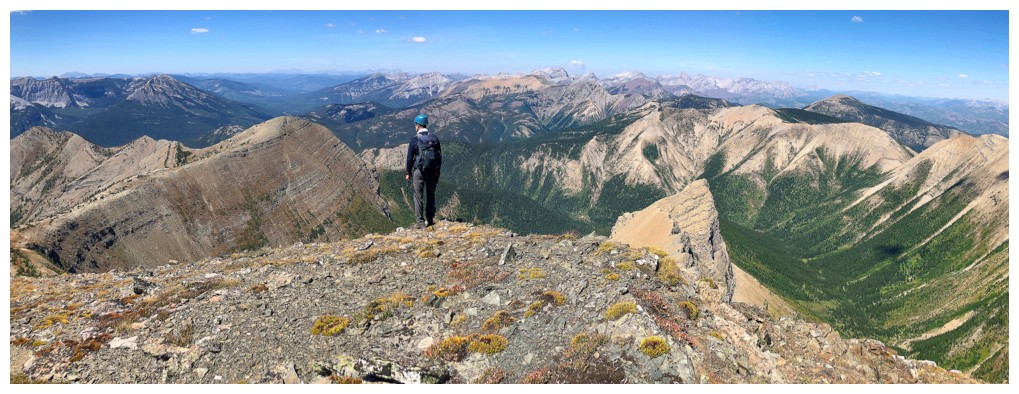
A lonely guy photo by Dave
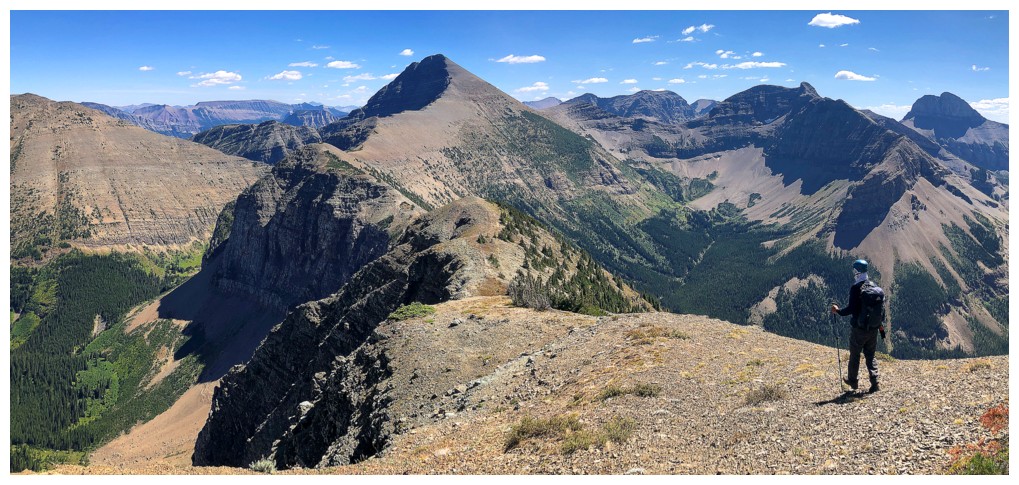
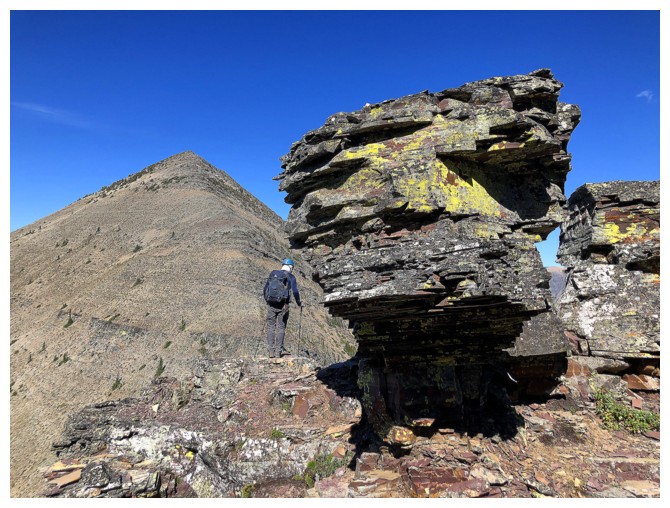
Not there yet, but the view is incredible
SW1 at the left
Dave is close, but Haig seems so far away at this point
St. Eloi and the connecting ridge to SW1

Last few steps to the summit (photo by Dave)
Summit view to the northwest
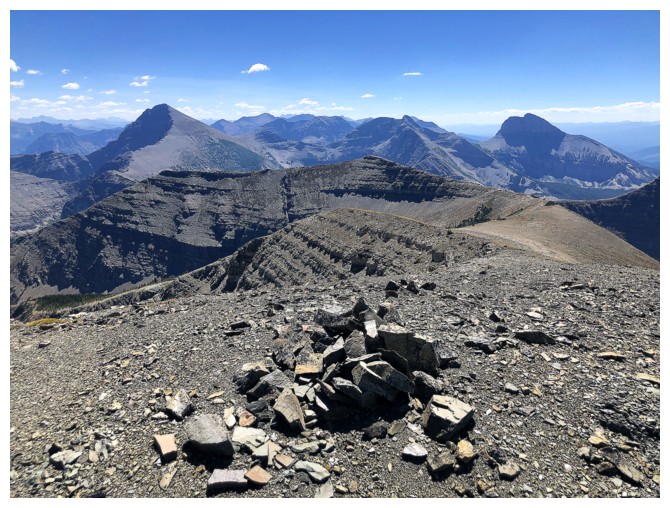
Cairn on SW1
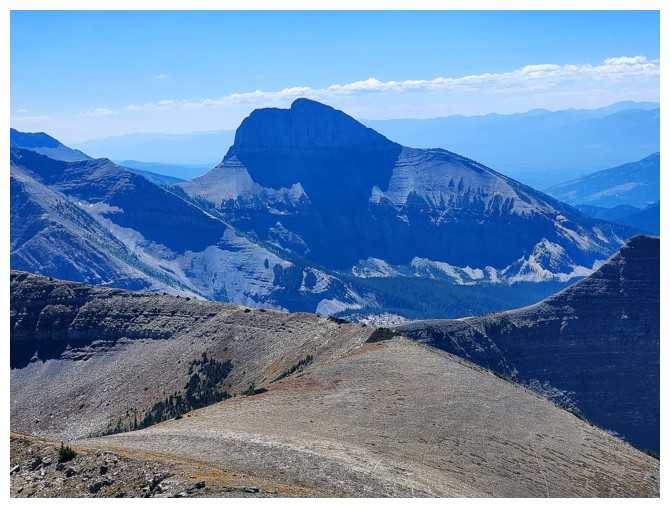
St. Eloi (photo by Dave)
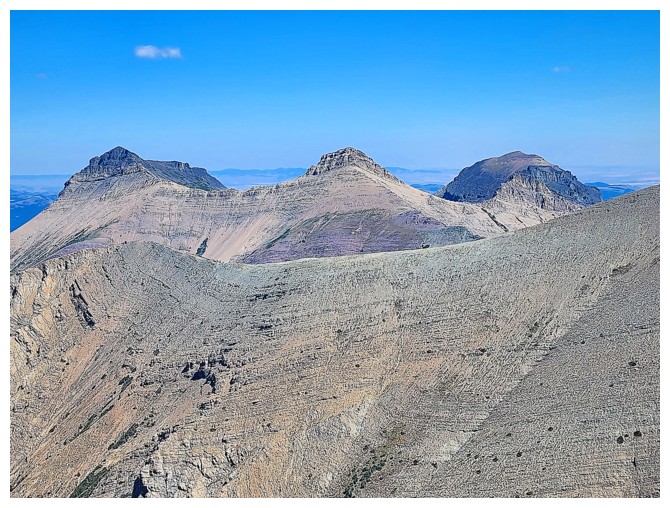
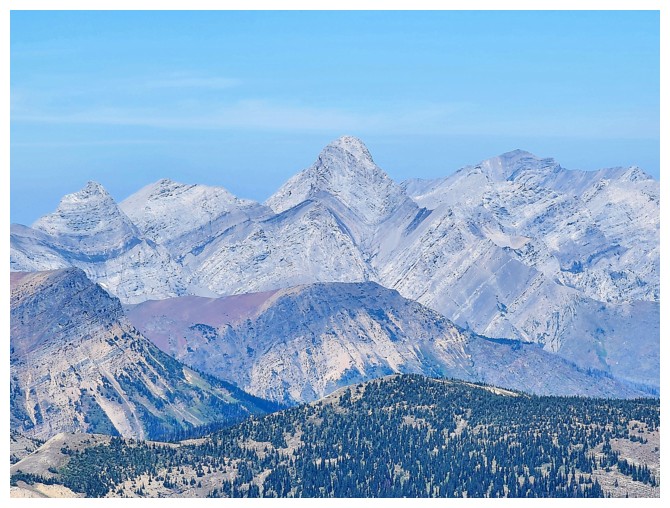
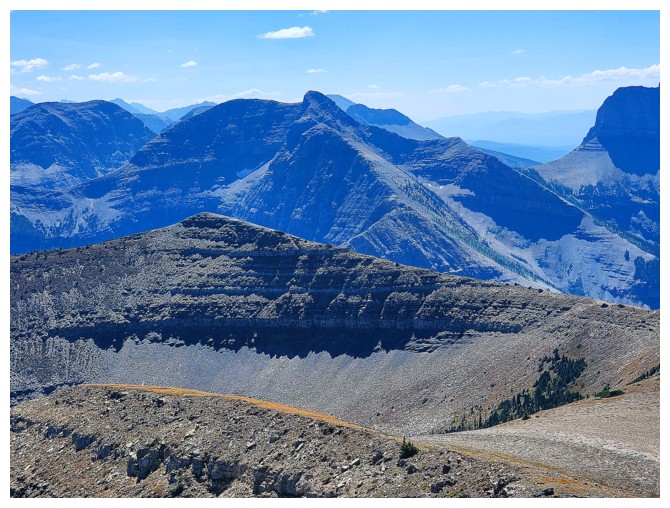
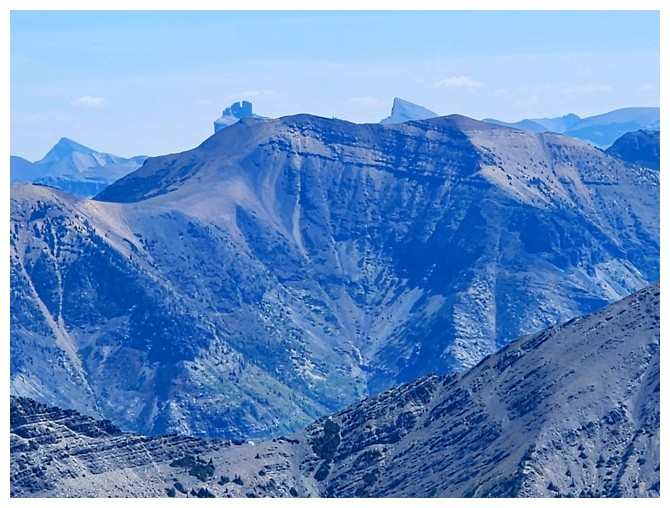
The three summits of Syncline (photo by Dave)
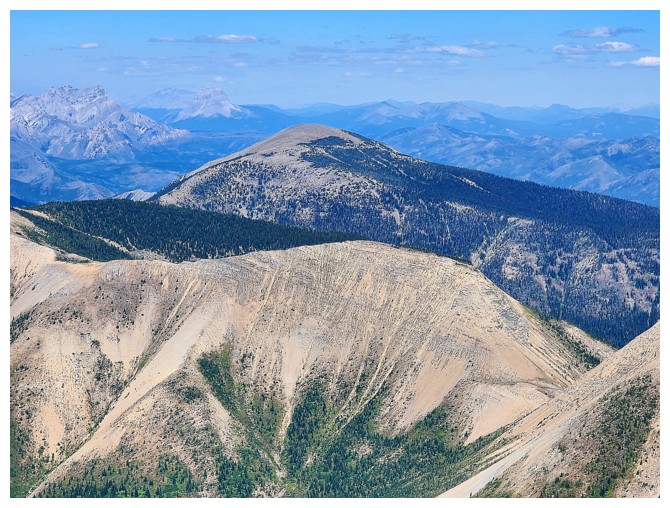
Mount McCarty is on the hit-list for me, but Dave has already done it (photo by Dave)
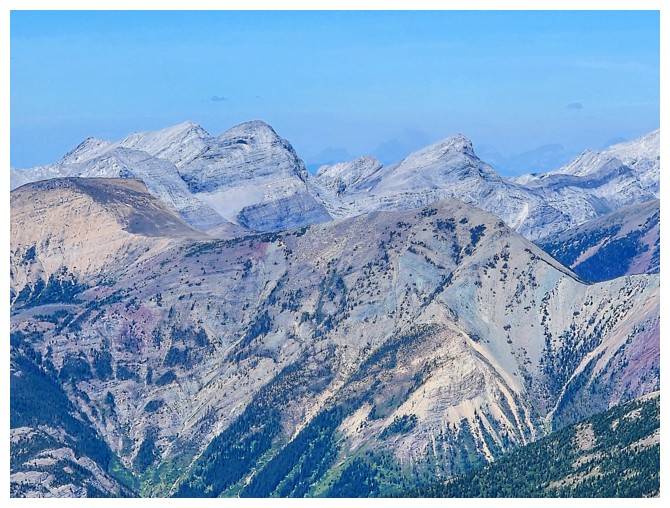
I've done a few of those, however. All with Dave. Hollebeke (foreground), South Flathead (left), and Centre (just left of centre) (photo by Dave)
We both perhaps experienced a wee bit of PTSD looking at Mount Borsato! (photo by Dave)
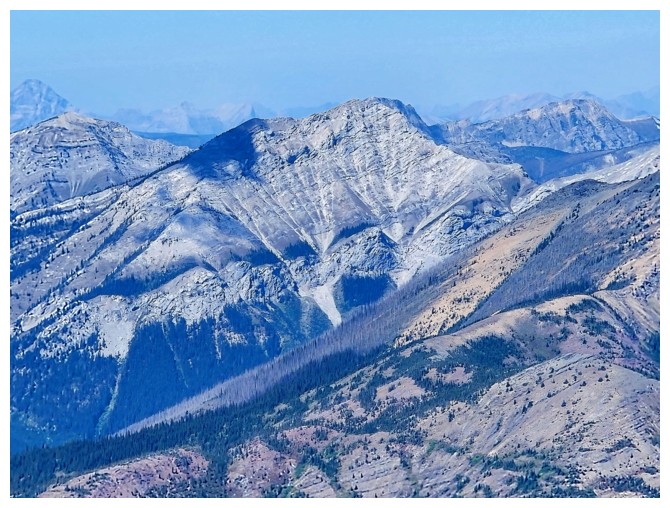
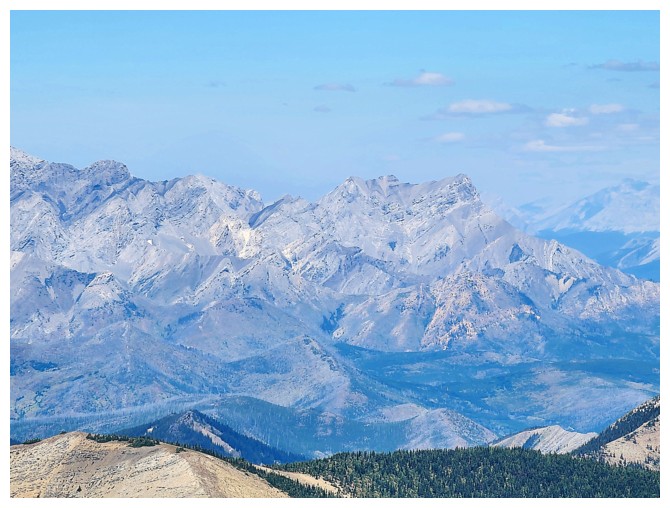
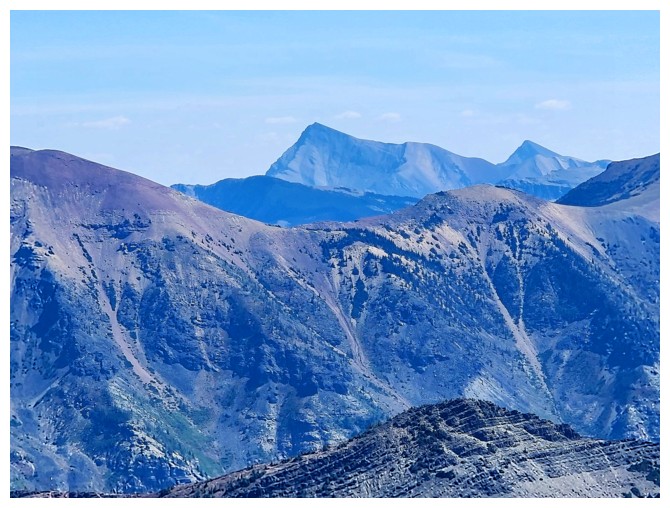
Mount Darrah is probably the most challenging summit to reach in the Flathead (photo by Dave)
North Kootenay Mountain (Centre E3), in the centre, is considerably easier and has seen me a couple of times (photo by Dave)
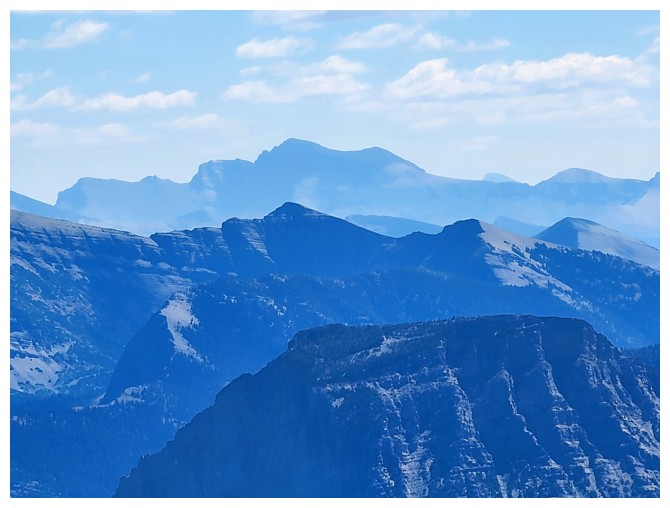
Mount Coulthard is just right of centre (photo by Dave)
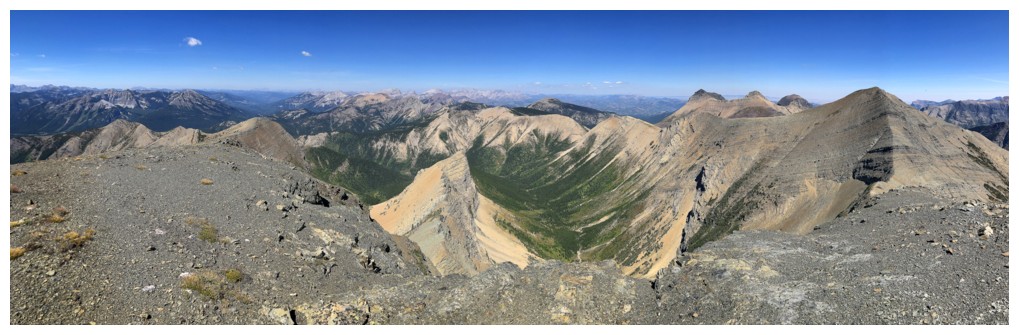
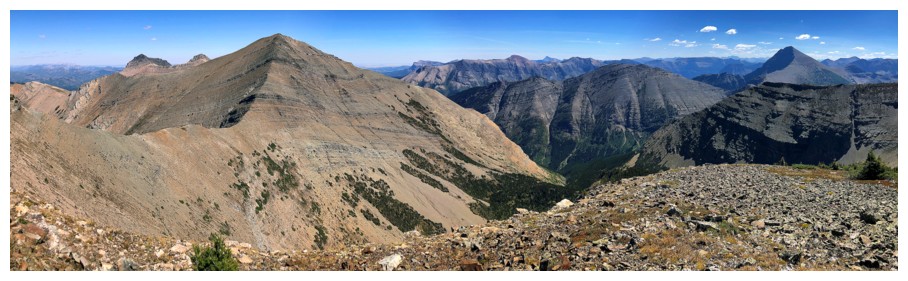
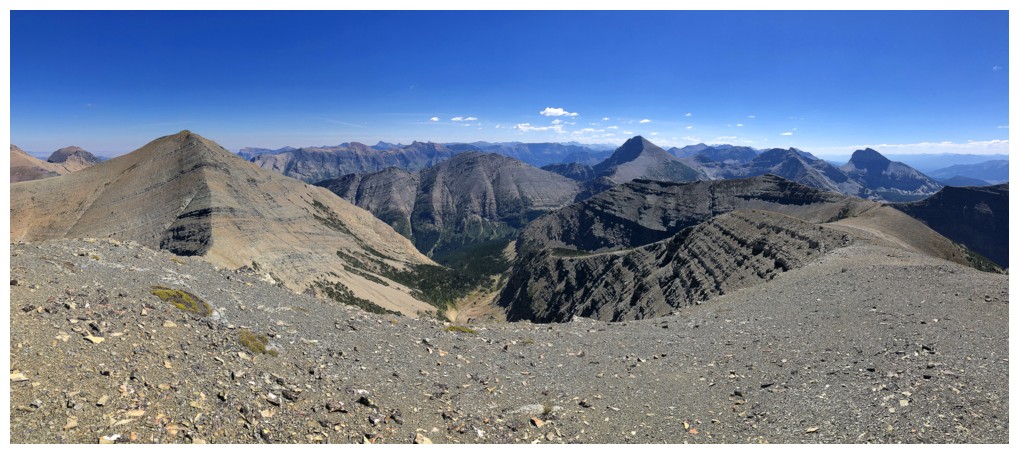
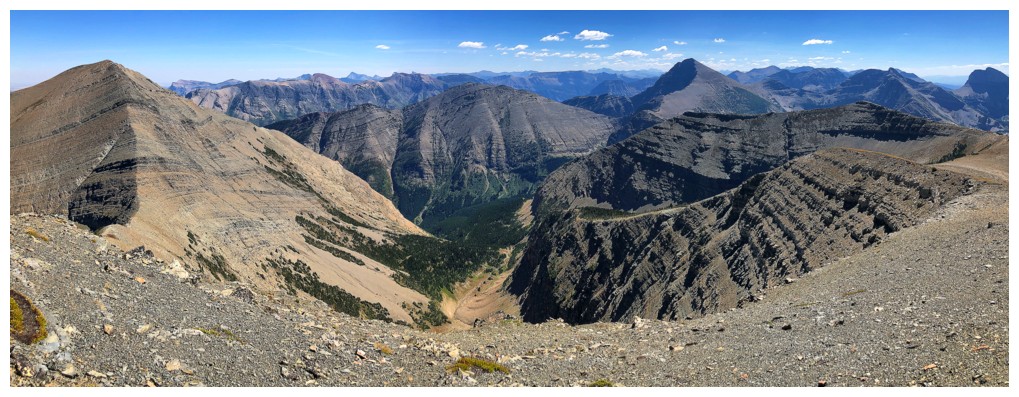
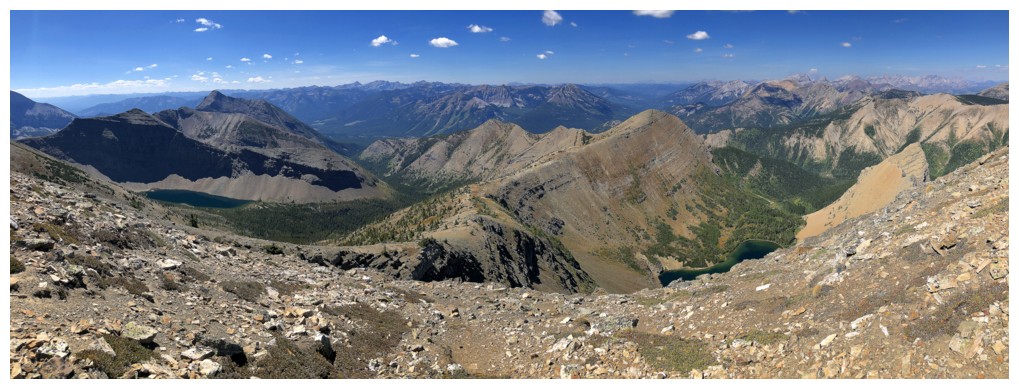
Pano to the northwest and north
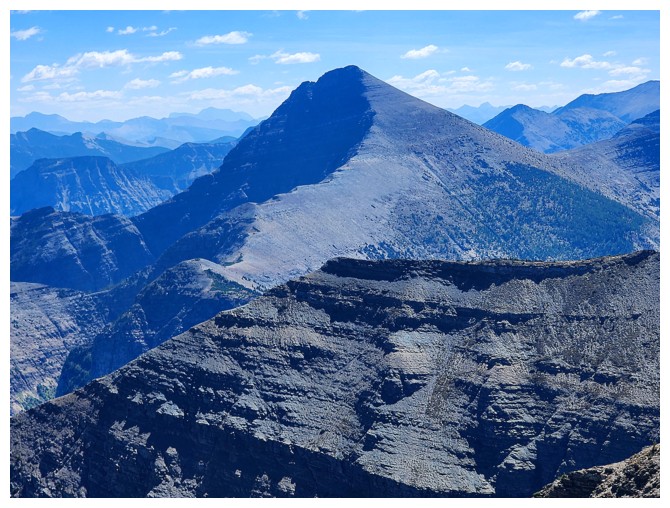
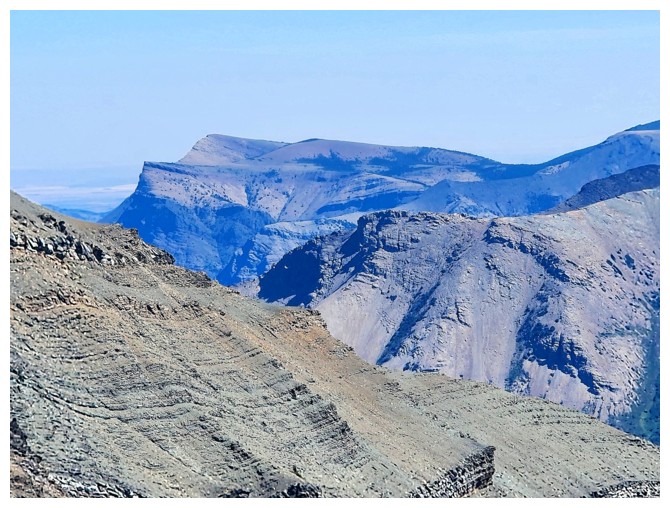
Tombstone Mountain (photo by Dave)
Boot Hill, with Sapper in front (photo by Dave)
Haig (photo by Dave)
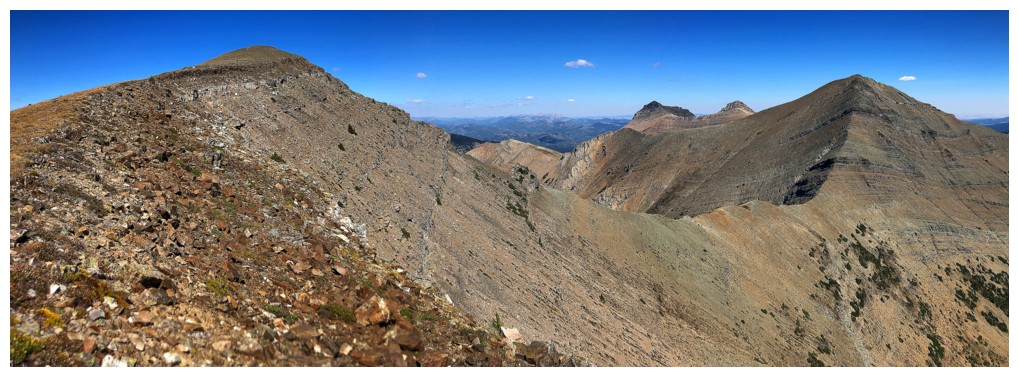
North to south pano
Mount Gladstone, Castle Peak, and Windsor Mountain peak over the north section of Barnaby Ridge (photo by Dave)
Prairie Bluff (photo by Dave)
Our ascent and descent routes for this magnificent day on Victoria Peak are both visible (photo by Dave)
Views go all the way into Waterton - Mount Blakiston in the centre (photo by Dave)
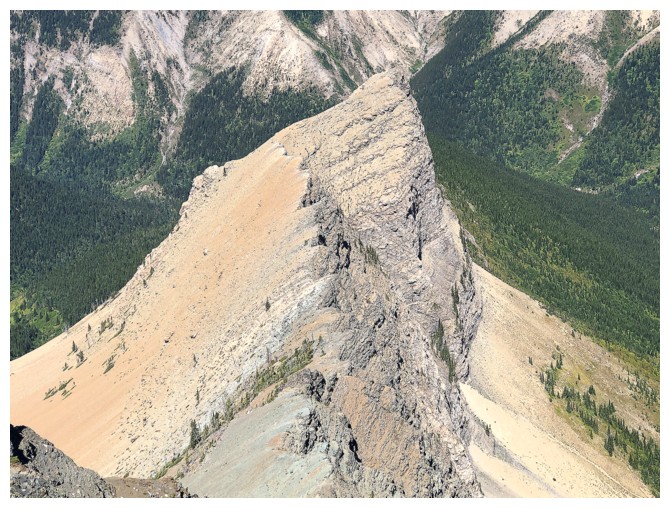
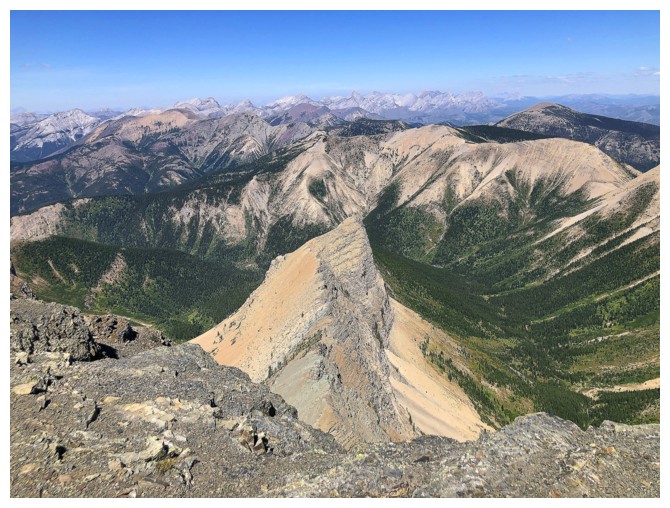
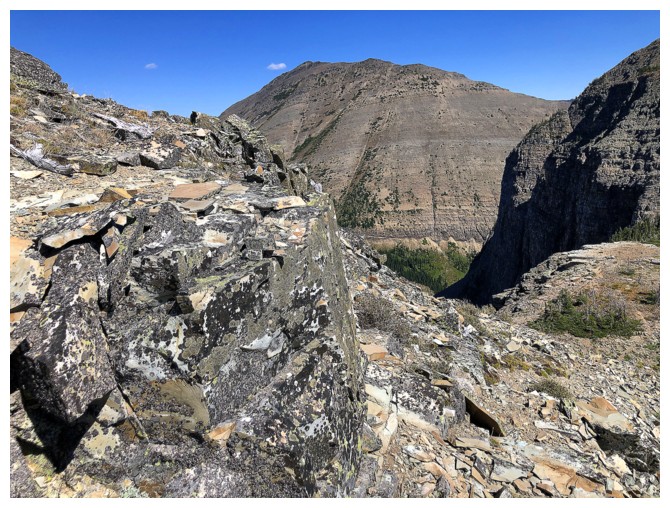
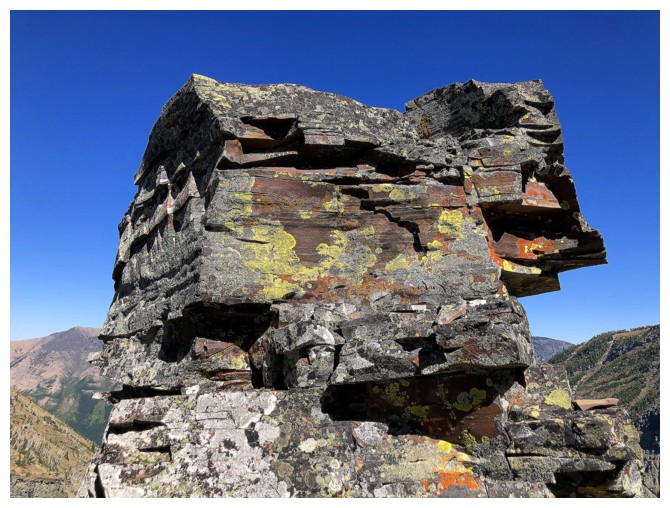
Close-up of this amazing feature on SW1's northwest ridge (photo by Dave)
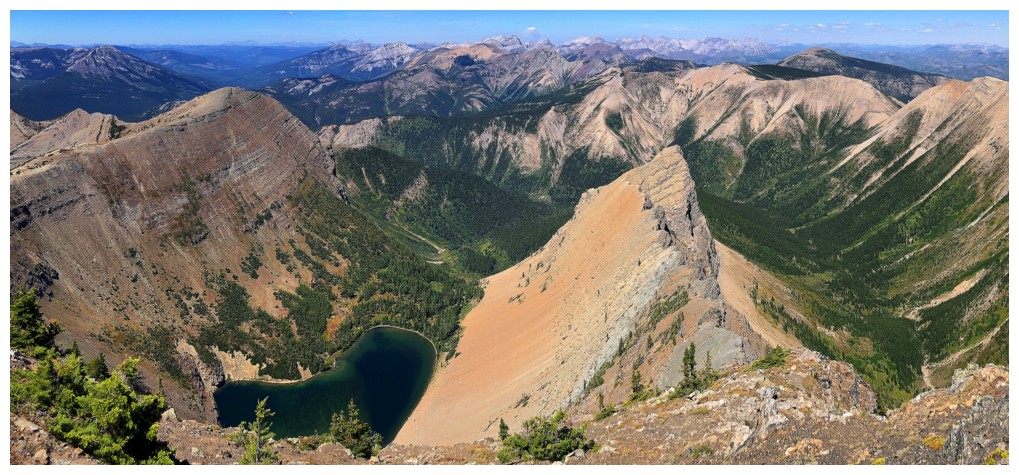
Still obsessed with the panos from this terrific viewpoint
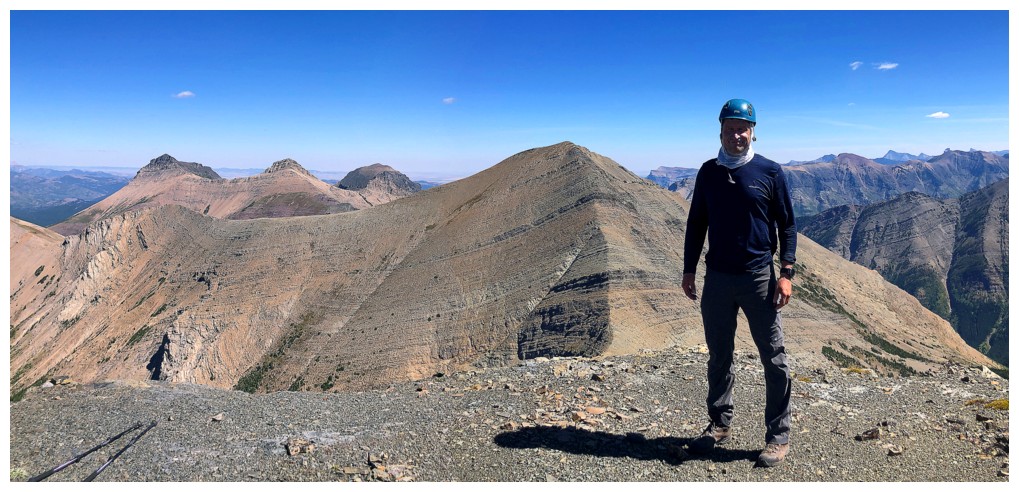
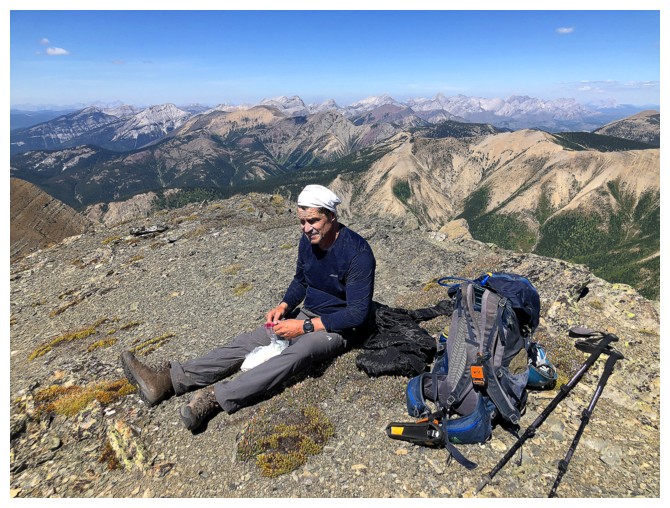
Mandatory summit photo featuring a good man
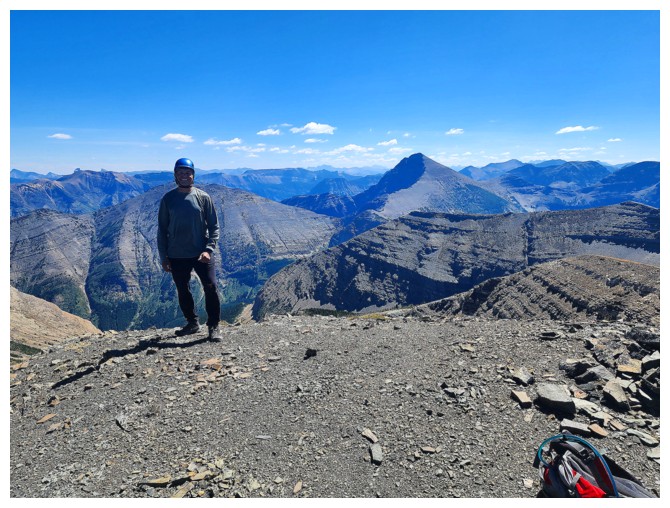
Mandatory summit photo, featuring a knuckle-dragger (photo by Dave)
Heading down the northwest ridge of SW1 to see if we can get a look at the other unnamed lake

Same as above
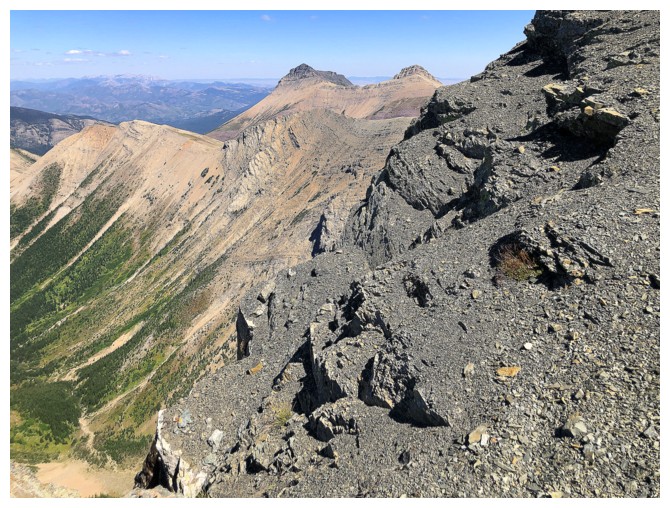
Again, the terrain to the east is very steep
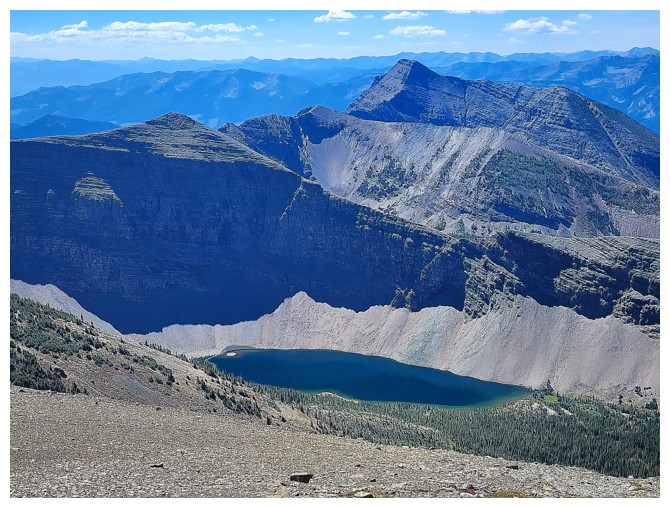
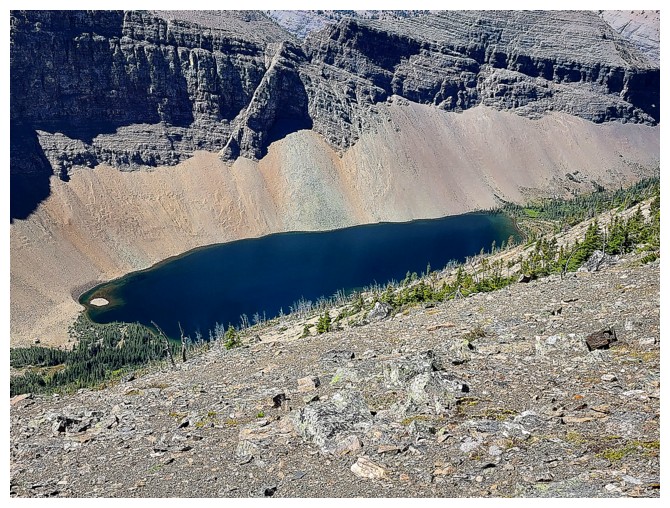
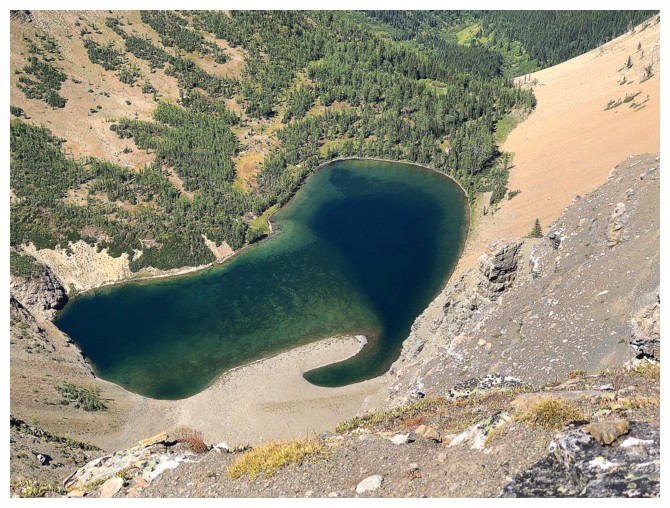
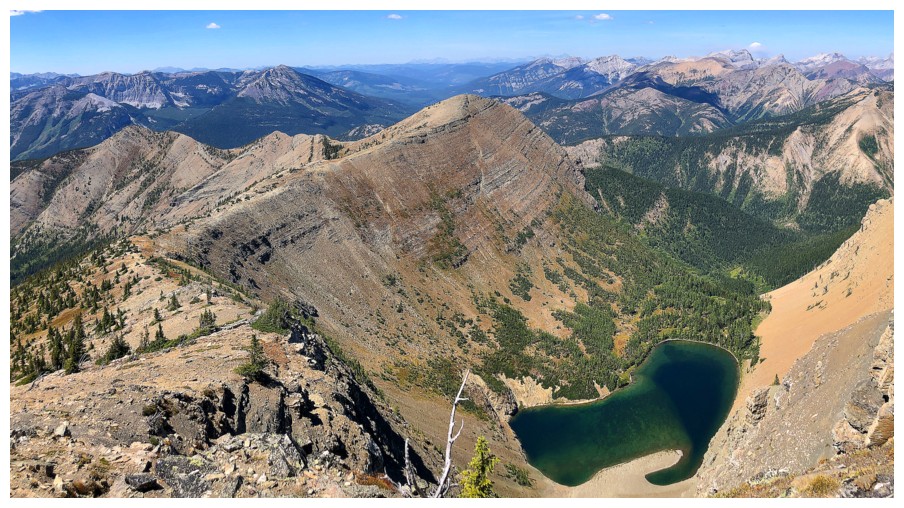
The lake and Packhorse Peak (photo by Dave)
Close-up of the lake. Visiting its shores would have been amazing, but very strenuous (photo by Dave).
We took a lunch break here, as opposed to the summit, where there were bugs aplenty
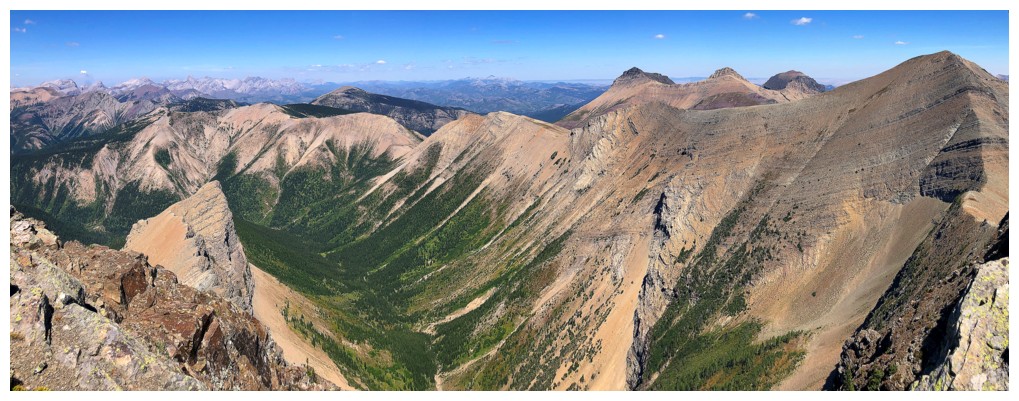
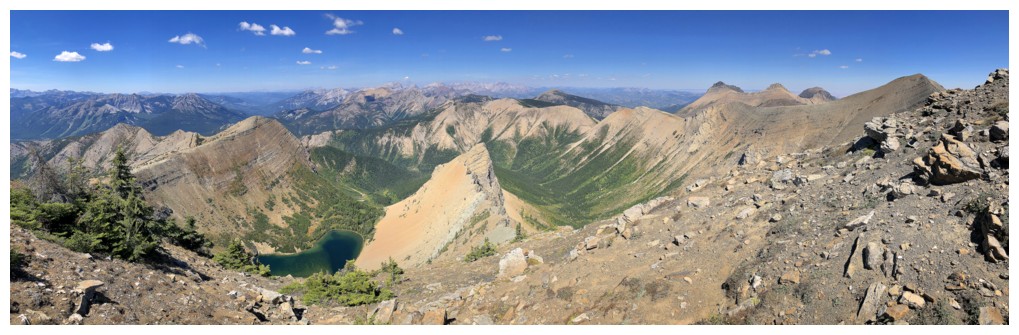
Pano from our break spot
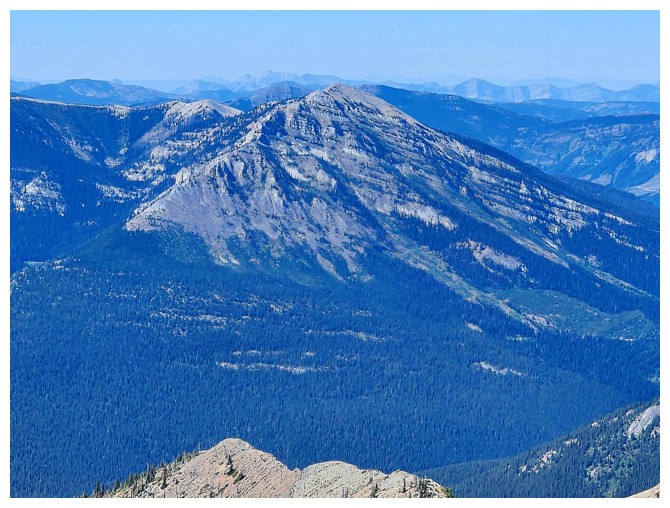
An unnamed peak of the McDonald Range (photo by Dave)
Pano time again!
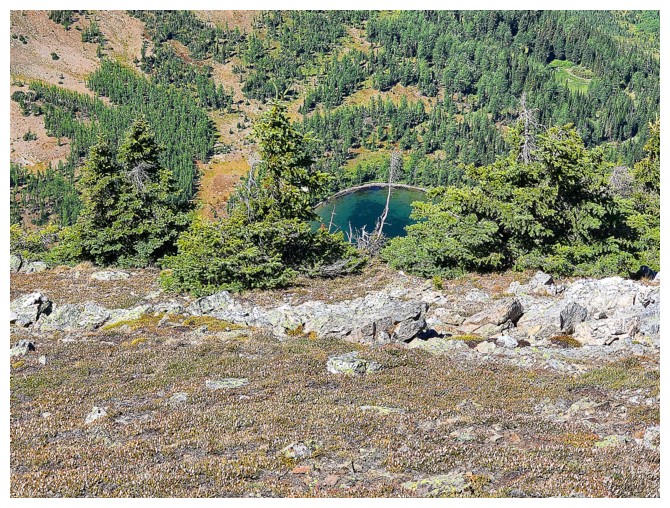
First glimpse of the second unnamed lake (photo by Dave)
First glimpse of Dave getting his first glimpse of the lake
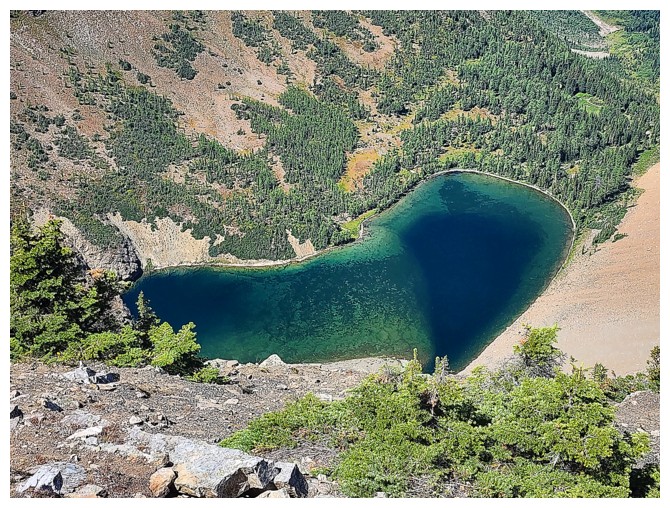
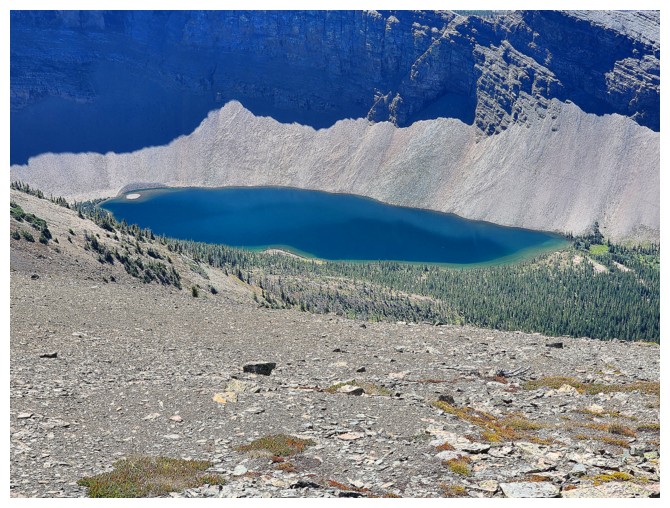
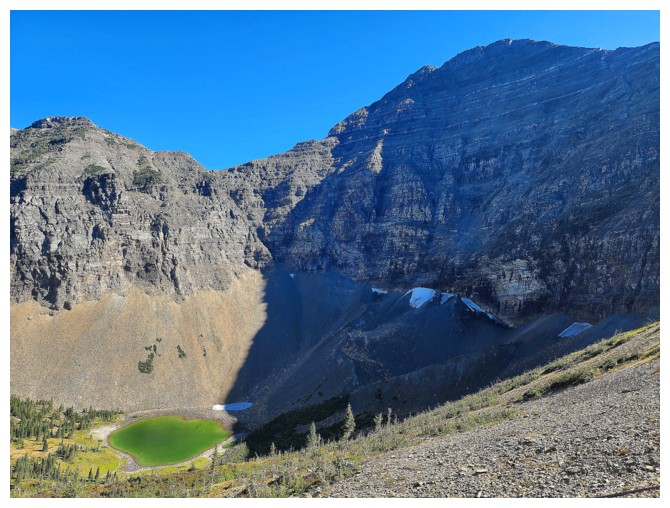
Beautiful colour! (photo by Dave)
The beautiful area around the lake (photo by Dave)
And now there will be more panos!
I descended even further, hoping to get a good view of both lakes simultaneously (photo by Dave)
Not bad, but not great
Somehow I ended up above Dave here (photo by Dave)
...because I'm definitely below here. Dave at the top left.
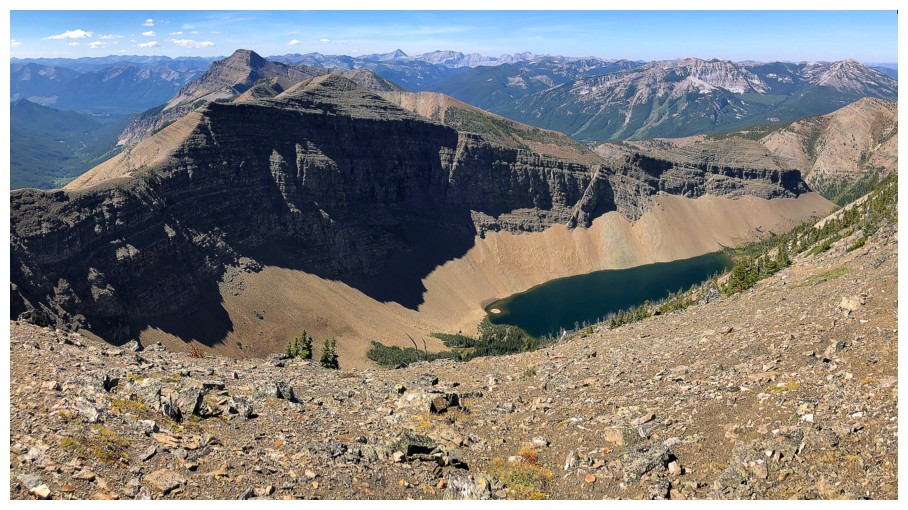
A complete view of the lake
Complete plus more
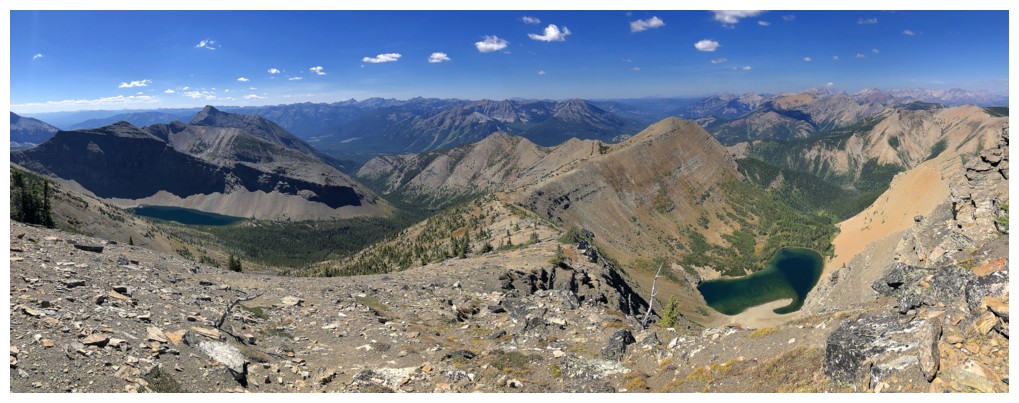
The best view I was able to get of both lakes
Lots of side-sloping to get back to the Sapper col

Lonely guy photo #2 (photo by Dave)
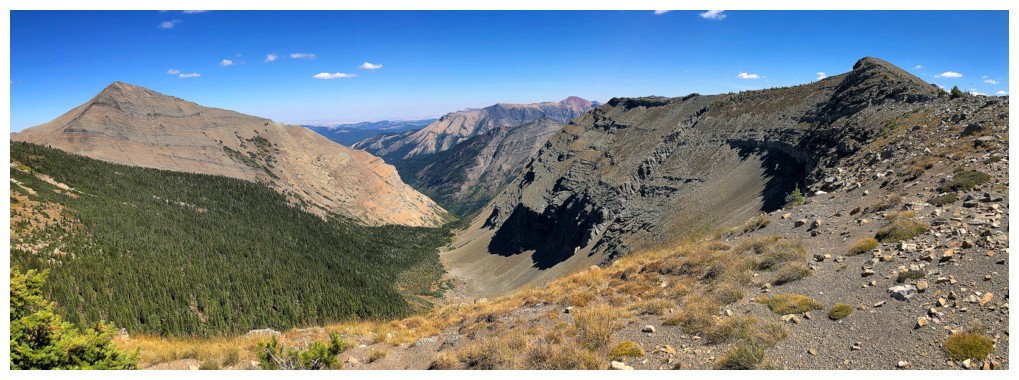
Eloi (left), Sapper (right), and the valley between them
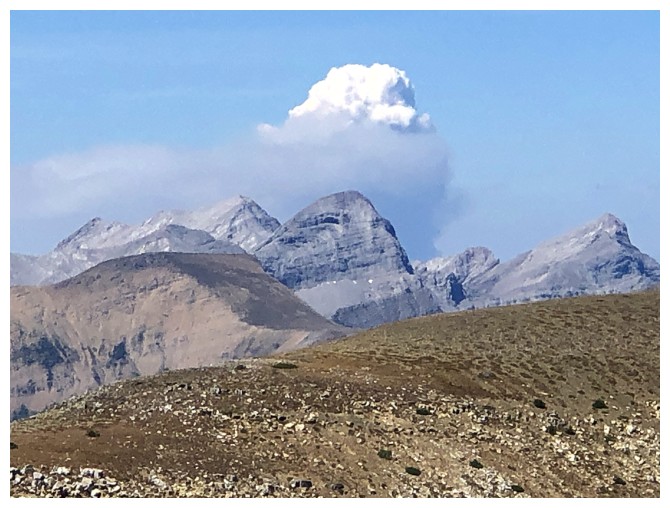
Interesting cloud forming above Centre SE1

Lots of bugs on a rock
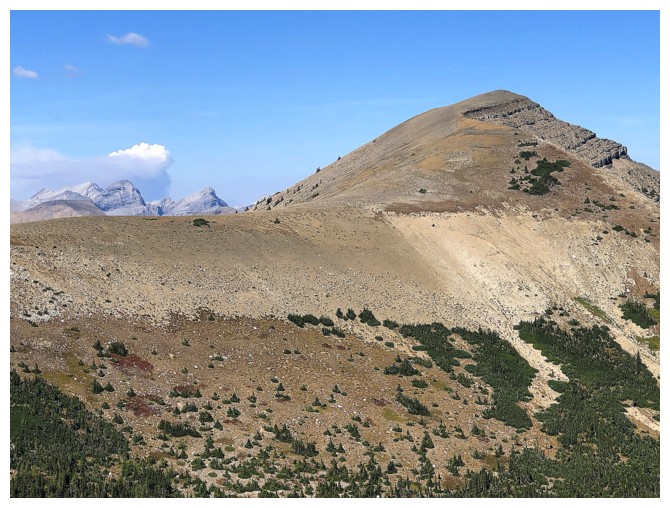
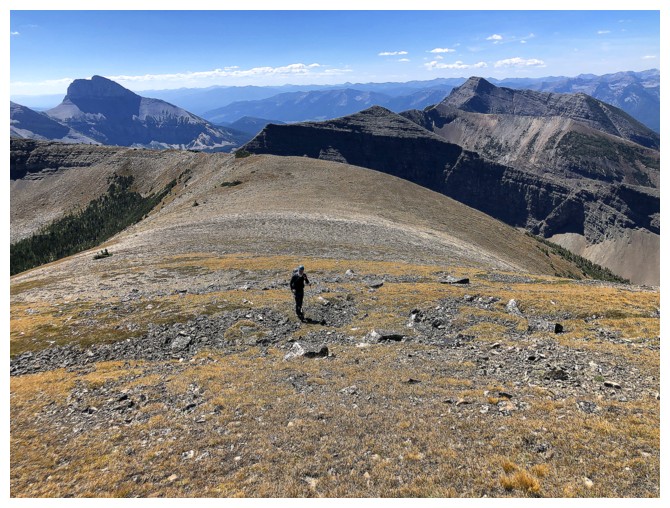
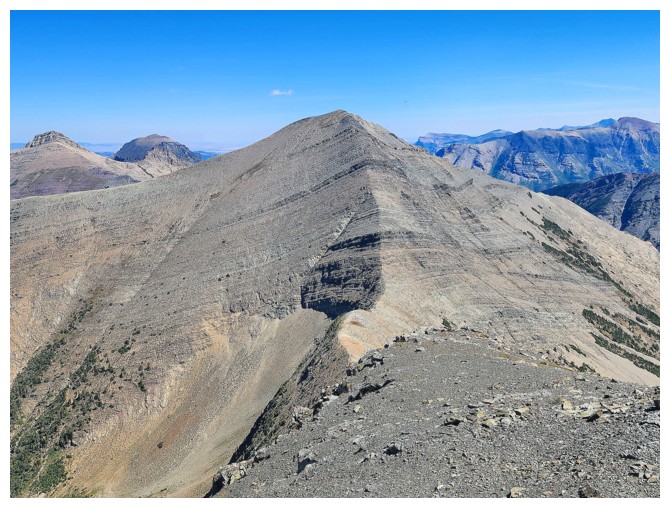
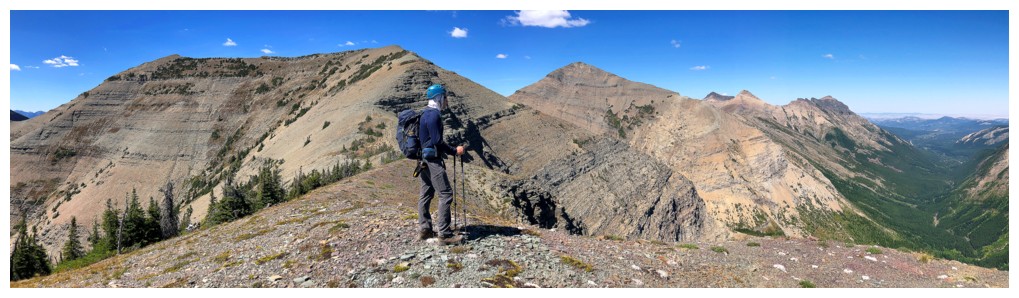
Looking back to Eloi SW1
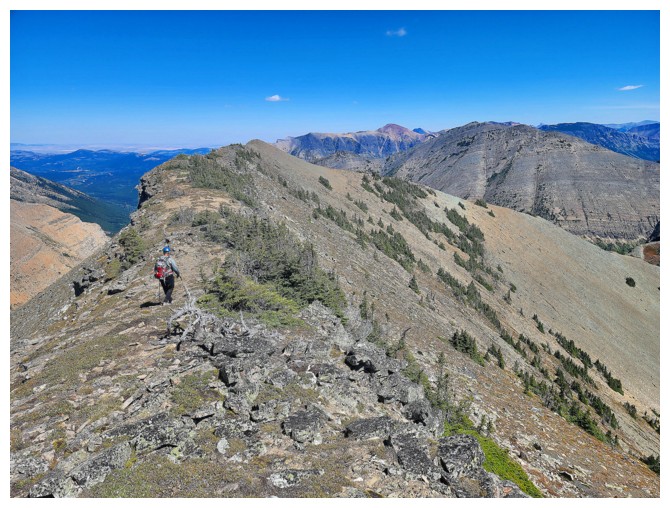
Heading back to that highpoint east of Sapper (photo by Dave)
The descent is going to see as many panos as the ascent!
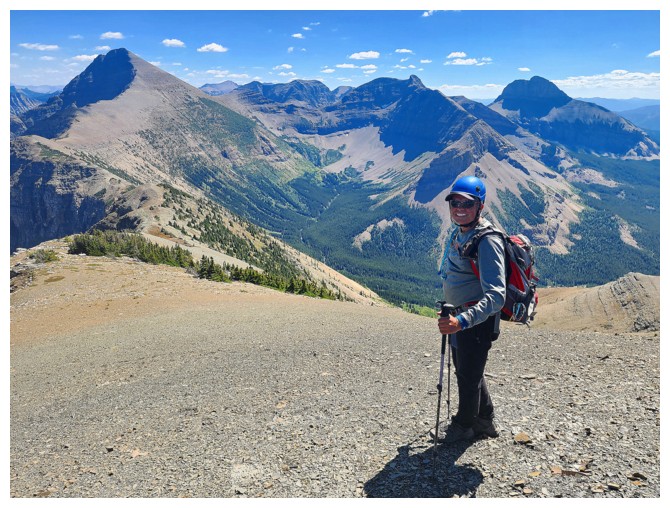
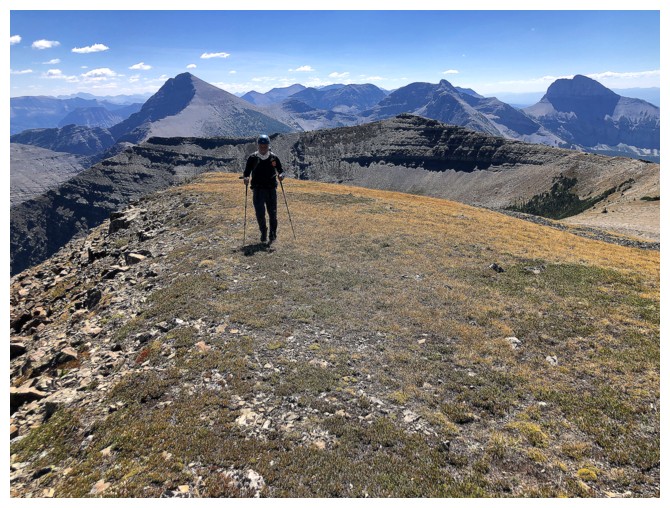
Still smiling in the 30+ degree heat (photo by Dave)

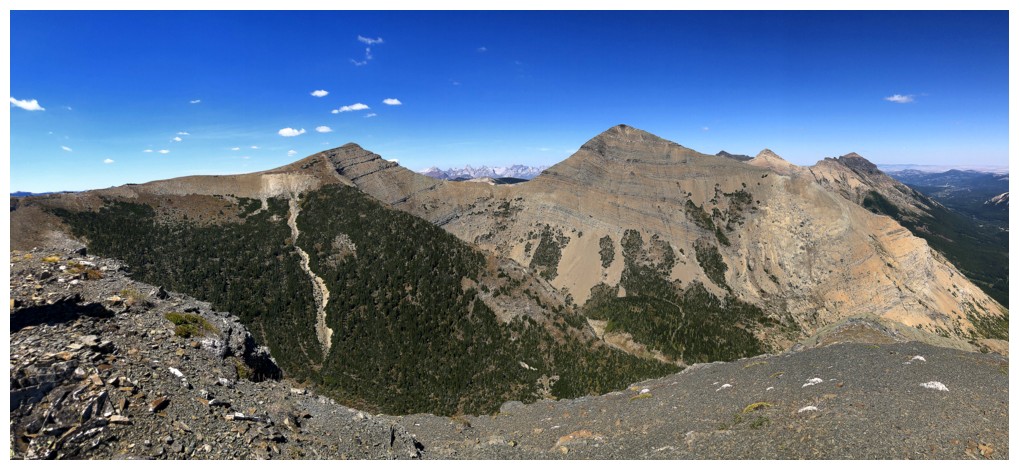
Simply a wonderful scene

Lengthy Lys Ridge in the distance. Another super memorable trip with Dave and Jollin.
A similar simply wonderful scene

In the opposite direction
Same as above
Limited captions for a while
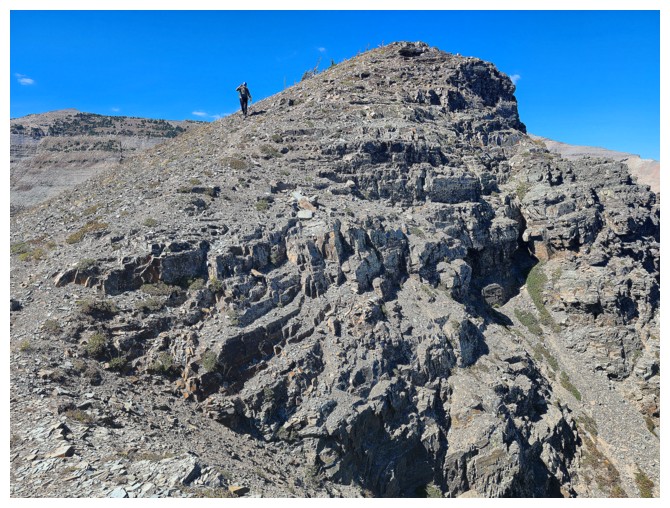
Photo by Dave
Gravenstafel Ridge through the gap
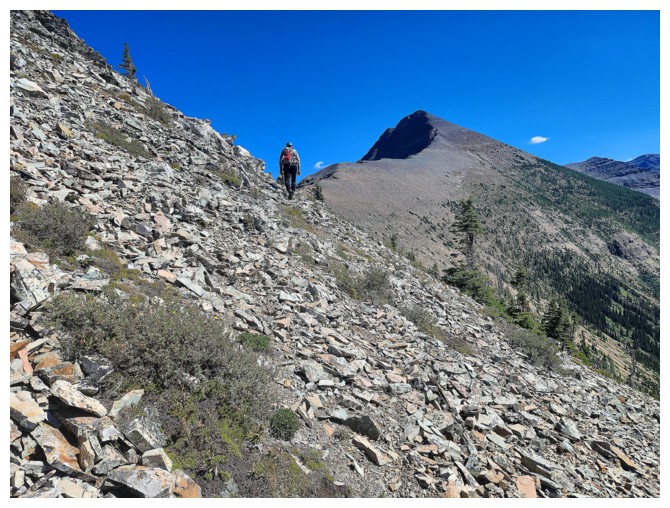
Photo by Dave
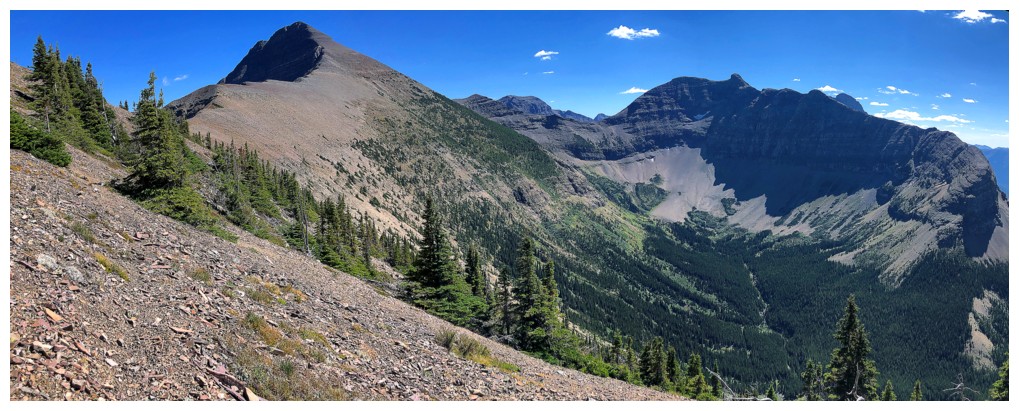
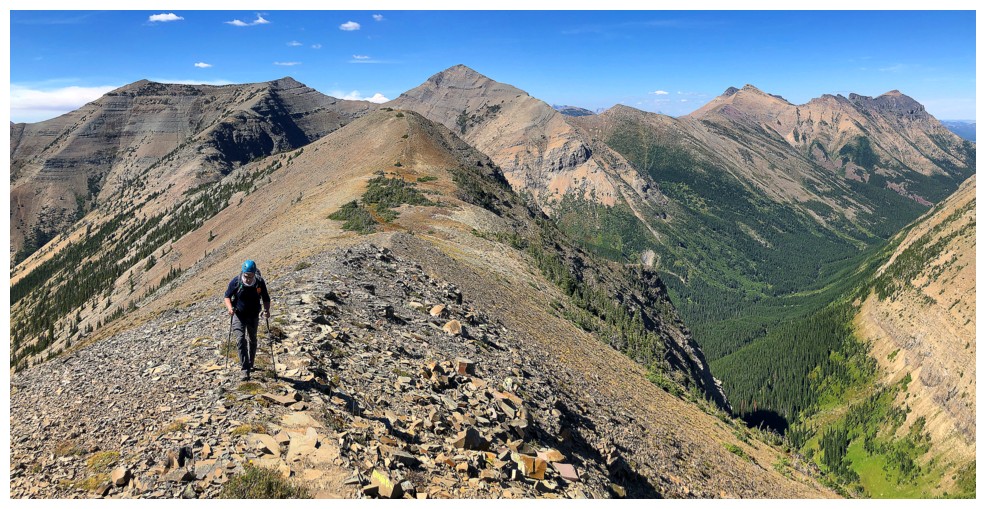
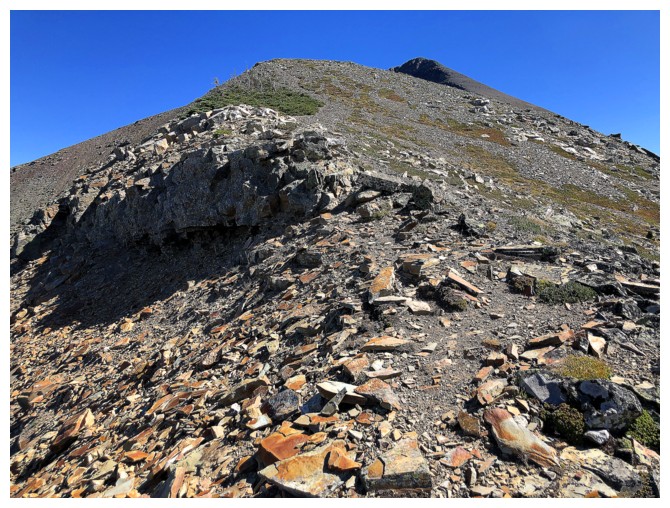
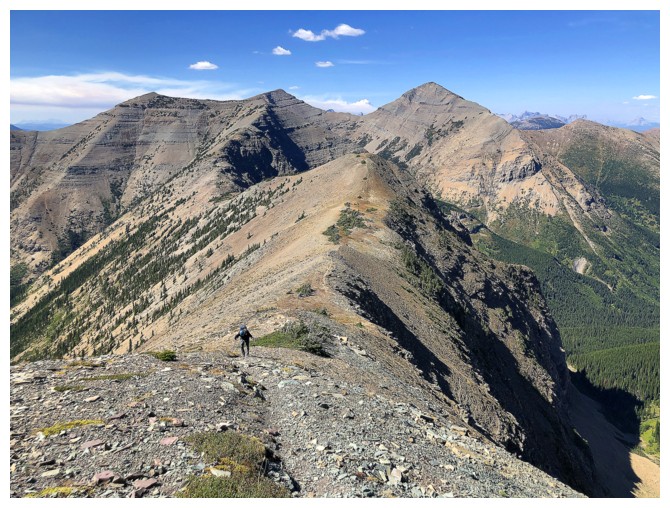
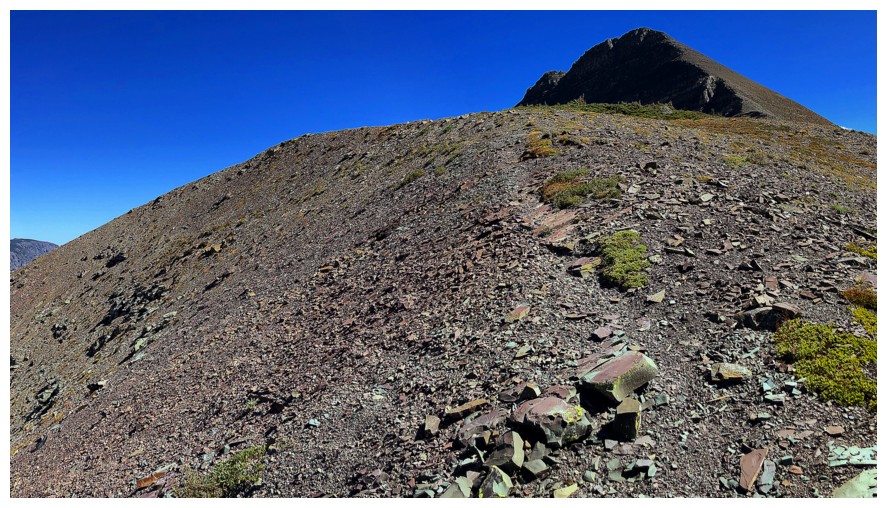
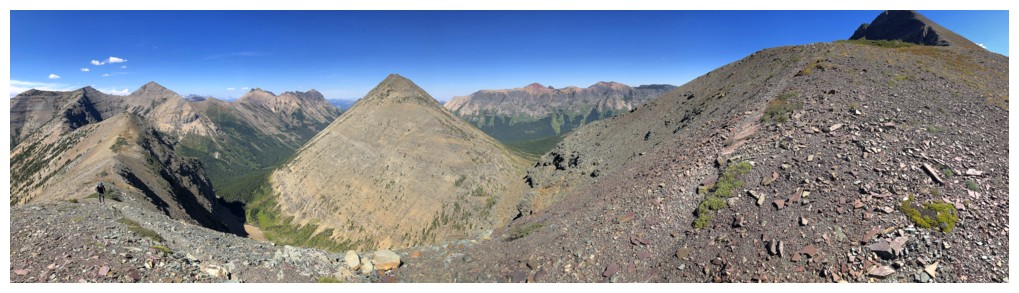
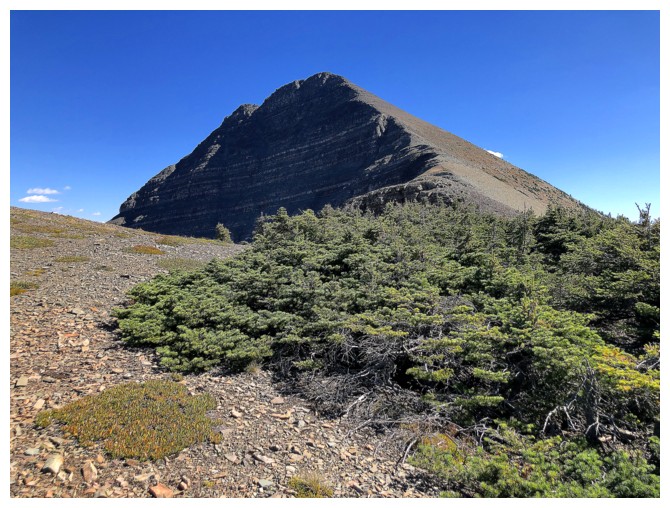
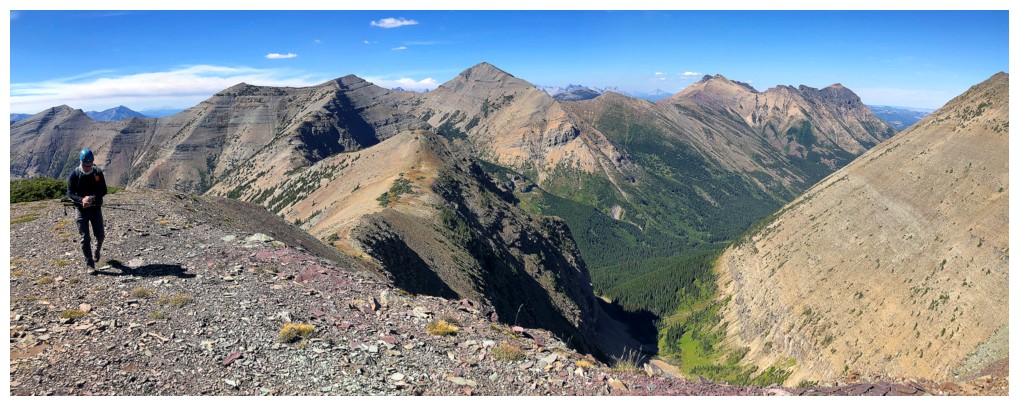
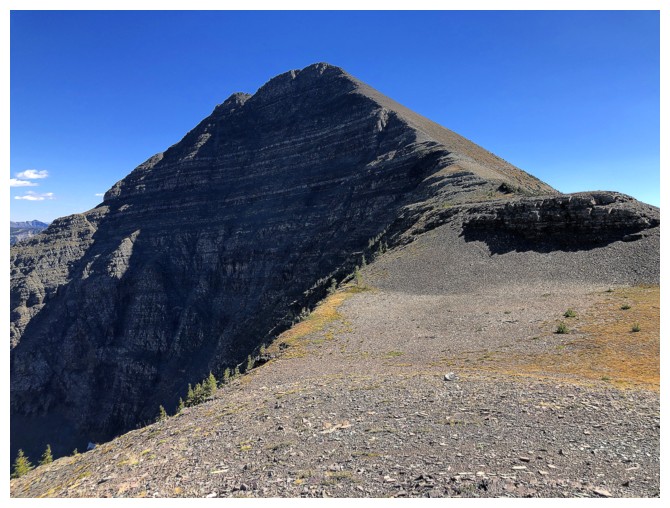
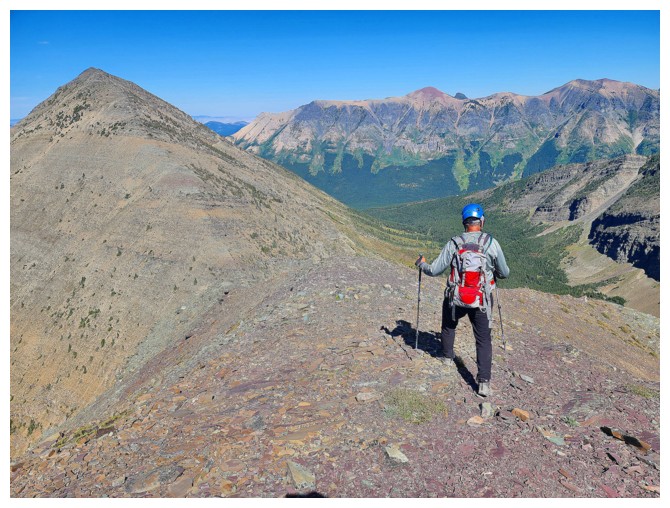
Photo by Dave
Looking forward to getting down to Haig Lake

There are some exposed sections on the descent to the col (photo by Dave)
Round 2 of colourful rocks
Looks easy, but the terrain here is surprisingly steep (photo by Dave)
Haig Lake and Mountain (photo by Dave)
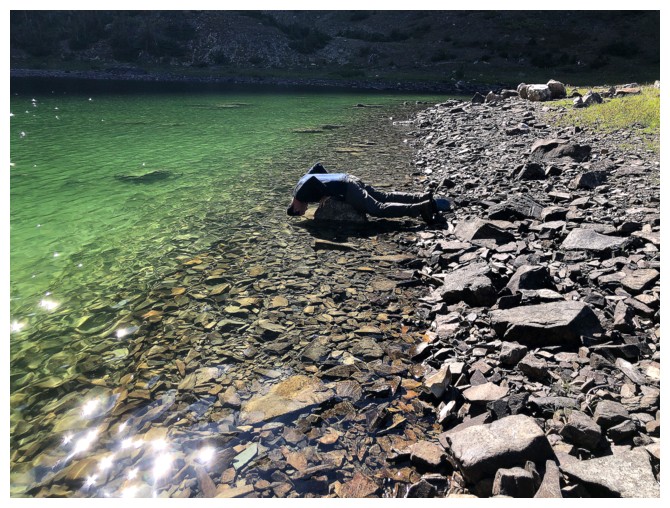
Dave enjoys a much deserved head dunk in the lake
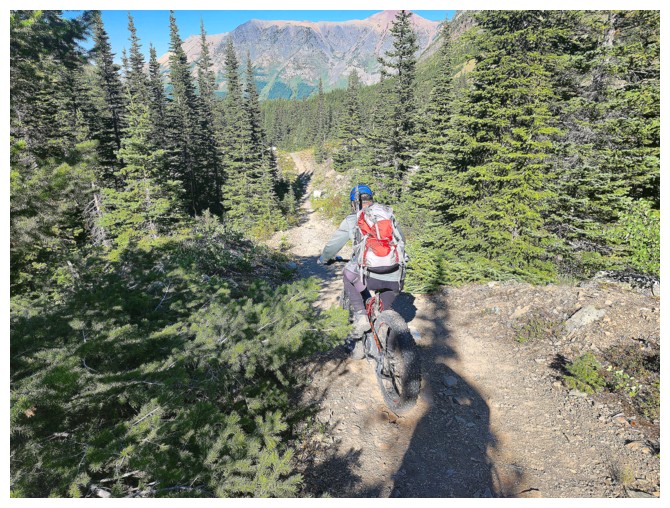
Back on two wheels (photo by Dave)
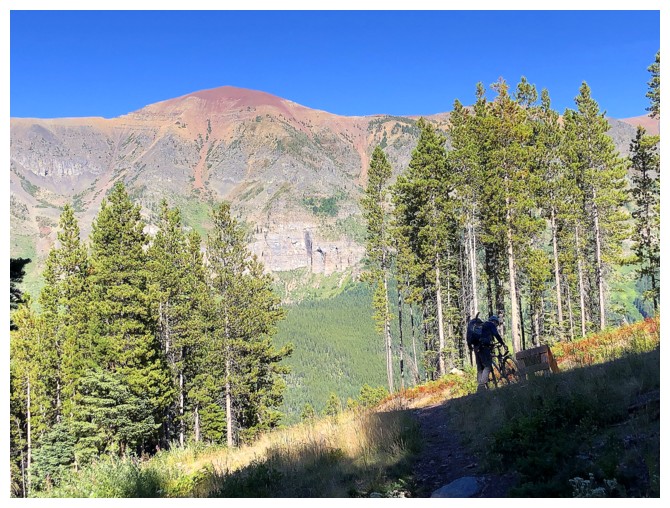
We had to walk our bikes down that one short section. The red peak is part of Barnaby Ridge and is commonly known as "The Amoeba".
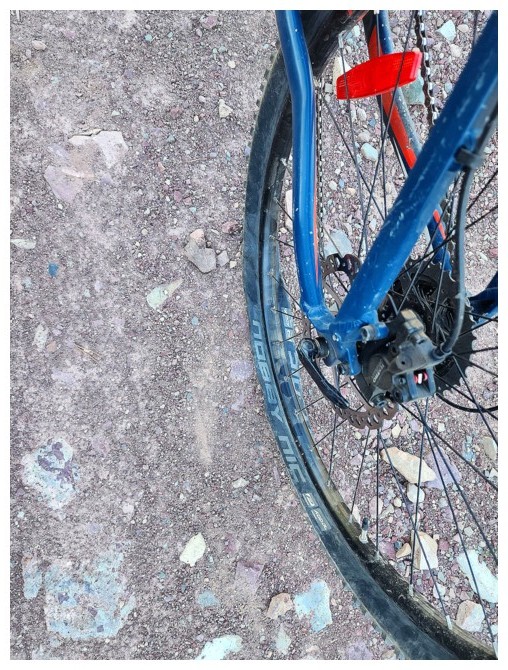
Something doesn't look right with Dave's tire (photo by Dave)
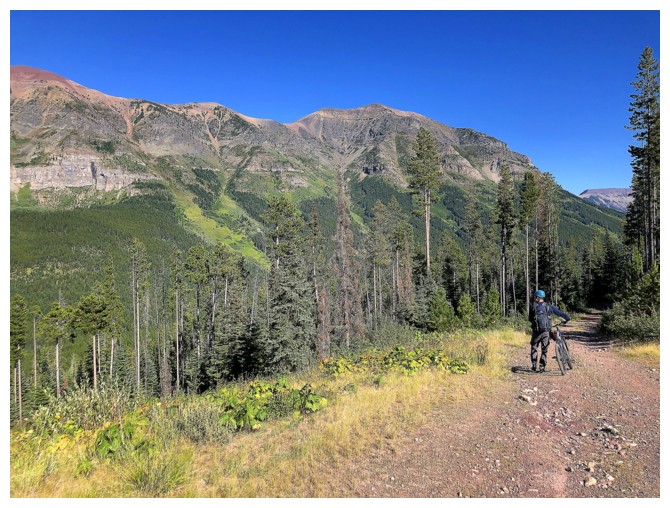
Walking
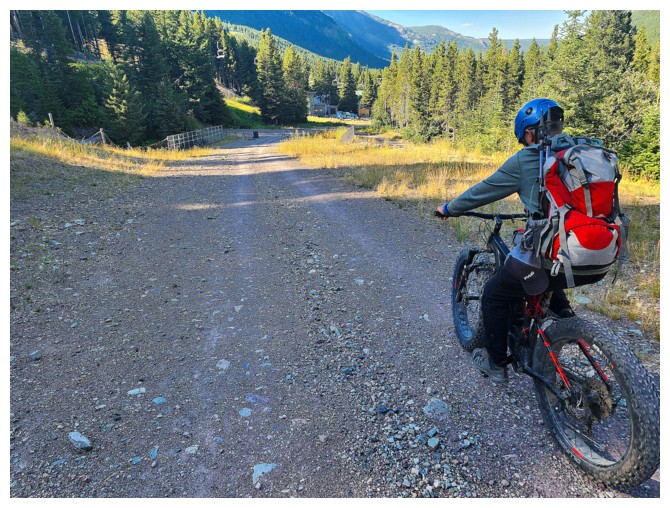
Minutes away from the parking lot. What an amazing trip! (photo by Dave).
The End
LOG