Tent Ridge IV
April 30, 2022
Mountain height: 2535 m
Elevation gain: 900
m
Round-trip
time: 6 hours
Snowshoeing with
Mark.
Although we
hoped to try something more ambitious (Lougheed or Sparrowhawk), a forecasted
breakdown in the weather before noon prompted us to downgrade – not that Tent
Ridge is a downgrade from anything. The lowly mountain boasts one of the best
views in Kananaskis and the north summit can be easily ascended in less than
two hours.
 Right off the
bat, we agreed our decision to go with Tent Ridge was a good one. Both Lougheed
and Sparrowhawk would have entailed multiple hours of Sun-less travel. However,
within an hour of leaving the Tent Ridge trailhead, the Sun was upon us,
lighting up the amazing scenery and views. In addition, the snowshoe trail from
start to finish was well packed down and great to follow.
Right off the
bat, we agreed our decision to go with Tent Ridge was a good one. Both Lougheed
and Sparrowhawk would have entailed multiple hours of Sun-less travel. However,
within an hour of leaving the Tent Ridge trailhead, the Sun was upon us,
lighting up the amazing scenery and views. In addition, the snowshoe trail from
start to finish was well packed down and great to follow.
Upon entering
the bowl below the north summit, we followed the snowshoe trail up the right
side of the peak – big thanks to the individual who blazed this trail. Once on
the ridge, an easy ascent to the north summit ensued. The first summit view,
under clear skies, was expectedly magnificent – definitely a view that you
never tire of and are always awe-struck by.
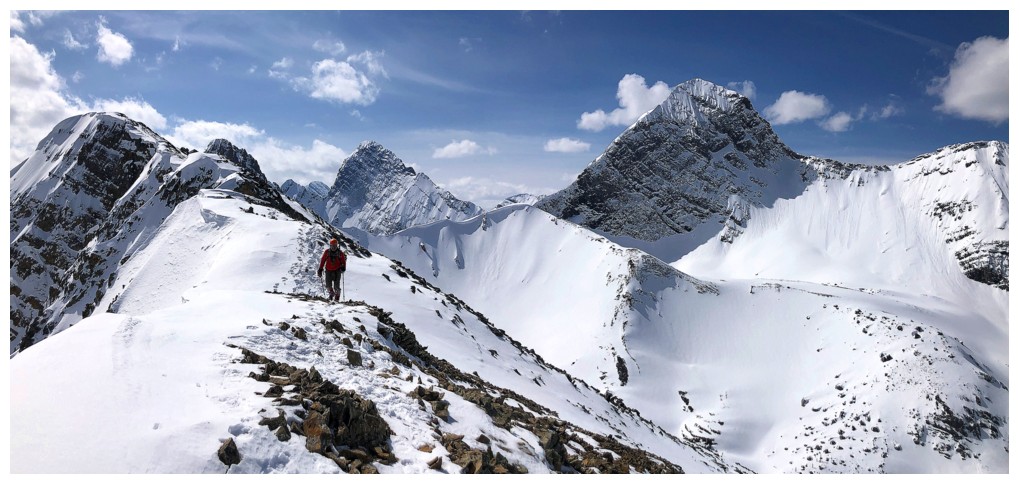
With time in abundance
and still enjoying great weather, we set our sights on the true summit to the
south. The traverse was generally easy, but increased a little in challenge
towards the end. We traded snowshoes for crampons and ice axes here and I’m glad
we did. Once again there existed a nice set of tracks to follow, but this time
from an adolescent bear, who clearly also shared our love for this trip! More
outstanding views awaited at the true summit.
At this point, the
weather had started to break down, clouds streaming in from the southeast. The
transition period, however, granted us some terrific atmospheric views. For
descent we decided to retrace our steps back to the north summit. Continuing
along the horseshoe-shaped ridge, though tempting, might have ended up in a
post-holing nightmare. Back at the north summit we took the east ridge (normal
route) down. This is the safest route and offers excellent glissading
opportunities.
Awesome day out on
an old favourite!
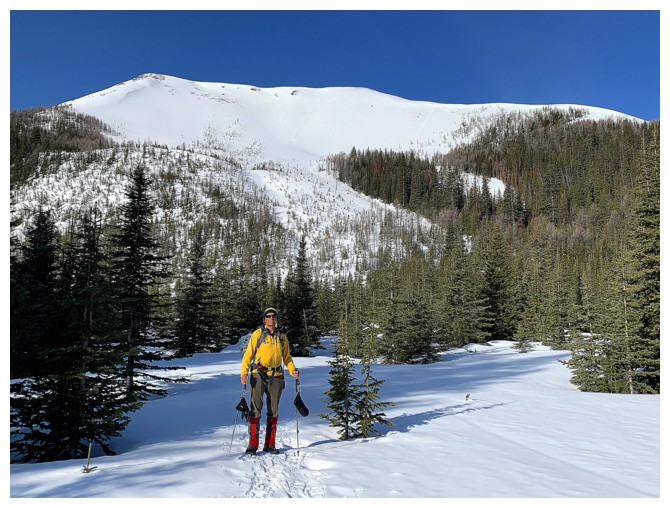
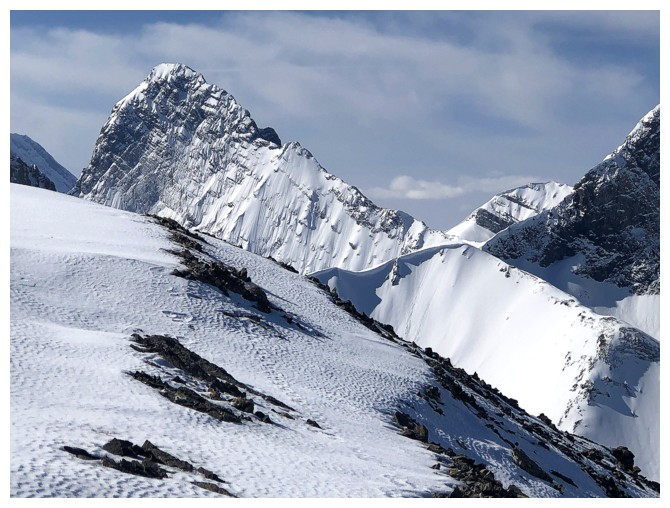
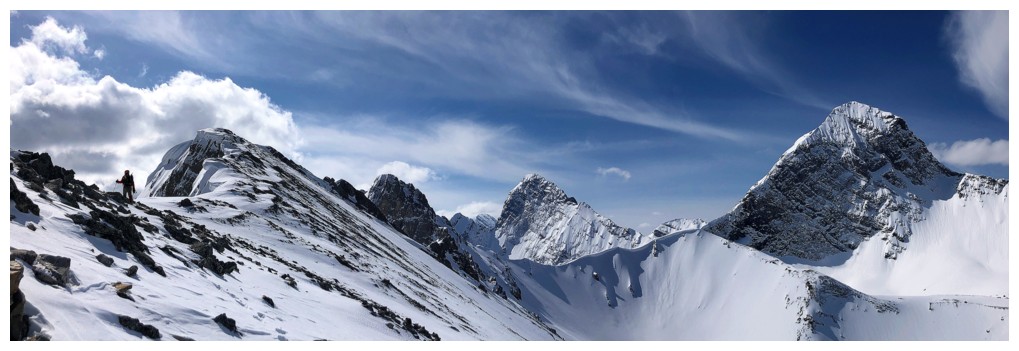
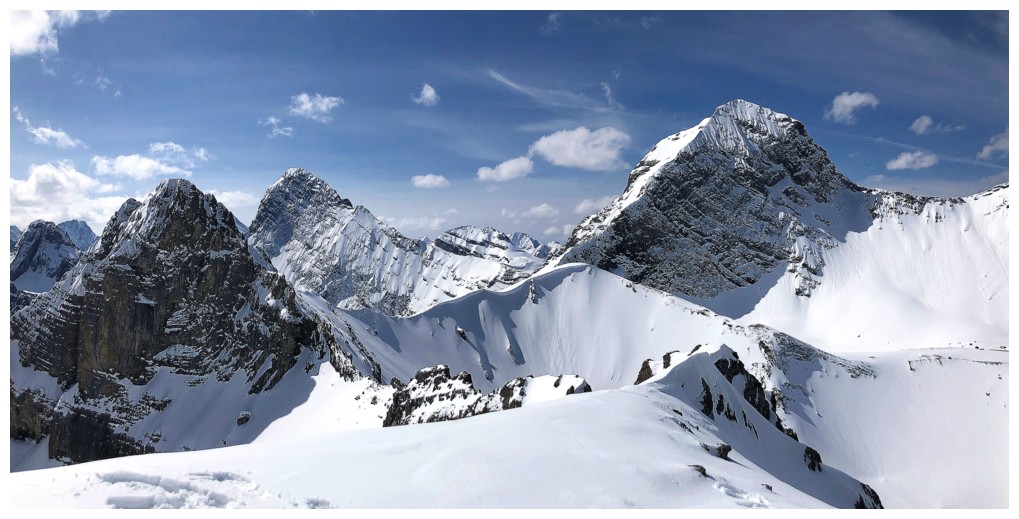
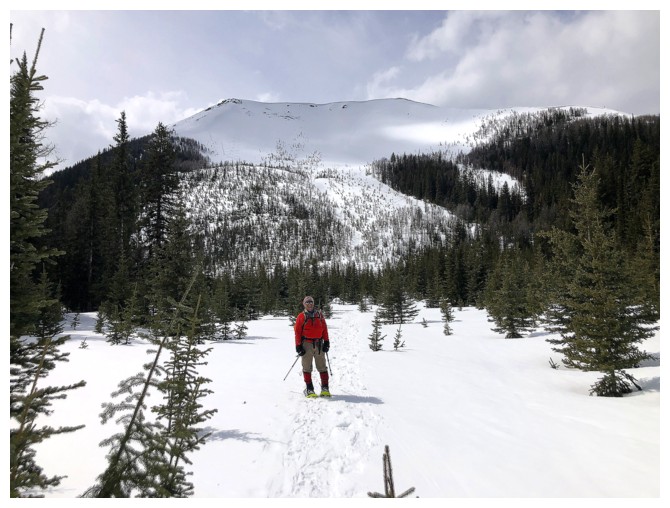
First good view of the objective
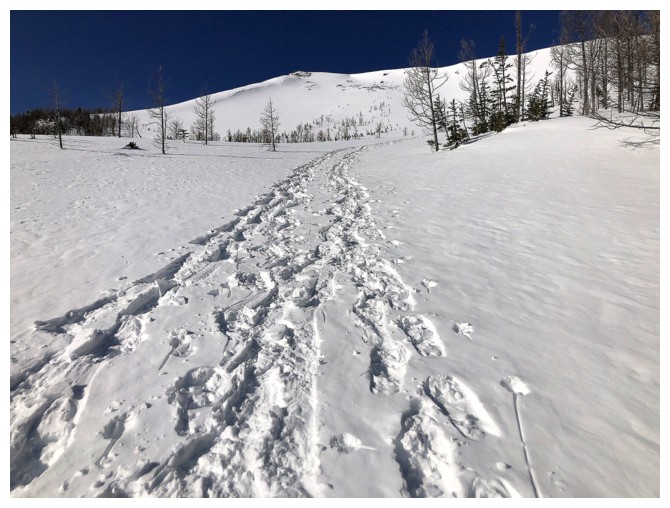
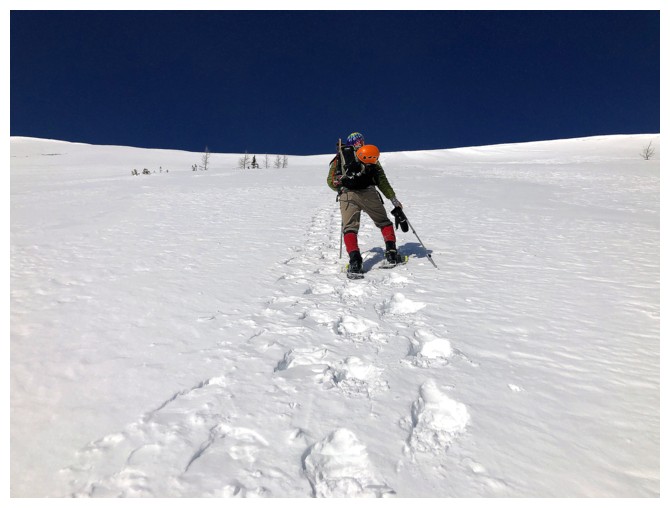
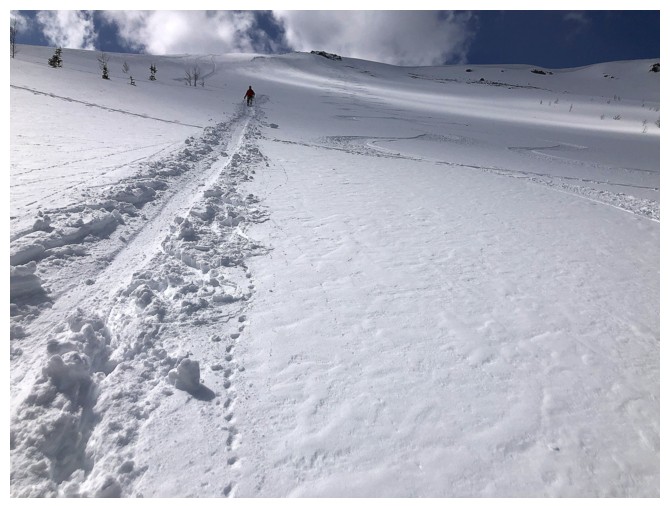
Lots of snowshoe tracks to follow
The view to the northeast is already starting to open up
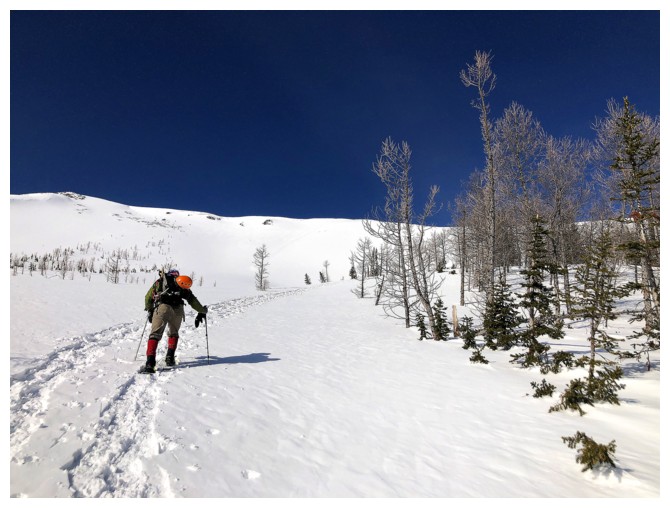
Following the tracks of the previous day's snowshoer
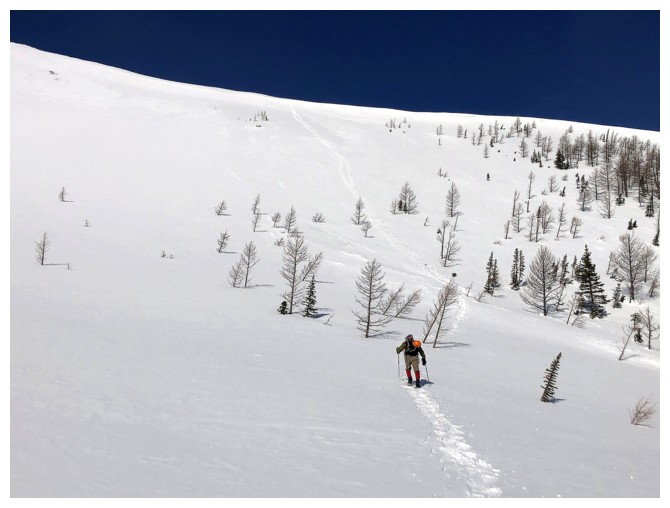
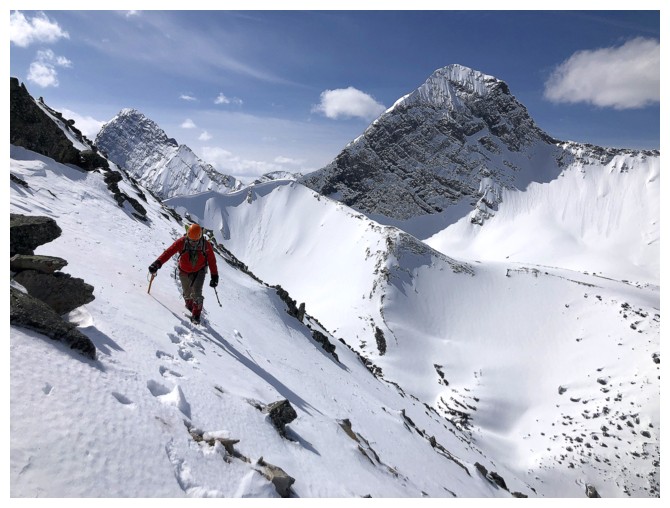
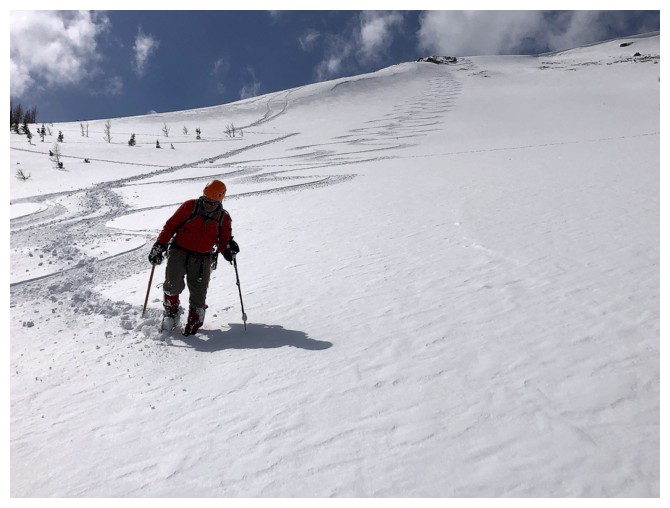
The grade steepens
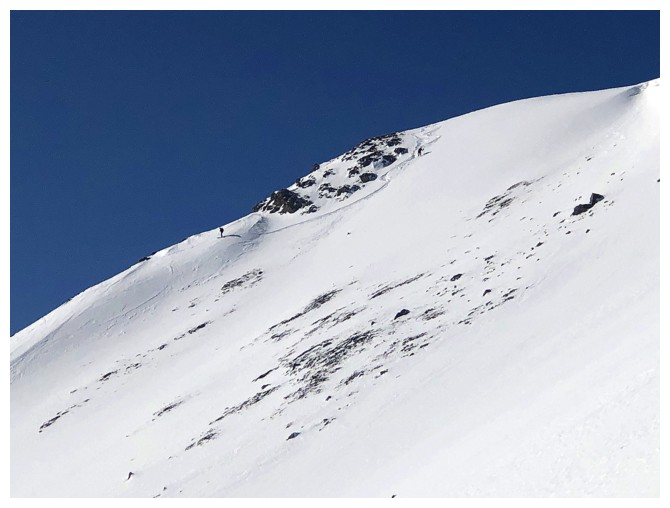
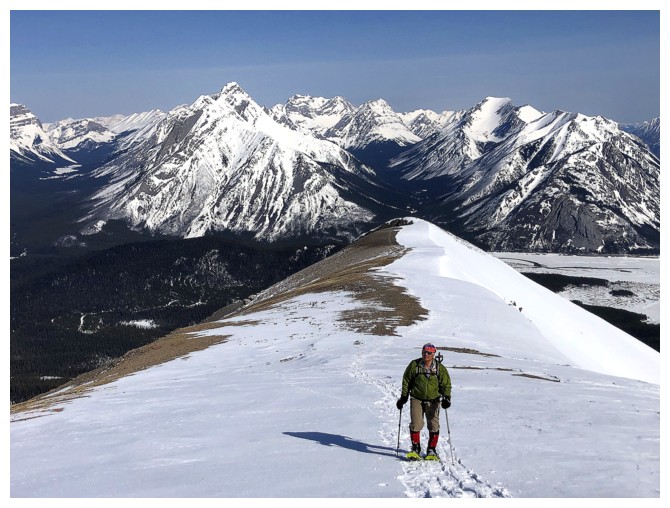
Two skiers start their rapid descent down the east ridge/face
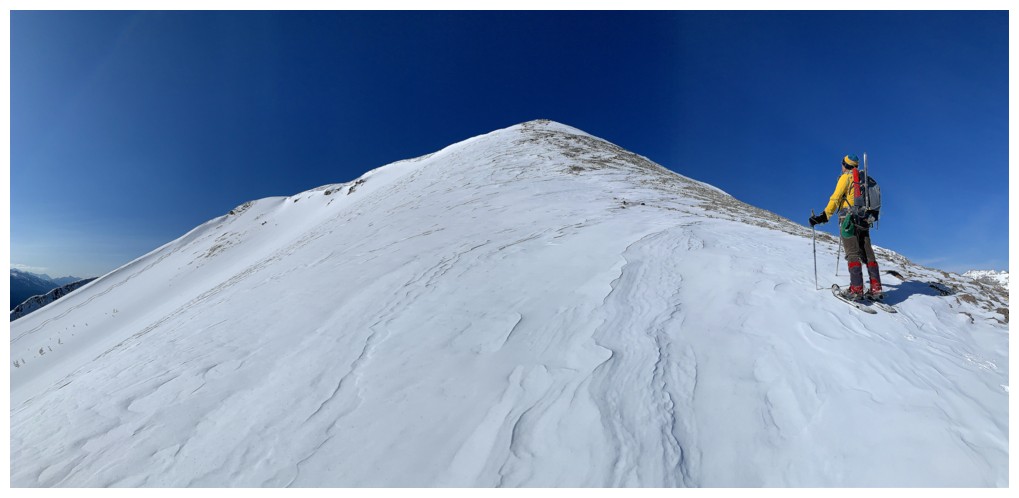
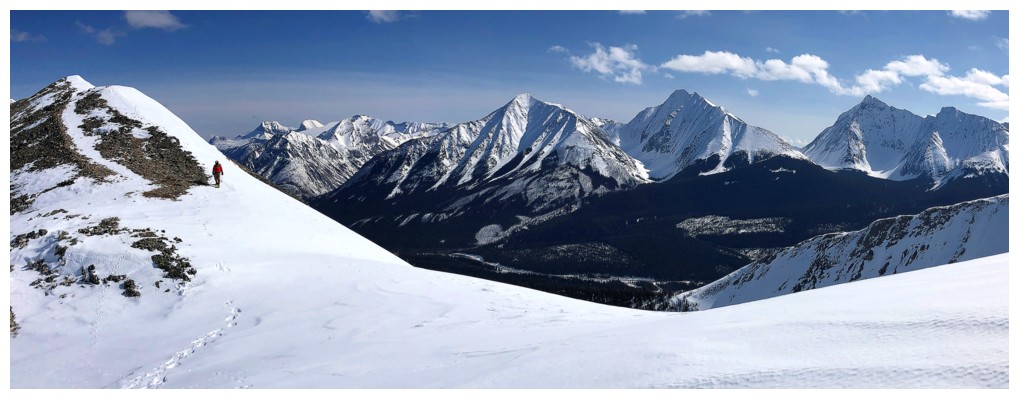
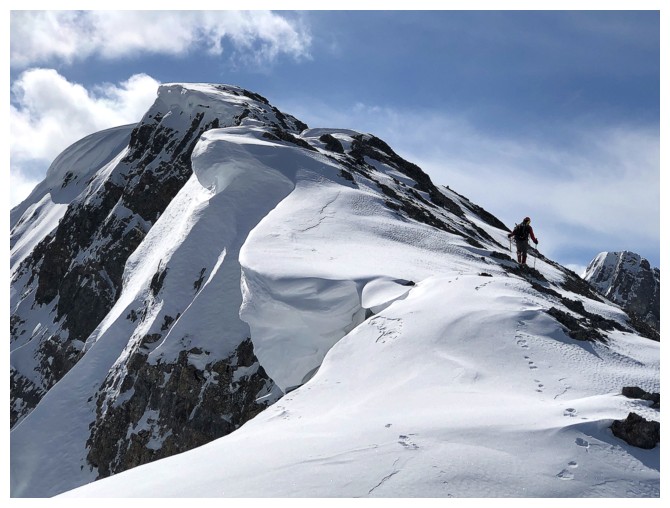
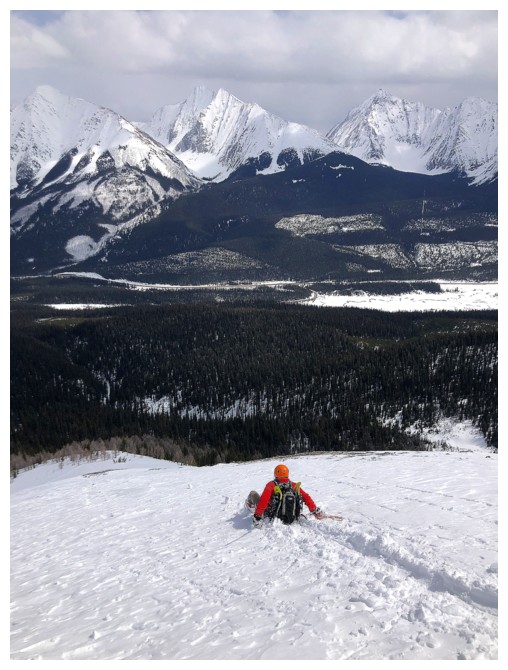
Last few steps to the ridge and the view really opens up
Didn't skimp on the colours today!
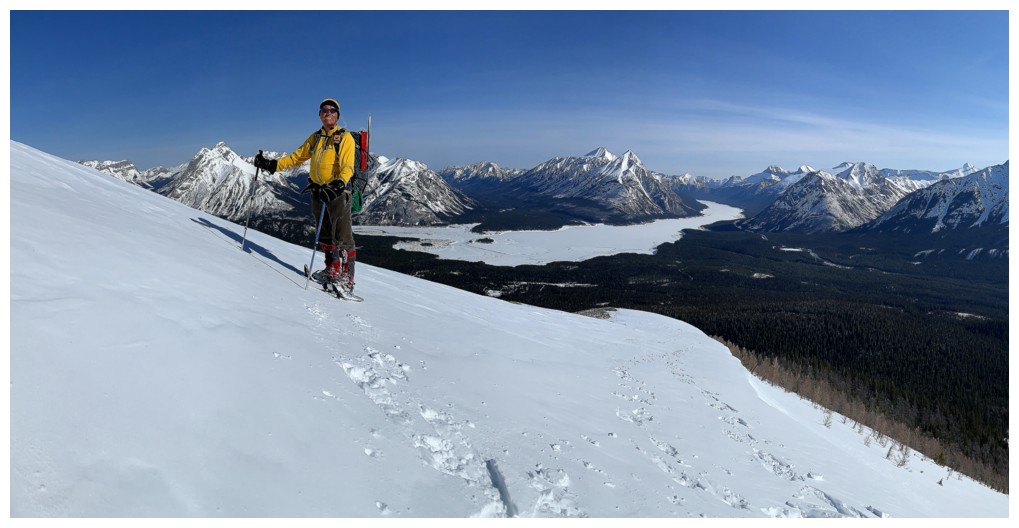
View to the north from the ridge
View to the southeast from the ridge
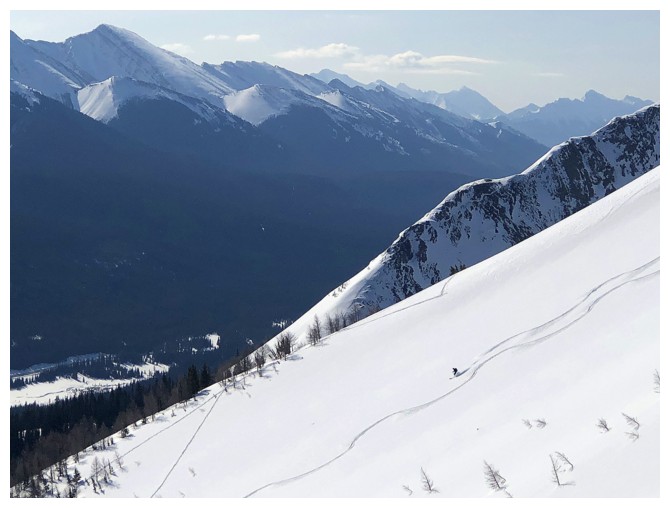
The skiers are making some nice turns
Close-up. Their "straight as an arrow" ascent track at the upper left.
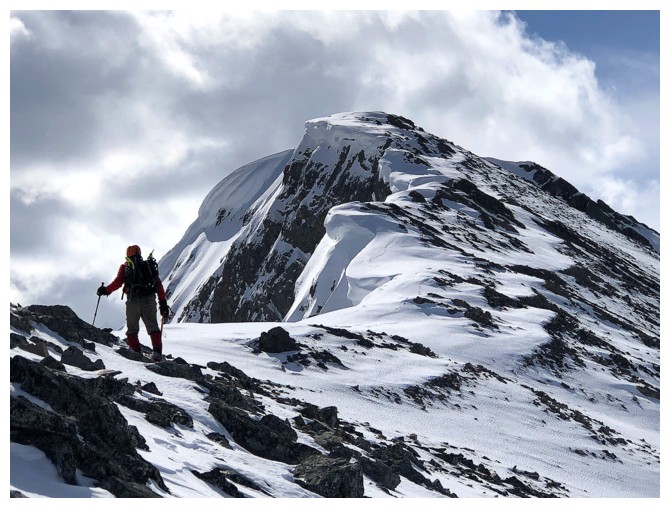
Looking up to the north summit
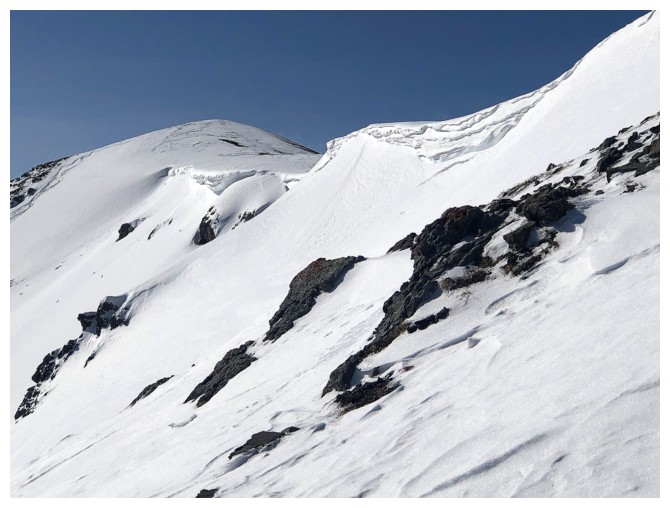
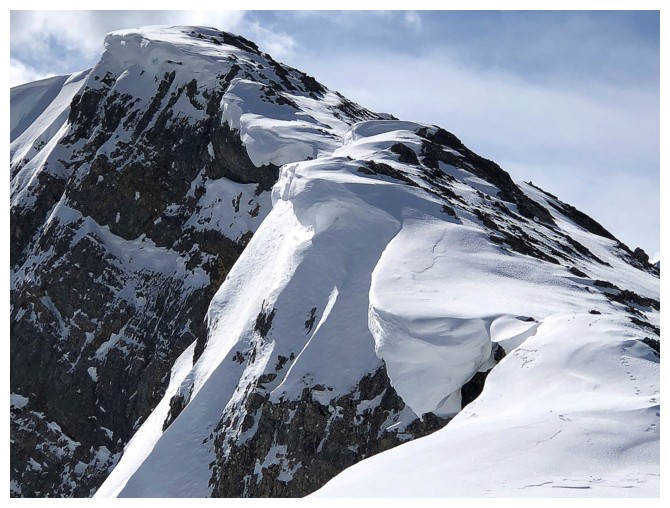
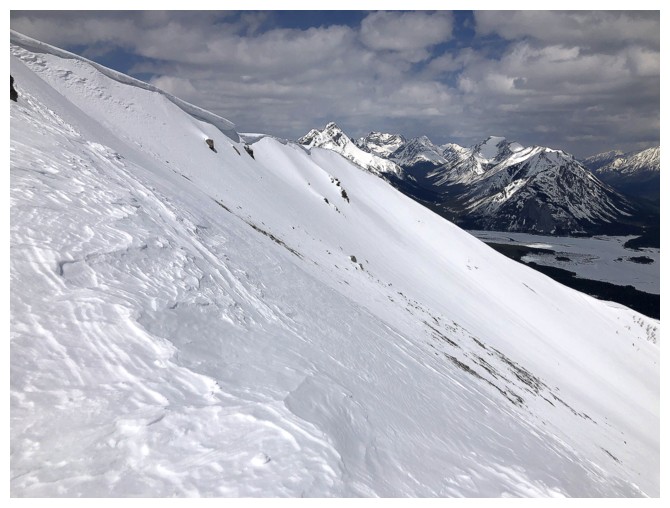
A few cornices remain on the east side of the ridge
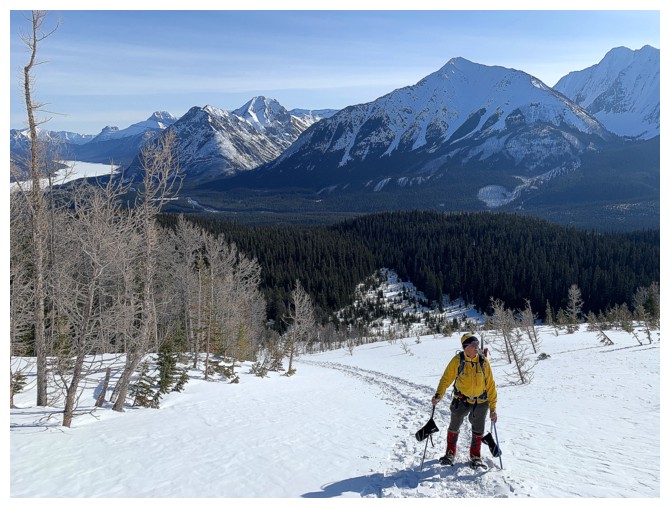
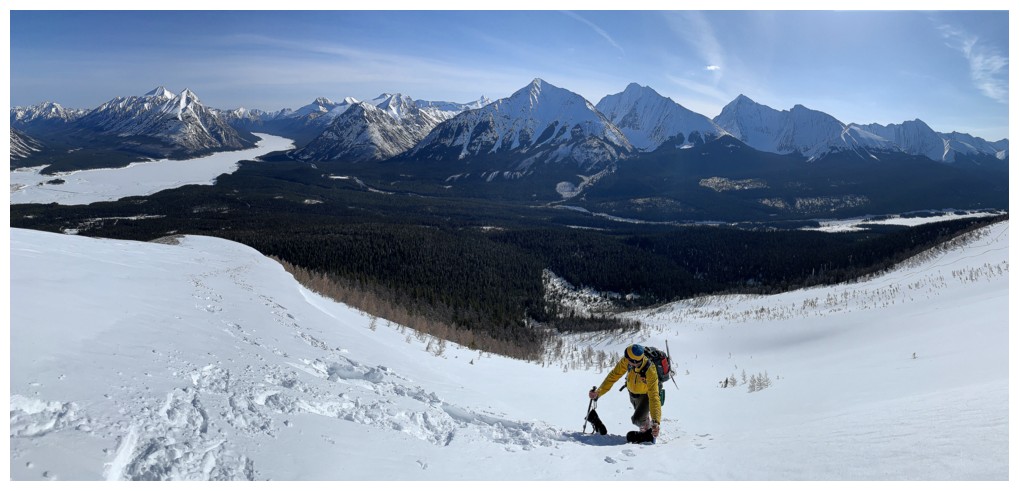
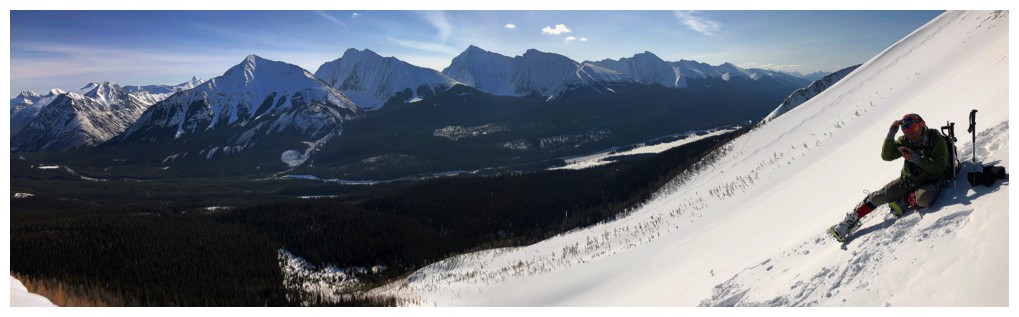
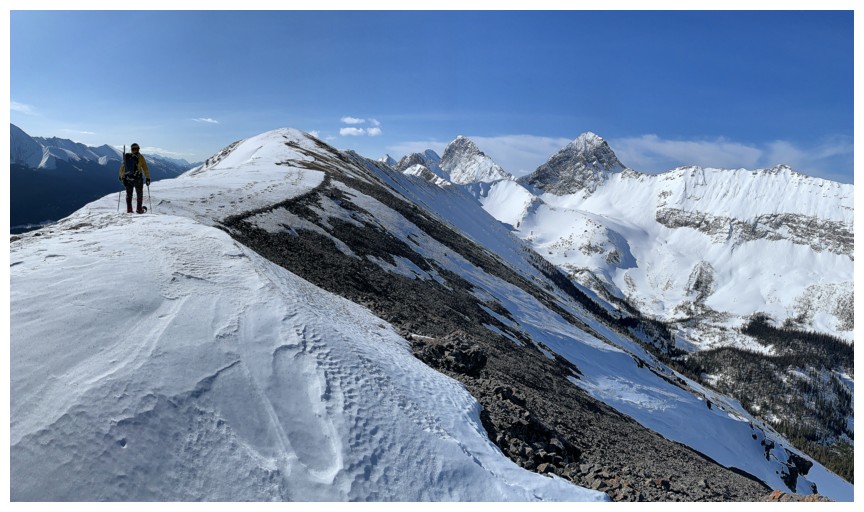
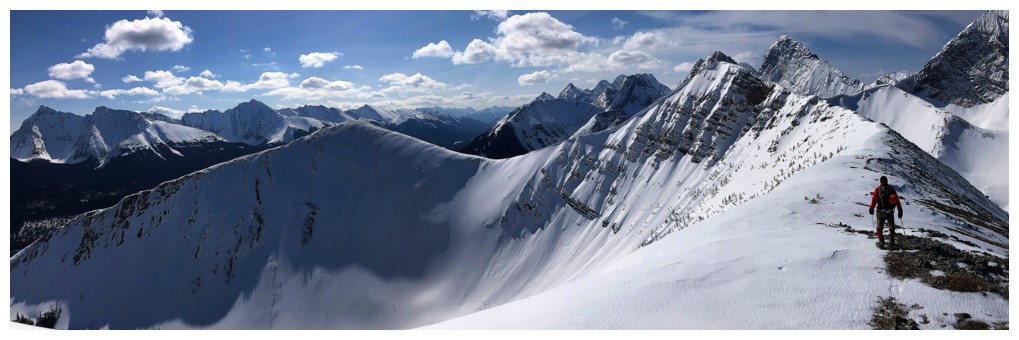
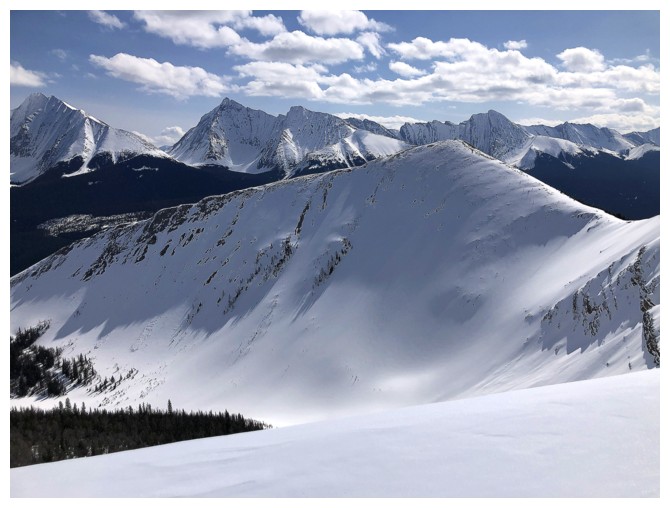
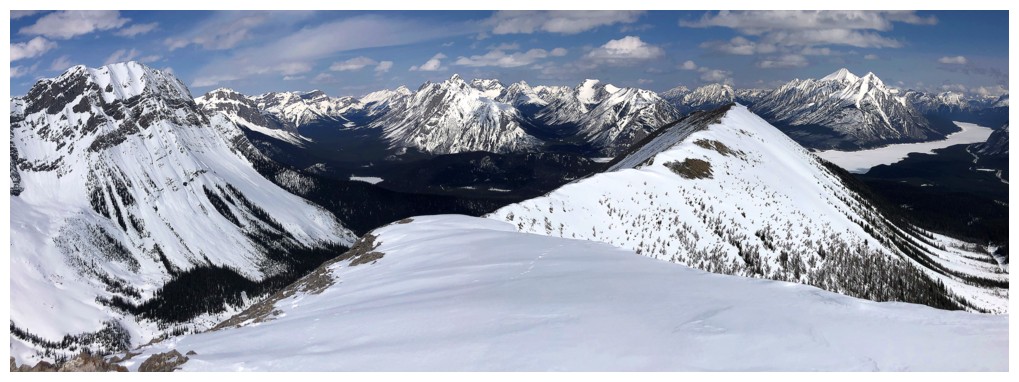
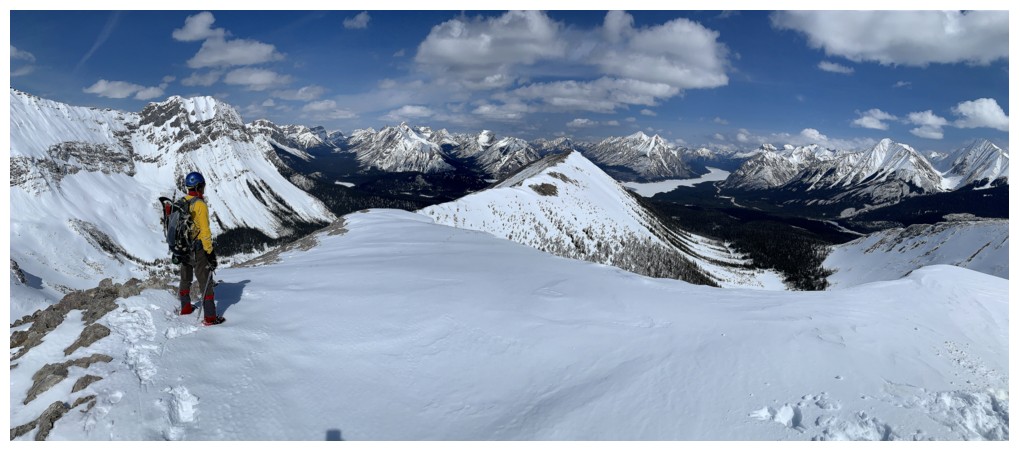
The minor false summit provides the first of many outstanding views to the southwest
A couple of old friends: Old Goat and Nestor
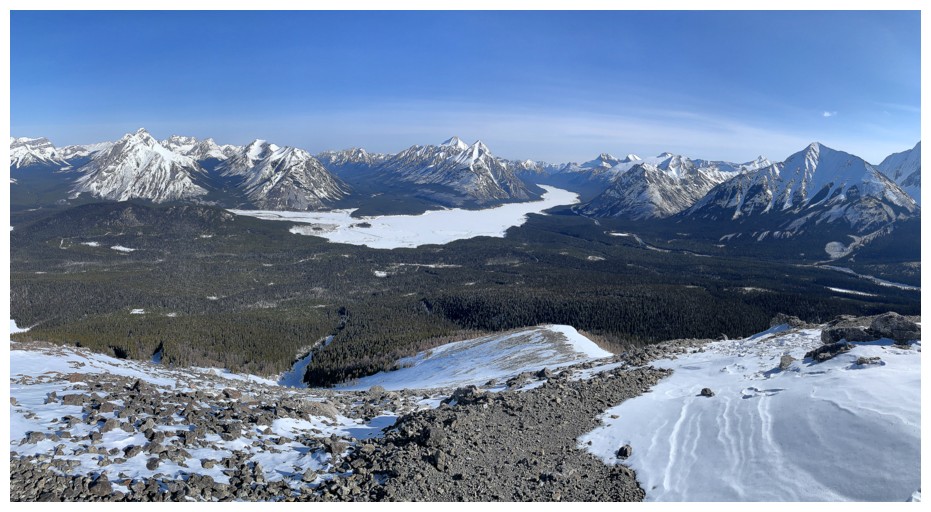
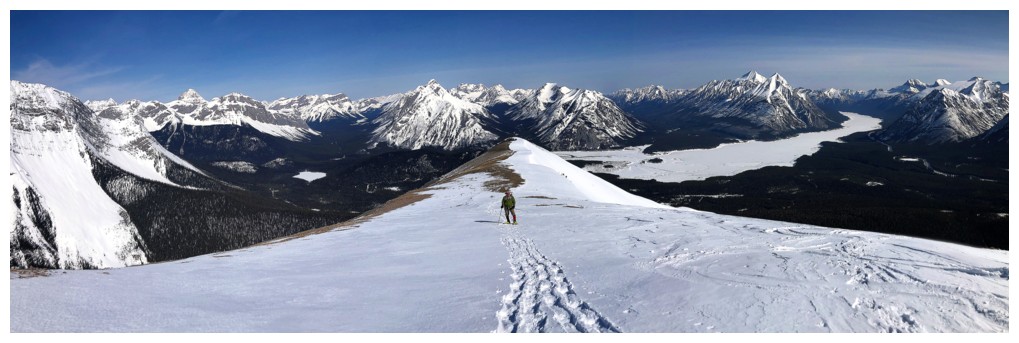
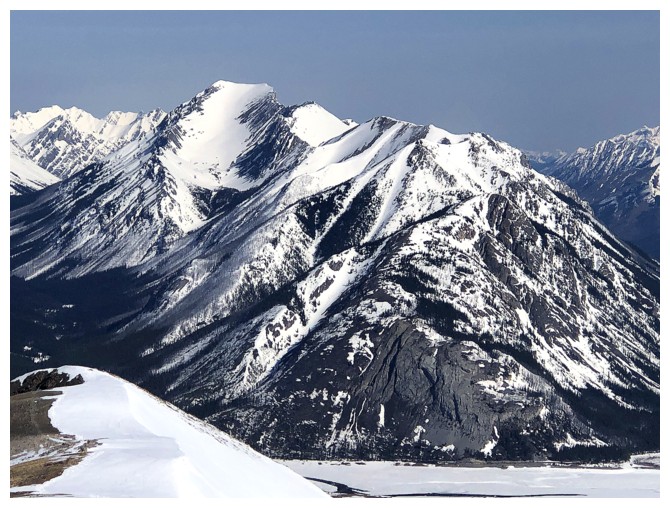
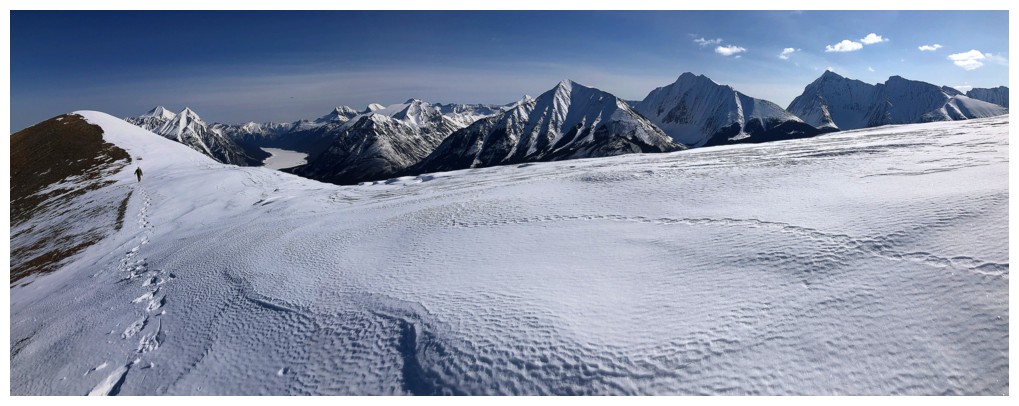
Spectacular Spray Lake and the mountains that surround it
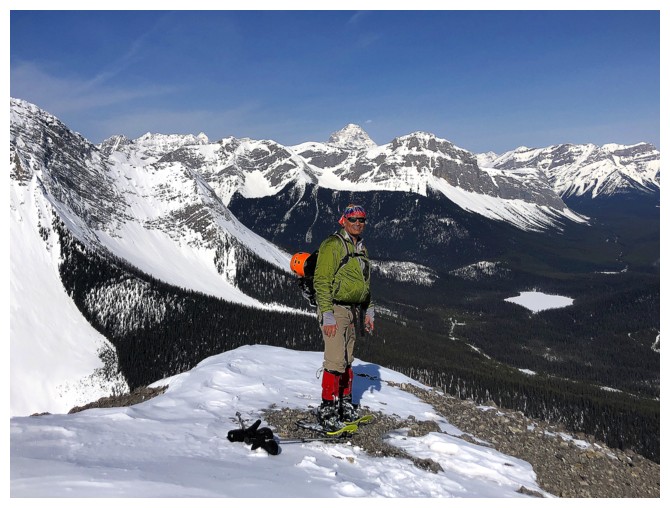
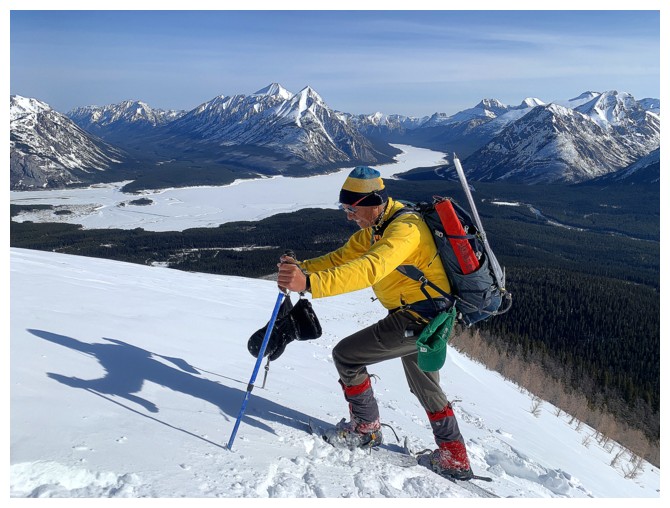
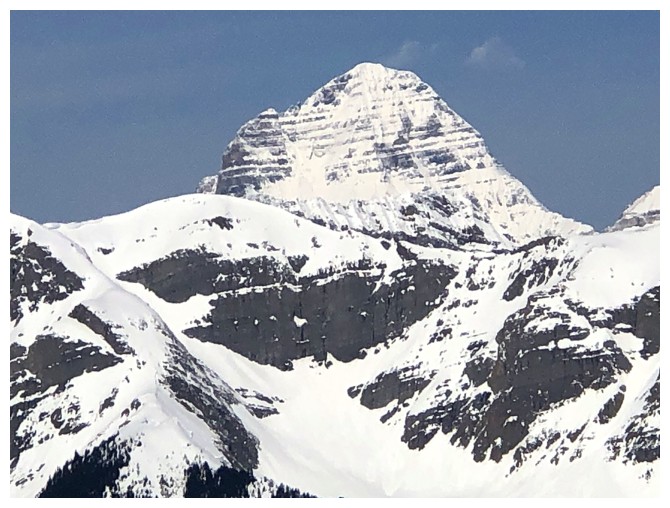
Distant Mount Assiniboine above Mark
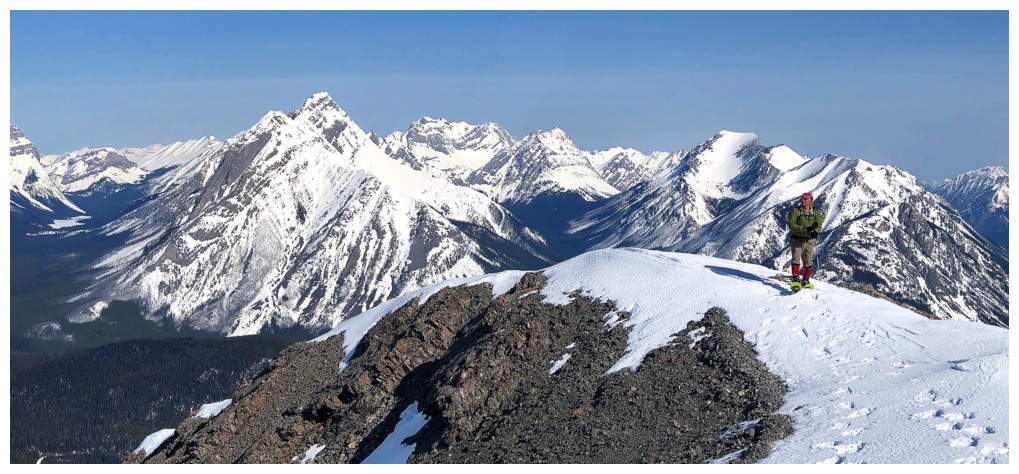
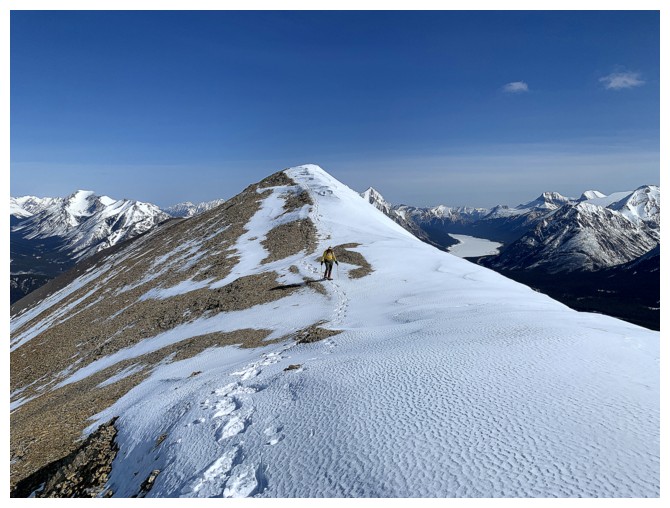
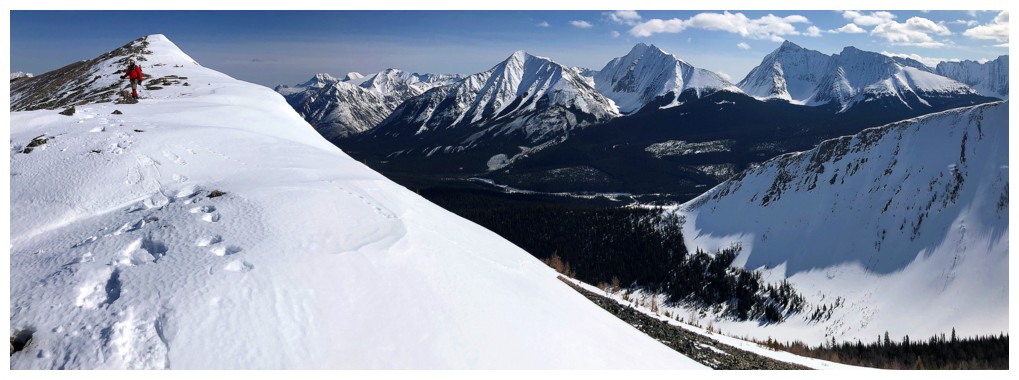
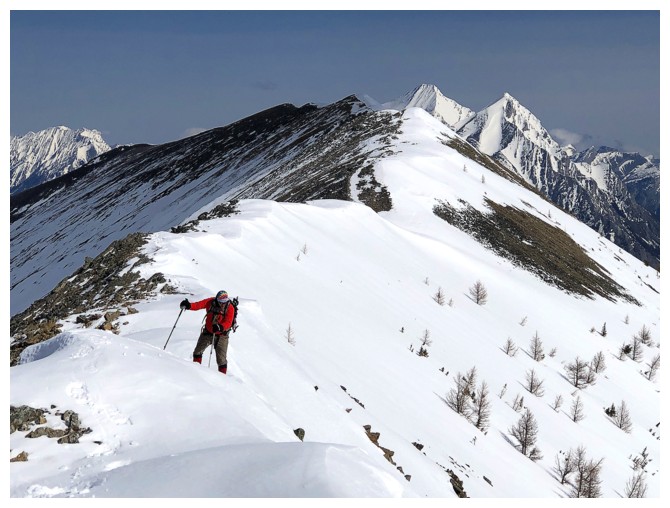
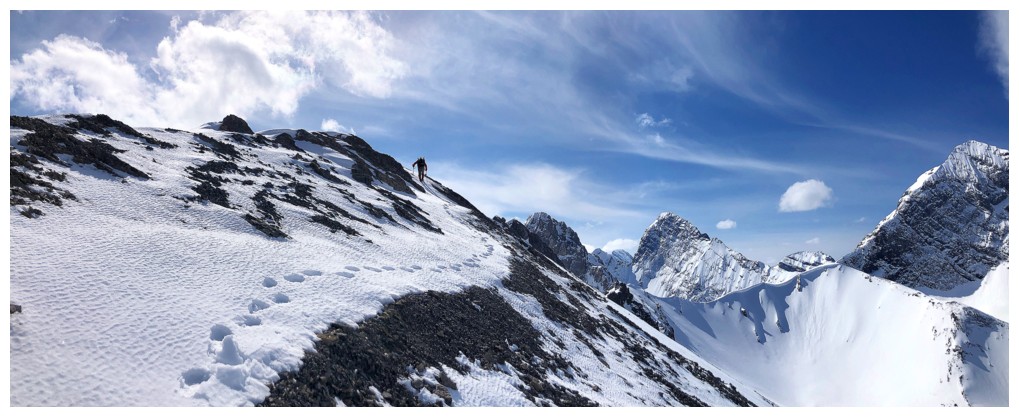
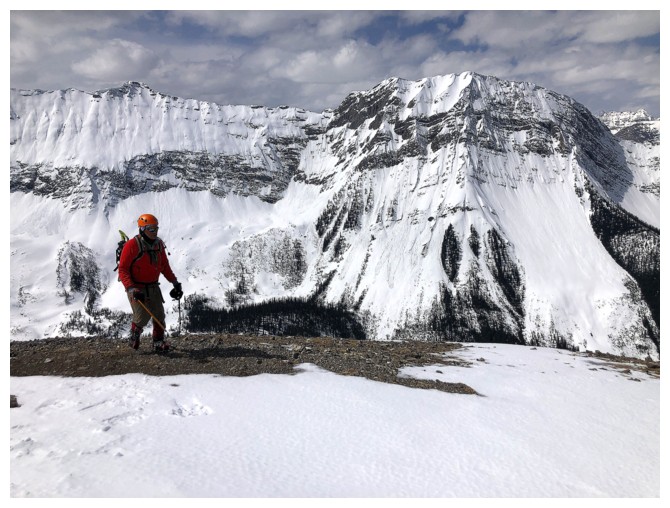
Final few hundred metres to the north summit
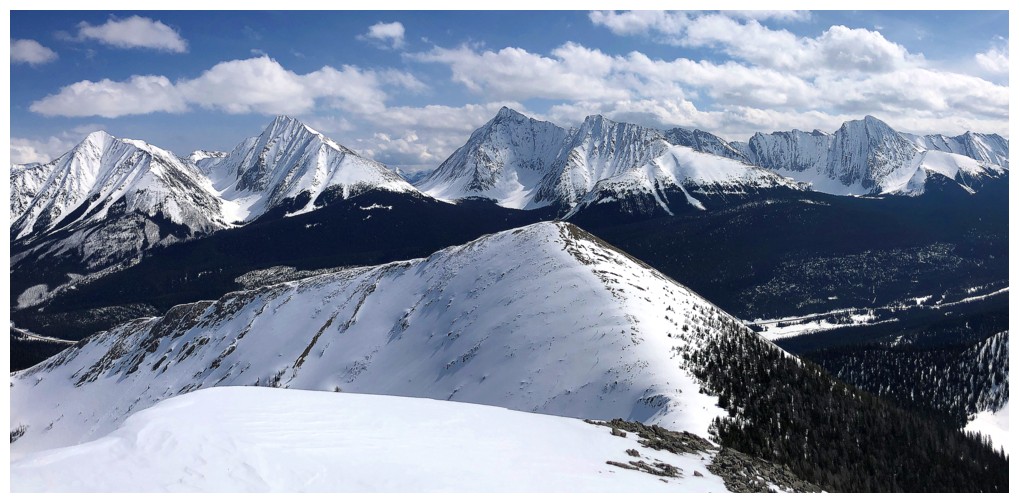
Mount Turbulent, just right of centre
Cone Mountain, just left of centre
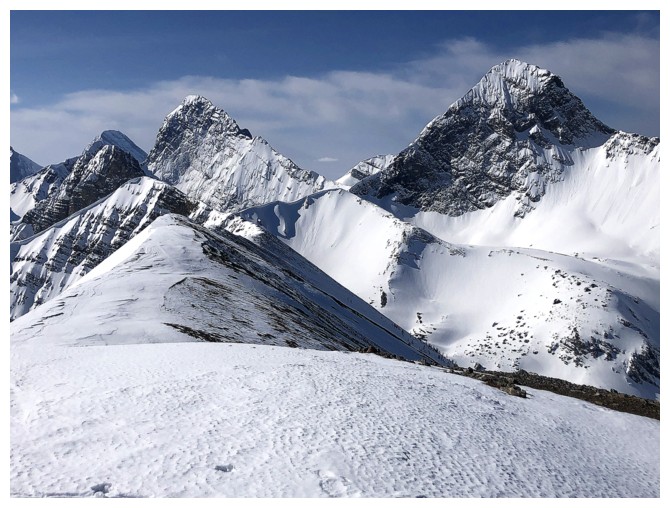
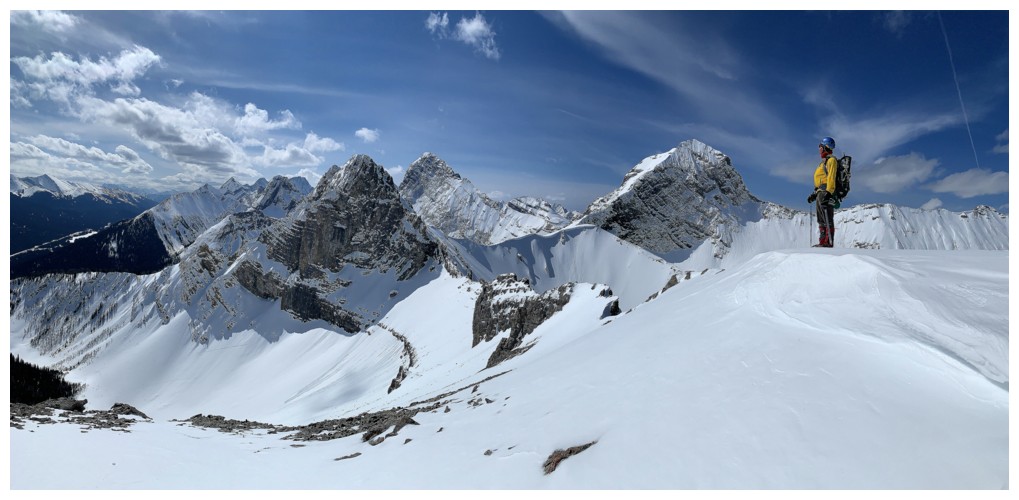
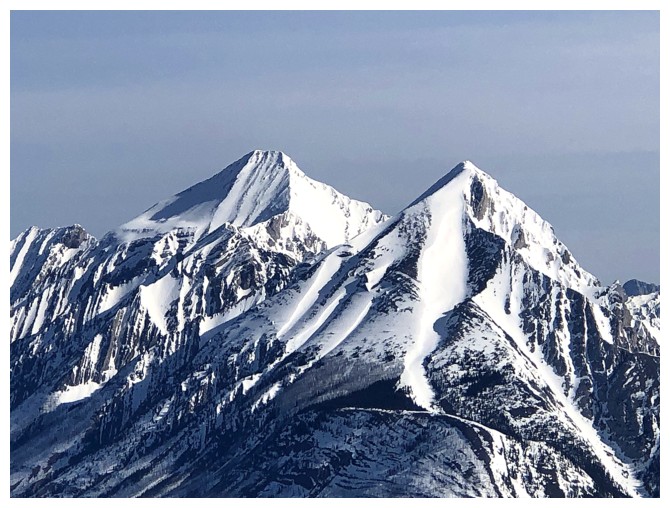
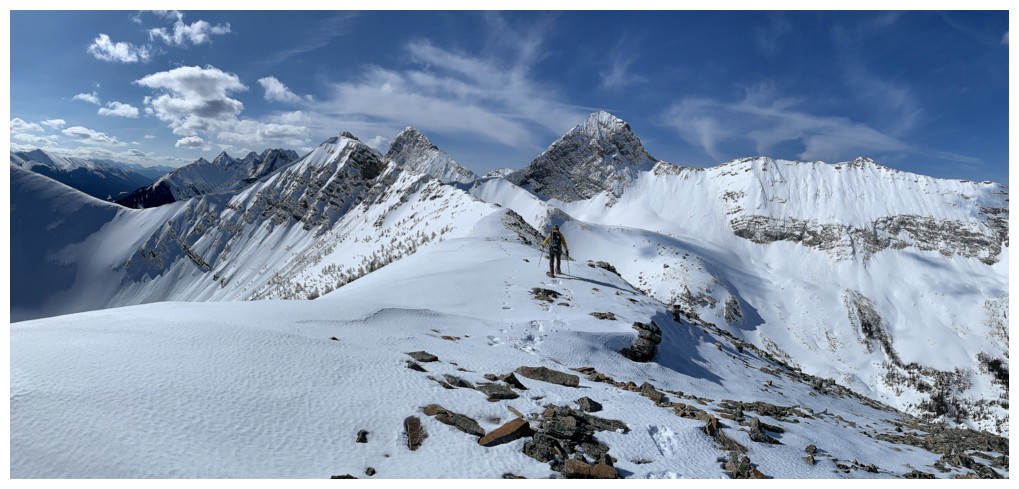
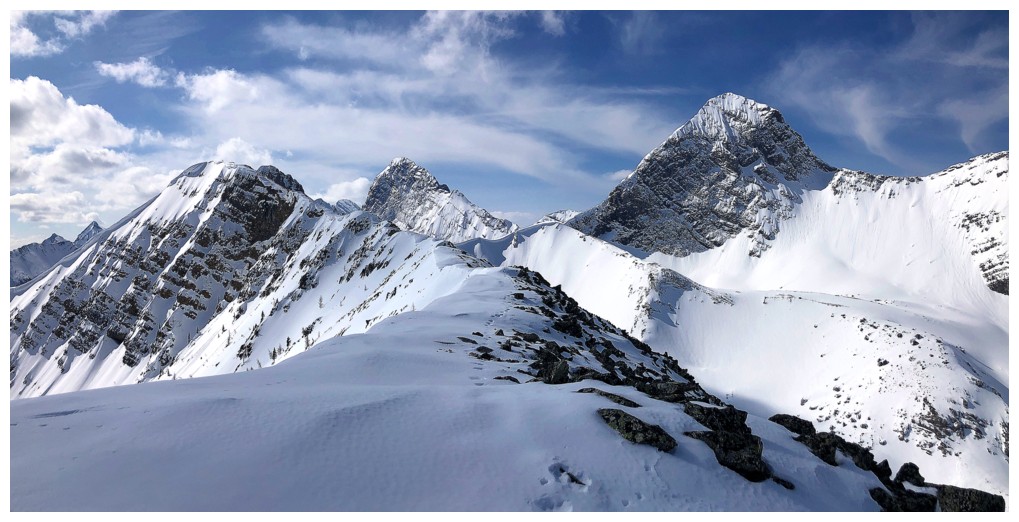
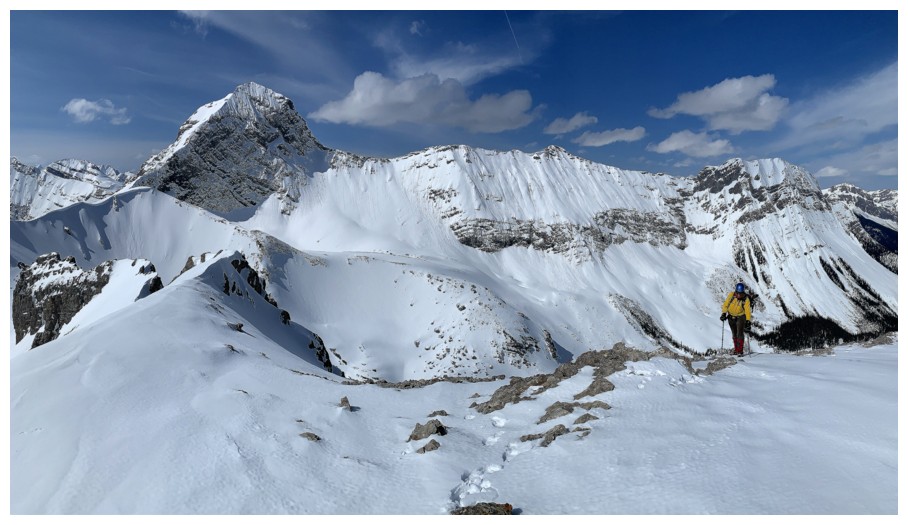
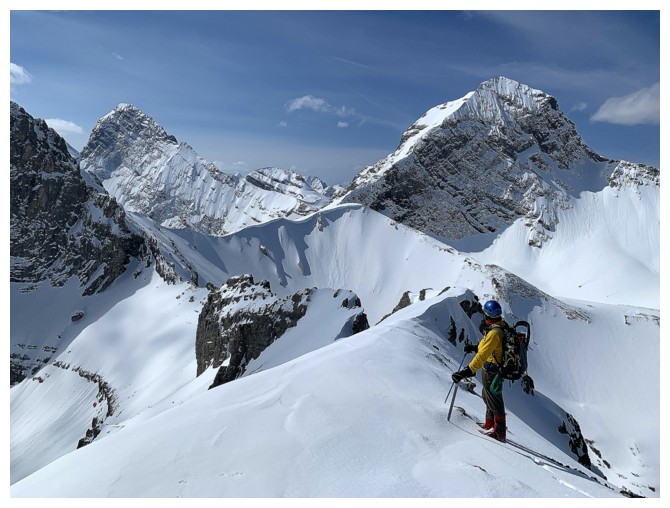
Mounts Birdwood (left) and Smuts are going to dominate the view to the southwest from here on in
At the north summit looking south
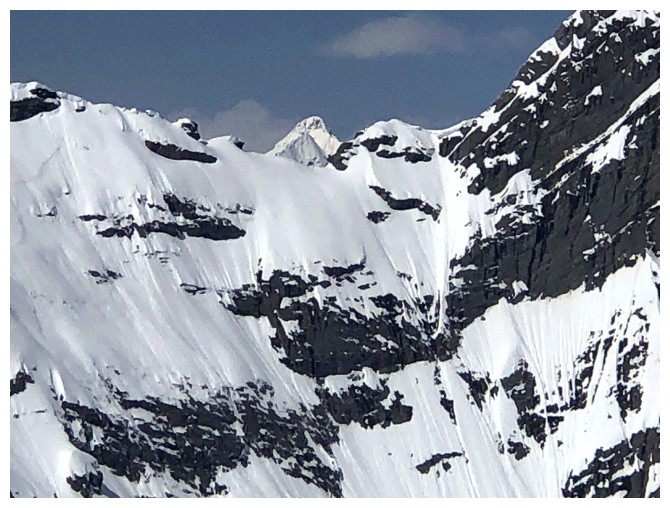
Assiniboine
Mounts Fortune, "Fortulent", and Turbulent
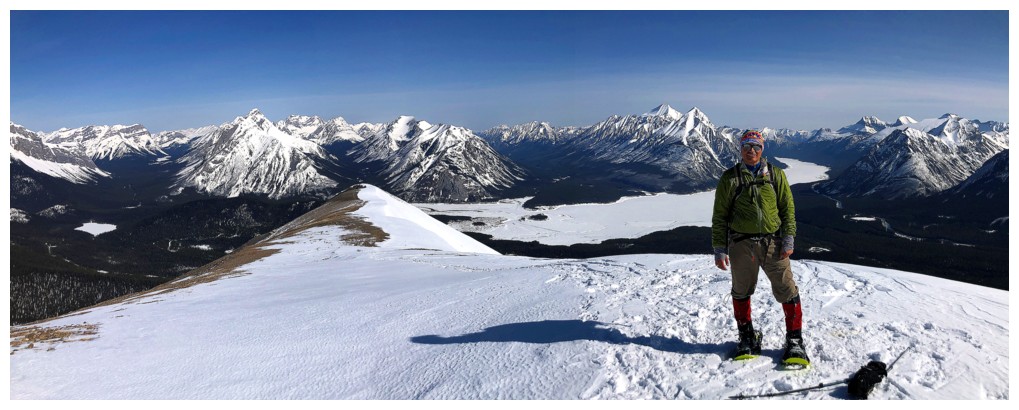
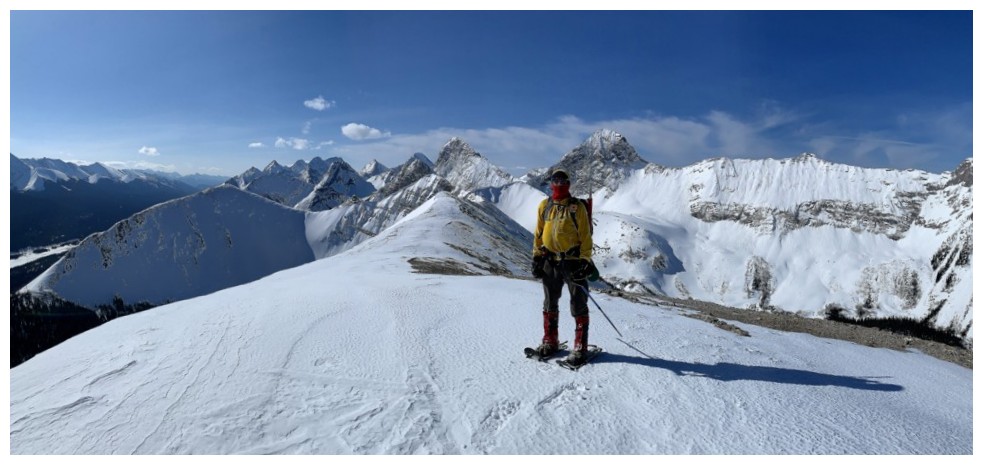
Mark at the summit and the view to the north
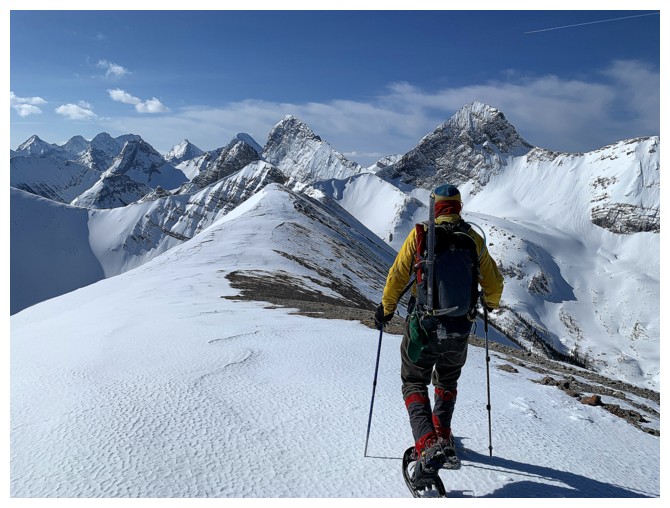
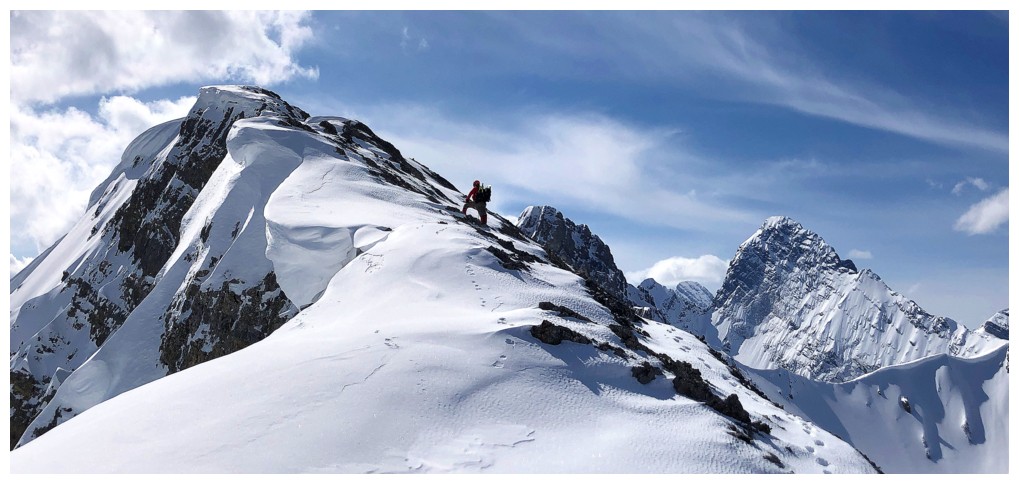
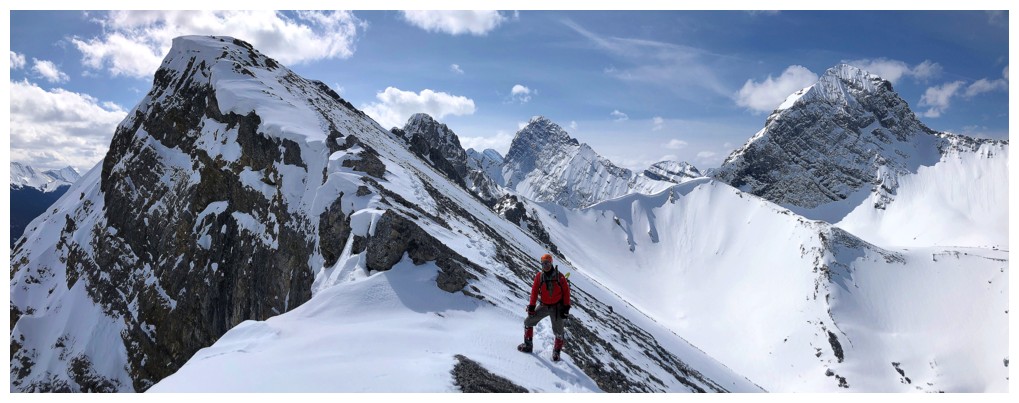
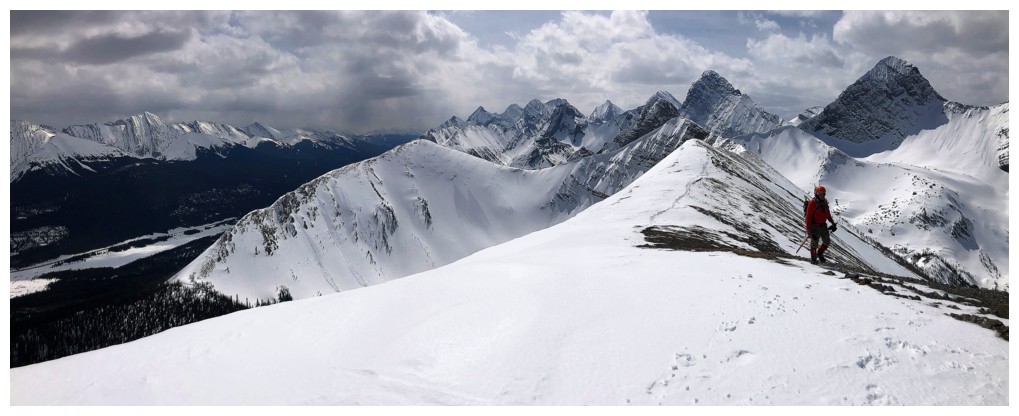
Starting the great traverse to the south (true) summit
Birdwood again - lots of interesting memories from that one
We gave the cornice a wide berth
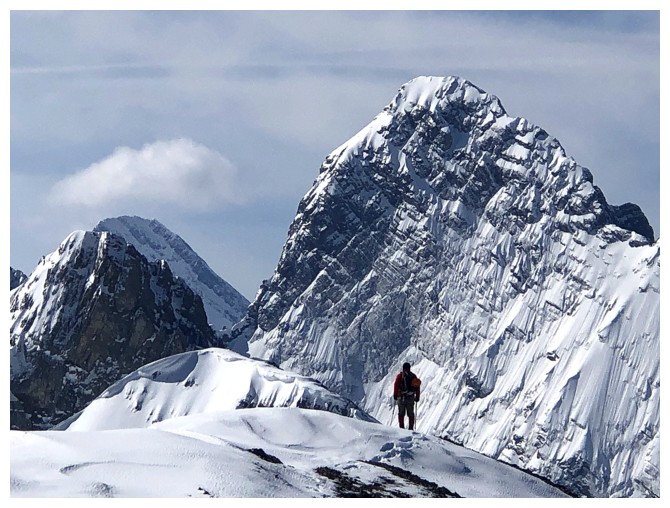
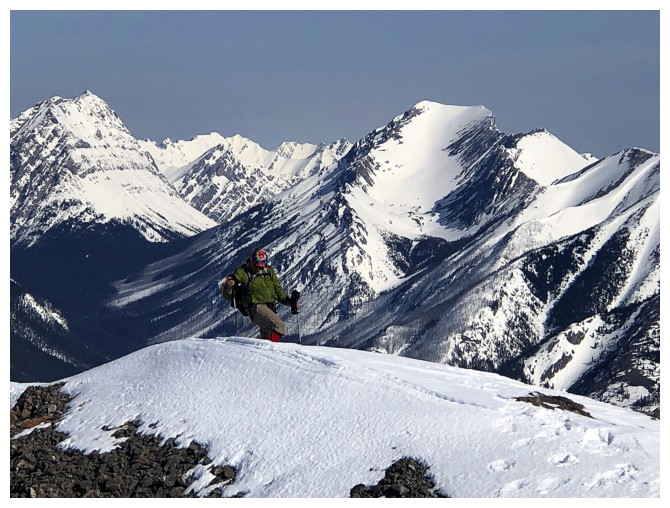
Birdwood towers over Tent Ridge and Mark
One of numerous ups and downs along the ridge
Still a ways to go. The traverse is longer than appearances dictate.
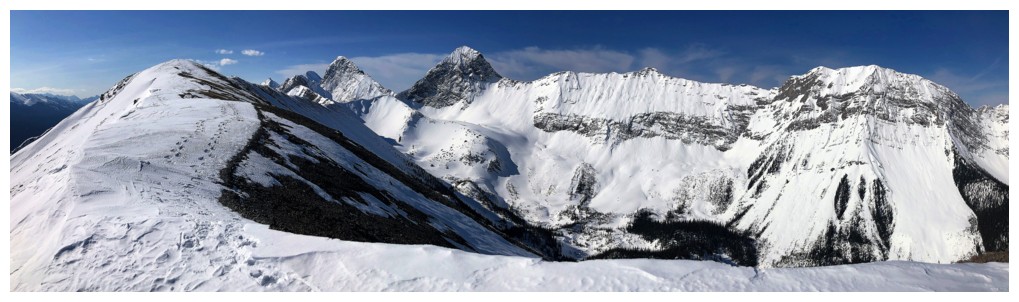
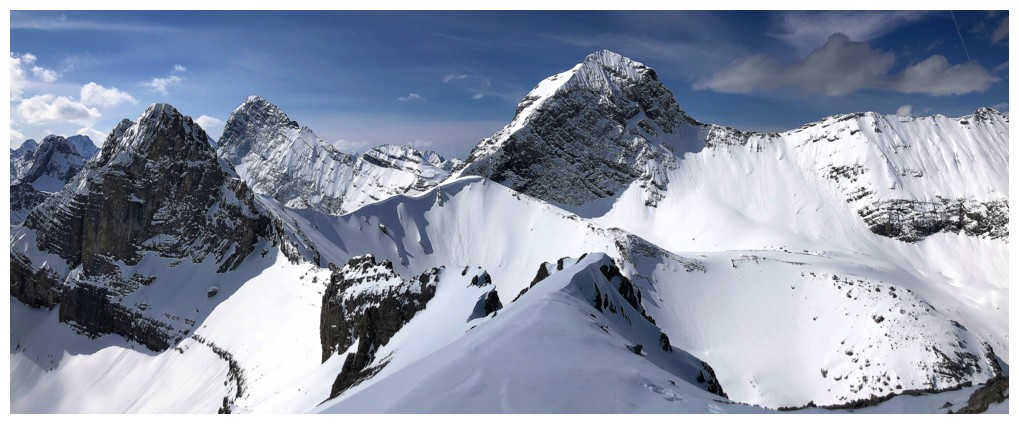
The Kananaskis range at the right features several terrific Kane scrambles, including Engadine (centre) and Galatea

No need to give the cornice a wide berth here because there is no cornice

Another down
Smuts continues to mesmerize

Bear tracks to the right of our snowshoe tracks
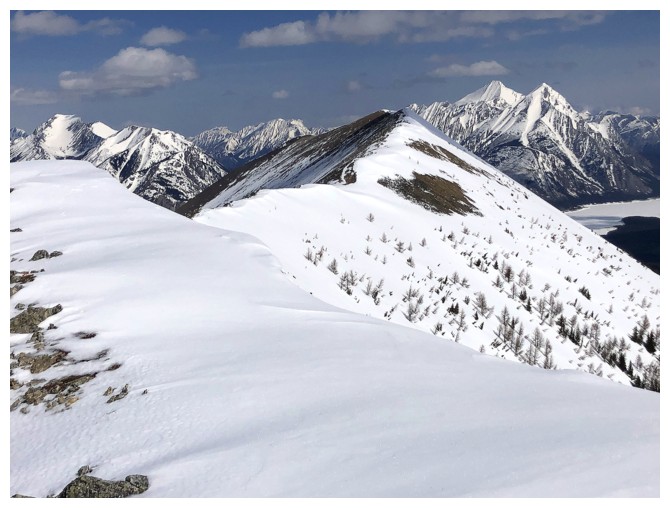
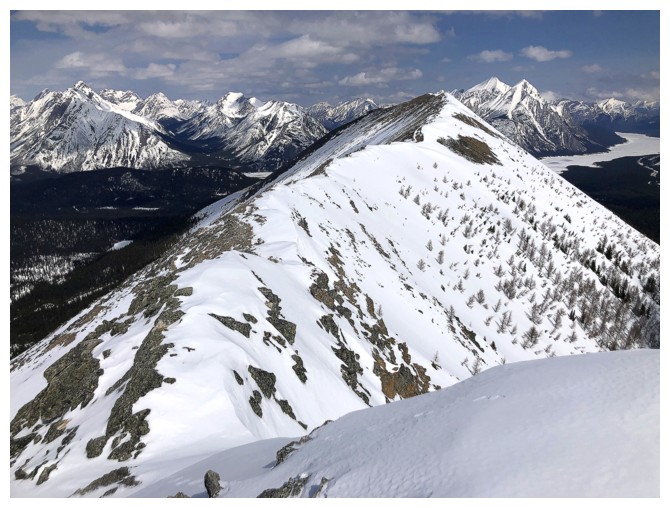
Looking over to the east summit of Tent Ridge - part of the horseshoe route
Still losing elevation!

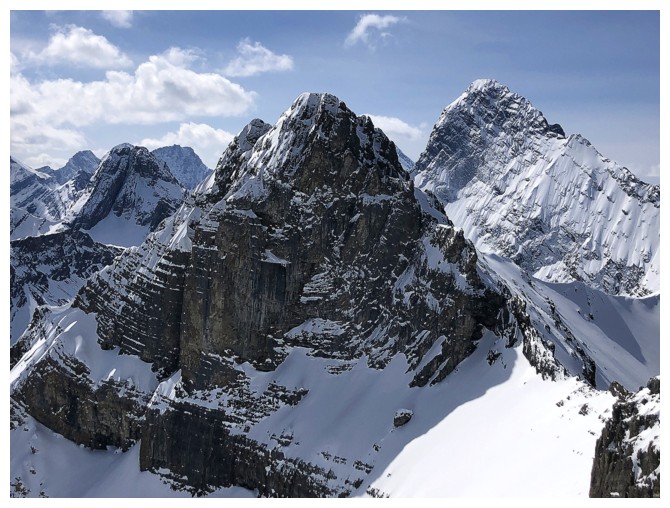
Close-up of Smuts
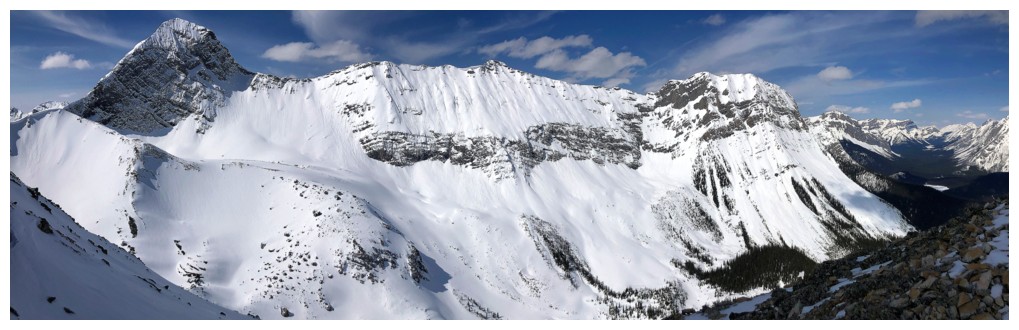
Smuts and Shark Mountain, at the right, are connected by a long ridge
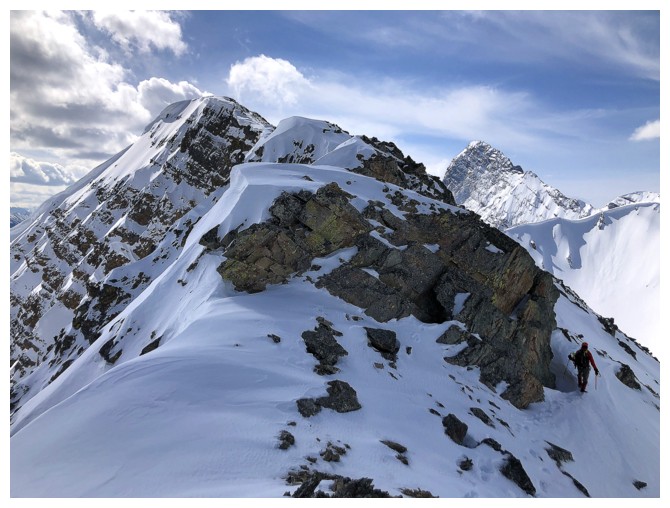
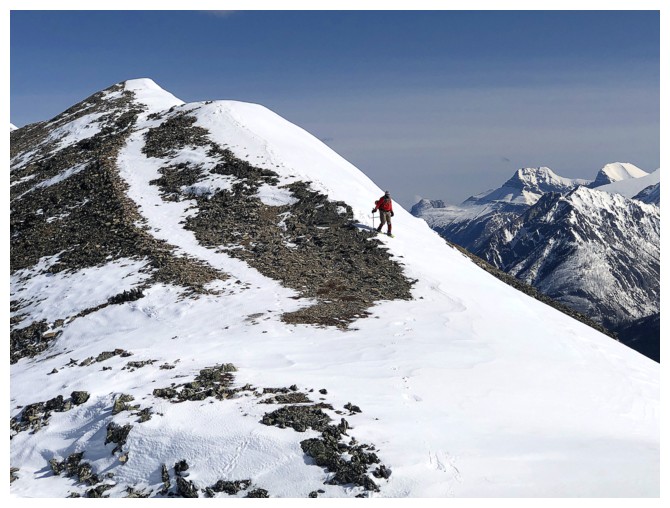
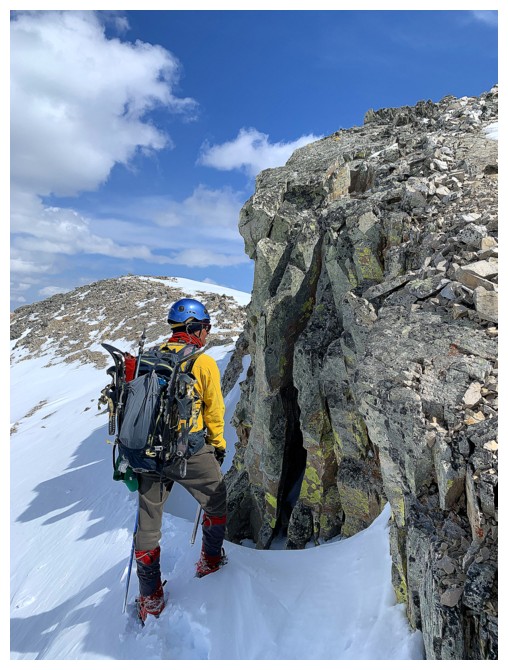
Mark follows the bear tracks down and around a minor rock band
A short, but steep ascent back to the ridge
Mark regains the ridge
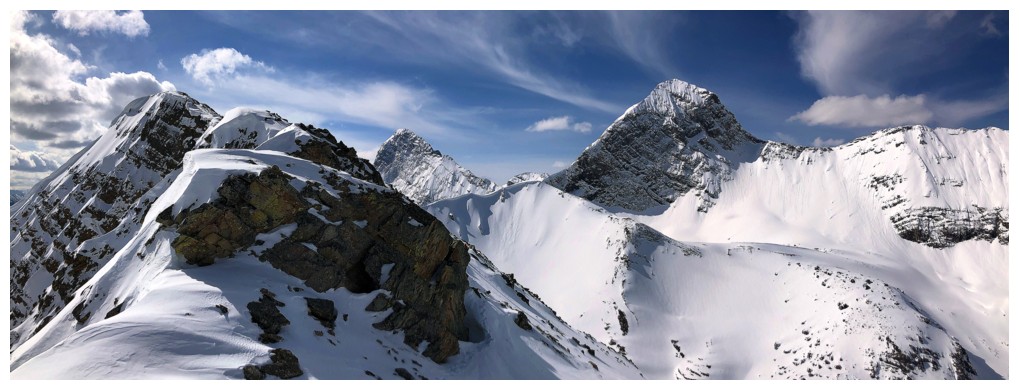
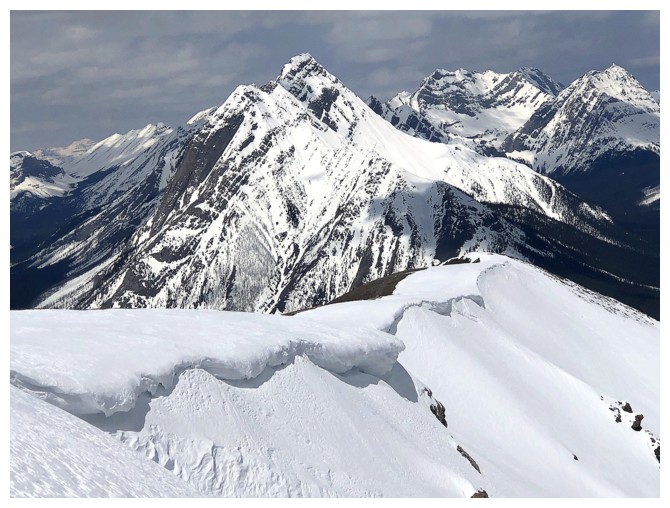
Admiring the cornice scenery
Still admiring
Looking back
Again, giving the cornices the respect they deserve
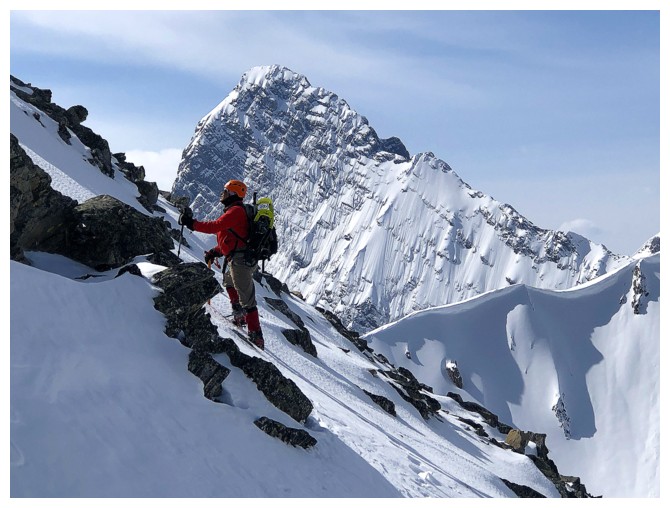
Following a natural line of snow upwards
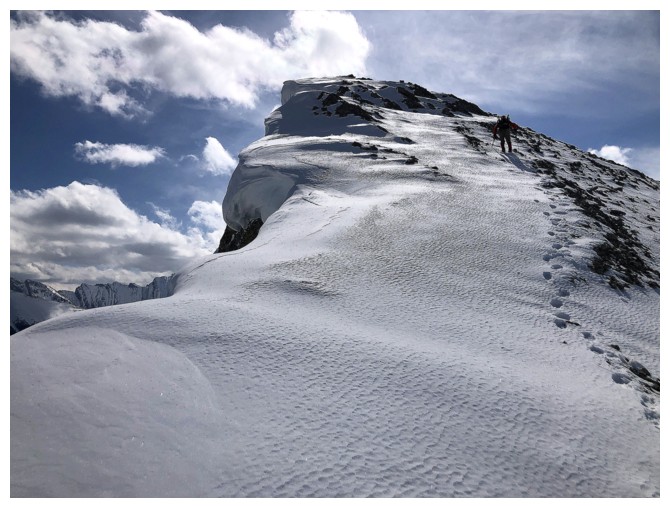
Minutes away from the top

Mark gets there first
My final few steps to the summit
The view towards Birdwood and Smuts continues to be the highlight of the traverse
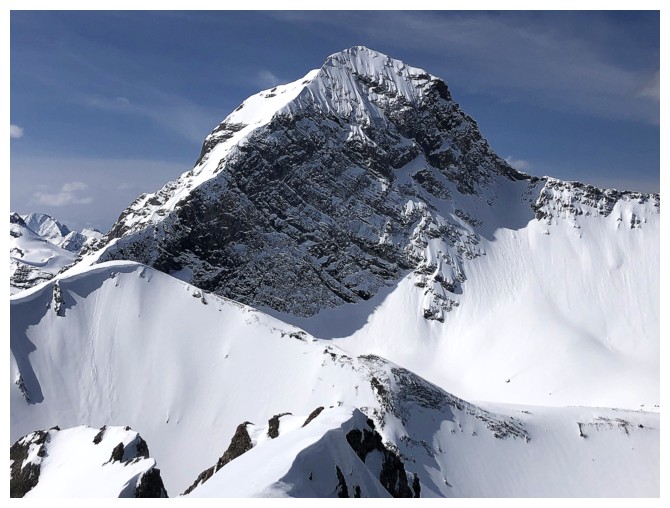
The Fist
Smuts
View to the north
View to the east
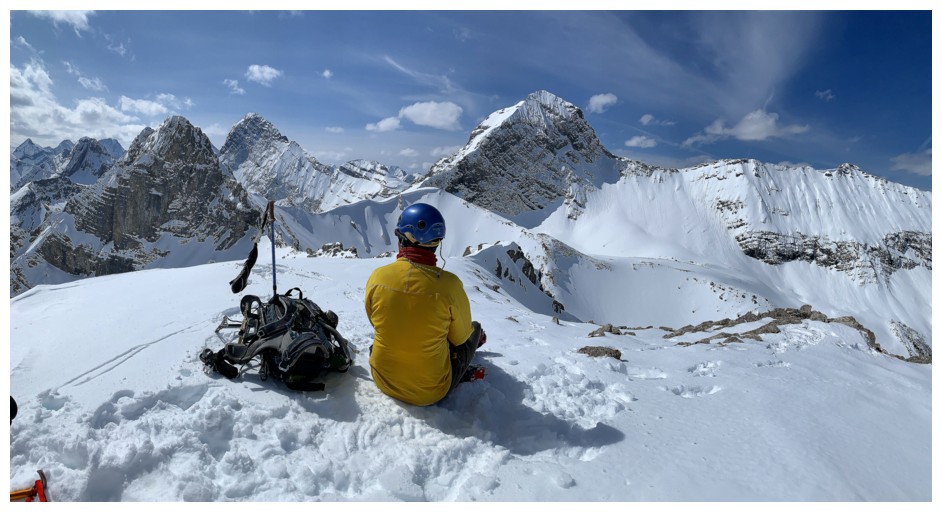
Pretty good place to hang out
Eon Mountain makes an auspicious appearance
Time to head back
The traverse back to the lower north summit actually feels more tiring
than travel in the opposite direction because you lose all the
elevation quickly, then gain most of it back very slowly
Did get a lichen-covered rock fix!
Same views but they is sooooo good!
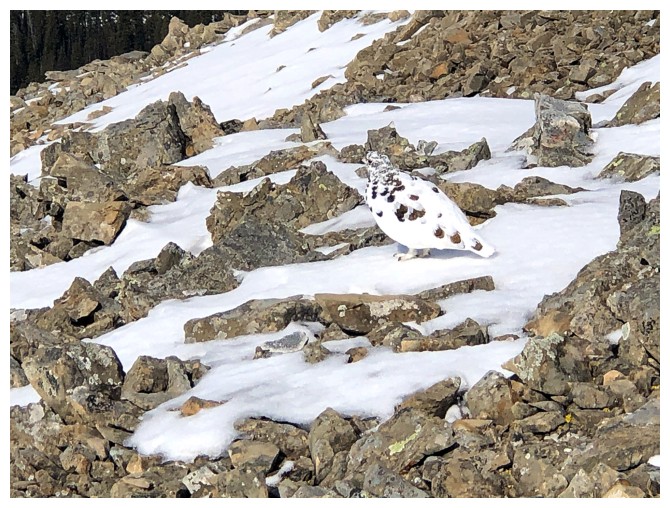
Good camouflage
Shark Mountain in the background
Back at the north summit and the clouds are closing in
Nice cornice and Cone Mountain
Looking over to our ascent route

Descending the east ridge
Mark starts a long glissade
Our glissade track
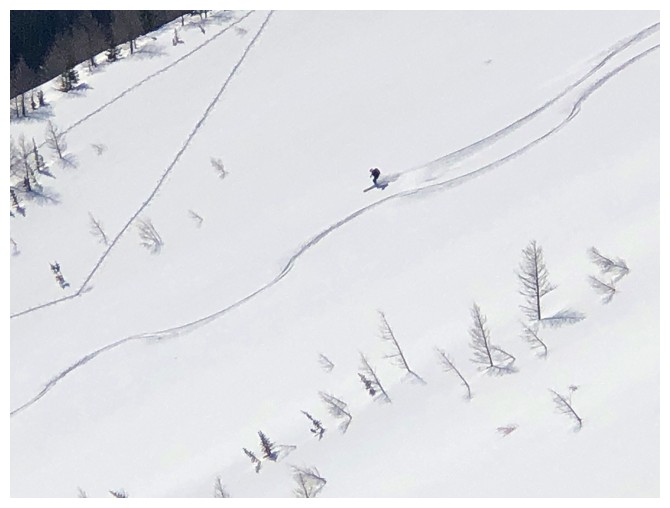
The skier's turns are visible behind Mark
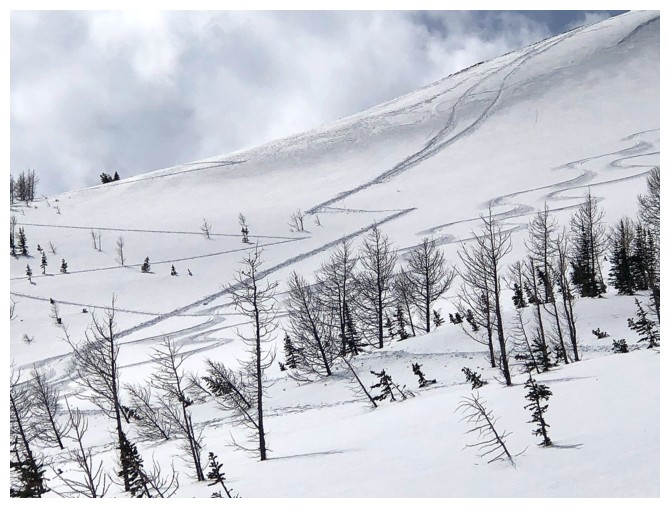
Interesting depiction of three different types of tracks from left to
right: the skier's ascent tracks, our glissade tracks, and the skier's
descent tracks
Parting look at the objective
The End
LOG