Dundy Peak III
 After carefully downclimbing the crux and making our way over to the start of the traverse to
Dundy we had a decision to make – stay high on the stunning but complex slopes
going across the base of Dungarvan’s stegosaurus-like summit block towards the
Dungarvan/Dundy col or descend to where the traverse would involve only
side-sloping much easier terrain. As tempting as the former option was, we
still had a big day in front of us, rendering the latter the most logical one.
After carefully downclimbing the crux and making our way over to the start of the traverse to
Dundy we had a decision to make – stay high on the stunning but complex slopes
going across the base of Dungarvan’s stegosaurus-like summit block towards the
Dungarvan/Dundy col or descend to where the traverse would involve only
side-sloping much easier terrain. As tempting as the former option was, we
still had a big day in front of us, rendering the latter the most logical one.
The route
unfolded with ease, and we were able to maintain some elevation before reaching
the ridge above the col. Travel from that point to the col became easier, but
with increasingly wonderful rock scenery and views. This was the only section
of the trip that was new to me, but I found it to be extremely rewarding.
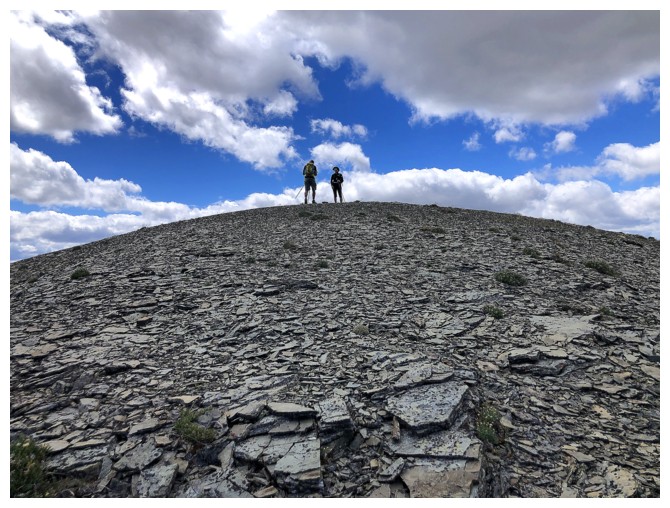
We were soon
route-finding our way up to the indistinct summit of Dundy. And although the
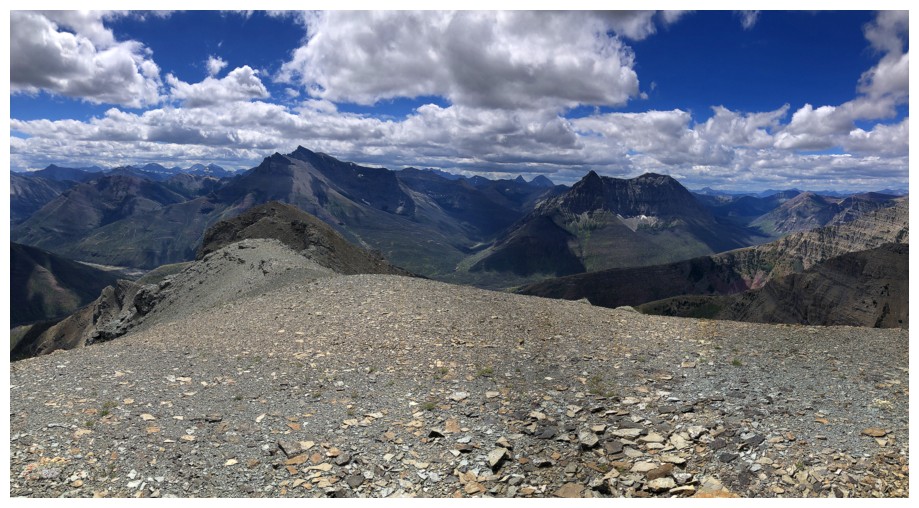
actual summit is hardly noteworthy, the view from it is. Our summit stay was
again very short (we didn’t even sit down), before leaving for Cloudy Ridge.
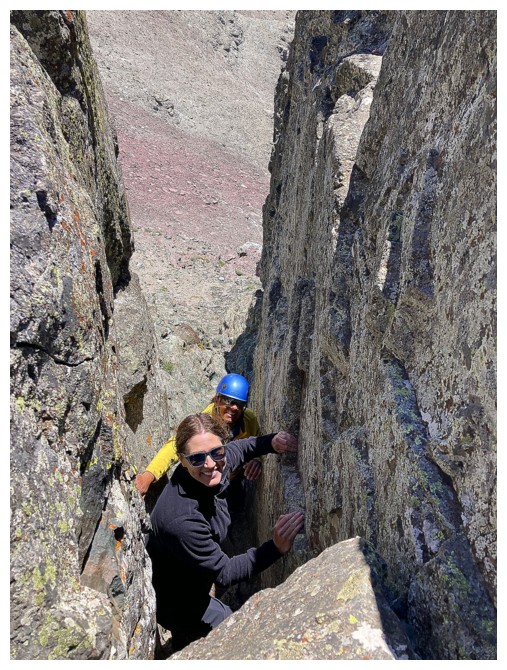
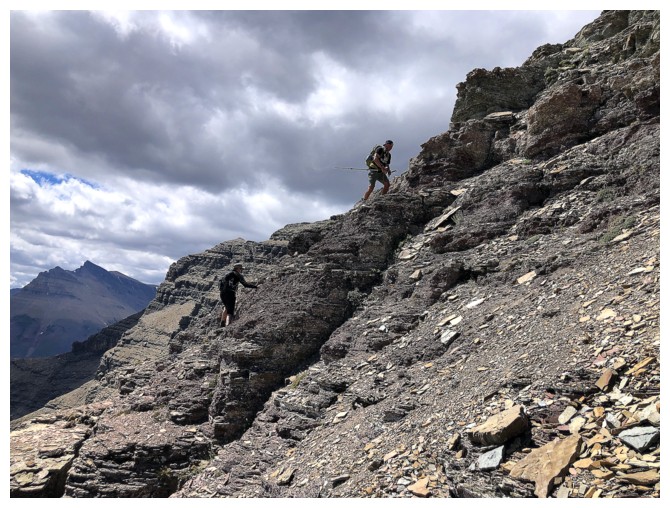
Downclimbing the crux (photos by Ryan)
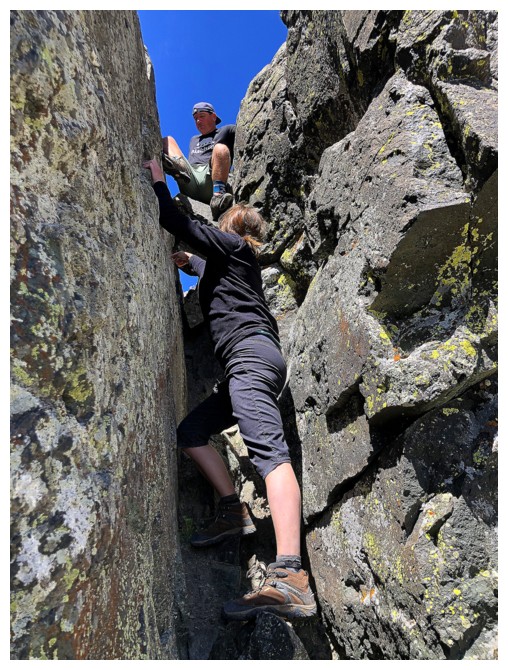
Jill assists Ryan
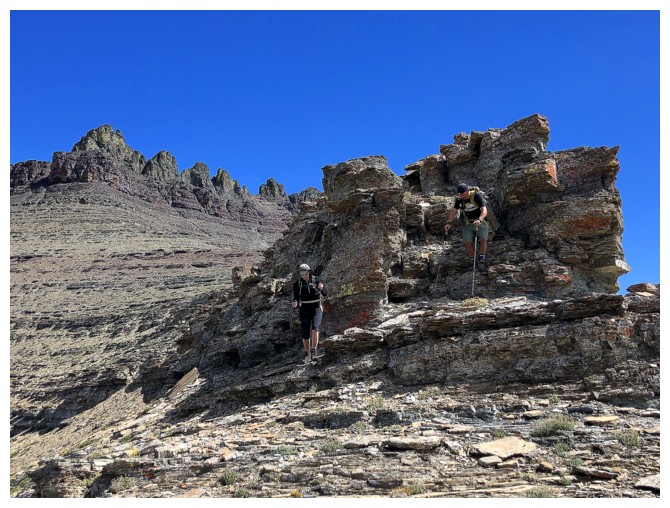
Carefully descending steep terrain below the crux
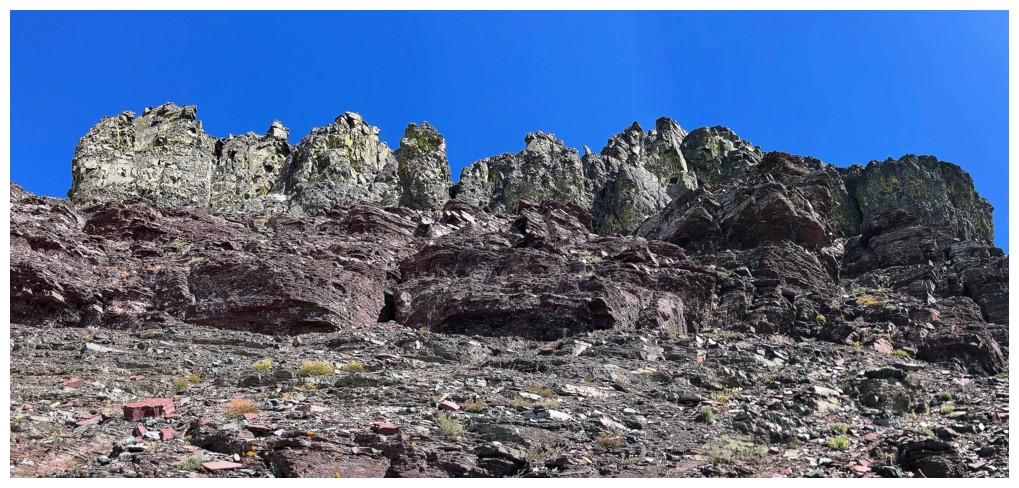
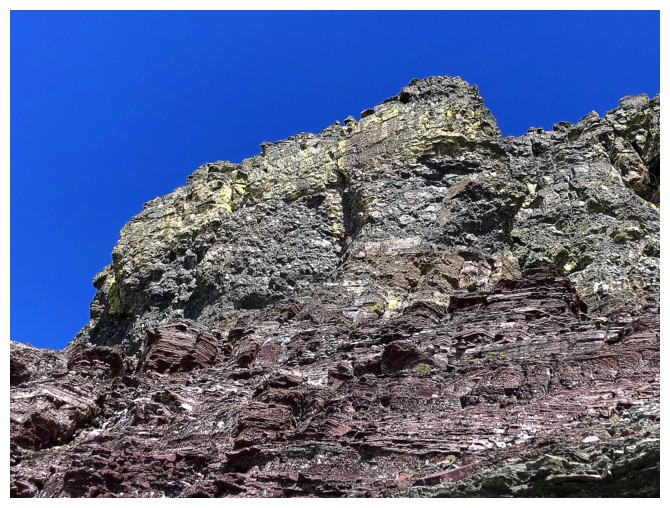
Dungarvan's magnificent summit block
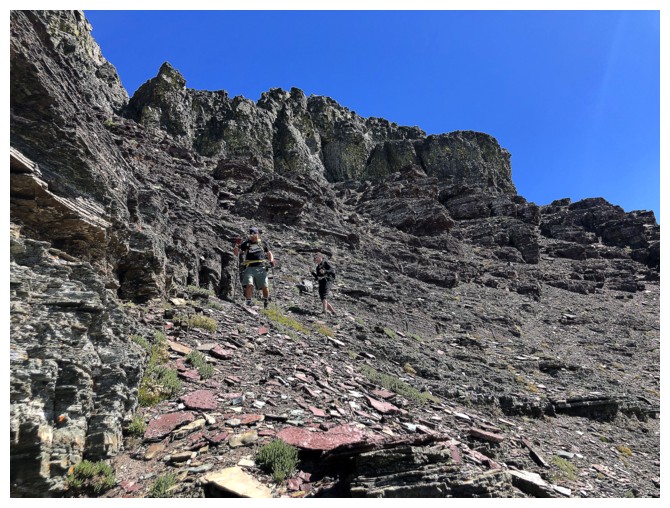
Traversing below it
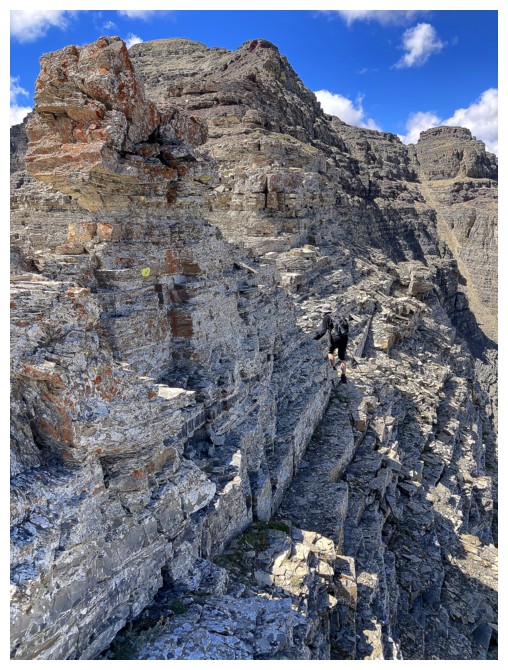
It's a good stretch of side-sloping but nothing too traumatizing
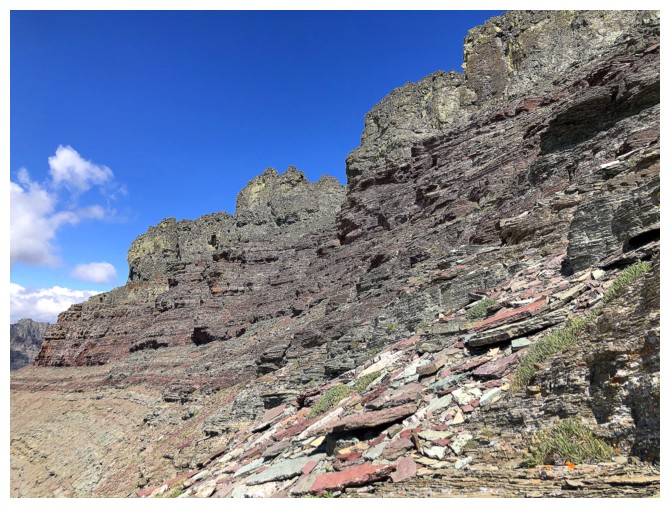
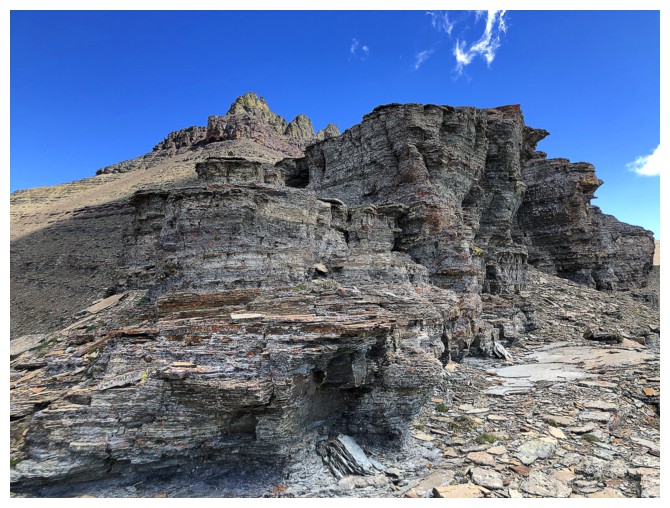
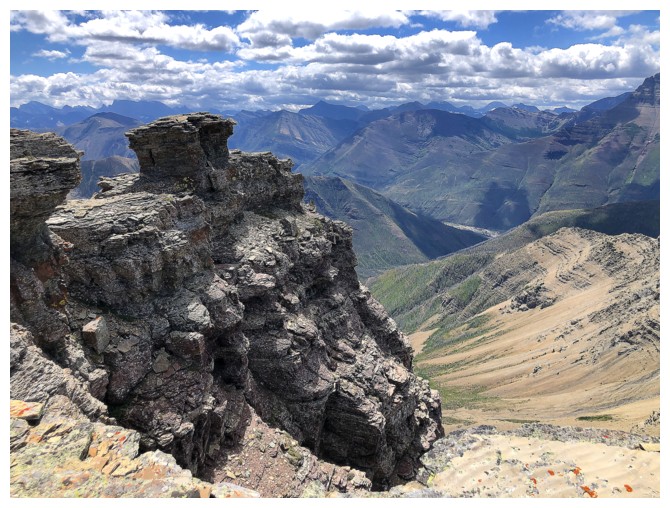
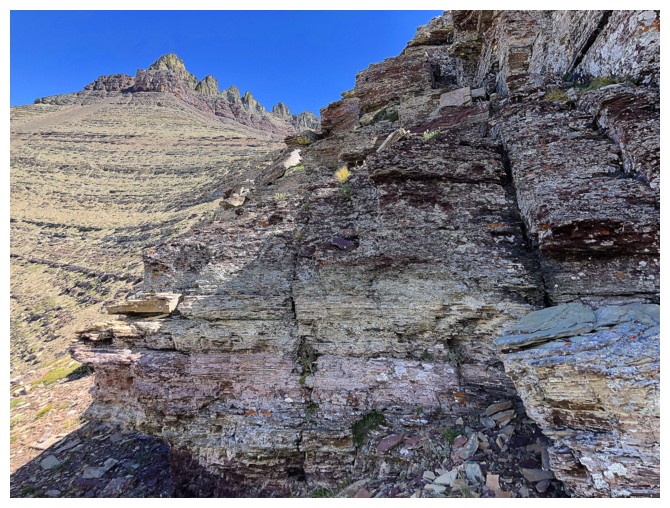
Tons of great rock scenery en route
On the connecting ridge between Dungarvan and Dundy and heading down to the col
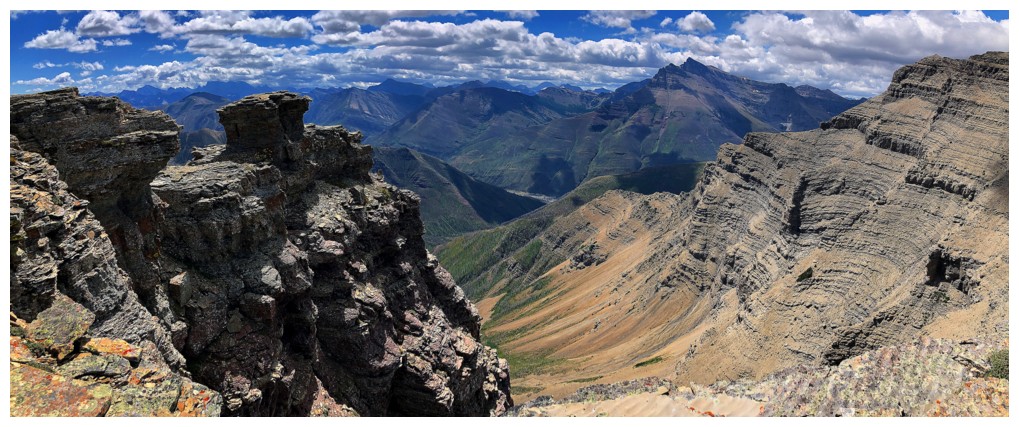
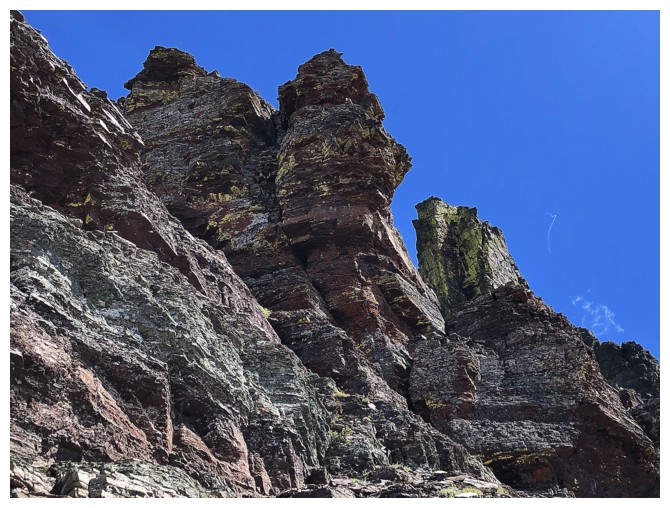
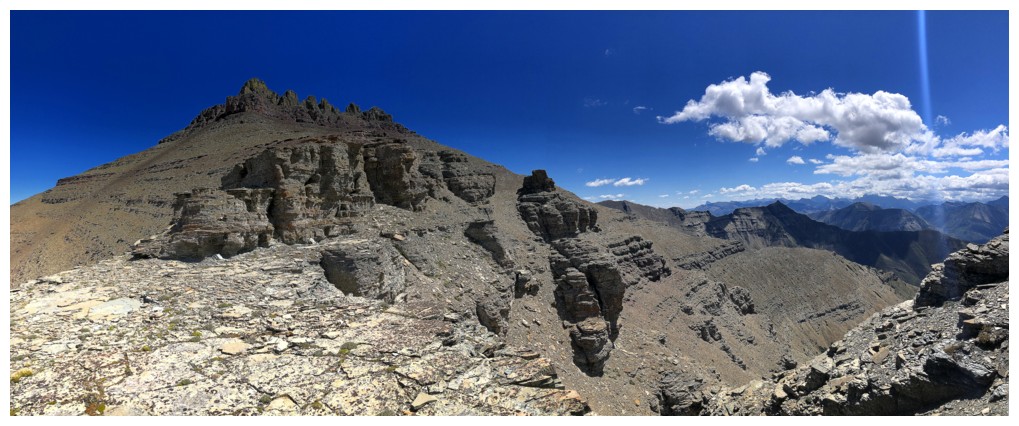
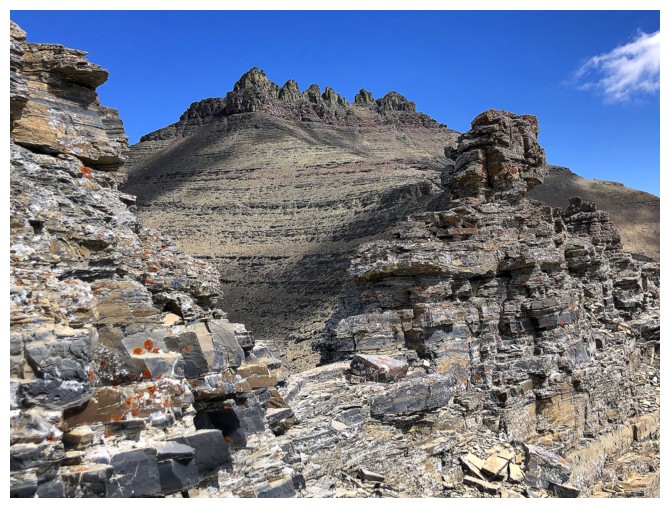
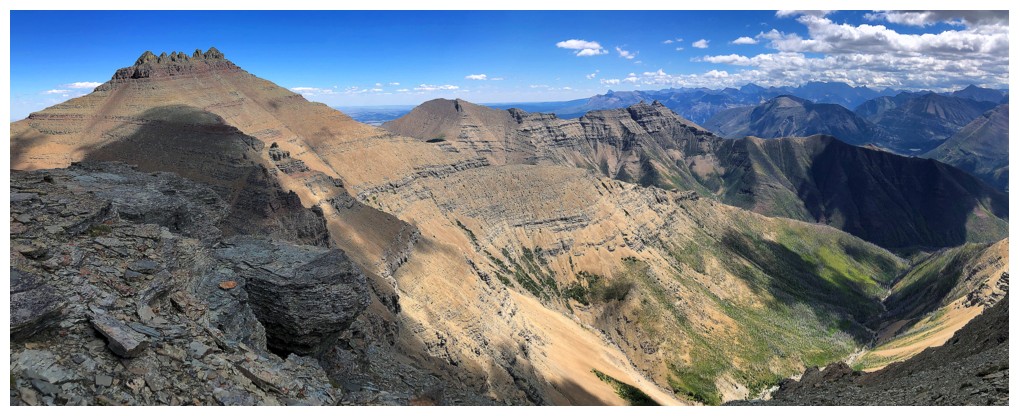
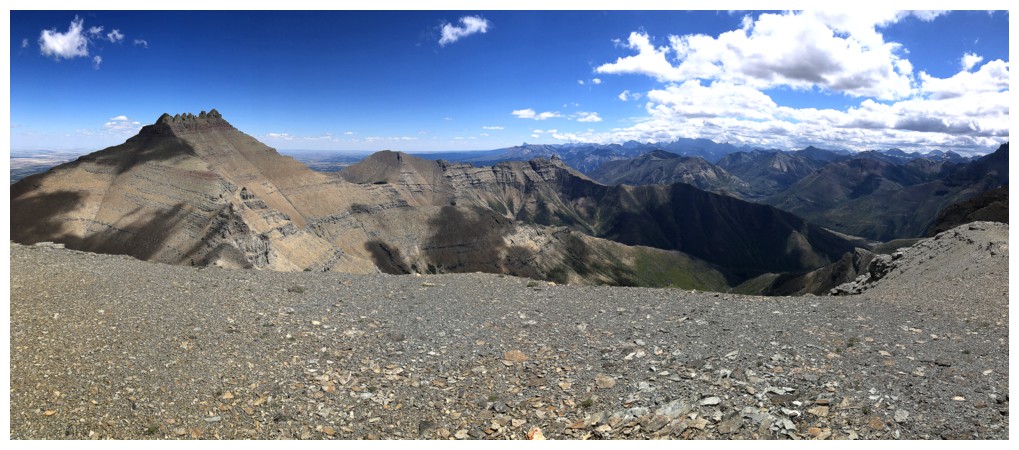
The stegosaurus-like appearance of Dungarvan
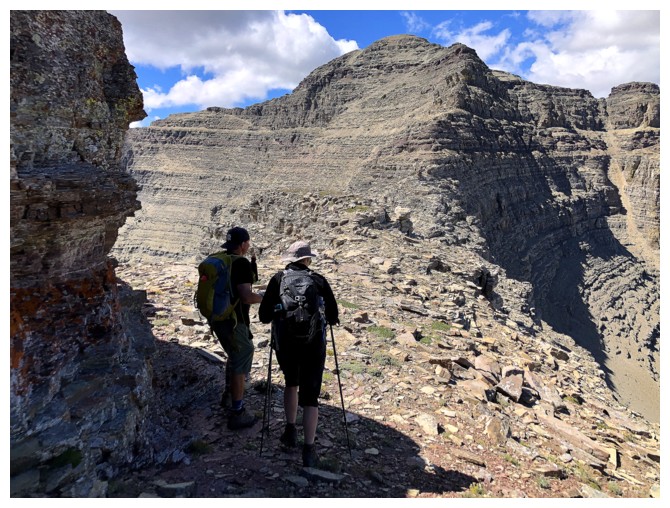
The route ahead. Dundy, Cloudy Ridge, and Cloudy Ridge Junior are all visible.
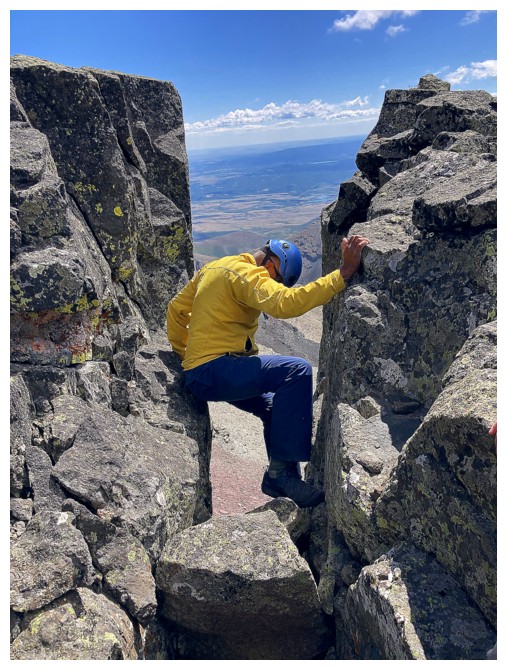
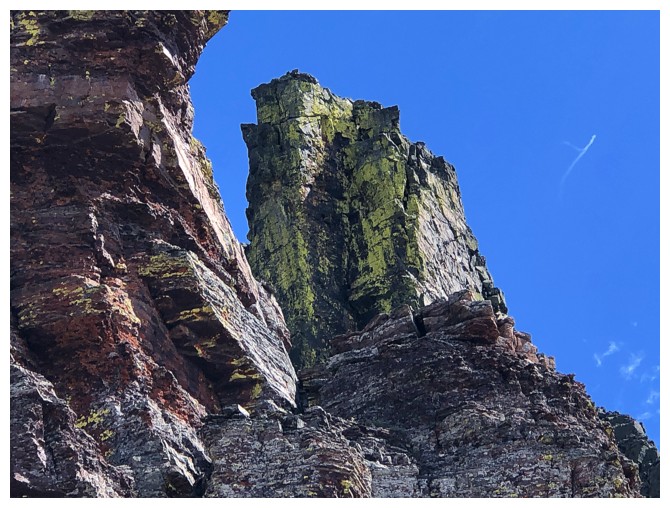
We encountered this super cool section just before the col
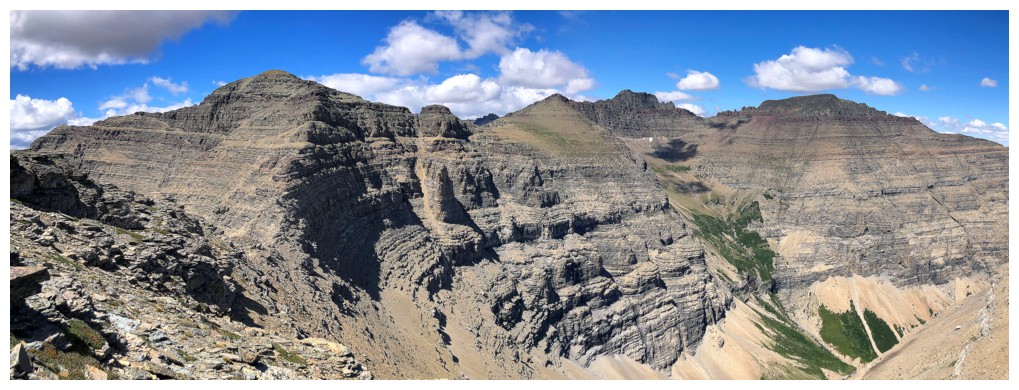
That same trio
Looking back
The two humans are a nice addition to the scene
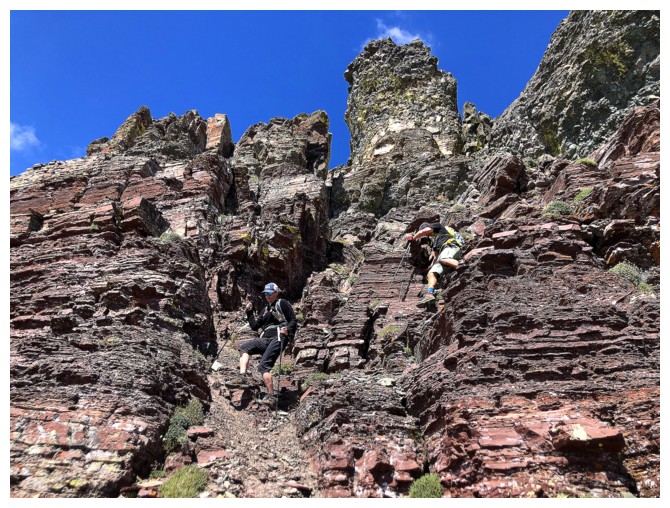
Jill and Ryan descend another interesting step
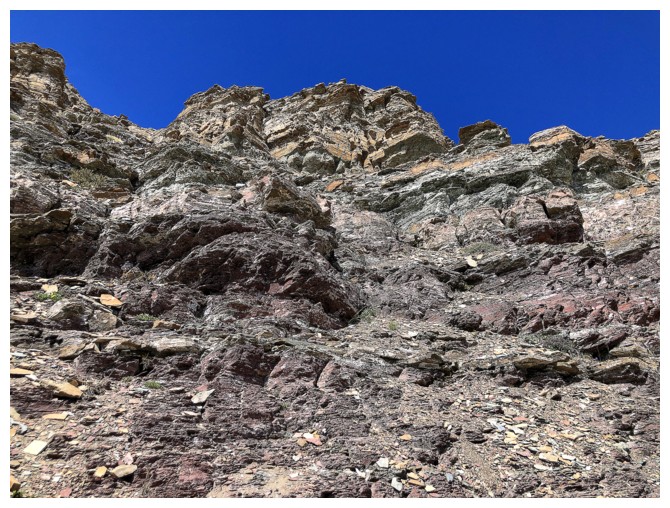
This is why we enjoyed the terrain so much - beautiful rock bands at every turn
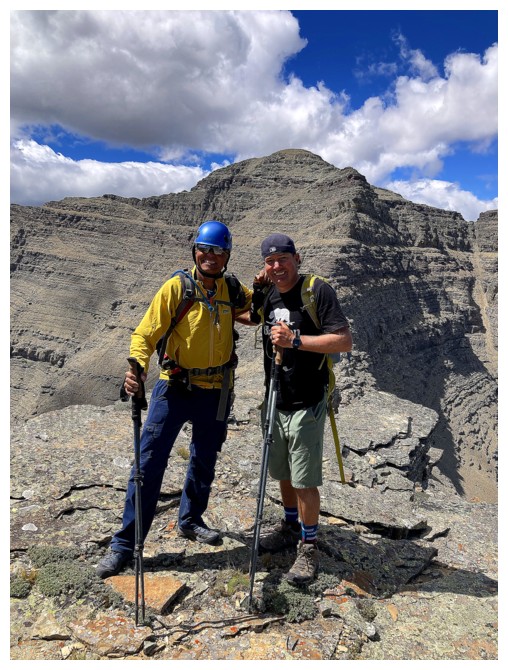
Holding onto Ryan so I don't get blown into Saskatchewan (photo by Jill)
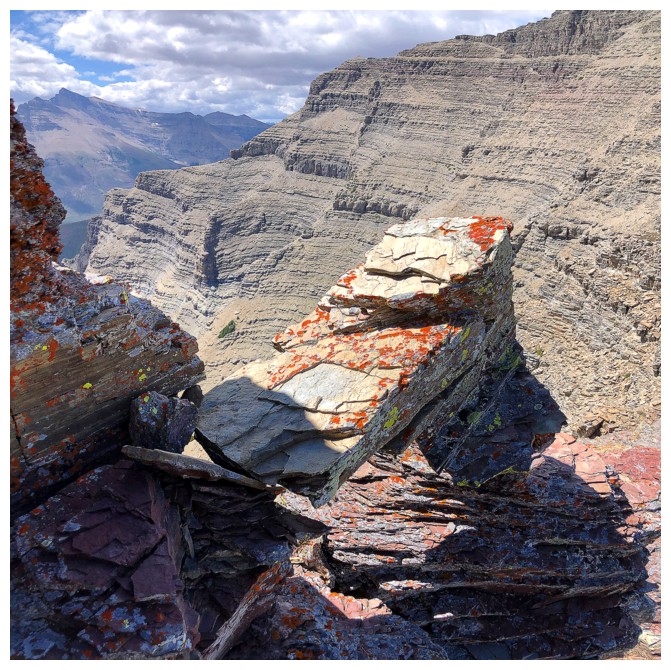
Continuing to enjoy the colorful and interesting rock
At the col
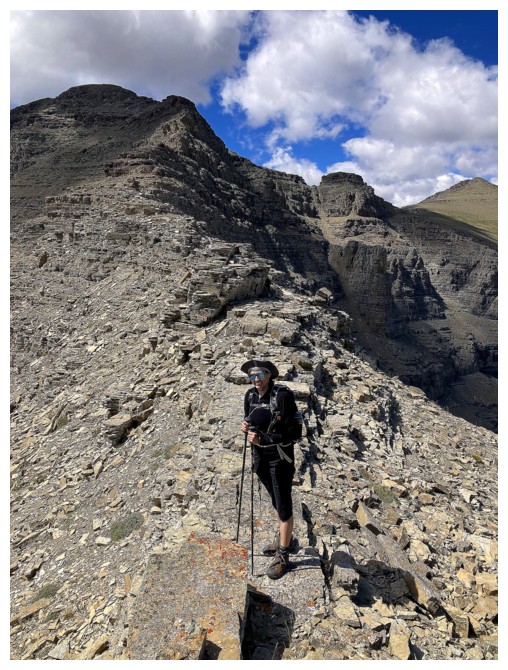
Jill is ready for another big elevation gain to the summit of Dundy (photo by Ryan)
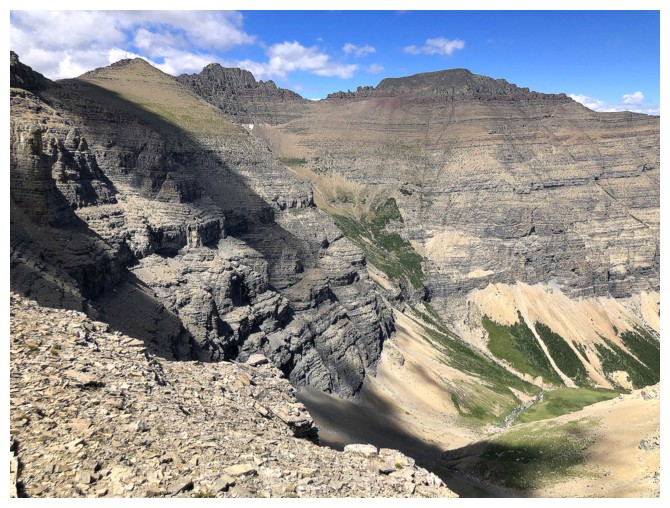
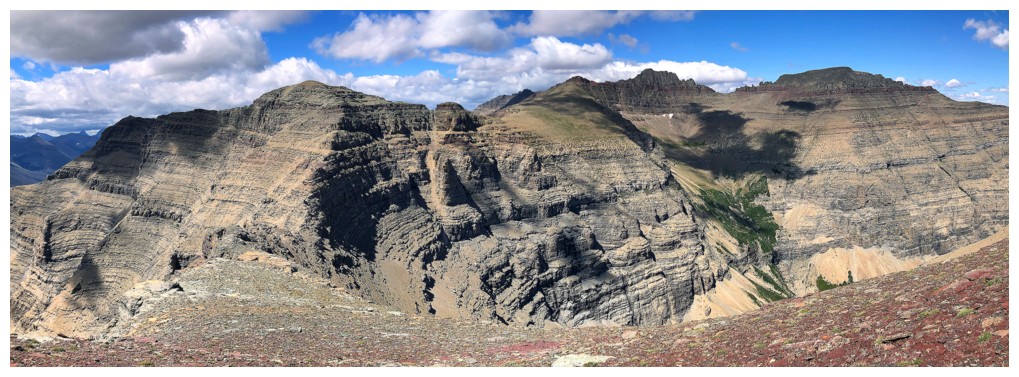
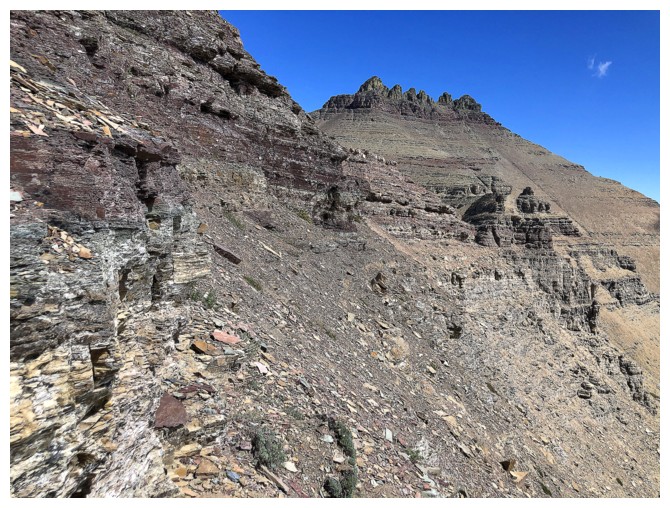
Beautiful valley north of the ridge that would be extremely difficult to get into
A rare detour over to the right side of the ridge (photo by Ryan)
Still mesmerized by the rock formations and Dungarvan

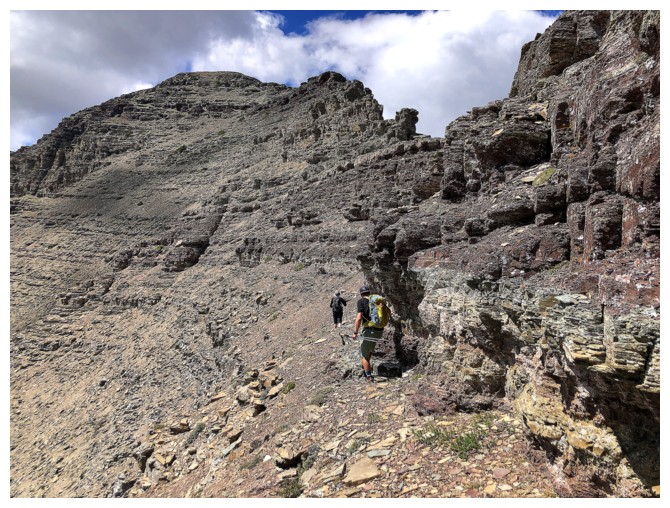
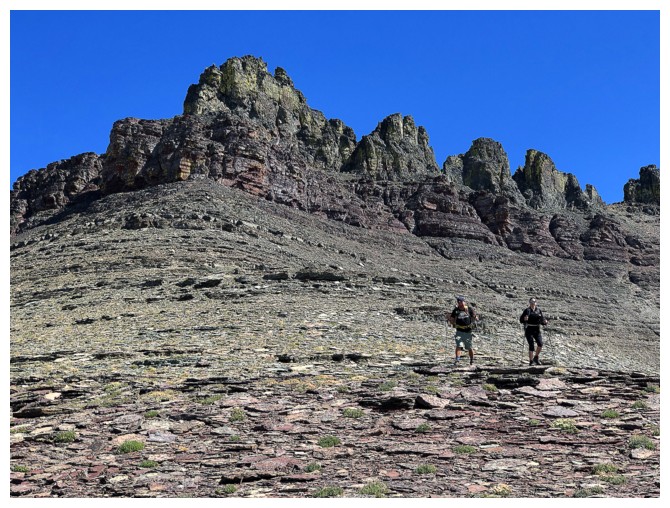
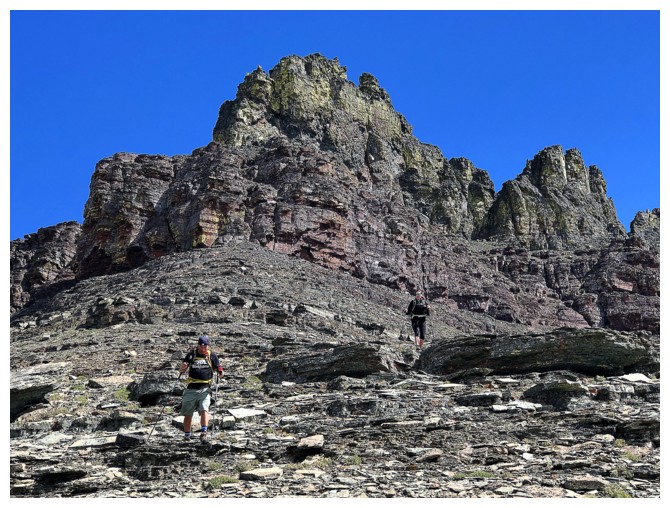
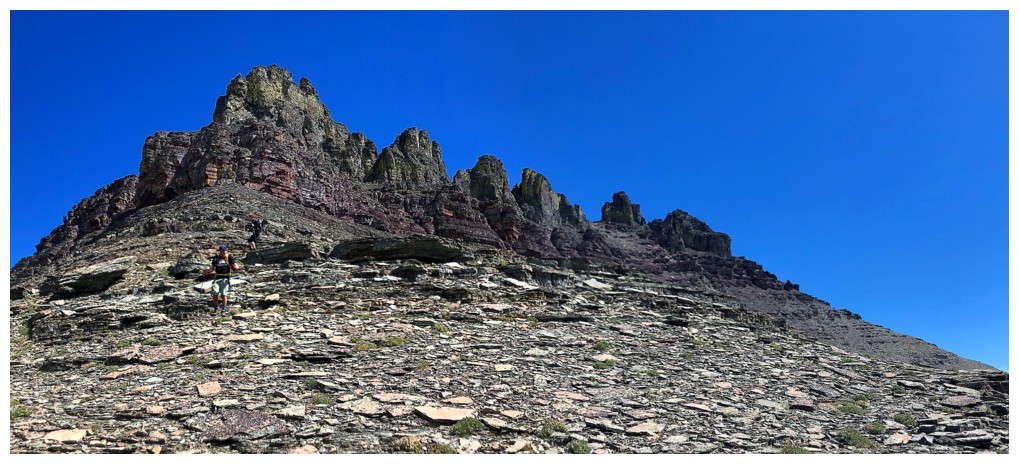
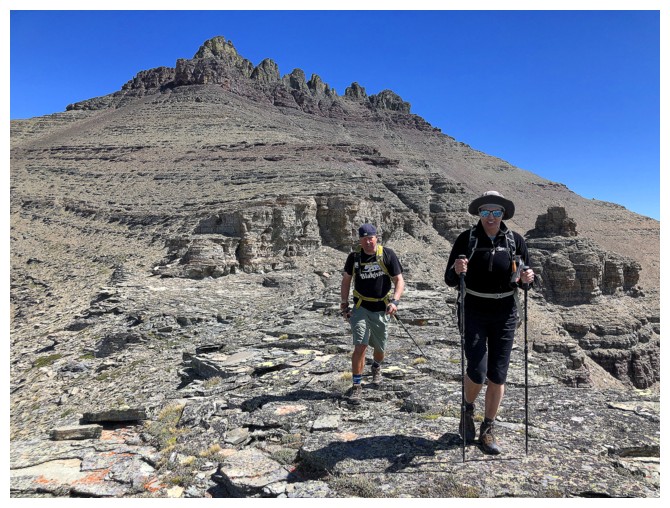
Staying on the ridge is not possible for much of the ascent of Dundy
The side-sloping here looks steeper than it really is
The Alston's head up towards the ridge
Back on the ridge
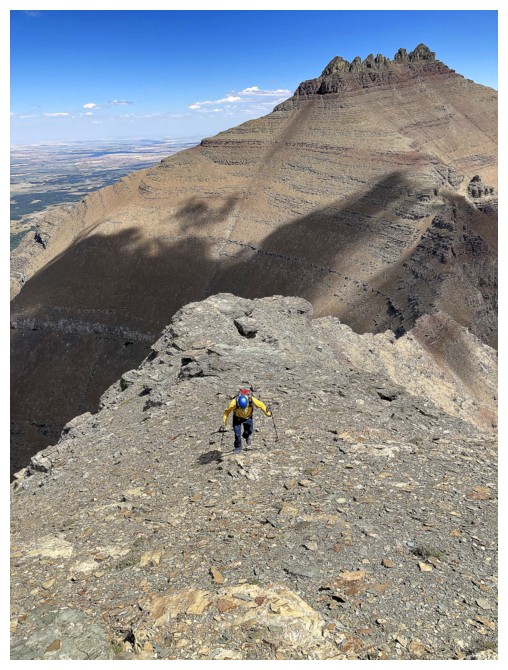
Easy terrain to finish the ascent (photo by Ryan)
Ryan and Jill are already there
Uh-oh - here we go with the fractions again!
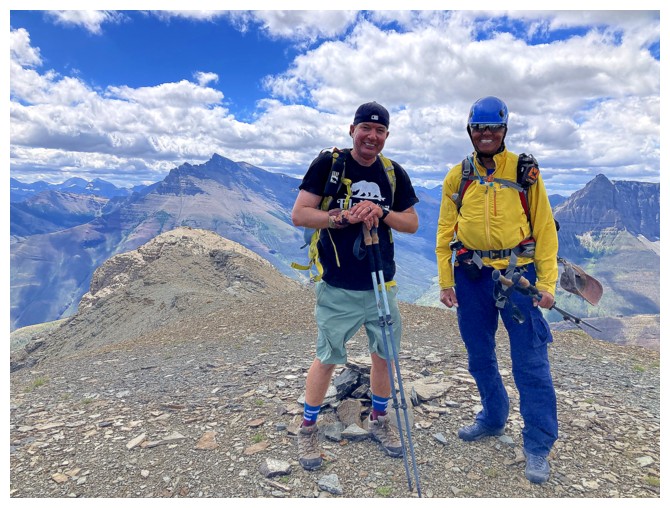
No (fractional) comment (photo by Jill)
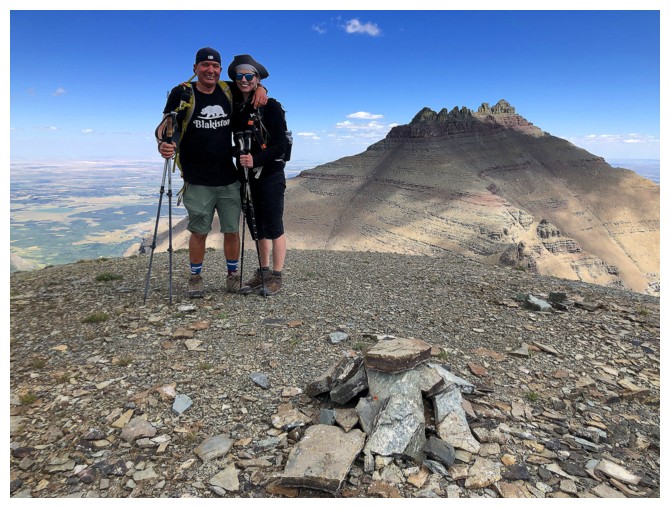
View to the east and southeast
View to the southwest, featuring Mount Blakiston and Anderson Peak (had another great day with Jill, Ryan, and Karen on that one)
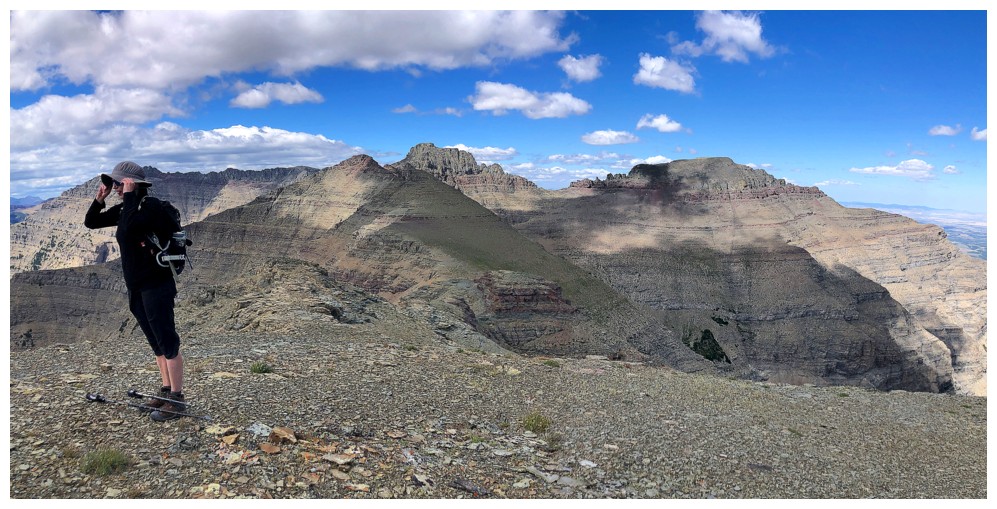
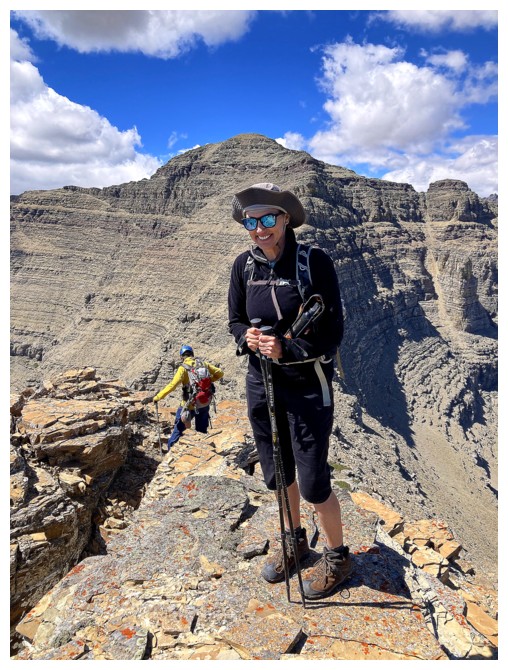
You know it's windy when you have to hold your hat on and you are leaning at an unnatural angle!
Click HERE to
continue to Cloudy Ridge
LOG