Whistler Mountain III
and beyond
October 9,
2017
Mountain height: 2214 m
Elevation gain: approximately
1000 m
Round-trip time: approximately 6:30
Solo scramble.
 After an eight year absence from
Whistler Mountain, a return trip was in order. Having traversed the ridge from
Whistler Mountain to Frankie Peak and Larry Mountain (generally in east, south,
and east directions), the objective of the day was to try the north leg of the
multitude of high level ridges of the Whistler/Table massif – this one going towards
Table Mountain.
After an eight year absence from
Whistler Mountain, a return trip was in order. Having traversed the ridge from
Whistler Mountain to Frankie Peak and Larry Mountain (generally in east, south,
and east directions), the objective of the day was to try the north leg of the
multitude of high level ridges of the Whistler/Table massif – this one going towards
Table Mountain.
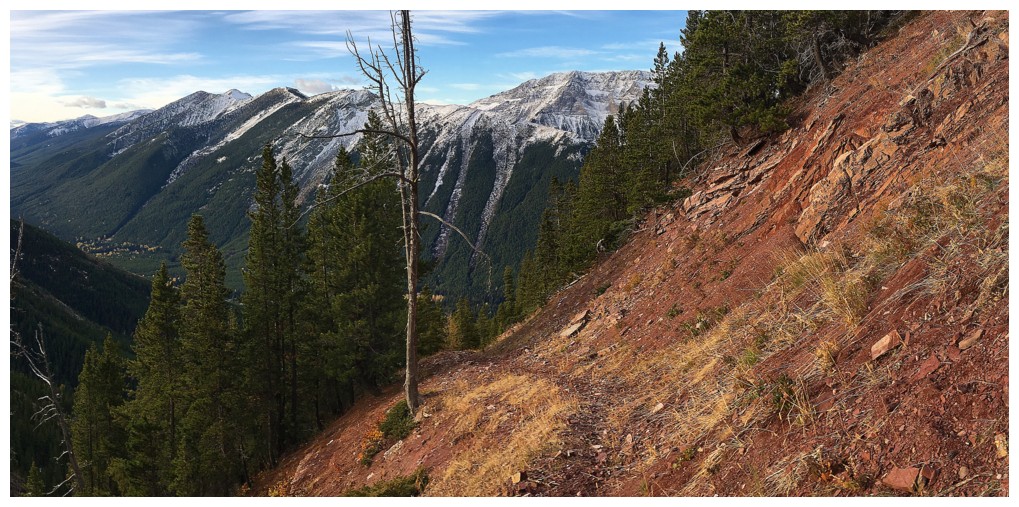
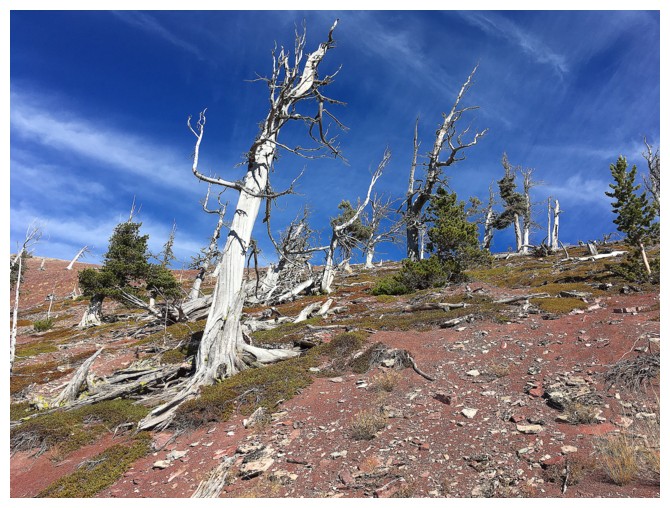
As soon as I reached treeline, I
was reminded of why I love this mountain and its neighbours so much – and not
surprisingly, it’s the red argillite. The trail to the former Whistler Mountain
Lookout eventually turns from a muddy one into a red argillite one and it’s
heaven from there-on-in!
I bypassed the Whistler Lookout and
went straight towards Whistler Mountain, yet again enjoying the amazing ridge
between the first highpoint and the summit. An equally enjoyable traverse to
the next highpoint followed and then its was time to turn north, onto unknown
terrain. Reaching the next highpoint was very easy and very short. Unfortunately,
it was at this point that the wind picked up considerably, and with the accompanied
drop in air temperature, conditions became somewhat unpleasant. Battling the
raging wind and cold, especially on return, had very little to appeal for me
and I decided to cut the trip short.
Didn’t get the summit I wanted but still
a fantastic trip and more than satisfying return to a wonderful mountain in The
Castle.
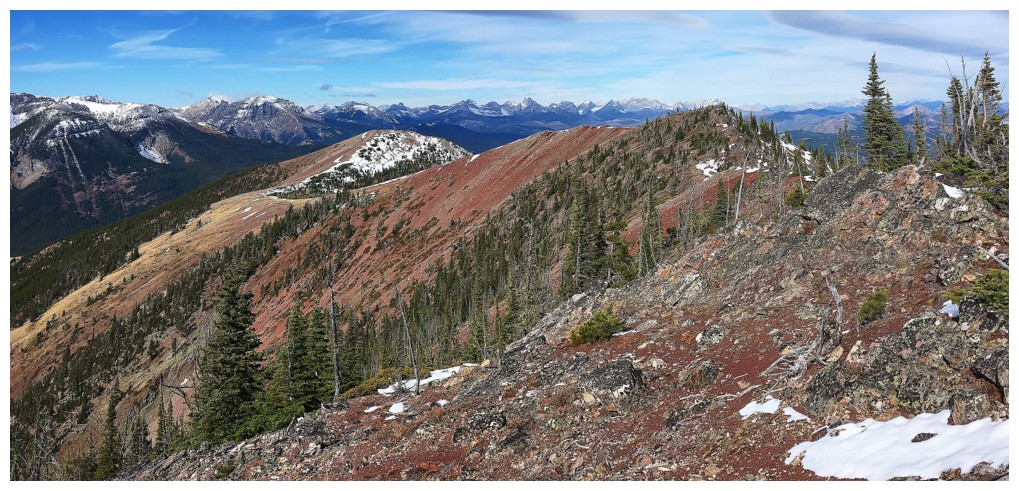
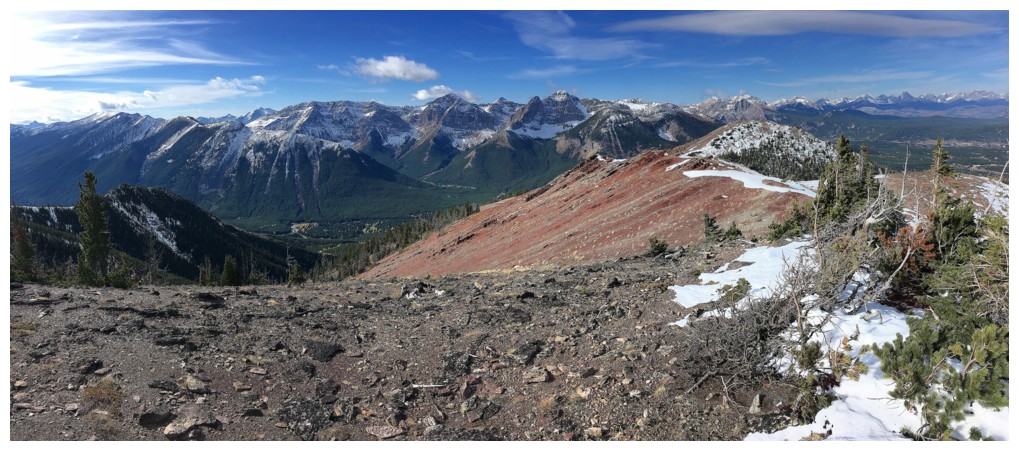
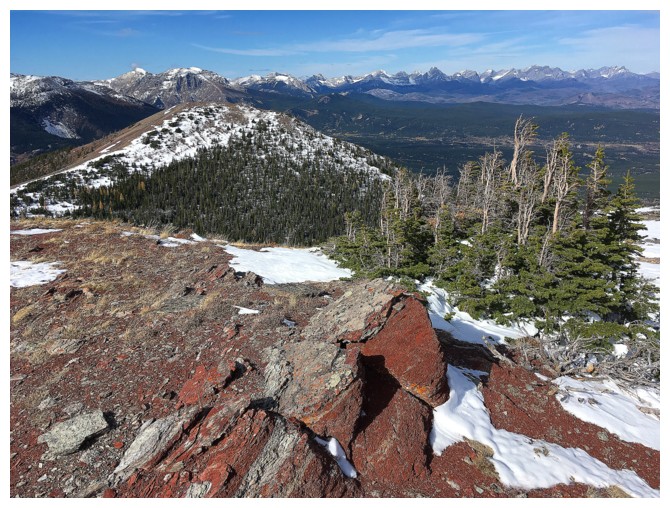
 Looking back along the red argillite trail
 Almost at the first highpoint
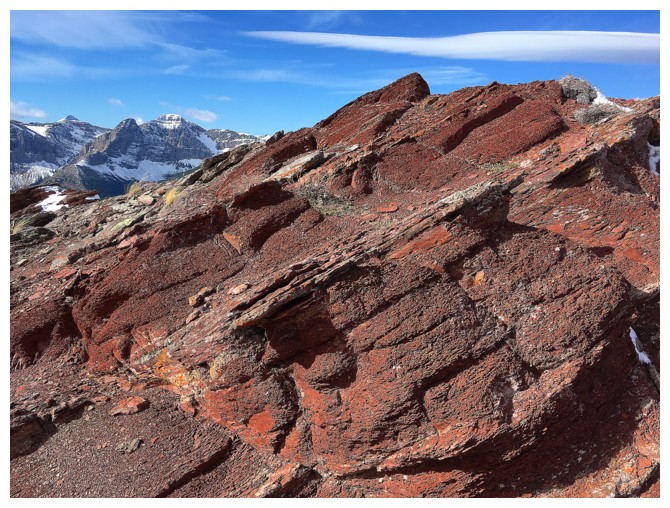
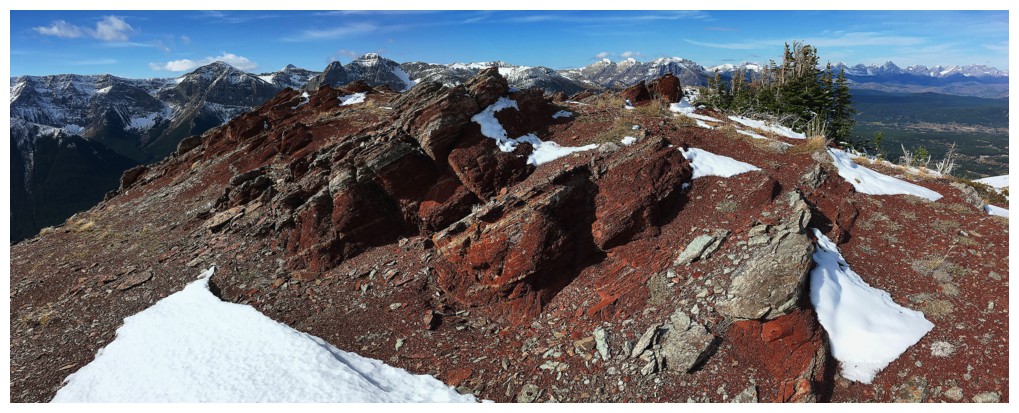
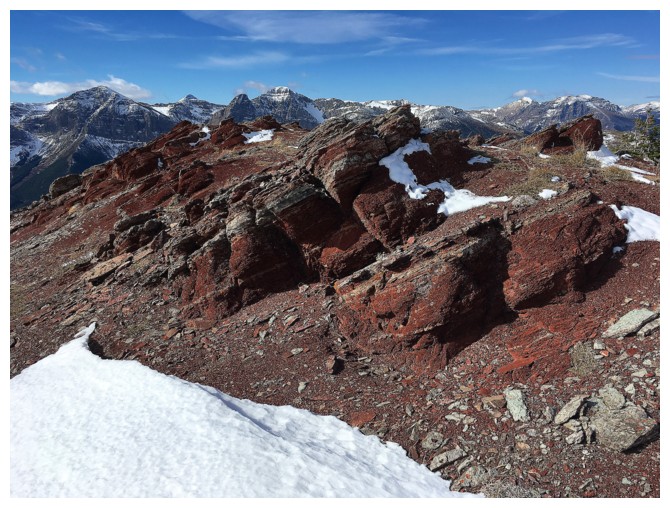
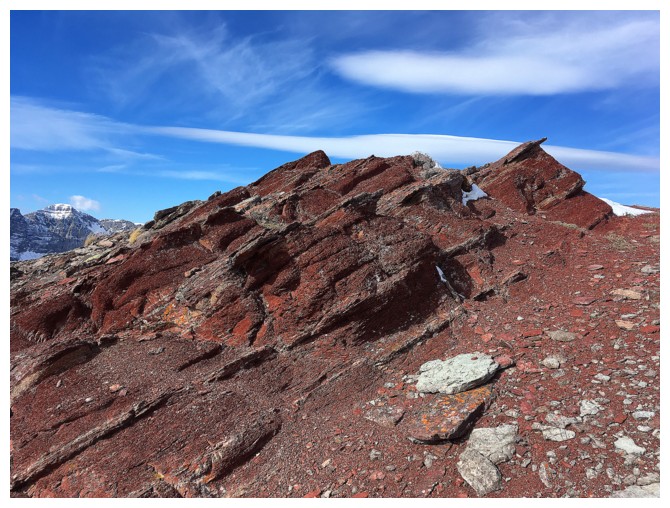
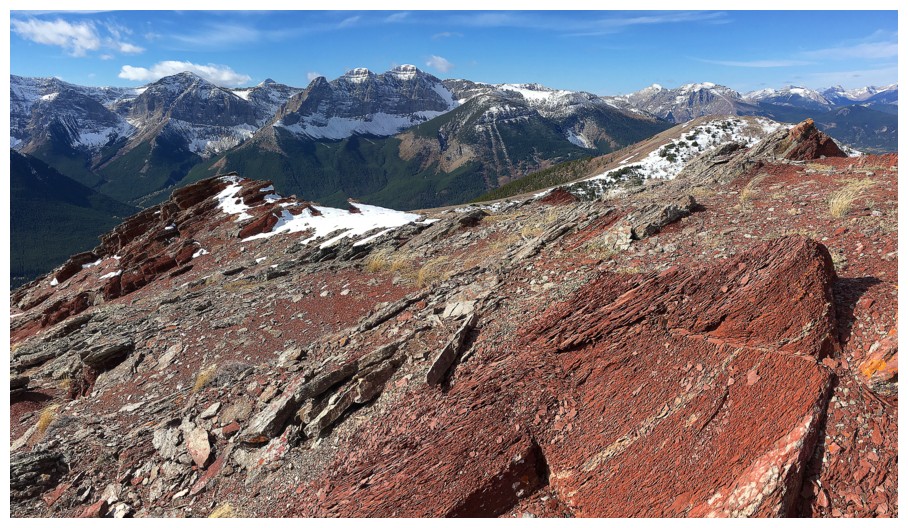
 The first highpoint is littered with super cool red rock
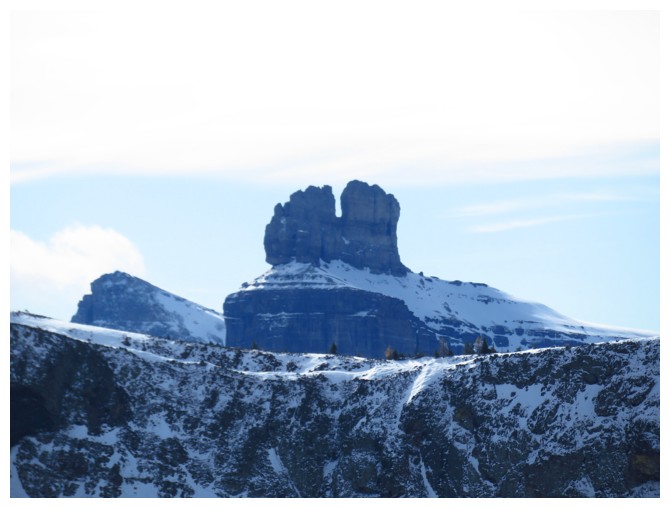
The Amoeba is a very distinctive highpoint along Barnaby Ridge. Though not obvious from this angle, it's also very red!
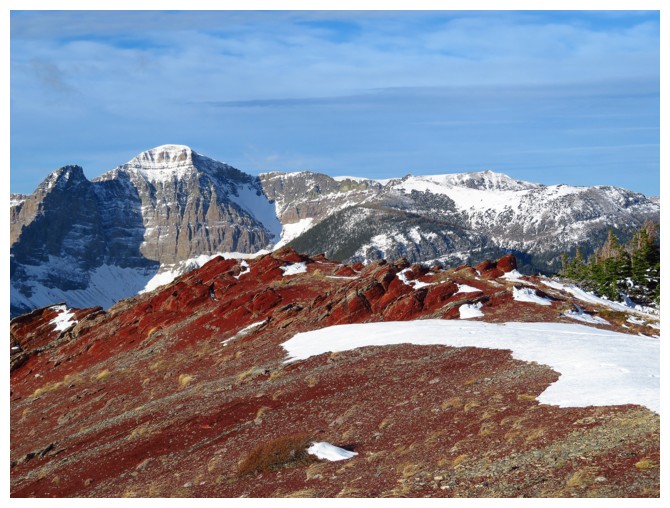
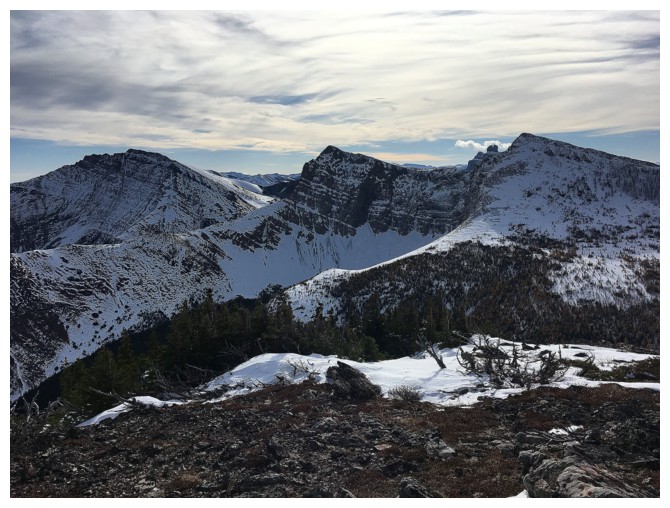
From the first highpoint, several of the other highpoints are visible, including Frankie Peak and Larry Mountain.
The traverse to the summit of Whistler (right) doesn't look like much, but it's actually super colourful.
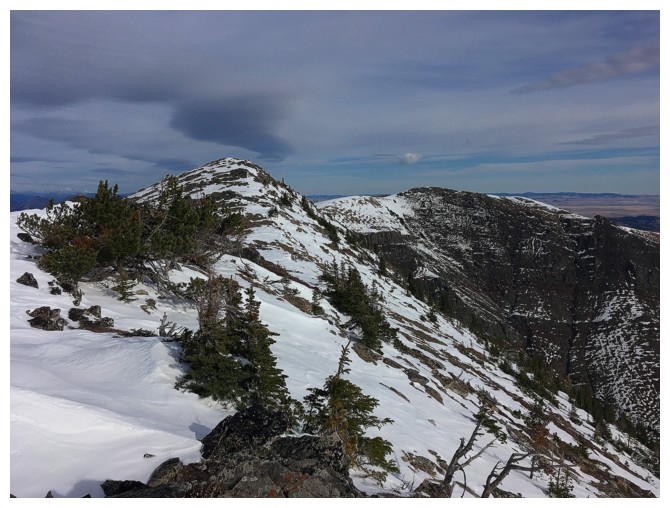
Looking back to the first highpoint from the treed summit of Whistler Mountain

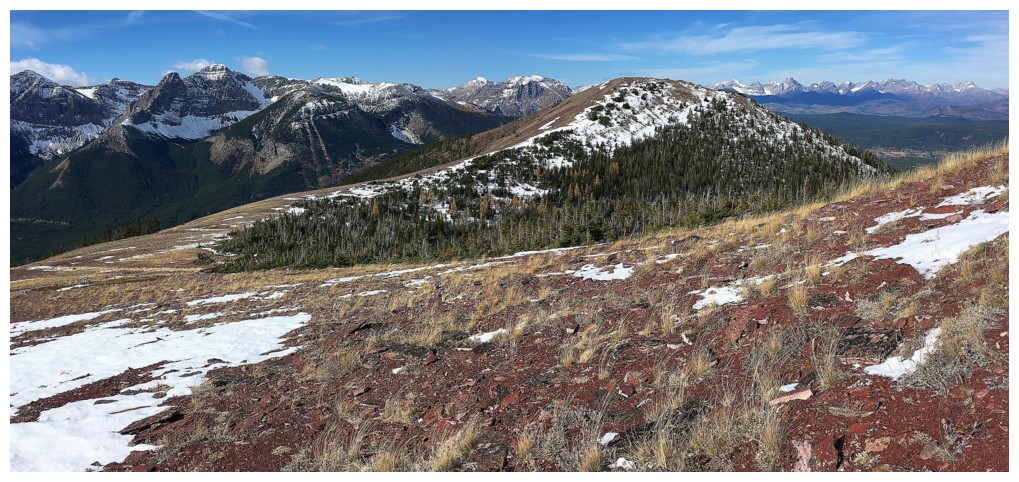
Heading to the next highpoint, at the left; it's higher than Whistler
Gladstone (left) joins Frankie and Larry
Whistler Mountain is now to the north and below
There appears to be a big stand of larches en route to Frankie Peak
Castle Peak always grabs your attention. Windsor Mountain to the left.
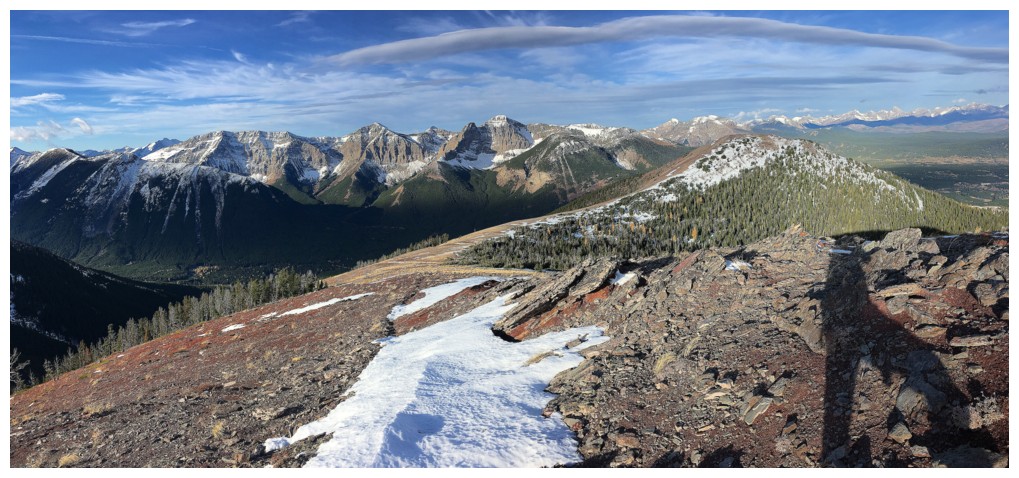
 The road ahead looks pretty easy
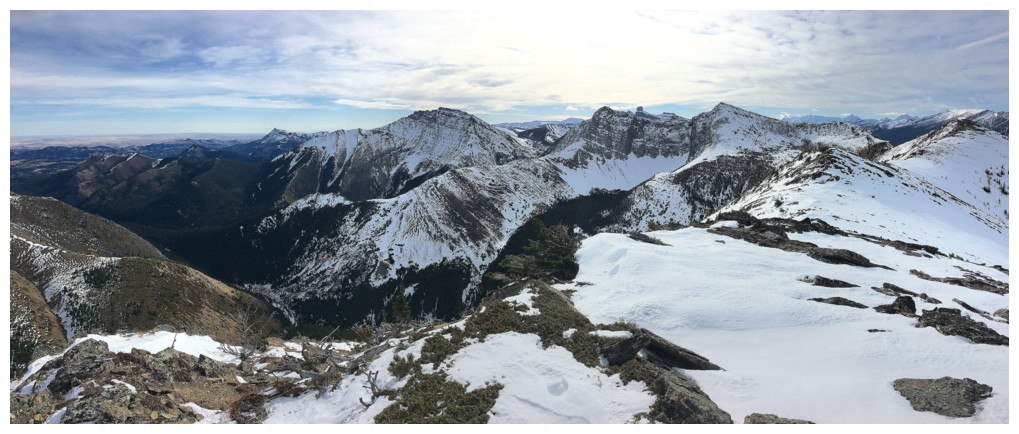
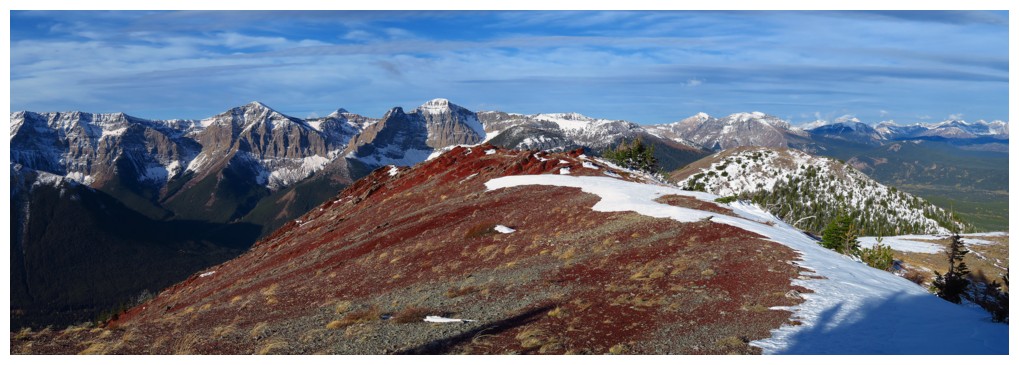
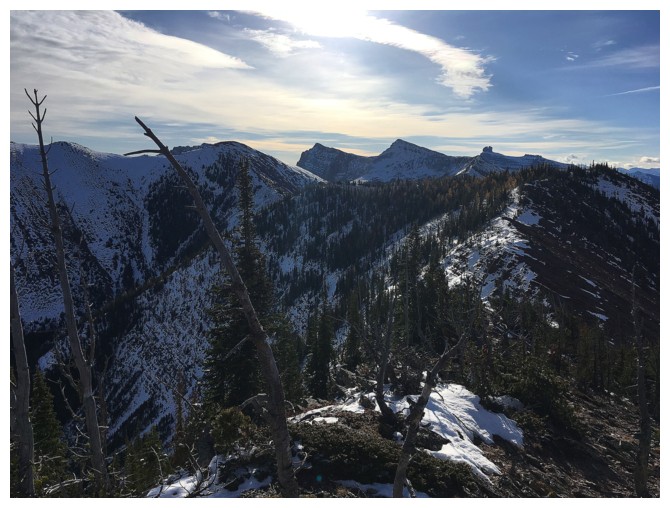
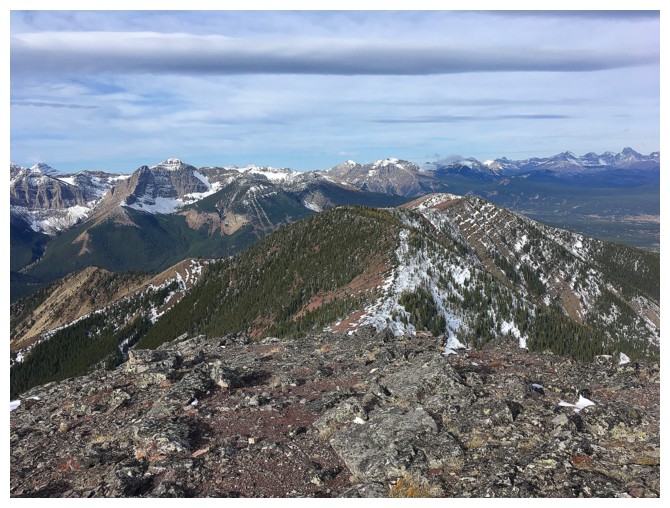
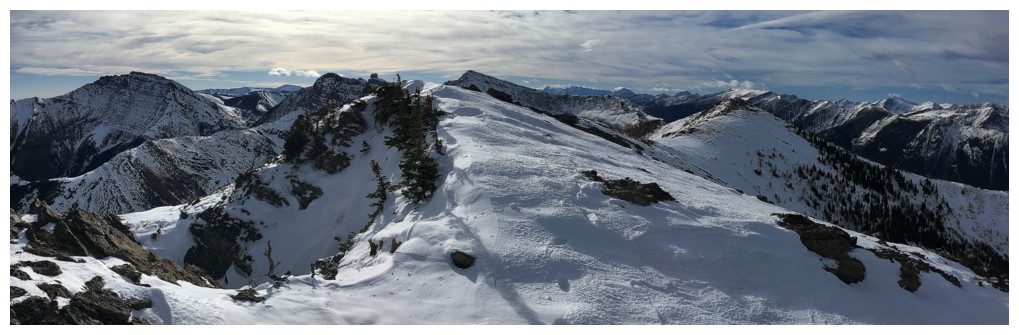
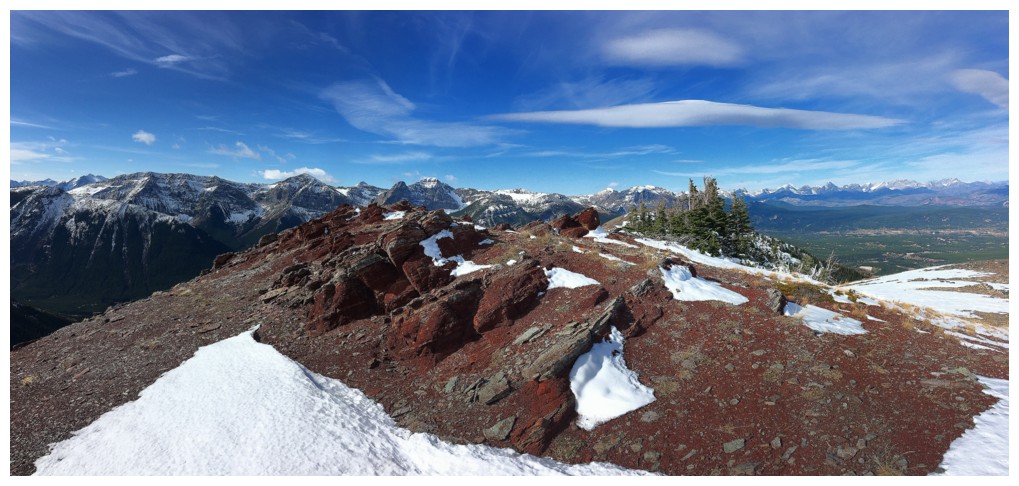
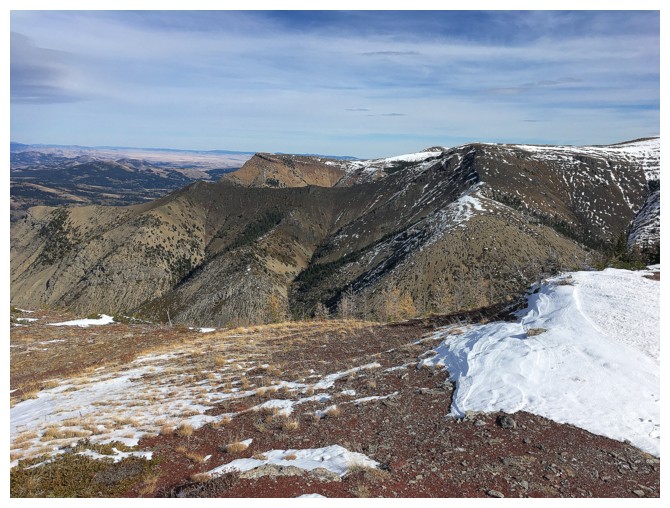
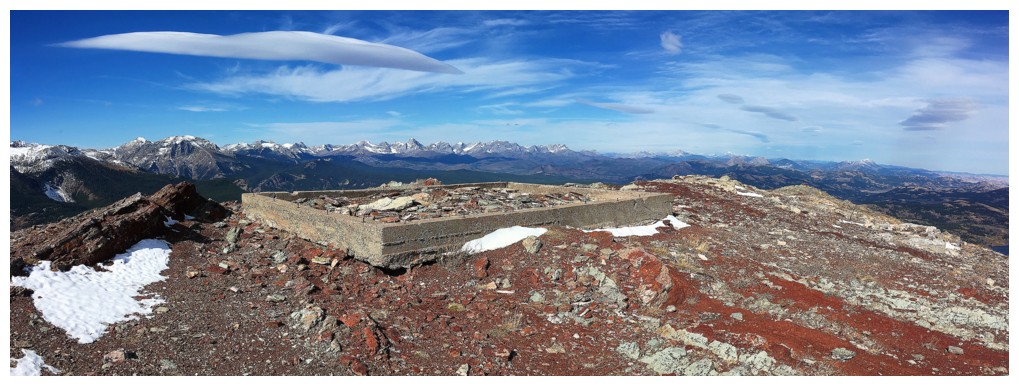
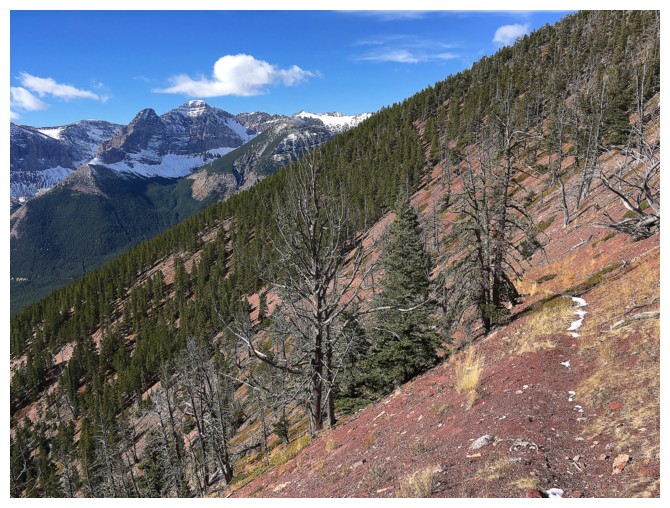
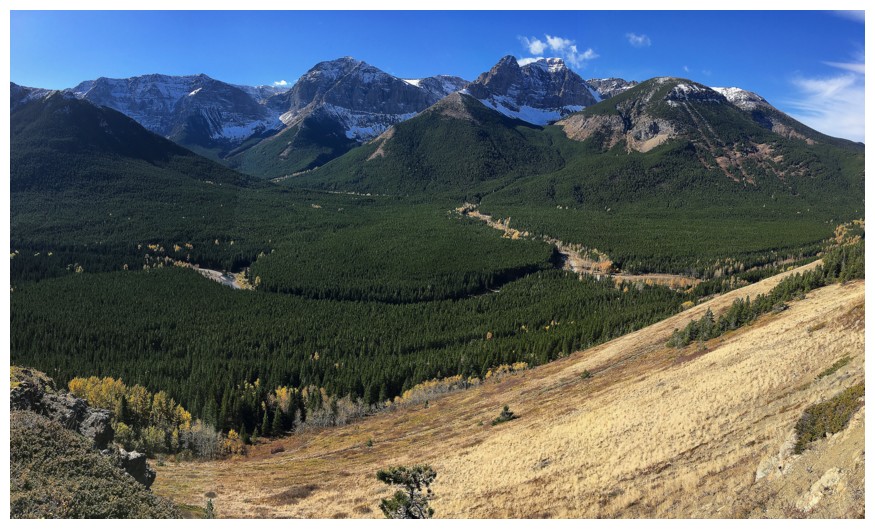
View to the south from the highest point I reached
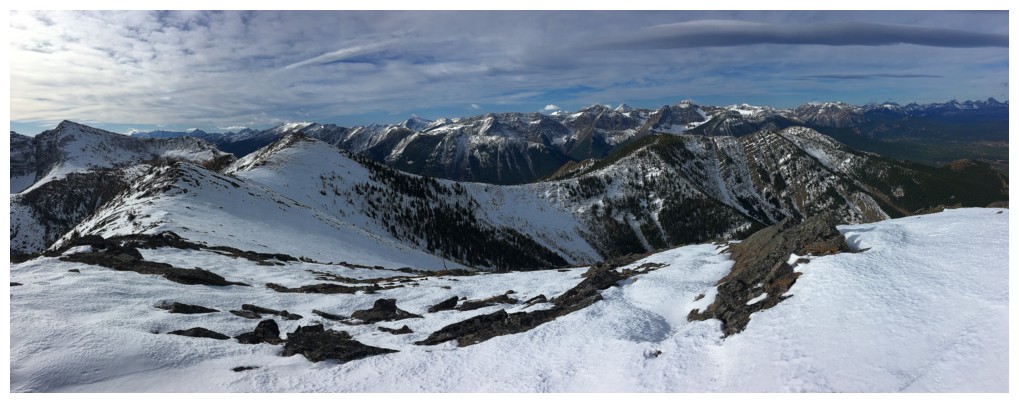
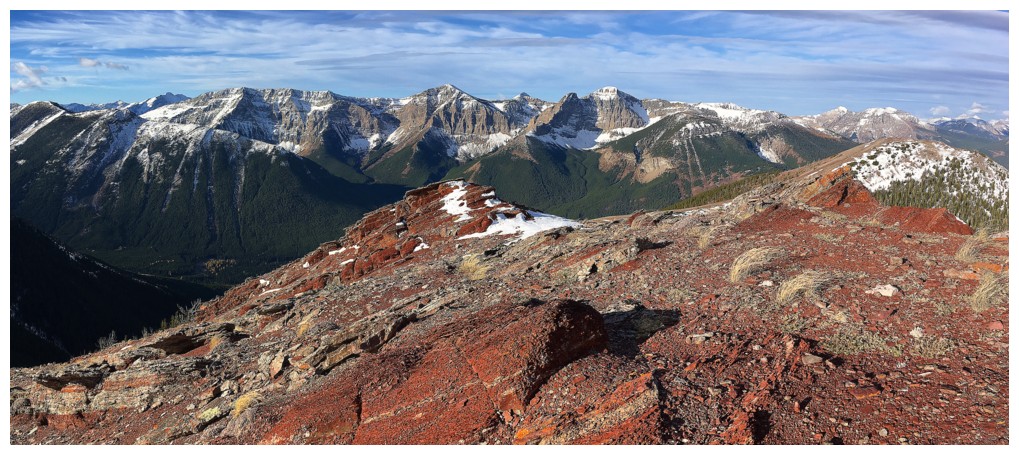
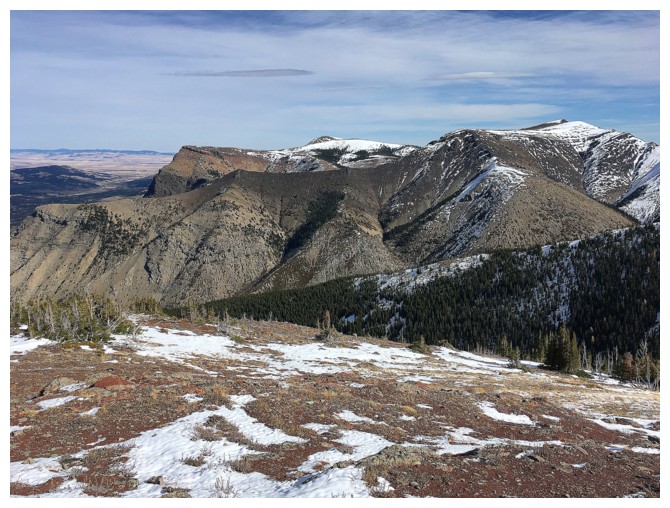
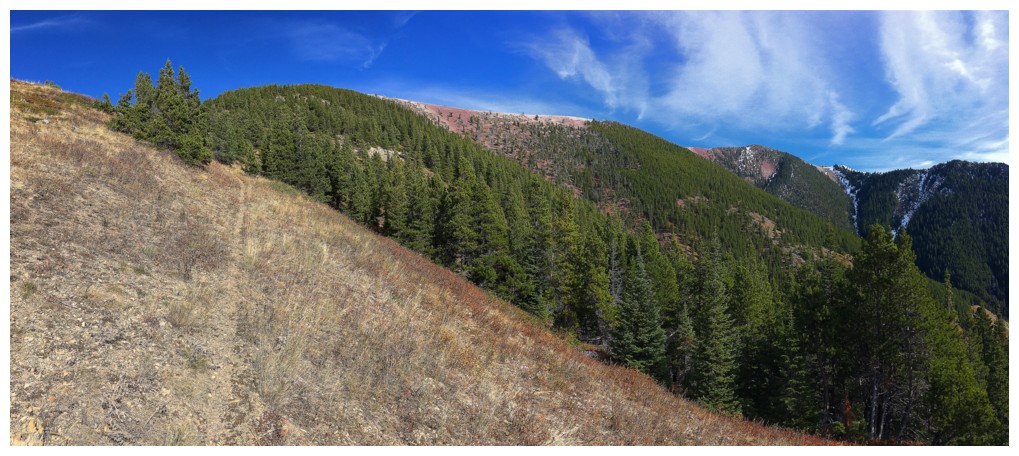
Most of the traverse can be seen to the southwest and west
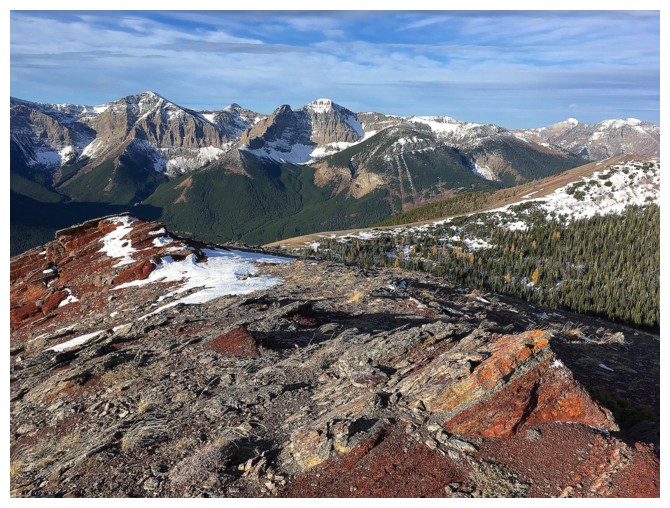
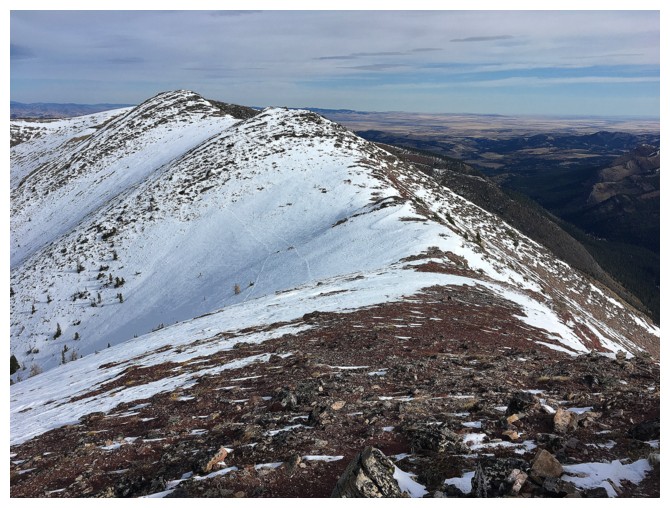
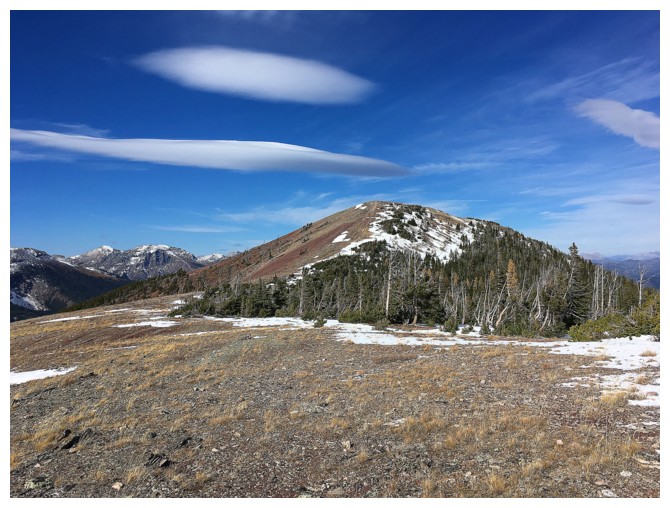
Where I wanted to go
Heading back
That's how easy to two minor highpoints I reached were

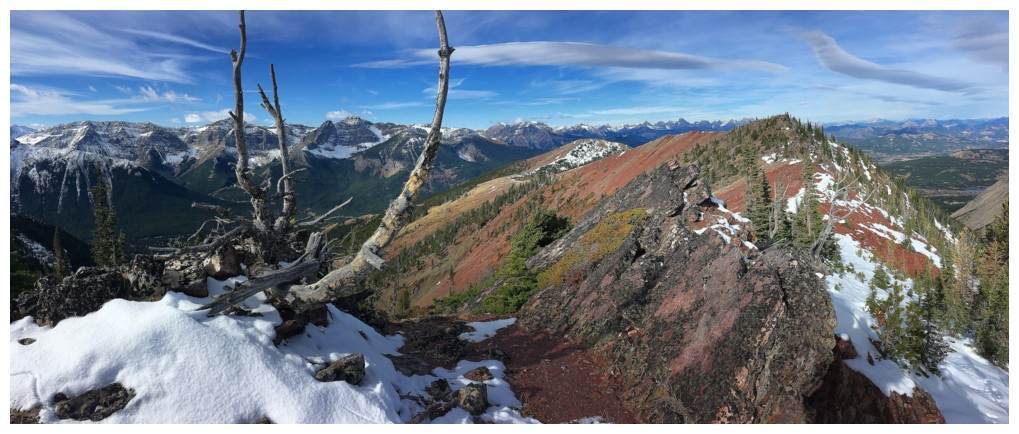
Traversing from Whistler Mountain to the first highpoint on return is always a major highlight of this trip

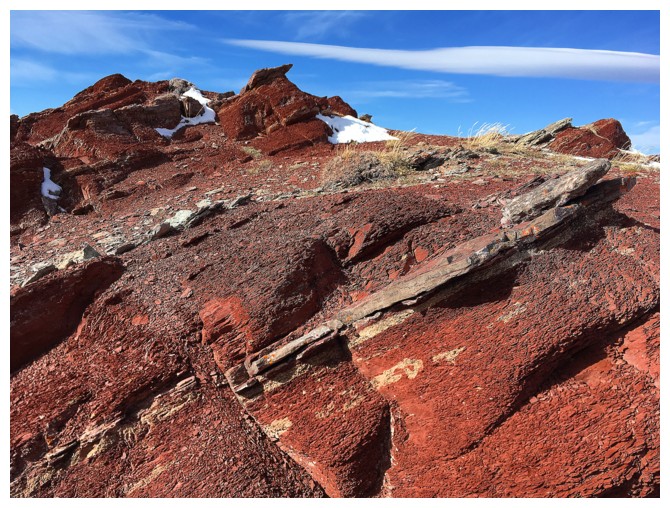
Back at the first highpoint and salivating amidst the red argillite
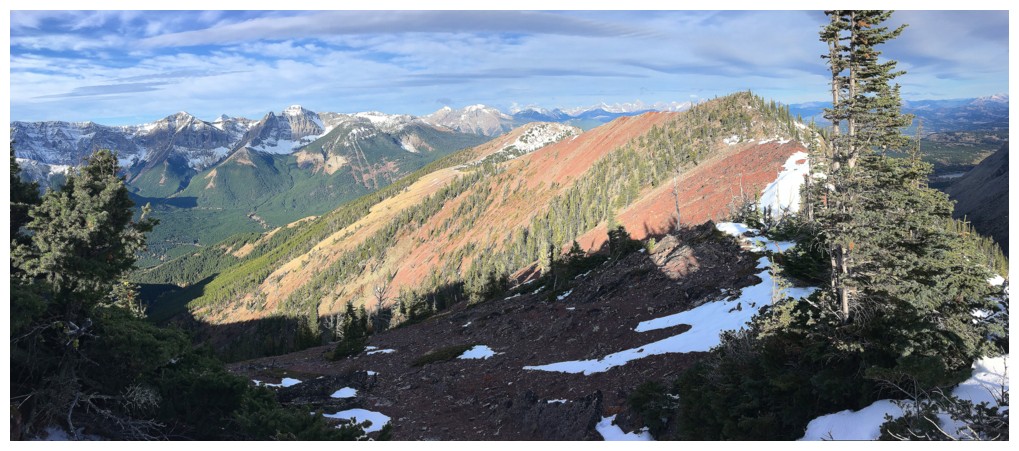
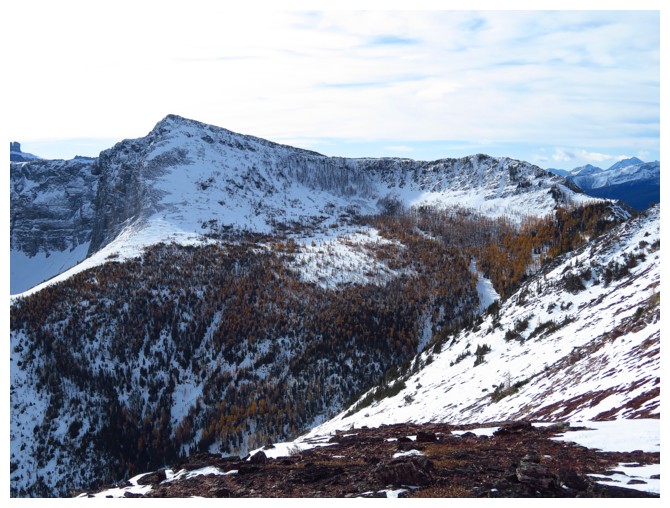
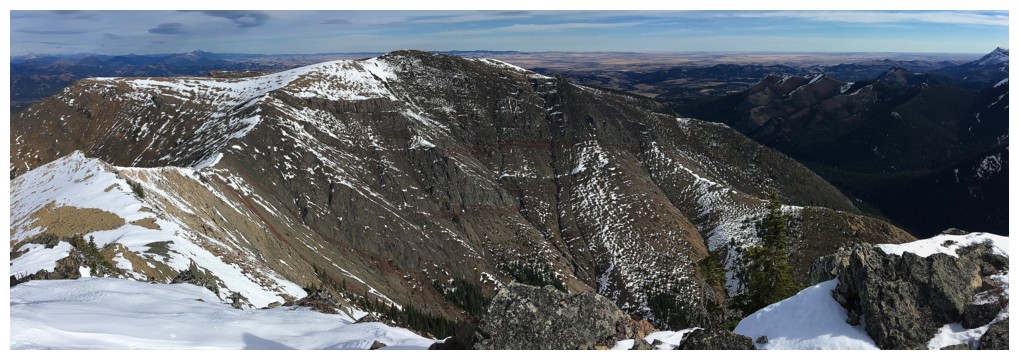
View north of my failed objective and Table Mountain
Had to go back to the argillite!
Heading for Whistler Lookout (right)
Obligatory photo of the lookout remains
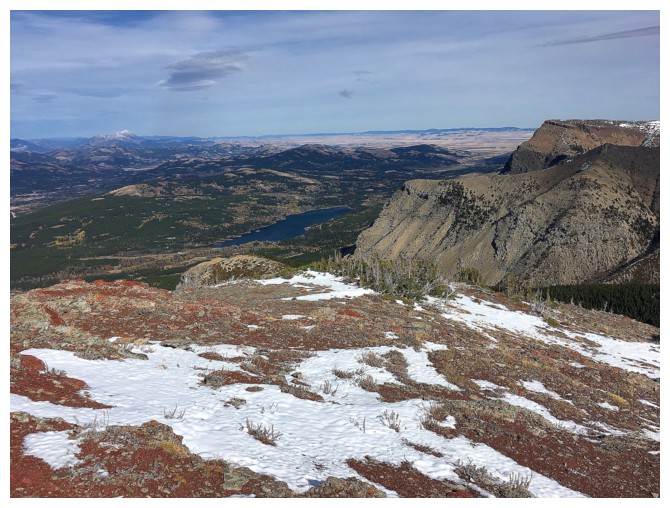
Beaver Mines Lake
Still a little choked I didn't get to the summit near the right
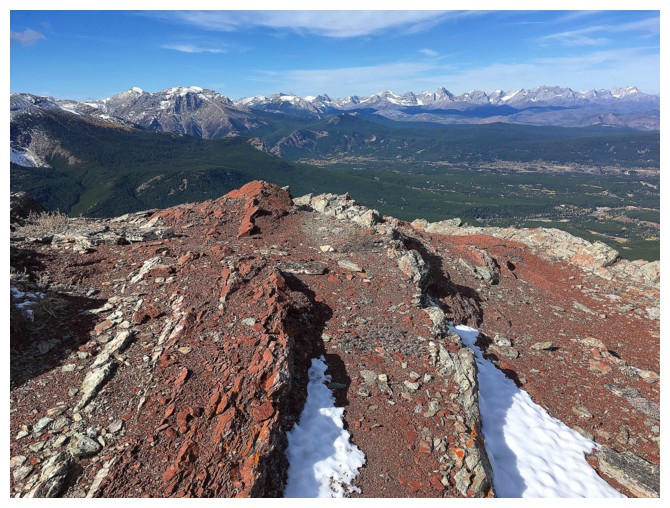
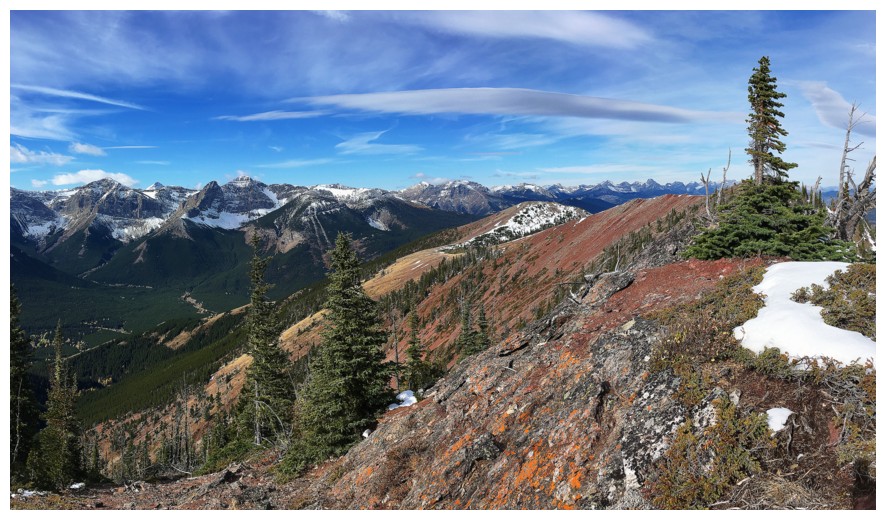
The distant Flathead Range to the northwest
Have never descended this trail without stopping to take the same photos!
That looks familiar too
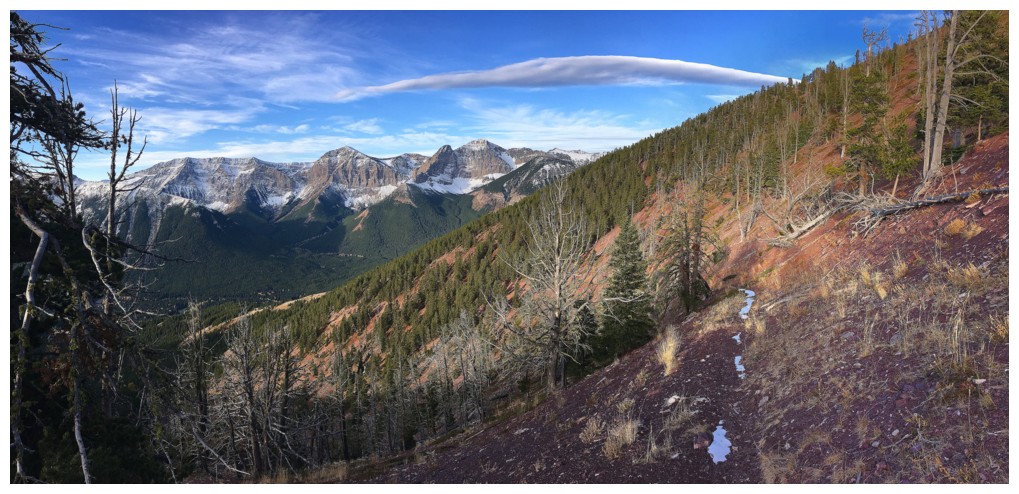
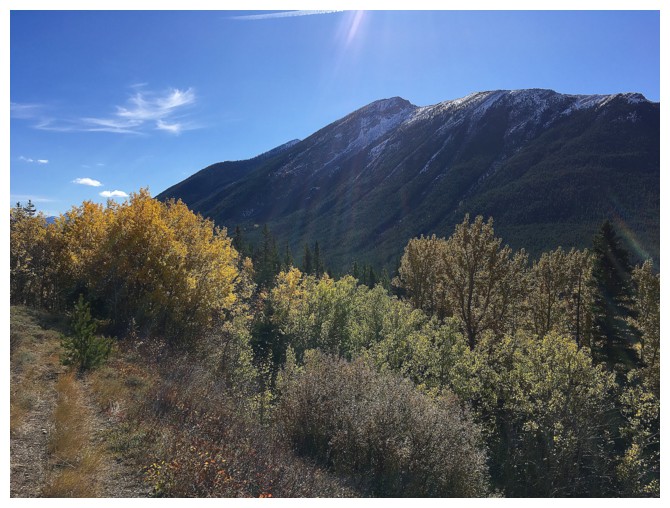
Looking back up the mountain
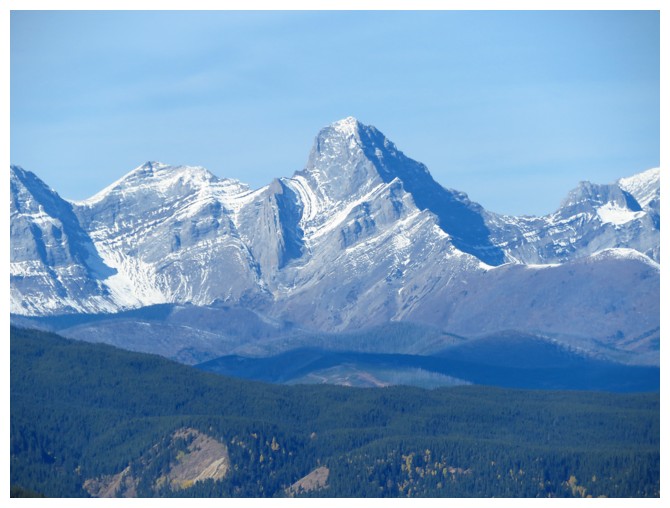
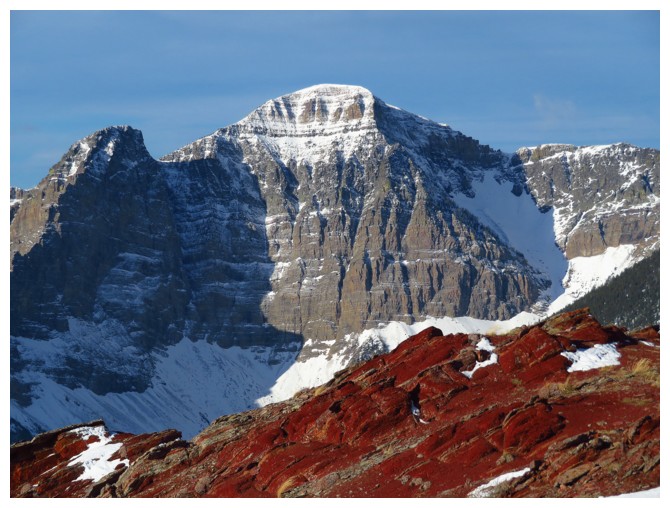
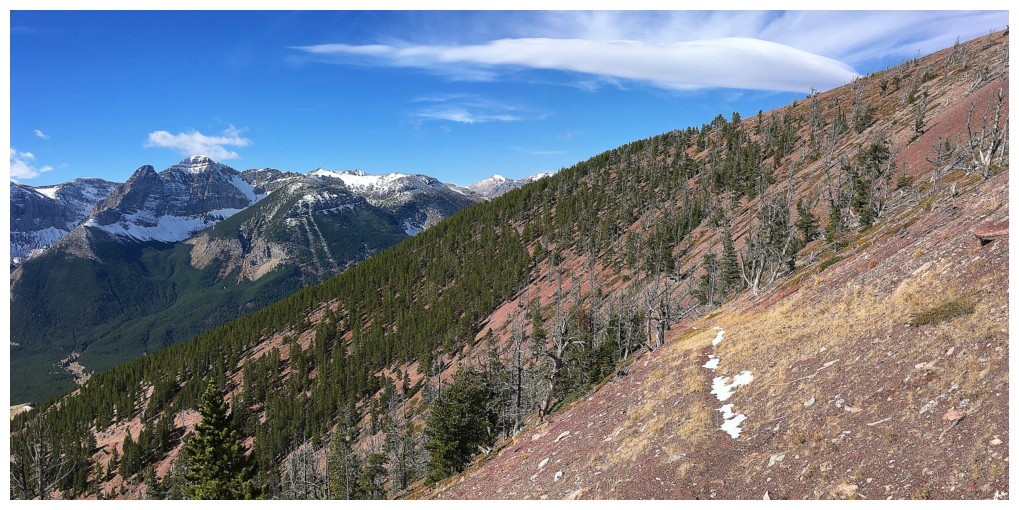
Closer look at beautiful Mount Darrah
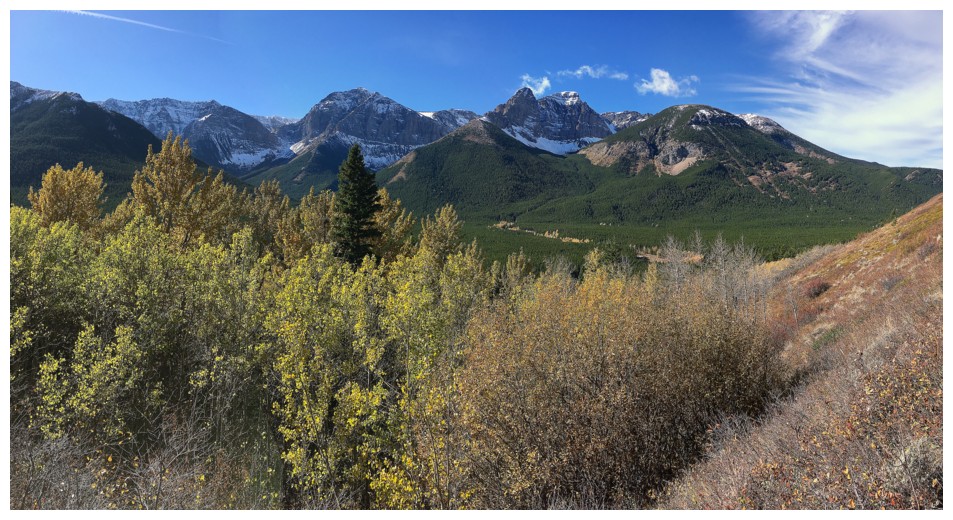
Classic, super satisfying fall scenery in the Rockies
The ascent route we took up Lys Ridge
 The End