Yellow Mountain East
Sherburne Peak
September 23, 2024
Mountain heights: 2635 m, 2615 m
Total elevation gain: approximately 1600 m
Ascent time: 4:50
Traverse time
to Sherburne: 0:35
Descent time: 3:50
Solo scramble.
I definitely
have a “thing” for Yellow Mountain – and not just because it matches the colour
of my jacket!
Raff, Mark, and
I ascended Yellow for Mark’s 50th in 2016. The uniqueness
of the mountain and terrain grabbed my attention right away. So did a potential
route to the east side of the massive mountain and that became the day’s
objective.
 Starting
immediately after the Many Glaciers entrance, I initially followed the same
route we had previously used, via the Sherburne Cut-off Trail. The trail
quickly gains about 400 m of elevation of which 170 m must be lost getting down
to the Yellow Mountain valley. And then the fun began.
Starting
immediately after the Many Glaciers entrance, I initially followed the same
route we had previously used, via the Sherburne Cut-off Trail. The trail
quickly gains about 400 m of elevation of which 170 m must be lost getting down
to the Yellow Mountain valley. And then the fun began.
This was very
much a play-it-by-ear experience. I followed a dried-up section of Kennedy
Creek, before making my way towards a drainage that would take me into the heart of the
immense Yellow Mountain massif.  In fact, aside from this drainage as a point of
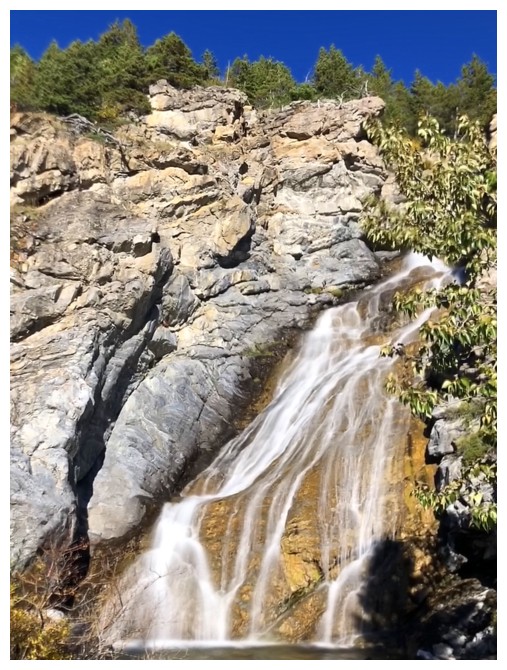
entry, the massif makes an almost completely closed loop. Hopes of following
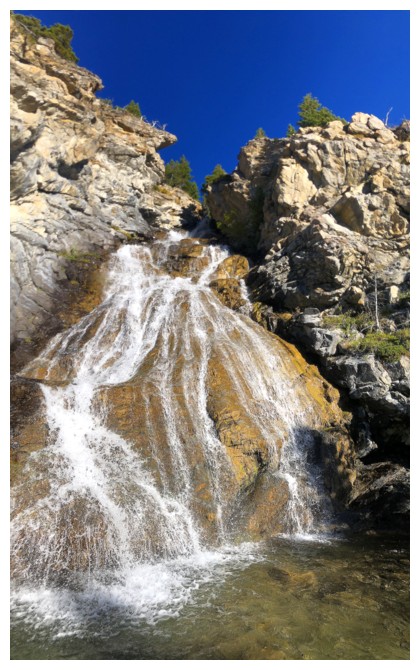
the drainage were quickly dashed upon arriving at one of the most beautiful
waterfalls/cascades I’ve ever seen – stunning, but impassable. As such I gained
elevation on the right side until above the cascades. Good news and bad news
from there – bad: the drainage appeared to be a narrow canyon that could be
filled with all manner of challenging terrain; the good: the ridge I was presently
on did appear to go all the way to the far east end of Yellow Mountain.
In fact, aside from this drainage as a point of
entry, the massif makes an almost completely closed loop. Hopes of following
the drainage were quickly dashed upon arriving at one of the most beautiful
waterfalls/cascades I’ve ever seen – stunning, but impassable. As such I gained
elevation on the right side until above the cascades. Good news and bad news
from there – bad: the drainage appeared to be a narrow canyon that could be
filled with all manner of challenging terrain; the good: the ridge I was presently
on did appear to go all the way to the far east end of Yellow Mountain.
And it did,
though the ascent was much longer than appearances dictated. However, the
terrain en route was fascinating and, as expected, the colours all around were
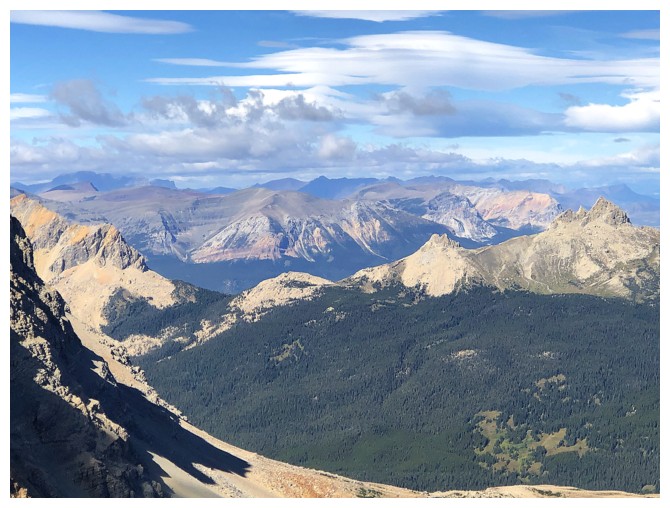
amazing. The summit view was very respectable, though not quite up to Iceberg or
Otokomi West standards.
Had I not been
planning a big trip the next day, I may have attempted to traverse Yellow is
its entirety, descending the same route we used in 2016. However, I did have big plans, and in
addition, the weather to the west was fairly socked in. Perfectly clear skies
only will do for this traverse and so I turned east and set my sights on nearby
Sherburne Peak.
The 35-minute
traverse to Sherburne went with relative ease, featuring cool rock, some
route-finding, and interesting scrambling. However, the summit view was very
similar and slightly inferior to that from Yellow East.
After returning
to ridge just south of Yellow, I generally returned the same way I came up,
but found a nice (albeit steep) scree gully down to the valley, to cut a bit
off the return distance. The 170 m of elevation gain near the end of the trip kinda’
sucked but at least it’s on an excellent trail.
Overall, a very
rewarding return to one of the most unique Rocky Mountains north or south of
the border. Now that I know how the ascend the east end and descend the west, an
attempt of a full traverse is sure to come at some point.
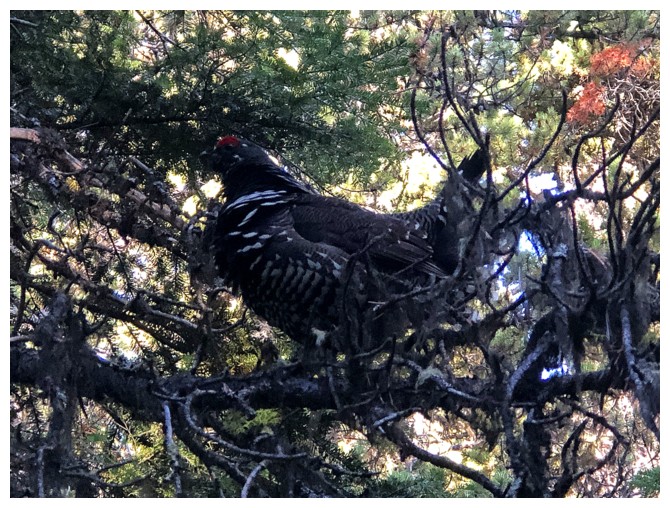
The blue grouse is well camouflaged in a tree, except the red on its head
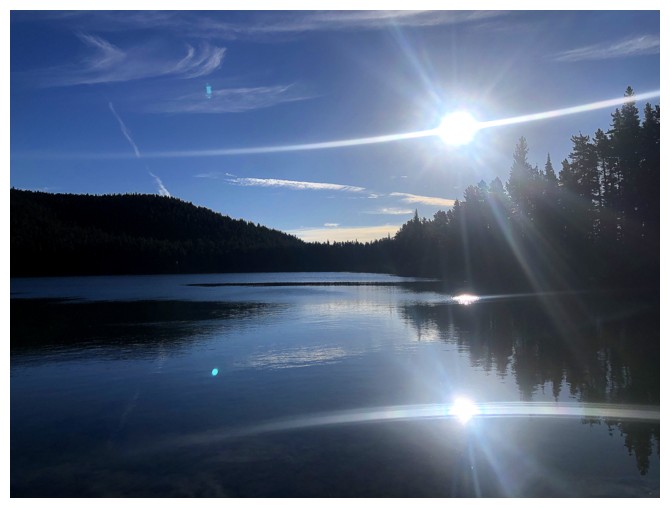
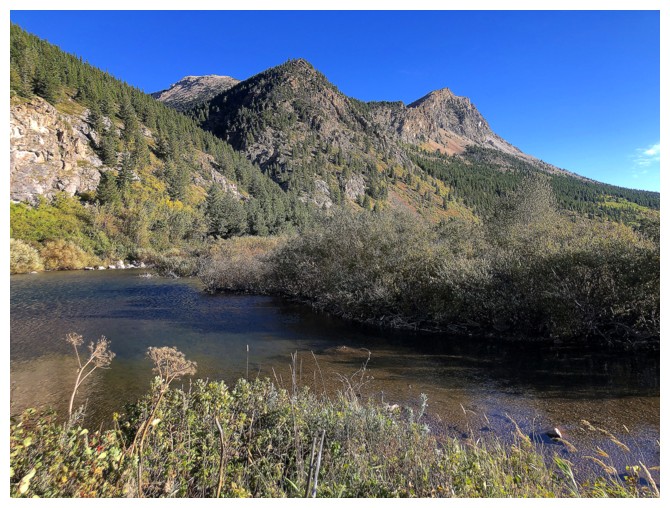
Brief stop at Swiftcurrent Ridge Lake
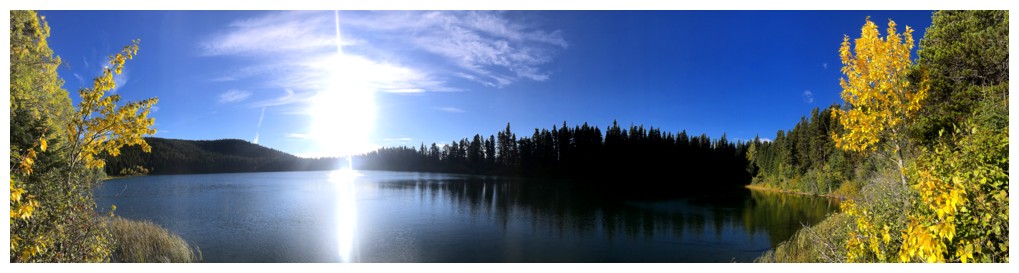
Same as above
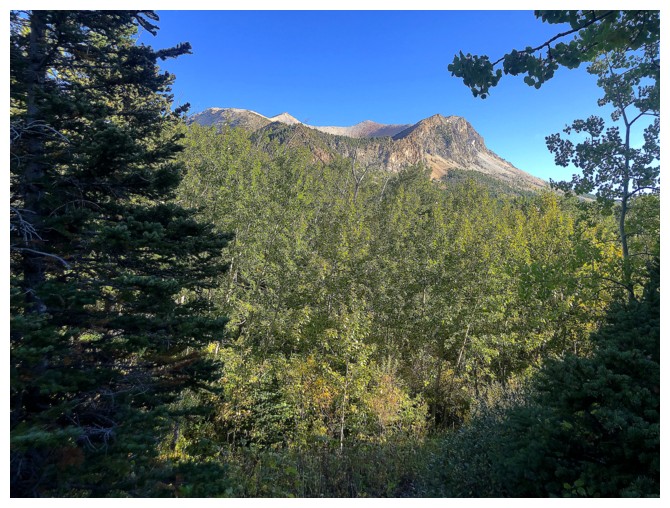
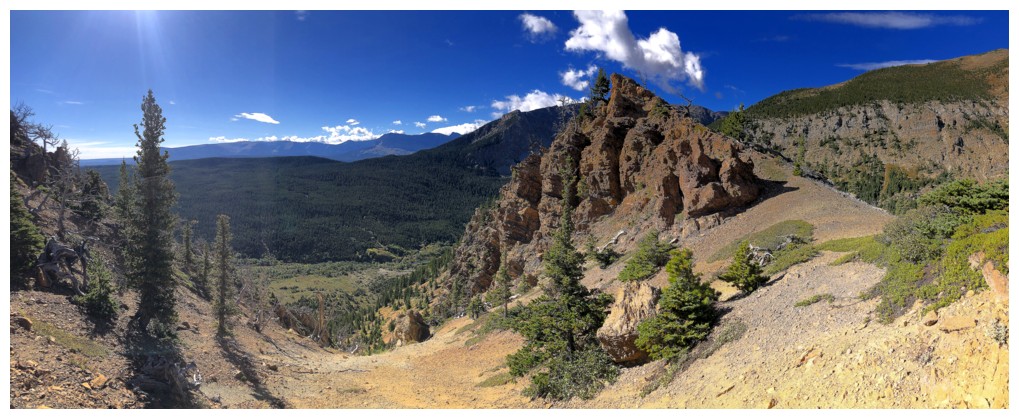
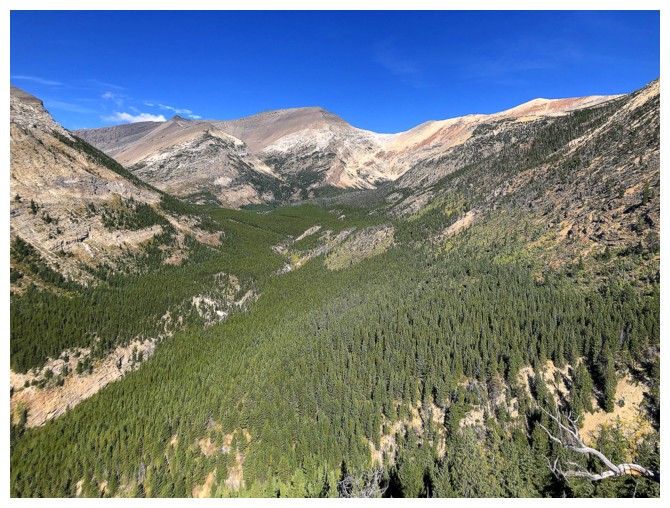
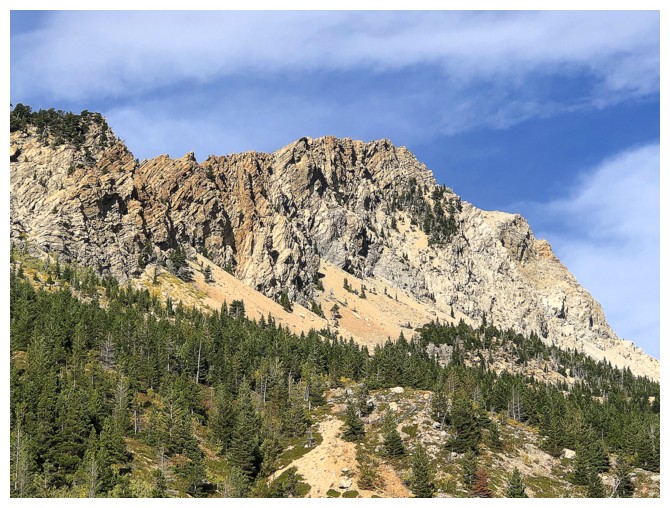
First glimpse of the east end of Yellow Mountain, while losing the 170 m of elevation into the Kennedy Creek valley
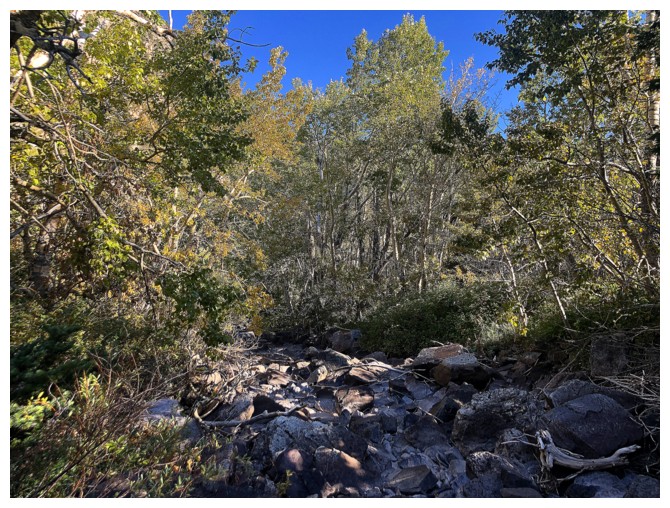
Boulder-hopping along a branch of Kennedy Creek
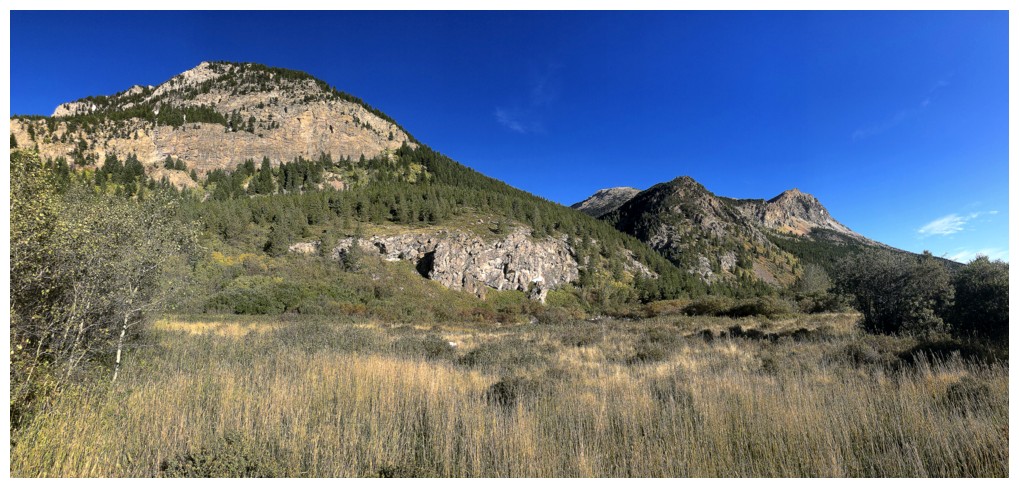
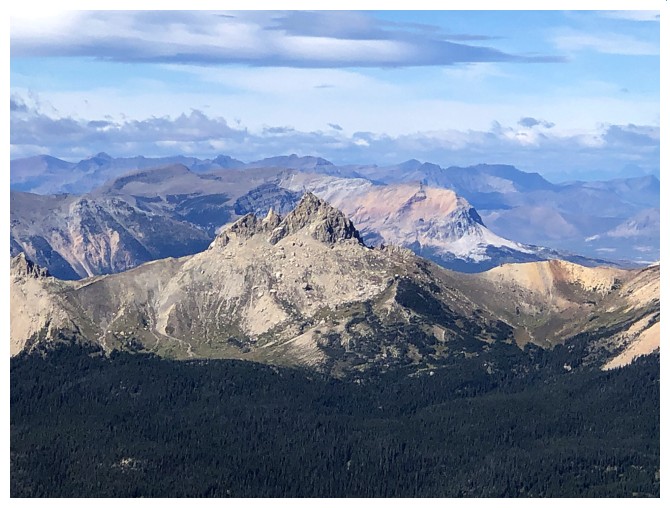
The objective at the far right
A shallow tarn is passed before reaching the potential ascent drainage
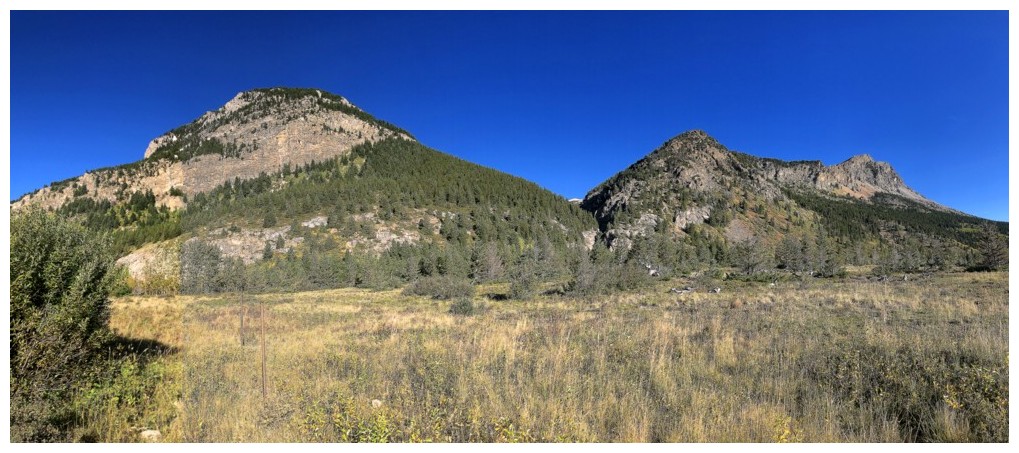
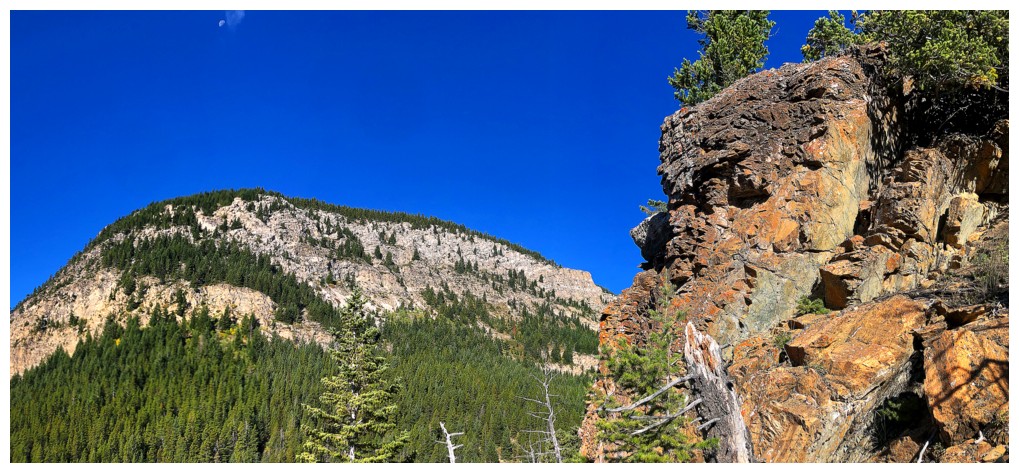
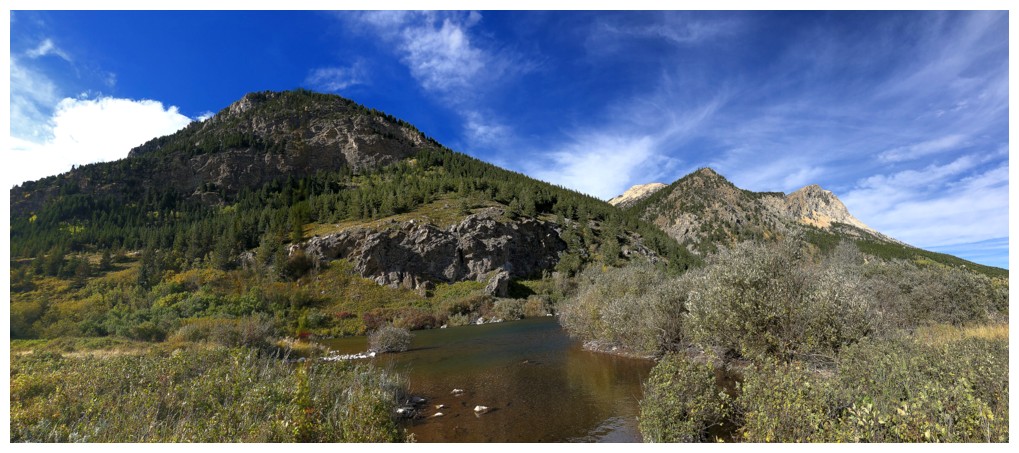
Aiming for the gap, just right of centre
I considered this eastern outlier of Apikuni Mountain as a consolation if Yellow East didn't work out
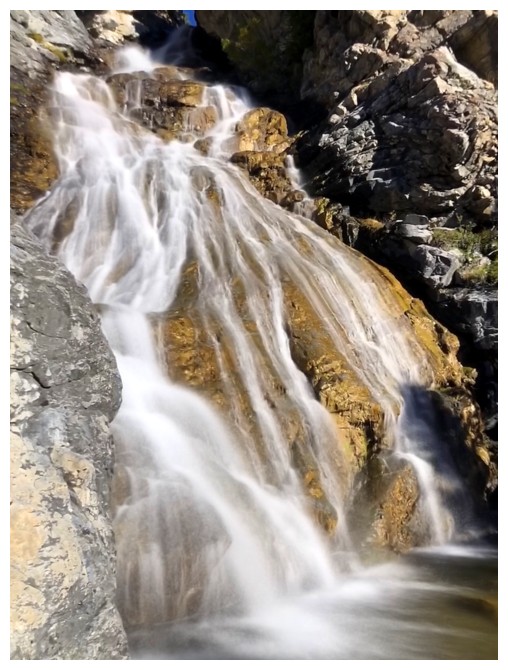
The amazing waterfall/cascade
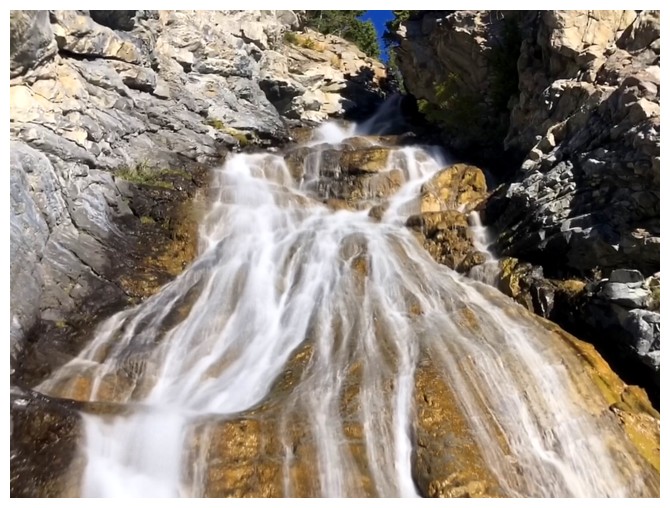
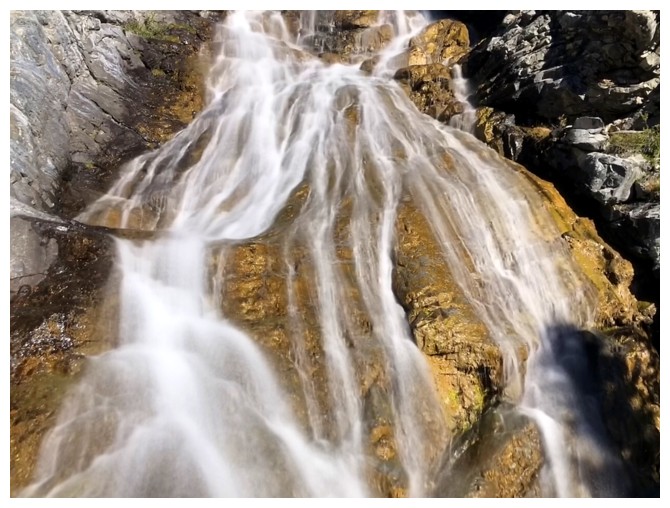
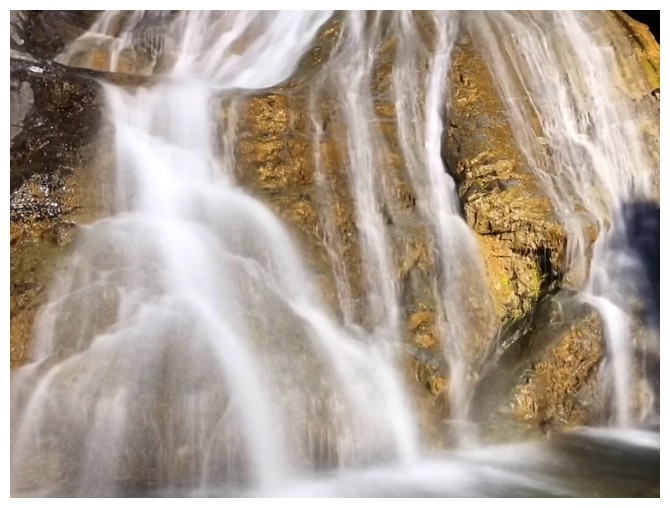
Top, middle, and bottom of the fall
The whole thing
Leaving

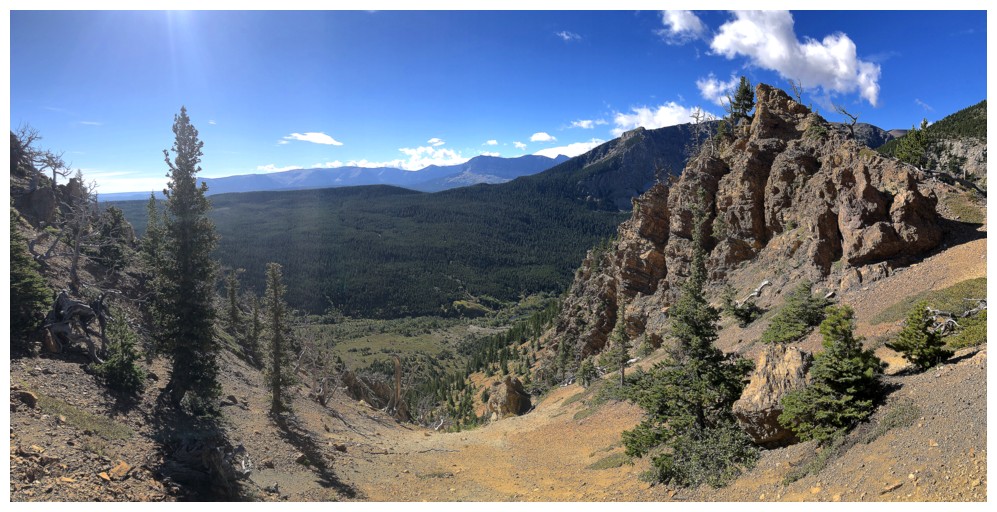
The route on the right side that will hopefully get me above the waterfall
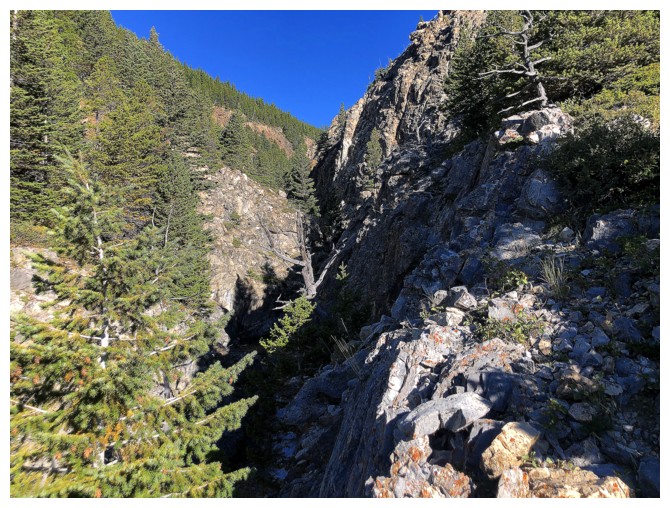
Above the fall and looking into the canyon that feeds it. Way too many unknowns here to risk getting into the canyon.
Looking over to the other side of the canyon
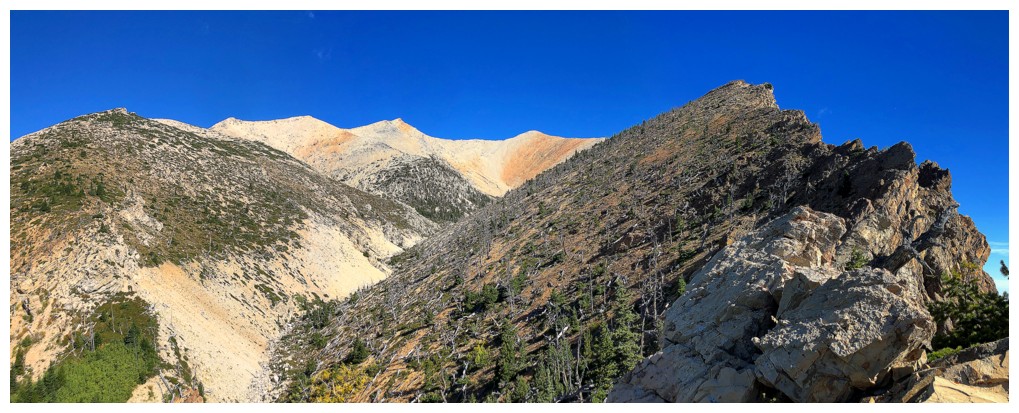
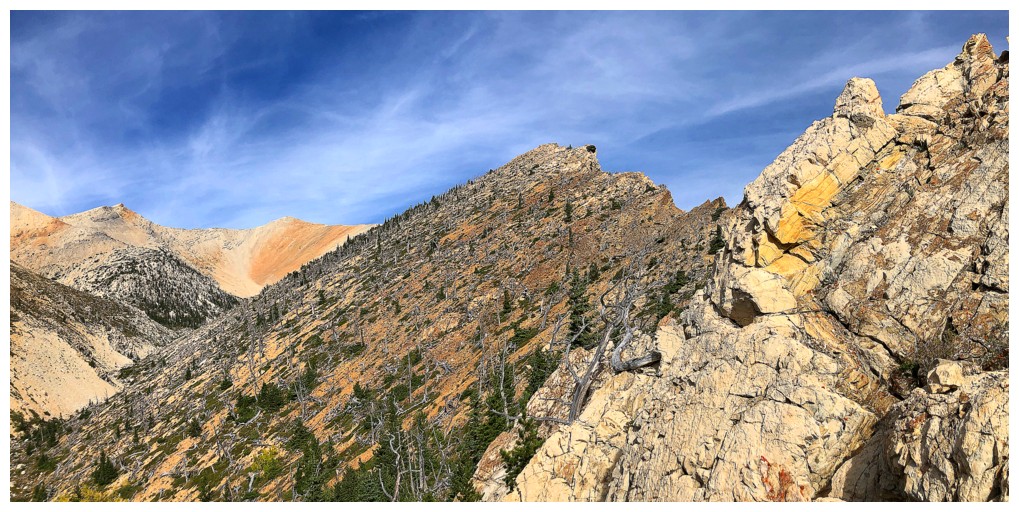
Heading up the ridge instead
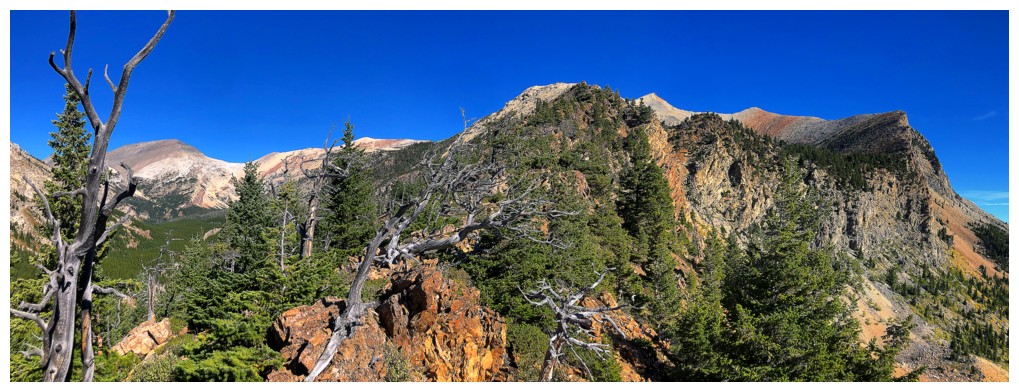
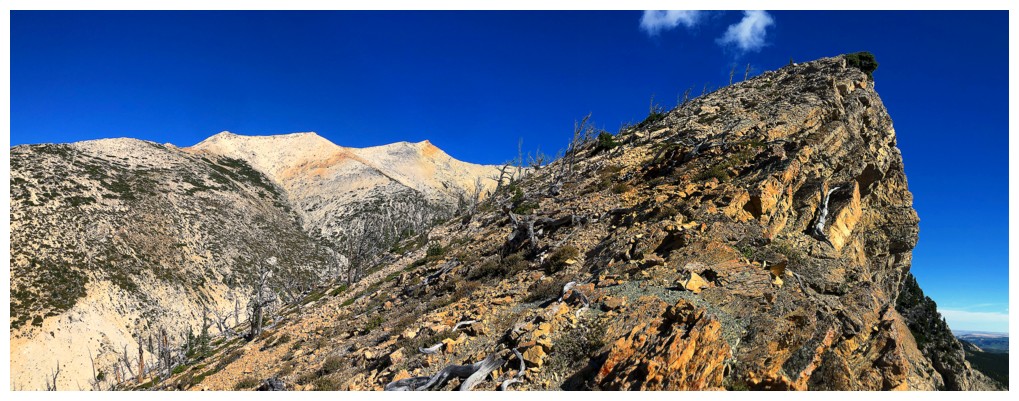
The route ahead is revealed and follows the ridge going to the right throughout
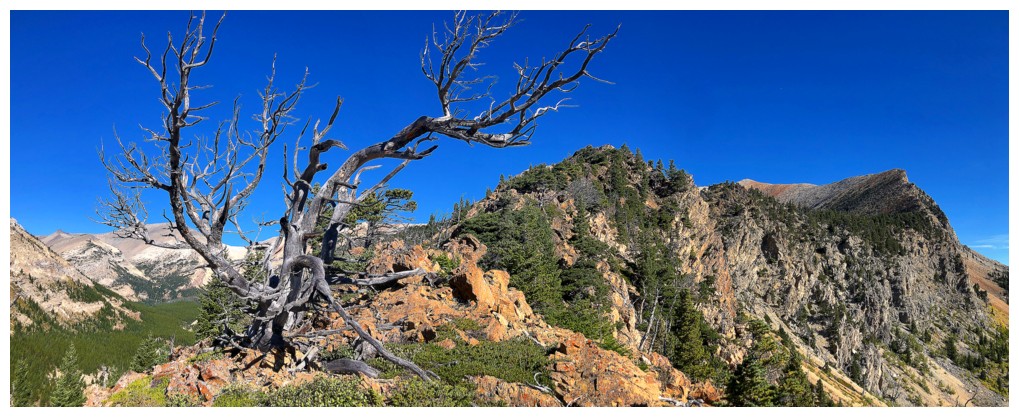
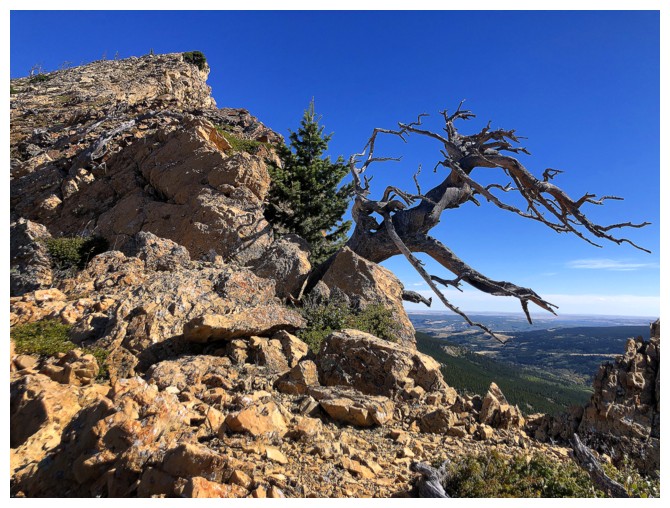
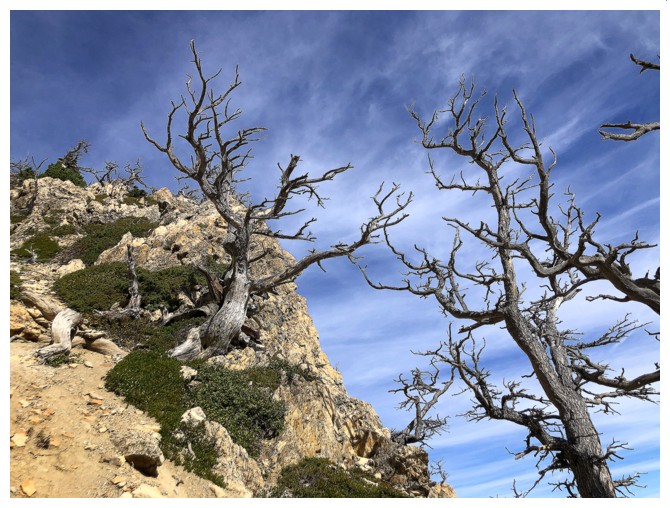
Cool, dead tree to add to the view
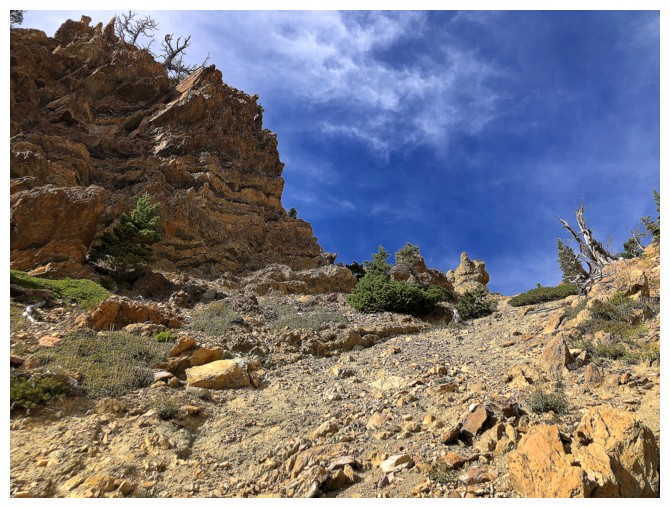
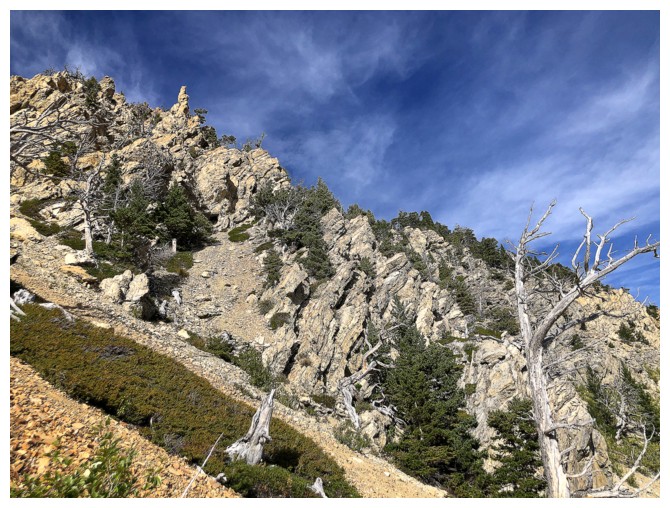
The already colourful rock is going to get even better from hereon in
Another tree
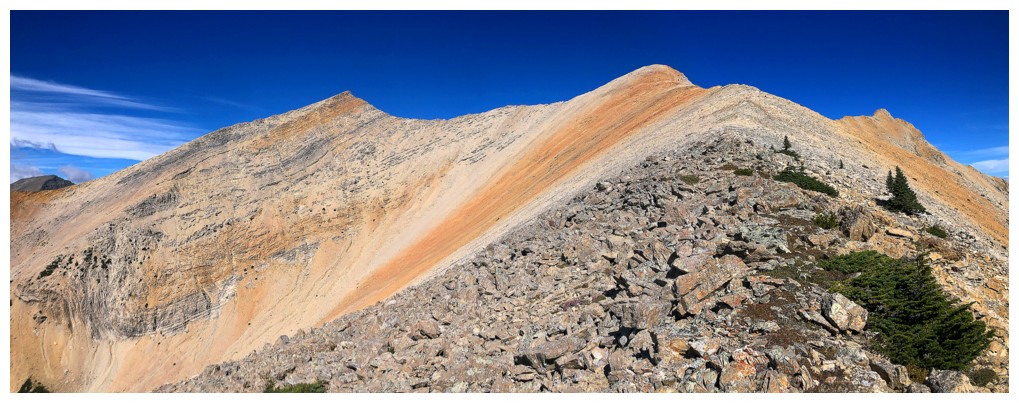
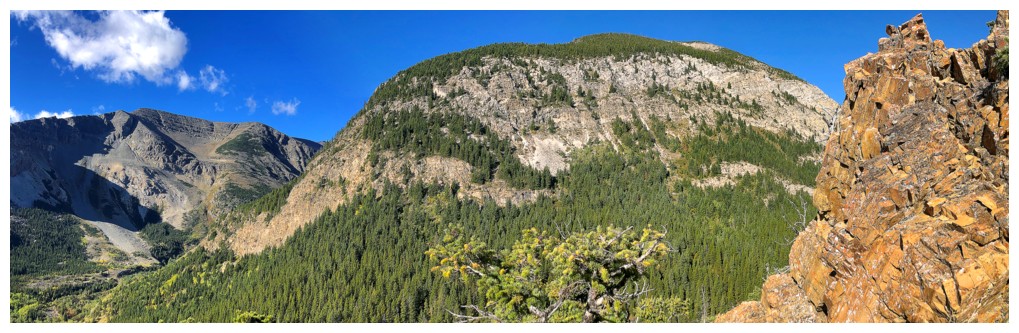
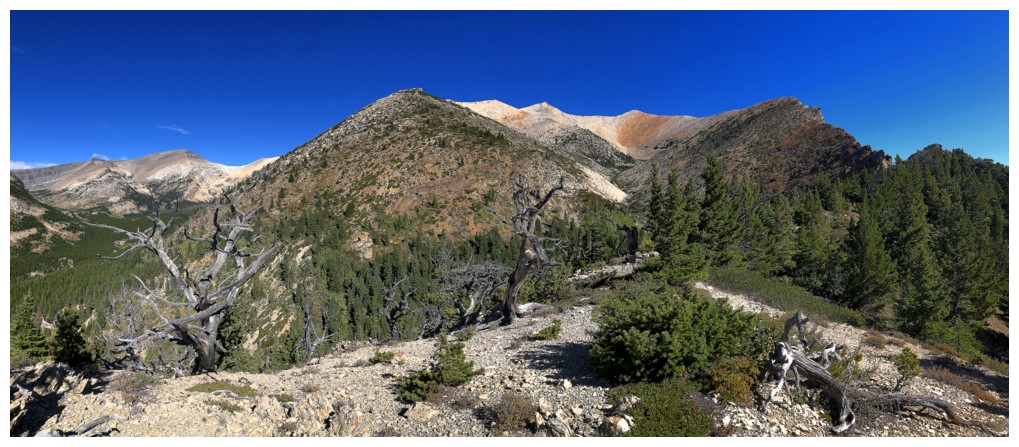
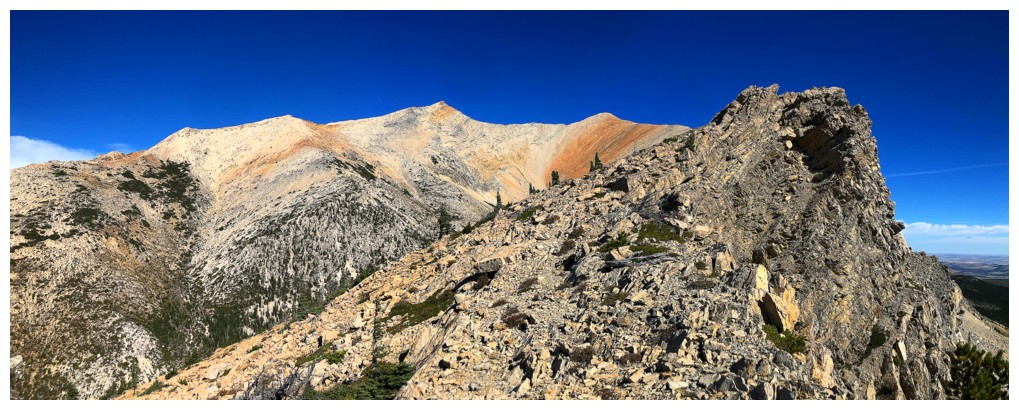
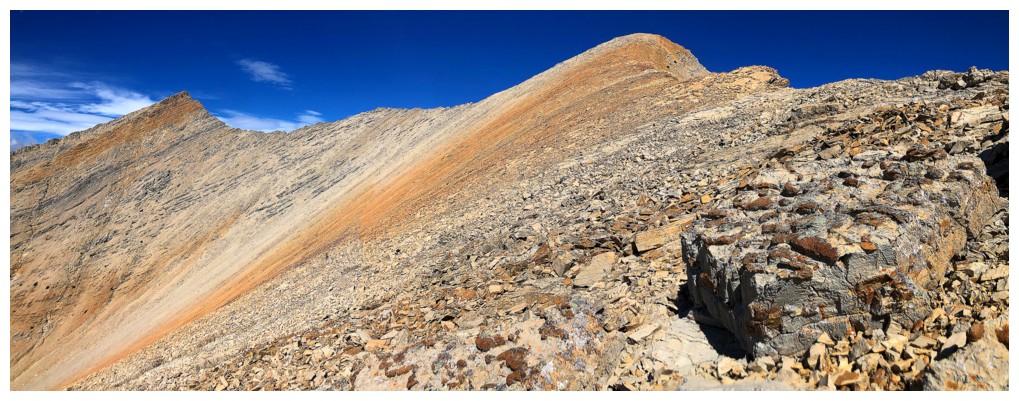
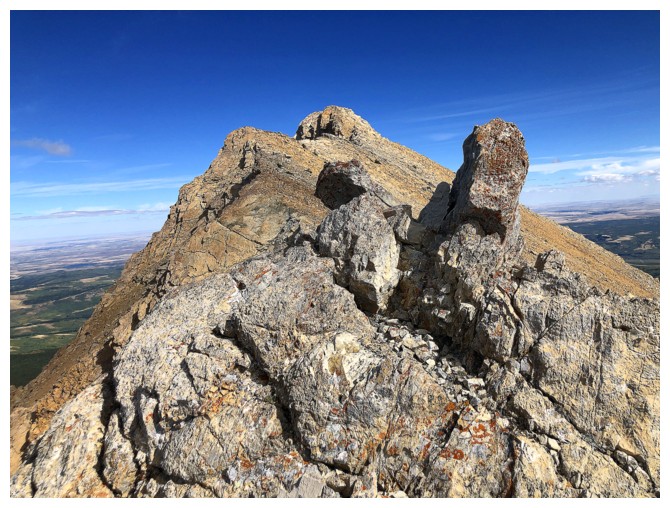
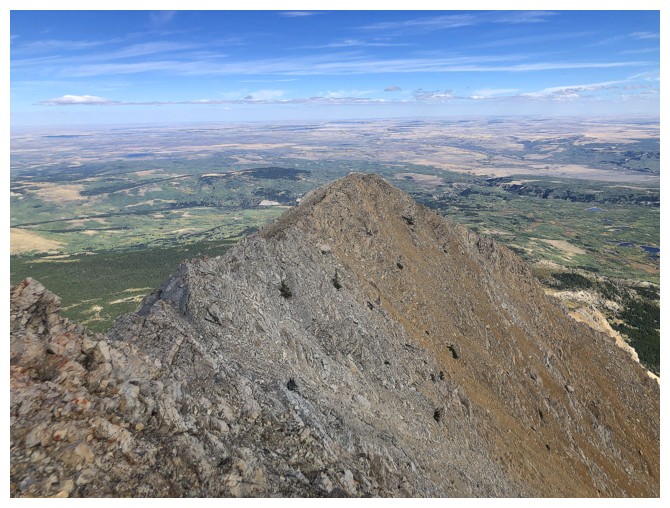
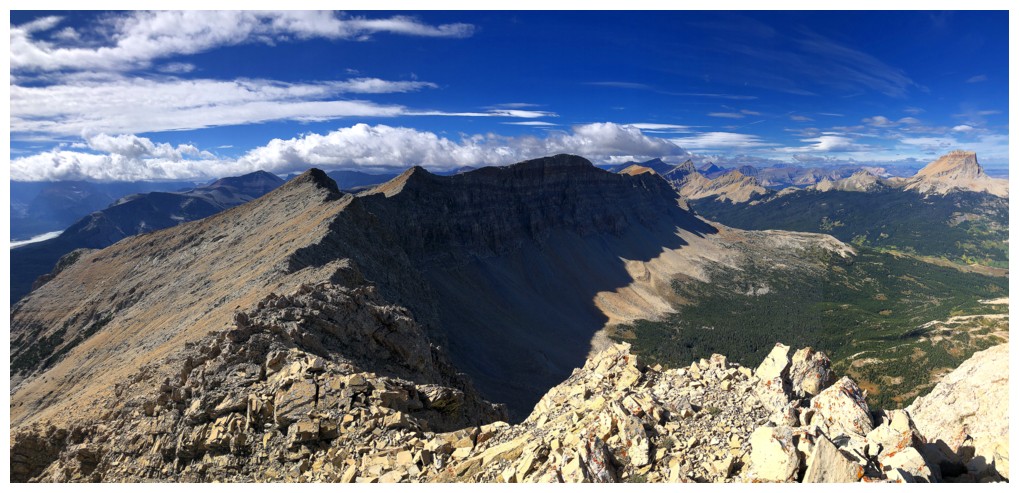
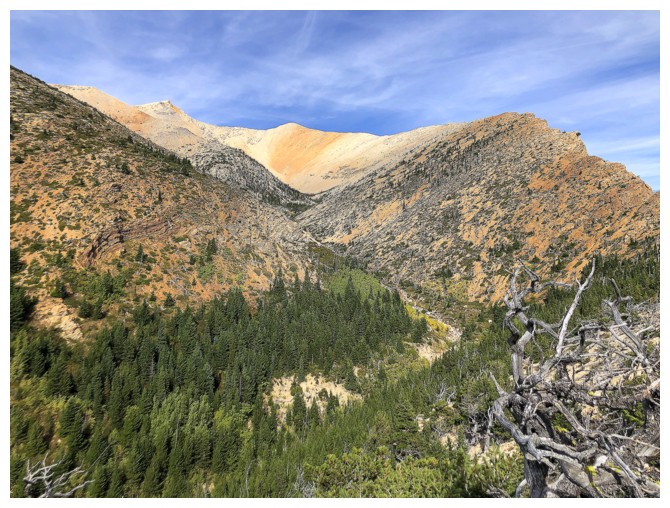
The summit of Yellow East is in the distant centre
Not obvious, but there are several ups and downs along the ridge. Nothing too strenuous though.
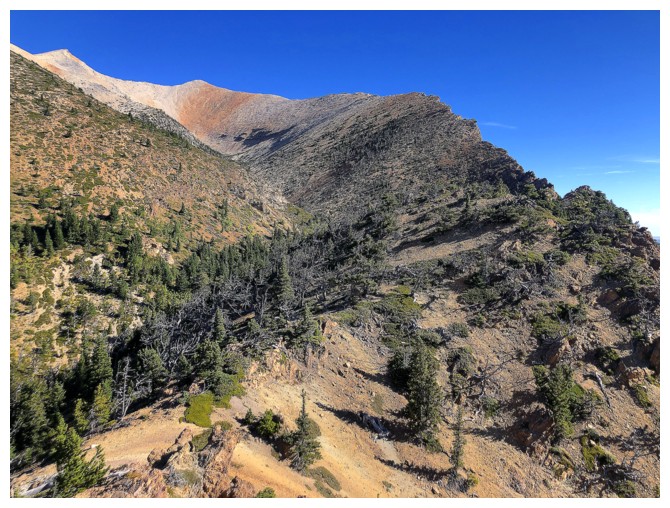
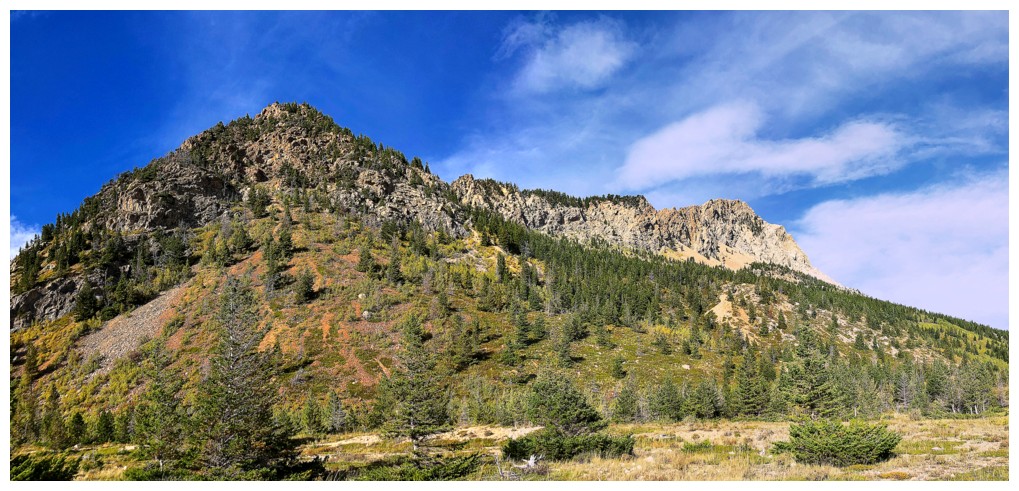
The summit of Yellow Mountain is the centre, although the summit at the right is higher
Back to Yellow East
Losing a little elevation to the col where I descended on return
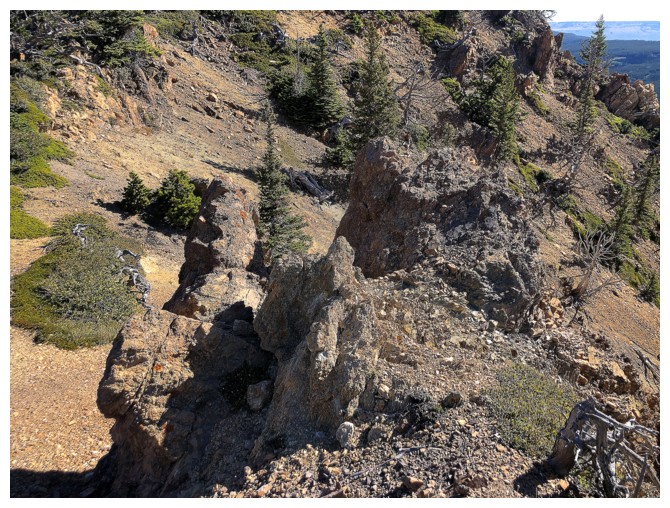
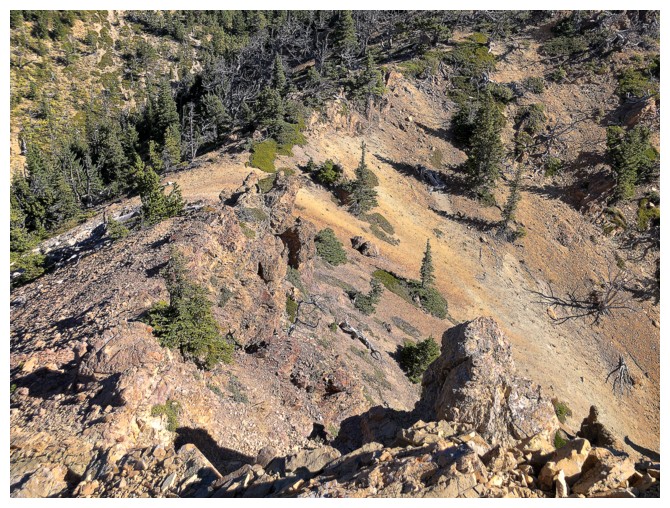
A few interesting rock formations down there
The distant point in the centre is Napi Point, the far northeast end of East Flattop Mountain
Those formations
The gully I will descend in a few hours
Back to the task at hand

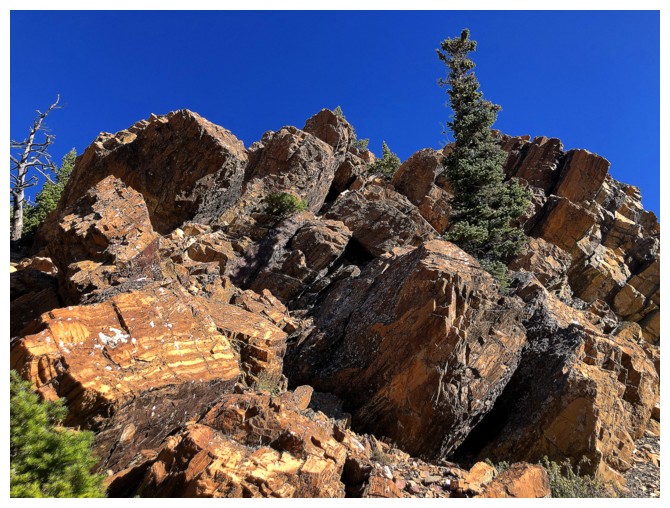
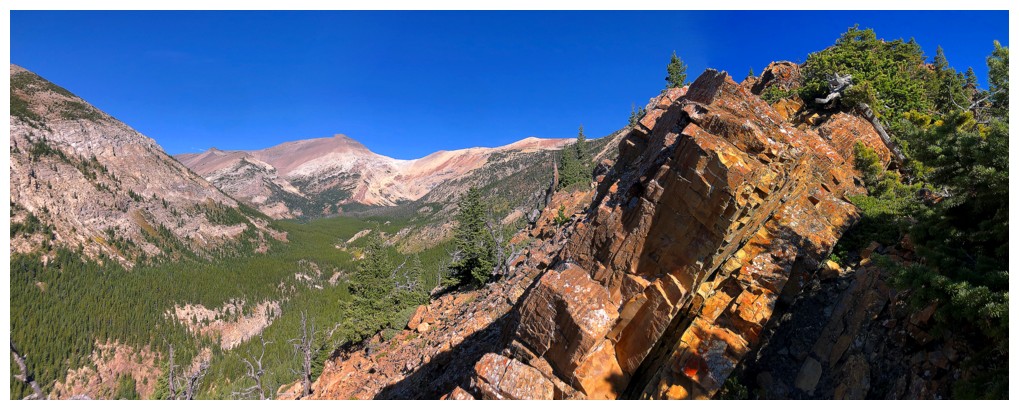
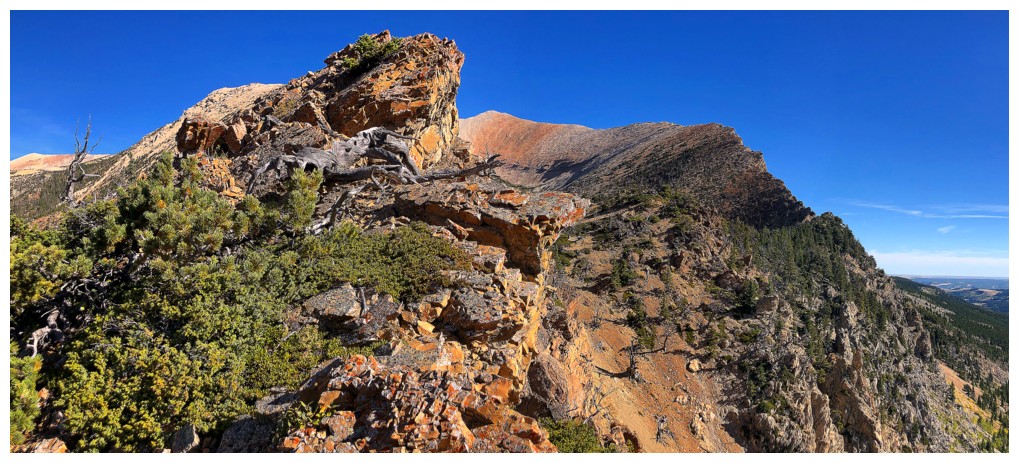
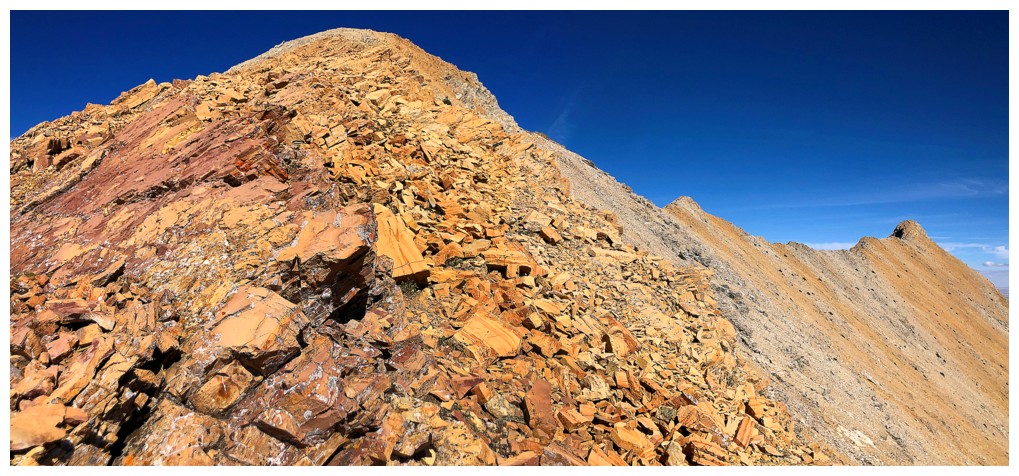
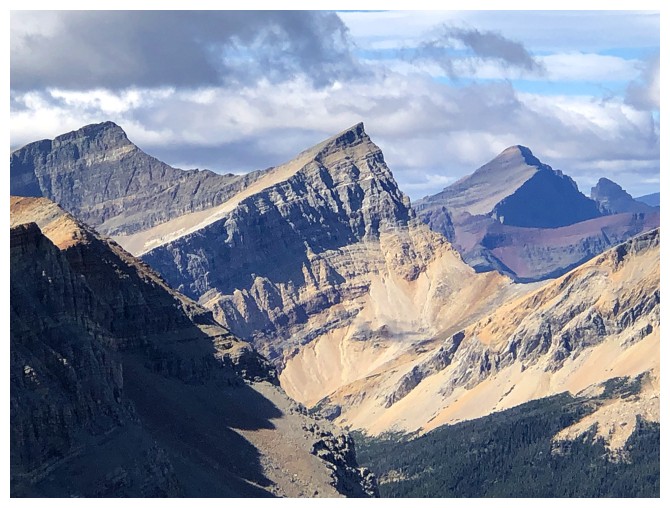
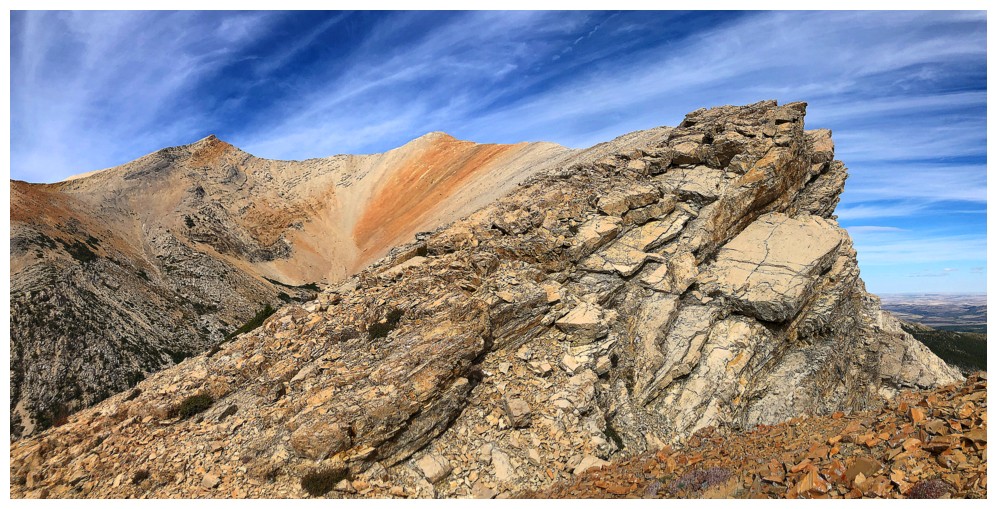
Remarkable colours
Travel directly on the ridge would not have been a good idea for a few sections
Another obstacle that was easily bypassed
A little side-sloping here
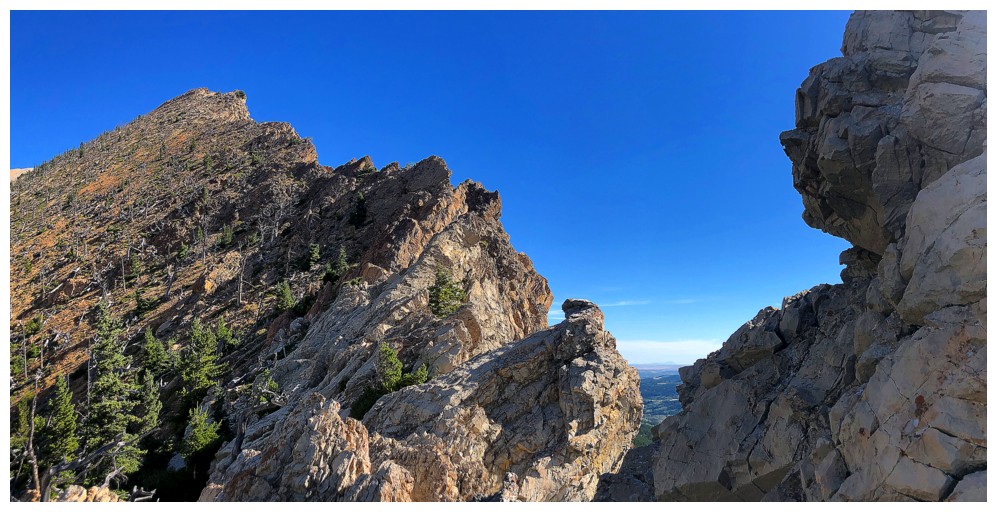
But soon returning to the ridge for the best scenery
Like here...
...and here
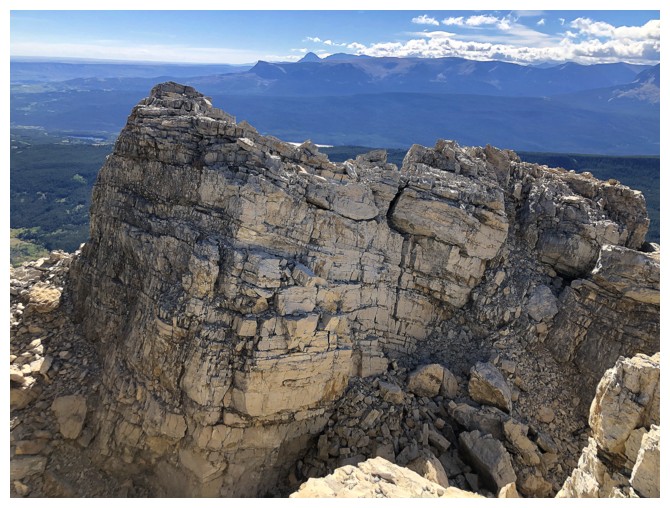
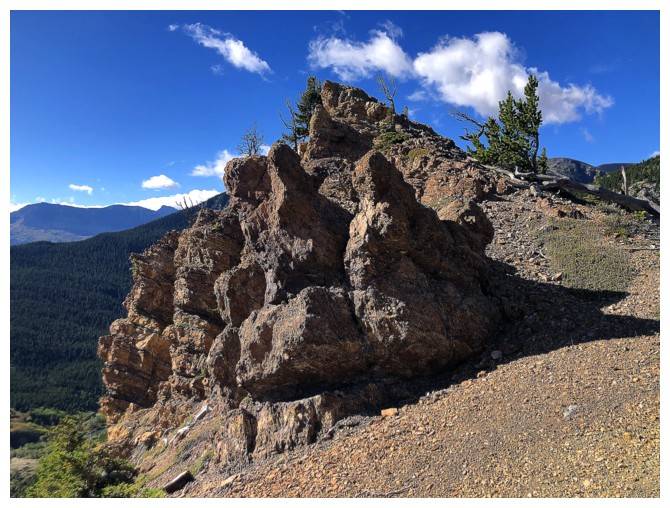
Nice rock but this whole section looked as though it was ready to separate from the rest of the peak
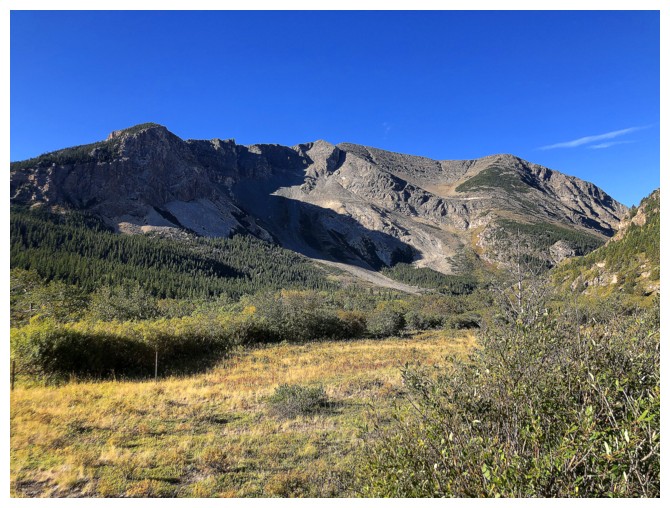
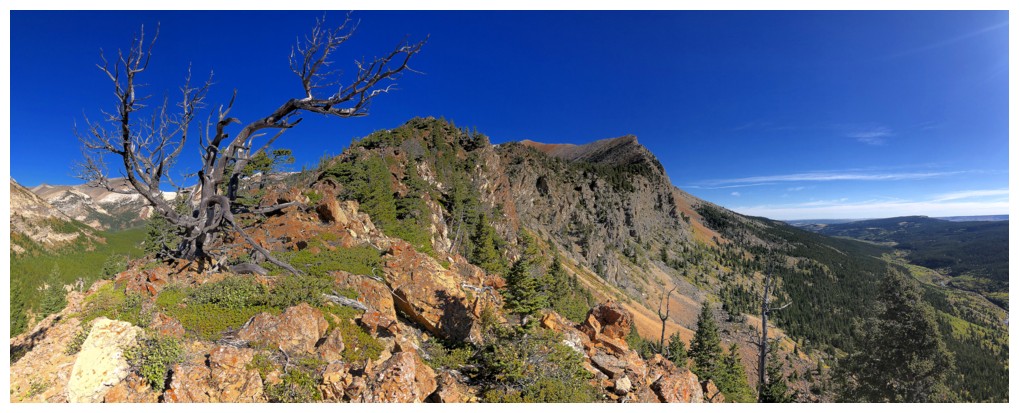
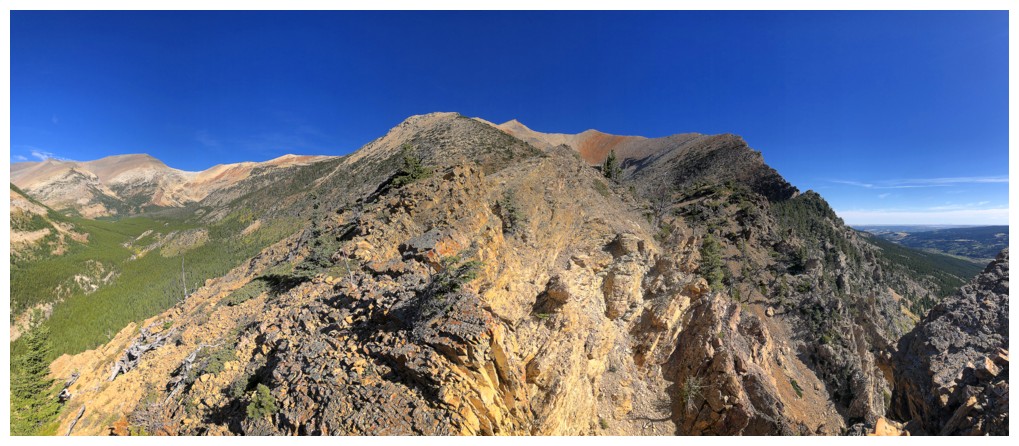
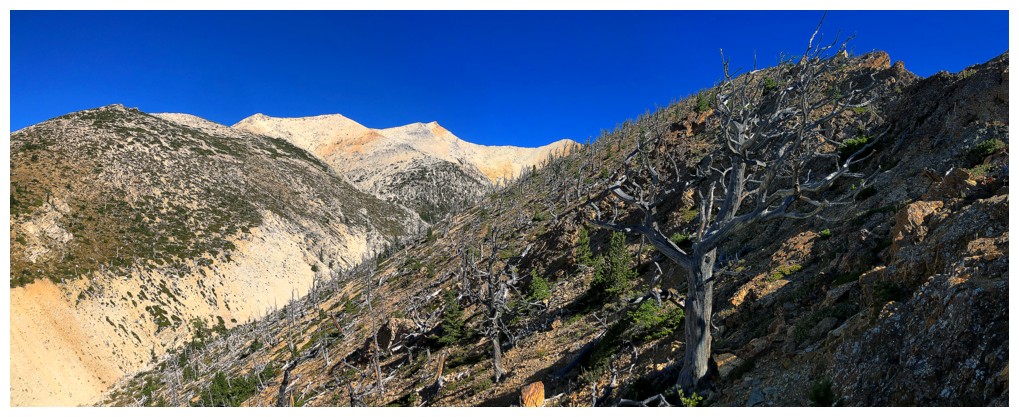
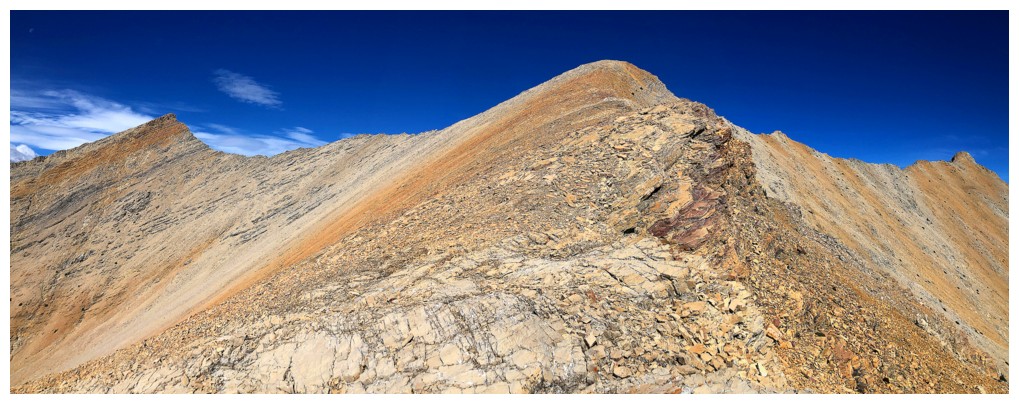
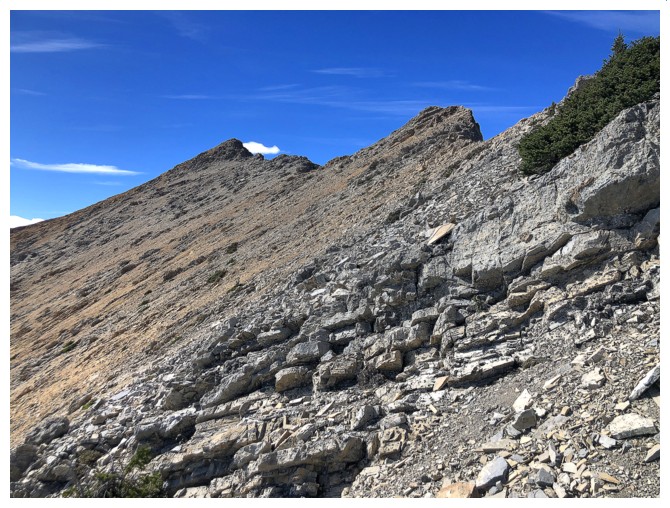
Much of the remainder of the route appears - easy but quite foreshortened
There are several big fissures here that you want to be careful around
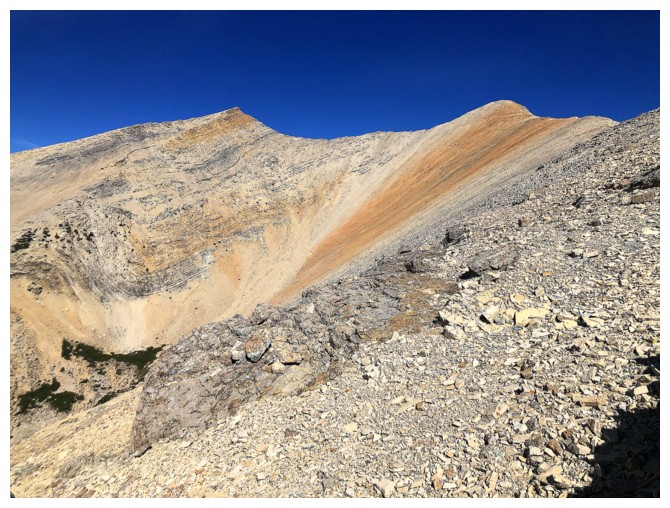
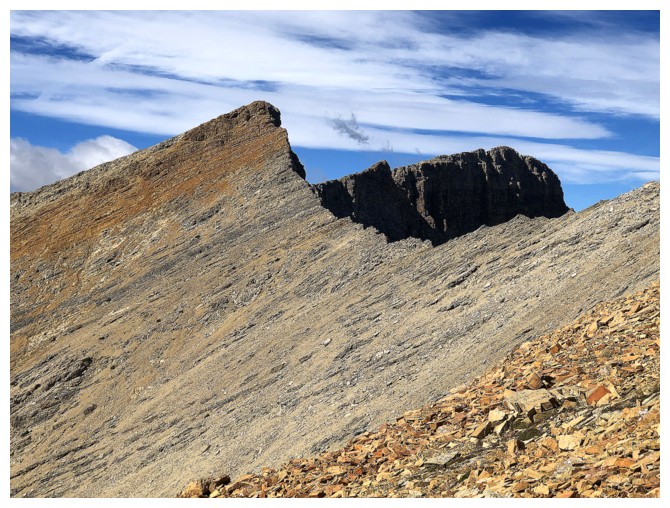
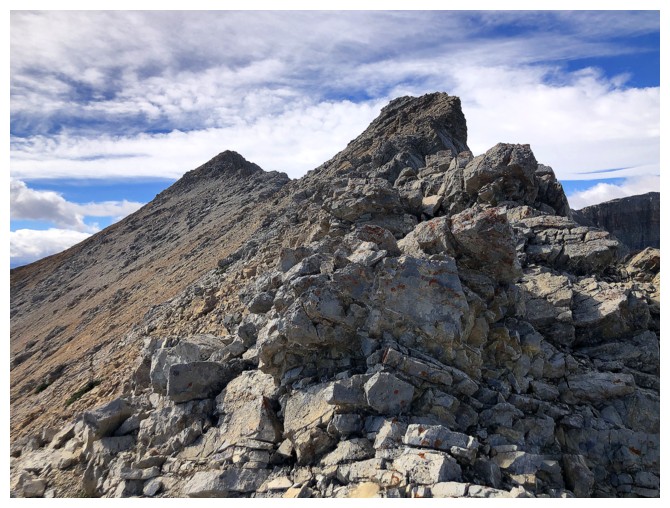
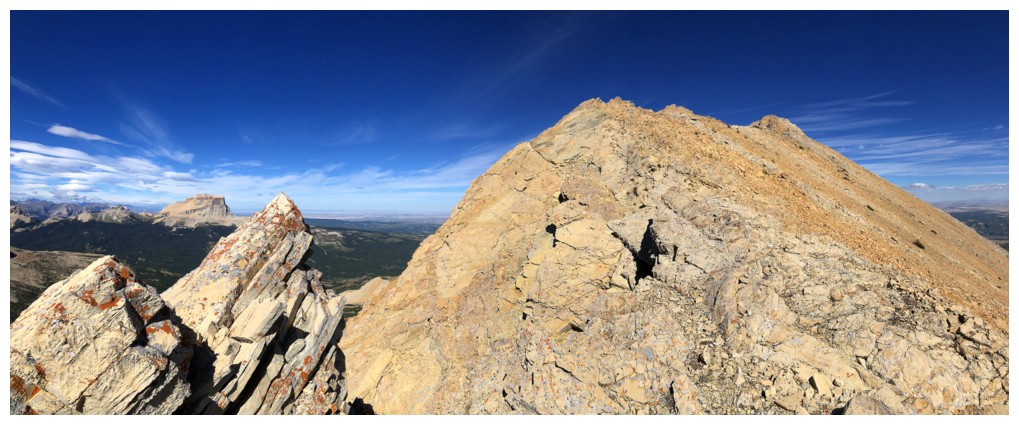
Yellow East at the right and a slightly higher summit to the left
The higher summit
Like our 2016 ascent, cloudy skies prevailed to the west, while the east remained sunny
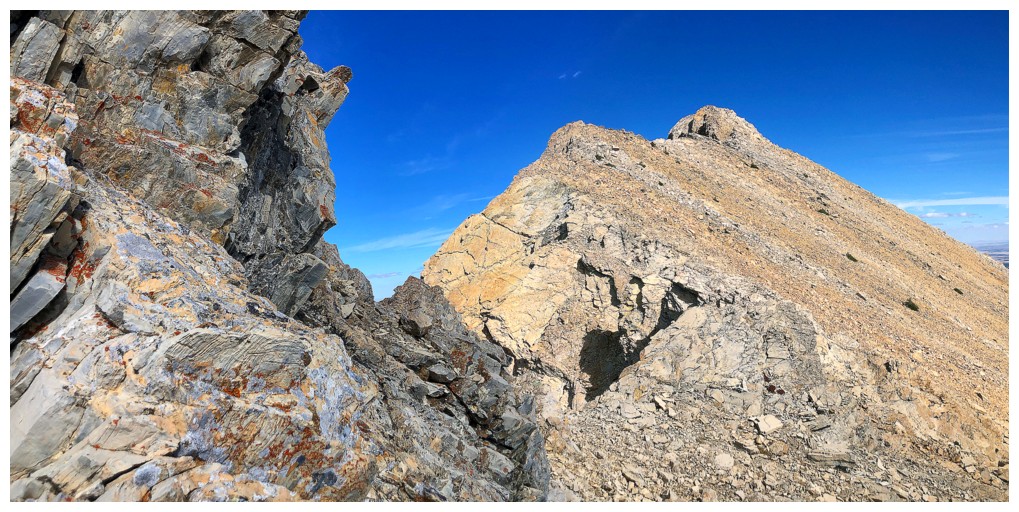
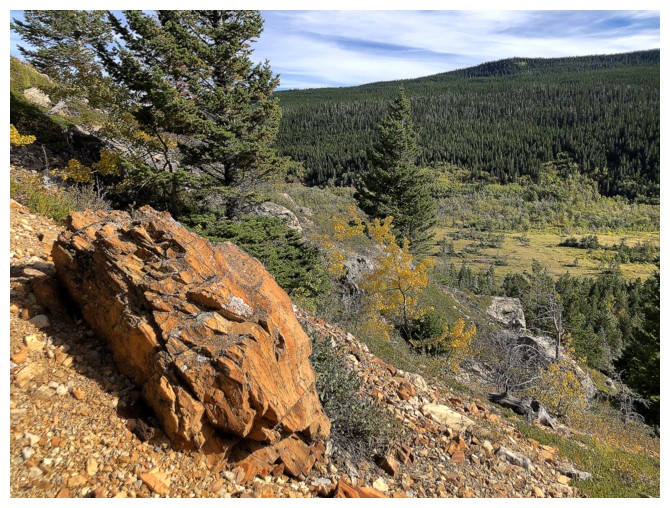
Some very interesting rock at the right

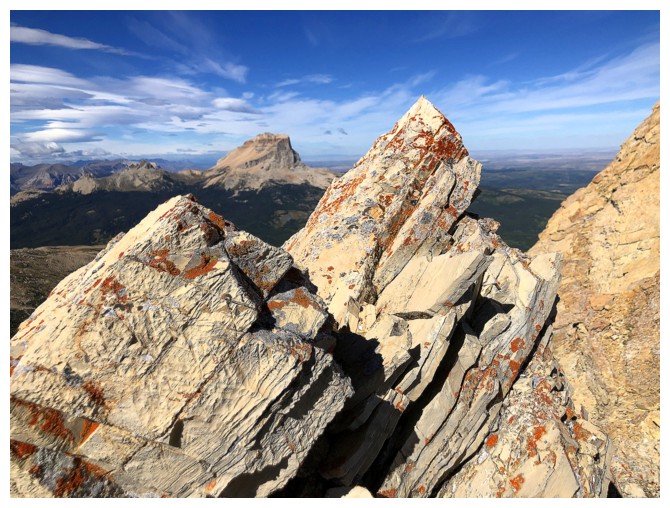
Close-up
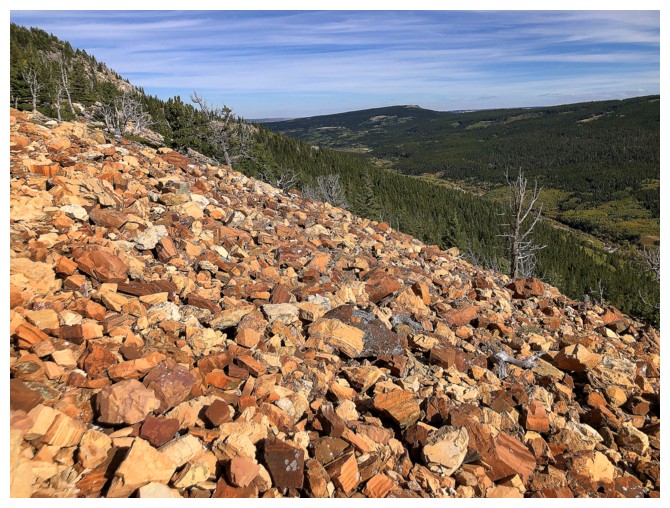
The unique rock colours and blue sky were big highlights of the day
Same as above
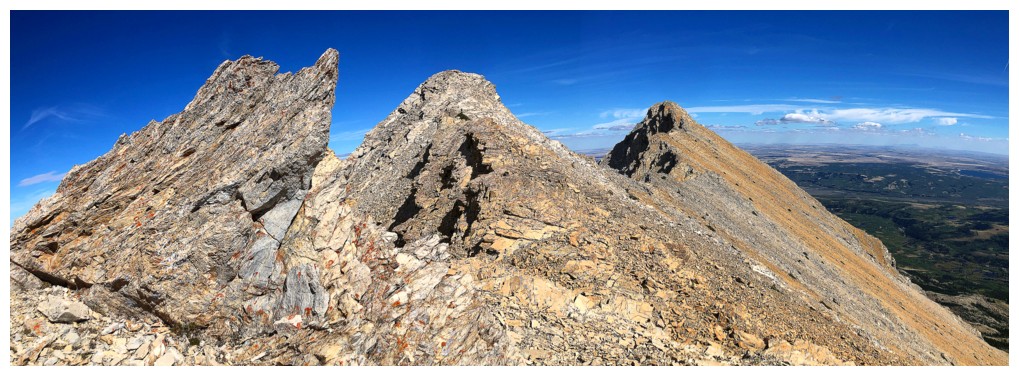
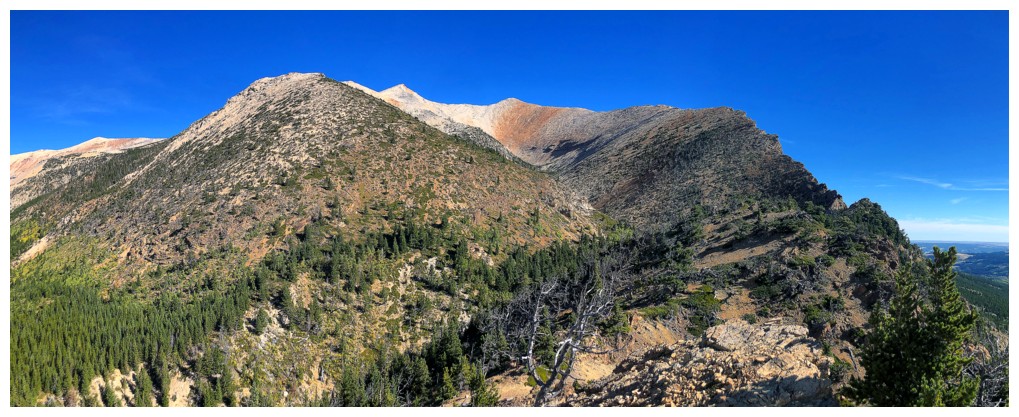
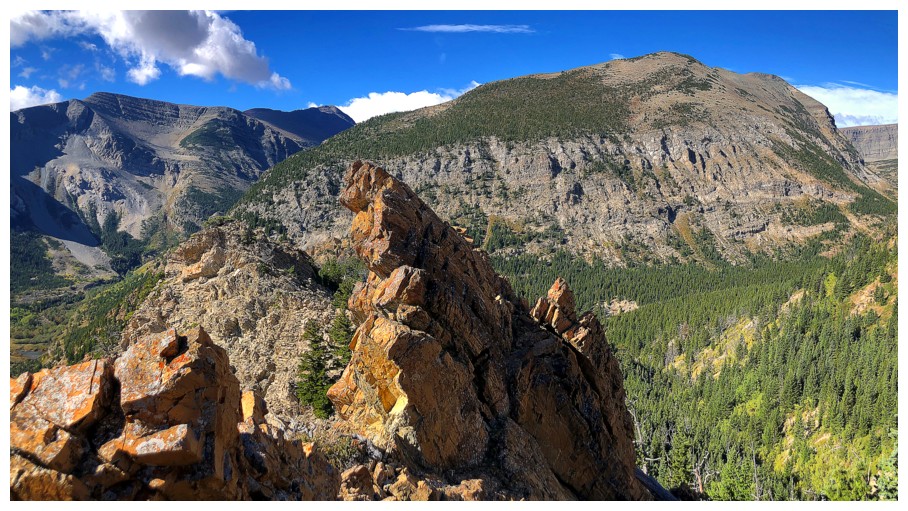
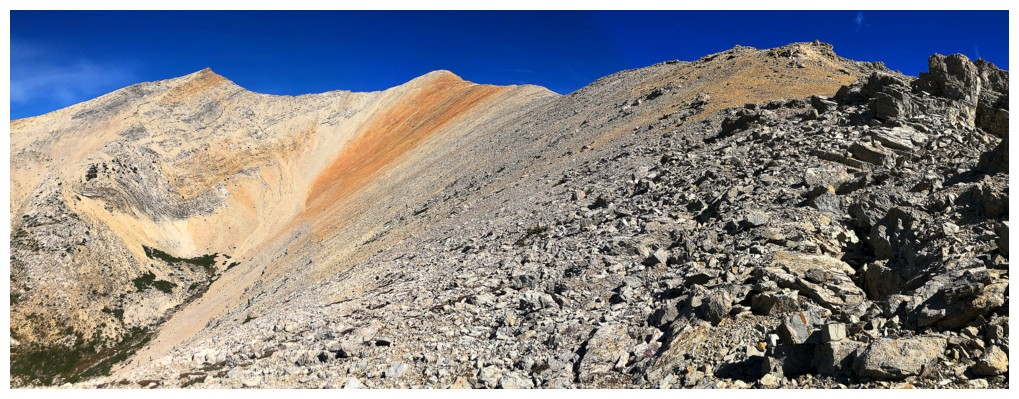
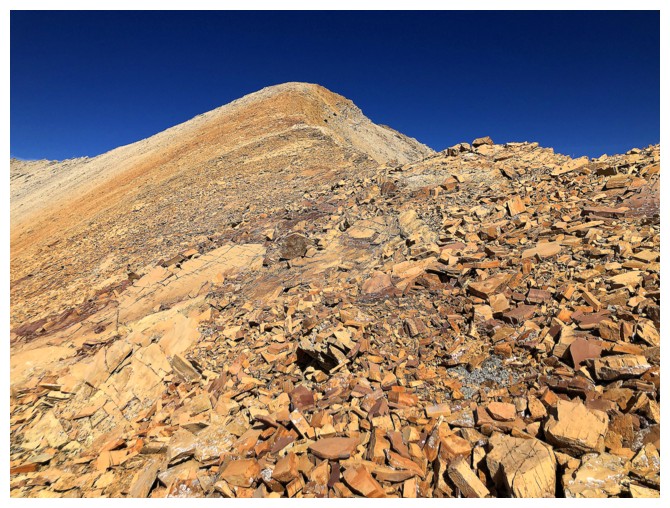
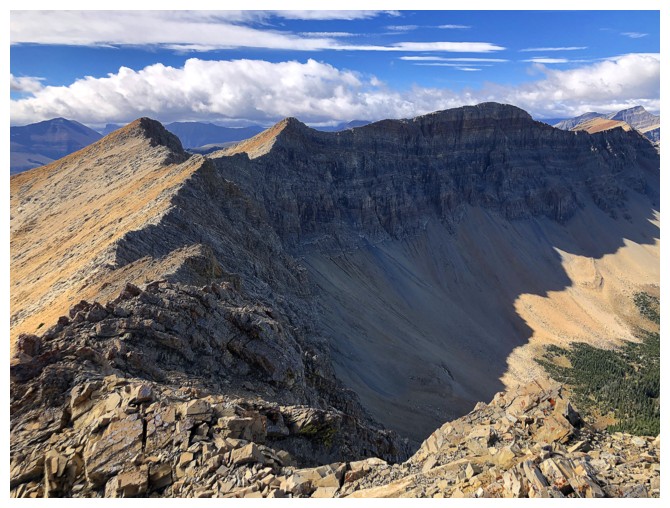
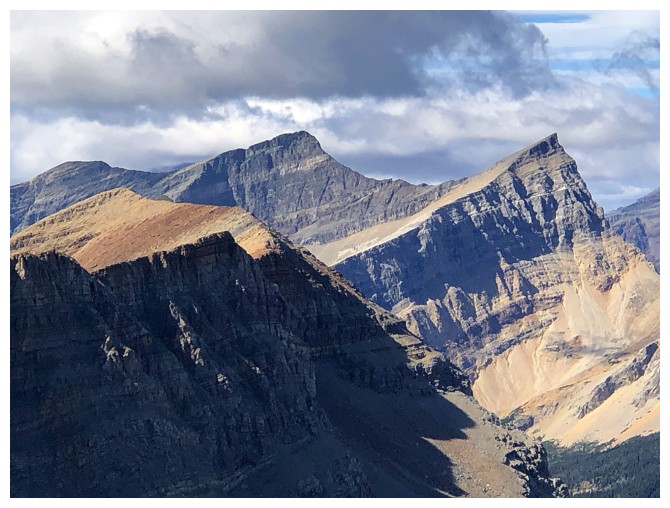
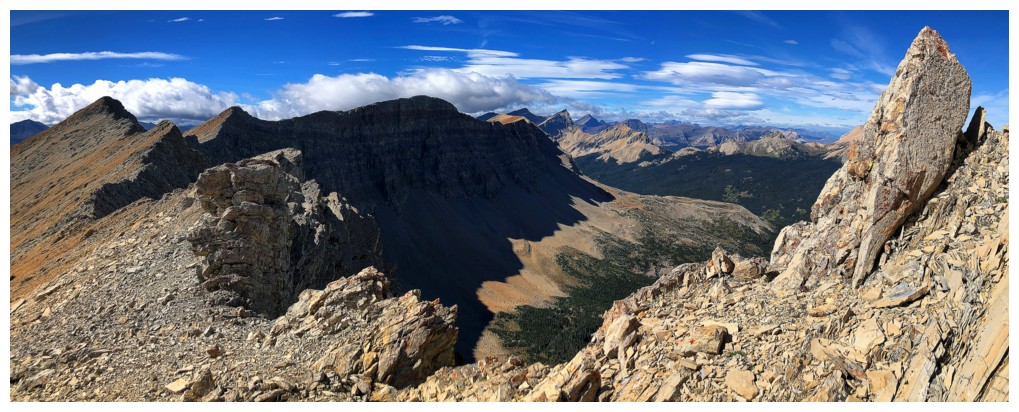
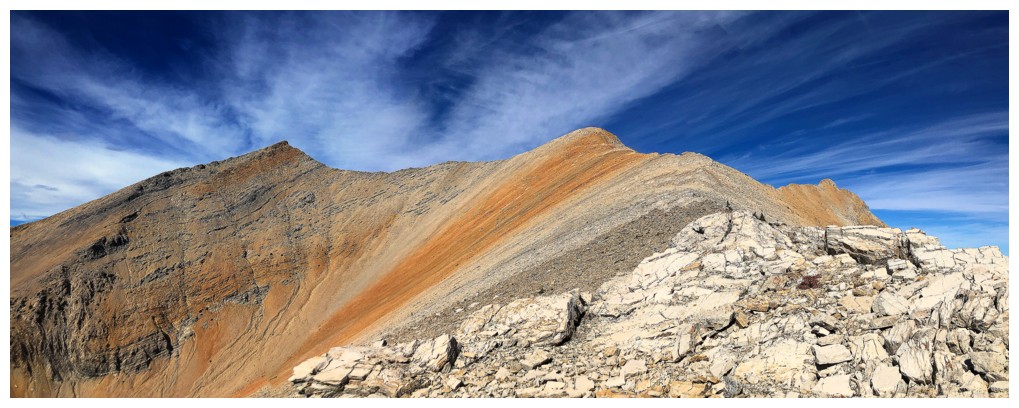
Another highpoint along Yellow Mountain's lengthy east ridge appears
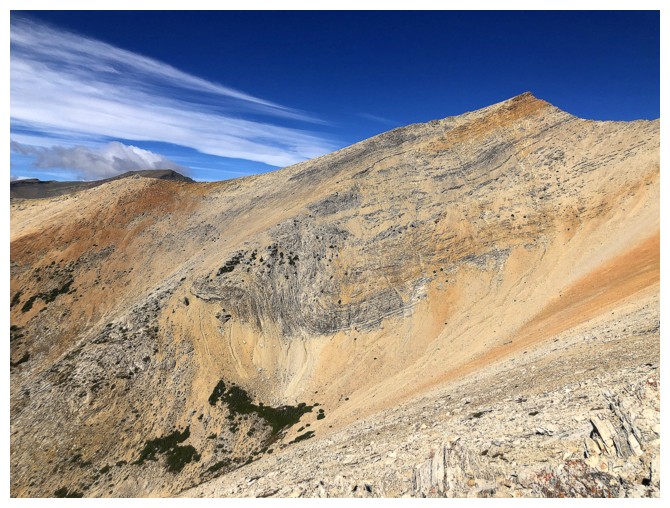
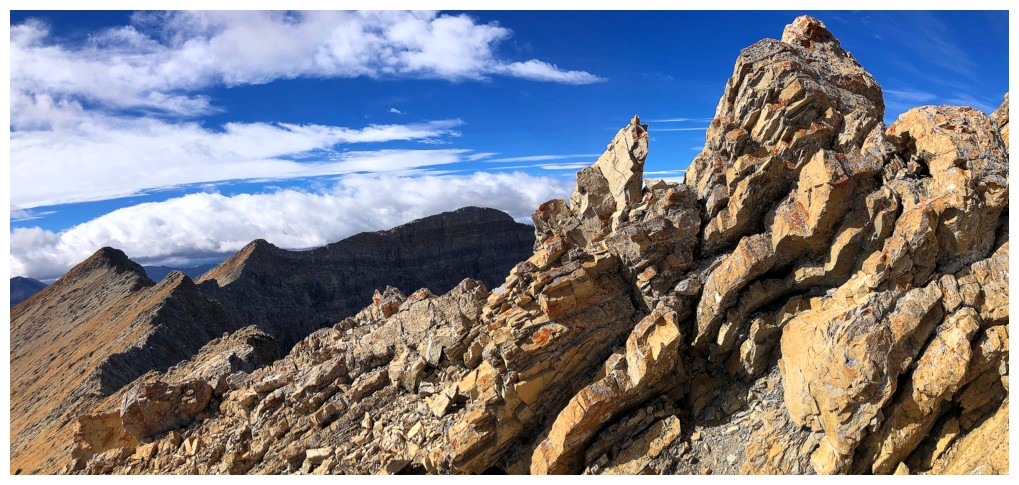
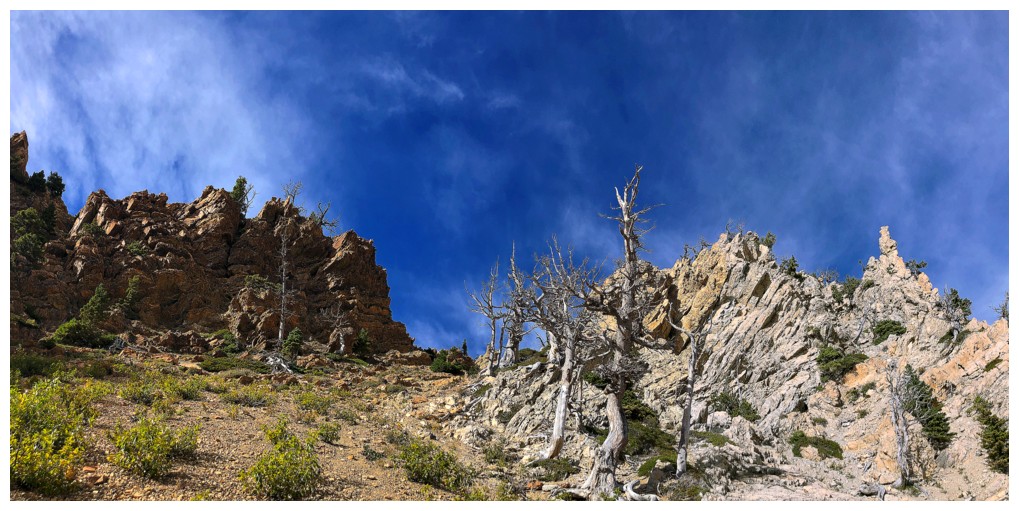
Best colours of the day. Sherburne Peak at the right.
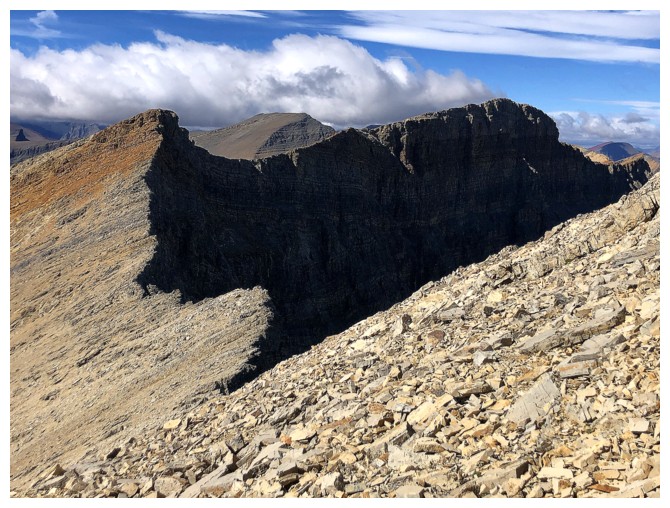
The north side of Yellow is extremely steep - as in almost vertical
At the summit
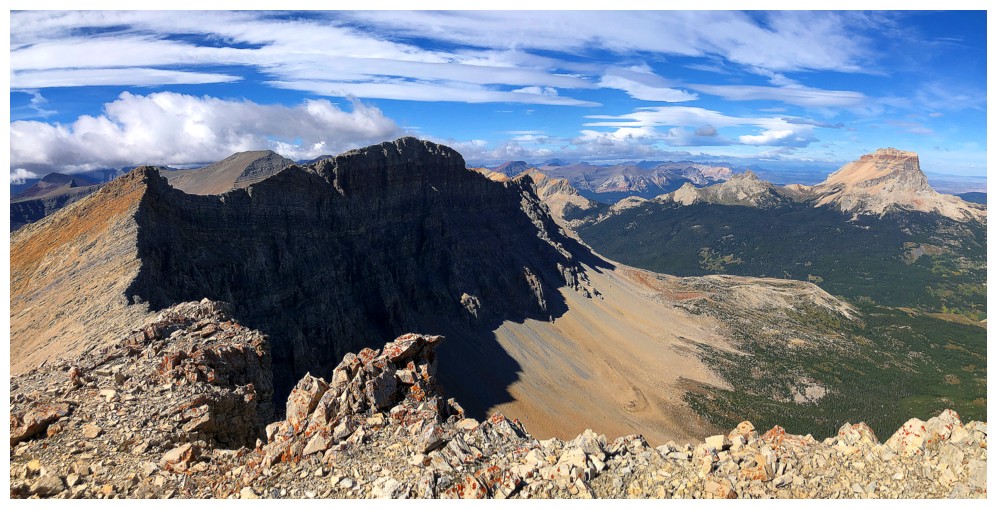
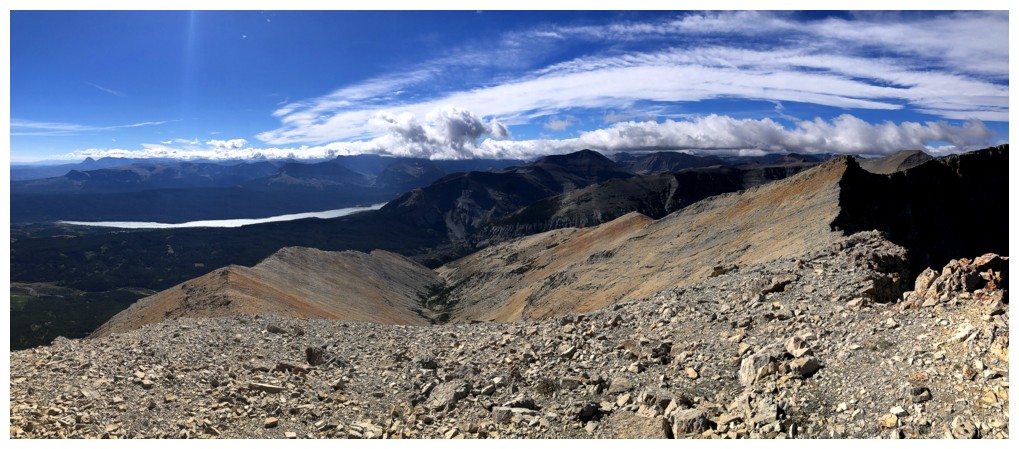
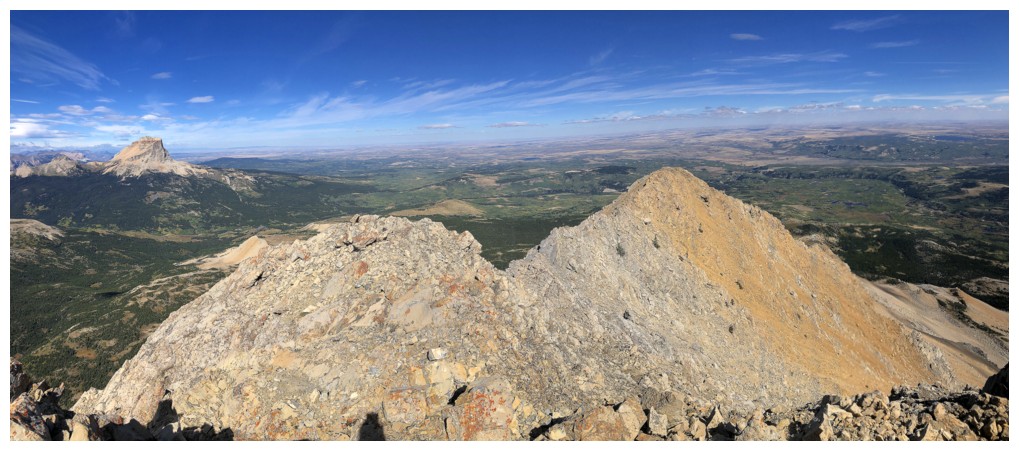
Summit panos
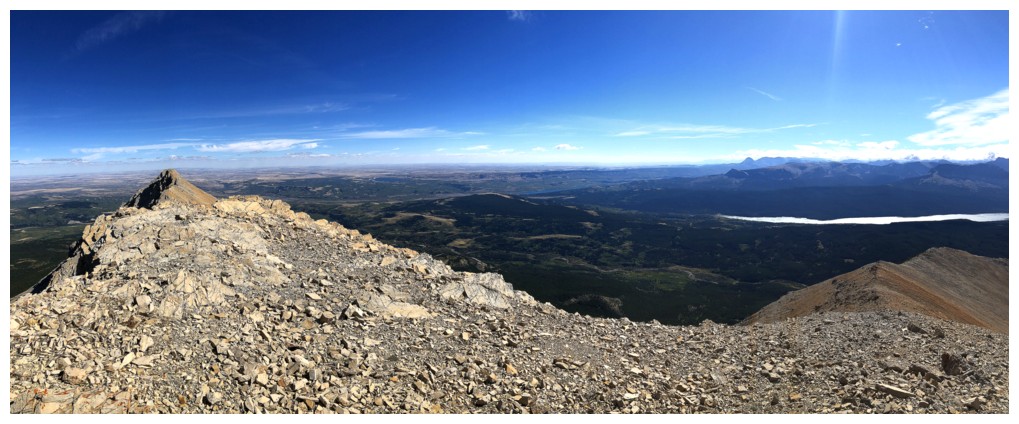
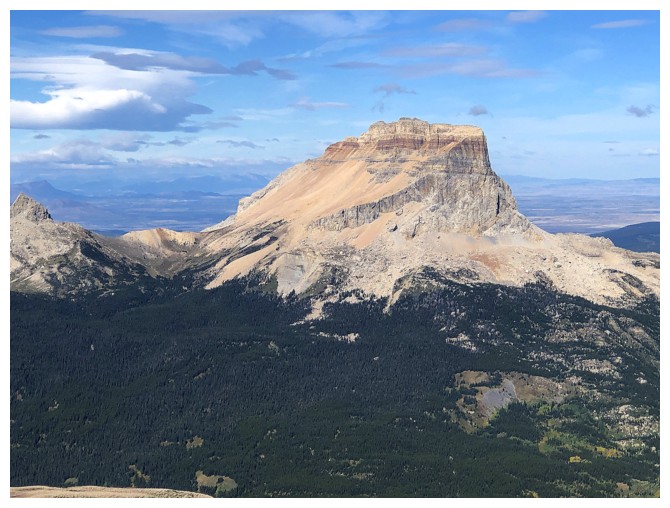
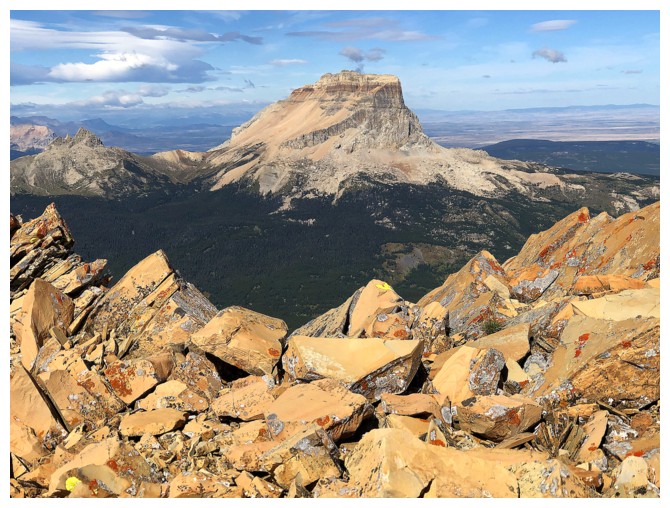
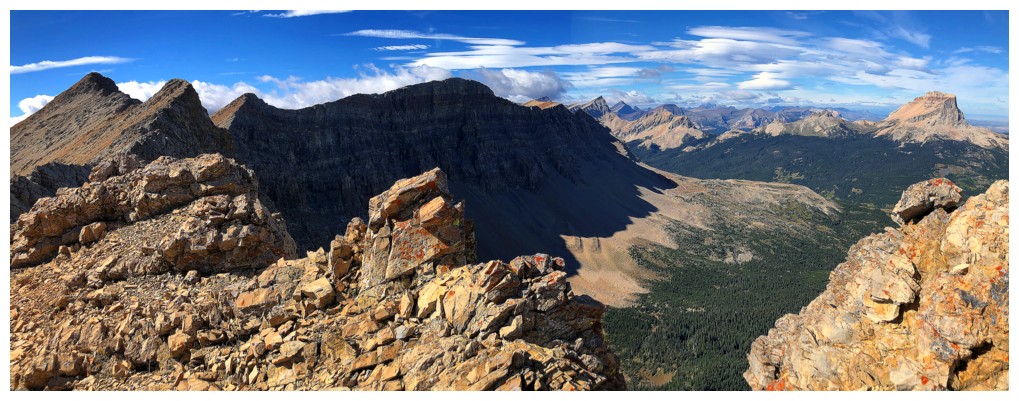
Chief Mountain is going to garner lots of attention
Ninaki Peak and Papoose at the left - essentially two outliers of Chief Mountain
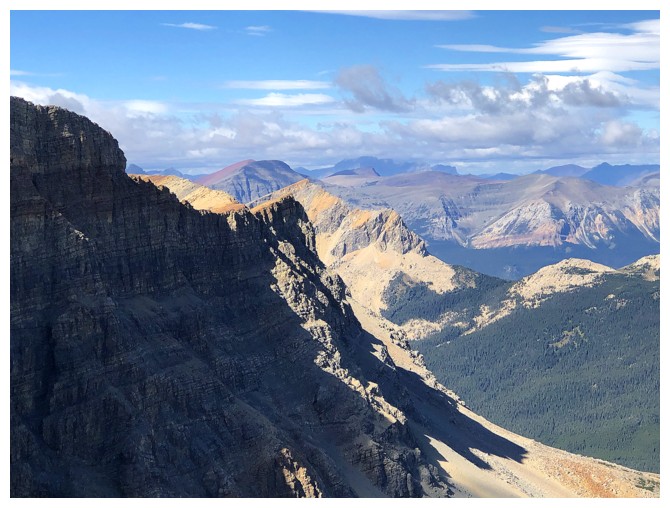
A section of that steep north face
Heading to Sherburne Peak
Chief again
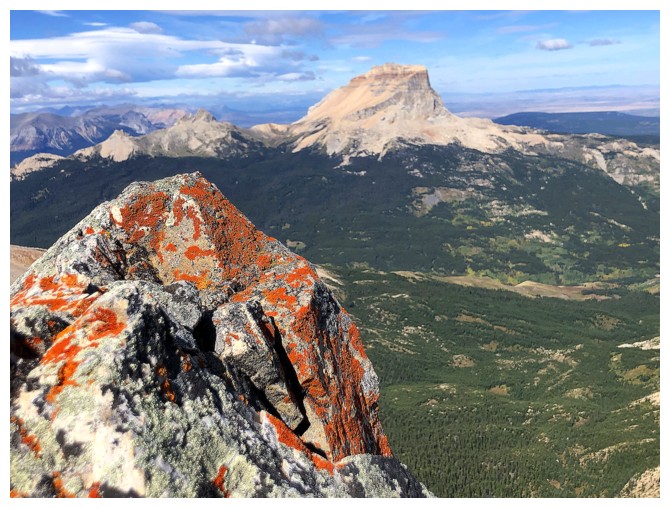
And again, with some lichen
Lots of drop-offs along the ridge, so veering down to the right was often necessary
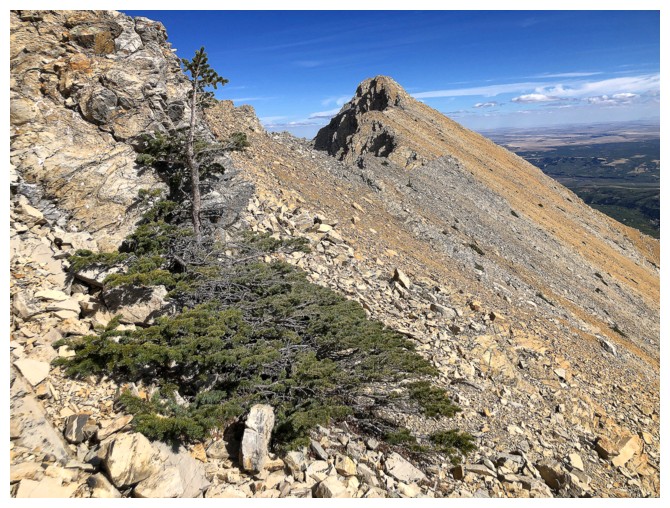
Way to survive, solitary tree!
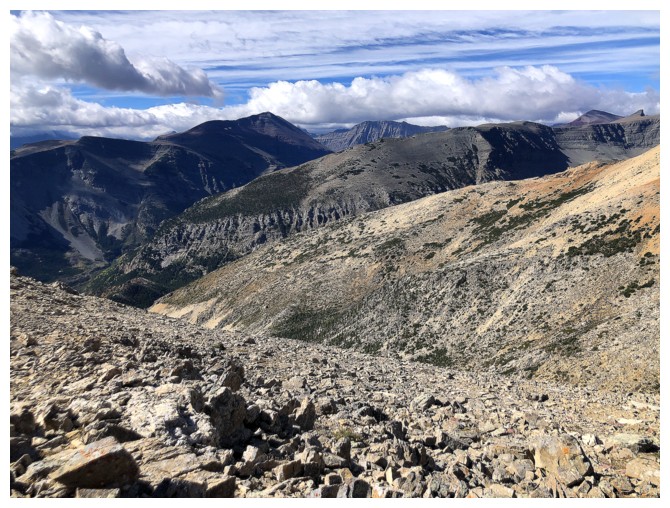
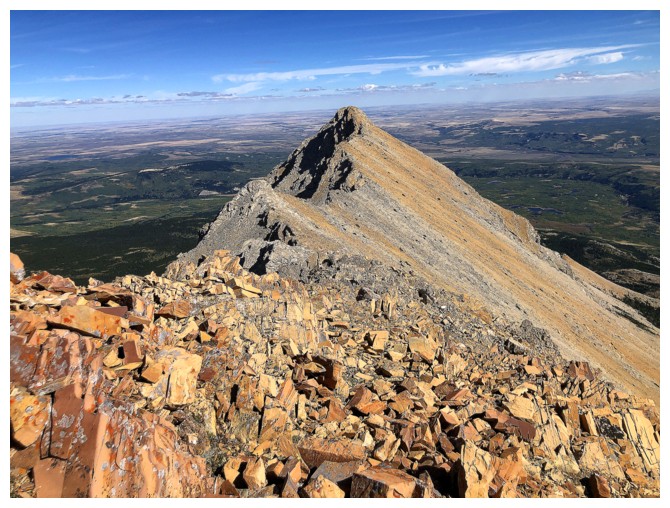
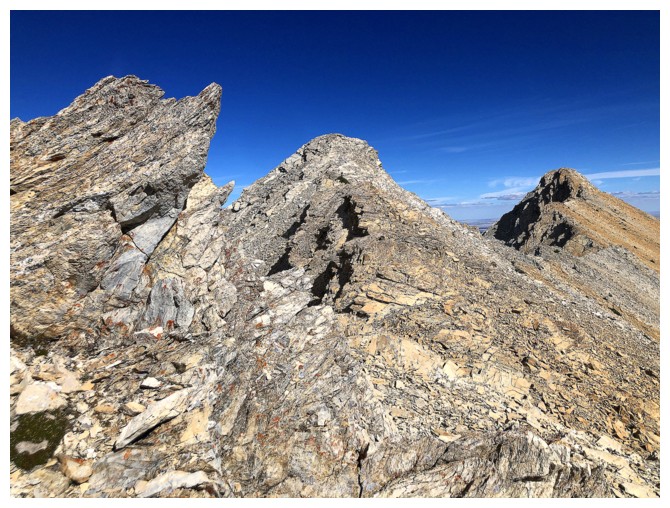
Looking back at the route
Looking forward

For the most part of the rock on the ridge is very solid
Another section that needed to be circumvented
And another
Minutes away from the top
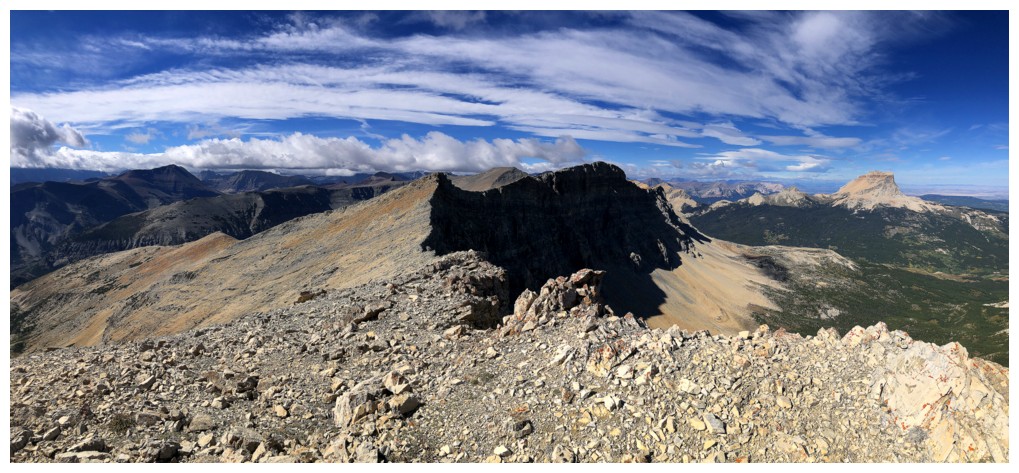
At the summit and the somewhat anticlimactic view to the northeast
Looking back to Yellow East
Gable Mountain to the northwest
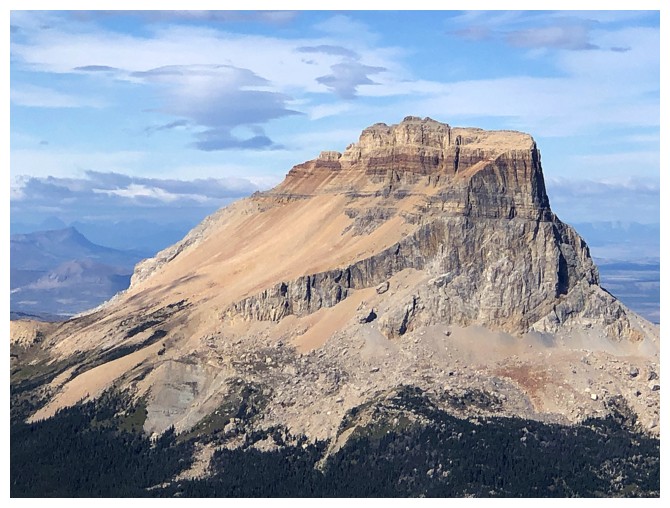
Best view of Chief
Closer look at Ninaki Peak
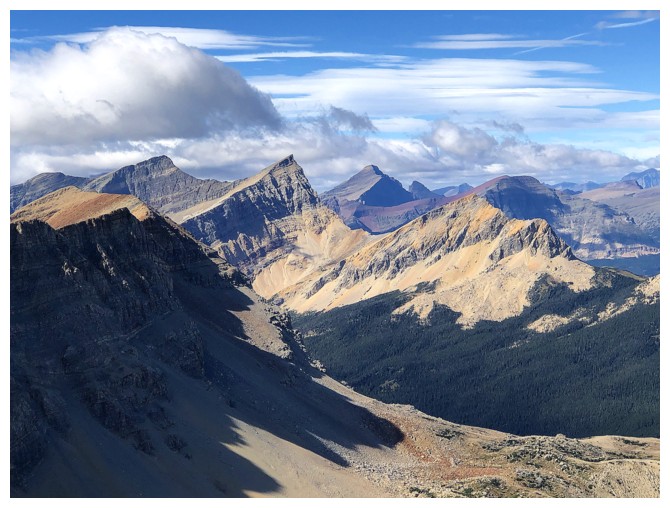
The two main summits of Gable, left and centre, and Kaina Mountain to the right
Gable and another summit of Yellow at the left
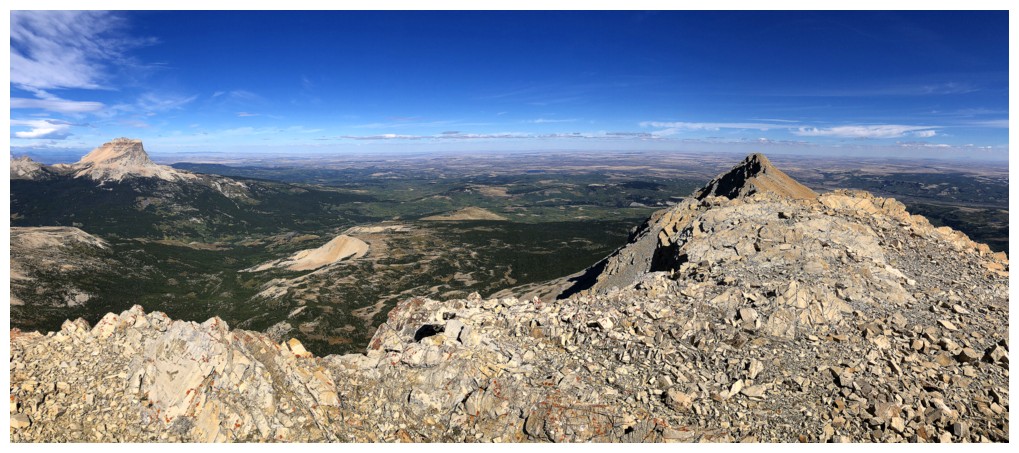
Summit panos
Heading back
Decided to side-slope at this point to reduce the elevation gain back to Yellow East
Back on the south ridge

One of the fissures. It was deep enough that I couldn't see the bottom - stay away in an earthquake situation!
The clouds were making their way east, but these were cool ones

Last look at the ridge and summit before going down the alternate descent route
There's the descent gully
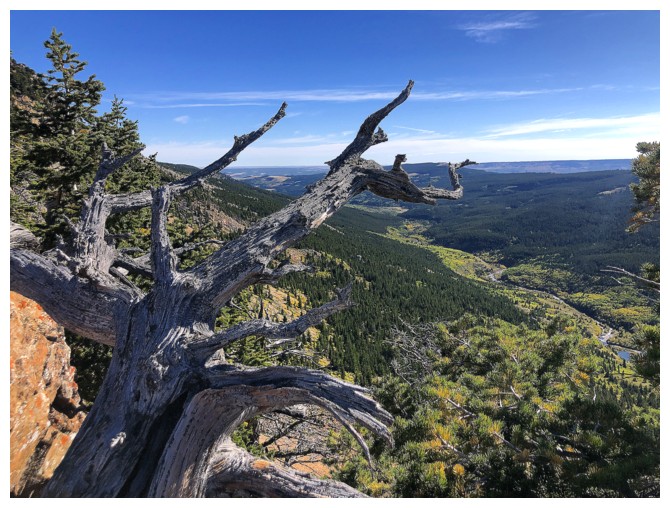
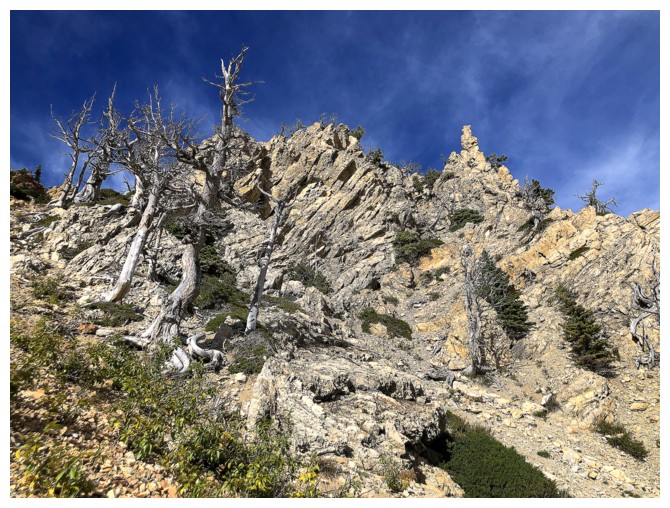
Lots of twisted dead trees on the way down
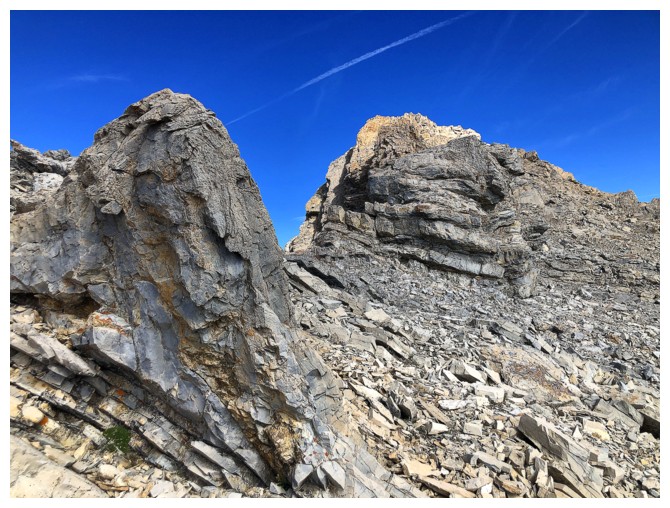
A different angle to view one of those rock formations

Close-up
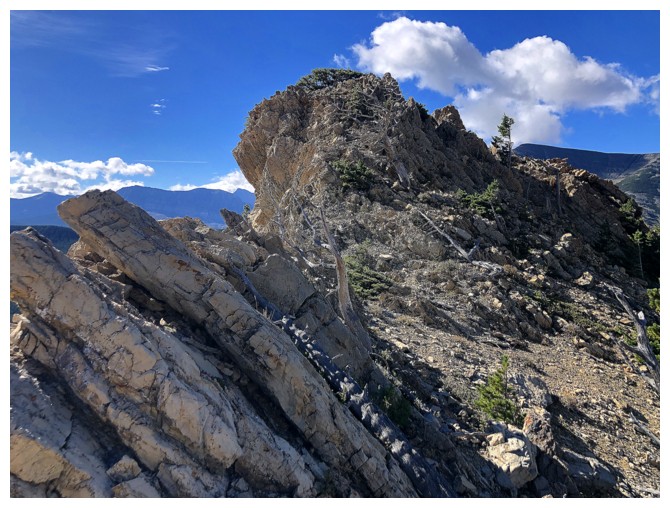
Striking rock on one side of the gully
...make that both sides
Halfway down
Still enamoured by the north side of the gully

Another close-up
The grade lessens for the final section
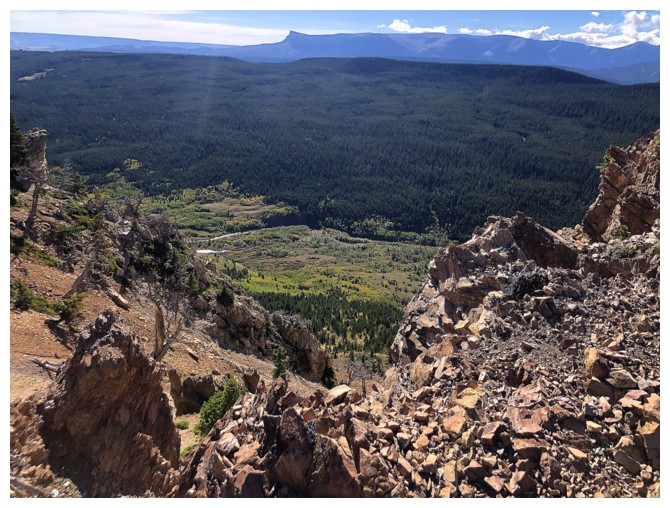
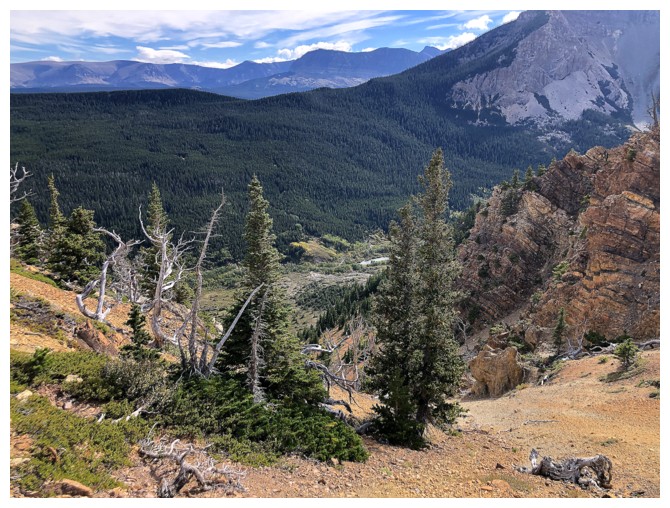
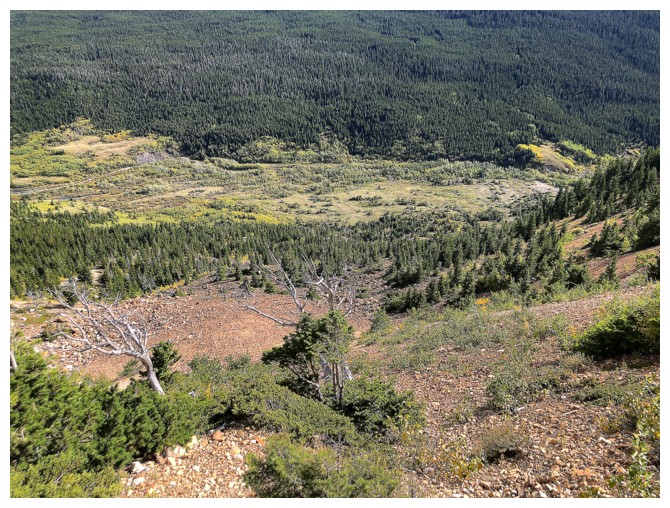
 Down at the valley bottom, looking back towards my descent route
The intriguing east face
Back at the tarn
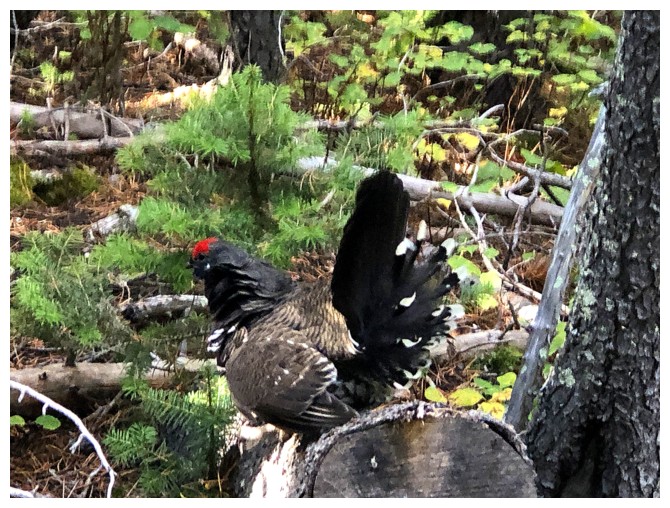
Reunited with the blue grouse
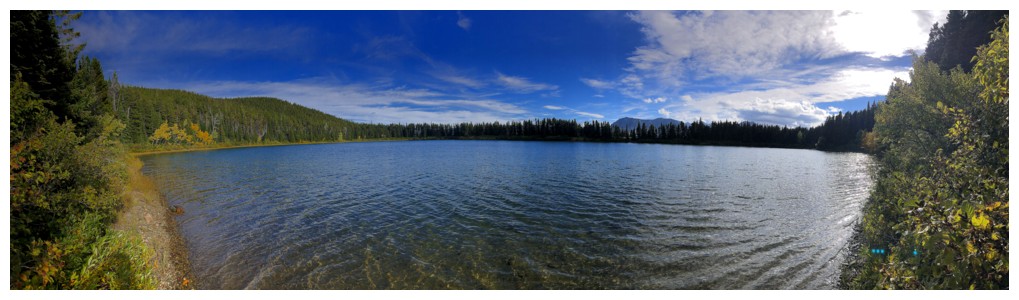
Of course another visit to Swiftcurrent Ridge Lake was hard to pass up
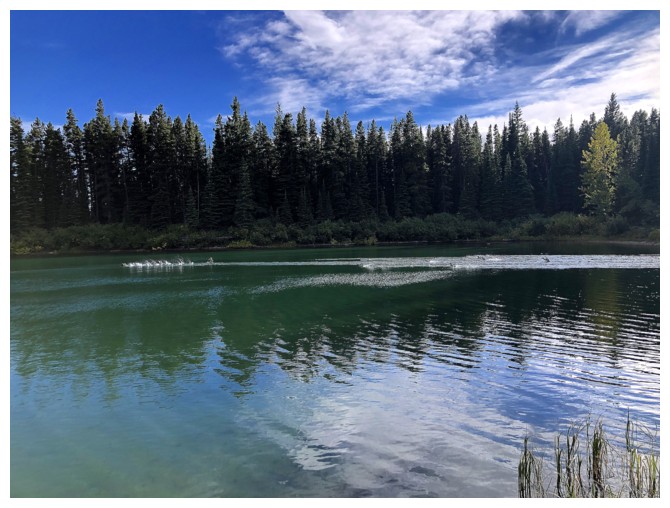
I startled a flock of ducks - oops!

Last look
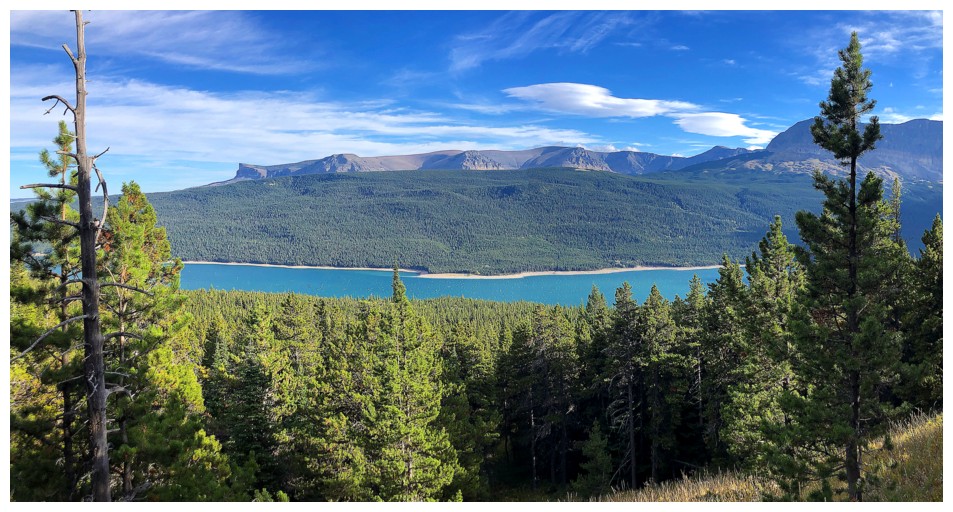
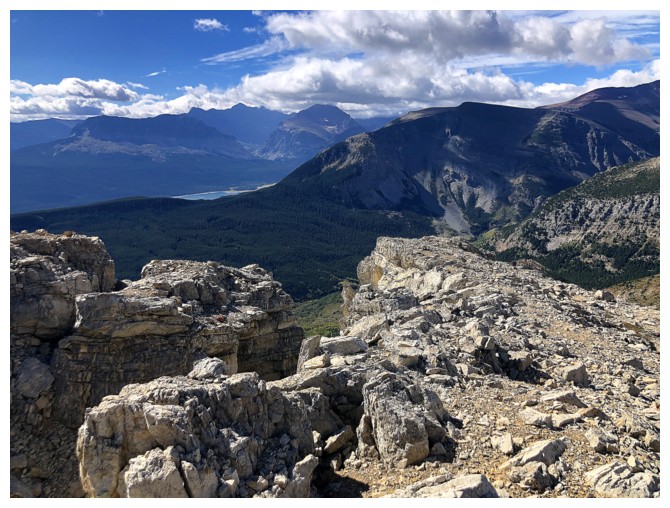
The welcome sight of Lake Sherburne and East Flattop Mountain near the end of the trail
The End
LOG