August 9, 2010
Mountain heights:
Boot Hill:
2498
m
Haig:
2618 m
Total elevation gain:
approx.
2100 m
Ascent time to Boot Hill:
4:50
Traverse time to
Traverse time to Haig:
4:35
Descent time:
2:00
Solo scramble.
A trip that was figuratively and literally “all over the map”
The initial objective of the day was to check out
a
potential route up
The reward of persevering to the col was a fine
view of
Like the recent Pulsatilla ascent, the day was characterized by a more than healthy dose of decision-making, each choice with its own set of pros and/or cons. At the col there were four options:
Ominous clouds building to the west quickly
eliminated the 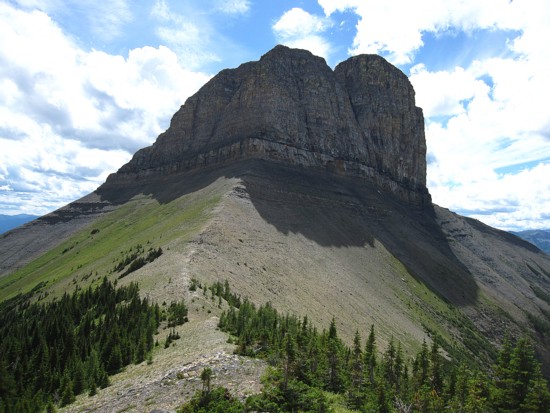 And
so I went with the Boot!
And
so I went with the Boot!
Though nothing more than a scree slog, the ascent
was very
pleasant, with improving views towards Middle Kootenay and Haig. It was
also
longer than I thought it would be and I reached the summit to the
surprising realization
that Boot Hill appeared to be almost as high as
The clouds didn’t produce any
precipitation and in fact, the
weather was very quite stable. 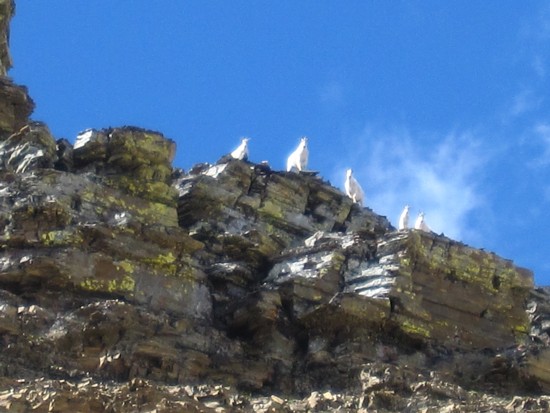 Also,
there suddenly appeared a much shorter
route to
Also,
there suddenly appeared a much shorter
route to
After much self-debate, I decided to go for
Three dismal realizations now hit me in the face.
First, I
had to find a way to get back to the car without repeating the
bushwhacking
ordeal of the ascent. Second, I was running out of water and the heat
of day
dictated that I find a water source, pronto! Third, I had euphorically
consumed
my summer, summit soda pop at the top of Boot Hill and didn’t
have a second one
for
The logical course of action, at this point, that
didn’t
involve calling for a helicopter rescue, was to descend to Haig Brook
to get
water, gain the Haig/Middle Kootenay col, and then either side-slope to
the
aforementioned alternate descent route or go all the way to the summit
of Haig
and use the descent route via Haig Lake (as I alluded to at the
beginning “all
over the map”!) 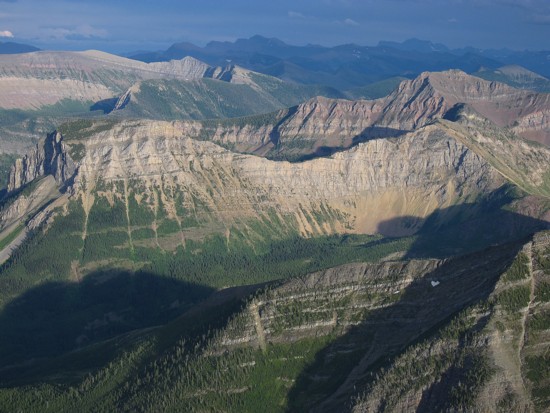 After returning to the southeast side of
At the brook I made another executive decision to
ascend
The knowledge didn’t, but the ascent almost did. It was bloody grueling! About halfway up, I looked over to Middle Kootenay and realized I could have ascended the south ridge and then descended to Little Middle Kootenay Peak and out via Middle Kootenay Pass Trail. This route would have entailed approximately the same elevation gain, but would have also been bush-free throughout – perhaps next time!
My watch read 7:25 pm when I dragged my fatigued
carcass to
the apex of
Choosing the descent route was an agonizing
decision. 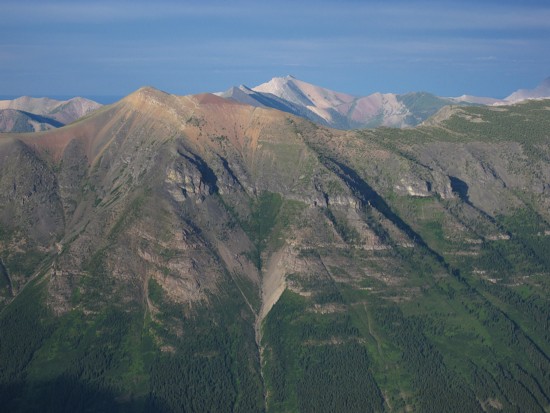 After
switching back and forth several times I chose the most direct path via
the
After
switching back and forth several times I chose the most direct path via
the
From a scenery point of view this route was
fantastic. The
rapidly descending Sun lit up mountains to the southeast in beautiful
shades of
gold and red and then moved to highlight peaks to the east. Rainy
Ridge, Three
Lakes Ridge,
In honour of my Star Trek fixation, I’d
like to say I
“boldly went where no man has gone before” in
executing this route, however
“boldly” can often be an optimistic substitute for
“blindly”! I
am sure that those reading this report will think
twice about trying at least the first part of the route. For those who
are interested
in these peaks, I’d recommend an ascent of Haig via
A magnificent day with all the magnificent scenery I’ve come to expect in the Castle area. 24 hours after the fact, the bushwhacking nightmare was already a hazy, out of focus memory.
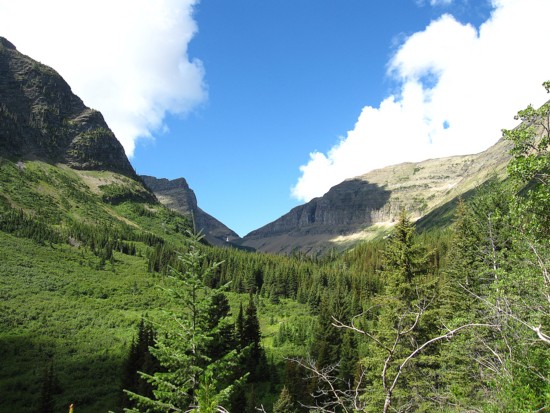
Out of the first section of severe bushwhacking and getting ready for
Round 2; aiming for the obvious low col
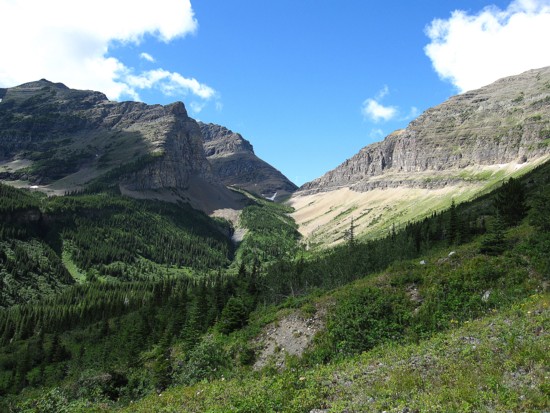
I thought I was both literally and figuratively out of the woods here,
however,
there was still a great deal of challenging terrain to contend with
Tombstone Mountain
from the Middle
Kootenay Mountain/Mount Haig
col
Tombstone
and much closer Boot
Hill
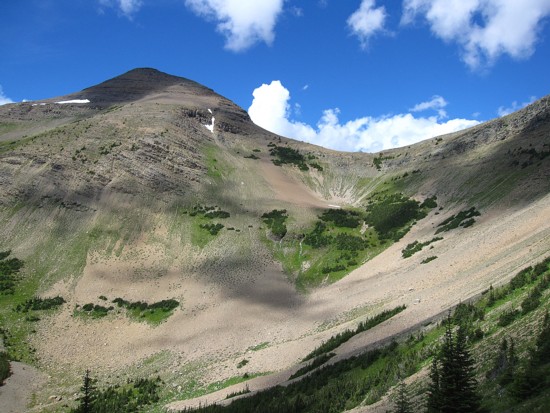
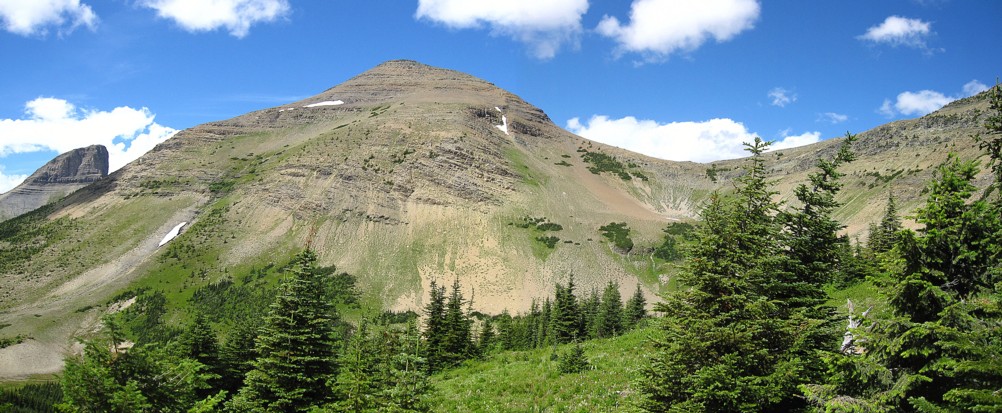
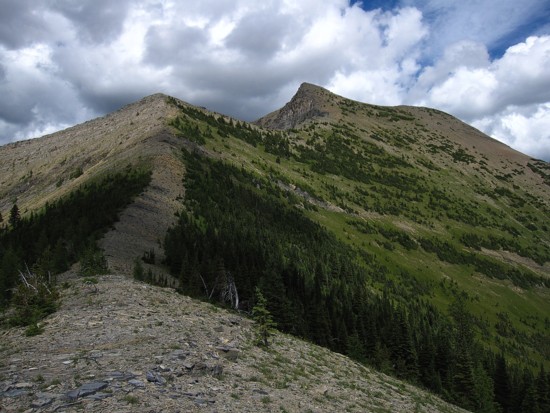
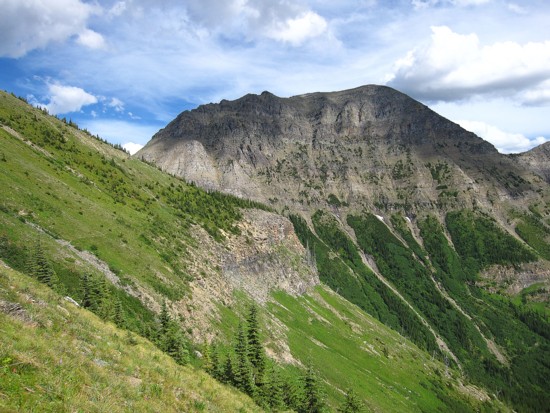
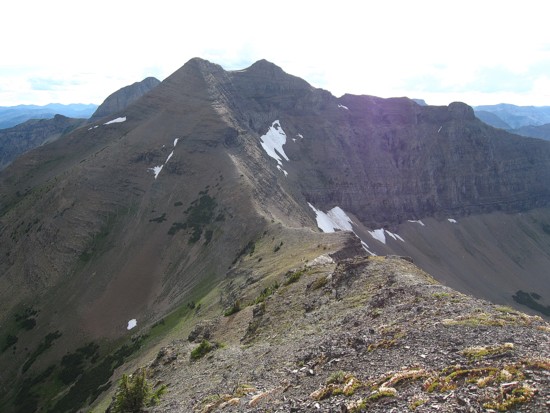
The easy ascent slopes of Boot
Hill
Looking back to the col and Middle
Kootenay Mountain

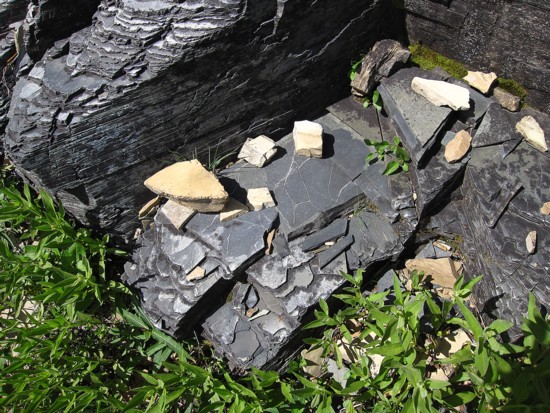
Clean-cut rock
Looking back to Mount
Haig (left)
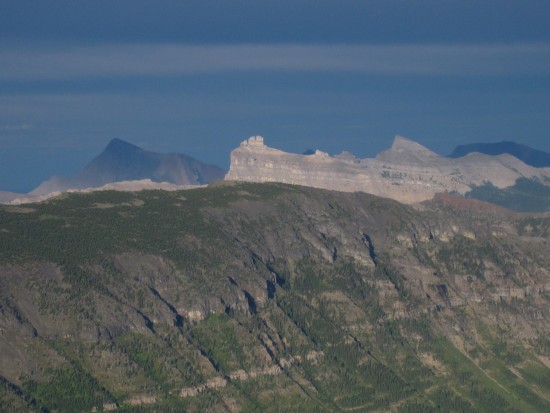
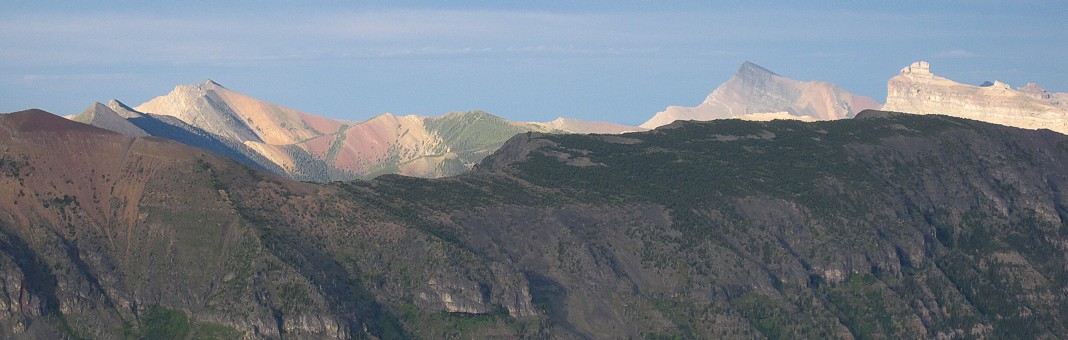
The summit view to the north, from Boot Hill; St Eloi
in the centre and Syncline
to the right
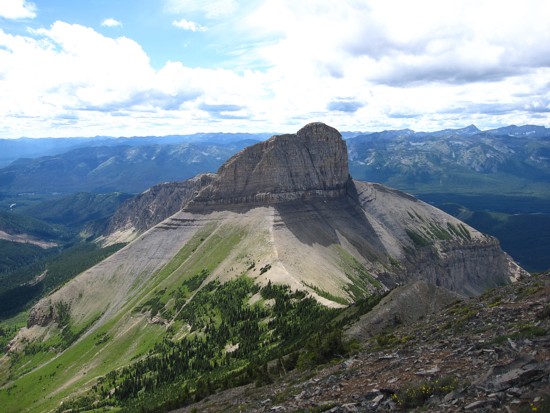
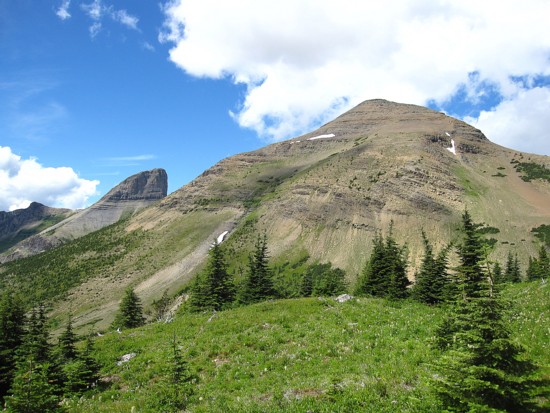
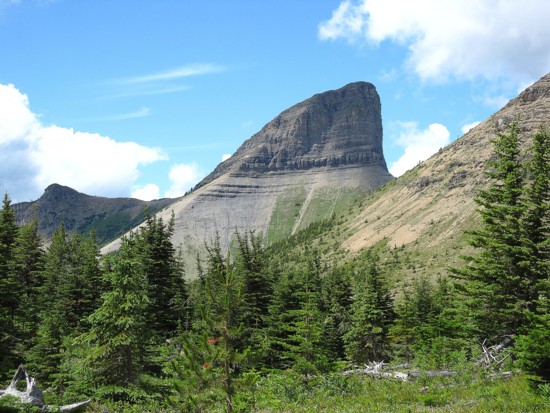
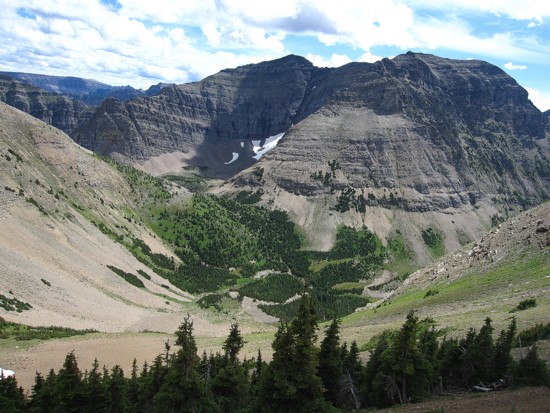
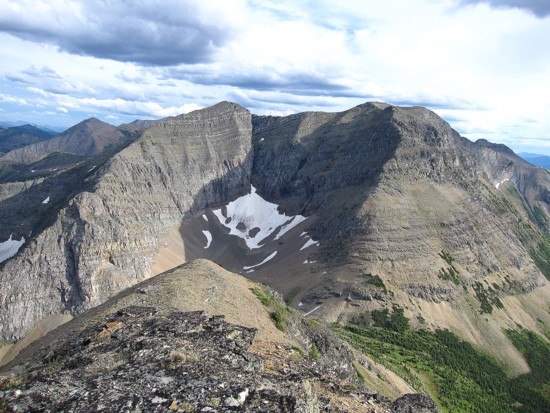
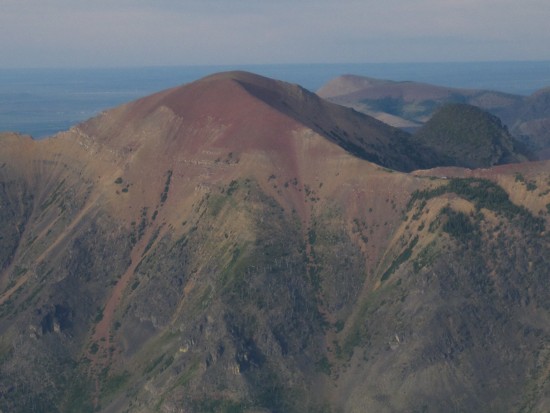
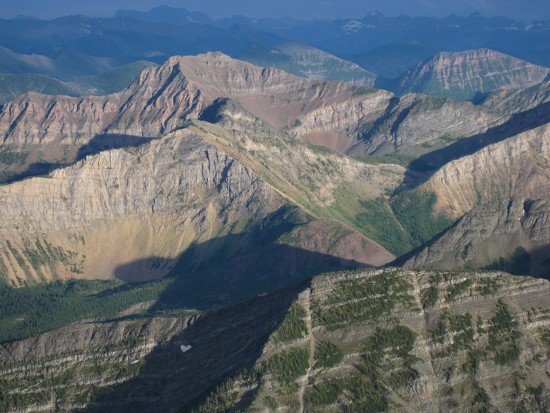
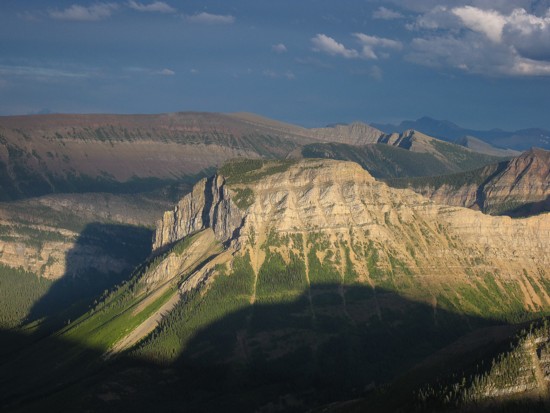
The vertical north face of Tombstone;
the ascent route traverses below the face on
the left side and then goes up easy slope on the south side of the peak
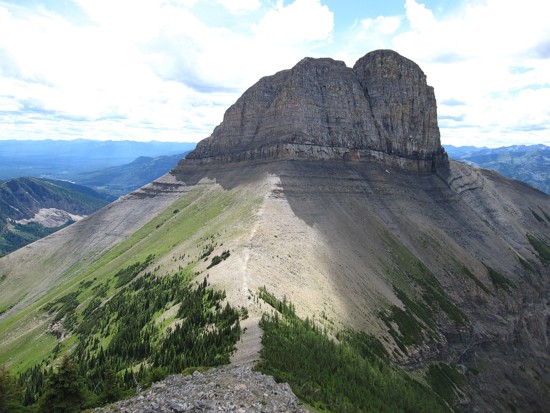
A closer look at the distinctive mountain
Middle Kootenay
and lots of unnamed stuff
Looking back to Boot
Hill
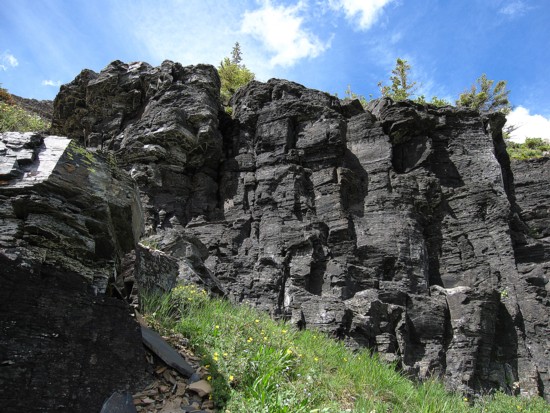
A cool band of black rock
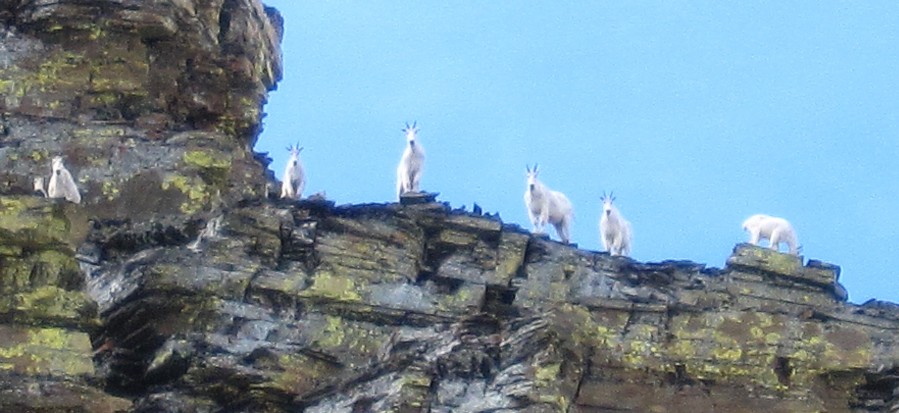
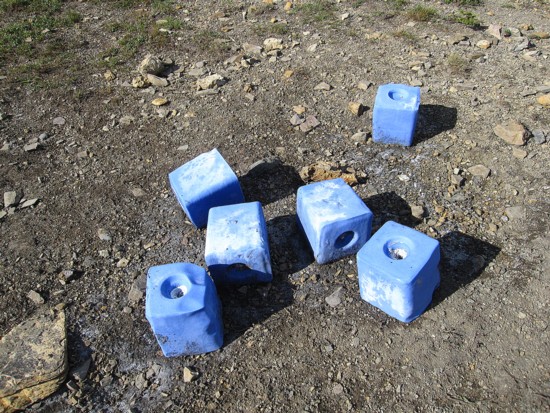
The watchful goats (except the one on the right - he'll be
the one calling Jenny Craig in a few years)
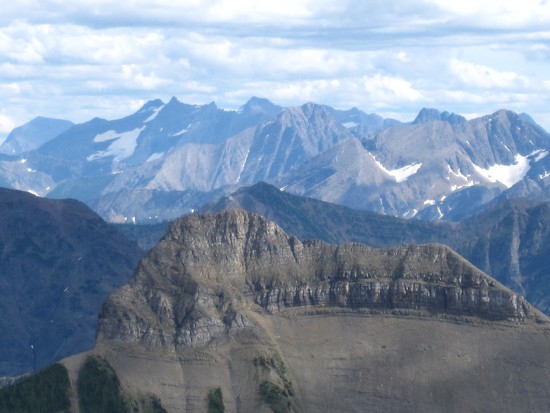
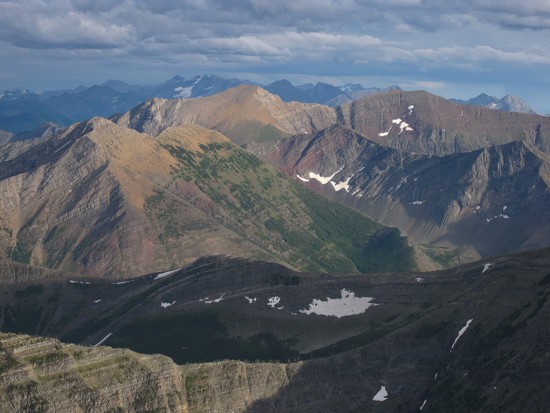
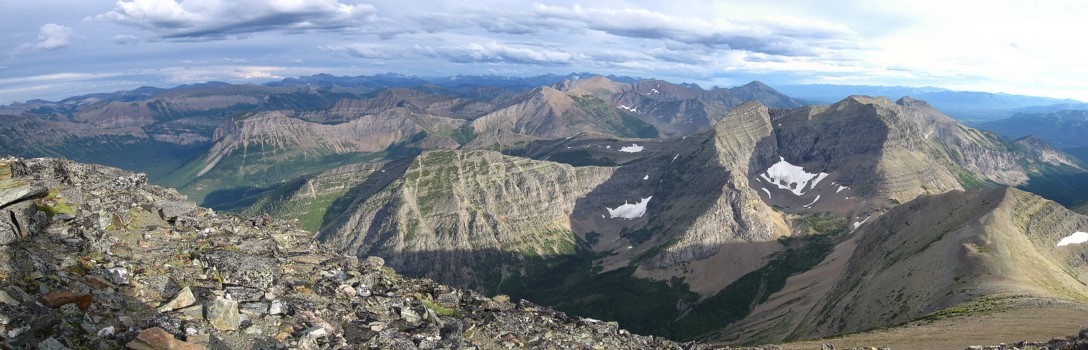
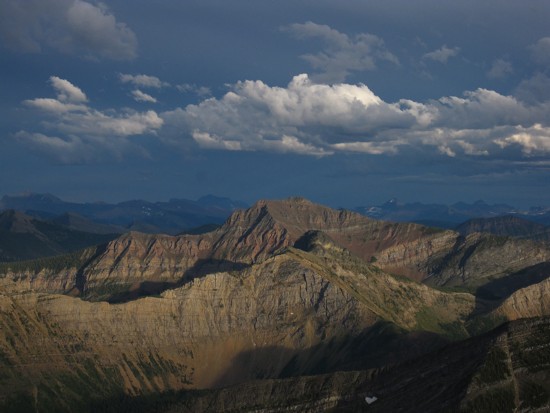
Part of the summit view from Tombstone;
an unnamed peak in the foreground and mountains of GNP behind
The traversing descent route goes above the rockband

Looking back to Tombstone
and the pleasant descent route across grassy meadows
?????
Clouds over Barnaby
Ridge
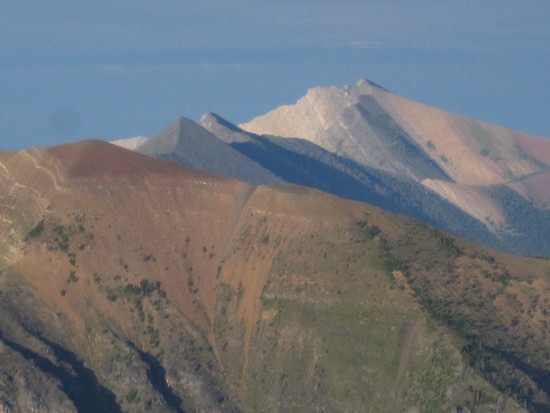
Middle Kootenay
Mountain
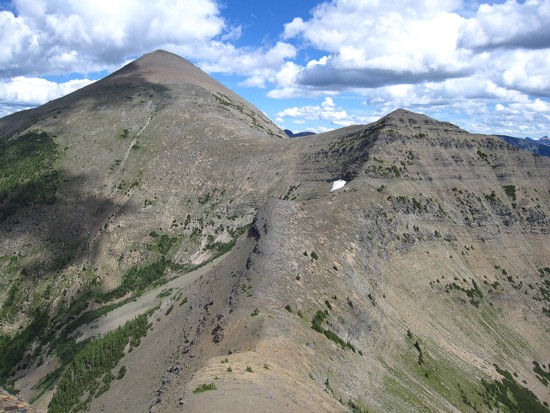
The northeast side of Boot
Hill
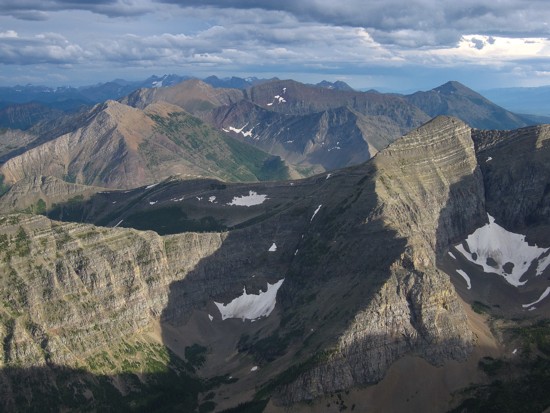
Reaching the summit of Haig;
Boot Hill
and Tombstone
to the right and
Middle Kootenay to the left
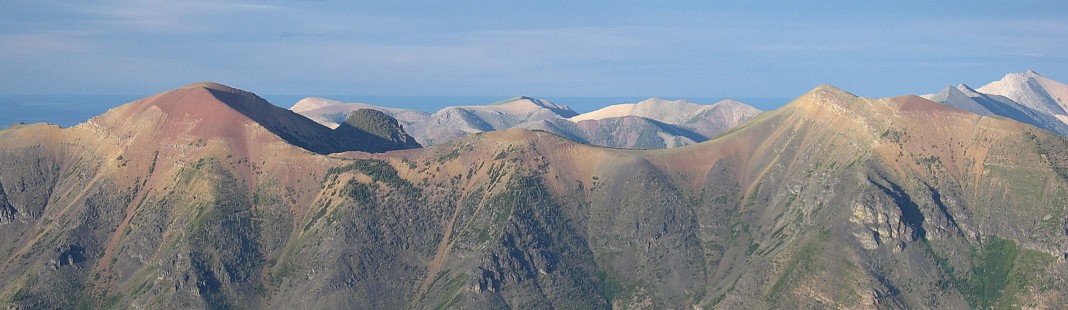
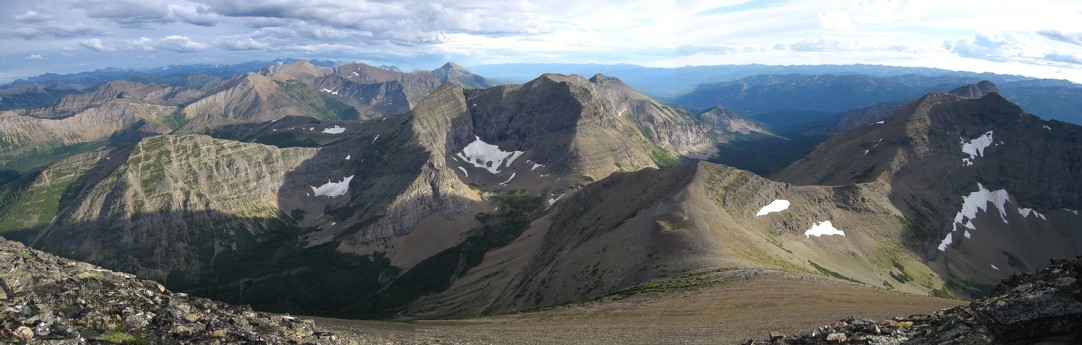
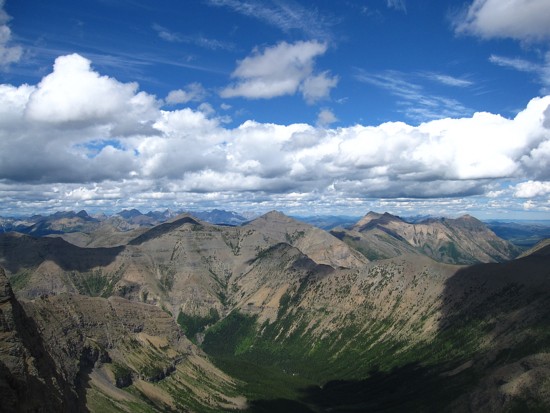
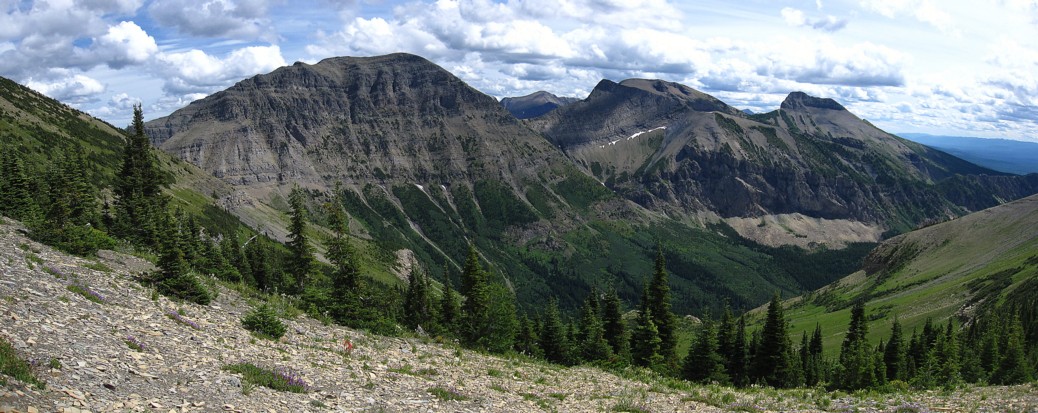
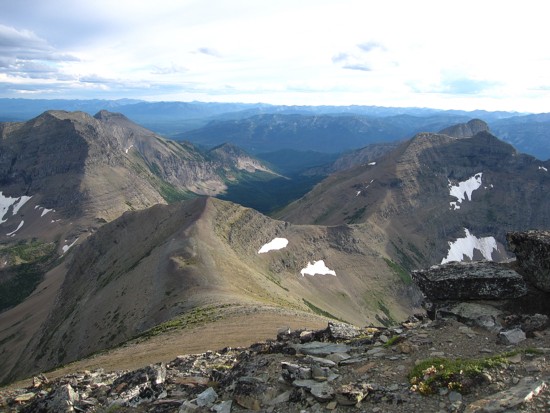
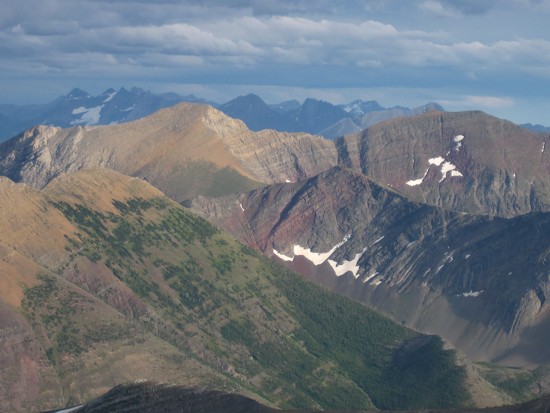
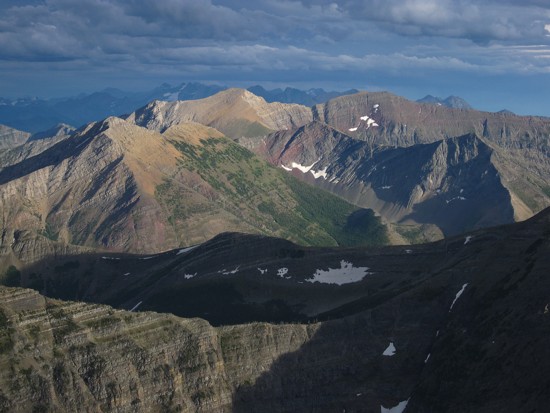
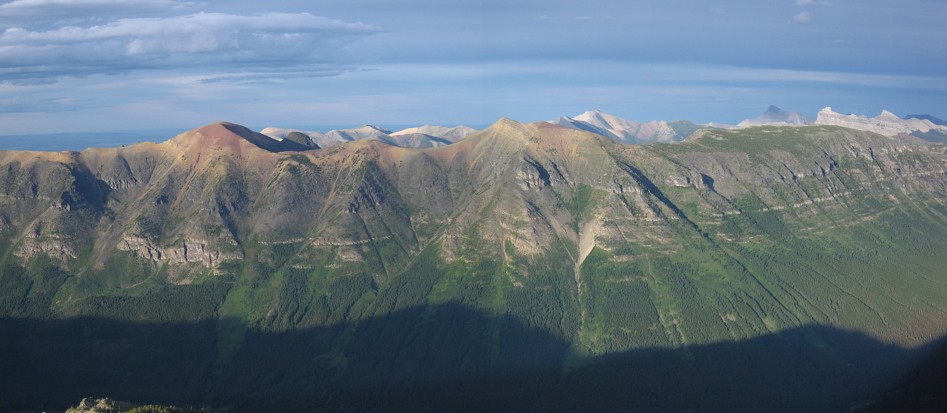
The summit view south and southeast, from Haig
A closer look; Three
Lakes Ridge at the left and Scarpe Mountain
in the centre;
the foreground peak at the right is the false summit of Middle Kootenay Mountain
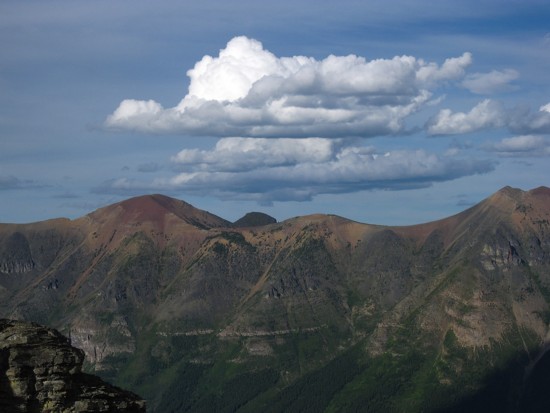
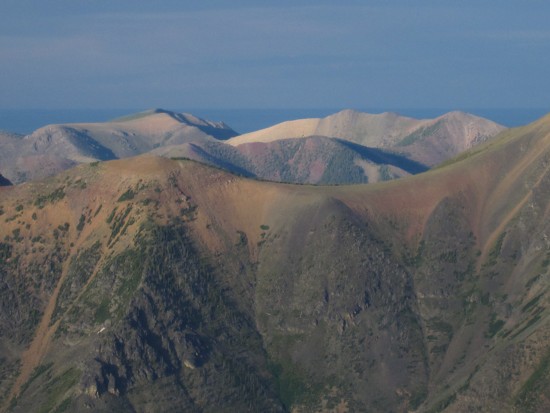
The RED
peak of Barnaby
Ridge
Unnamed (left) and Scarpe
(right)
Pulling back
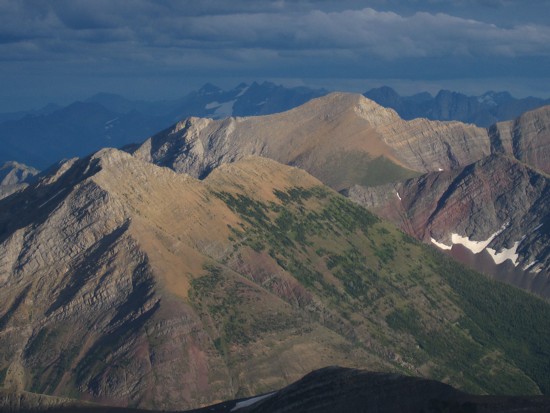
Three Lakes Right
(left) and Unnamed (right)
Rainy
Ridge (upper left)
Peaks of the Castle area to the east
Victoria
Peak (left), Castle
Peak (centre) and Windsor
Mountain (right)
Ridges to the south of Table
Mountain
Frankie
Peak and Larry
Mountain (small, dark peaks at the left), Gladstone,
North
Castle, Victoria
Peak, and Castle
Peak
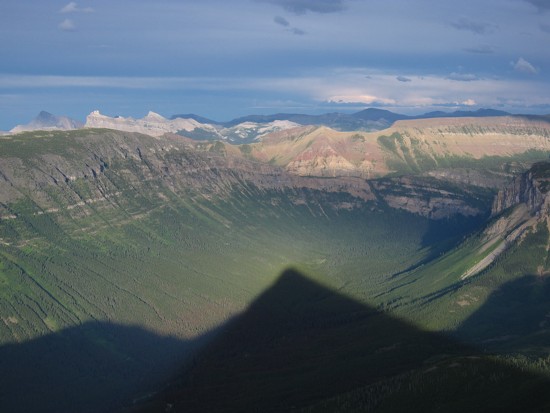
Haig
starts to cast its shadow over the valley
Frankie,
Larry,
and Gladstone
Clouds over Rainy
Ridge
The northeast outlier of Rainy