Burstall Outlier
January 30, 2025
Mountain height: 2480 m
Elevation gain: 590 m
Ascent time: 2:25
Descent time: 1:35
Solo scramble.
Big shout out
and thank you to Riad Ahmed and his band of Slow and Steady Hikers for breaking
trail on this very cool northeastern outlier of Mount Burstall. 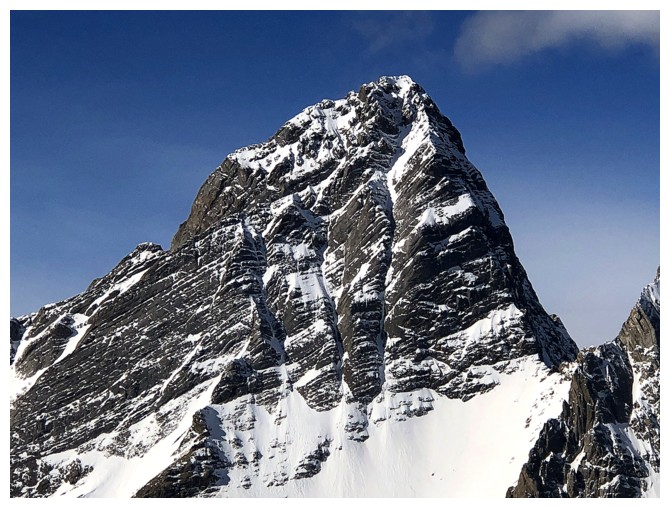 I never would
have thought of trying this route were it not for Riad’s post on Facebook. The
group had broken the trail 11 days earlier and I hoped it would still be
visible and somewhat supportive.
I never would
have thought of trying this route were it not for Riad’s post on Facebook. The
group had broken the trail 11 days earlier and I hoped it would still be
visible and somewhat supportive.
After hiking
the Burstall Pass trail for about 1.6 km I saw a broken trail branching off
into the forest. I was prepared to proceed on snowshoes at this point, however,
decided to see if the trail would support my weight without using the snowshoes. Eureka!
To my utter surprise, I was able to complete the entire ascent on foot,
following the group’s packed-down trail.
Above treeline
the views were excellent, 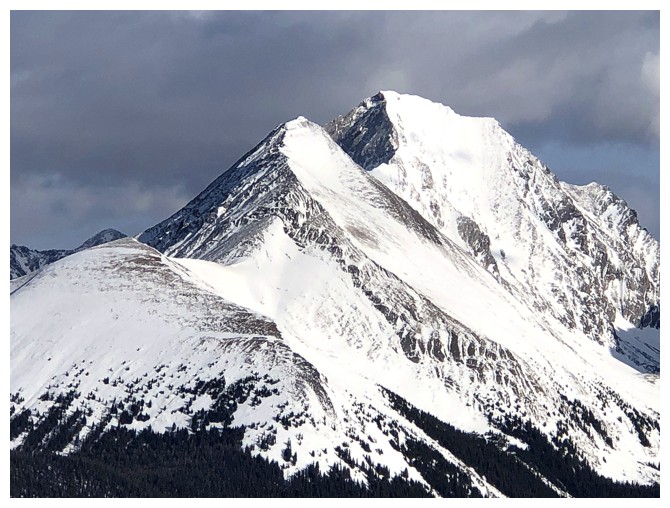 even under mostly cloudy skies. The ascent also
became more of a scramble than a snowshoe. Had the terrain been more snow-covered
and/or corniced, making it to the highest point may not have been possible
without considerable risk. Thankfully, such was not the case, and the summit
was reached with relative ease.
even under mostly cloudy skies. The ascent also
became more of a scramble than a snowshoe. Had the terrain been more snow-covered
and/or corniced, making it to the highest point may not have been possible
without considerable risk. Thankfully, such was not the case, and the summit
was reached with relative ease.
While there
were some clear skies from the top, a bluebird day would have been required to
fully appreciate and enjoy the magnificence of the view. After waiting unsuccessfully
for any improvement, I started the descent. 10 minutes down, however, there was
some improvement; not a complete clearing but enough blue to motivate me to return
to the top. I did just that, retook all my summit photos,
and then enjoyed a wonderfully easy and quick descent.
Awesome trip
and again thank you to that wonderful group of snowshoers for breaking a
terrific path to the top of a terrific objective.
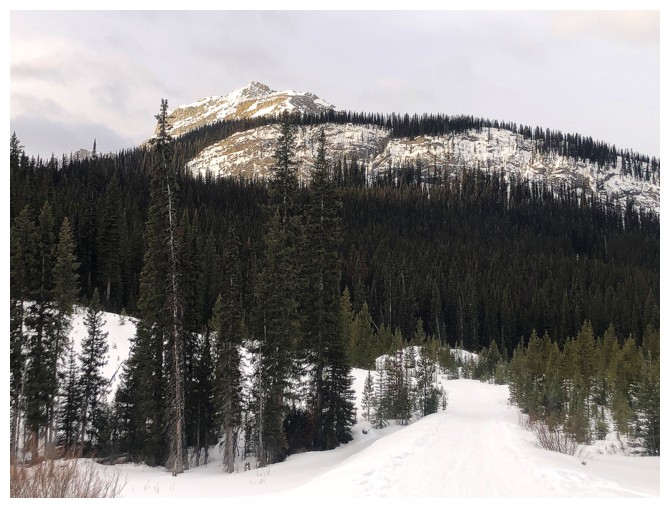
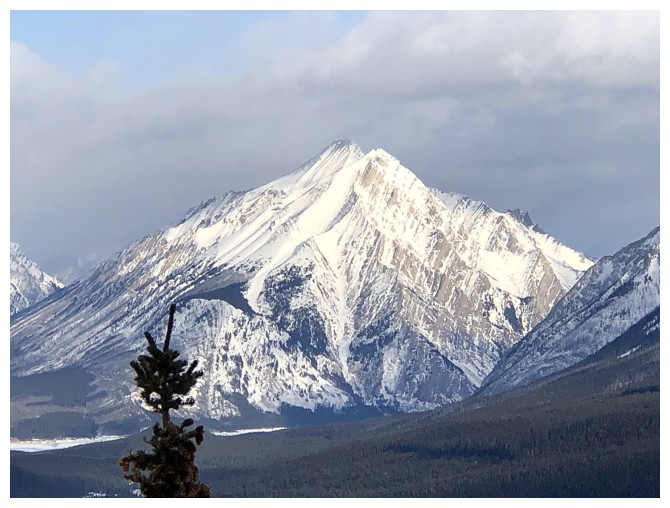
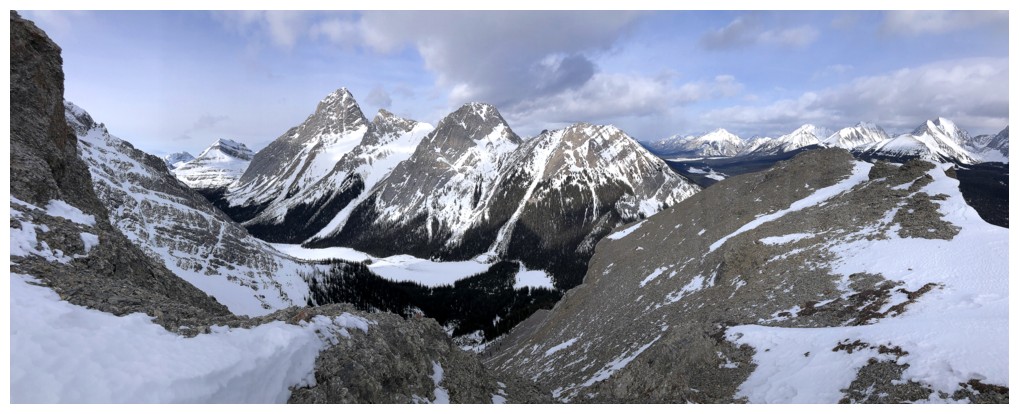
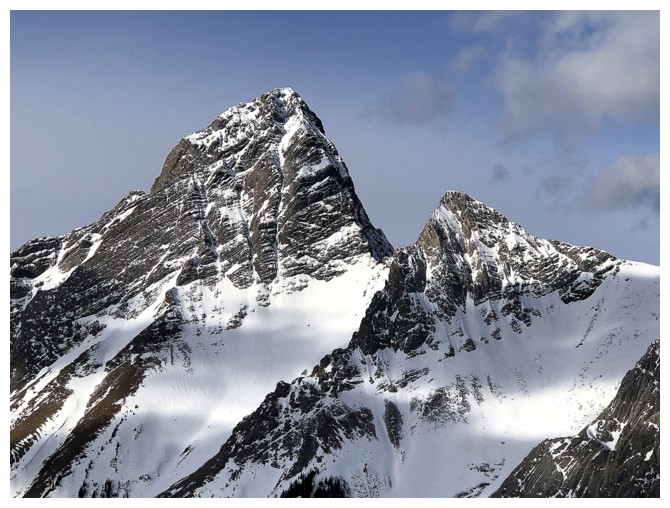
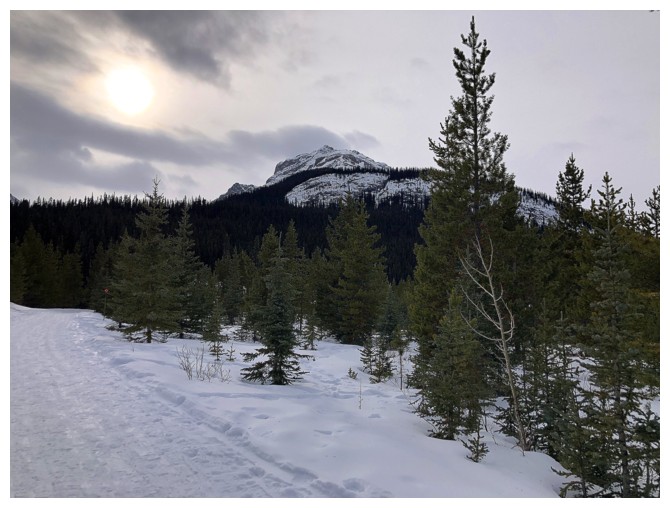
The objective from near the Burstall Pass trailhead
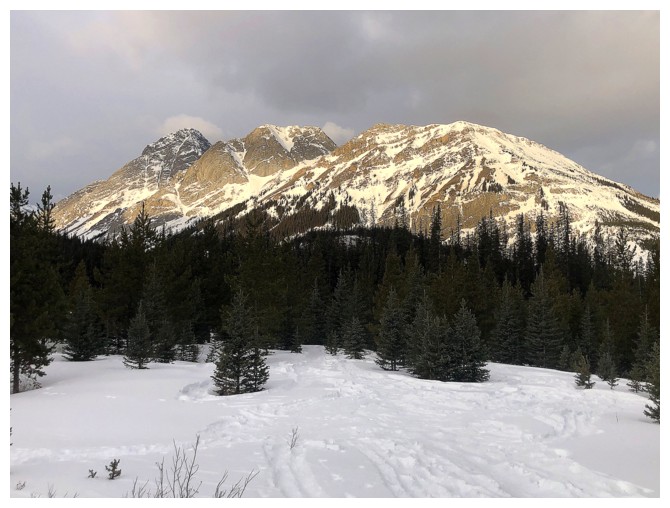
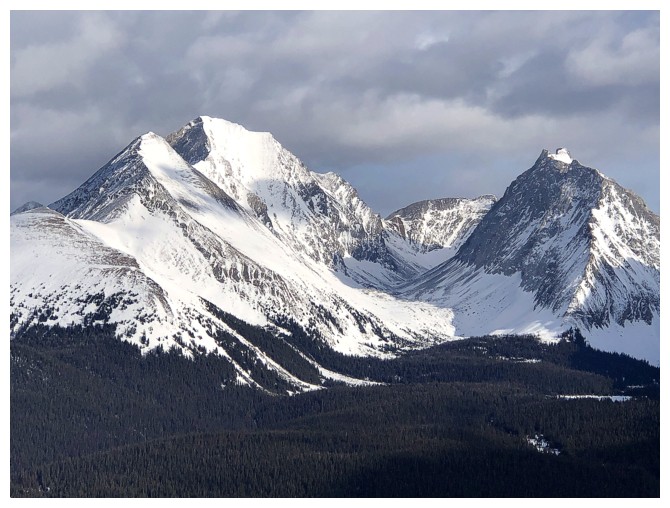
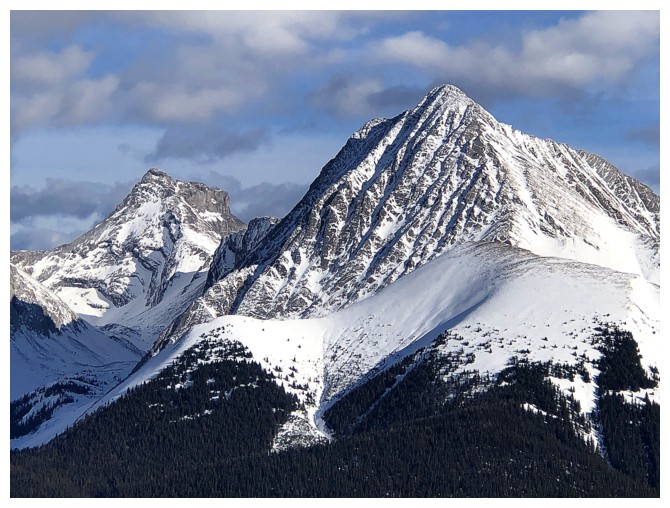
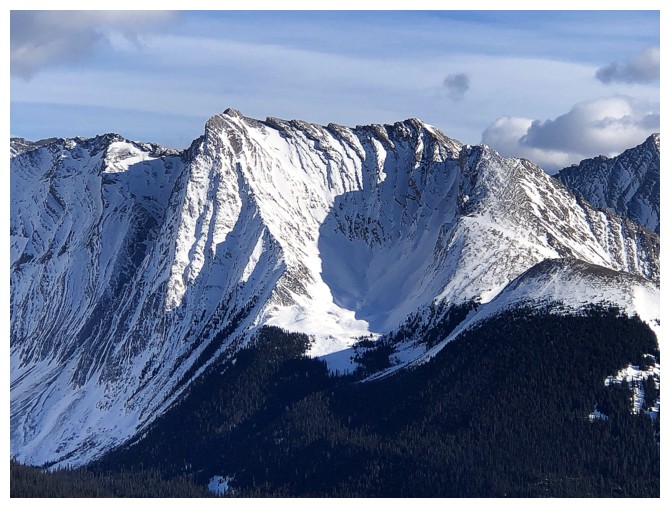
The first of innumerable photos of the Birdwood, Pig's Tail, Commonwealth Peak, Commonwealth Ridge quartet
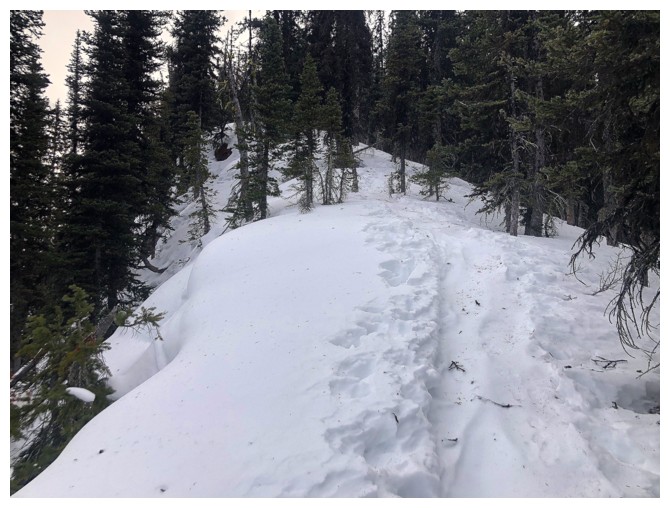
Typical travel on the lower part of the peak
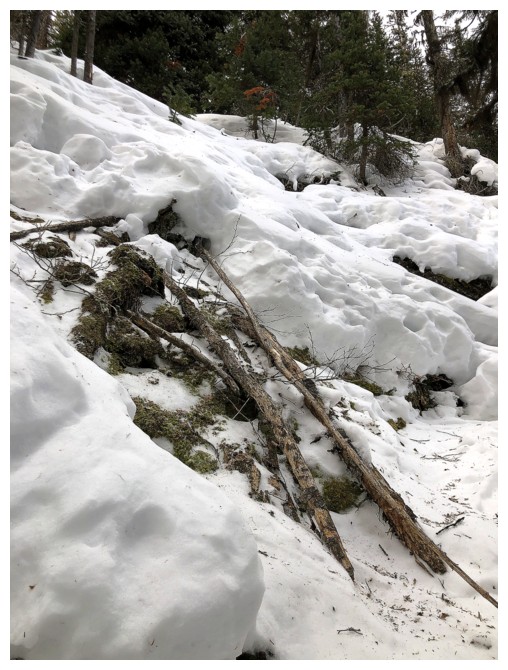
The crux lower down was getting up a very steep forested section.
Fortunately, the previous group had forged a good path alongside these
fallen trees (that made great handholds).
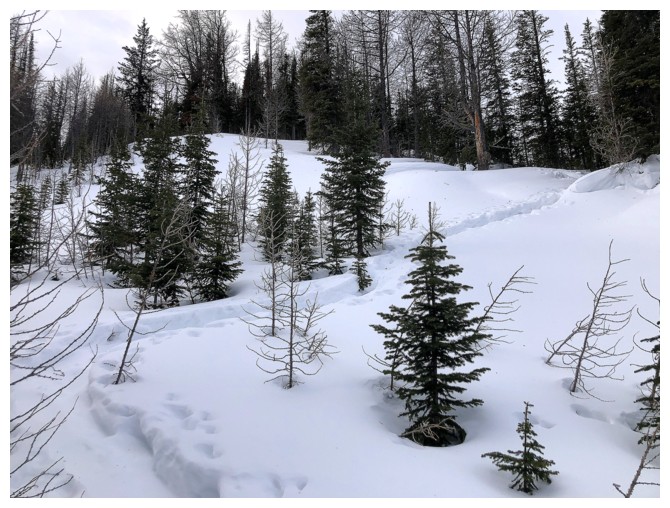
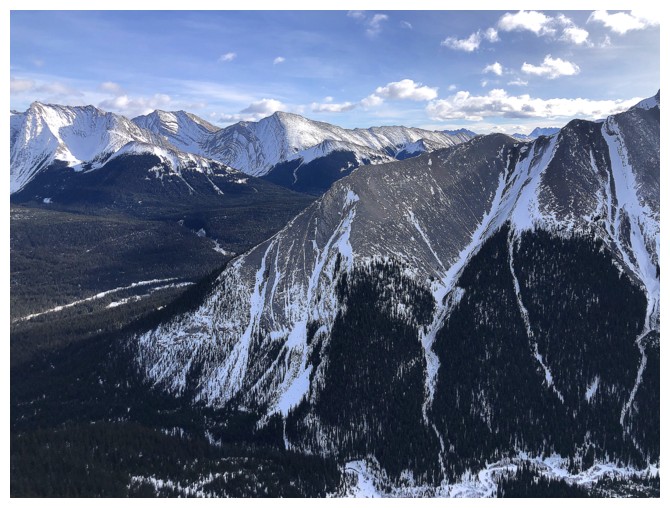
Back onto more gentle terrain
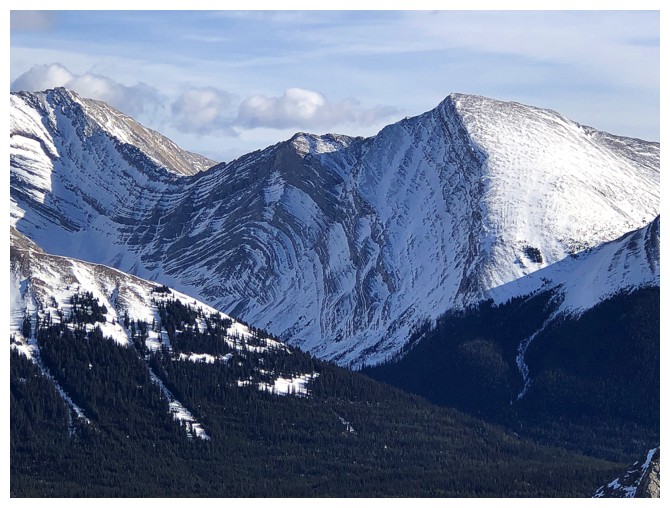
A couple of old friends blending into one - Mount Nestor and Old Goat Mountain
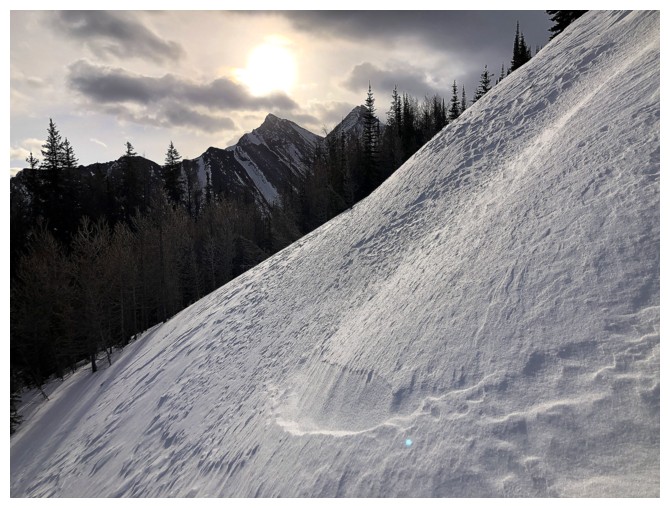
Thankfully this snow slope was avoidable
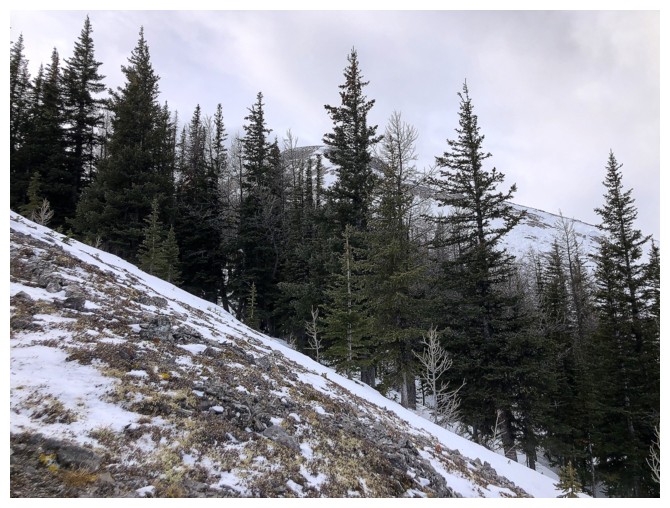
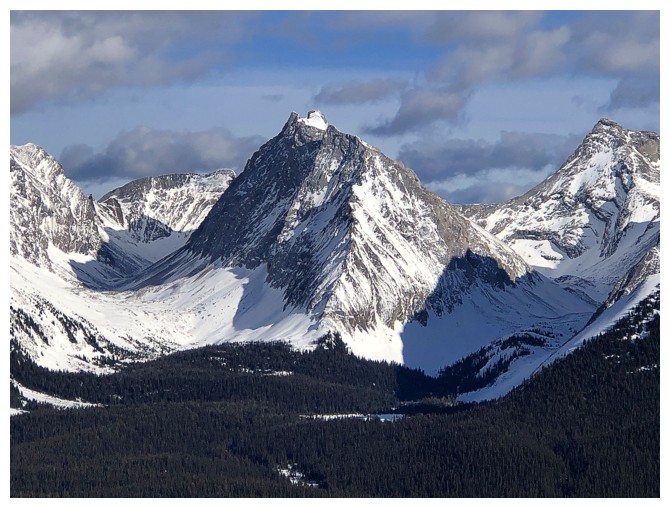
First glimpse of the objective in the centre
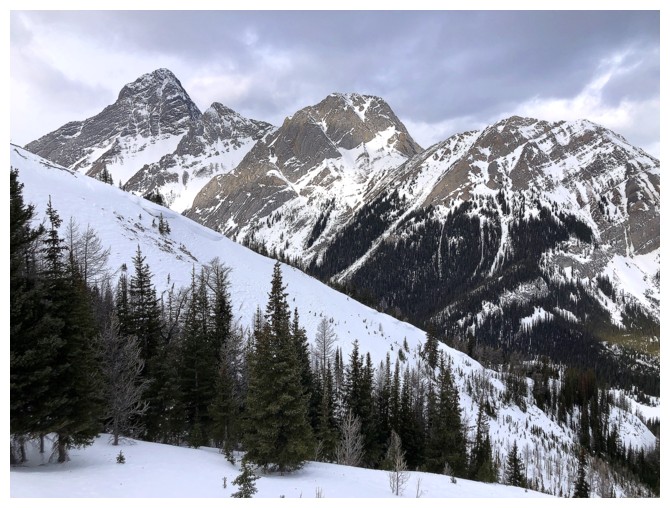
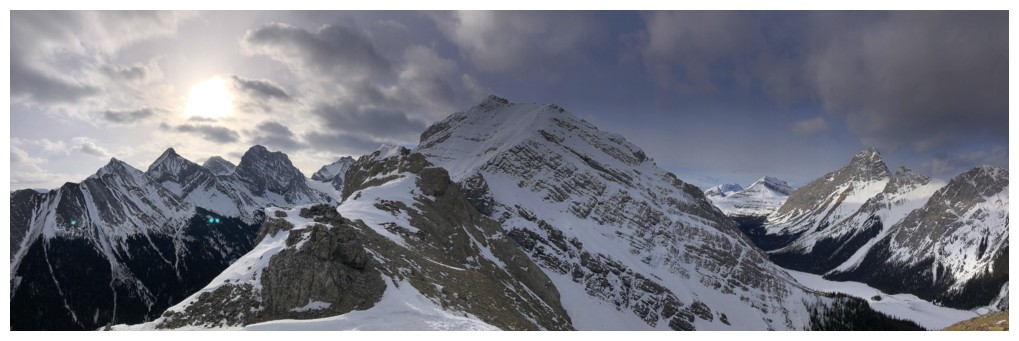
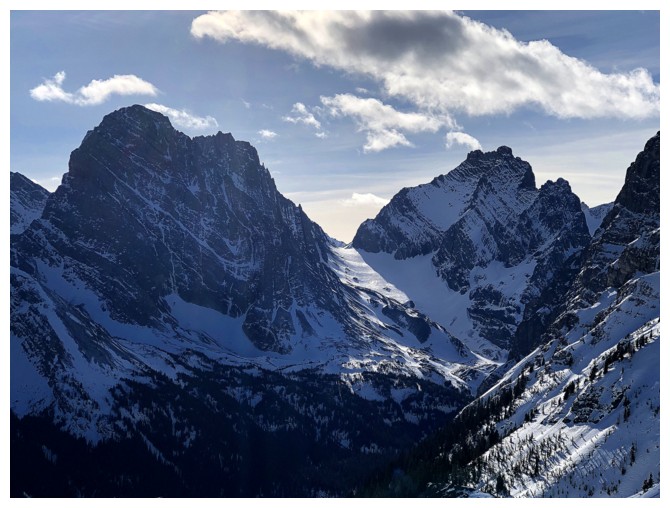
The quartet
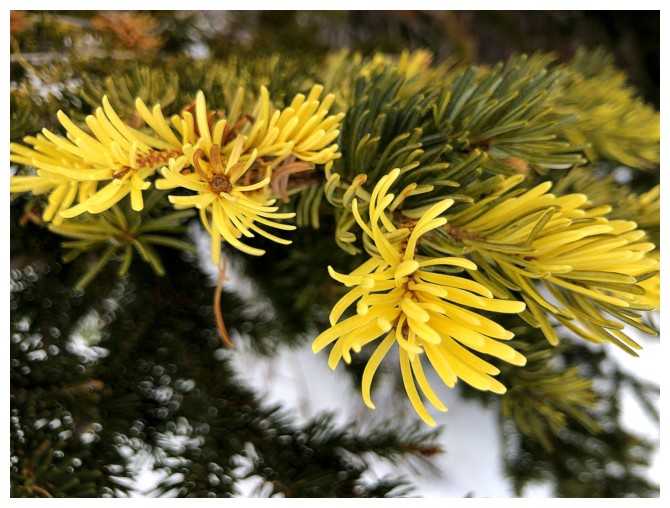
A pine tree trying to imitate a larch - and doing a pretty good job of it!
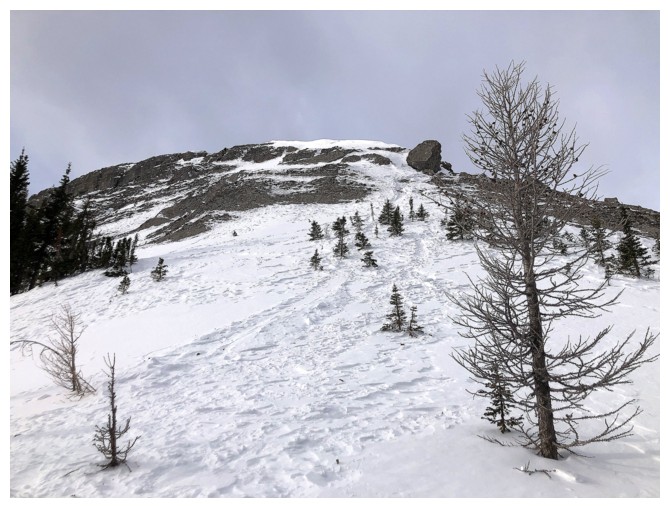
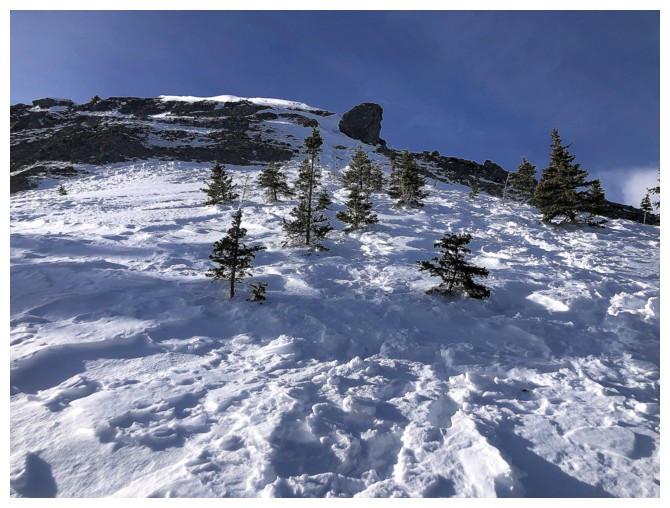
Out of the trees and approaching more serious terrain. It's steeper than it looks.
Passing a Big Rock - great Canadian Craft Brewery
Again, onto easier terrain
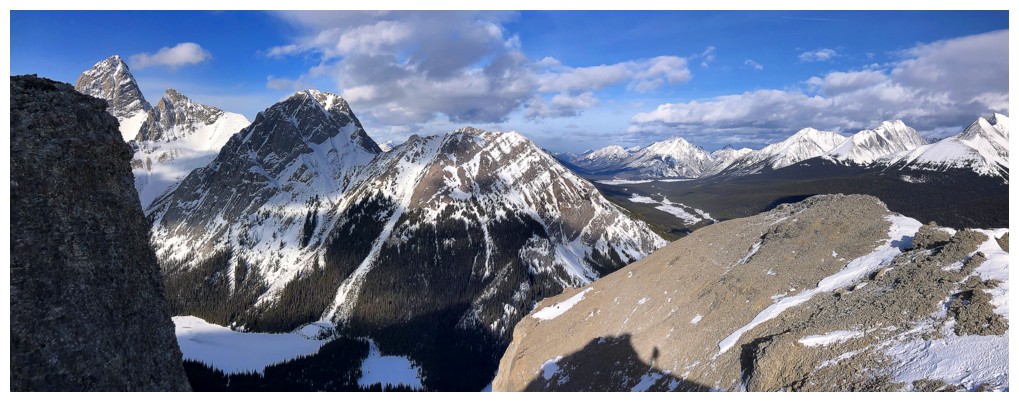
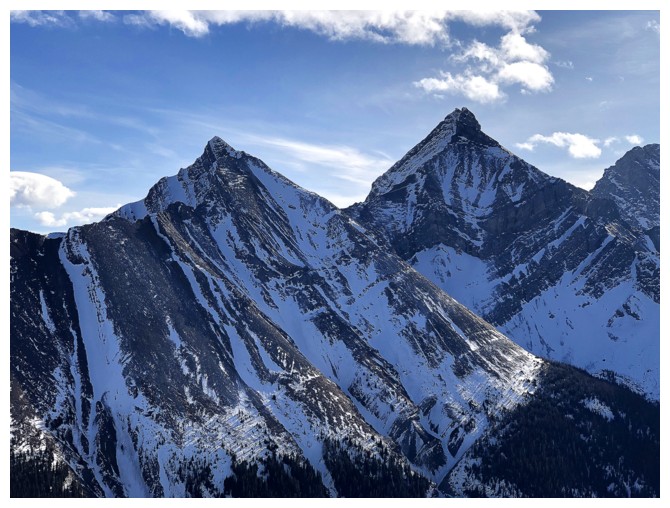
Here come peaks of the British Military Group
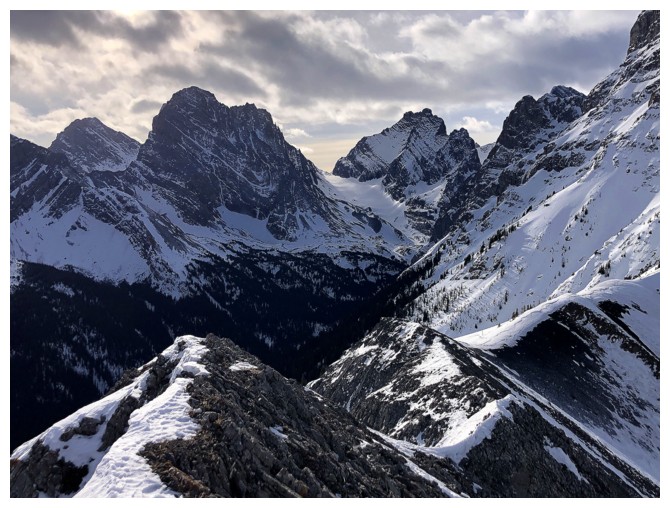
Mount Burstall and Burstall Outlier at the left
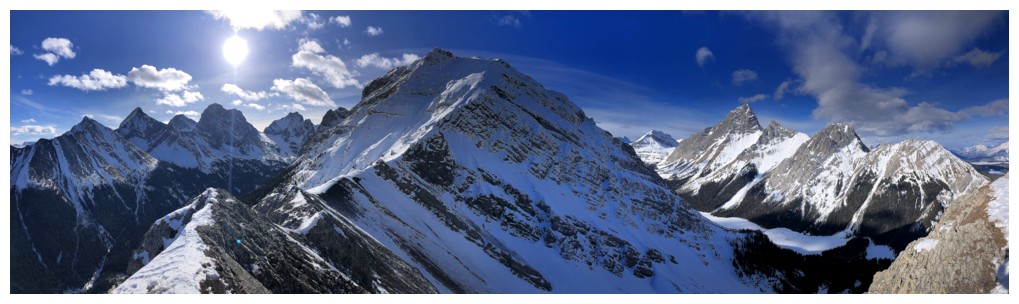
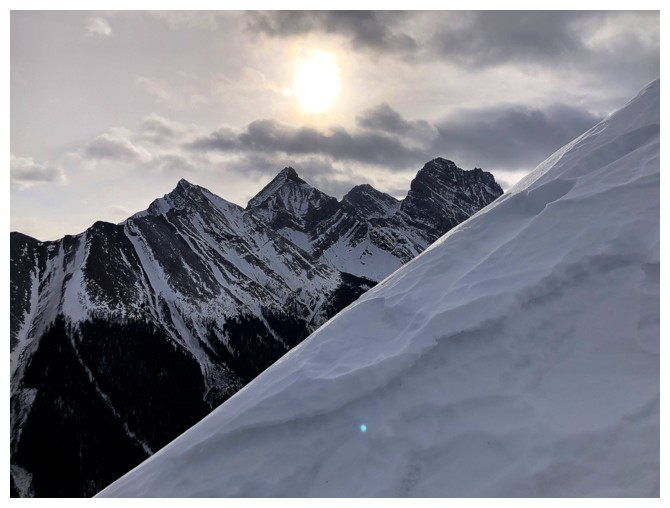
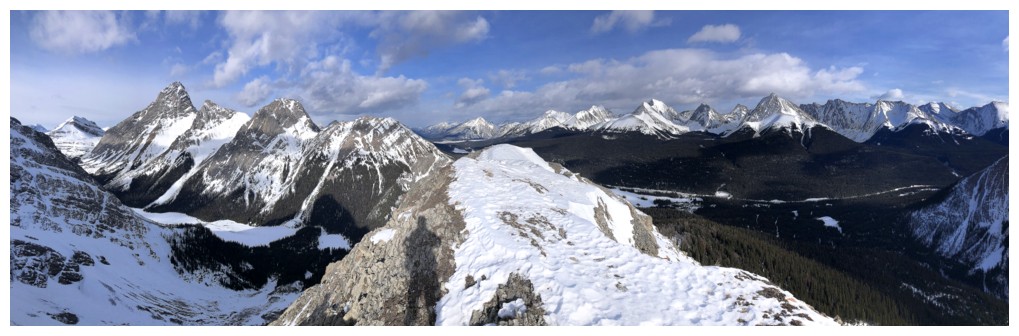
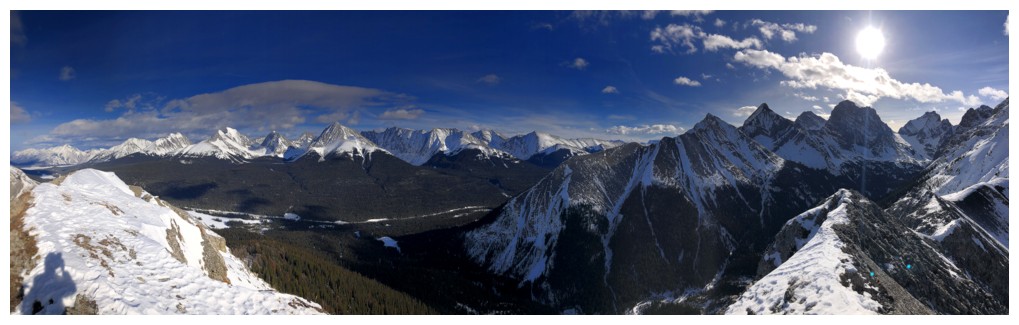
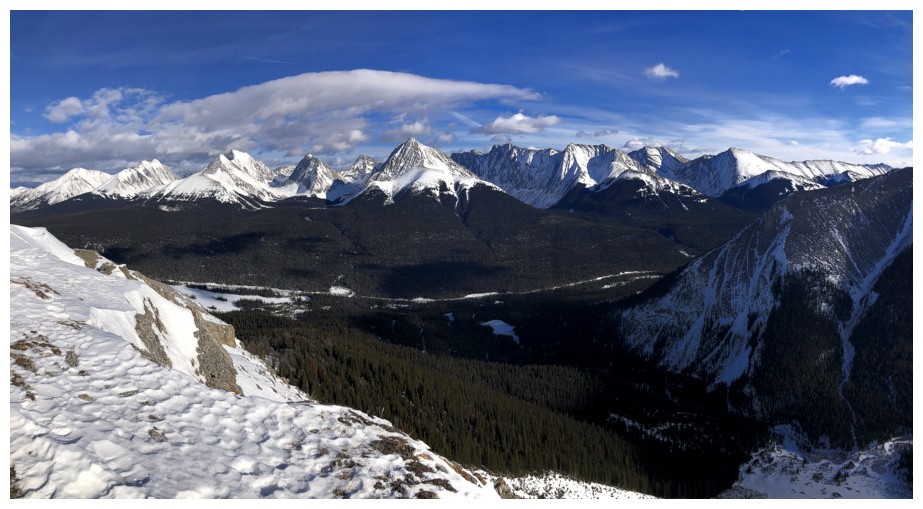
This would be an amazing pano on a clear day
Same as above
And again
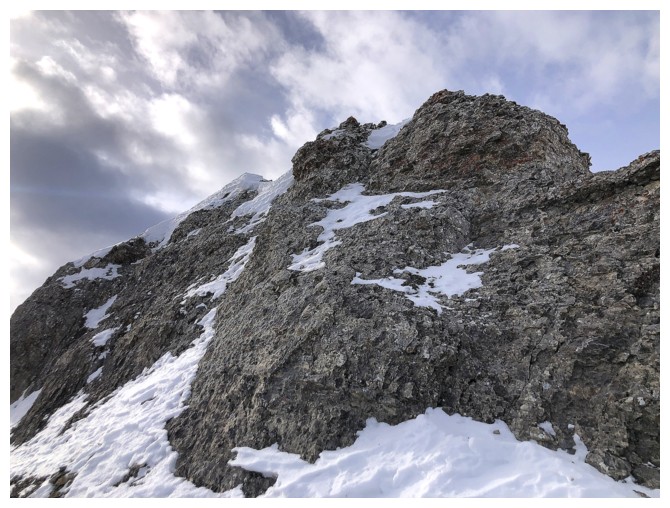
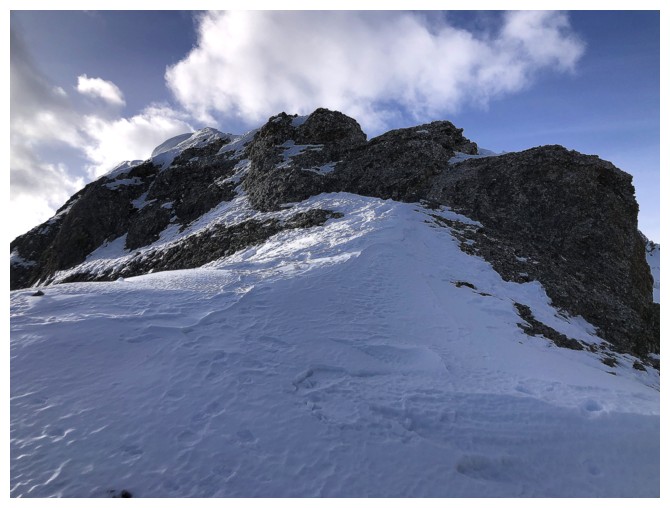
A few scrambling moves were required here

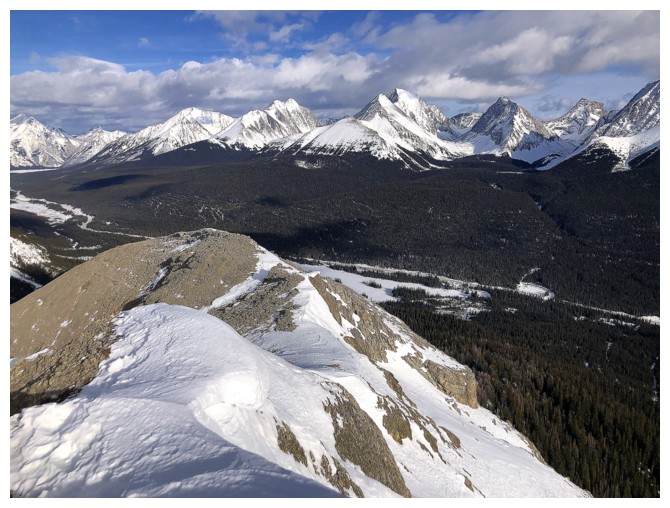
Easy ridgewalk to the nearby summit. However, if there was more snow,
this section could be very dangerous, as there are drop-offs on both
sides of the ridge.
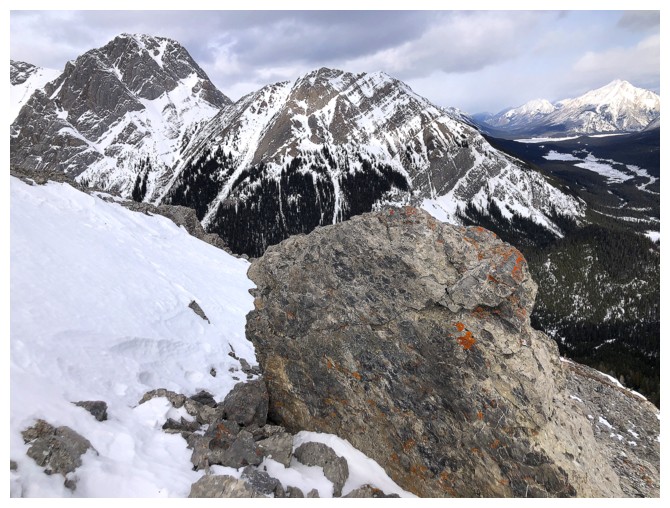
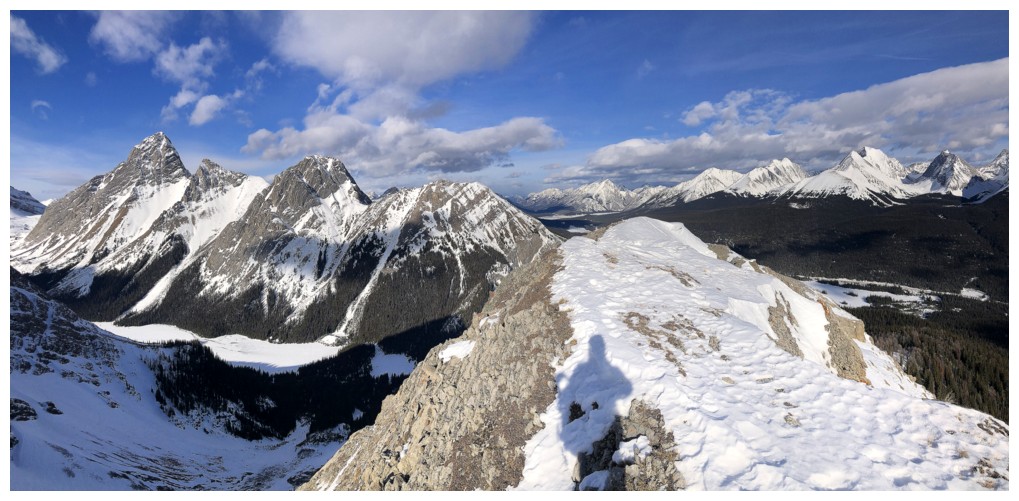
Summit view of Smith-Dorrien, Prairie Lookout, and Robertson.
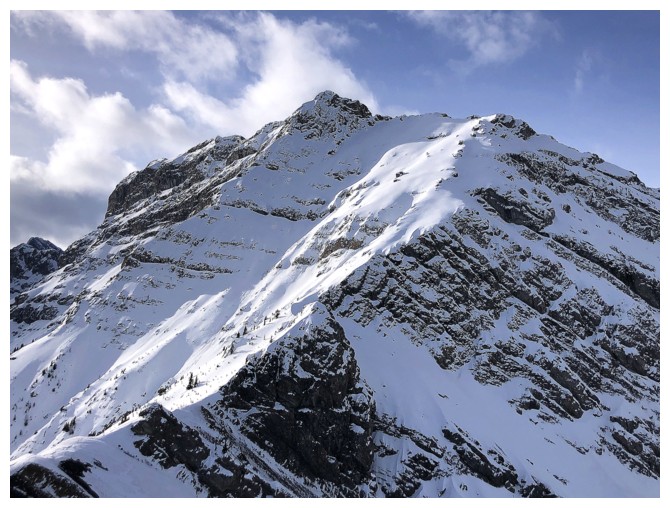
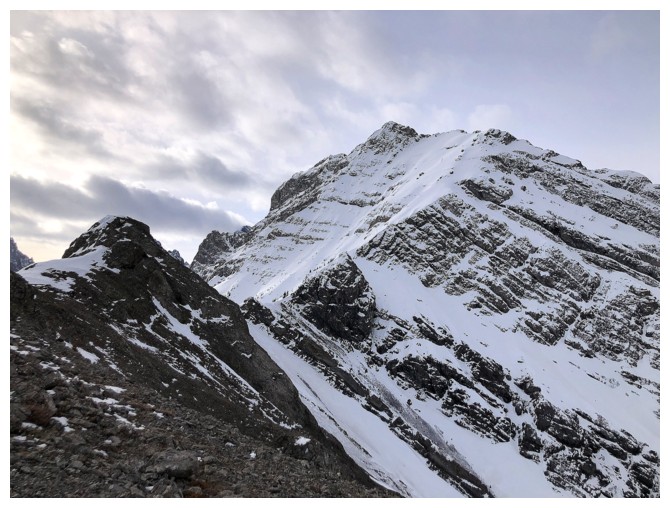
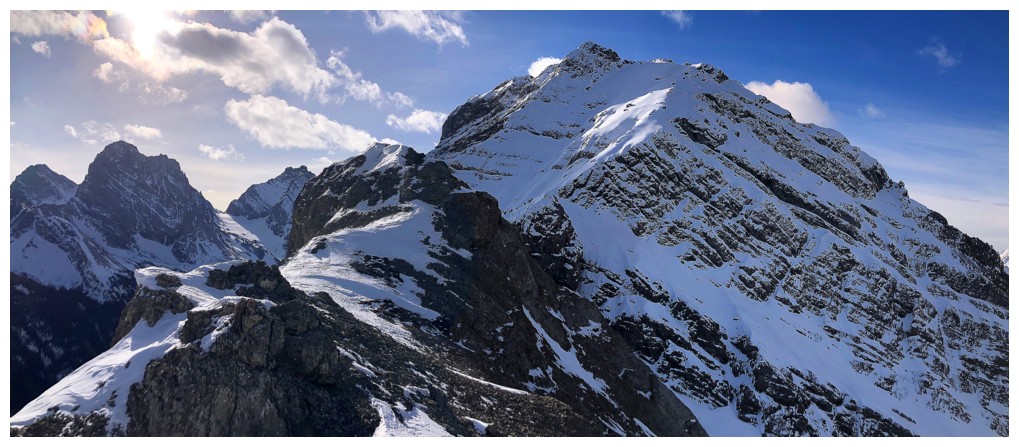
The route up Mount Burstall looks straightforward, but it has some challenging terrain
Mount Galatea (left) and Gusty Peak
Mount Engadine and The Tower
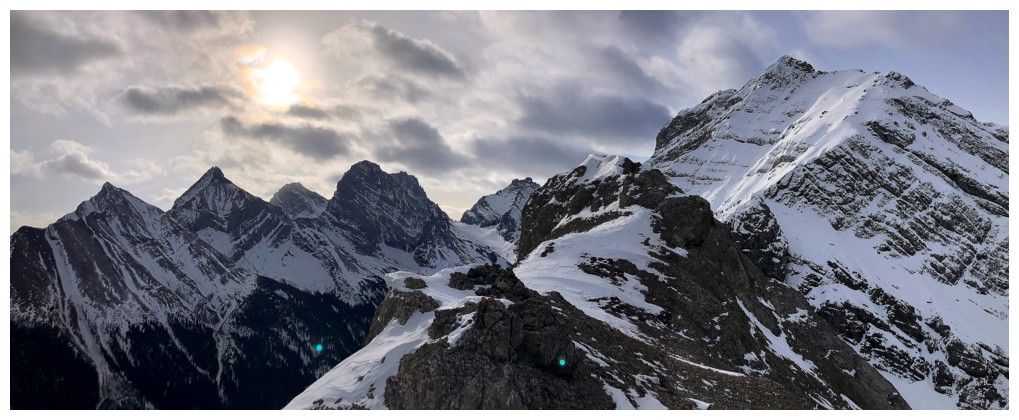
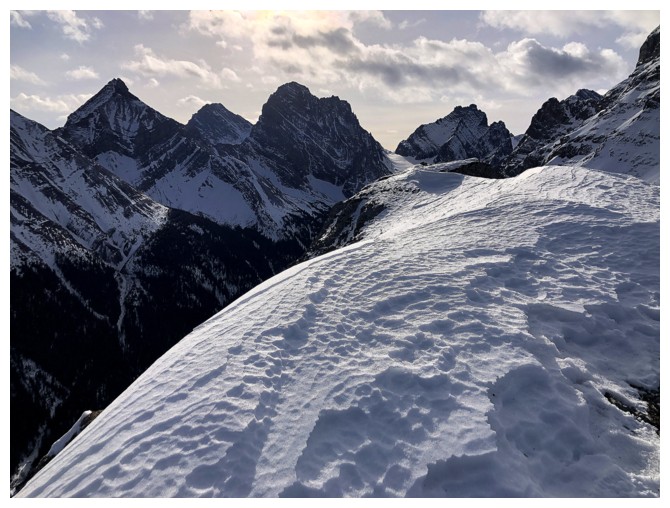
Summit panos

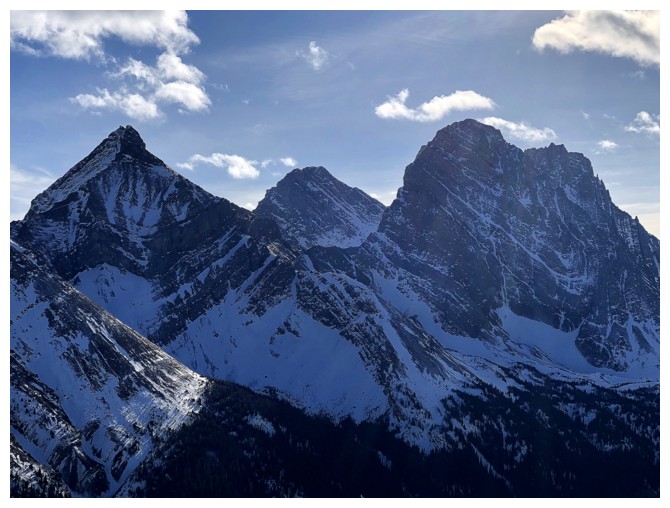
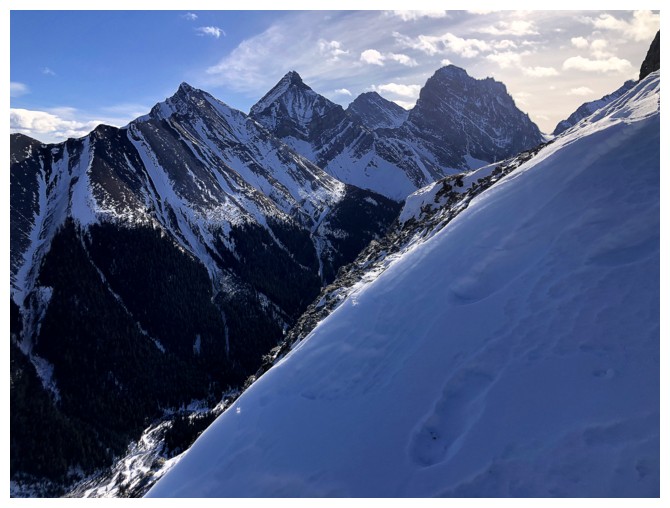
Birdwood and Pig's Tail
Kent Ridge North and its outlier just left of centre
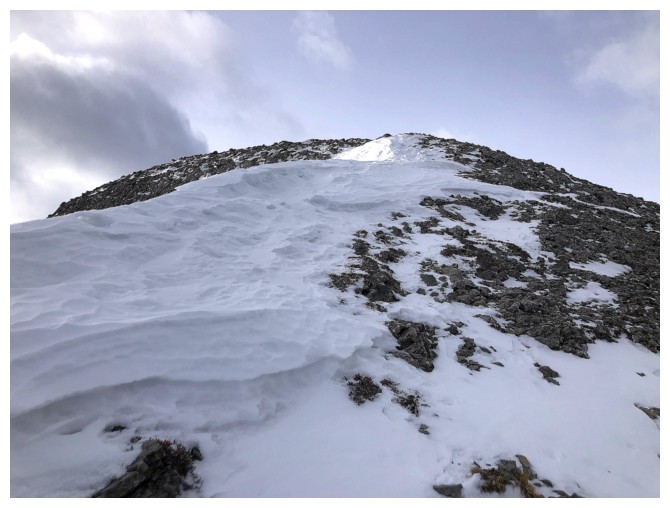
The only significant cornice I saw all day - not good for late January
The cornice from the other side

Snow Peak
Looking back to the summit
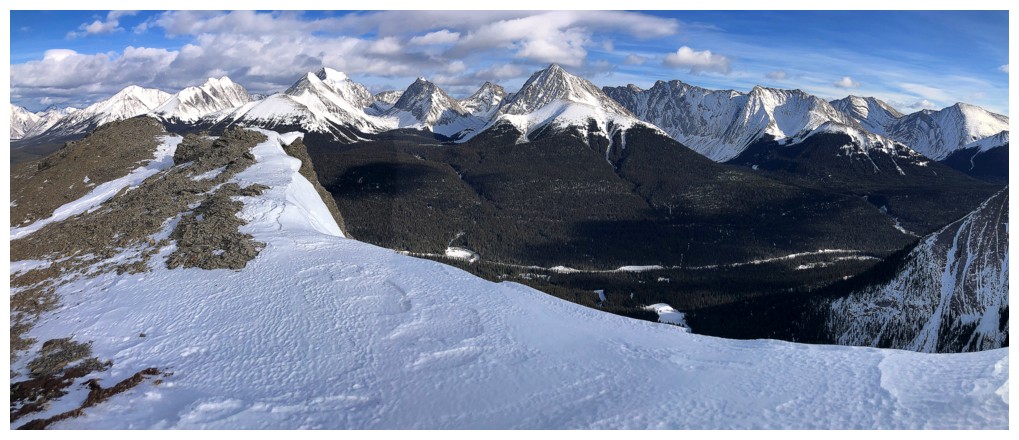
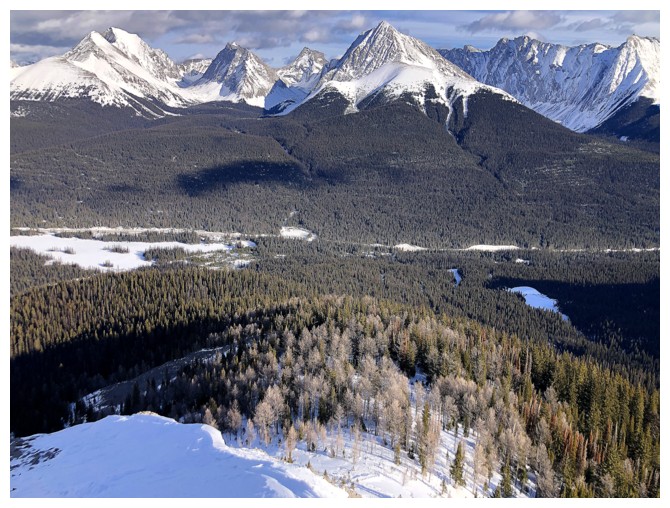
So many familiar peaks to the east
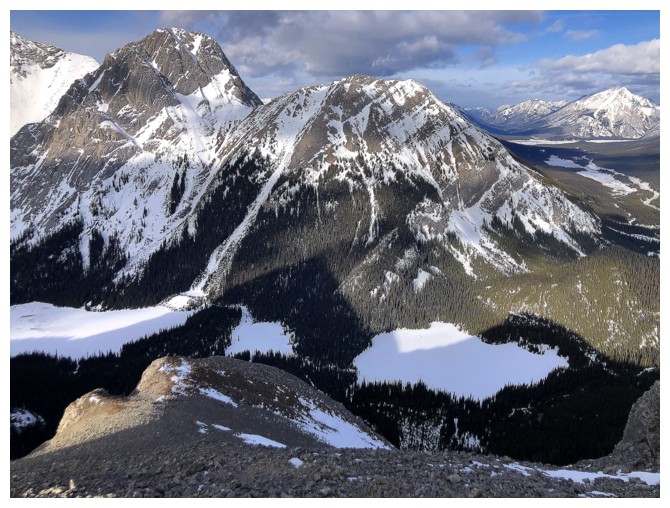
The Burstall Lakes beneath Commonwealth Peak and Ridge

Obviously I couldn't get enough of this view
Nor this one. Heading back to the summit at this point.
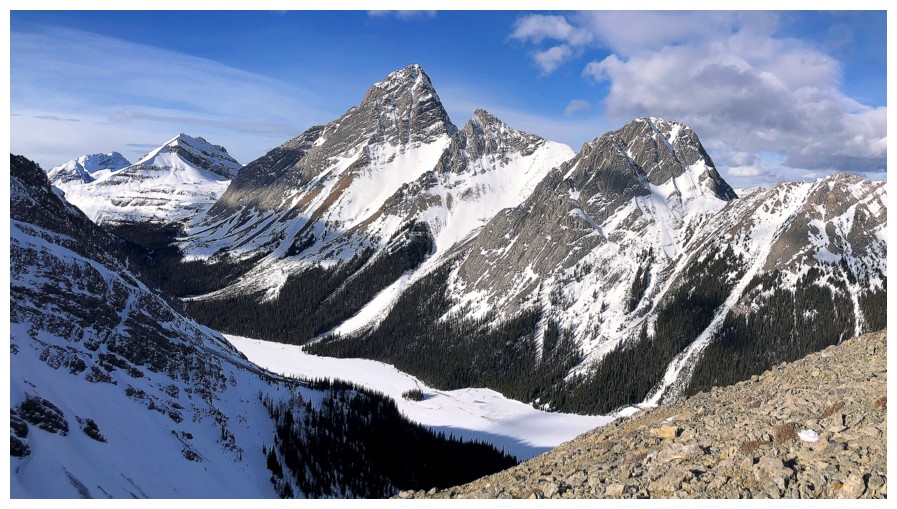
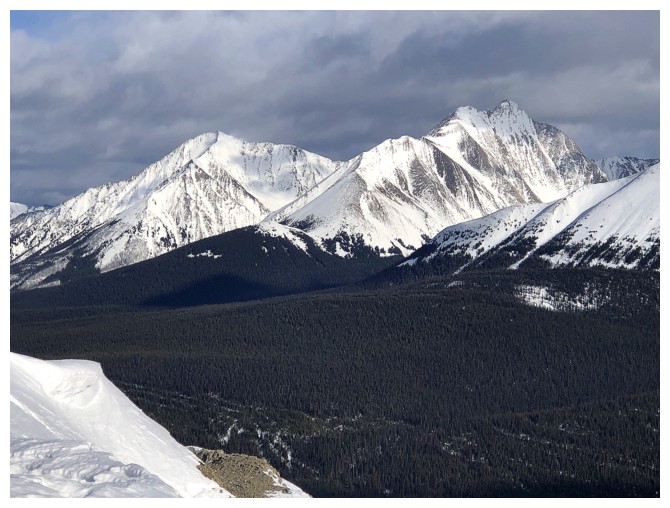
The quartet and Snow Peak may have been my favourite view of the day
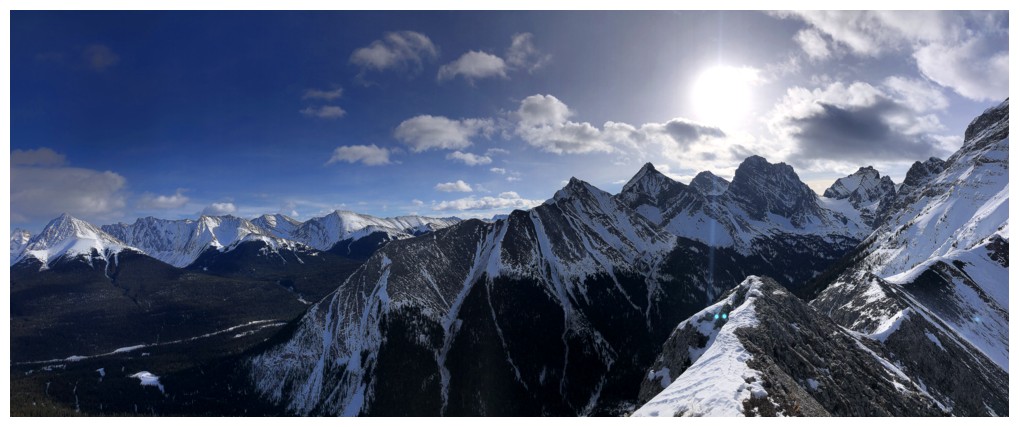
Round 2 of summit panos

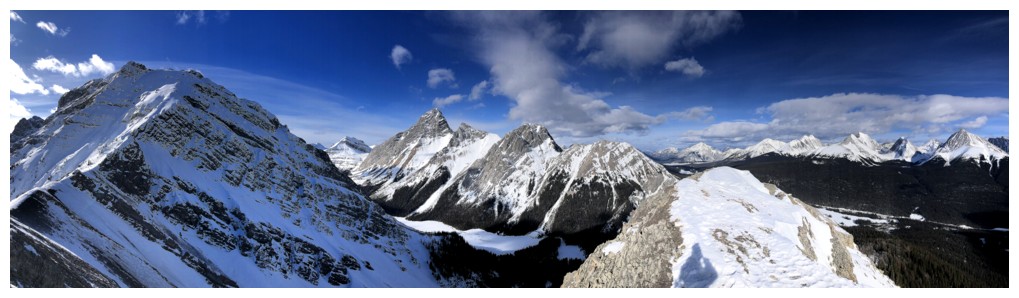
The Fortress and Mount Chester
Gusty Peak
The south summit of Headwall Peak (left of centre) and Mount Chesmill (the little bump near the right)
Kent Ridge North (right) and Mount Inflexible (far left). Inflexible gets very mixed reviews!
Cegfns and Mount Murray
The Murray, Smith-Dorrien, Prairie Lookout trio rivaled the quartet, but was always in the shade
Same with Robertson at the right
Clear skies over Birdwood
Passing that steep snow again
The route goes into the trees in the centre and then follows the ridge down, going to the left
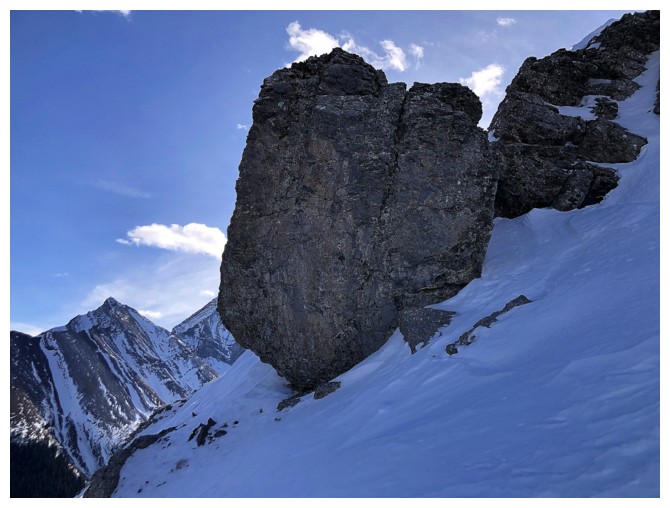
The other Big Rock
The other Big Rock from below
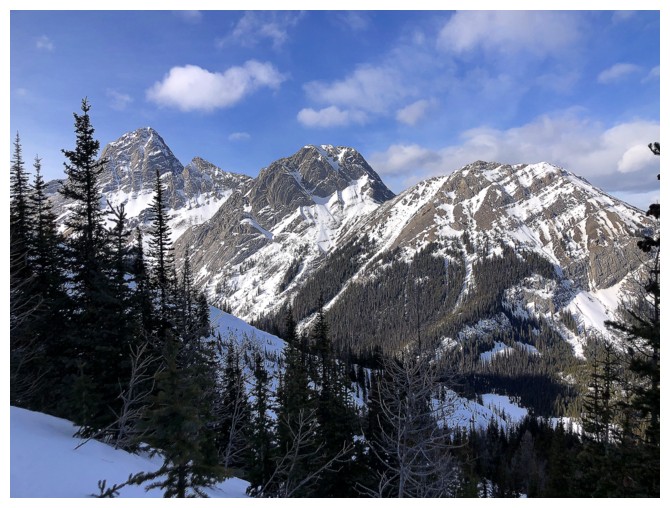
Last look at the quartet
Parting look at the objective. The clouds had rolled back in by the end.
The End
LOG