Catherine Barclay Mountain II
January 27, 2025
Mountain height: 2240 m
Elevation gain: 940 m
Ascent time: 3:40
Descent time: 2:40
Solo scramble.
Mark and I
stood atop this unofficial peak for the first time 21 years earlier,
after
traversing over to it from Mary Barclay’s Mountain. More recently, in
2024, Ephraim
Roberts had ascended the peak from Heart Creek; and since then, the
route had
gained some popularity as a good alternative to the “normal” route,
which involves either a chilly crossing of the Kananaskis River or a
long approach via Stoney Trail. Excited to
check out this new route and to revisit the summit, I set out to give
it a go.
While Heart
Creek certainly has some very cool points of interest, between those lie several
long and less inspiring sections. Fortunately, travel was made a little easier
by a barrage of footprints in the snow and ice. The real work began once I left
the creek. I did start out following a single set of tracks but lost them a
short distance up. This section was consistently steep.
Once treeline
was reached, the views started to open up, though still limited to the confines
of Heart Creek. This route waits until the bitter end to fully reveal any
360-degree panoramas. The ascent itself was without difficulty, amounting to a
steep rubble hike, with a few moves of very easy scrambling.
I’d like to say
that reaching the top was wonderfully nostalgic, however, the 21 years between ascents
pretty much killed any recollection of my first trip – it really felt like
the first time. The summit view was very respectable for the peak of such low
stature. Traversing over to Mary Barclay would have been great, however, I needed
to back in Calgary by late afternoon and would have to settle for a short summit stay
and then an easy, but still longish descent. I did have time to check out a super
cool small canyon in Heart Creek, however.
A very satisfying
day out and certainly a route I’m glad I completed - big "thank you" to Ephraim.
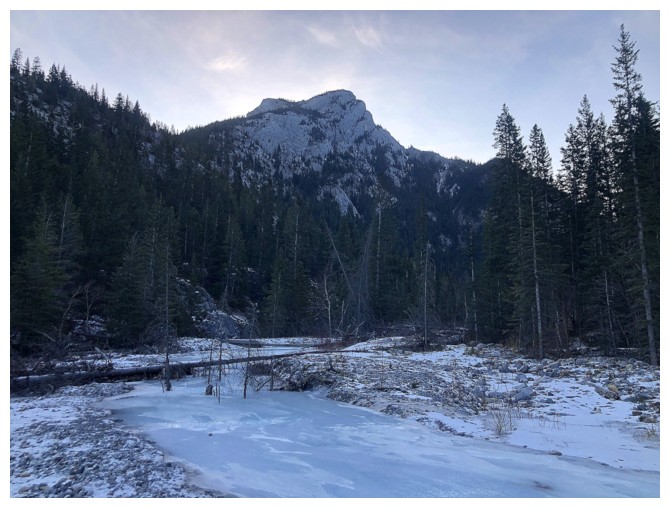
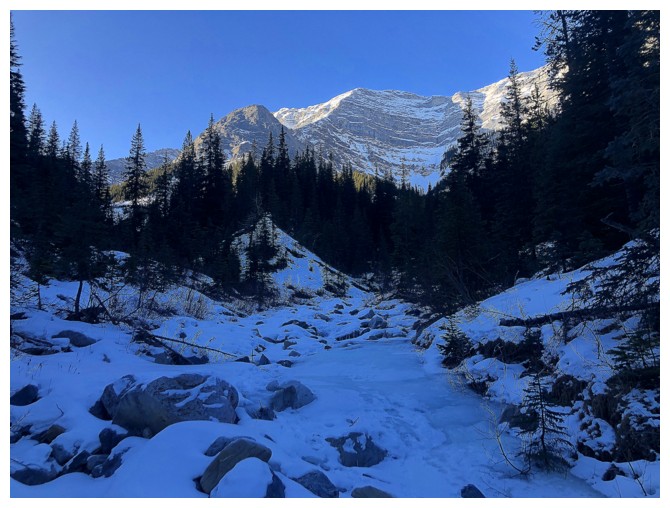
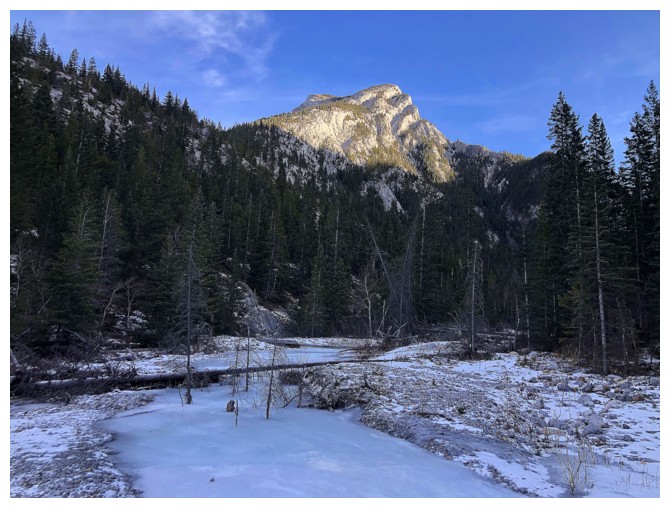
Heart Mountain and frozen Heart Creek
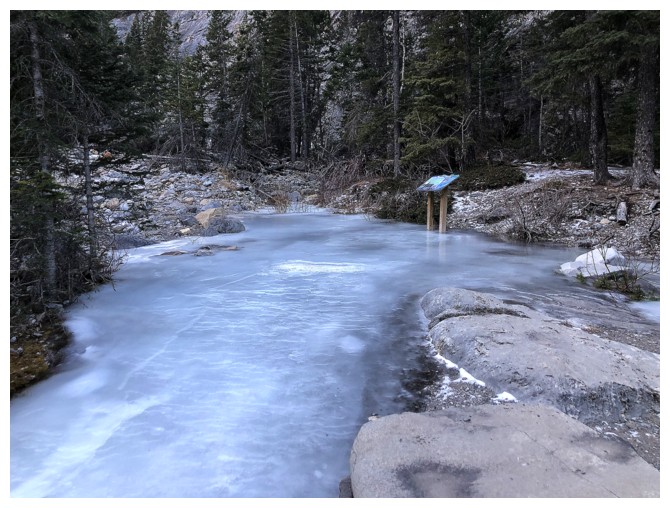
One of the interpretive signs seems to be part of the creek
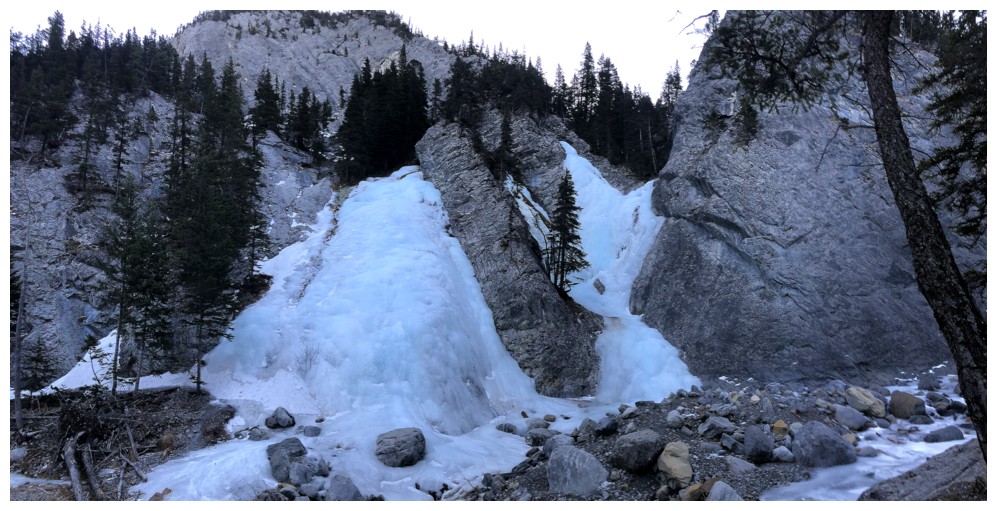
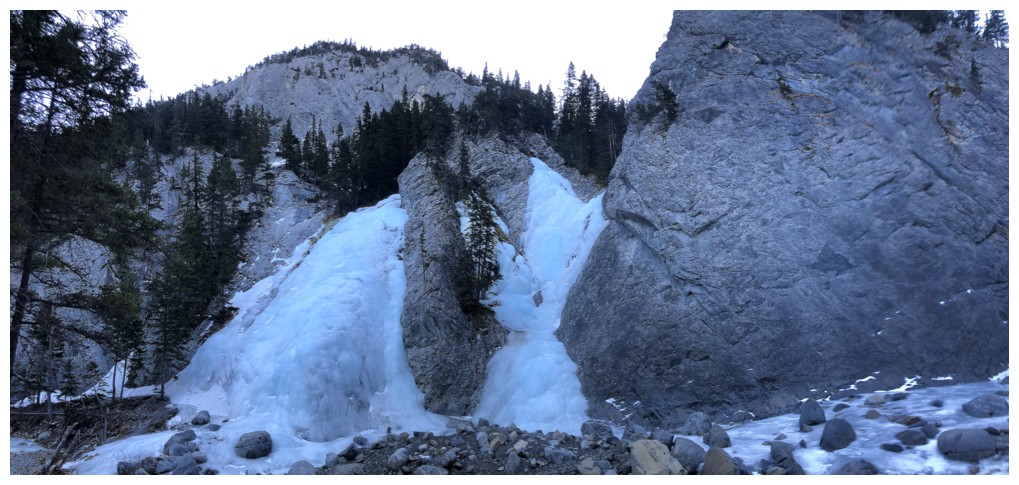
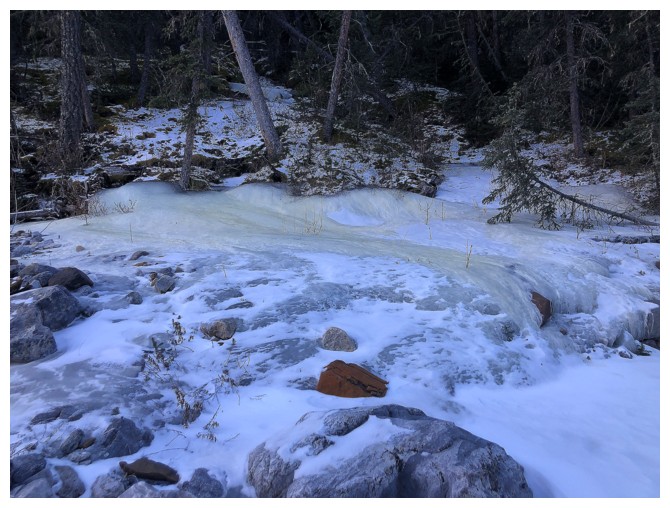
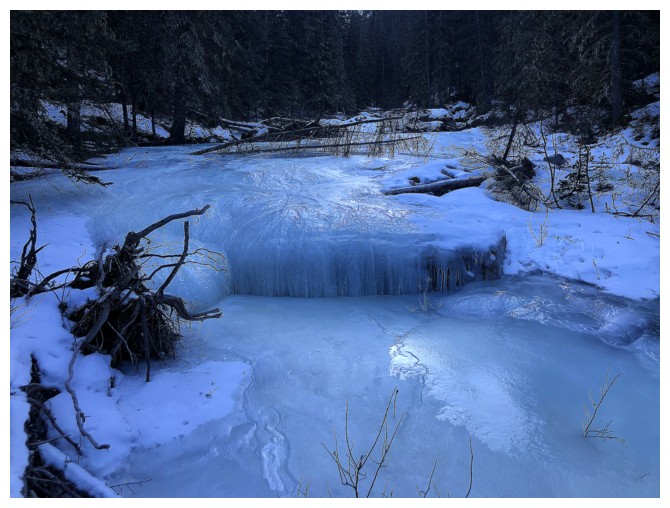
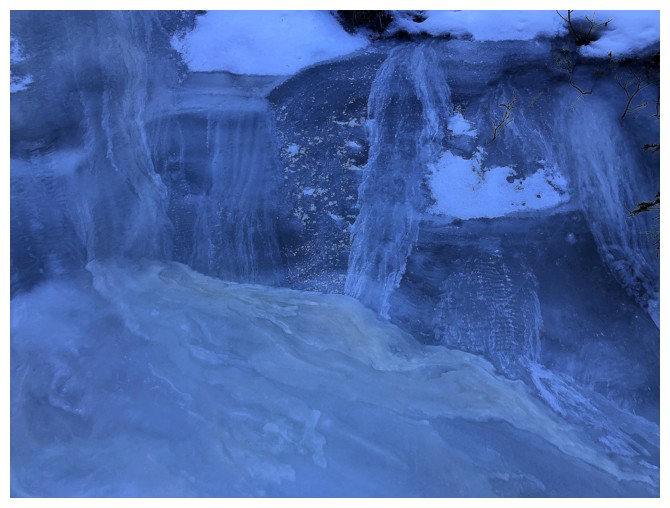
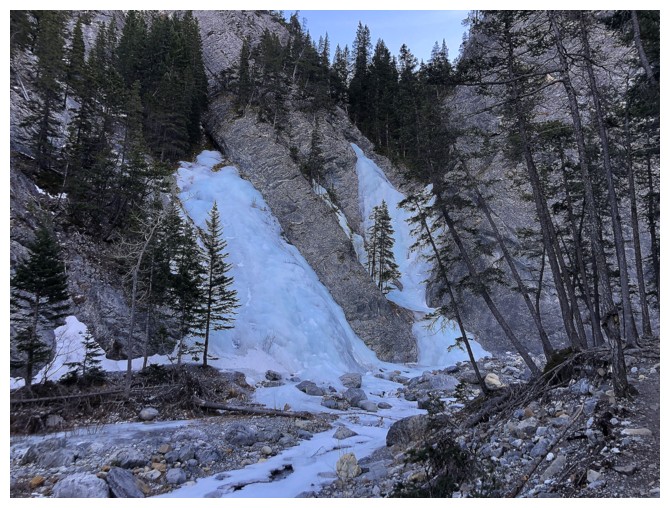
Two beautiful frozen waterfalls
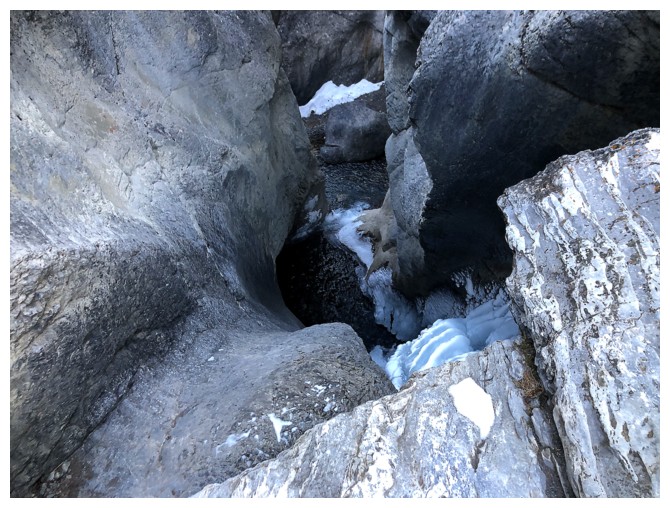
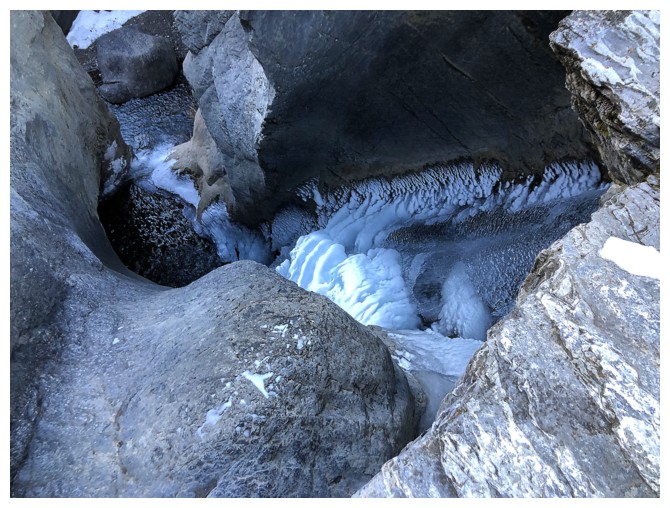
Looking down the waterfall at the end of the Heart Creek Interpretive Trail
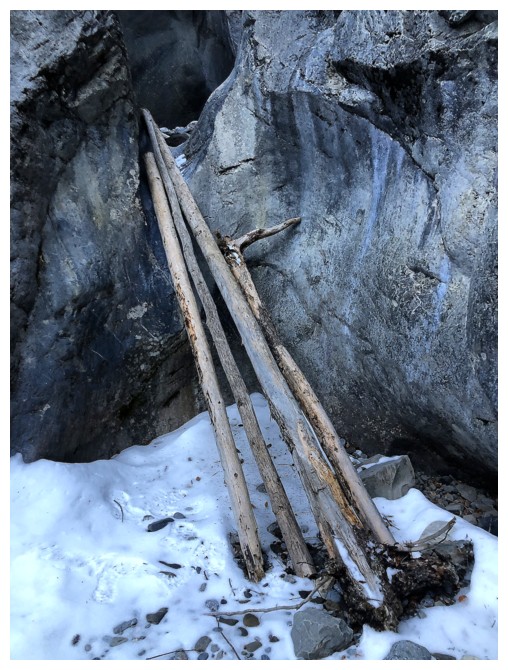
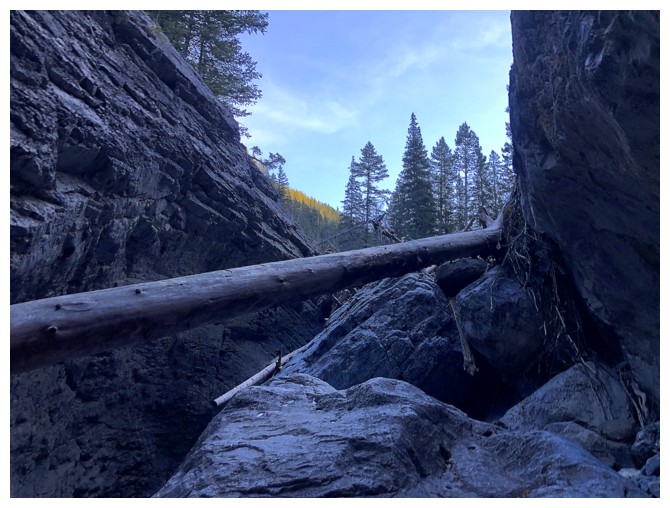
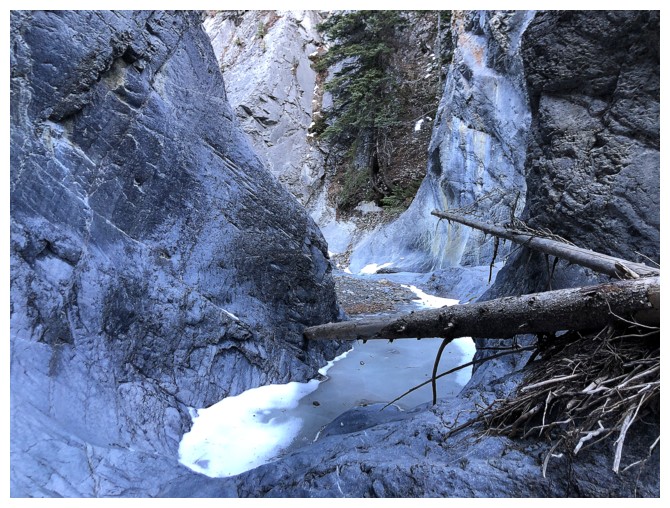
The entrance to the small canyon I explored on descent. I didn't try to crawl up the trees into the canyon.
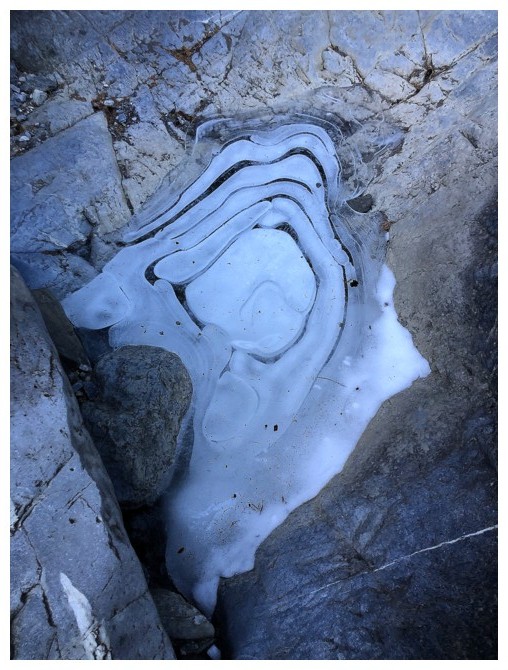
Discoloured ice
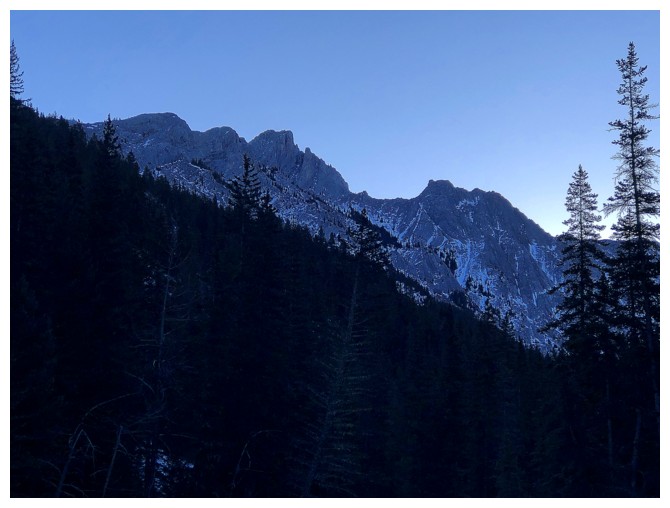
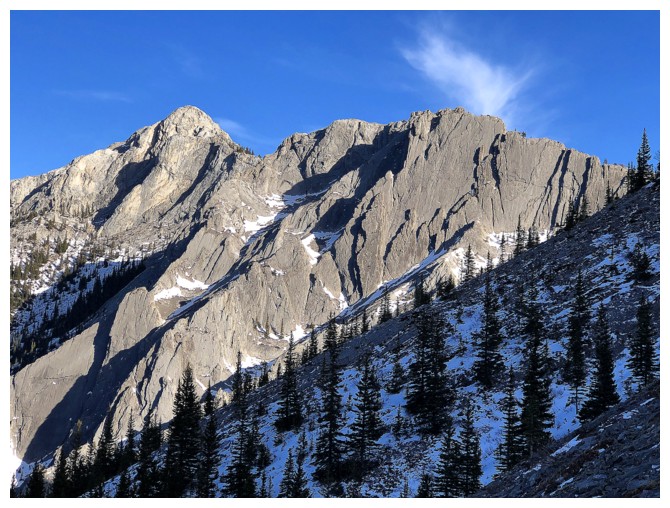
Part of the interesting ridge between Catherine Barclay and Heart Mountain
More interest in the creek
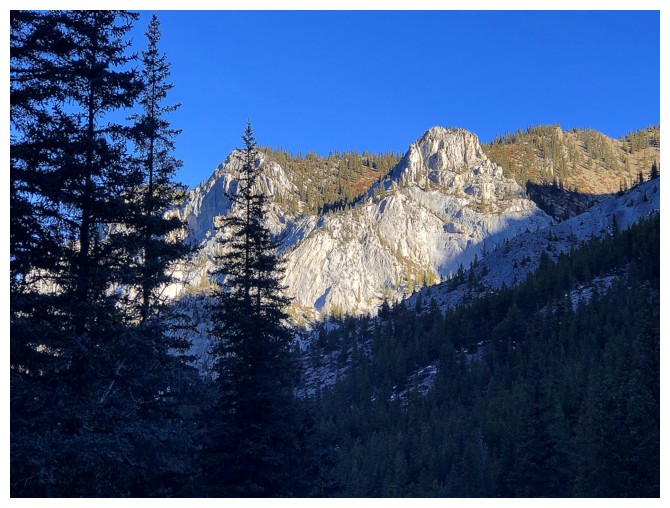
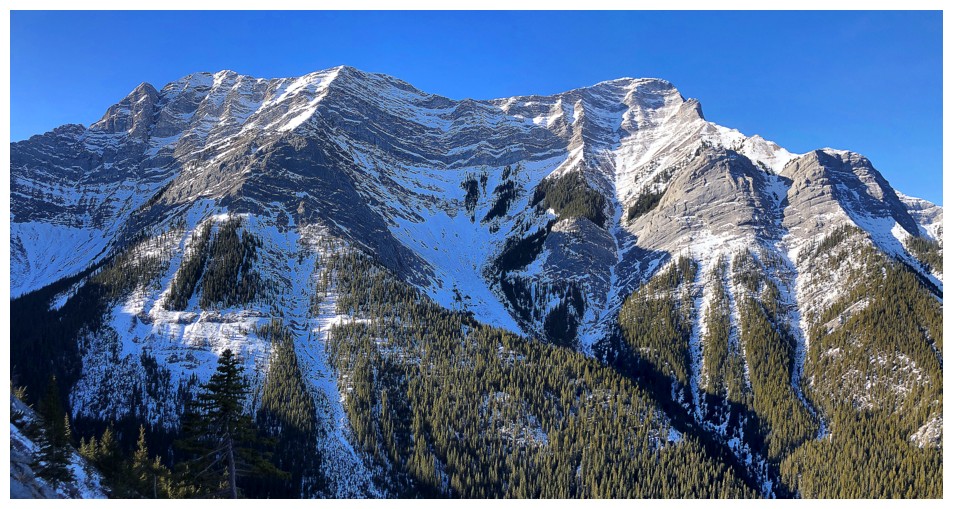
The west side of Heart Mountain has many cool features
Approaching the point near the end of Heart Creek where it forks. Left fork for Catherine Barclay.
Typical terrain on the lower slopes. It's steeper than it appears.
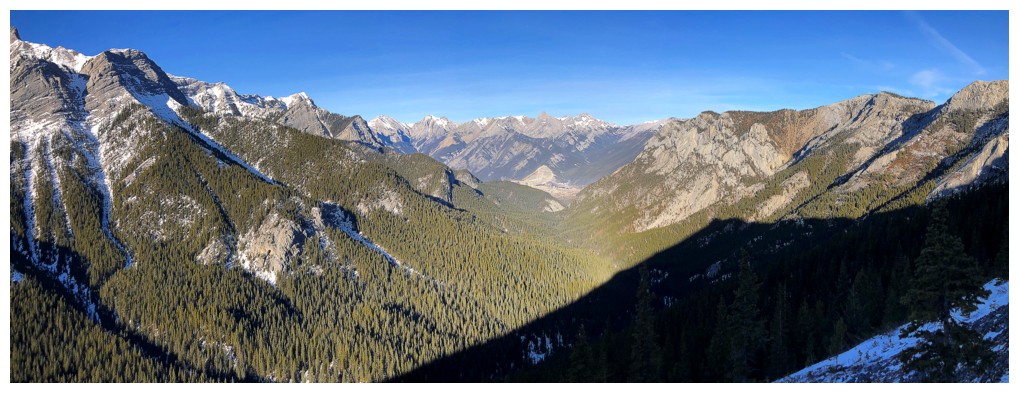
Looking back down Heart Creek
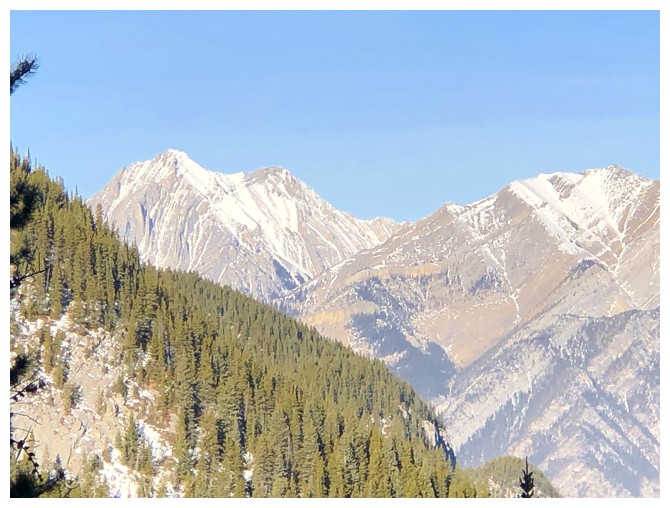
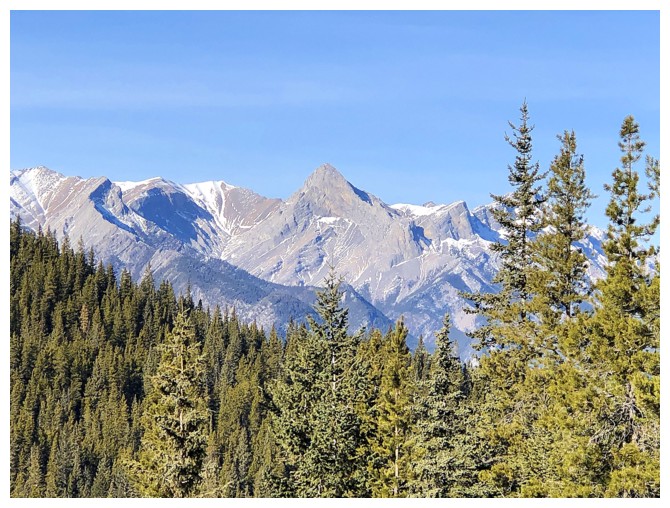
The trio of Skogan, Gilligan, and McGillivray
Same as above with more
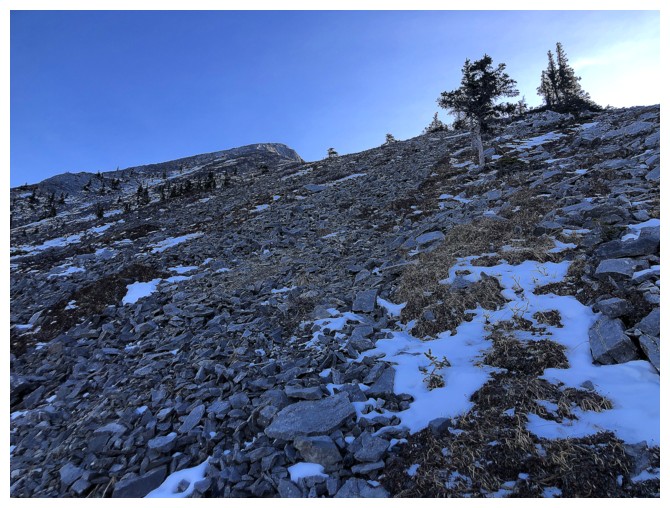
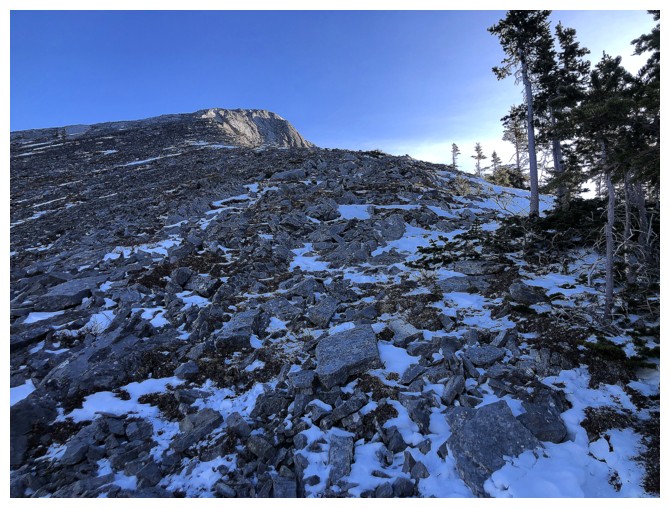
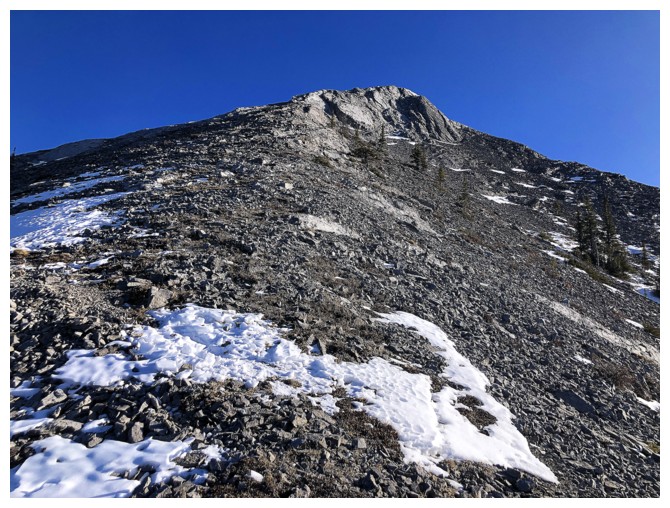
Above treeline with the summit just left of centre
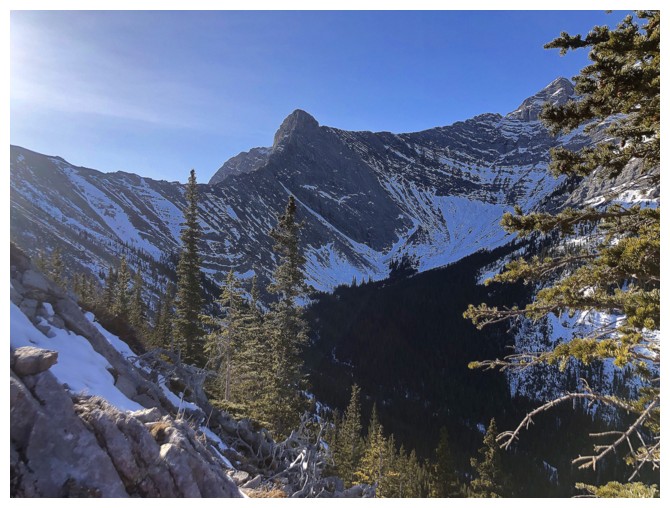
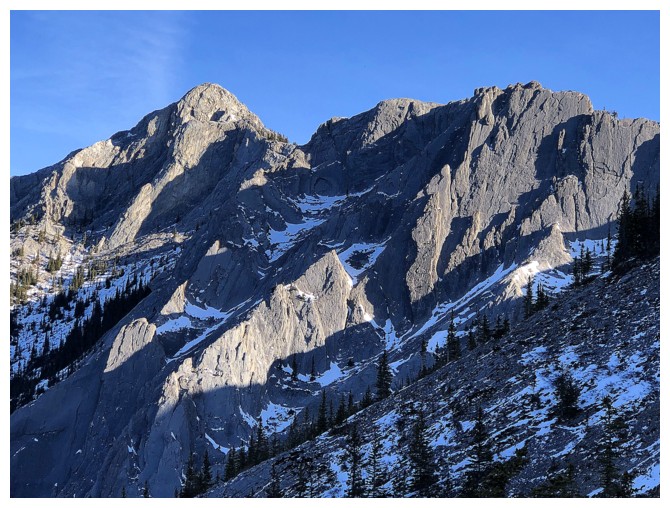
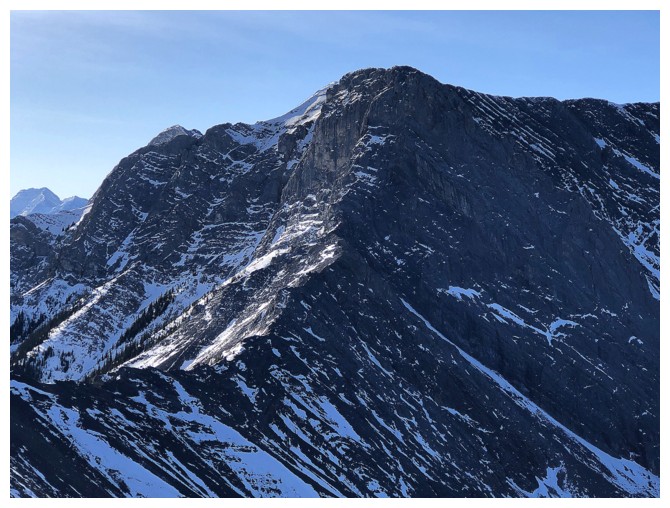
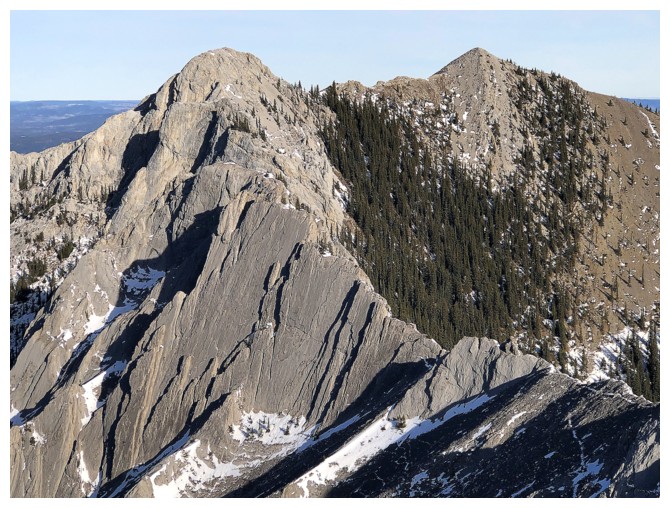
A formidable obstacle on the ridge between Catherine Barclay and Skogan Peak
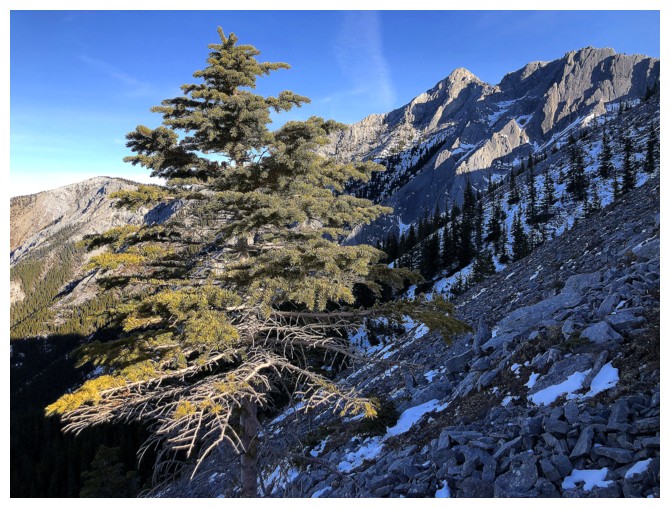
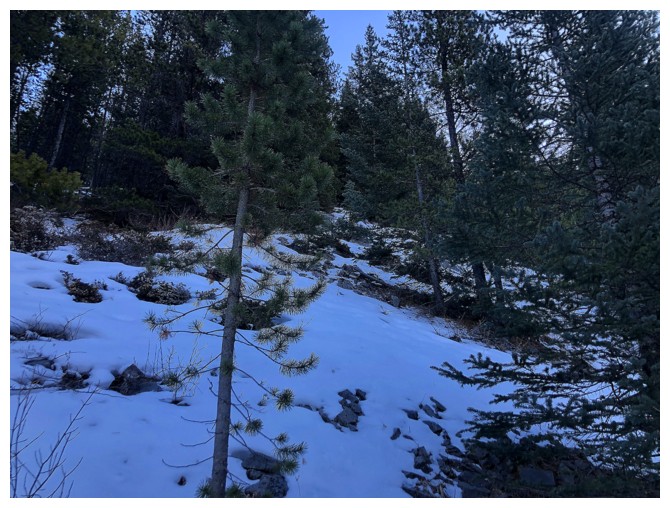
Big, lone tree
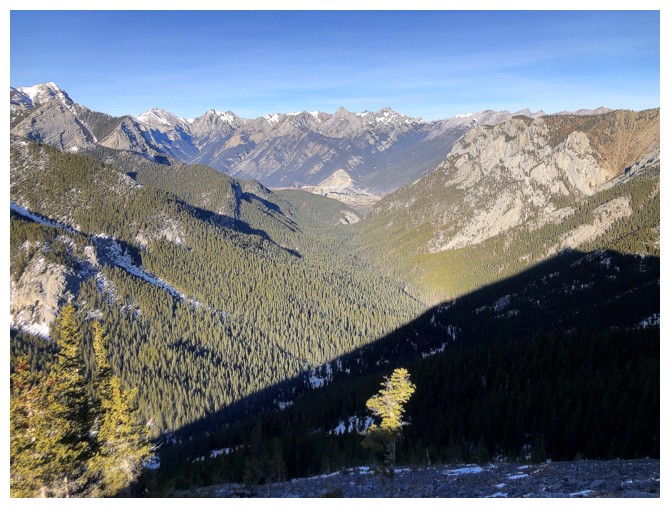
That same tree from above, finding the Sun
The aforementioned terrain between Catherine and Heart
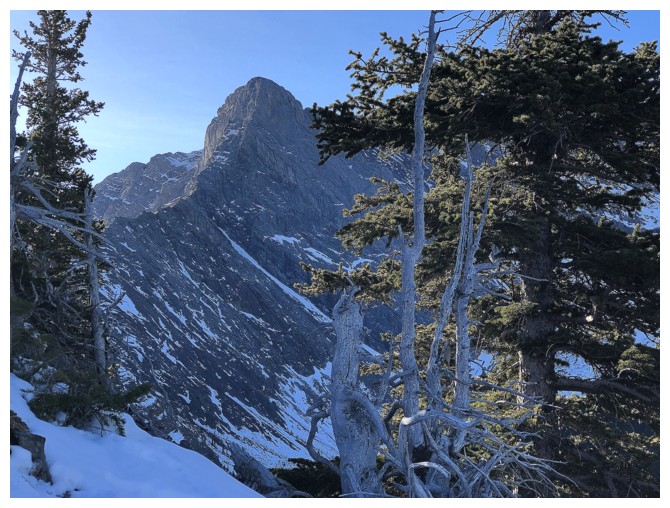
And the formidable obstacle again
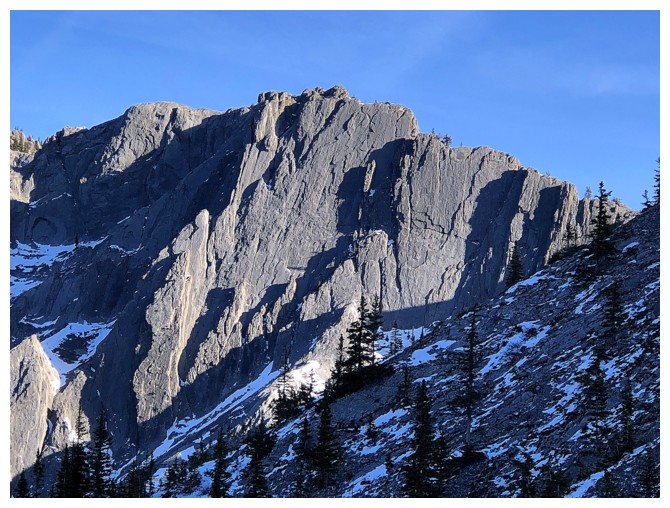
Closer look at the fascinating slabs
A less fascinating view of the terrain ahead
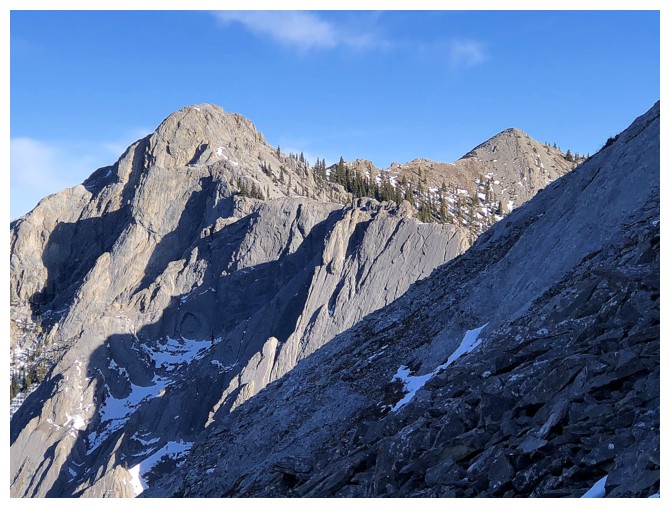
Kane calls these the Twin Towers, but the name Jewell Peak (for the right one) seems to be rising in popularity
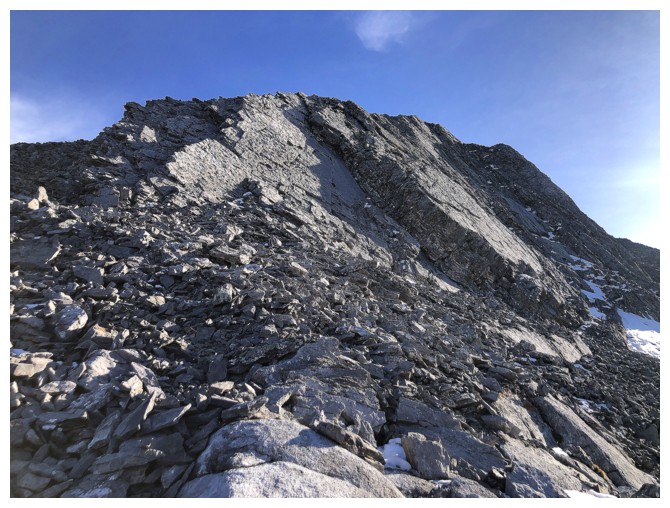
All rubble but it is not the ankle-jarring type

Decent rock for a final few steps to the top
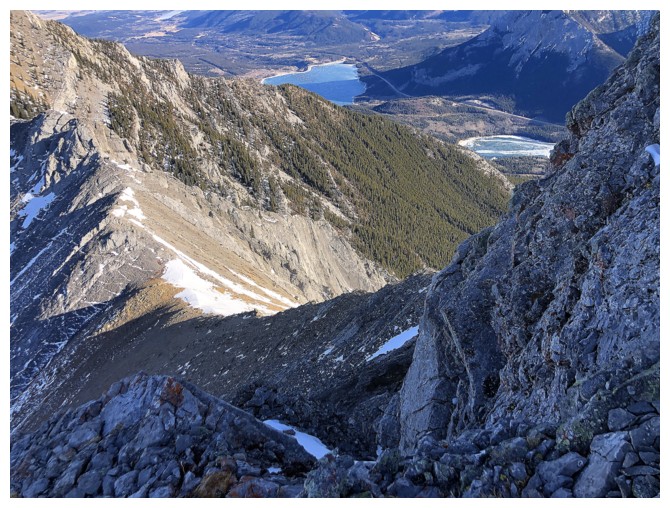
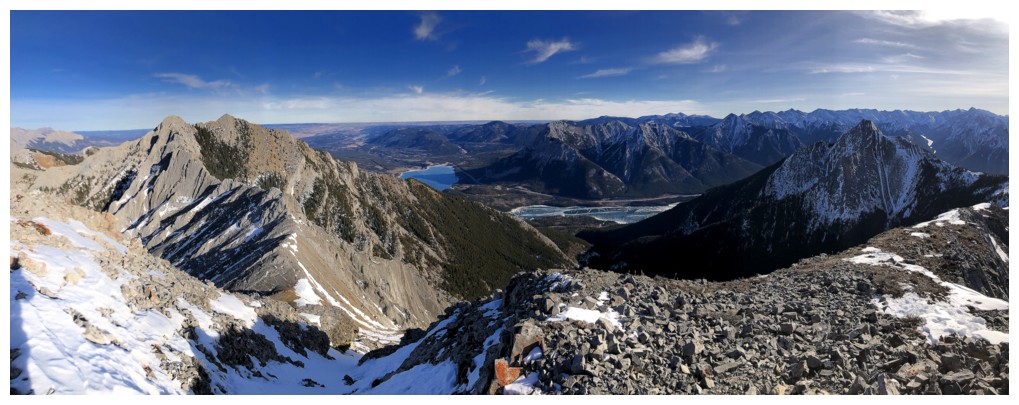
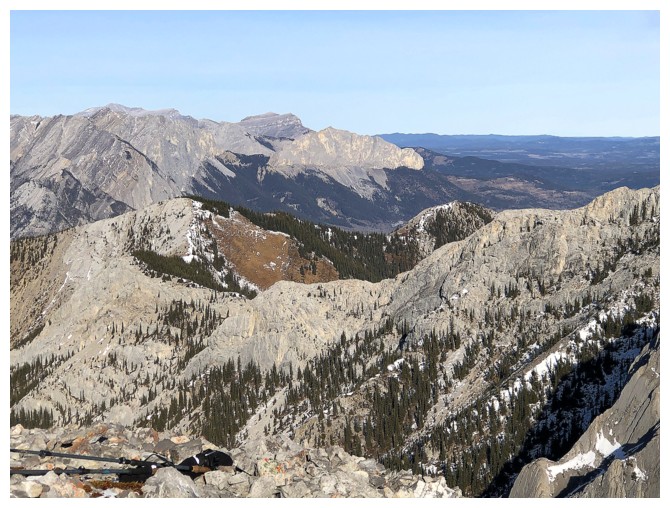
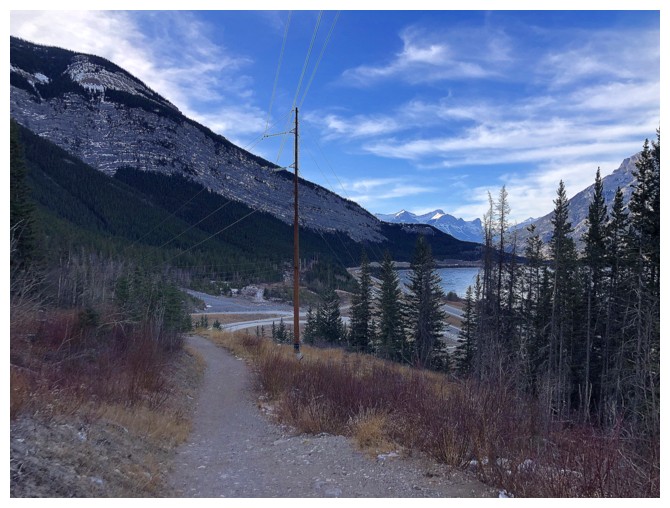
Glimpse of Barrier Lake and part of the connecting ridge to the Towers
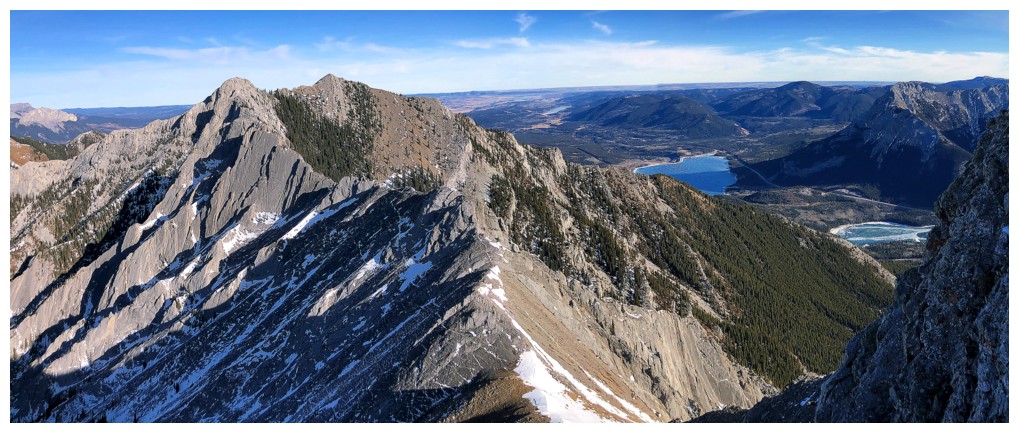
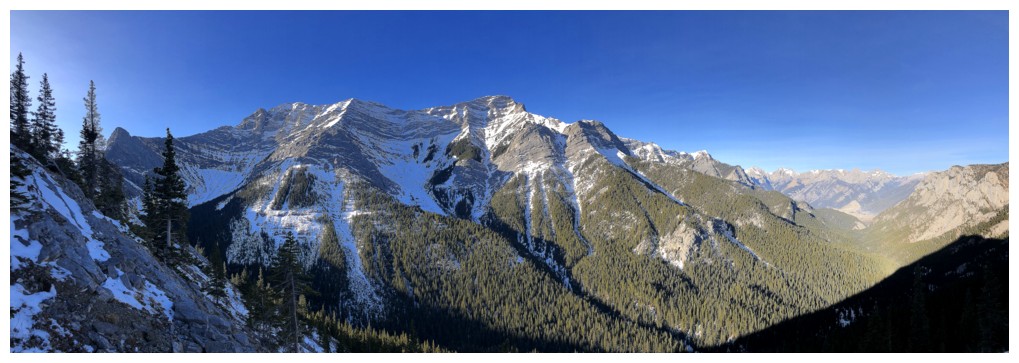
Pano just before reaching the summit
Summit cairn
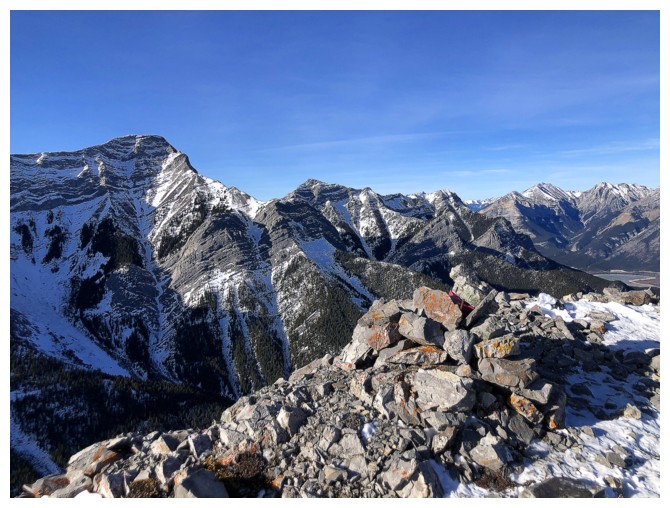
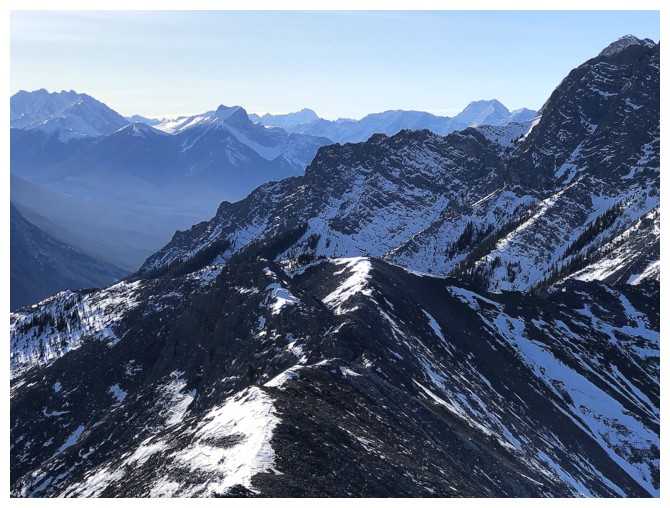
The ridge to the south and southeast that leads to Mary Barclay (left)
The ridge to the Twin Towers looks super cool
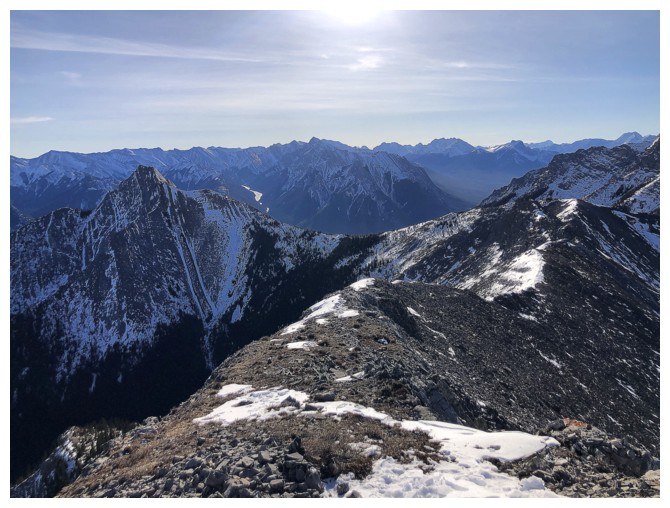
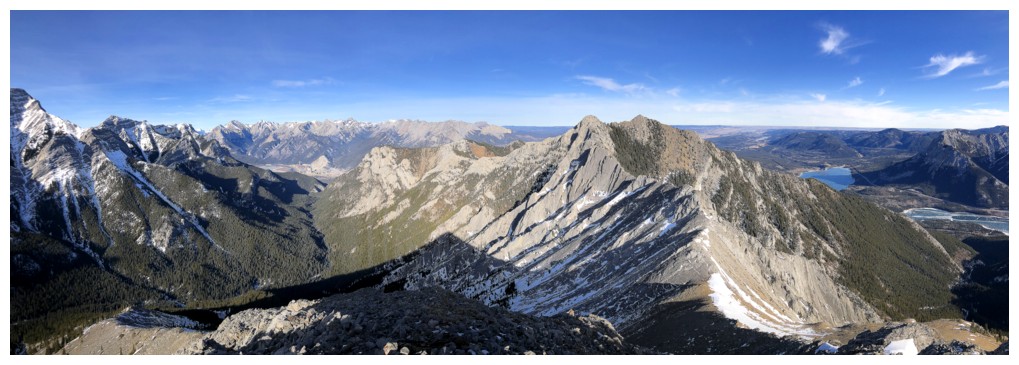
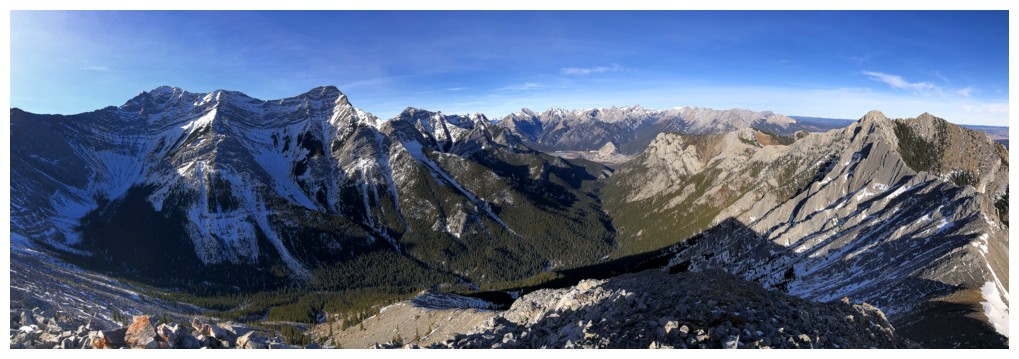
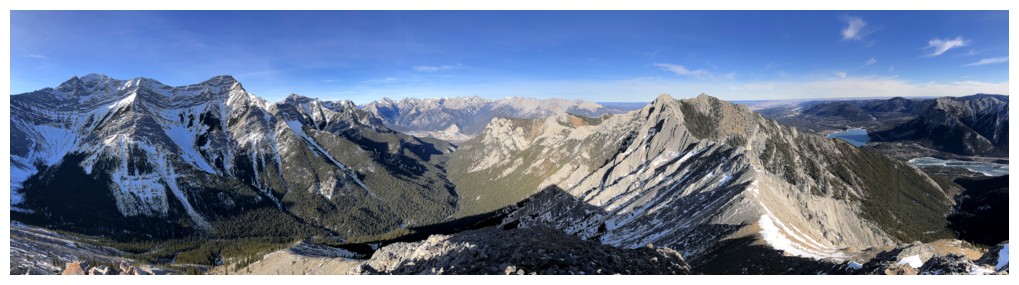
Summit panos
Closer look at Mary Barclay (left)
Distant mountains include Fisher Peak, The Wedge, and Mount Inflexible
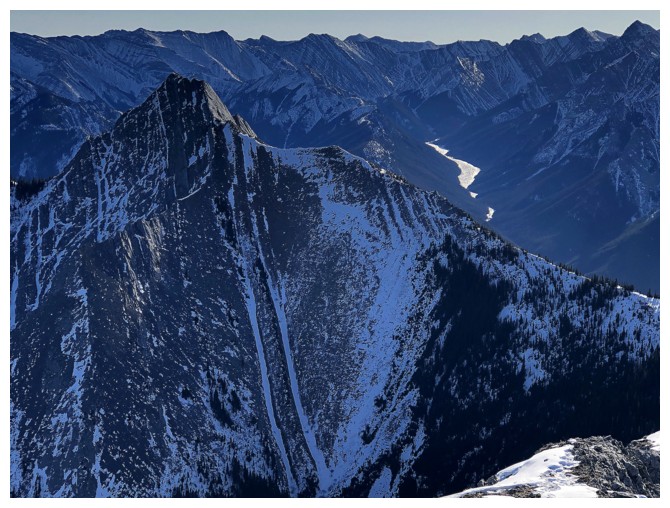
The Formidable One again looking even more formidable!
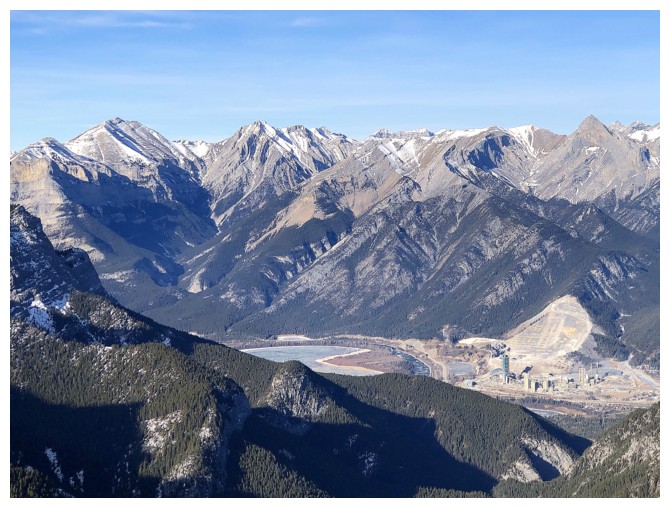
Peaks around the hamlet of Exshaw, including Grotto, Grable, Gap, and Fable
Mount Yamnuska, with Association Peak behind
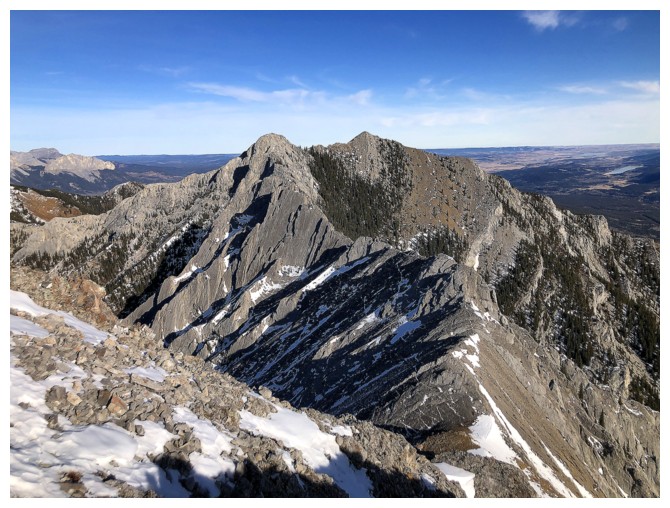
The Twins again, and that fascinating ridge to get over there
Bye-bye to Catherine
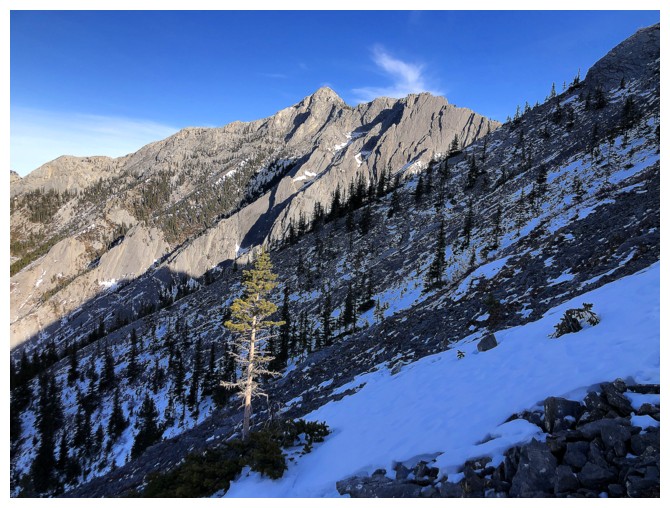
Another solitary tree that's stealing all the Sunlight
The ridge and the slabs
Mount Fable
Cool ice

Looking back to the ridge
Close-up
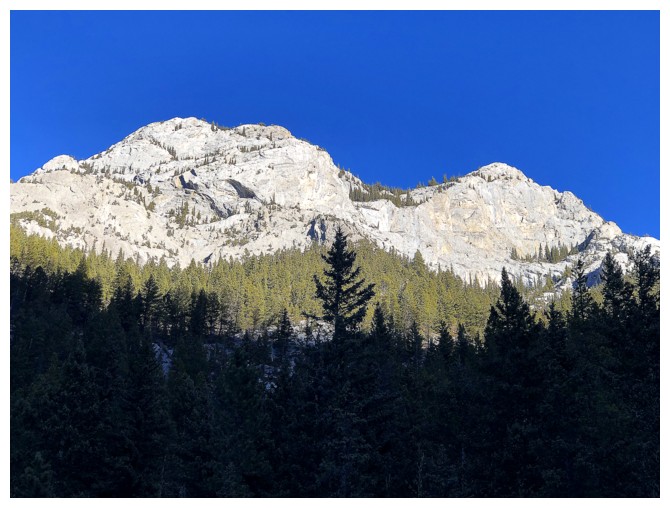
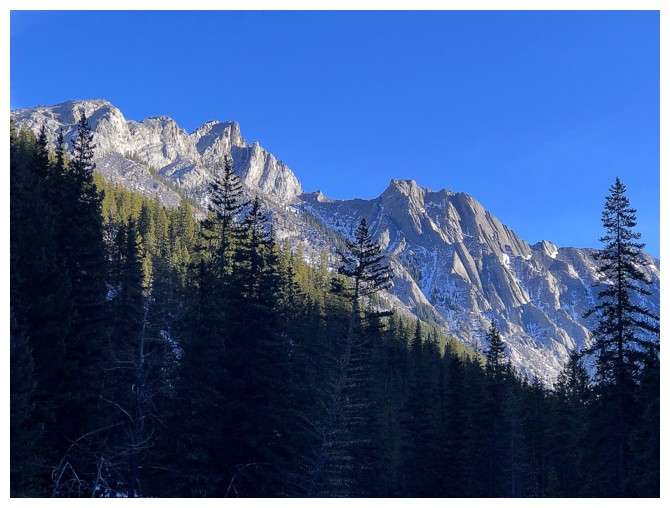
The bluest skies of the day above Heart Mountain

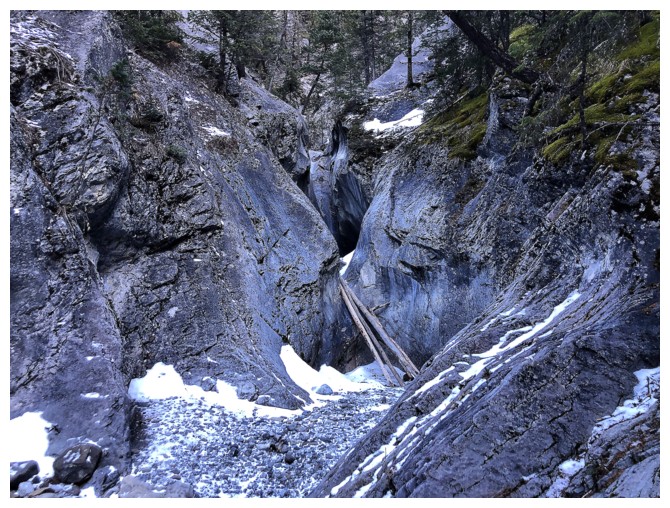
The top of the small canyon I tried to descend
Very cool ice
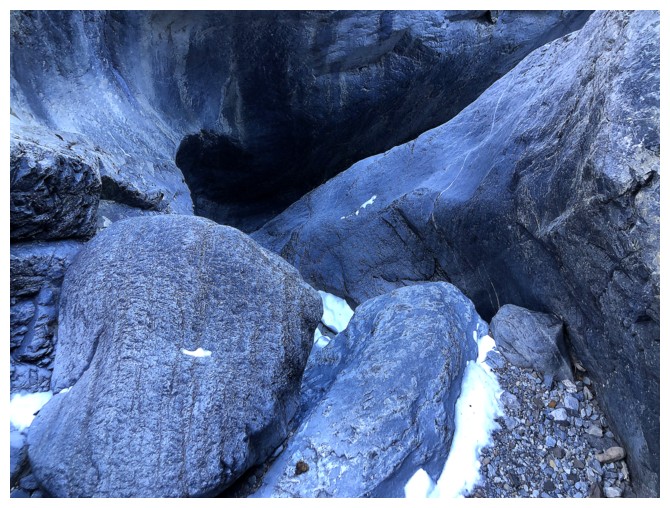
Scrambling down into the canyon
Looking back up
Easy travel for now
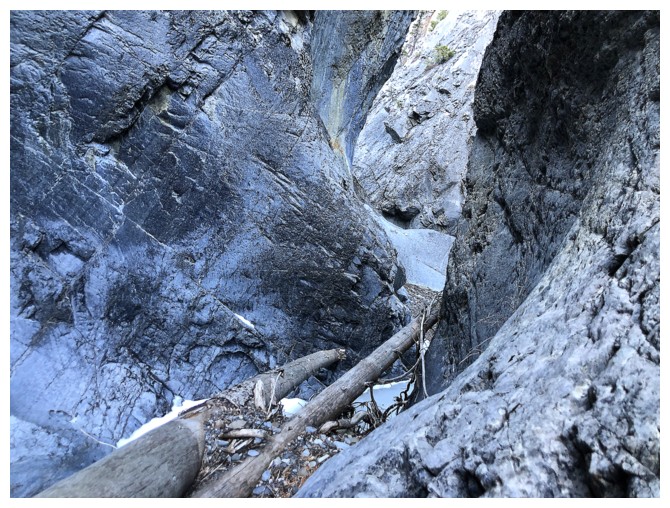
Not so easy. I thought I could scramble down this until I spotted a hanger. Time to retreat.
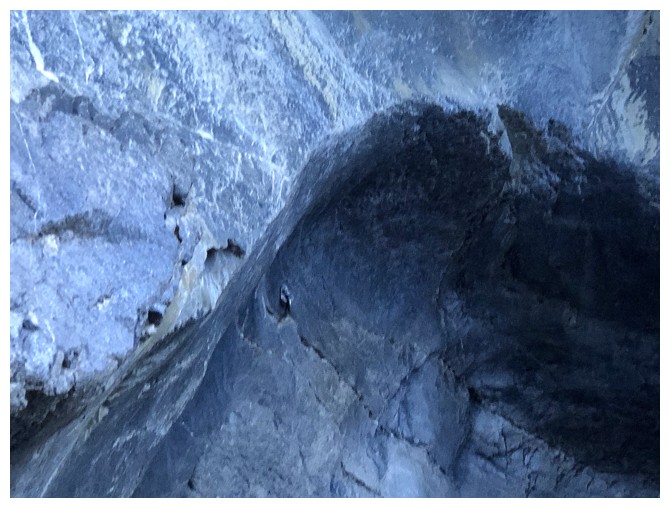
Spot the hanger

Hangers and a chain higher up the canyon
Back to a spot at the base of the canyon
Back to the twin frozen waterfalls
Parting look at Heart Mountain and Heart Creek
Last few hundred metres of the trip
The End
LOG