Sage Senior II
Font Mountain
Sage Pass Peak
II
July 16, 2022
Mountain heights: 2430 m, 2353 m, 2280 m
Total elevation gain: approximately 1700 m
Round-trip
time: 10:30
Solo scramble.
Inspired by
Cornelius Rott’s 2-day trip into this somewhat remote section of the South
Castle, I set out to see if Font Mountain could be ascended from the south.
Cornelius and Don had approached from the north, tagging nearby Sage Mountain
the same day. 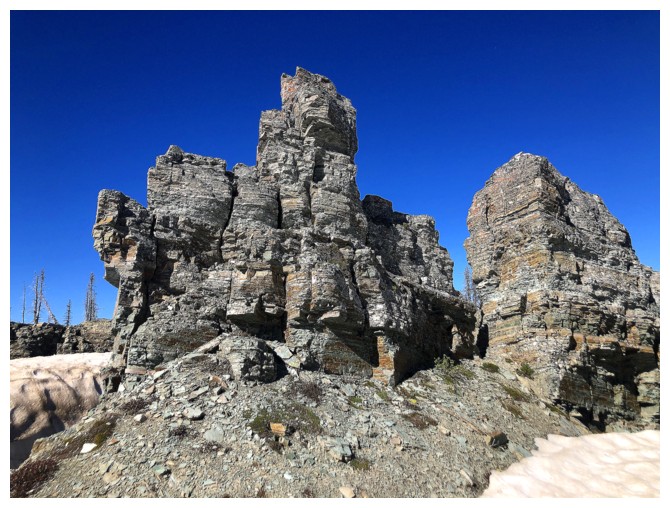 I had already reached the highpoint that connects Sage with Font,
on what continues to be one of favourite Waterton trips – Sage Senior – so this
trip had a great chance of success. Only the significant ups and downs of the
trip, on what was forecast to be an extremely hot day, was cause for concern.
I had already reached the highpoint that connects Sage with Font,
on what continues to be one of favourite Waterton trips – Sage Senior – so this
trip had a great chance of success. Only the significant ups and downs of the
trip, on what was forecast to be an extremely hot day, was cause for concern.
8.5 km of biking
followed by approximately 7.5 km of easy and scenic hiking brought me to the
Sage Senior’s summit for a second time. In retrospect, I should have bypassed
the summit of Senior by sticking to the GDT (Great Divide Trail) trail, that
traverses well below the peak. Views from Senior are much better later in the
day. Nevertheless, 2.5 hours after leaving the parking lot, I was enjoying the
fantastic panorama from the top.
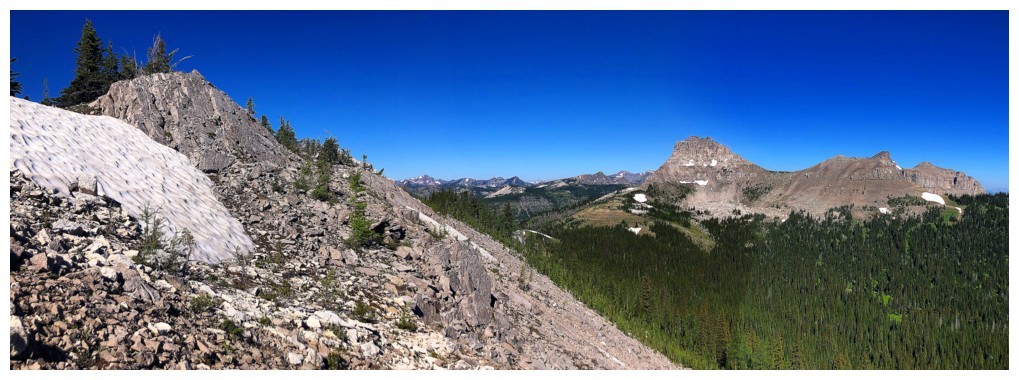
 On to Font. I noted three things en route: 1. A very cool section of rock and snow
midway; 2. Great views throughout; 3. The fact that there was heck of a lot of
downhill and very little uphill. 1 and 2 were awesome and so was 3 for the ascent,
but returning would likely be an energy-zapping slog.
On to Font. I noted three things en route: 1. A very cool section of rock and snow
midway; 2. Great views throughout; 3. The fact that there was heck of a lot of
downhill and very little uphill. 1 and 2 were awesome and so was 3 for the ascent,
but returning would likely be an energy-zapping slog.
The ascent of
Font itself was terrific and went exactly as Cornelius described – a very
unique mountain geologically and in terms of its location. Ephraim Roberts'
classic register had been placed at the summit in 2020, containing only three
entries.
The descent was
hardly a descent at all, requiring about 360 m of elevation gain in comparison
to 210 m of elevation loss to get back to Sage Senior. Of course, retuning all
the way to the top of Senior was unnecessary, but the views really are better later
in the day. I hit Sage Pass Peak on the way back and then it was in fact all downhill
from there.
A great day and
a good route for those wishing to day-trip Font Mountain and experience
fantastic scenery and views along the way.
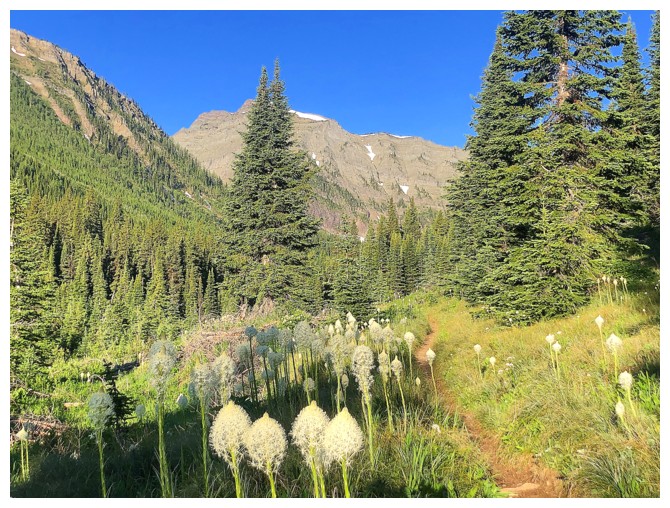
Bear grass and Kishinena Peak
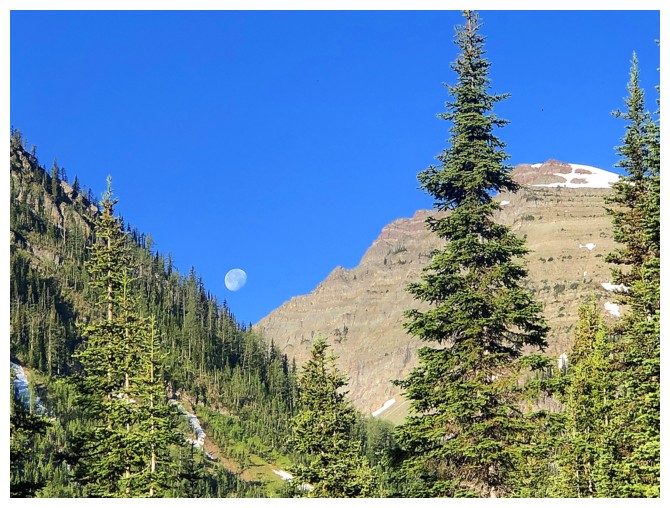
The moon and Kishinena Peak
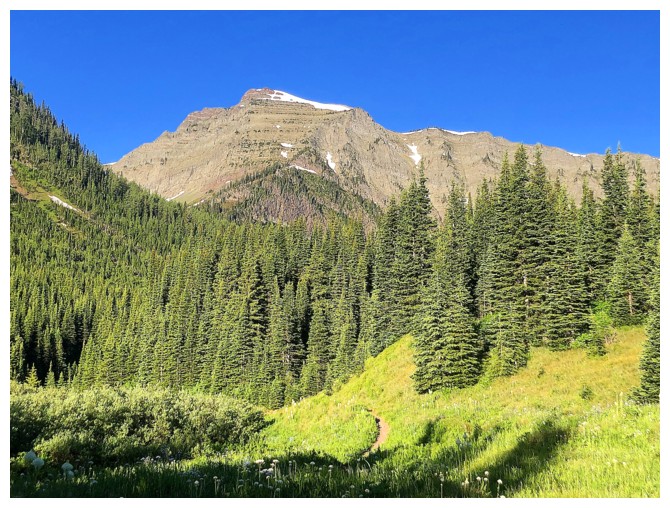
Kishinena Peak without that annoying tree!
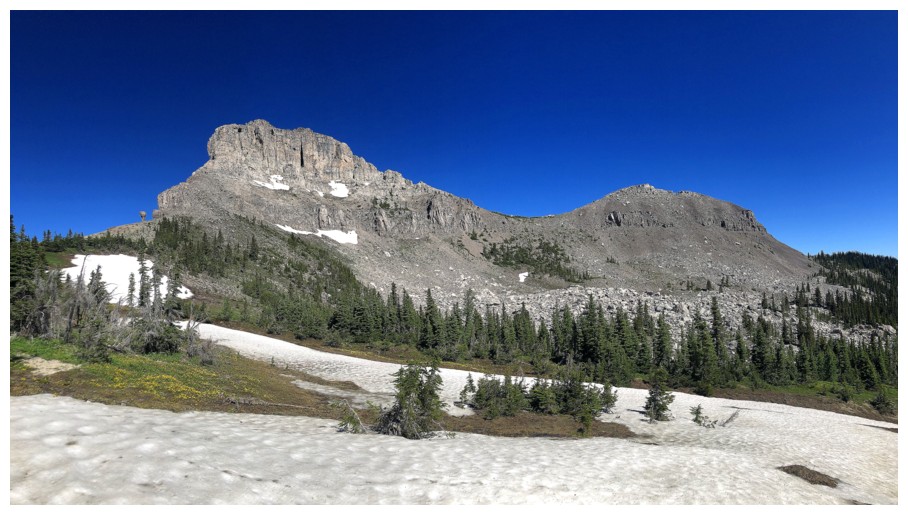
At Sage Pass and looking up at Sage Senior
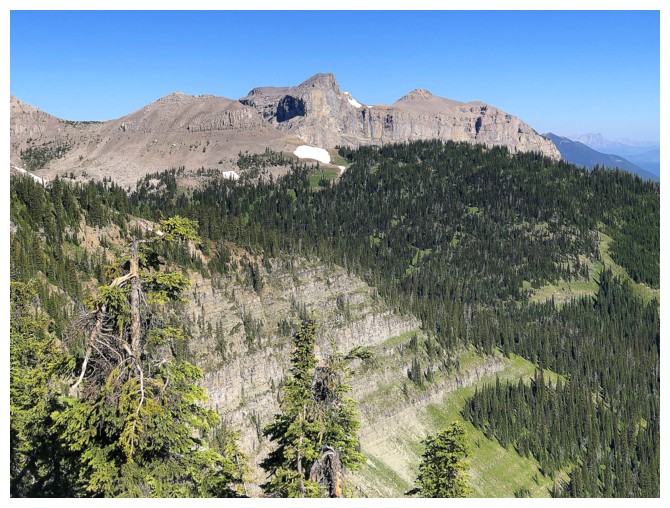
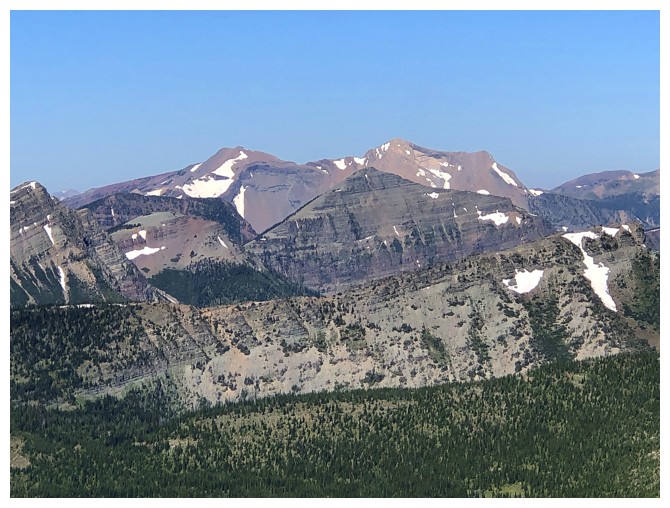
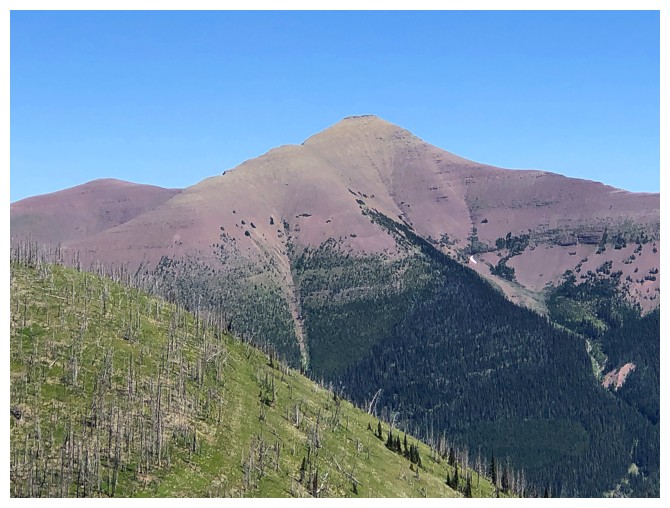
Better view of Senior

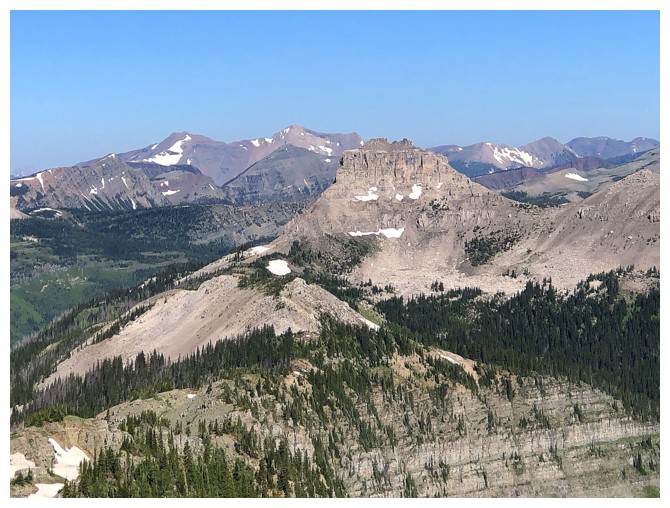
Zoomed-in photo of Font Mountain. It's a huge distance away at this point.
On the ridge between Sage Senior and Sage Pass Peak
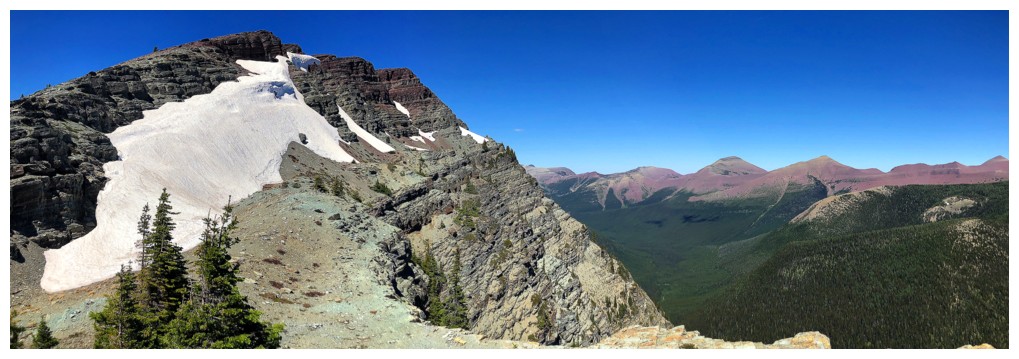
A fair amount of snow still residing on the east face on Senior
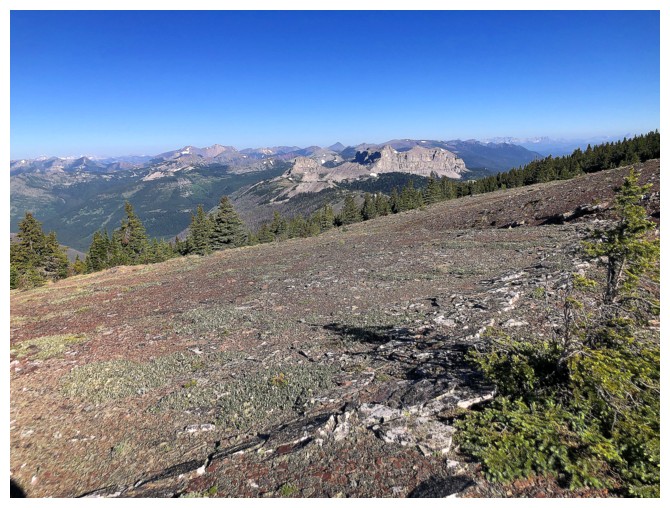
The view to the south - as stated, much better later in the day
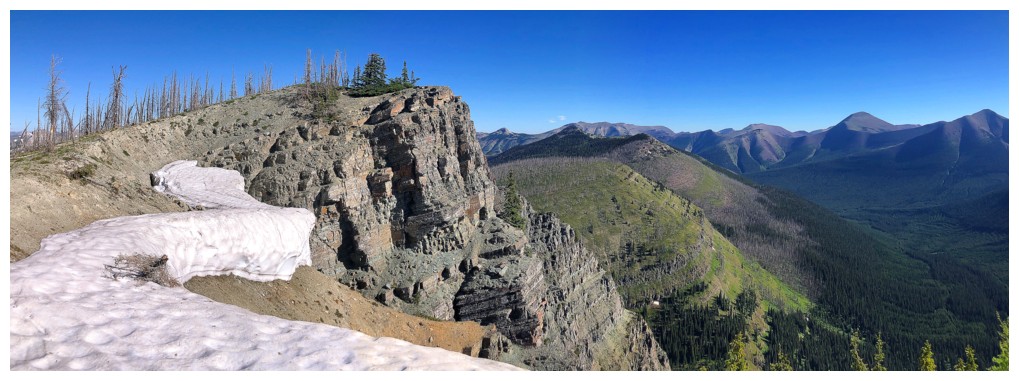
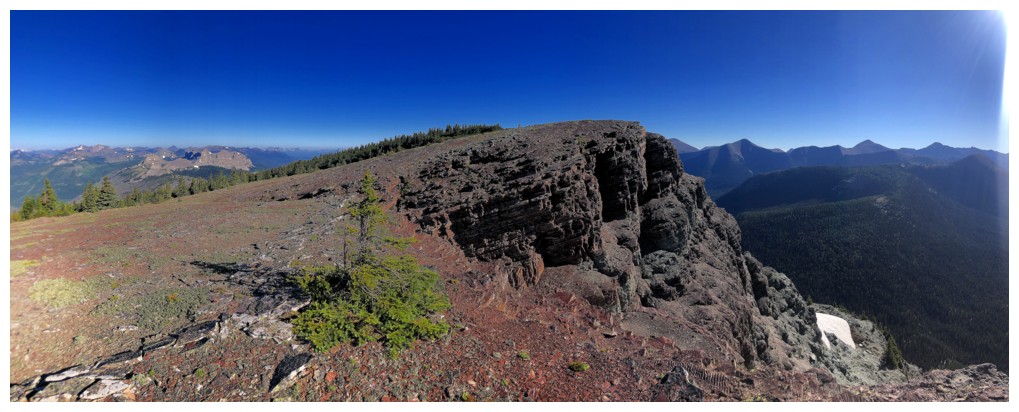
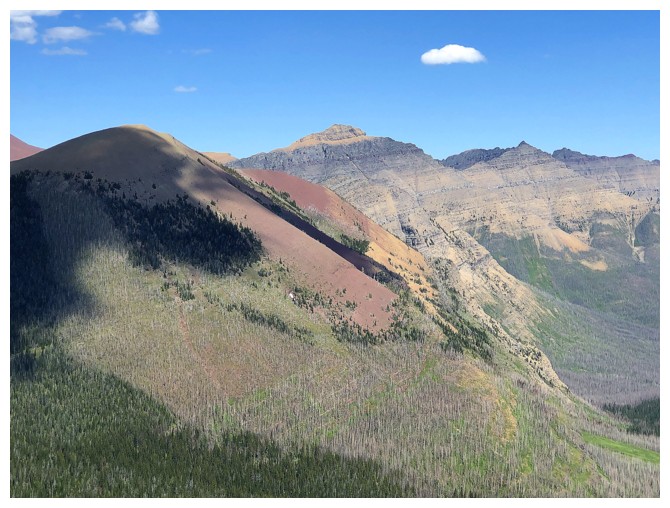
The big ledge that provides awesome views of Senior's east face
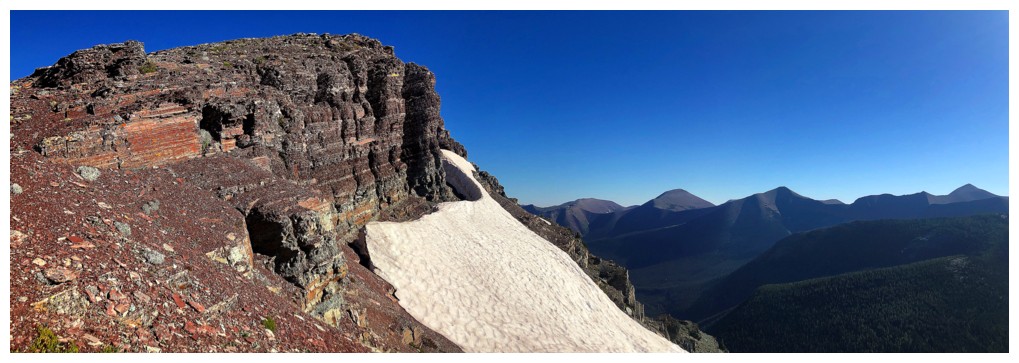
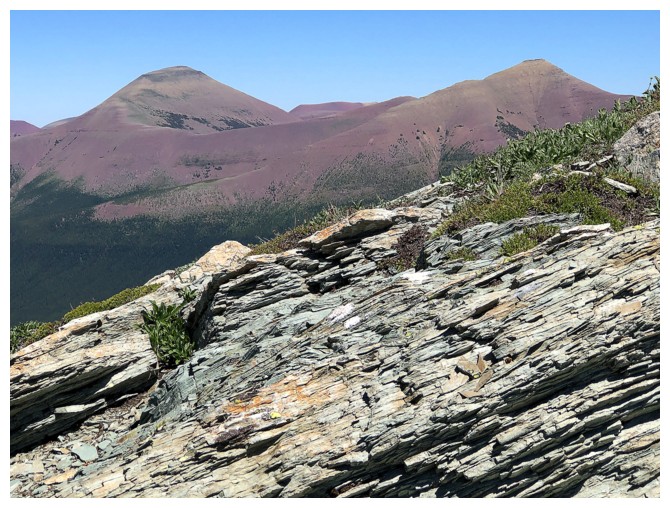
The top of Senior is all beautiful, red argillite
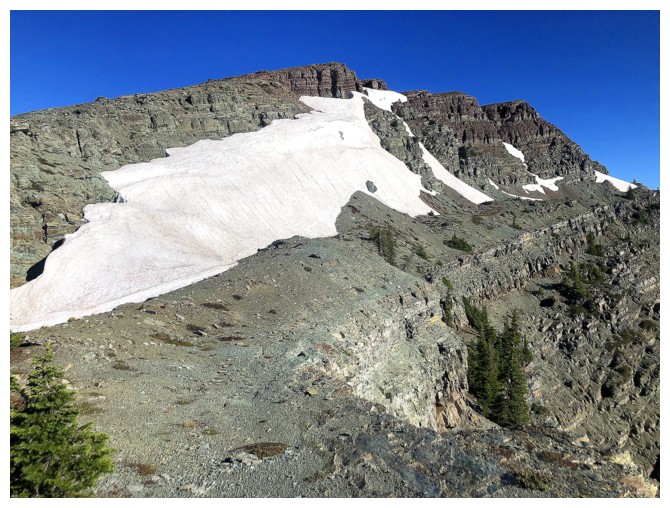
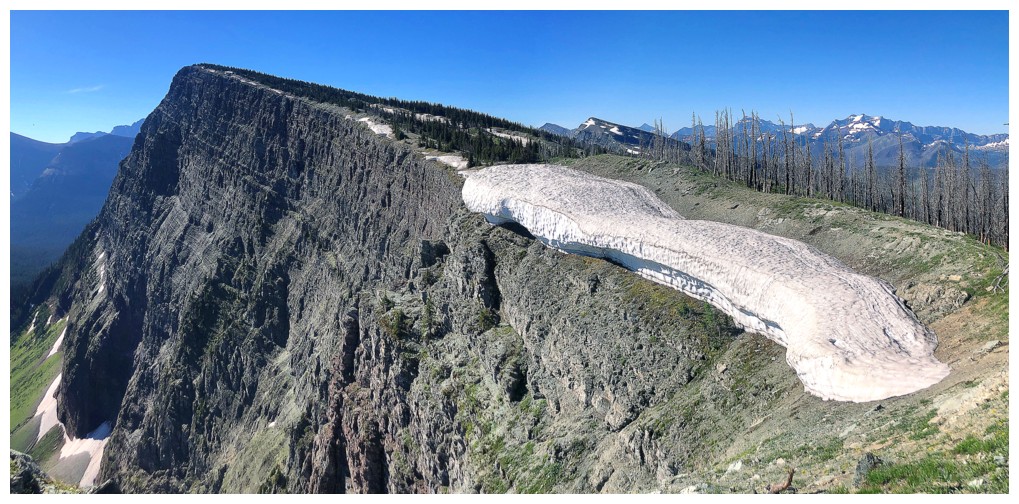
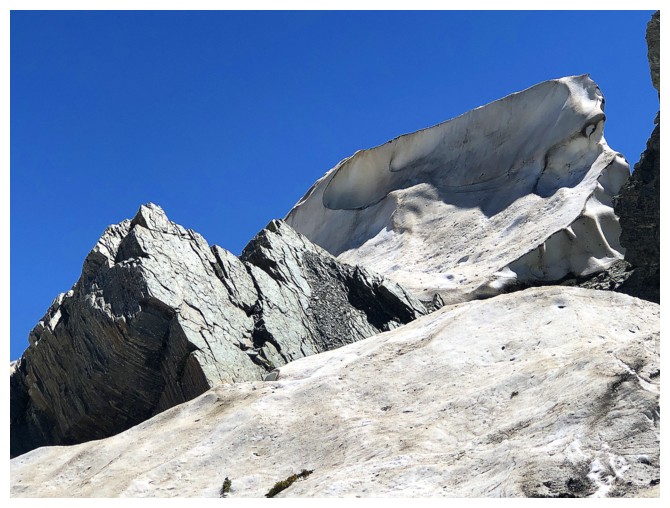
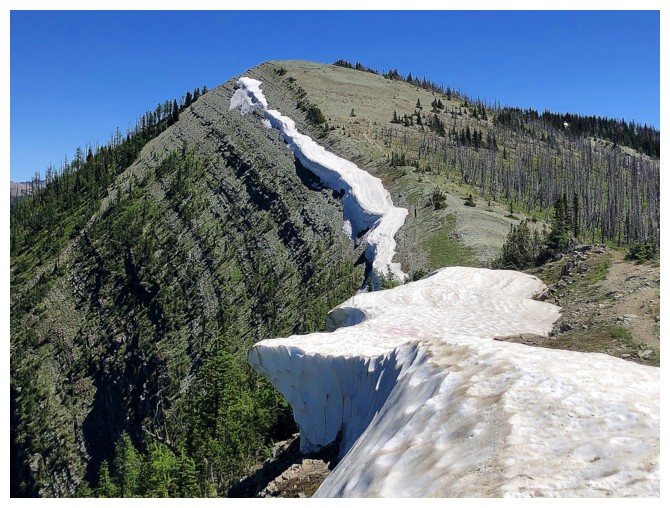
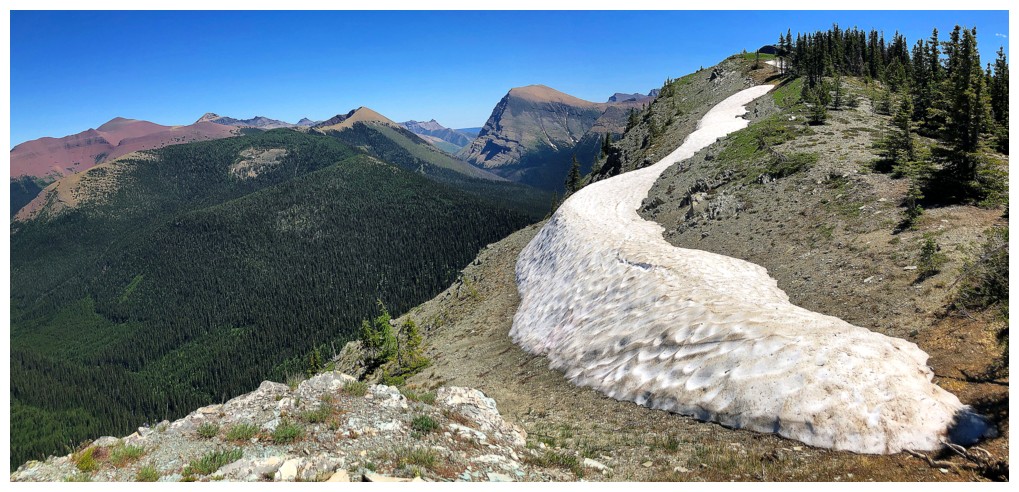
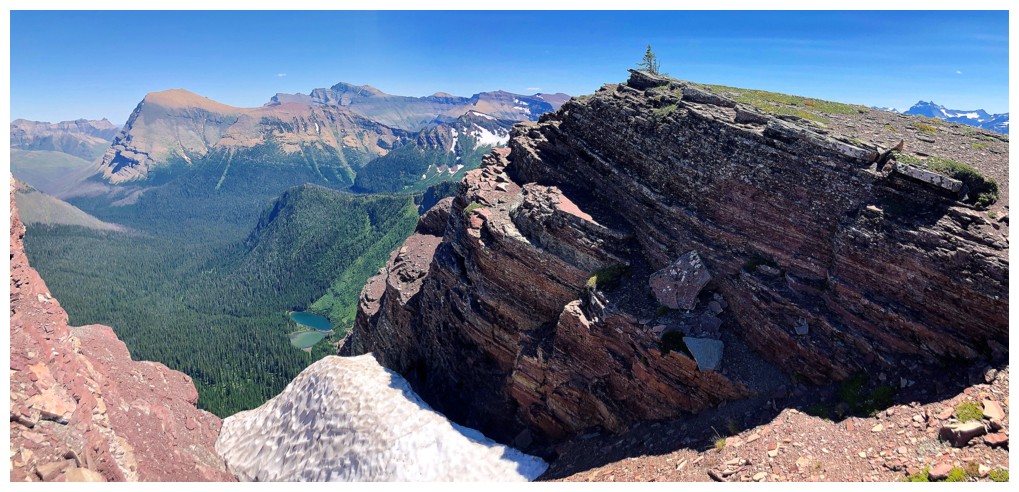
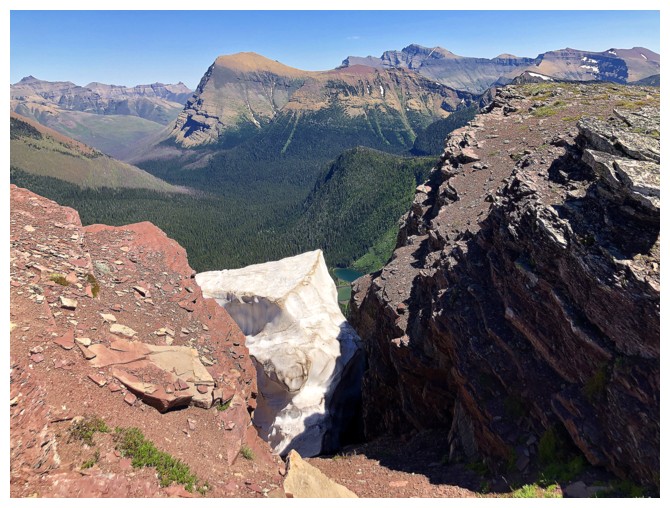
Big wedge of snow
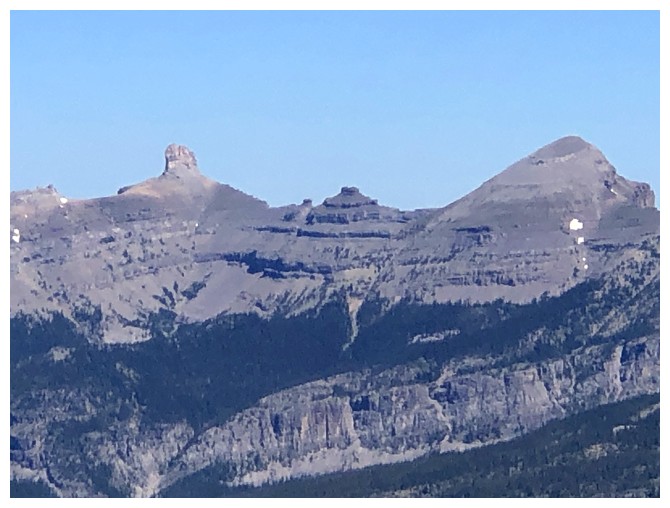
Font looks very distant from here
Closer look. Font at the left and Matkin at the right.
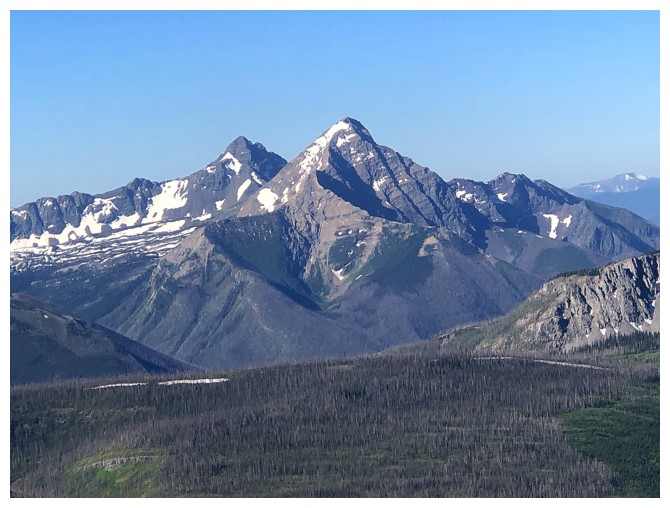
Obligatory shot of King Edward and Starvation
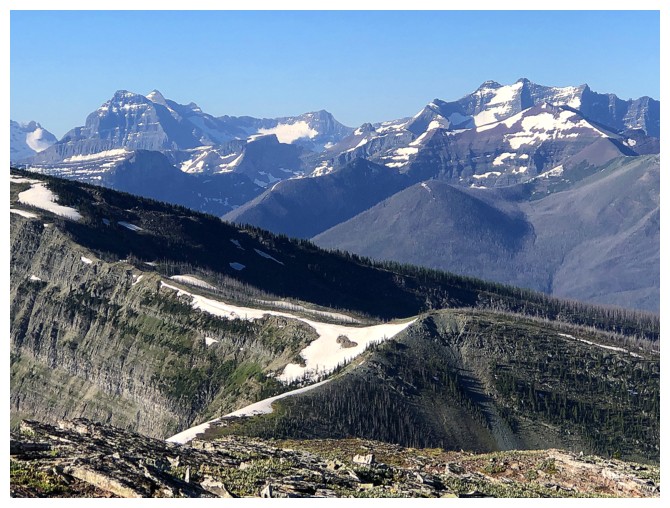
Obligatory shot of Kinnerly and Kintla (far left) and three-pronged Long Knife Peak at the right
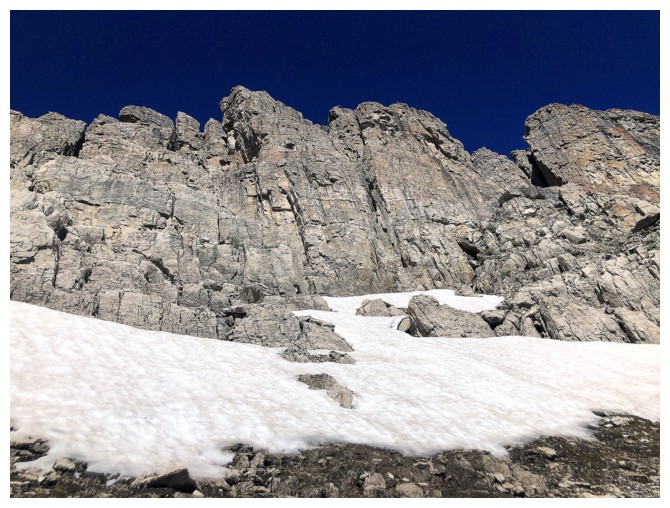
Approaching the summit
Nostalgic look at the gully I ascended in 2020 to get to the summit ridge
Looking back
Summit view to the south
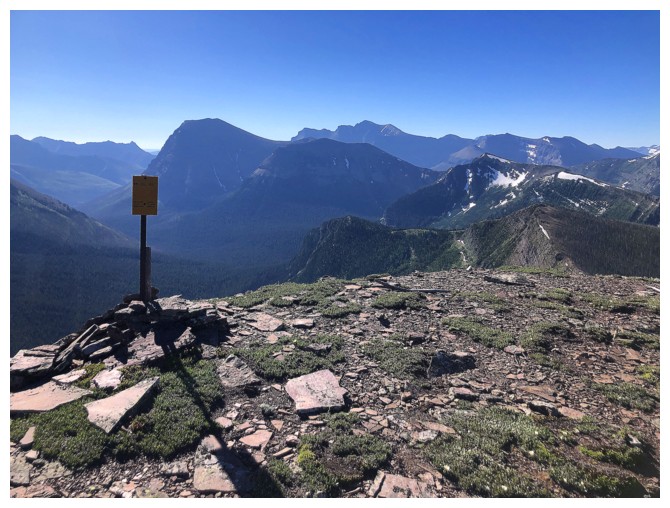
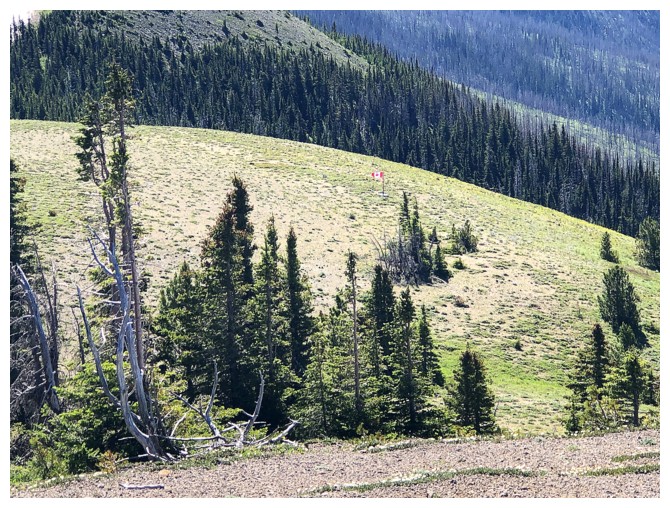
The summit is adorned with a Park Boundary marker
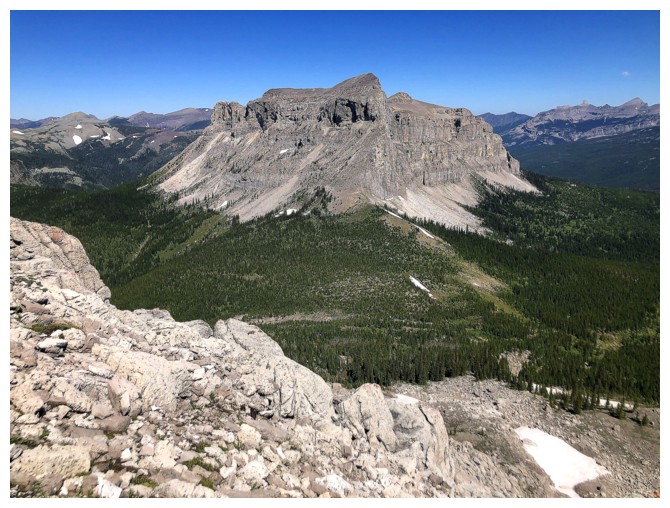
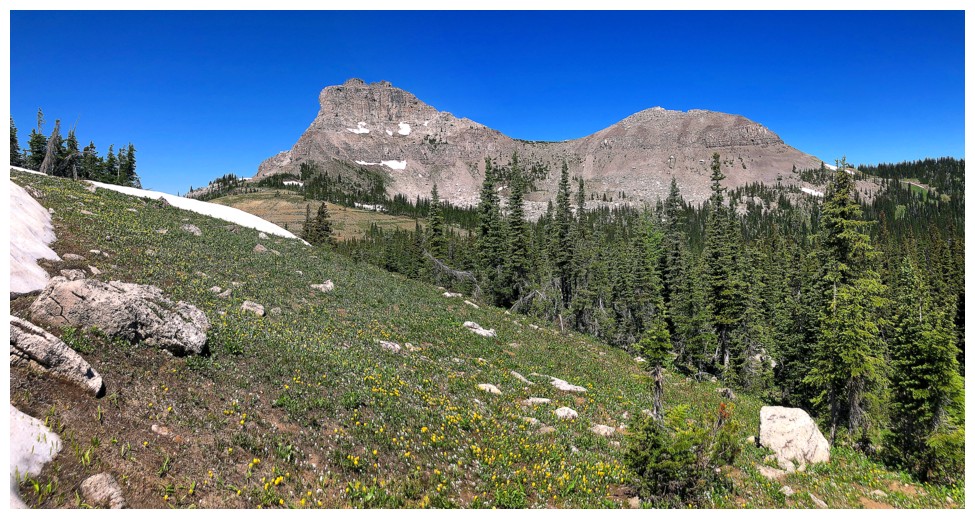
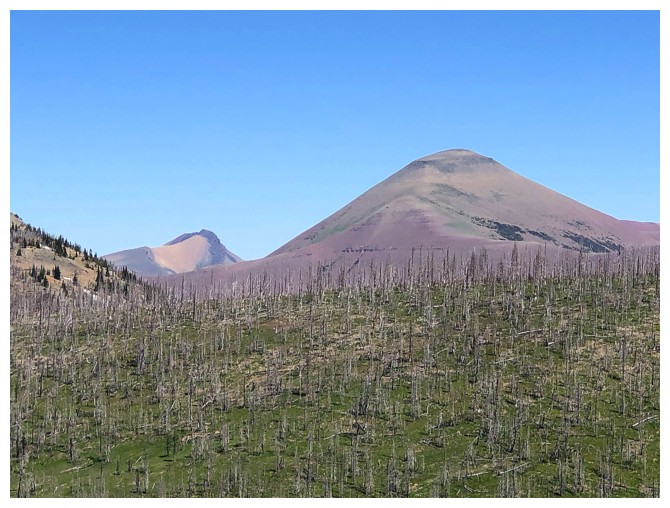
Summit view towards the next objective - Font Mountain
Looking back to the summit of Sage Senior
Same as above

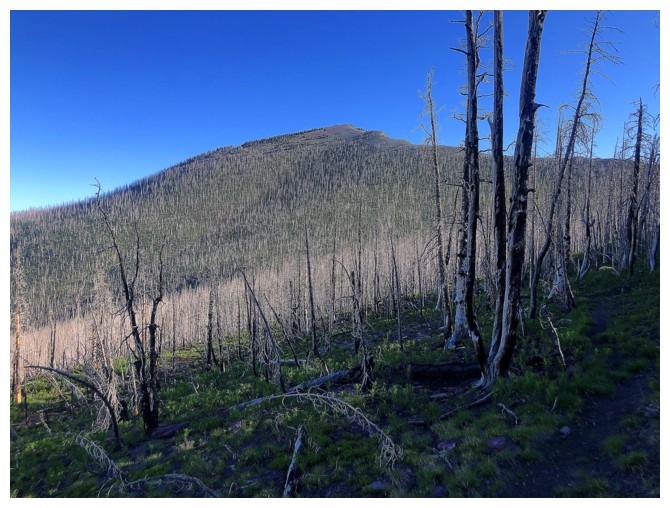
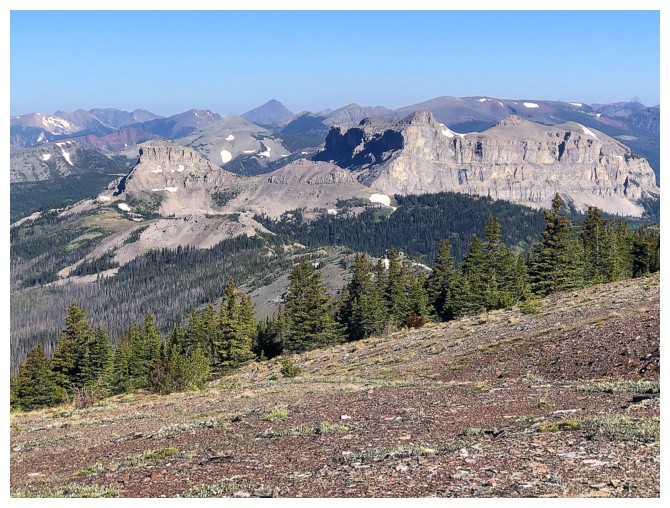
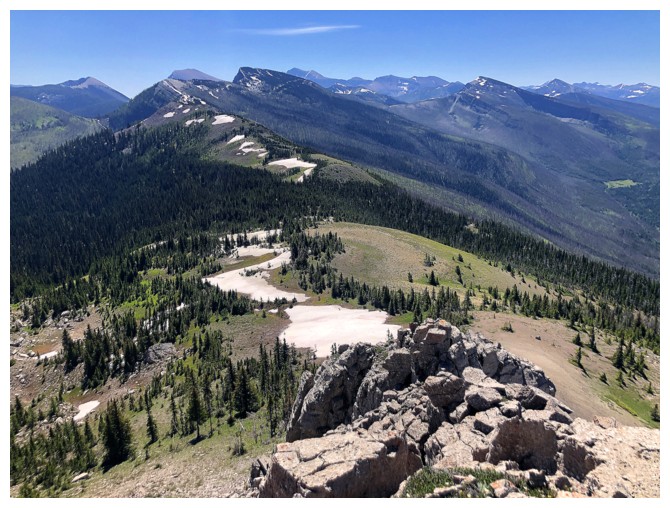
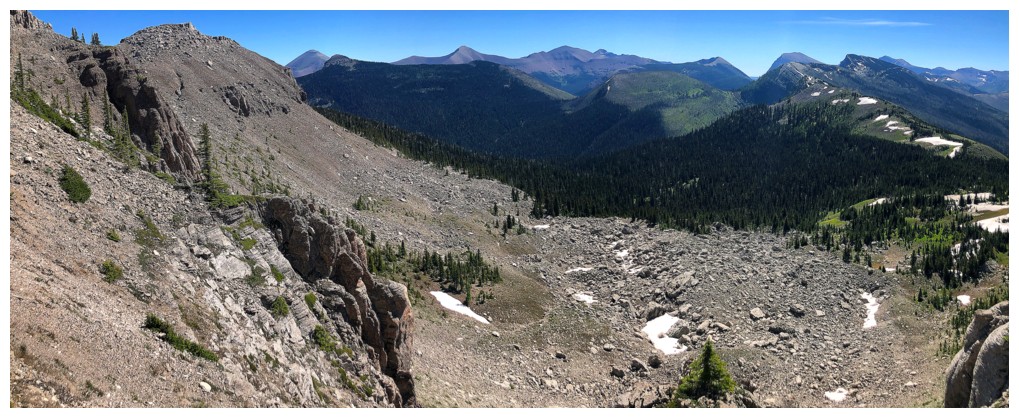
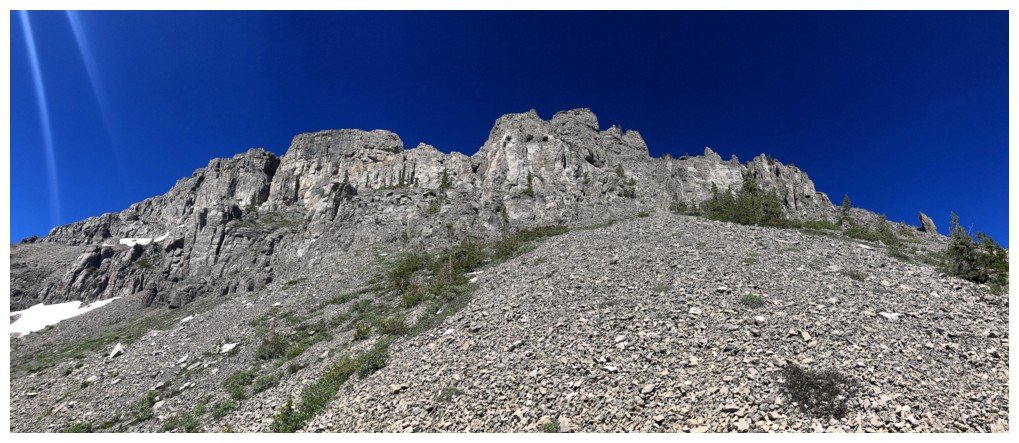
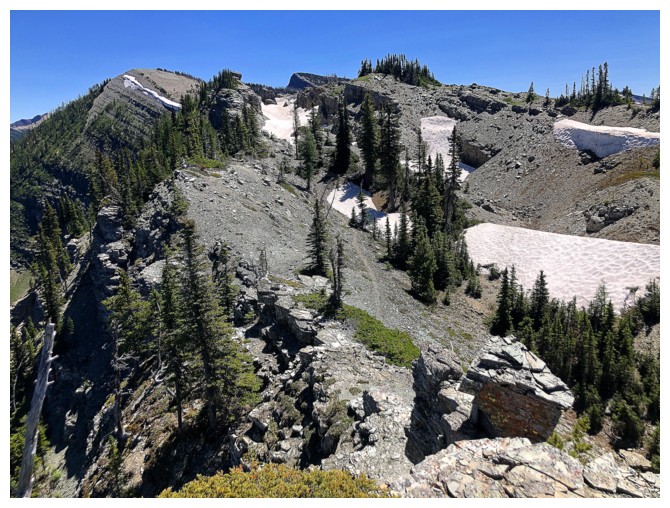
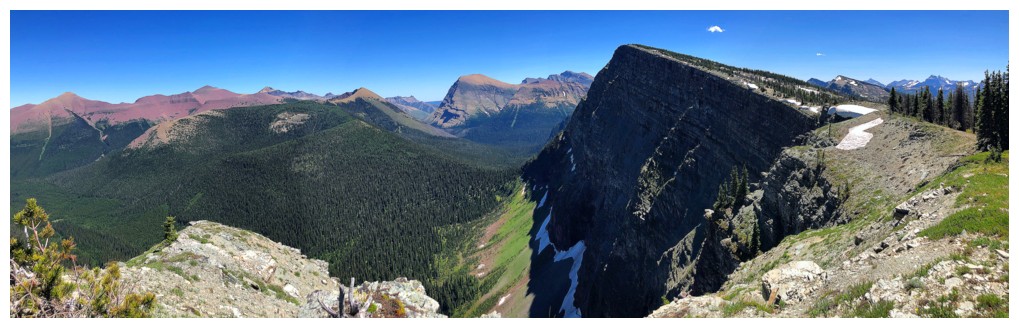
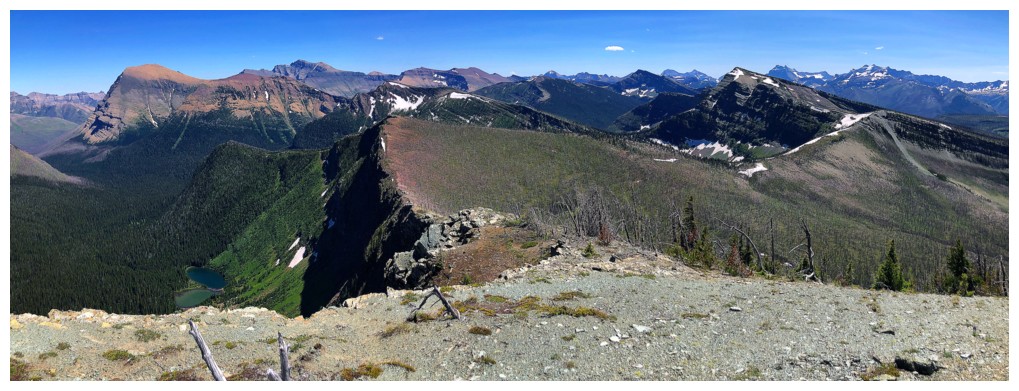
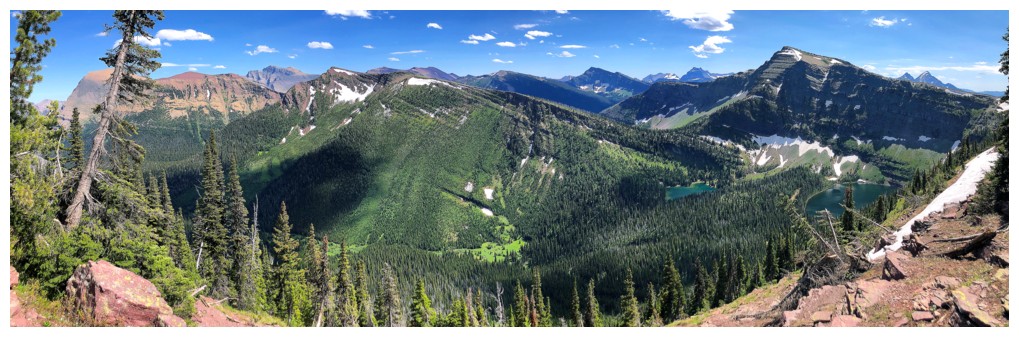
The north ridge is generally very open with great views throughout
The route to the base of Font is pretty obvious, simply following the open ridge
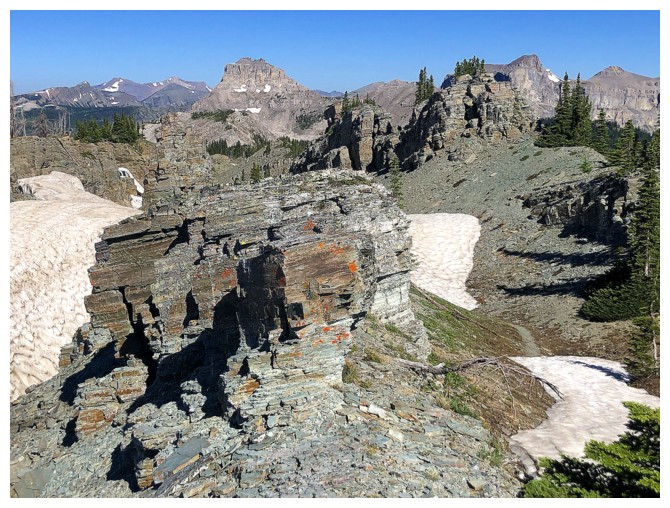
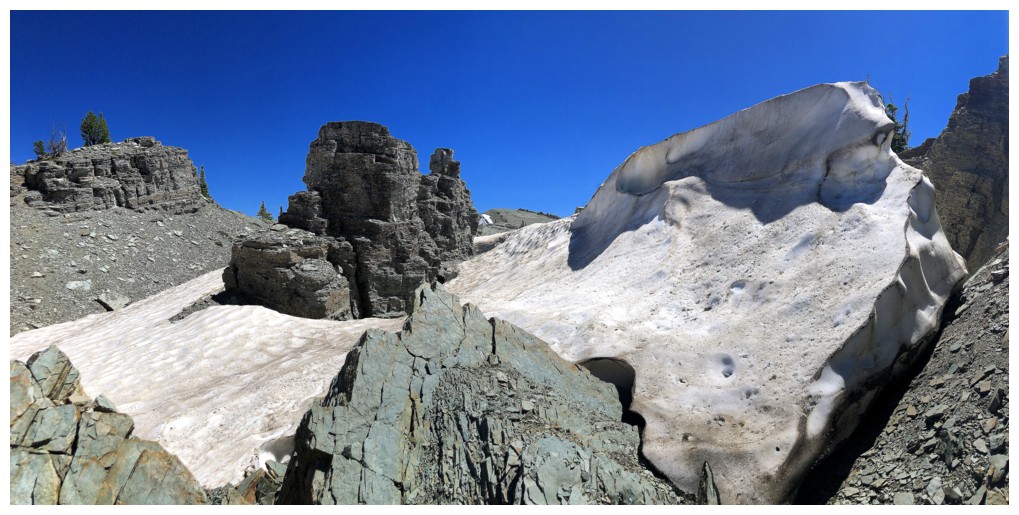
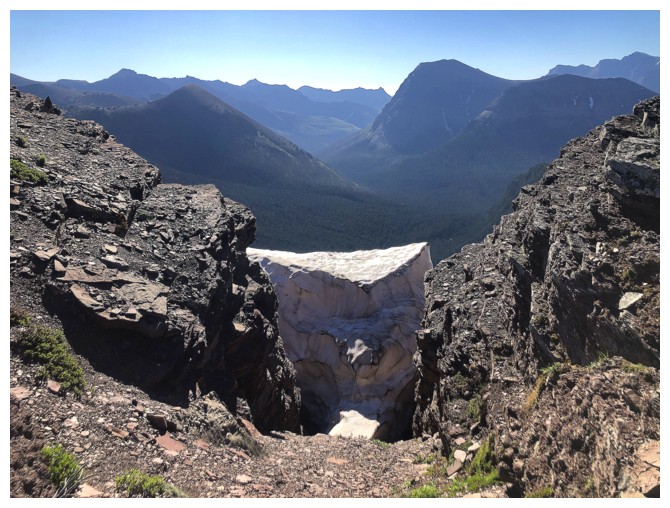
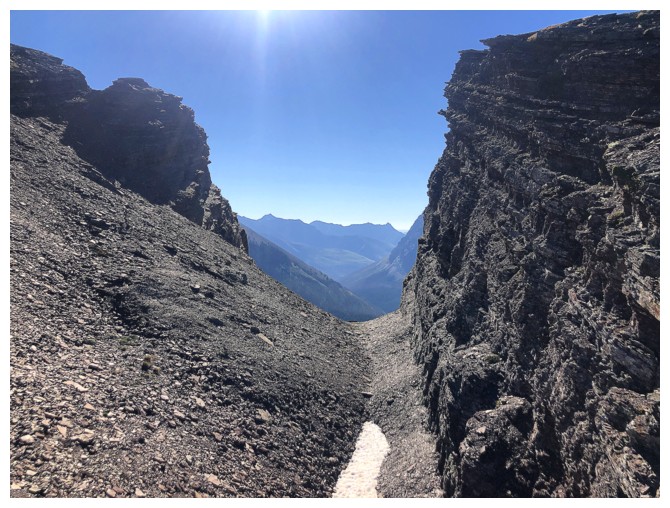
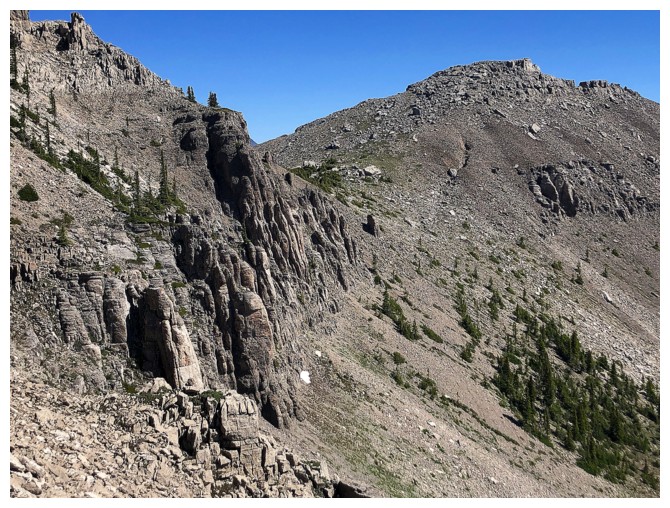
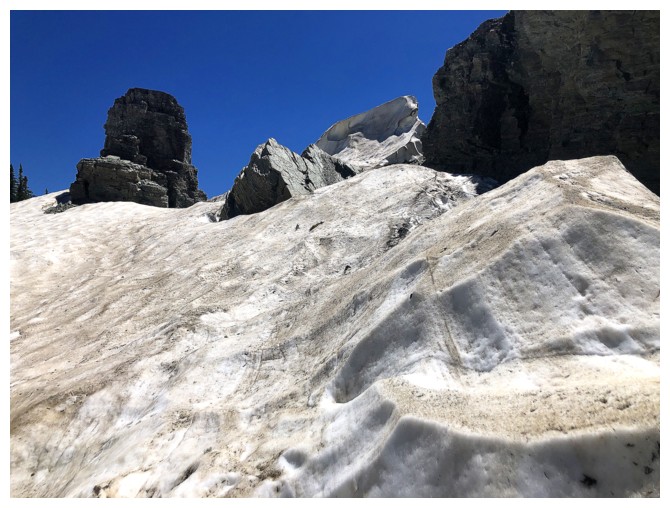
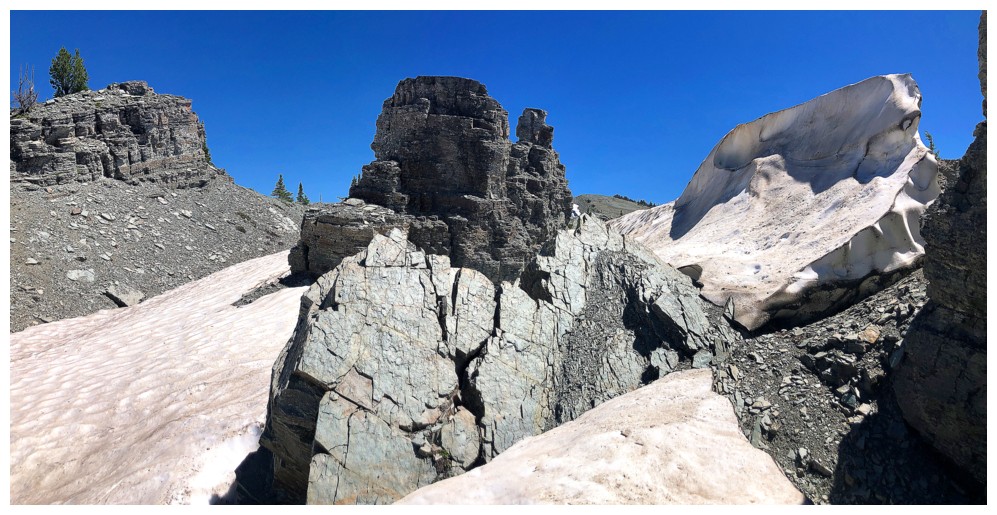
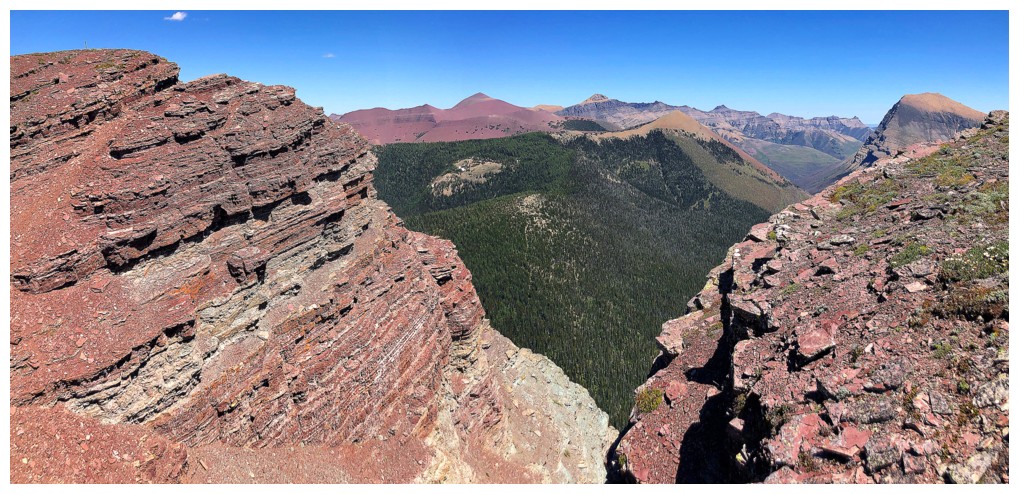
Approaching
the coolest section of the traverse to Font. A huge depression in the
ground between the two ridges gave this section a canyon-like feel.
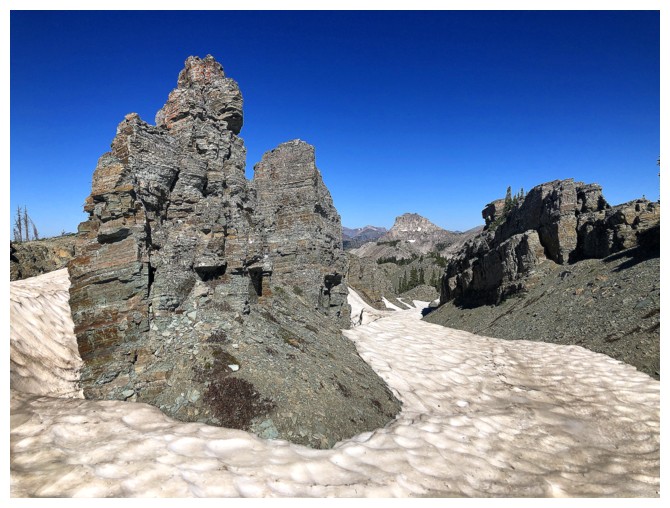
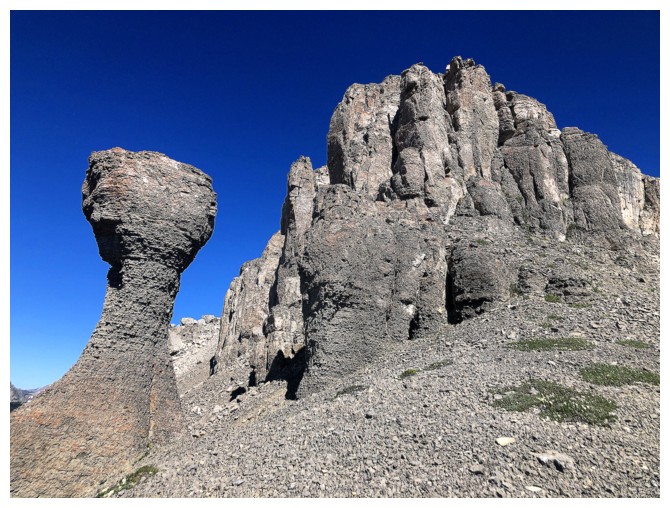
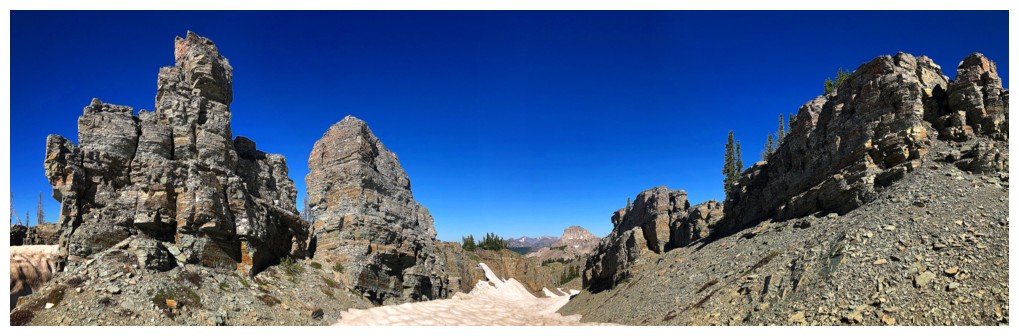
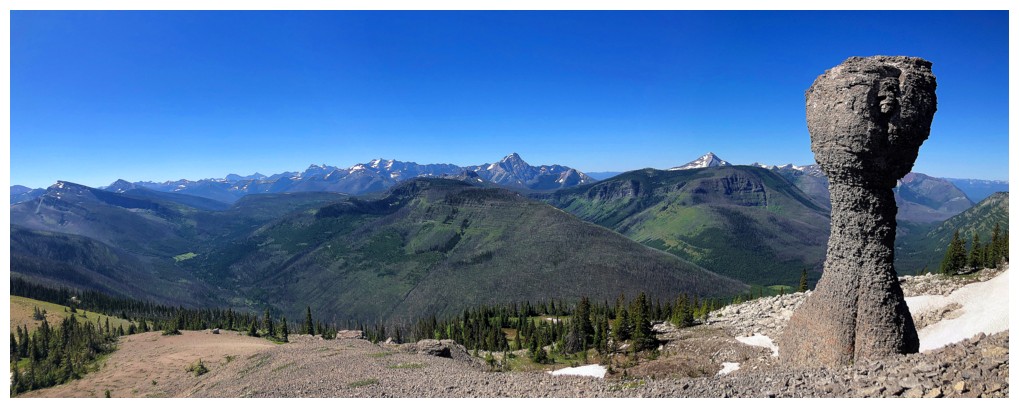
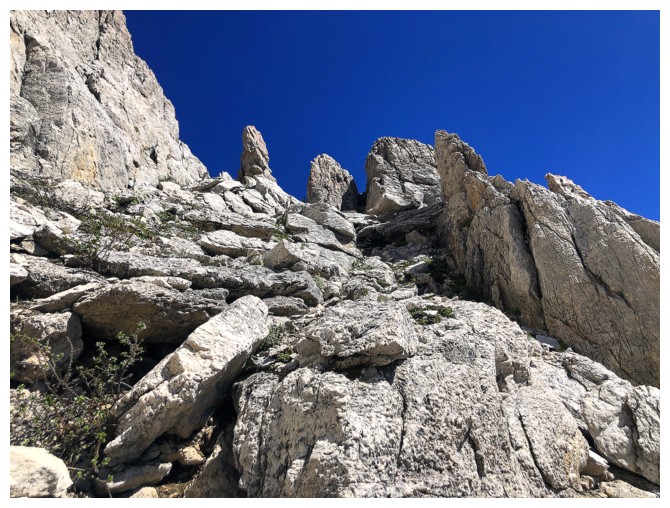
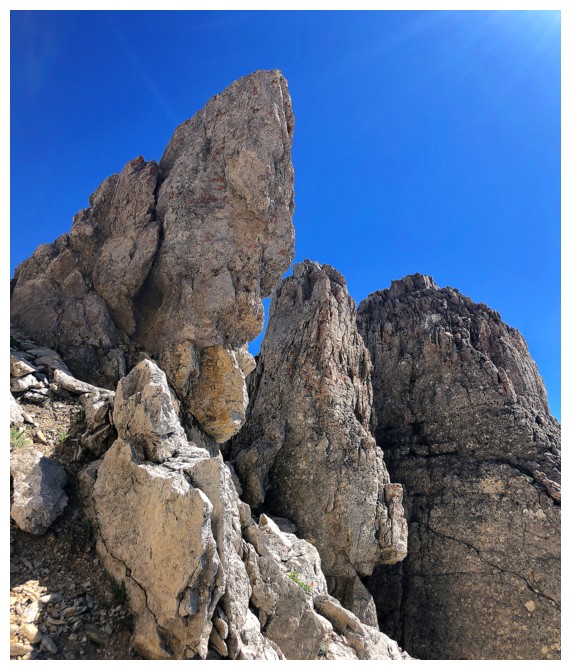
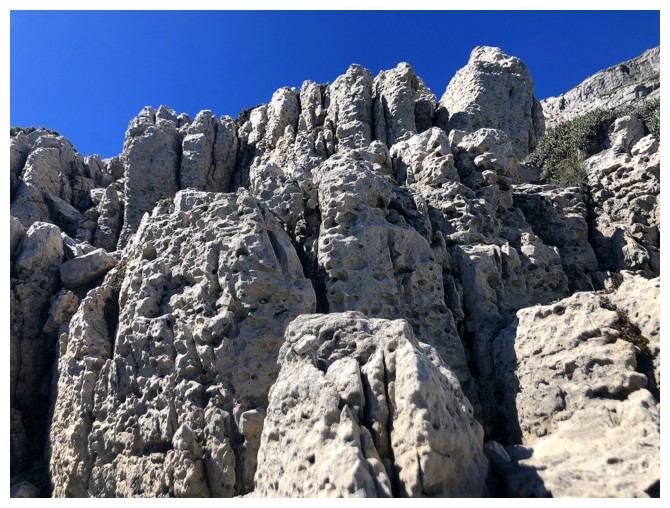
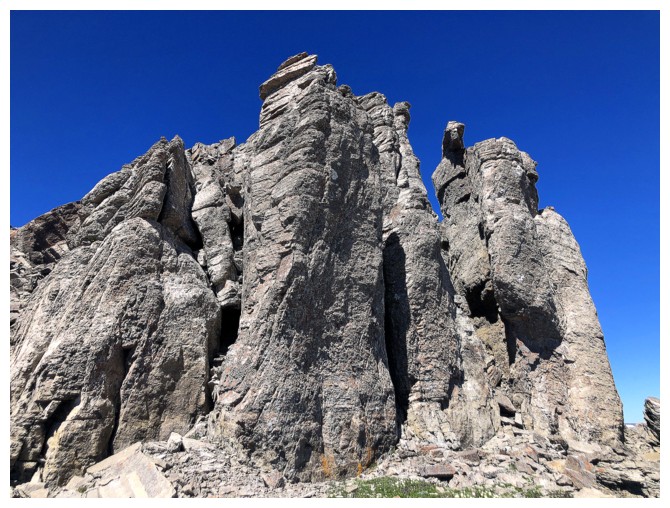
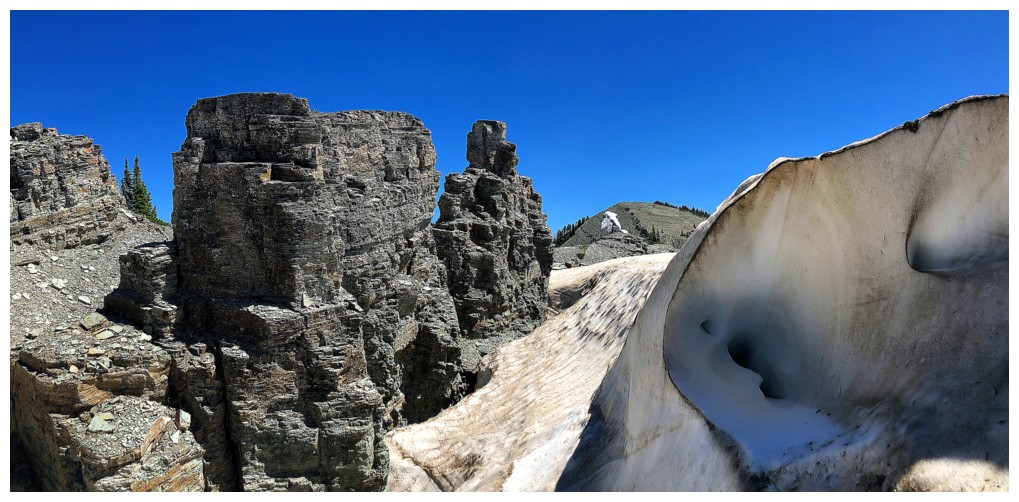
Amazing rock formations everywhere

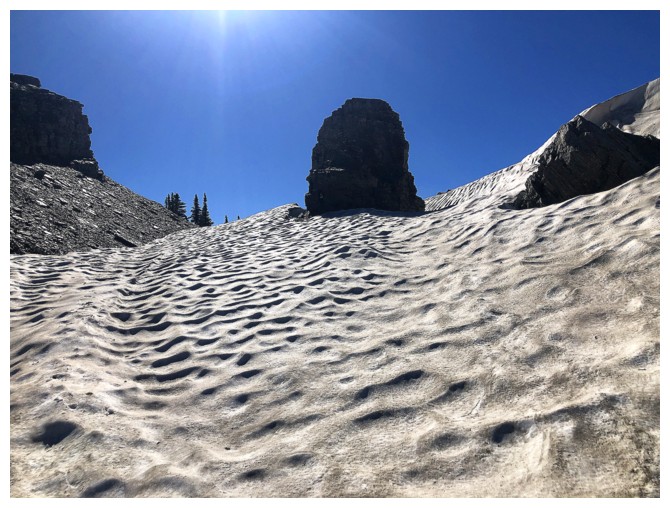
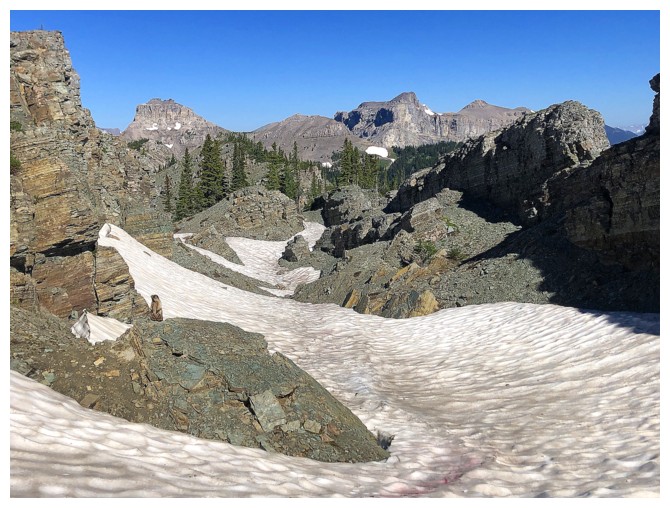
The snow in the depression made travel much easier
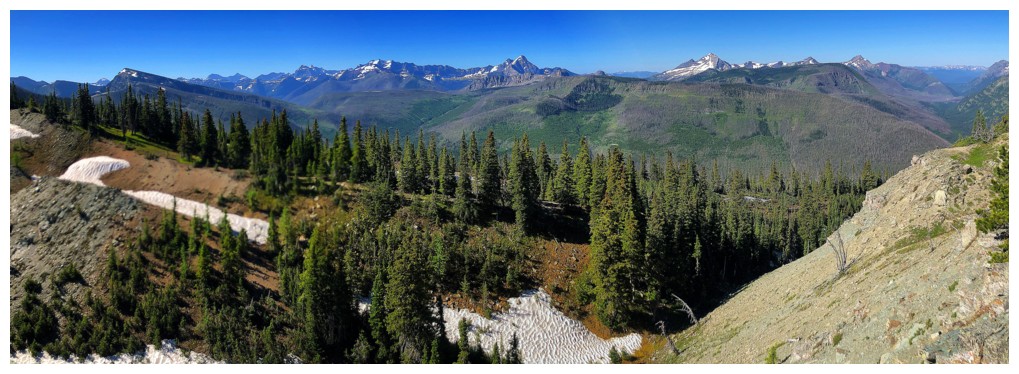
View to the west
Matkin
Font is still a long way off

Not so far now
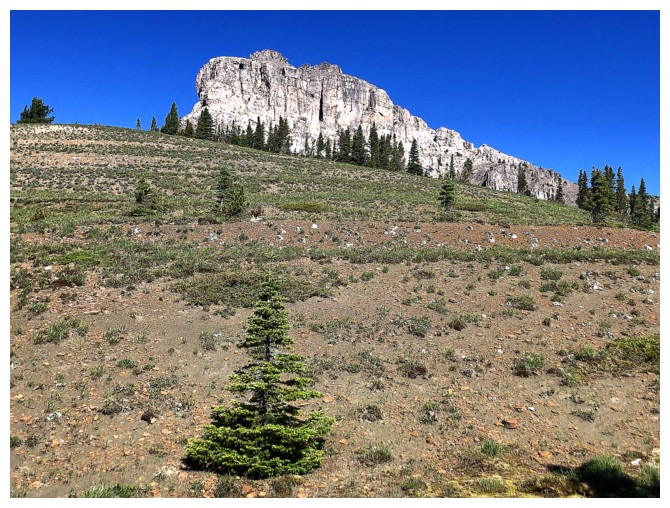
The summit block peaks over the hill in front
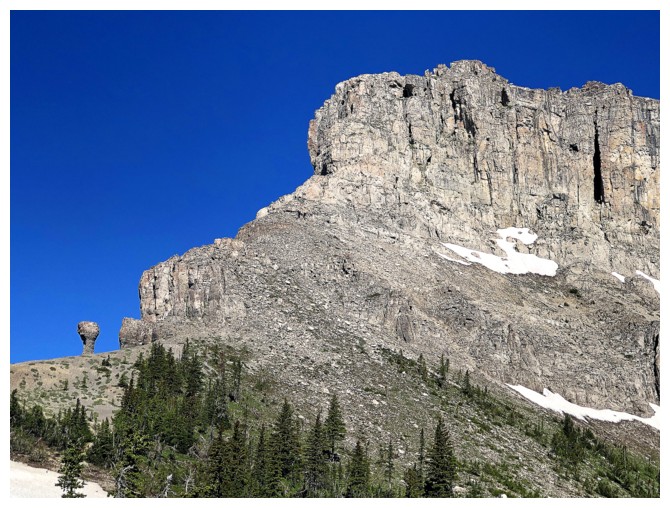
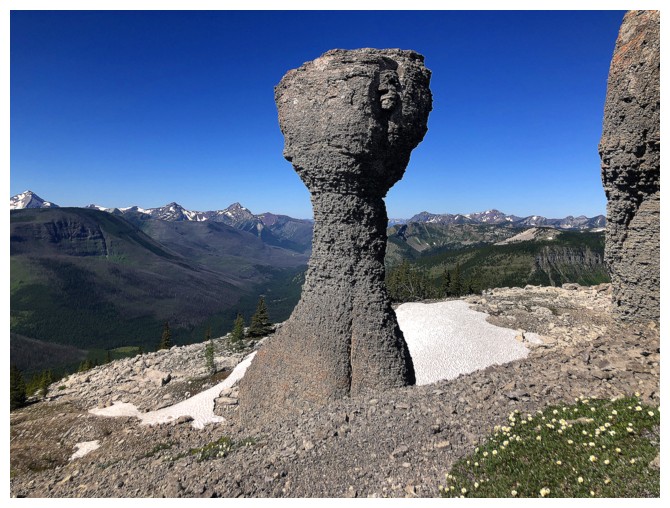
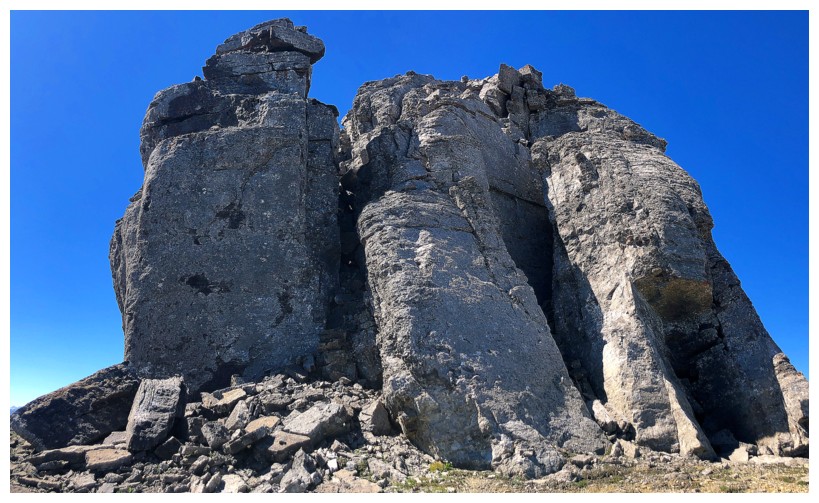
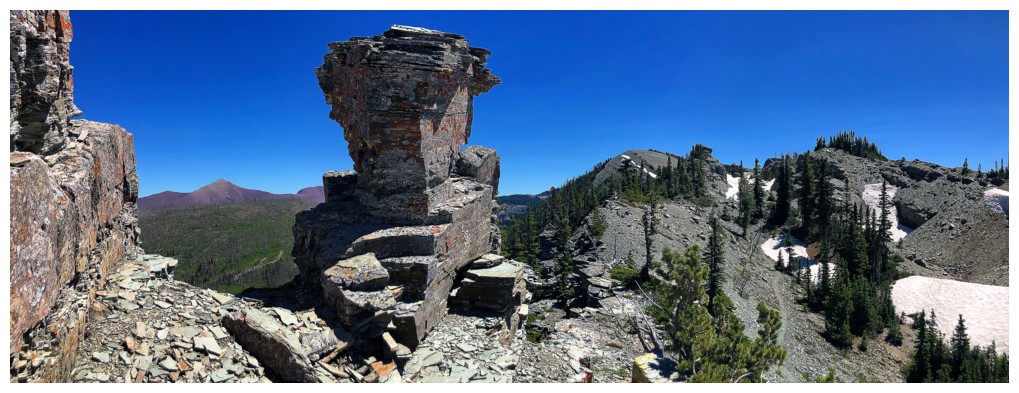
The rock formation at the left begged a closer look
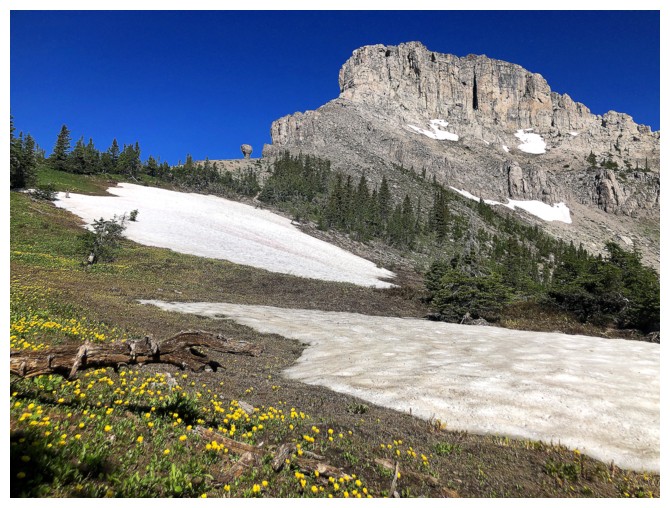
Little splash of wildflowers to add some colour
Looking back to something I missed on ascent
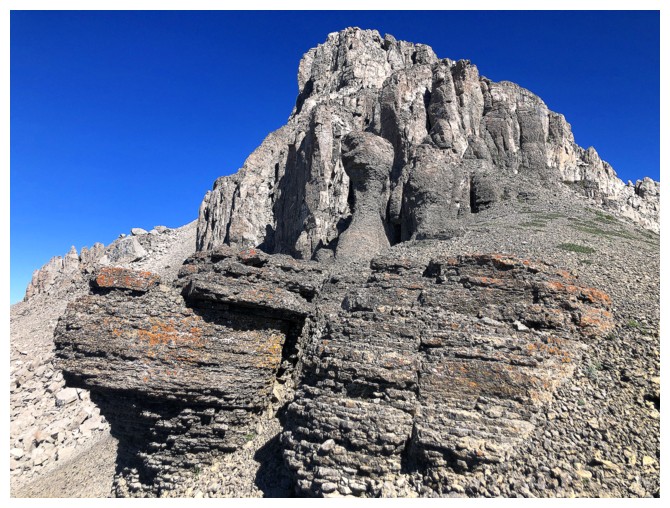
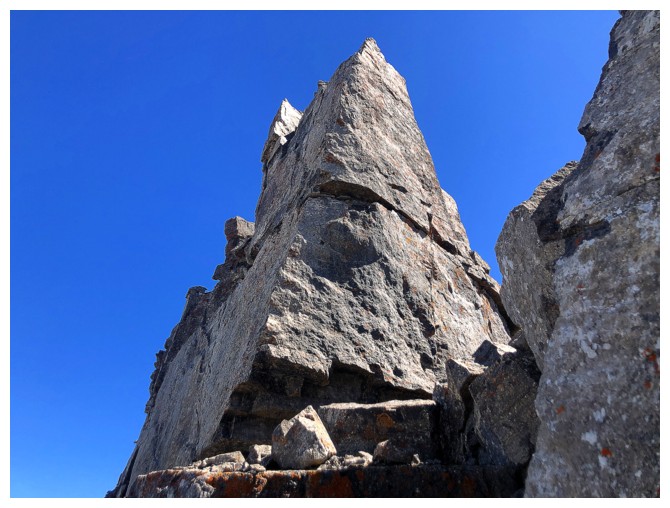
Approaching the formation
There it is
Unfortunately a direct route up the south face was out of the question
View to the west again
Looking back to the route and Sage Senior, just left of centre
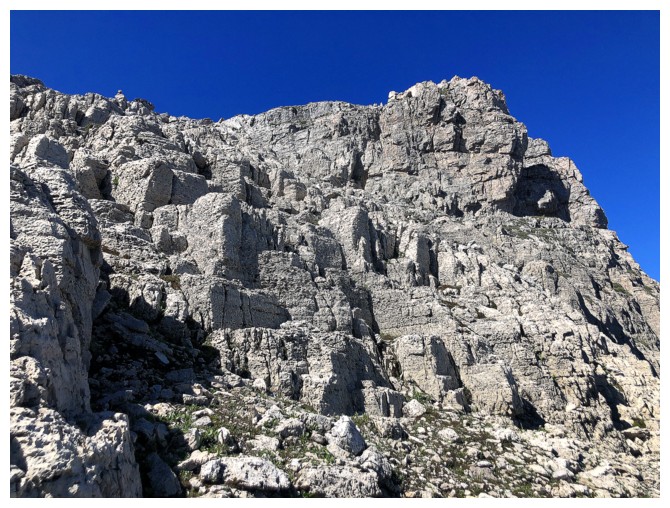
The ascent route now traverse to the low col between the true summit
and a small outlier of Font to the east. I probably should have stayed
bewlow the rock band but decided to traverse above it
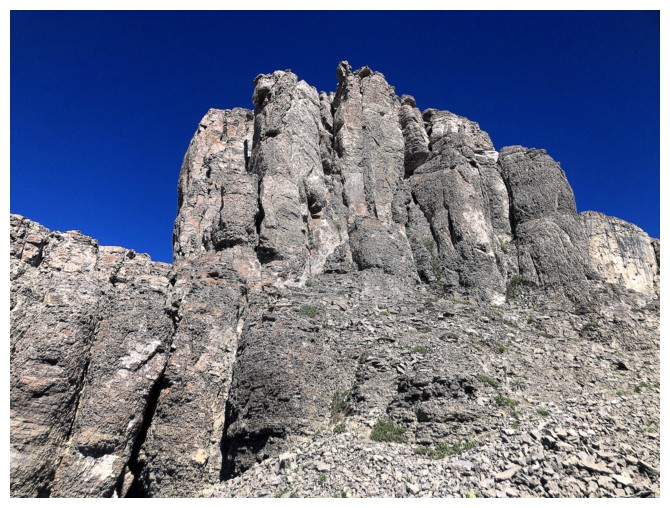
Impressively vertical rock on the south face
Traversing above the rock band
Luckily there was a weakness by which I could sneak up to the ridge
More impressive rock
On the east ridge of Font
The view of Matkin again
Super cool and fun rock to ascend. Very solid!
There were a few cairns along the way
Suddenly the route appears to get more serious, however, there are easy bypasses around this on both sides
Passing a huge pinnacle
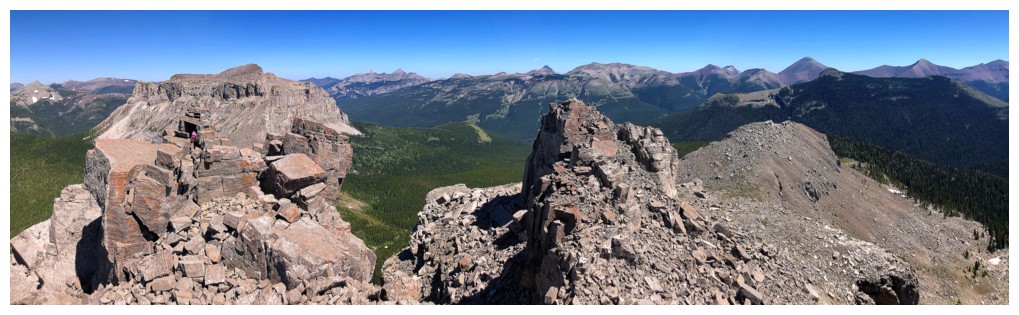
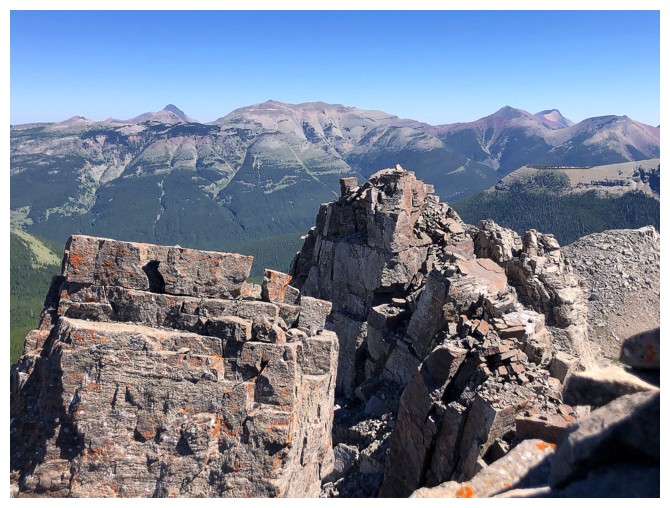
Approaching the summit at the left
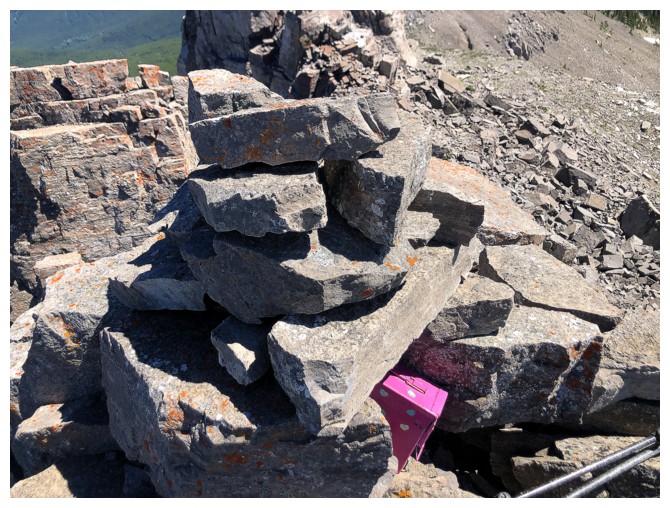
Summit cairn and register
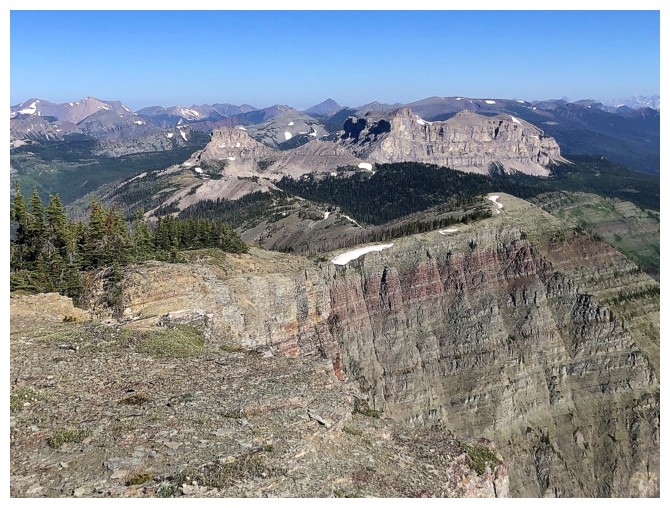
View to the northeast and east
A couple of old favourites: Scarpe Mountain (left) and Jake Smith Peak
Castle Peak (left) and Windsor Mountain (right)
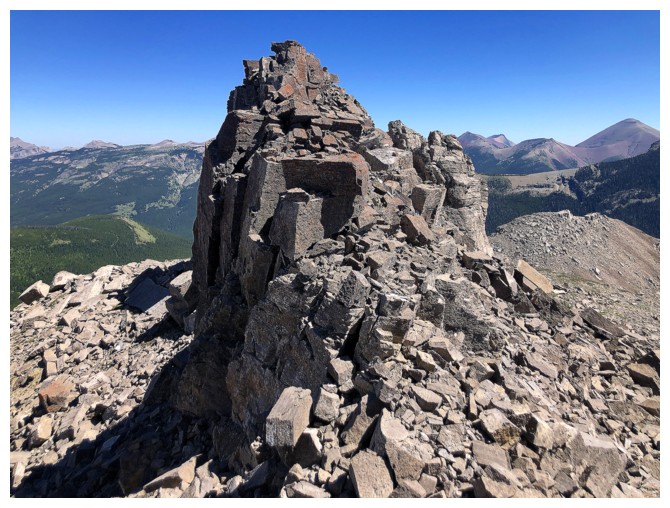
The blocky rock that comprises the summit

The first two entires in the register features a couple of legends
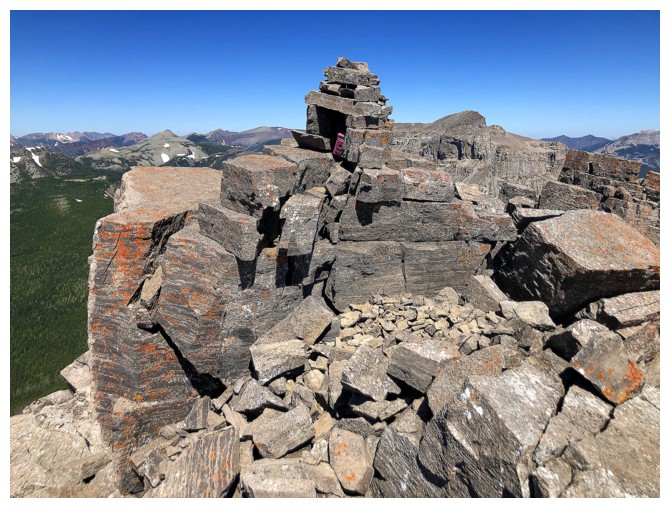
Nicely constructed summit cairn
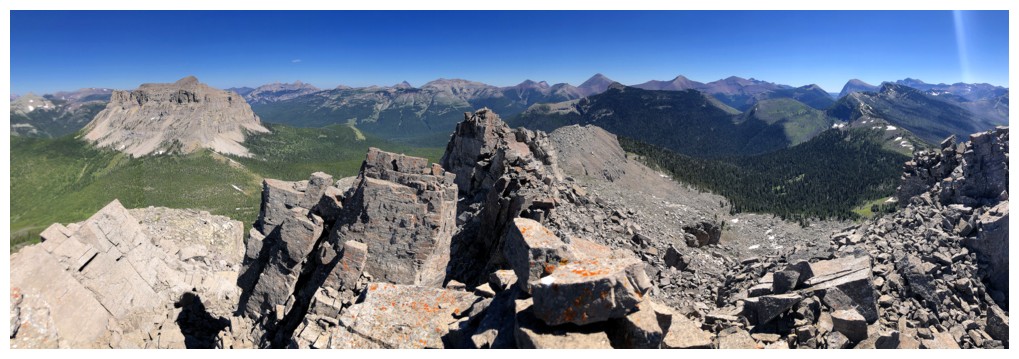
The start of the long journey back to Sage Senior
Another round of ogling at the vertical rock of the south face

....same with Matkin and a big rock
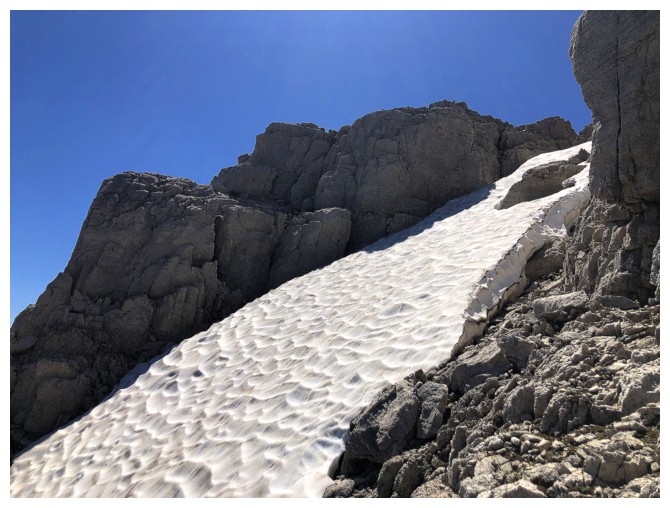
Took a slightly different route down Font that did NOT feature stepping
on this snow - it was rock hard and impossible to dig into
Big view of the south face
Had to detour to see what I missed on ascent
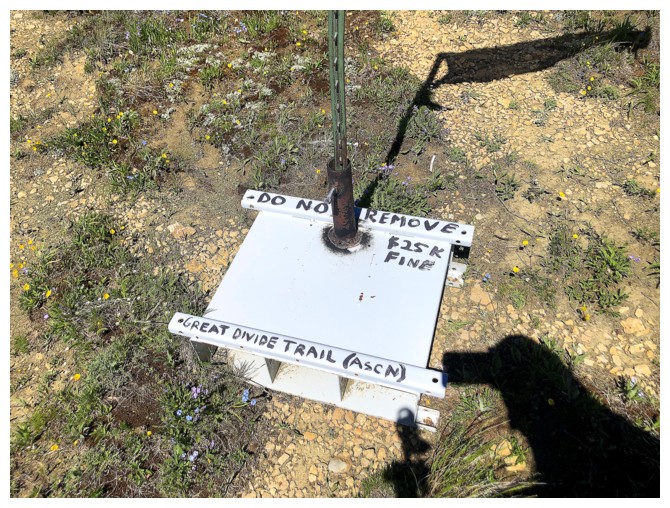
$25,000 fine!! I kept a comfortable distance from it!
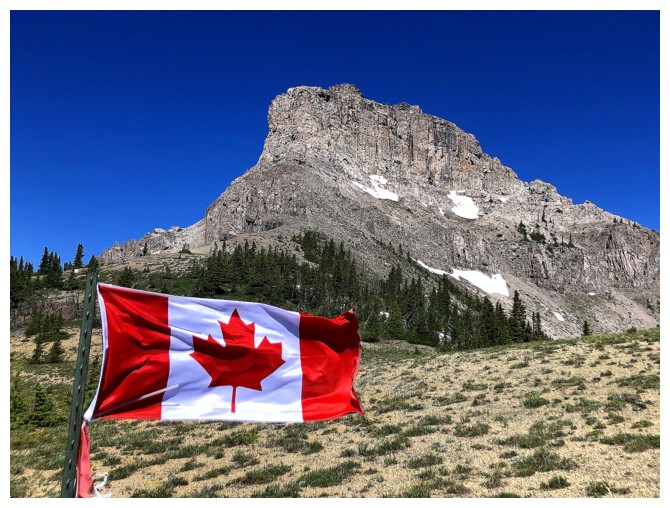
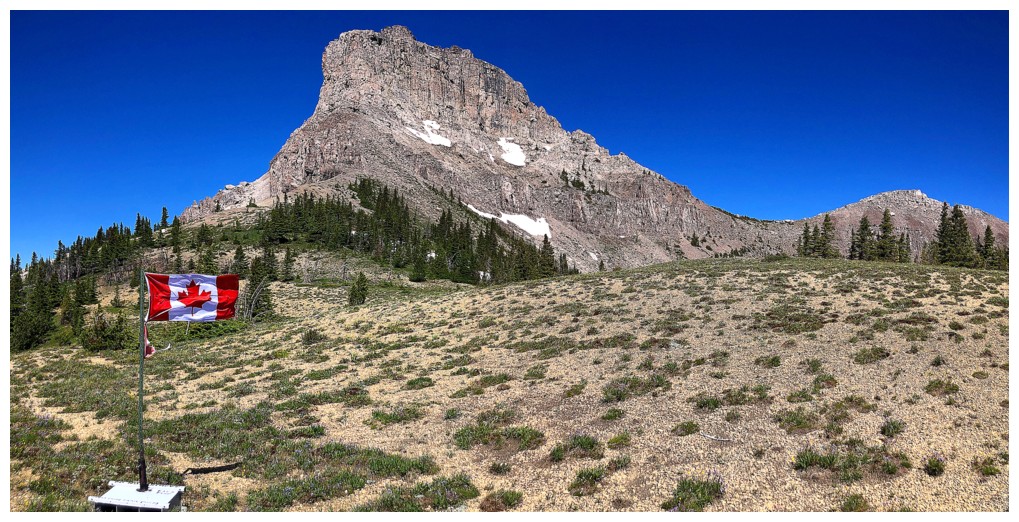
The position of the flag shows ir was a windy day. However, the wind was a beautifully cool one and never gusting.
Last look at Font
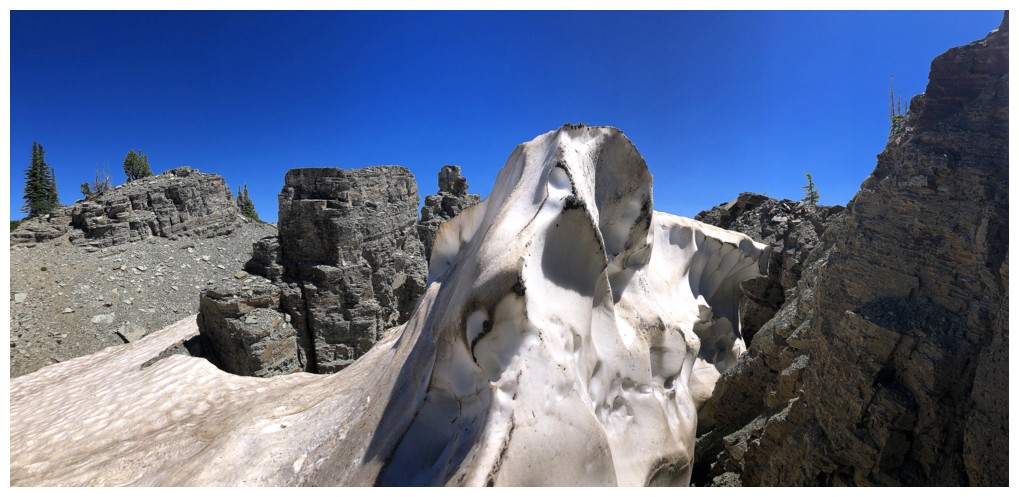
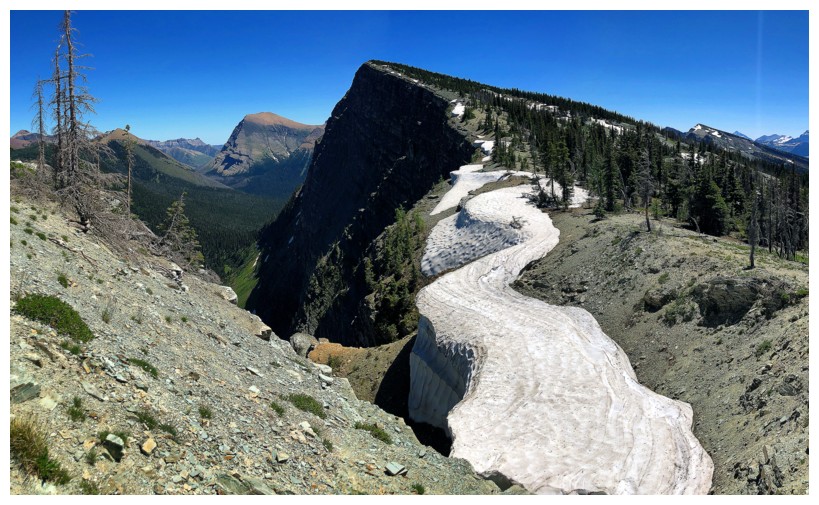
Back at the cool rock section
This section of rock and snow was cause for a delay back to Sage and some exploration
...and, of course, lots of photos

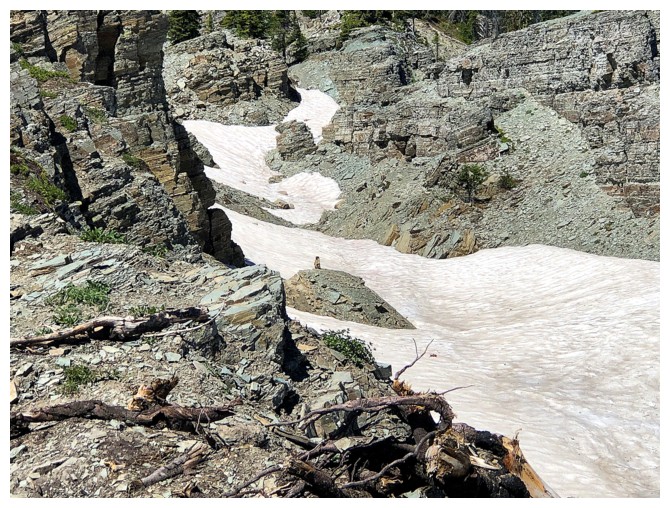
A rodent on the rock

Back on track towards Sage Senior (not visible here)
Drywood Mountain (left) and Loaf Mountain
The summit of Spionkop Ridge
The summit of Victoria Ridge
Making slow progress up the ridge
Sage Senior is within striking range for the second time in the same day
Same as above
Loaf and Spionkop
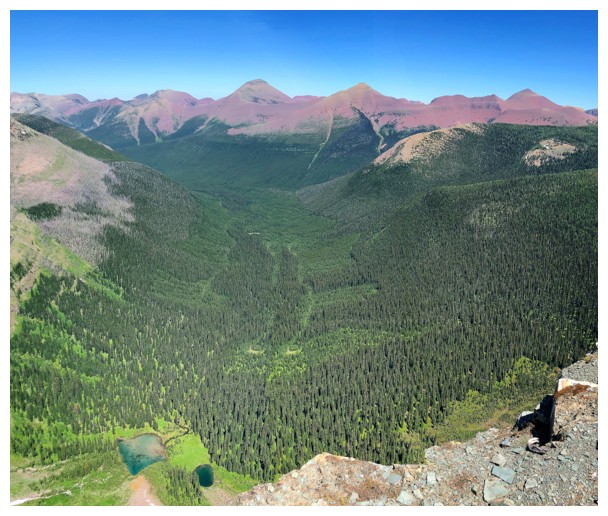
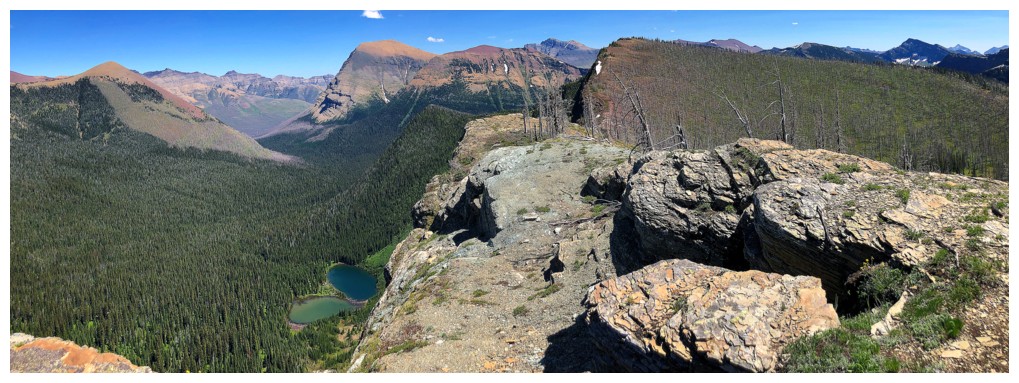
A couple of small, unnamed tarns below and some of The Castle's finest above
Back at the summit of Sage Senior
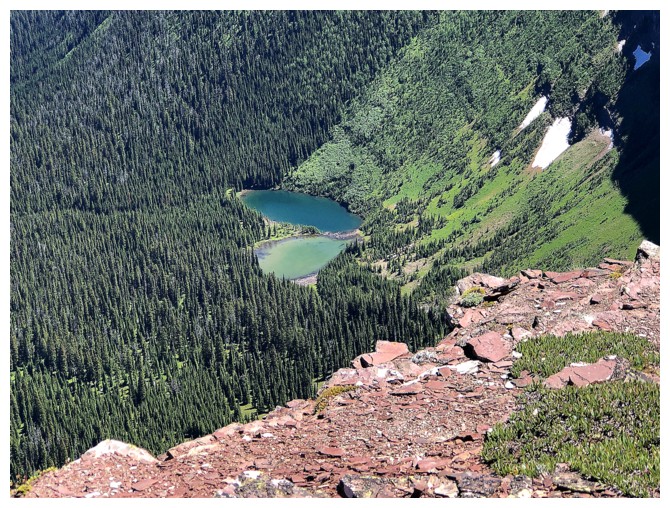
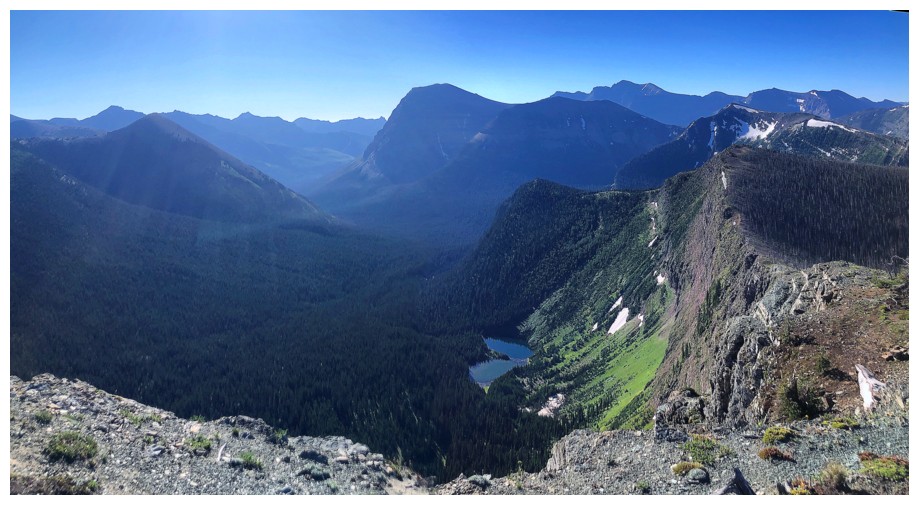
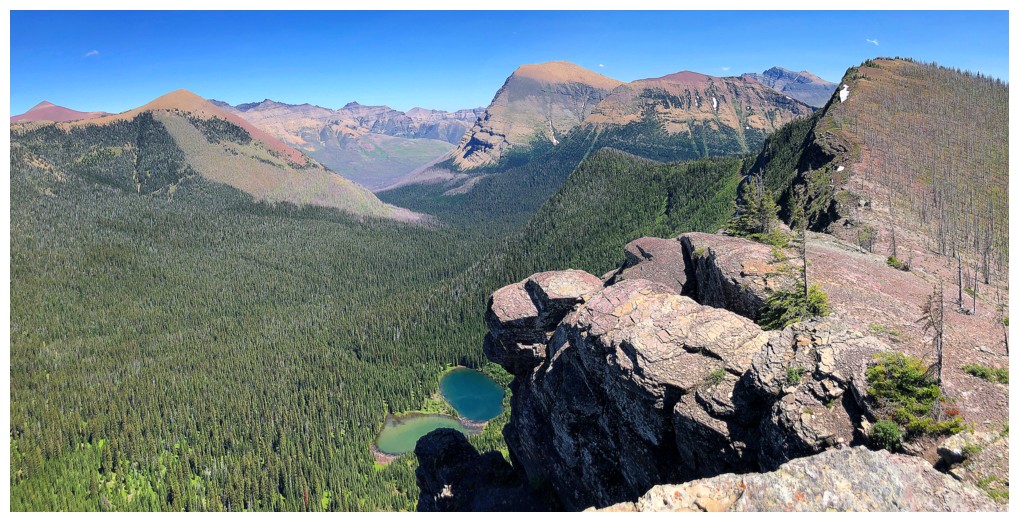
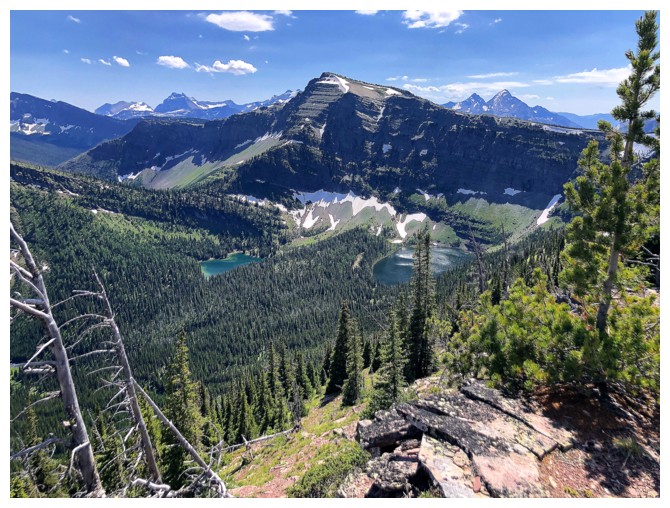
Lost Lake. Looks great from above but it a little disappointing to visit up close.
As stated, the colours are significantly more vibrant later in the day
Same as above
The snow wedge again

Lots of red!
Of course there's also a huge band of green argillite below the red
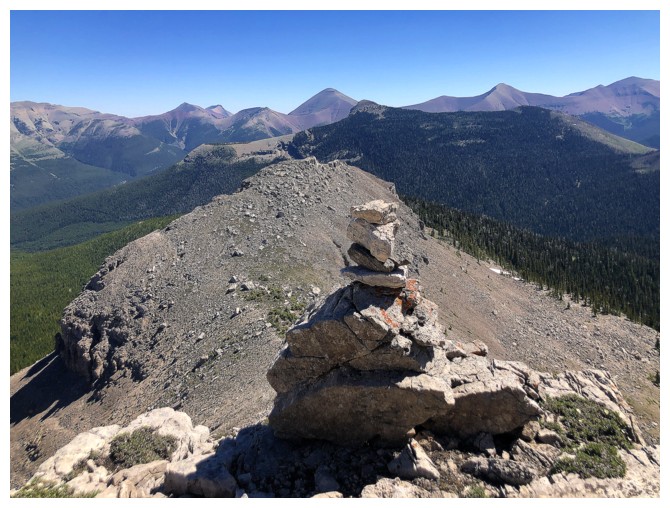
Easy descent of Senior and ascent of Sage Pass Peak
With lots of cool scenery along the way
Same as above

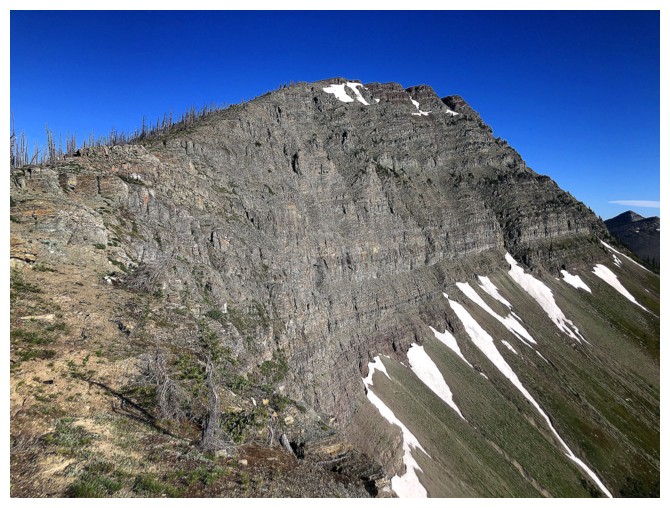
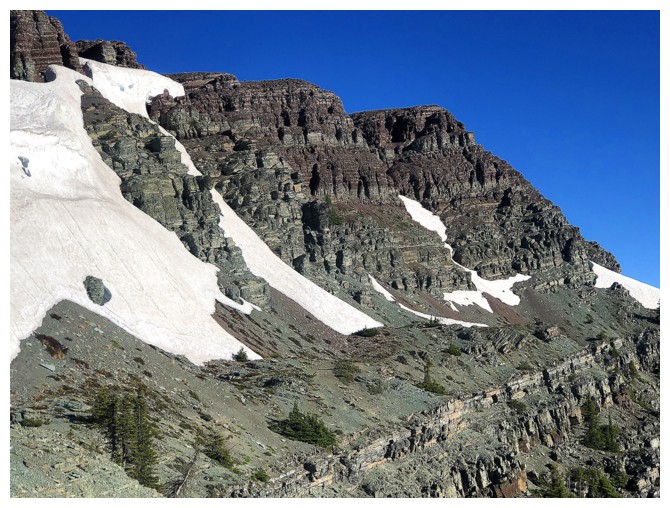
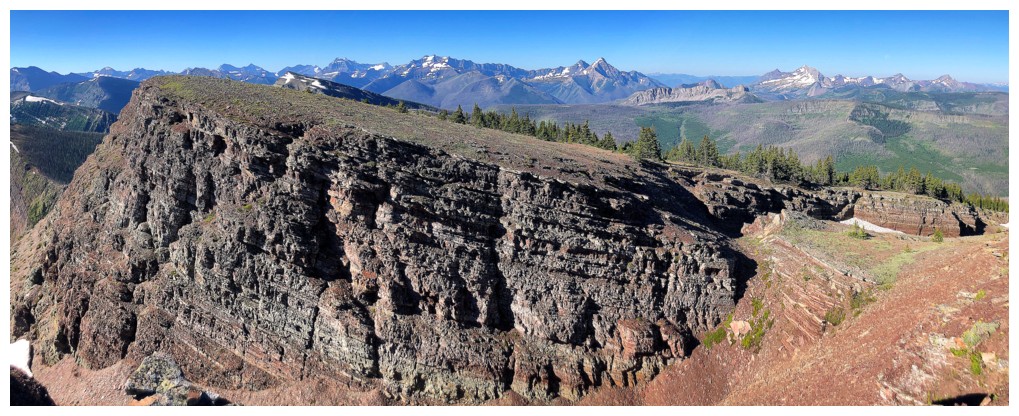
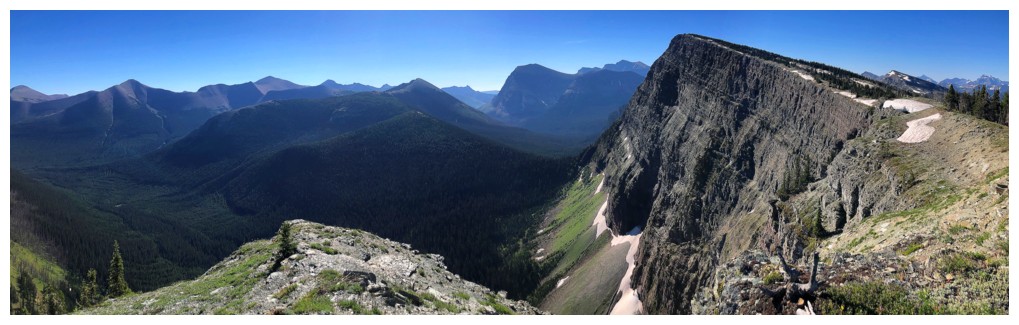
The east face of Senior is impressively steep
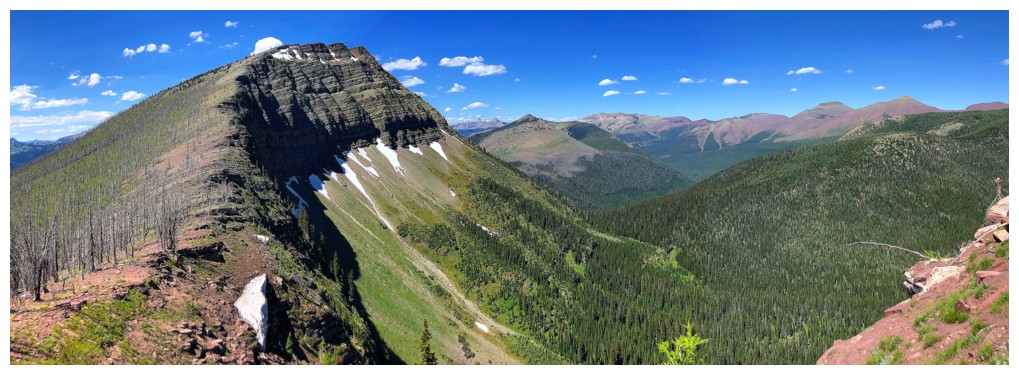
From farther back
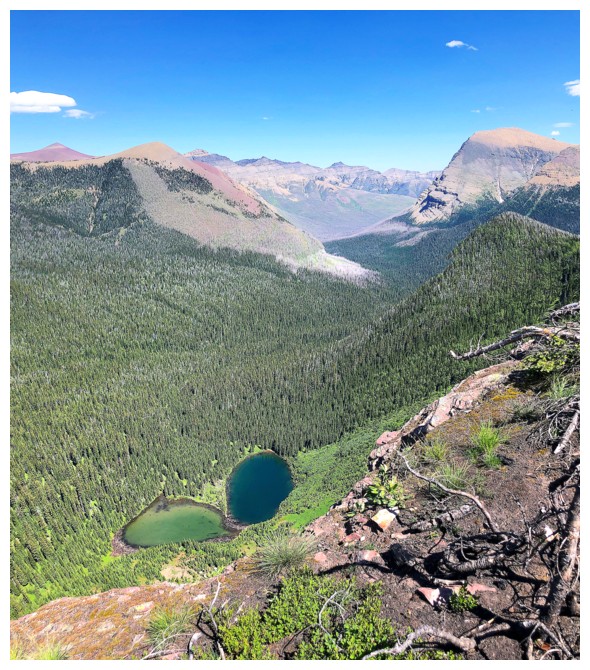
Lost Lake again

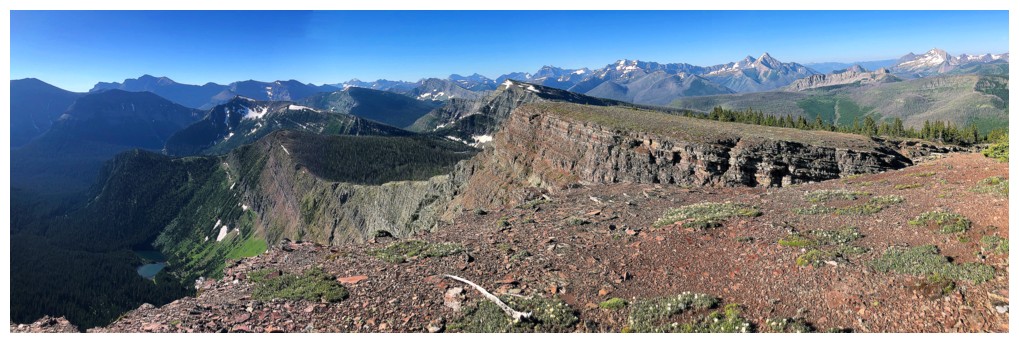
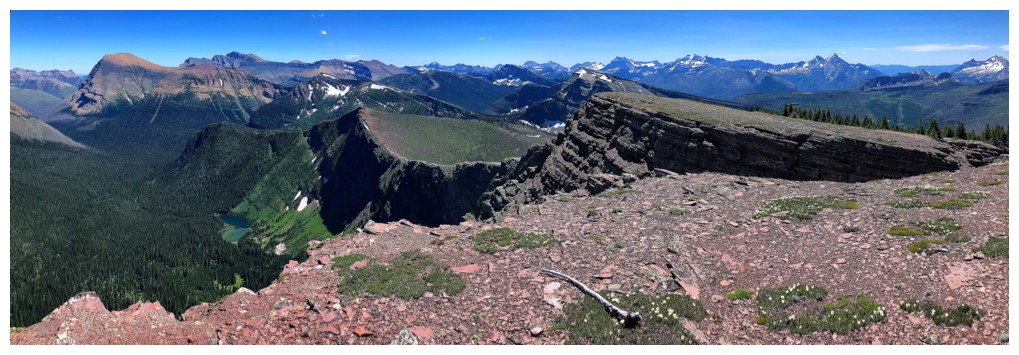
Summit view from Sage Pass Peak
Mount Glendowan in the centre
The Twin Lakes and Kishinena Peak
Mount Bauerman in the centre
Better view of Bauerman
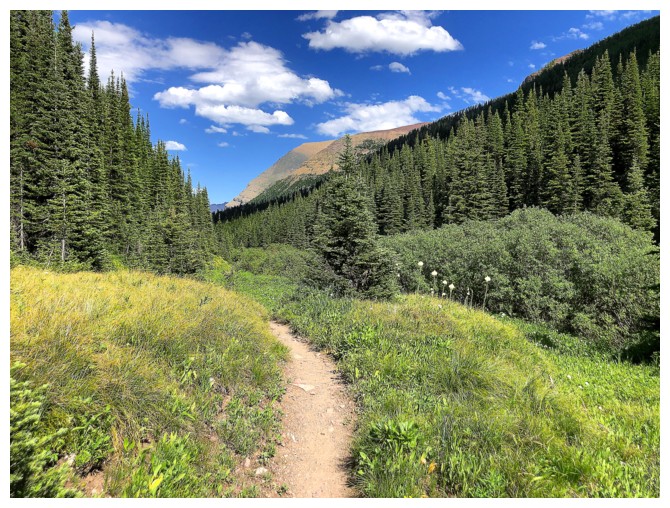
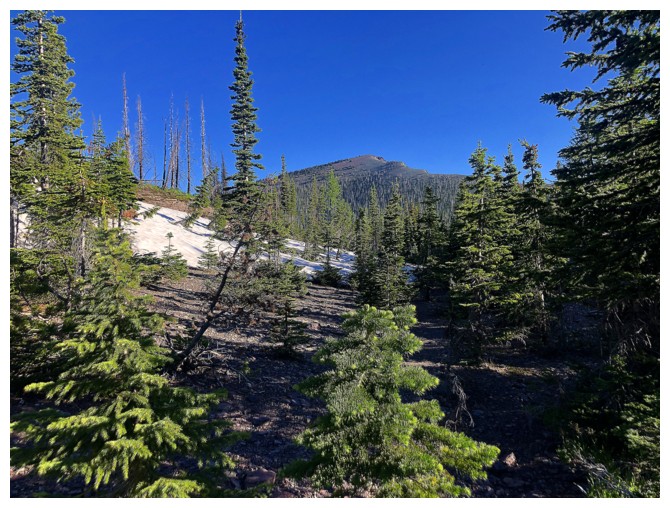
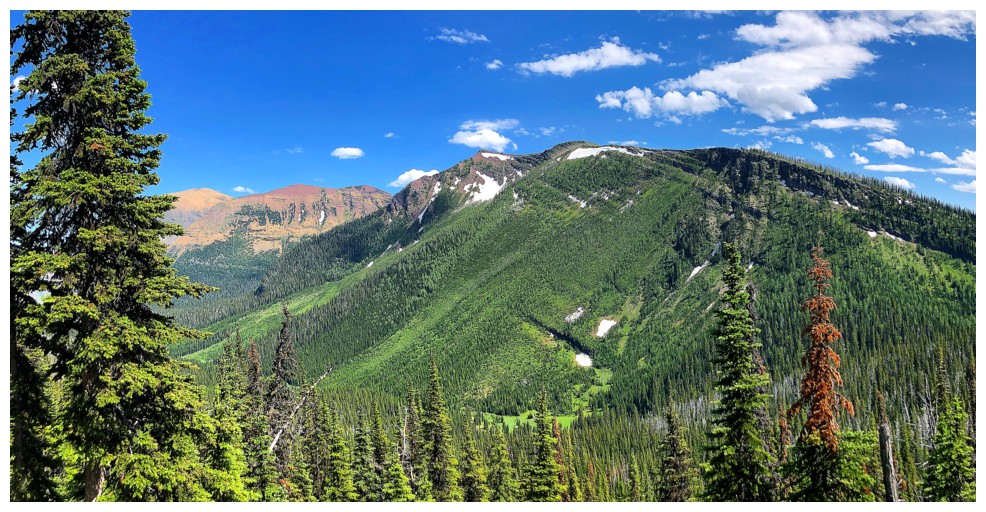
Back on the excellent trail in beautiful surroundings for the easy hike back to the bike
The End
LOG