Gladstone’s Toe
December 28, 2019
Mountain heights: 1981 m and 2004 m
Elevation gain: 636 m
Roundtrip time: 3:38
Snowshoeing with Dave.
 Super happy to get another trip with Dave in before 2019 closes out.
When he suggested “Gladstone’s Toe” (the far northeastern outlier of Mount
Gladstone) I was all in. The numerous front range outliers of mountains in the
Castle had proved to be outstanding off-season/winter trips and I fully
expected the Toe to offer a similar experience. Dave’s 2018 ascent was marred
by bad weather so he was quite motivated to repeat the trip. In addition, Matt
and Sandra had completed the ascent a few weeks earlier, reporting good snow
conditions with little to no avalanche hazard.
Super happy to get another trip with Dave in before 2019 closes out.
When he suggested “Gladstone’s Toe” (the far northeastern outlier of Mount
Gladstone) I was all in. The numerous front range outliers of mountains in the
Castle had proved to be outstanding off-season/winter trips and I fully
expected the Toe to offer a similar experience. Dave’s 2018 ascent was marred
by bad weather so he was quite motivated to repeat the trip. In addition, Matt
and Sandra had completed the ascent a few weeks earlier, reporting good snow
conditions with little to no avalanche hazard.
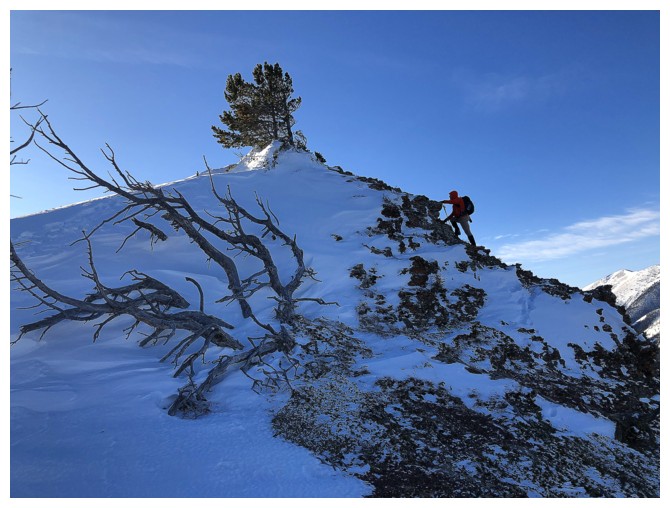
 With great weather this turned out to be an awesome objective. Aside
from a steep, but short section near the beginning the ascent, led by Dave, was
far easier than I was expecting. We did the first half on foot and then brought
out the snowshoes for the upper slopes, where the crust lacked the strength to
hold our weight.
With great weather this turned out to be an awesome objective. Aside
from a steep, but short section near the beginning the ascent, led by Dave, was
far easier than I was expecting. We did the first half on foot and then brought
out the snowshoes for the upper slopes, where the crust lacked the strength to
hold our weight.
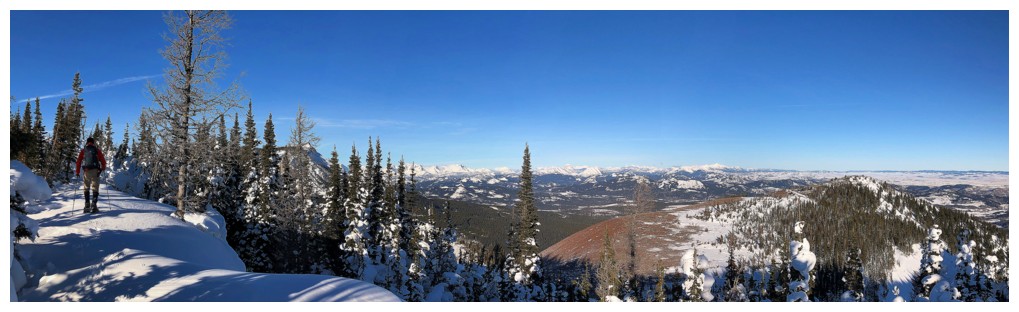
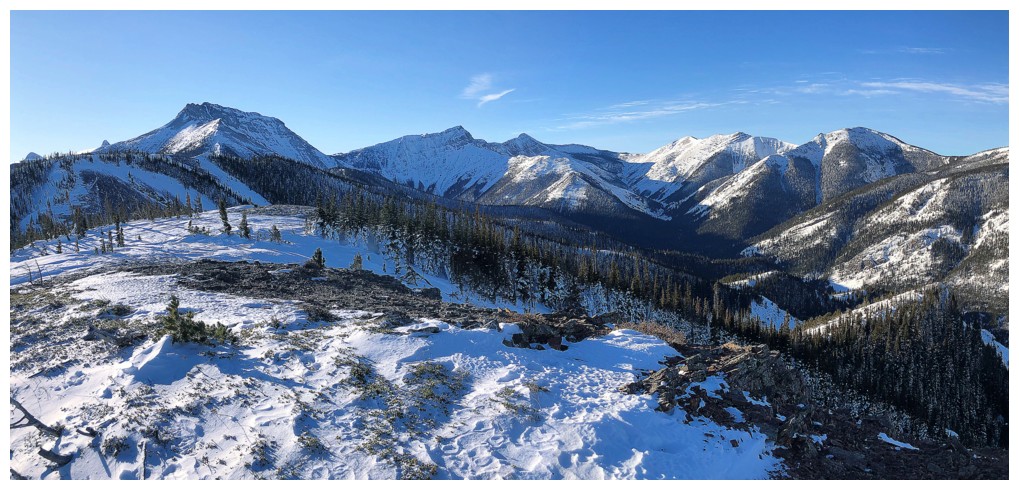
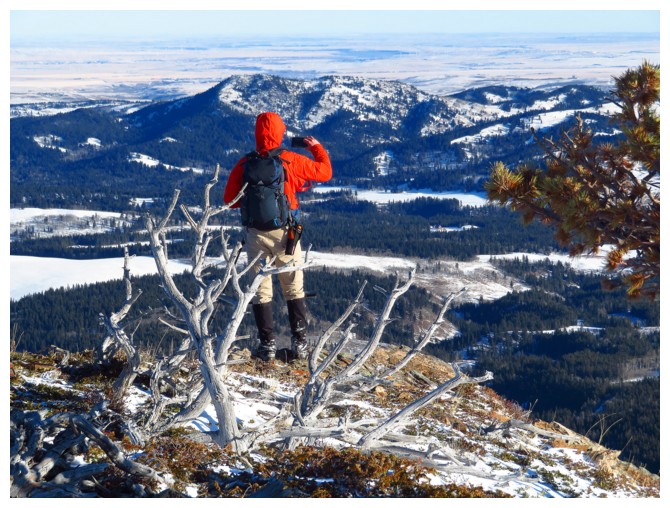
Views from the ridge were terrific, especially towards the
snow-plastered Flathead Range. Since Dave had not visited the lowest and most
northeasterly highpoint of the “Toe” (HP1) we went there first. The views from
the tip of the Toe did not disappoint – great contrast of prairies and
mountains and a whack load of beautiful, familiar peaks – all enjoyed in
perfect weather conditions, with hardly a wisp of wind.
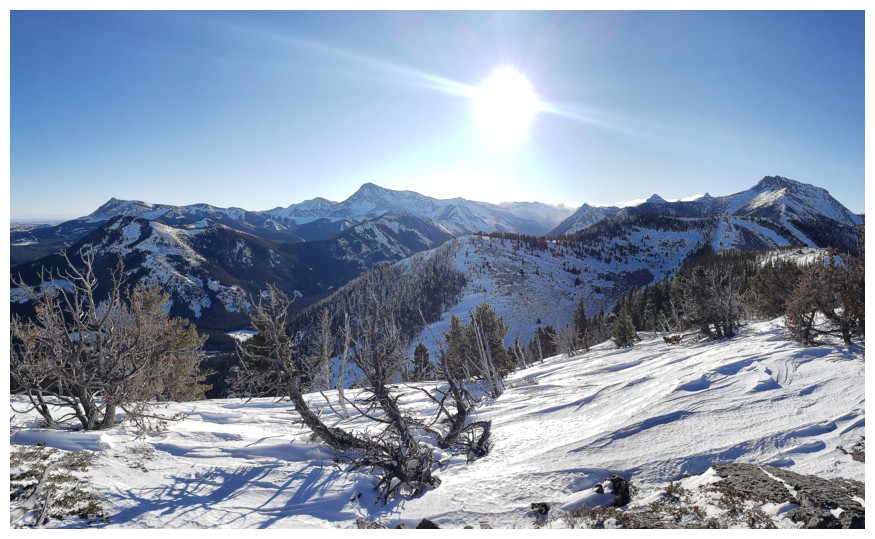
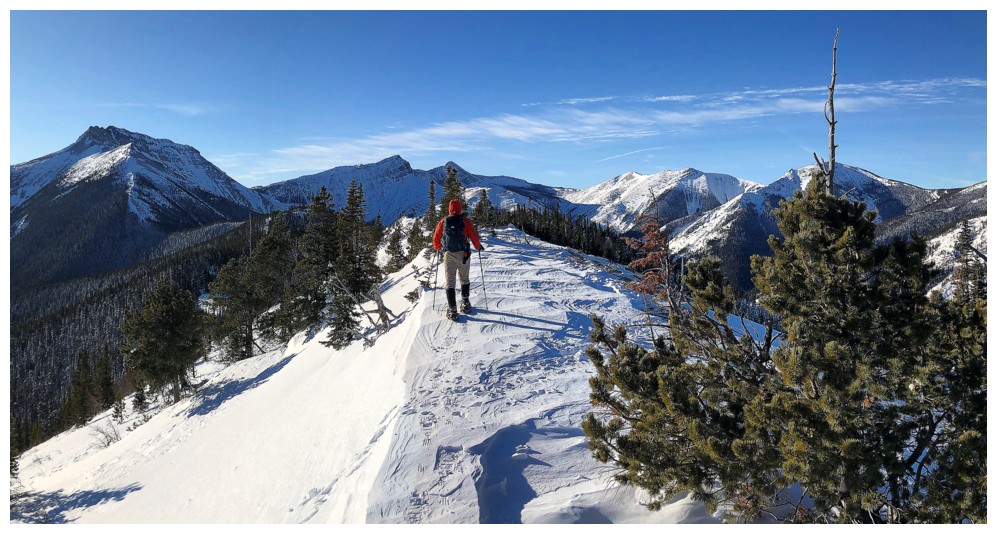
We then traversed over to the higher point (HP2) for another round of
great views (though very similar to HP1). After hearing the tale of Dave’s
harrowing descent from HP3 and HP4 we decided to forgo those highpoints and
simply take our time enjoying HP2.
The descent was very quick and very easy, save one extremely short section
of deadfall clambering.
Excellent find, Dave! A thoroughly enjoyable shoulder season or winter
objective.
Click HERE to see Dave’s outstanding report.

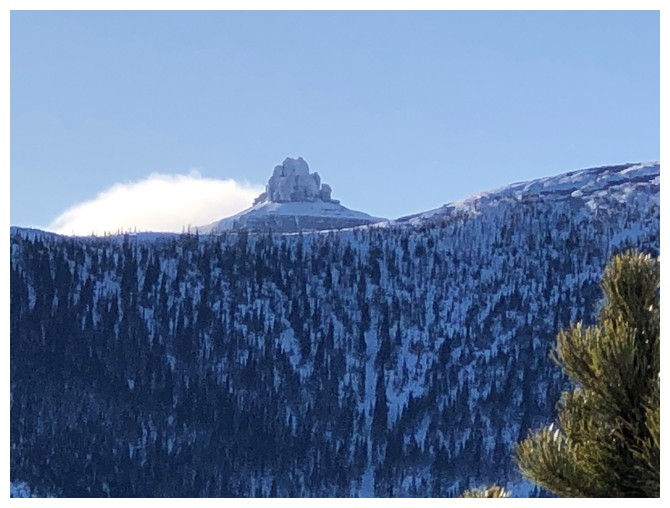
Gladstone's Toe (just right of centre) and Mount Gladstone (left) (photo by Dave)
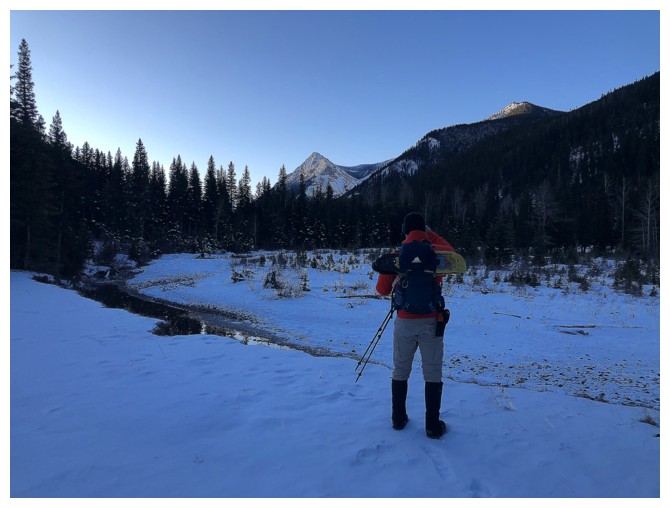
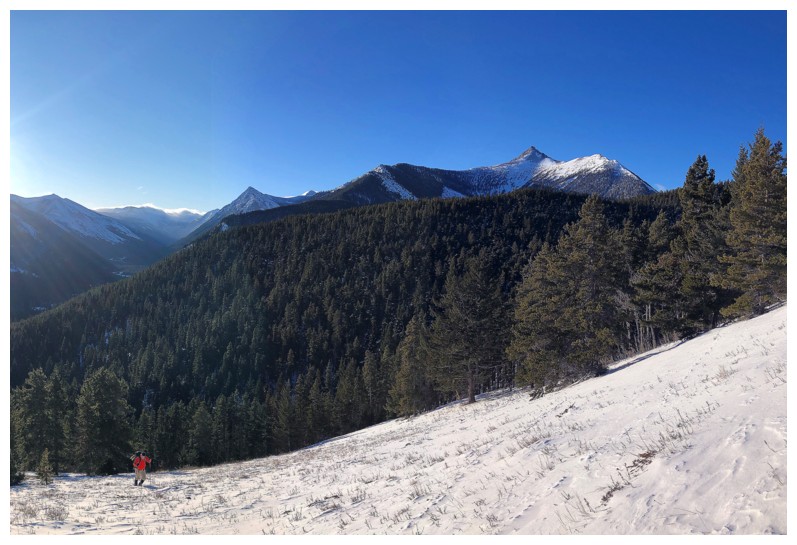
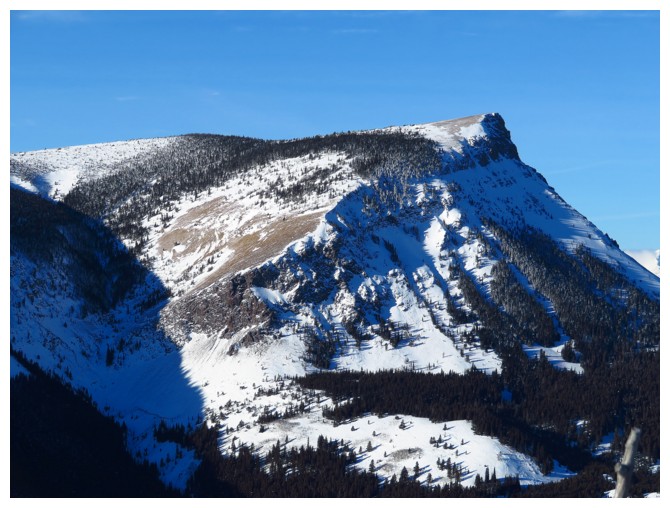
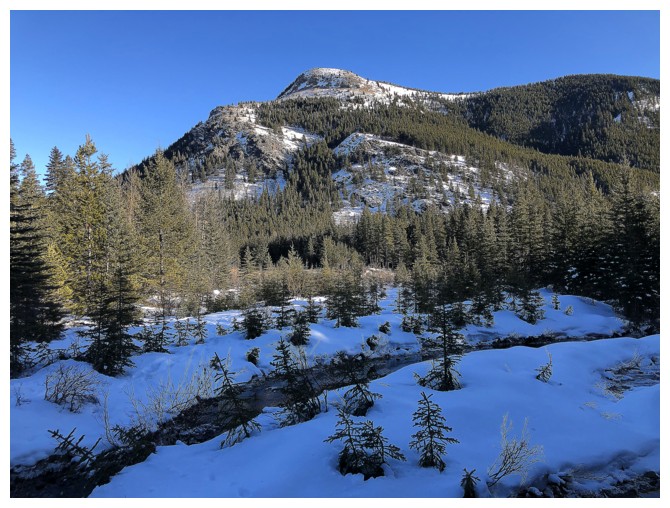
Recalling a very memorable day on Mill Creek Mountain and Peak (centre)
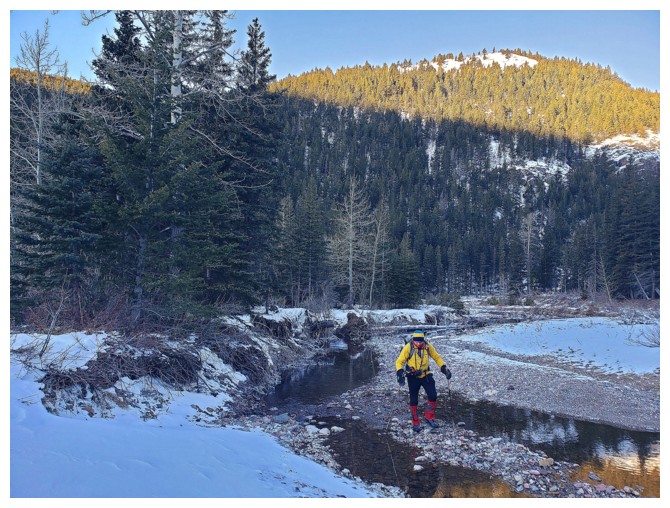
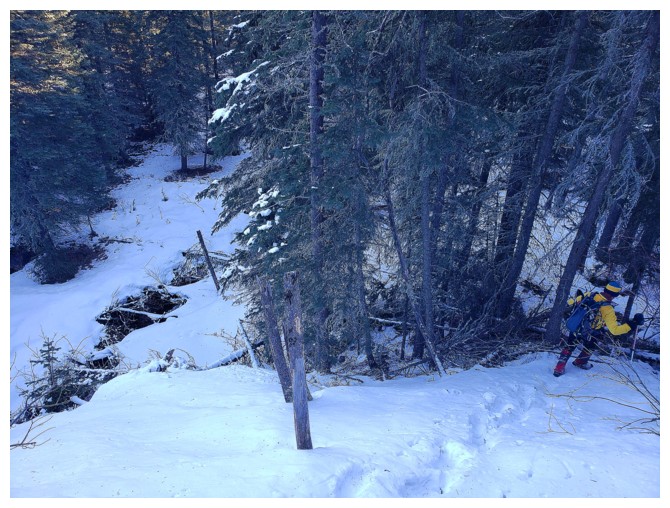
The super easy crossing of Mill Creek (photo by Dave)

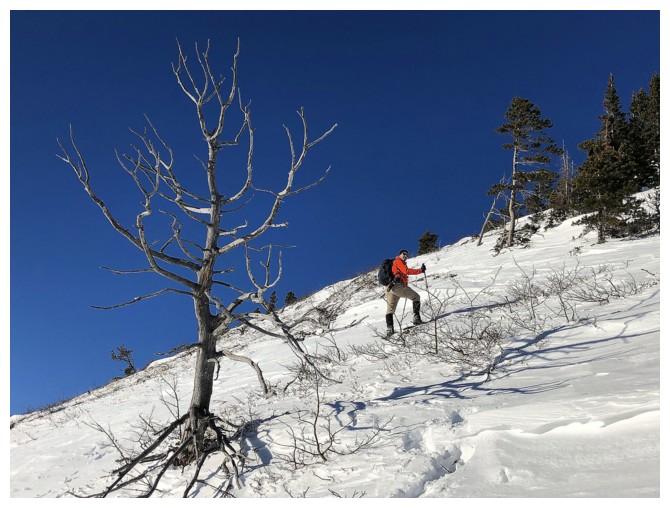
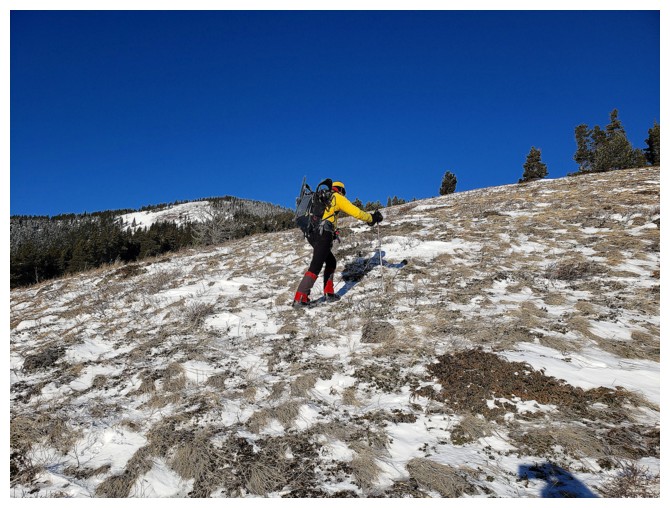
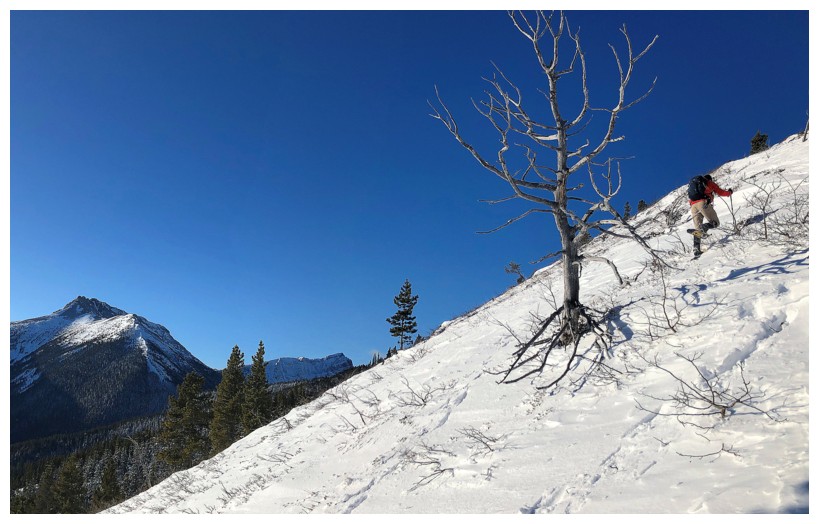
Dave approaches the start of the ascent slope
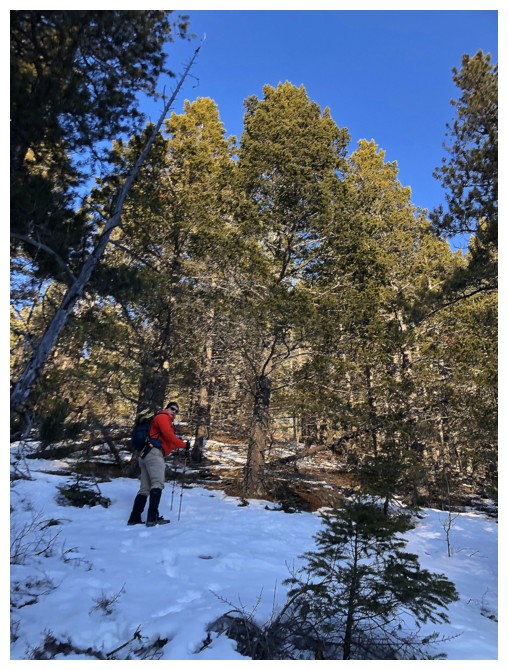
Dave leads us up through light forest
And then up to more open terrain (photo by Dave)
Gladstone and Dave (lower left)
Surprisingly snow-free slopes for late December (photo by Dave)
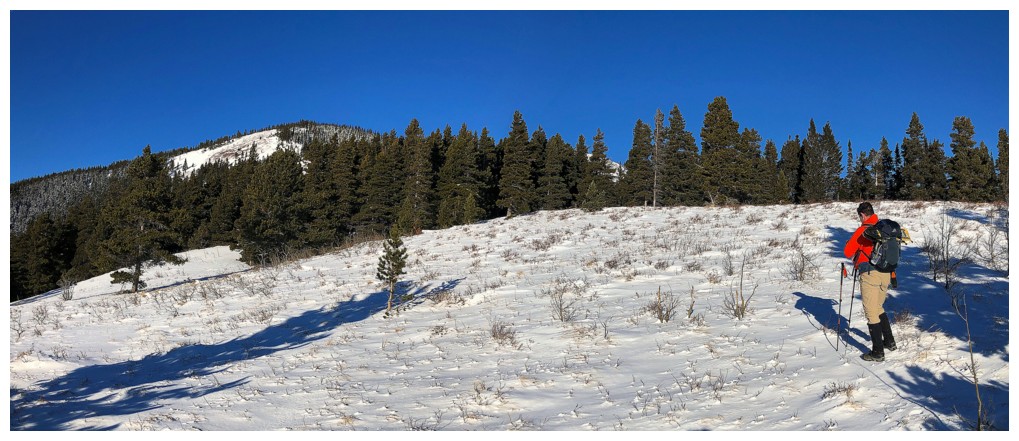
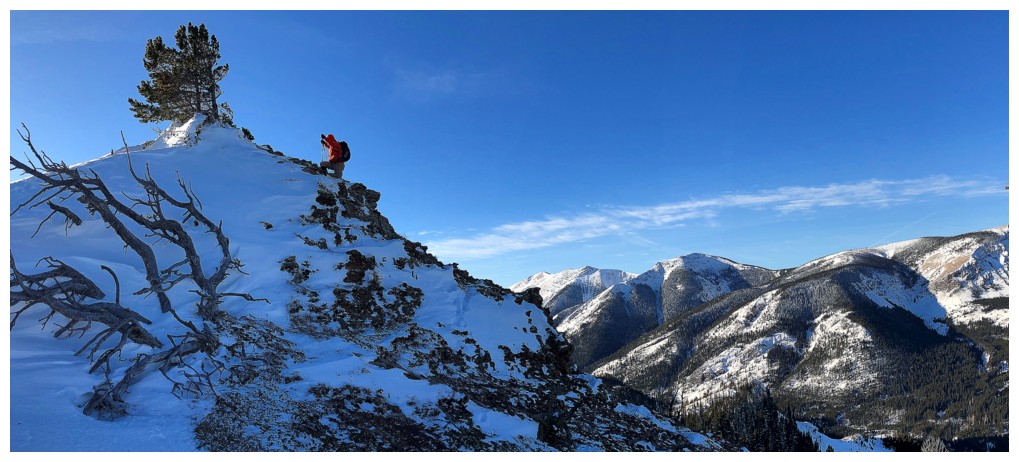
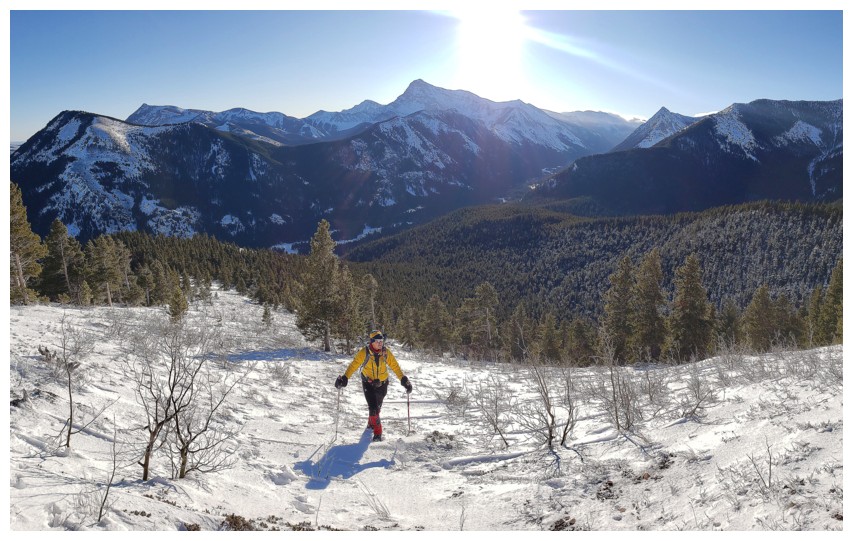
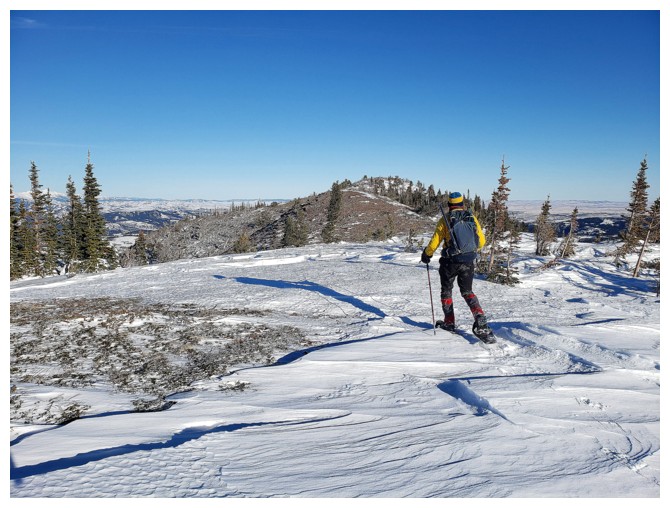
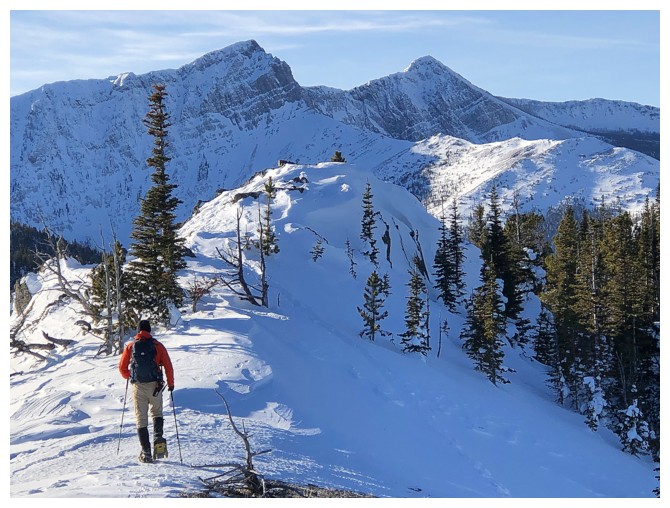
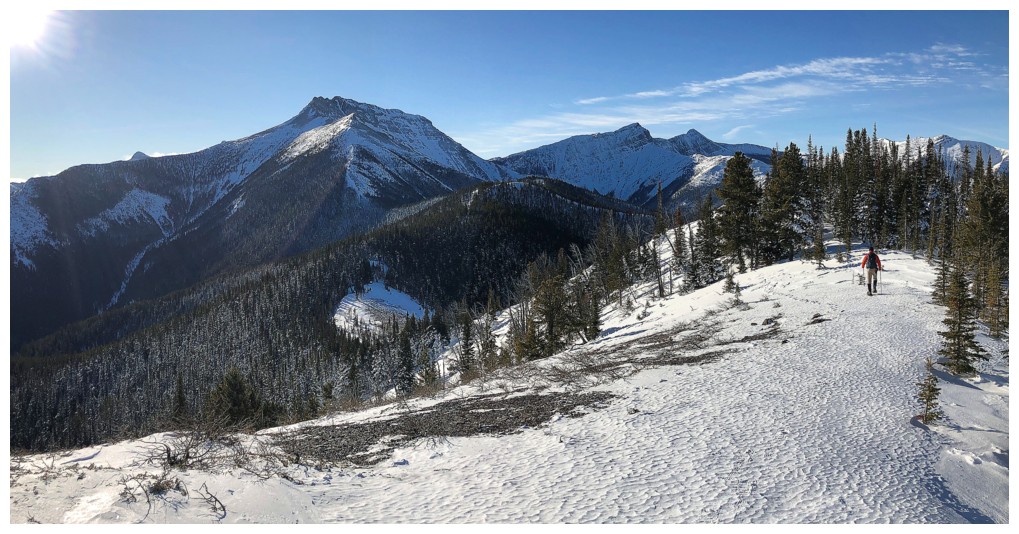
Aiming for the highpoint of the ridge
Same as above (photo by Dave)
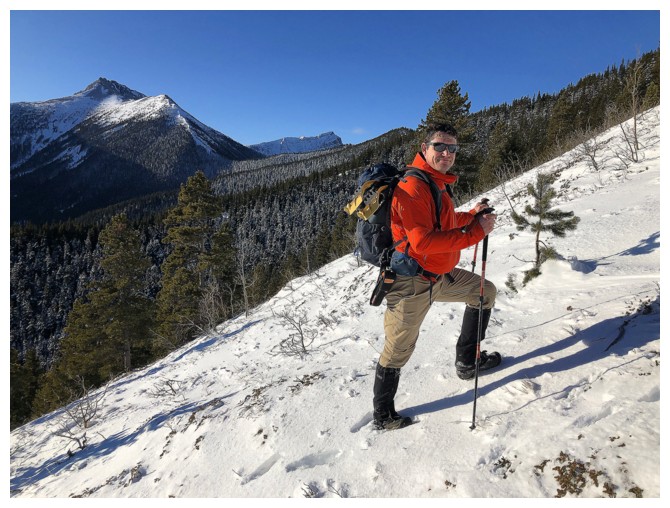
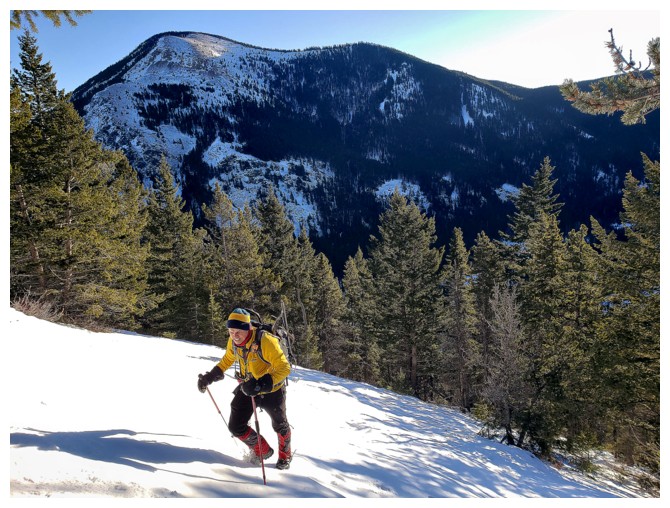
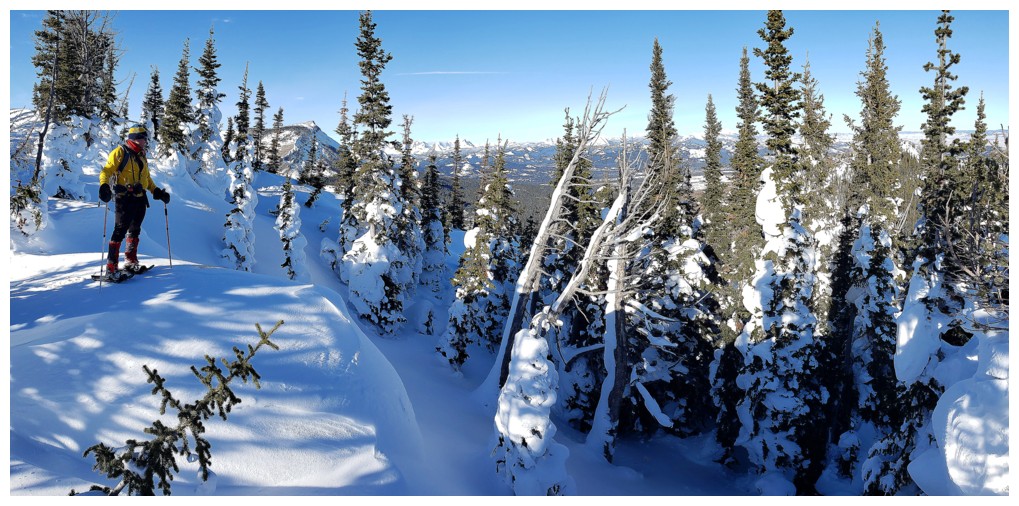
Dave is enjoying the easy ascent and great weather
So am I. Victoria Peak behind (photo by Dave)
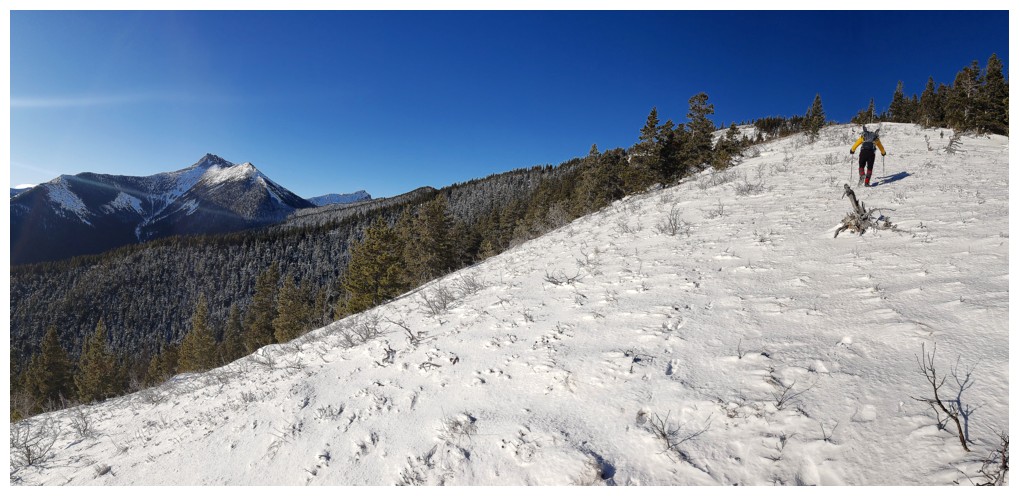
Snowshoes from here on in
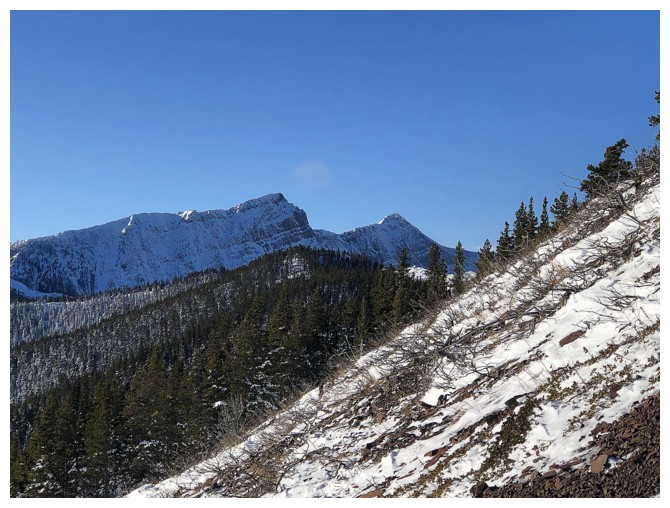
Larry Mountain (left) and Frankie Peak (right)

The east ridge of Gladstone looks mighty tempting but it is not a scramble
Castle Peak just looks plain scary!
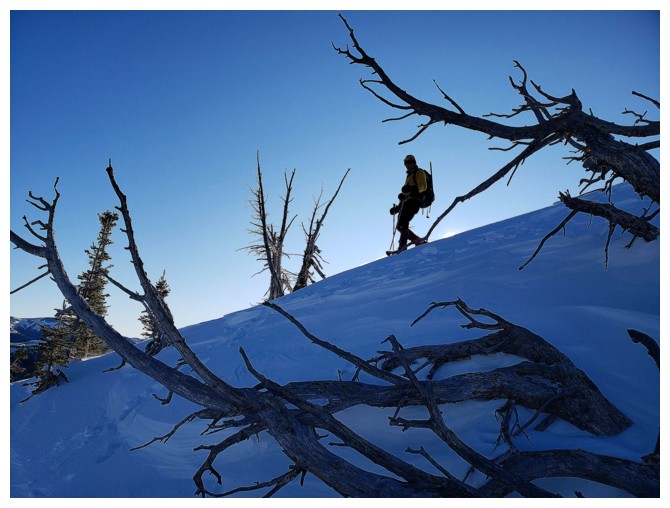
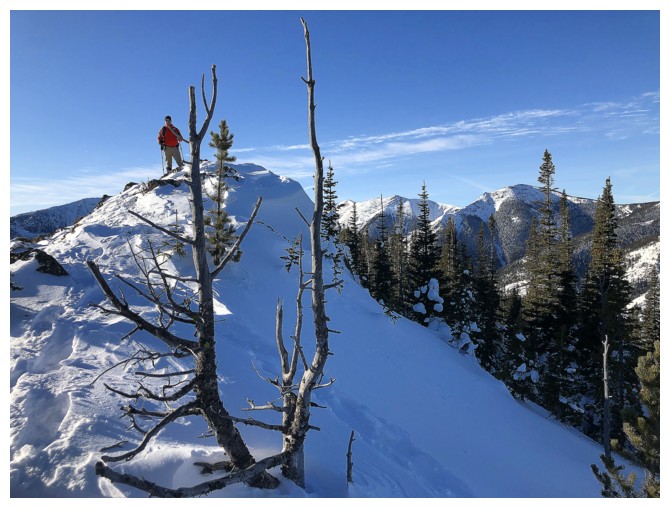
Still enjoying the ascent. HP 1 to the right.
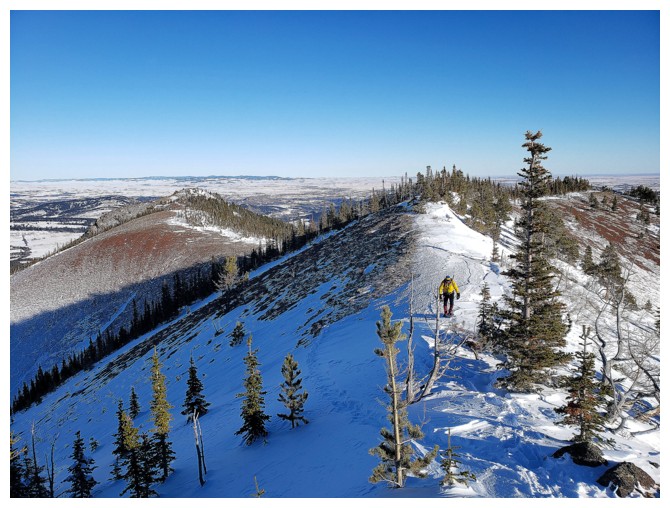
Dave leads us across the super snowy ridge
I follow (photo by Dave)
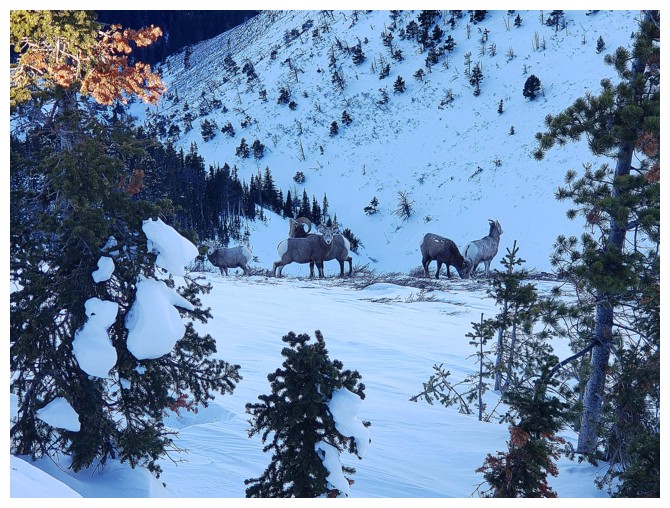
Dave spots a curious group of sheep (photo by Dave)
Easy descent and traverse over to HP1

Dave sheds his snowshoes for the traverse
I kept mine on (photo by Dave)
Very cool shot by Dave (photo by Dave)
Outstanding view to the west (photo by Dave)

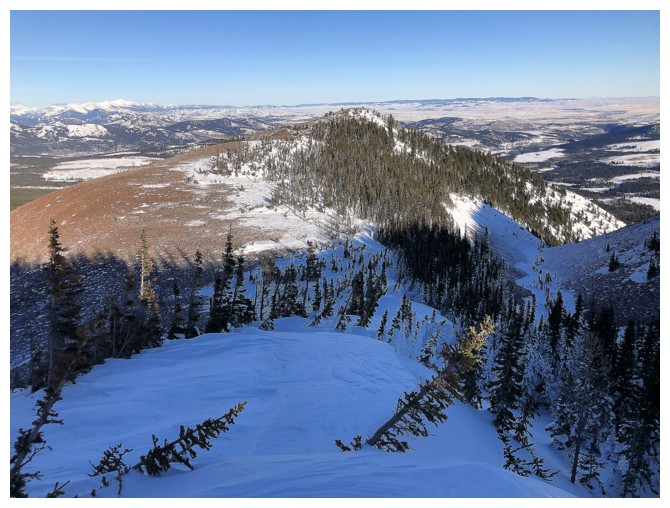
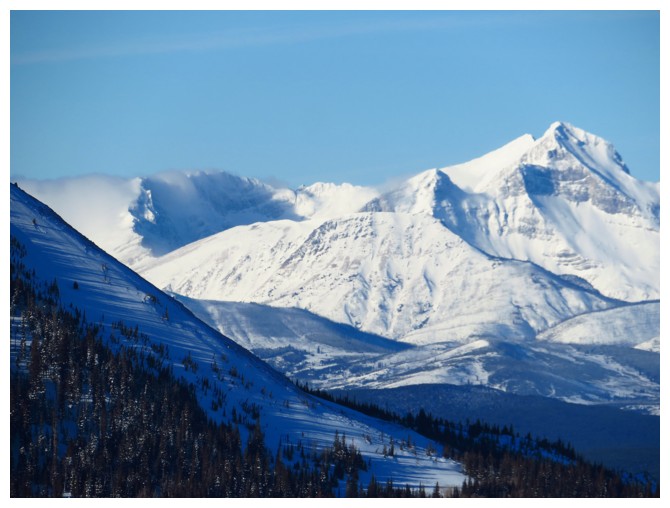
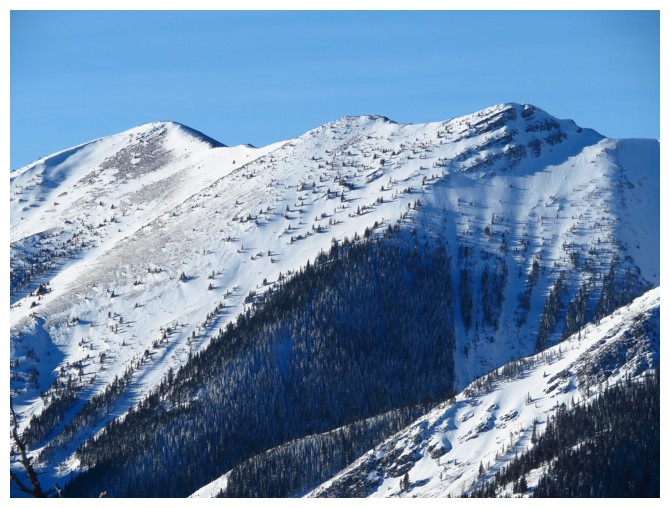
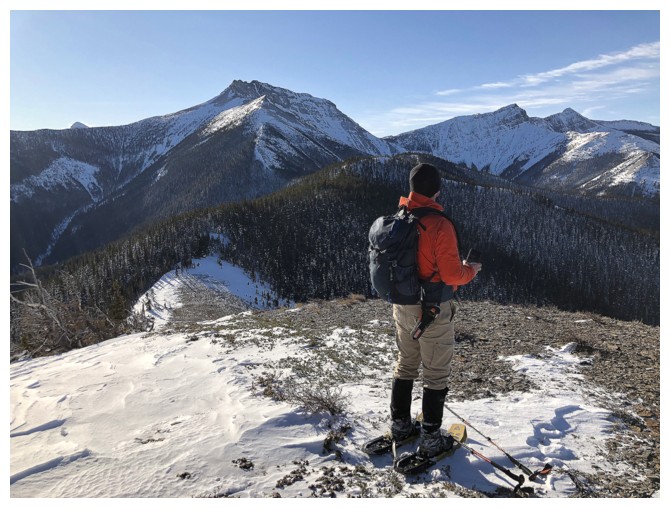
Summit view to the north. Table Mountain at the left, the snowy Flathead Range in the distance.
View to the southwest (photo by Dave)
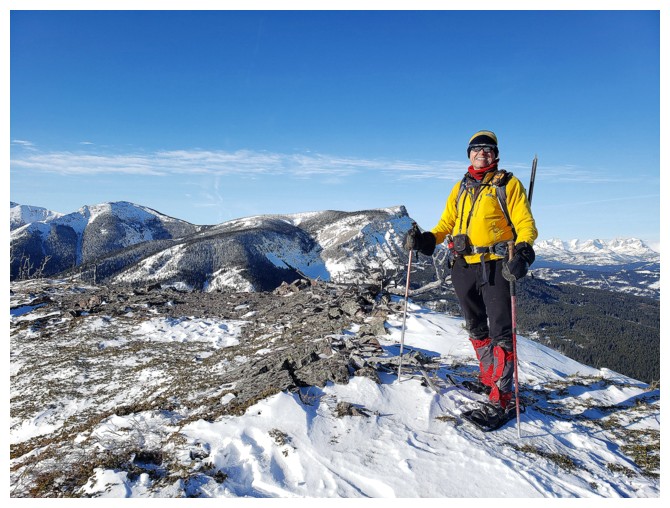
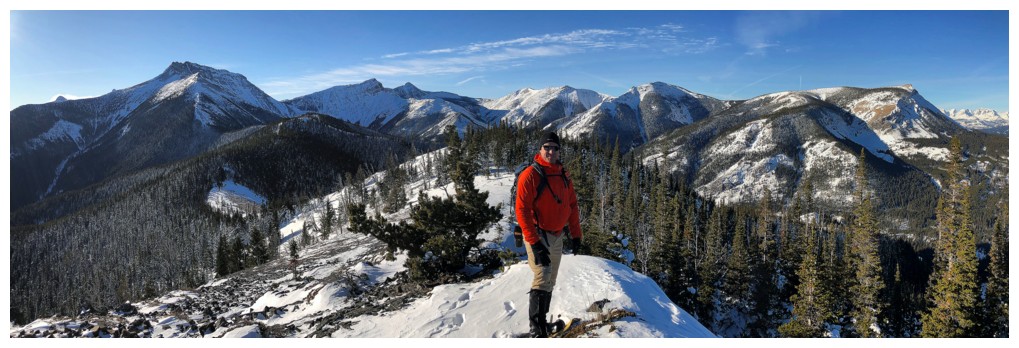
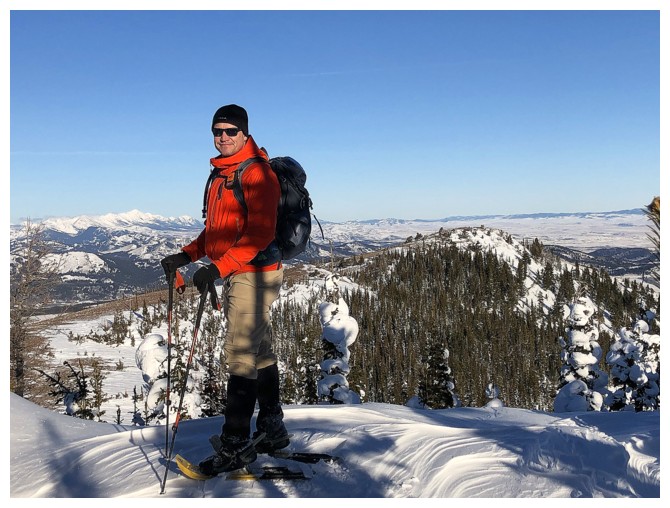
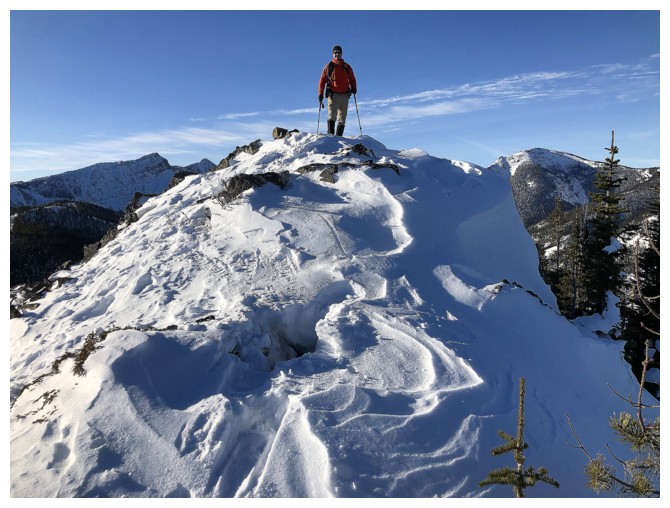
Summit poses (photo by Dave)
Dave's turn
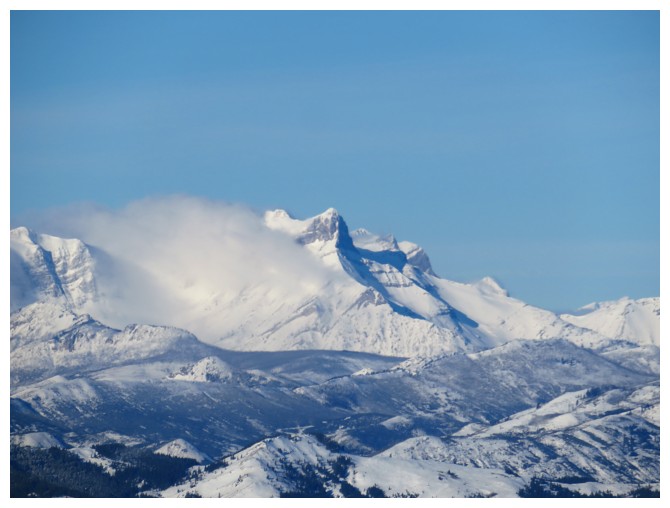
Closer look at Table Mountain and a potential route from the south side
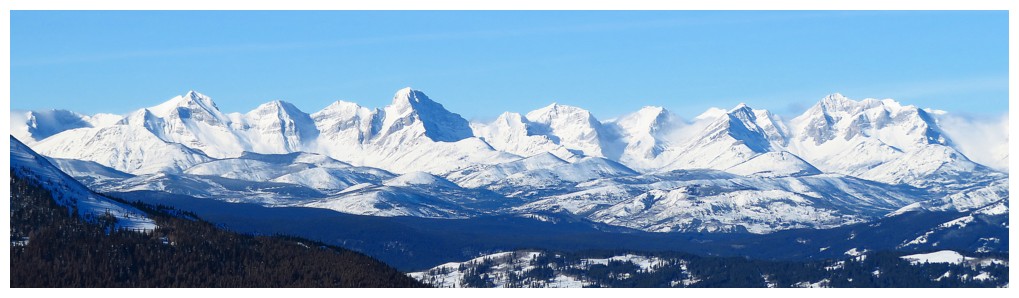
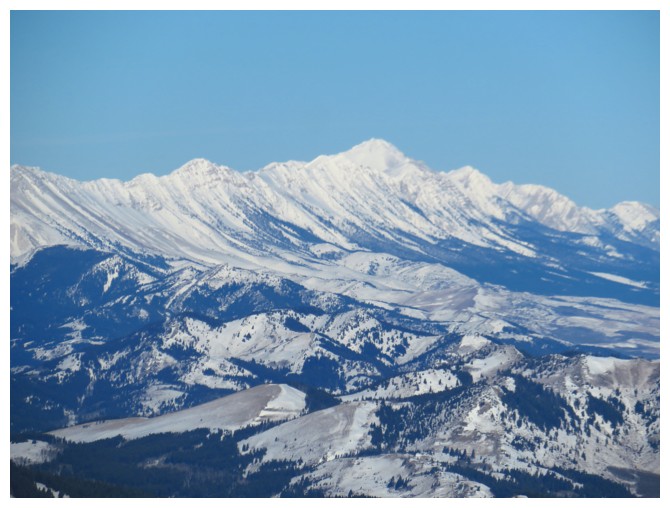
The Flathead Range. Three named peaks: Darrah, Pengelly, and McGladrey
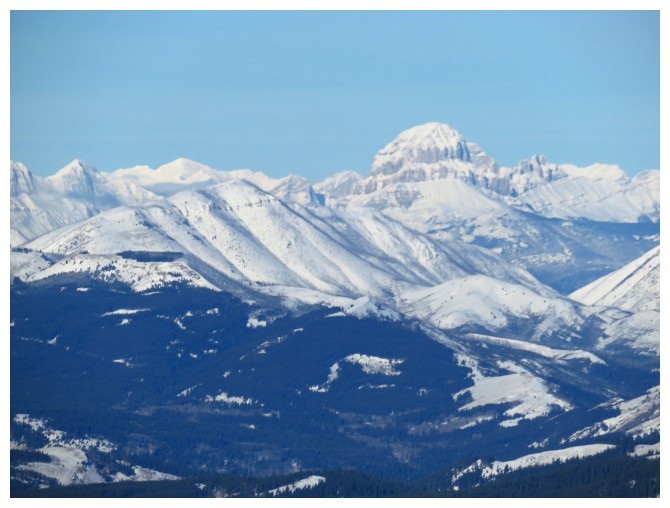
Crowsnest Mountain
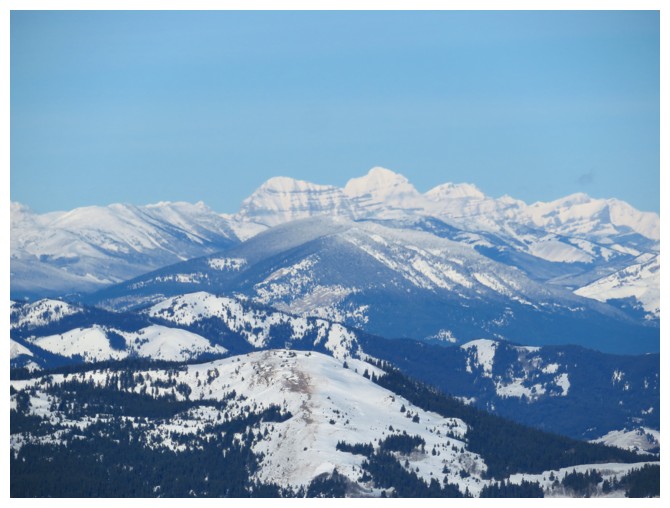
Distant but massive Tornado Mountain
Centre Peak
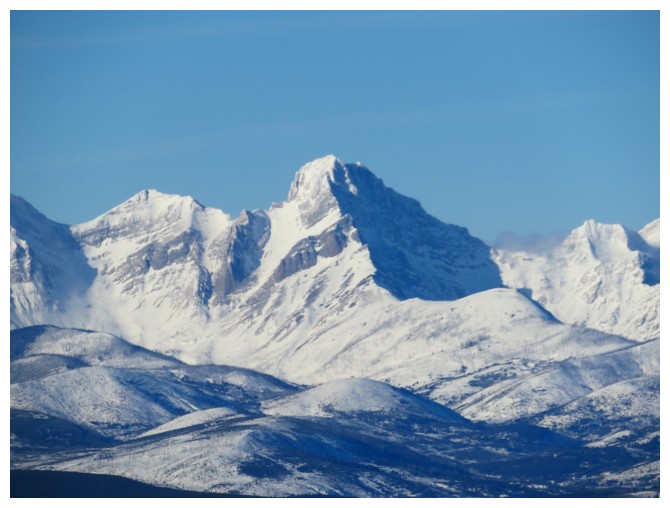
Mount Darrah is perhaps for the most photogenic mountain in the Flathead Range
...though some of the unnamed peaks are pretty spectacular too

The second tallest and unnamed peak of the Flathead
Mount Coulthard
Dave checks out Mount Albert
Part of the awesome ridgewalk from Table Mountain to Whistler Mountain
Dave gets his scrambling fix

Success!
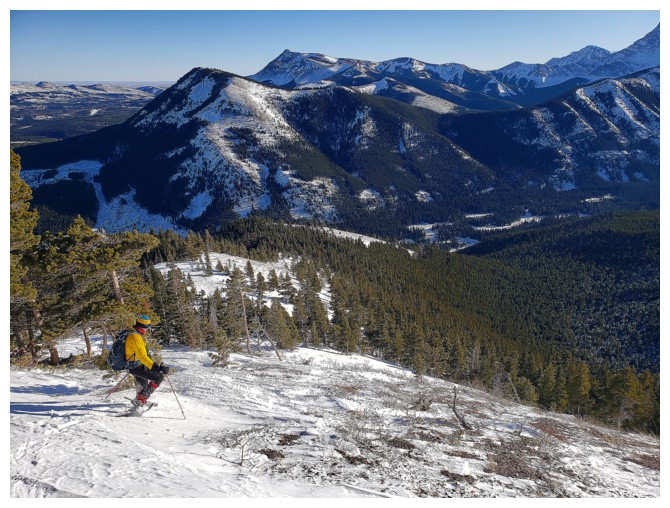
Heading over to HP2
Dave approaches the summit of HP2
Coming up the ridge (photo by Dave)
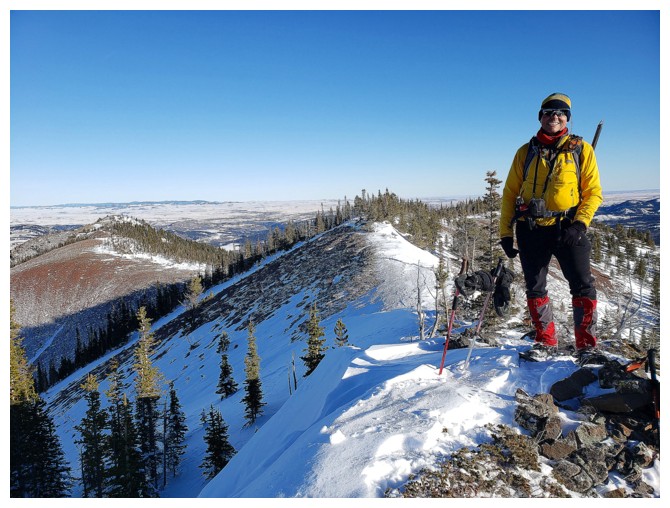
Dave at the summit of HP2
....without the tree in the way
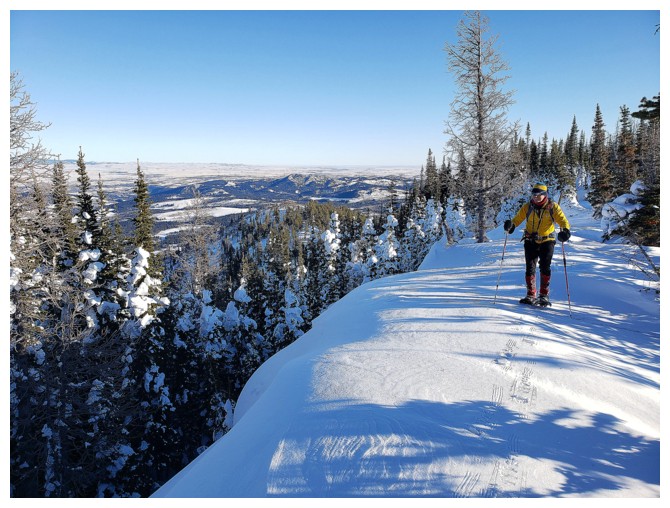
We continued going west for a short distance to a minor viewpoint
Dave at the viewpoint

On return we arrive back at this incredible section of the ridge where all the snow from the wind has accumulated (photo by Dave)
Easy descent (photo by Dave)
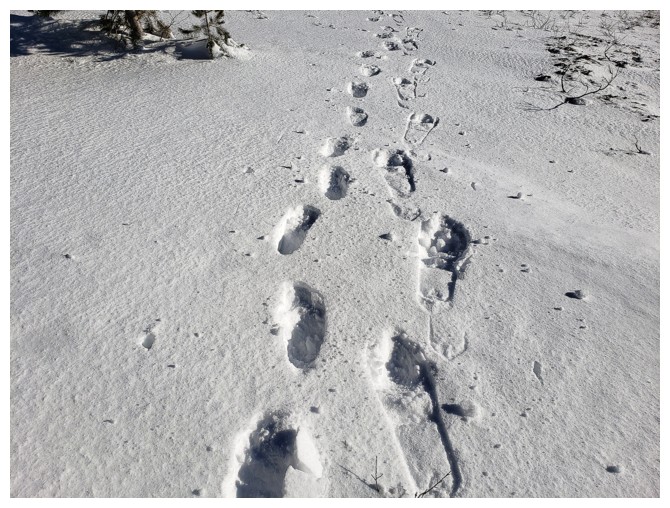
Interesting photo of our snowshoe-less ascent track and snowshoe descent track (photo by Dave)
Nearing the bottom of the Toe (photo by Dave)
Whitney Creek Mountain (photo by Dave)
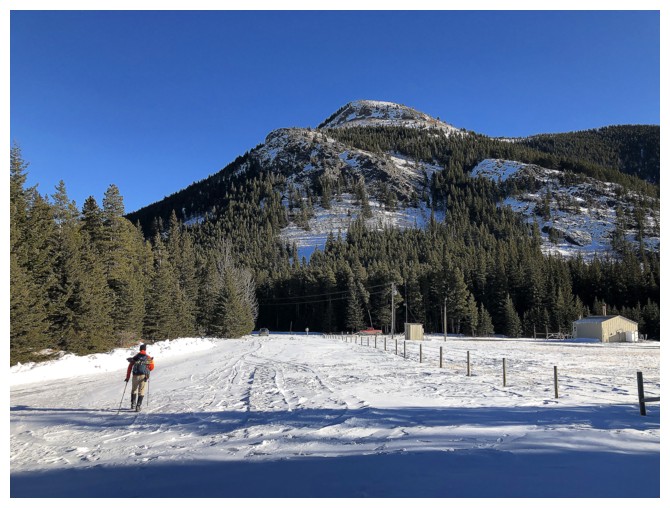
Dave hikes the final few hundred metres of a short but super rewarding trip

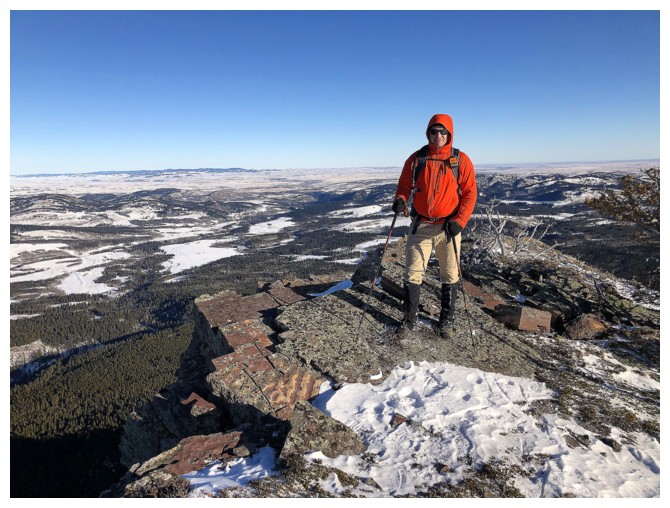
Quick stop at the Waterton Lakeshore to end the day
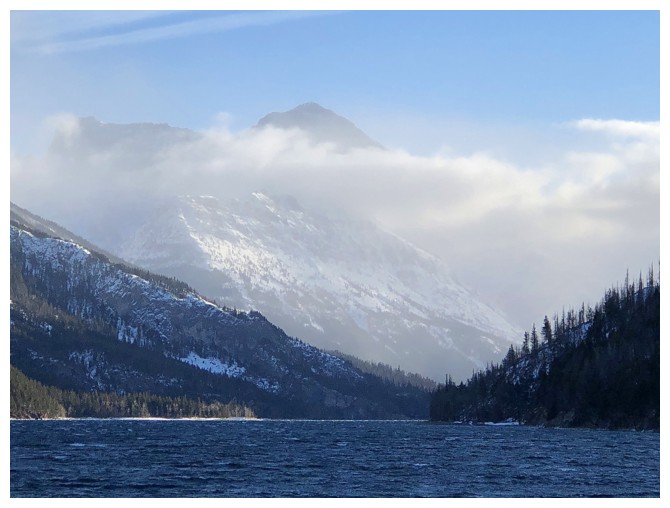
Mighty Mount Cleveland
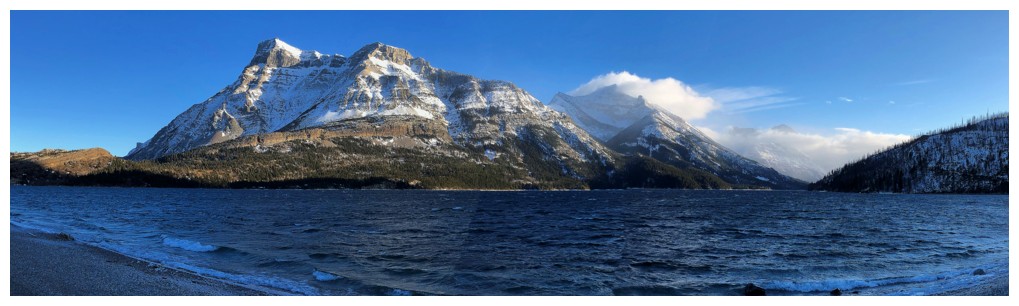
There are some lakeshore views that you never tire of - Waterton Lake certainly fills the bill
The End