Rummel
Ridge II
March 1, 2015
Mountain
height: 2459 m
Elevation gain: 650 m
Round-trip
time: approximately 3.5 hours
Solo
snowshoe.
My
first ascent of Rummel Ridge in 2008, took a steep line from near Rummel Lake, and
had some avalanche concerns. Since then, a new and far safer line from the
northwest has gained popularity. Time to check it out.
In
a nutshell, the route was awesome! At first, it seemed to be going in the wrong
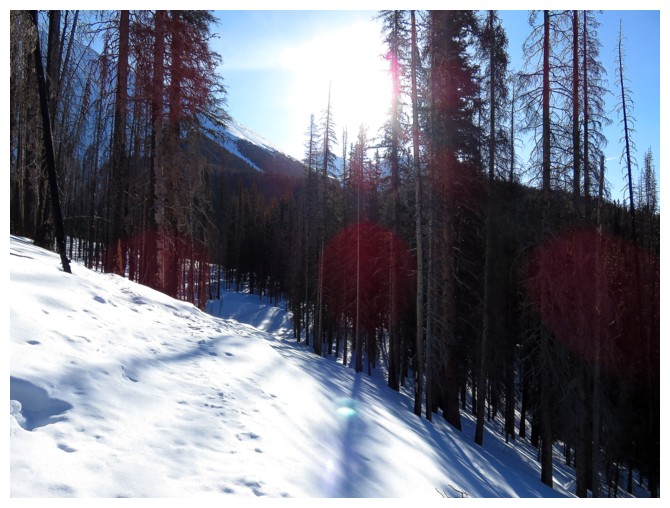
direction, basically staying on the lower southwest slopes of Mount Engadine.
However, once a significant amount of elevation was gained, I found a faint track
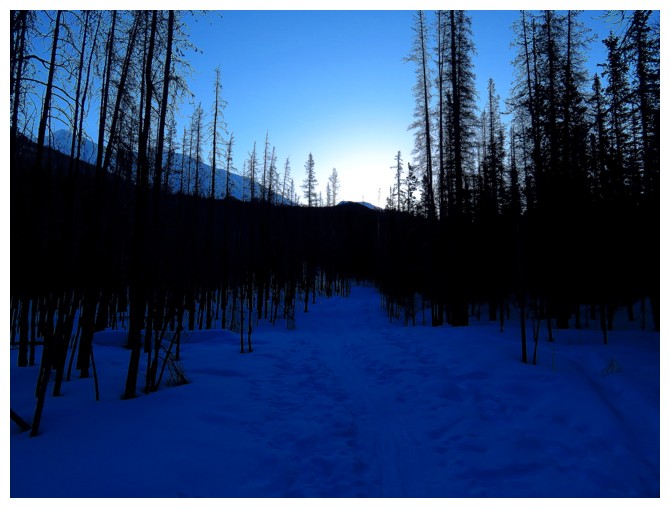
peeling to the right. After crossing two drainages, I was suddenly on the
northwest ridge of Rummel and heading up through treed terrain towards the top.
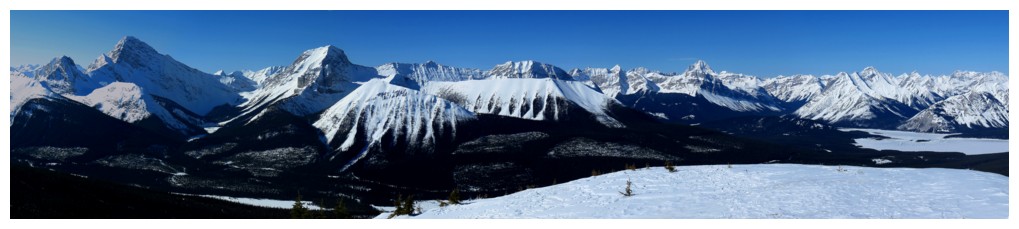
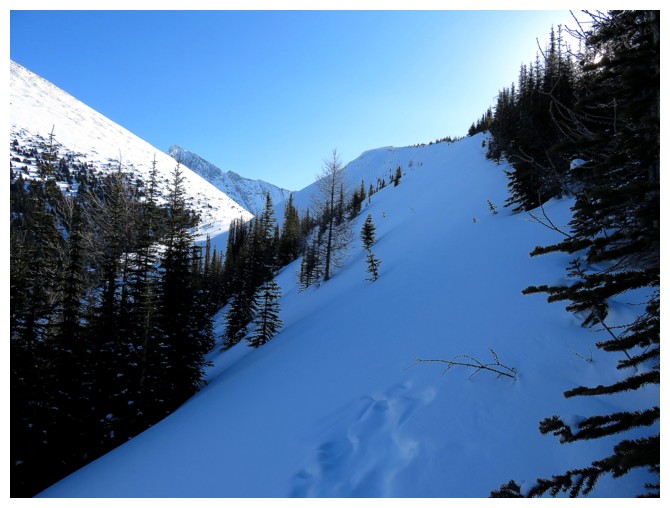
Above
treeline, a fantastic view was revealed; one that improved with each step. Of
course, the summit view was not new to me, but I still found it to be very inspiring.
The return via the same route went with remarkable ease.
Fantastic route to an outstanding
viewpoint.
Near the start
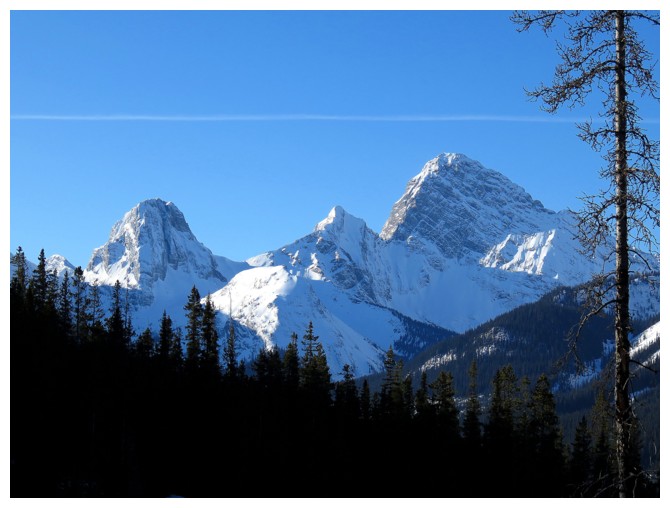
There are occasional views near the beginning. Commonwealth Peak, Pig's Back, Pig's Tail, and Mount Birdwood are seen here.
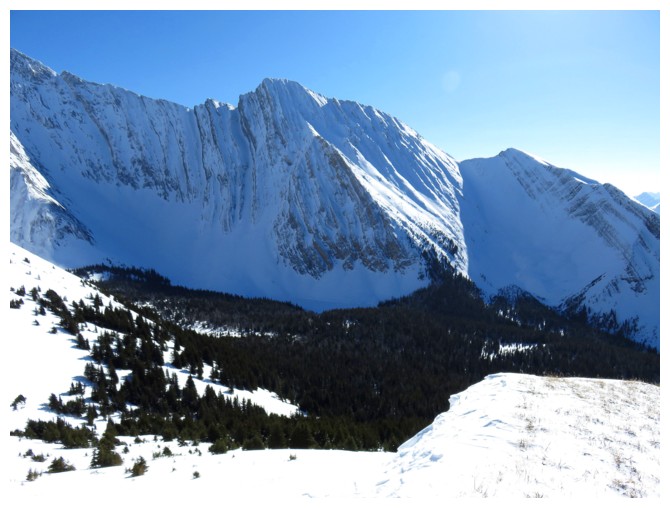
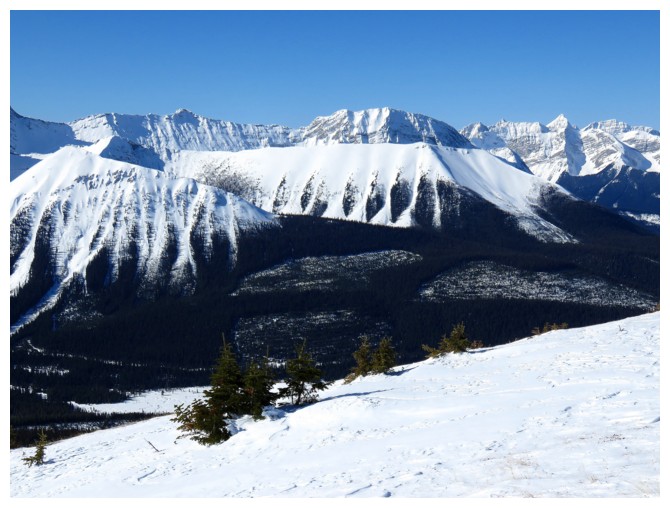
The east side of Tent Ridge and Mount Smuts
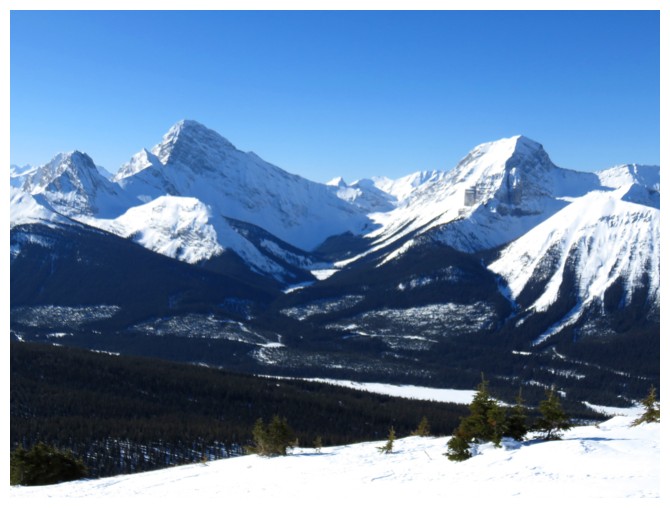
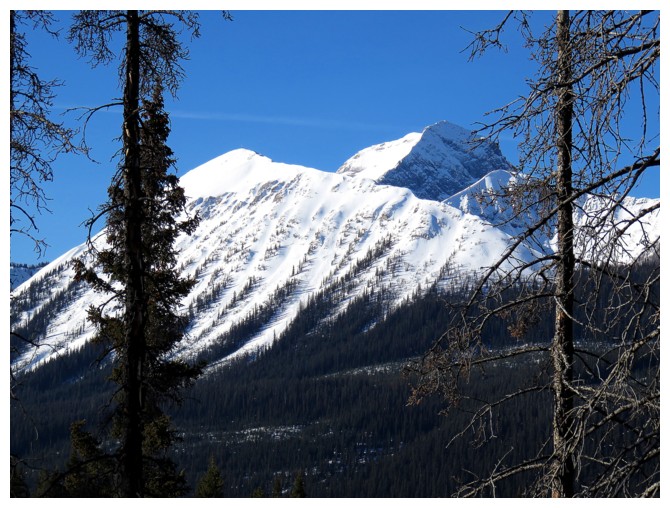
Starting to move away from Engadine and towards Rummel
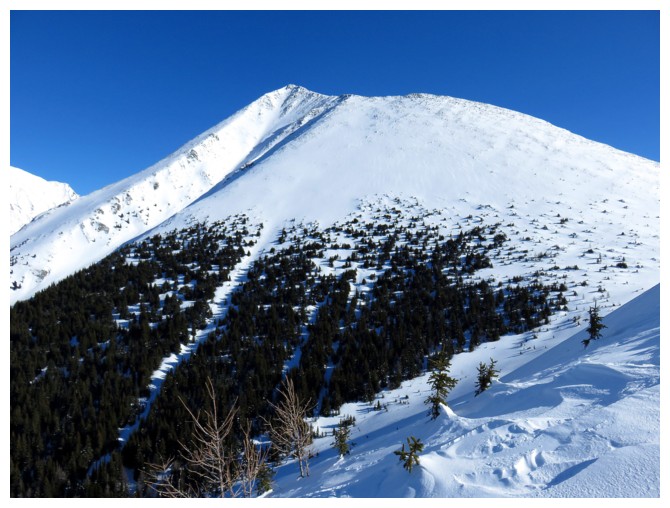
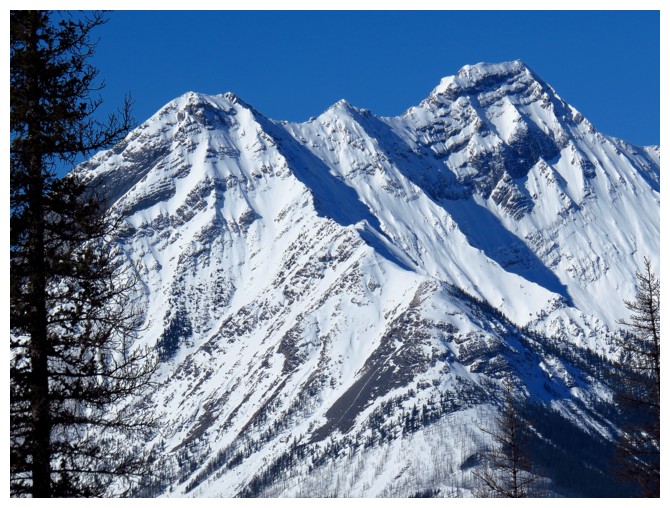
Sometime later on Rummel Ridge
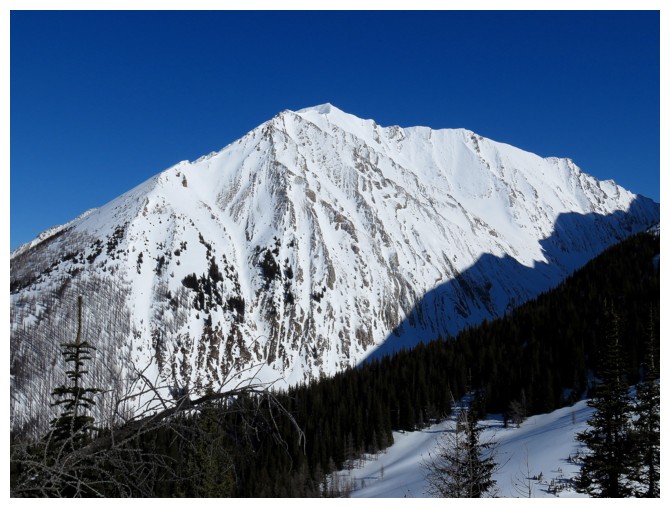
Mount Engadine

Pristine snow slopes
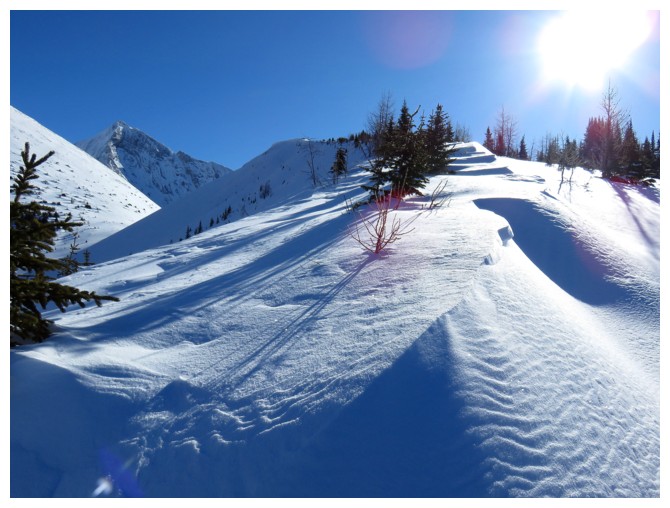
Same as above
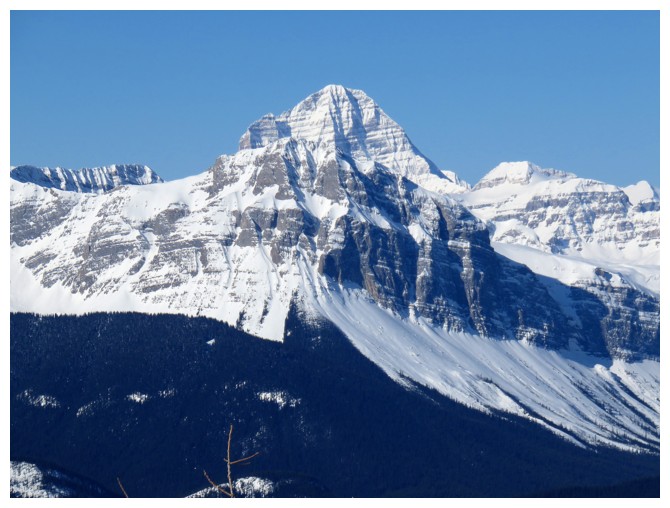
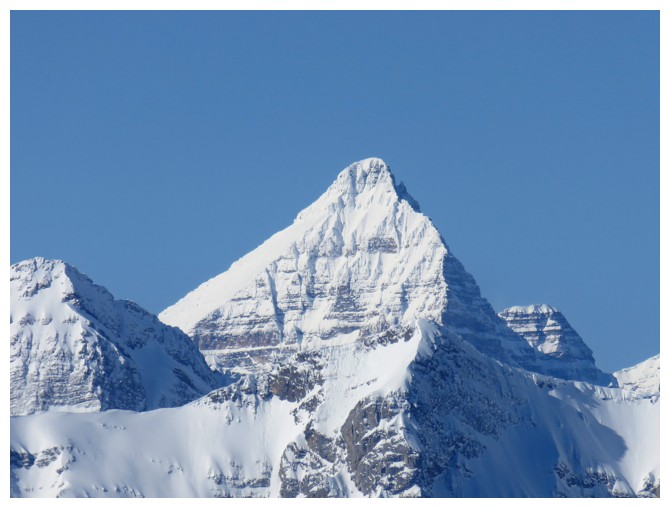
Mount Assiniboine
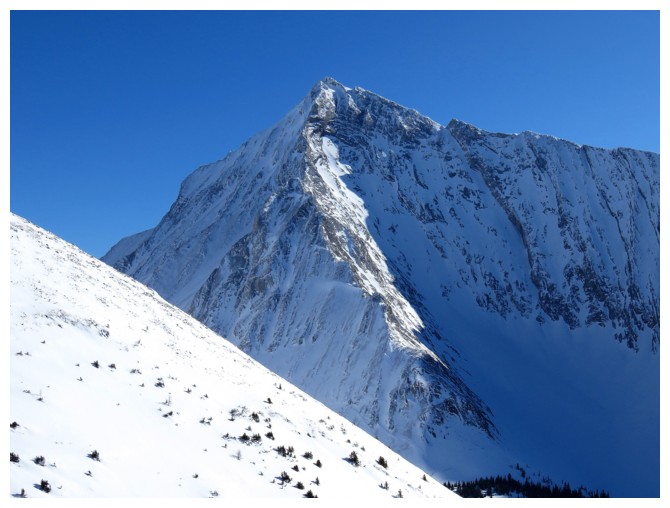
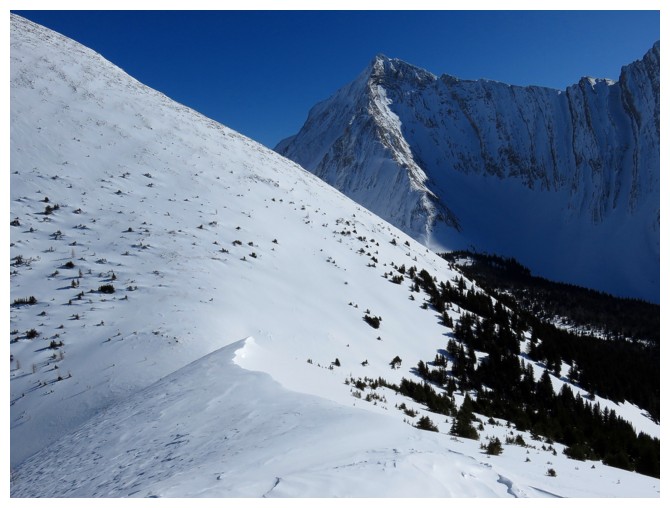
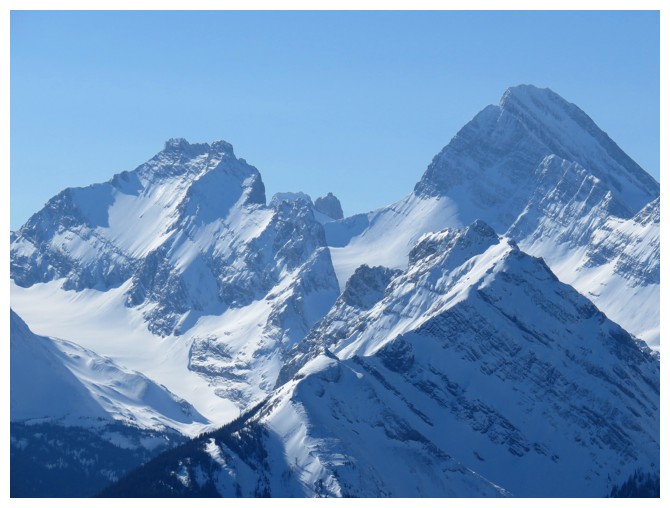
The west ridge of The Tower
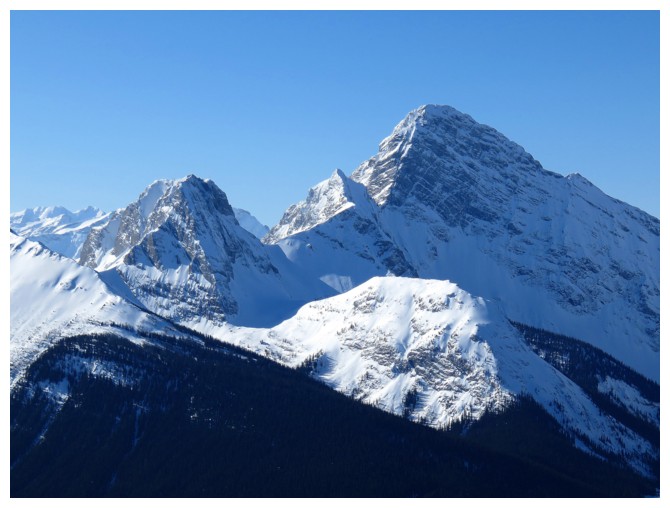
At the summit. Little Galatea at the right.
Summit view to the west, southwest, and south
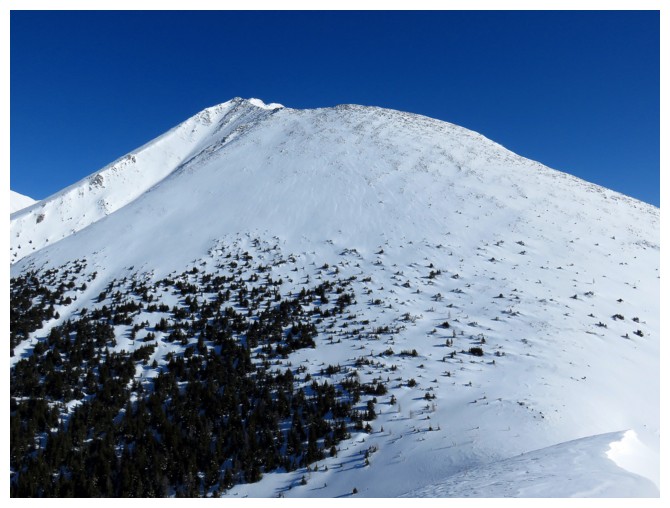
Mount Galatea
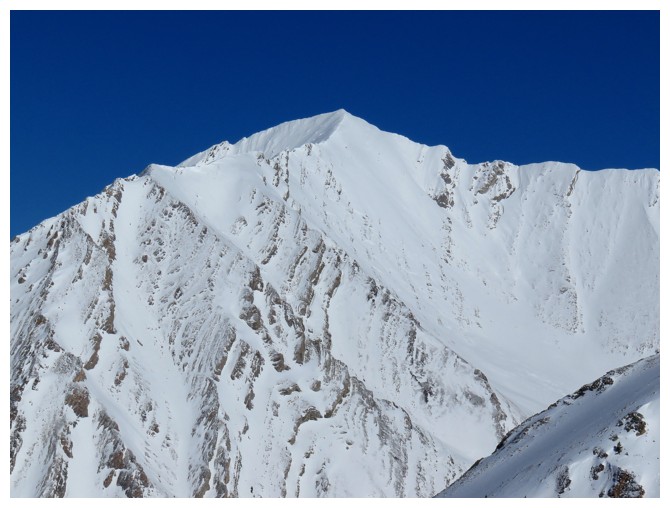
The west ridge of The Tower again. It is possible to ascend to the
highpoint near the left, but reaching the true summit would require
lots of rappelling and technical climbing.
Some of the British Military Group
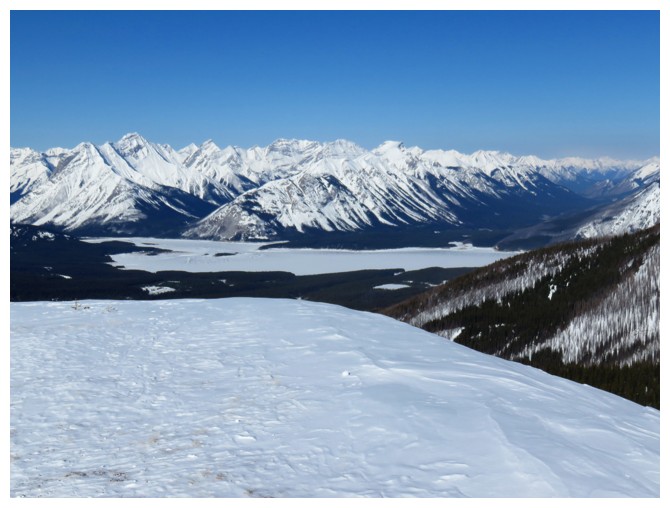
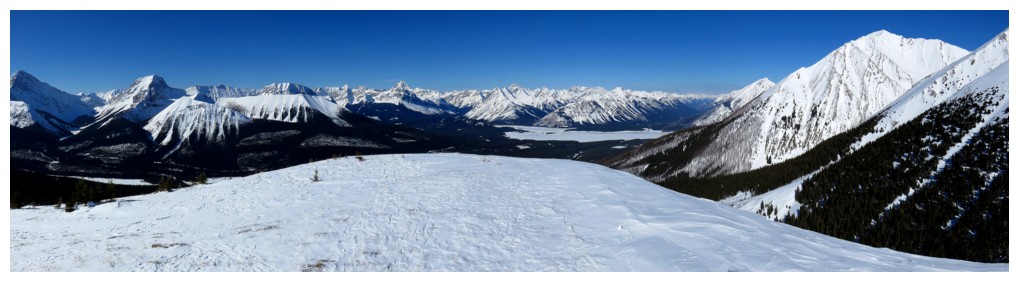
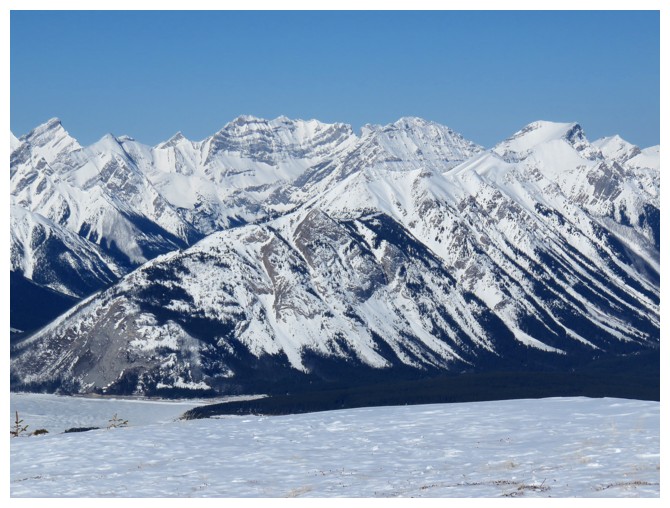
Spray Lake and the surrounding mountains
The Fist blends into Mount Smuts
Looking down some of the route I used during my first ascent

Nice cornice
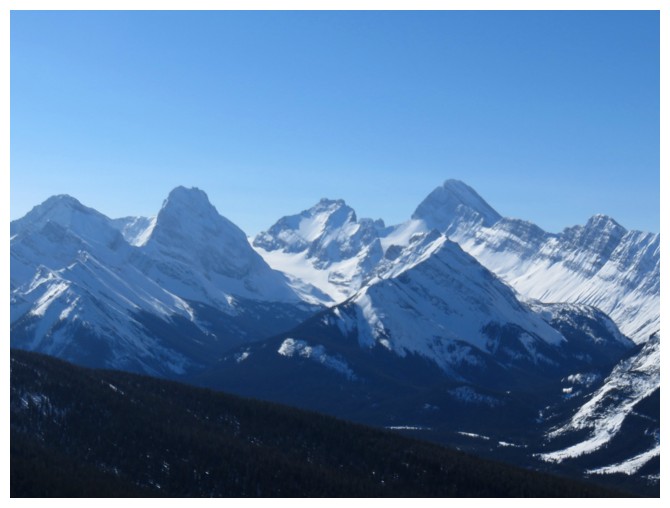
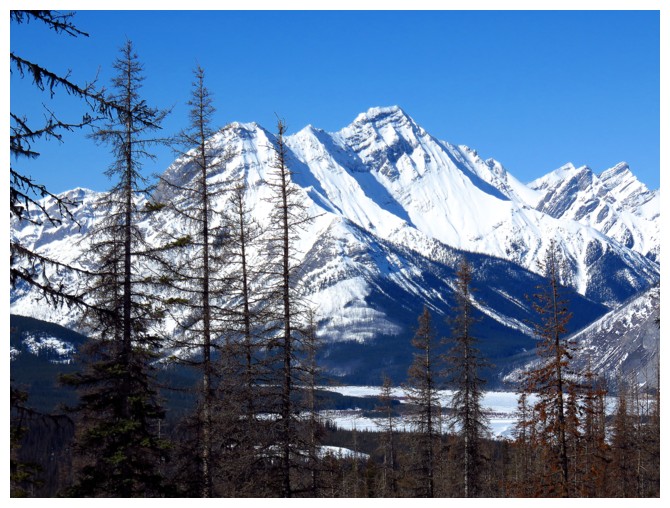
Mount Burstall, at the lower right, is dominated by Mount Robertson (left) and Mount Sir Douglas
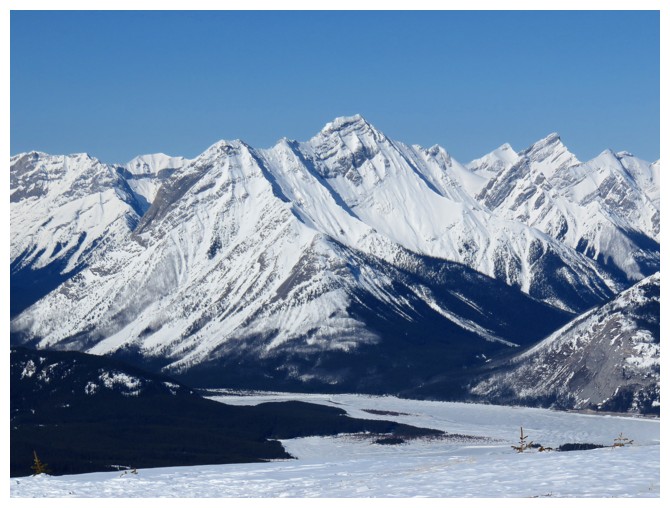
Cone Mountain in the centre
Other peaks around Spray Lake, including Mount Fortune, Fortulent Peaks, and Mount Turbulent
Birdwood and company again
Tent Ridge in the foreground and Mount Shark behind
Magnificent Eon Mountain

Back down on the lower slopes of Engadine, looking east towards The Tower
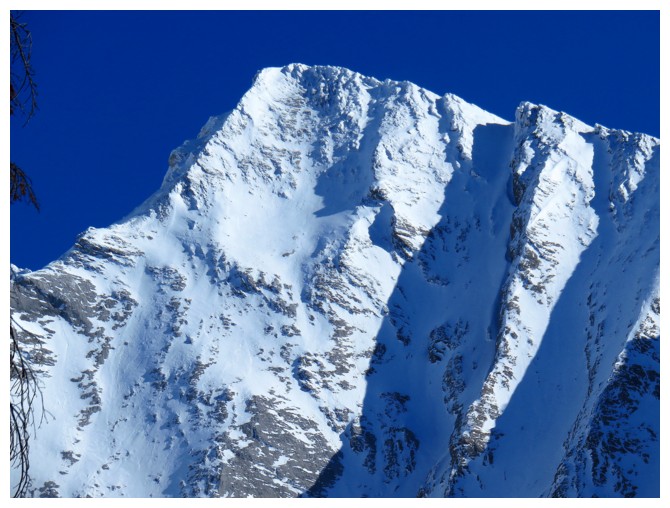
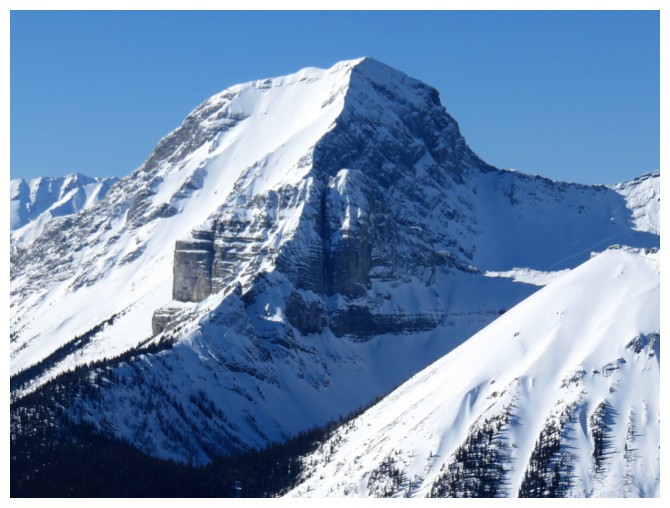
The summit of The Tower
Cone Mountain
Close-up of Cone
The End
LOG