Table Mountain IV
April 13, 2024
Mountain height: 2225 m
Elevation gain: 740 m
Ascent time: 3:50
Descent time: 3:15
Solo scramble.
I was hoping
for a repeat of the awesome trip Mark and I completed in 2017 up Table Mountain
and Table Top Peak. Due to snowy conditions the plan didn’t quite pan out.
 However, the trip was still a resounding success, featuring scenery stunning
throughout.
However, the trip was still a resounding success, featuring scenery stunning
throughout.
Initially I
planned to stick to the hiking trail up Table Mountain, but of course, I was
soon distracted by some cool looking rock off to the left. I abandoned the
trail and then took a steep, long, circuitous, and wonderfully scenic route up
to the ridge above.
Following a
previous hiker’s footprints in the snow made easy work of the first section of
hiking towards the summit, but those footprints soon came to an abrupt end.
 Continuing on was not terribly difficult, as it was still relatively early in
the day and the snow was firm. However, it was likely the day’s heat would
change those conditions in short order. I decided against trying Table Top Peak
at this point. Even using snowshoes, the traverse would have involved solo
trail-breaking throughout, probably in deteriorating snow conditions – better
to take my time and enjoy Table Mountain.
Continuing on was not terribly difficult, as it was still relatively early in
the day and the snow was firm. However, it was likely the day’s heat would
change those conditions in short order. I decided against trying Table Top Peak
at this point. Even using snowshoes, the traverse would have involved solo
trail-breaking throughout, probably in deteriorating snow conditions – better
to take my time and enjoy Table Mountain.
Shortly after,
I was surprised to run into another set of footprints, but they were not human.
A bear had been wandering around the small col near Table’s summit, probably
not more than 24 hours earlier. The summit was reached with ease and after a
little exploration, checking out alternate routes for future trips, I started
down.
For descent, I
chose to follow the route Linda Breton and I had ascended in 2005. Mark and I
had used this route for descent in 2017 and it had proven to provide more
scenic interest than the hiking trail. The 2024 version was no exception, and
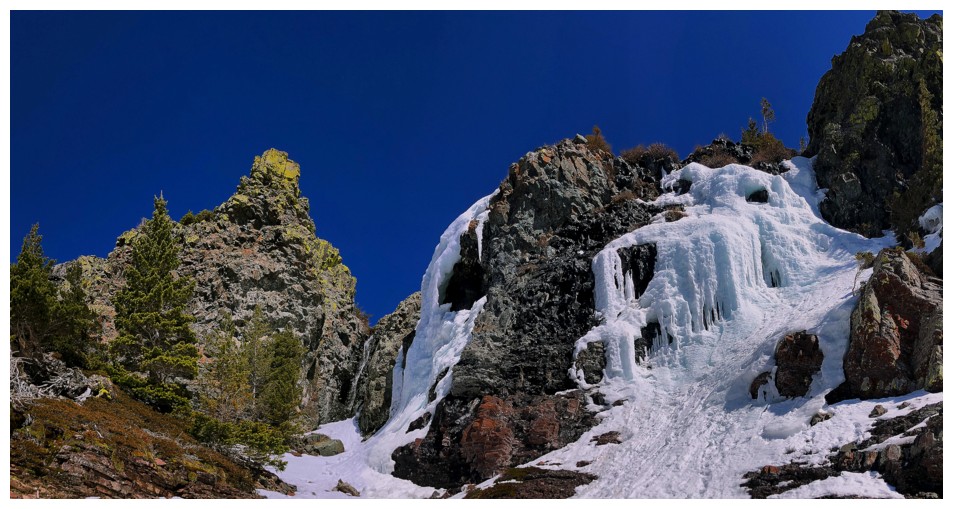
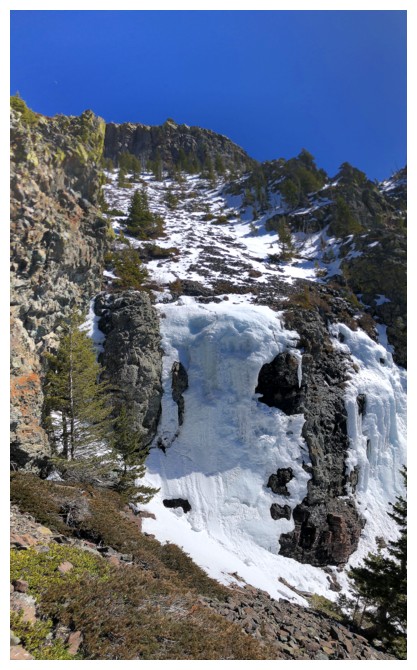
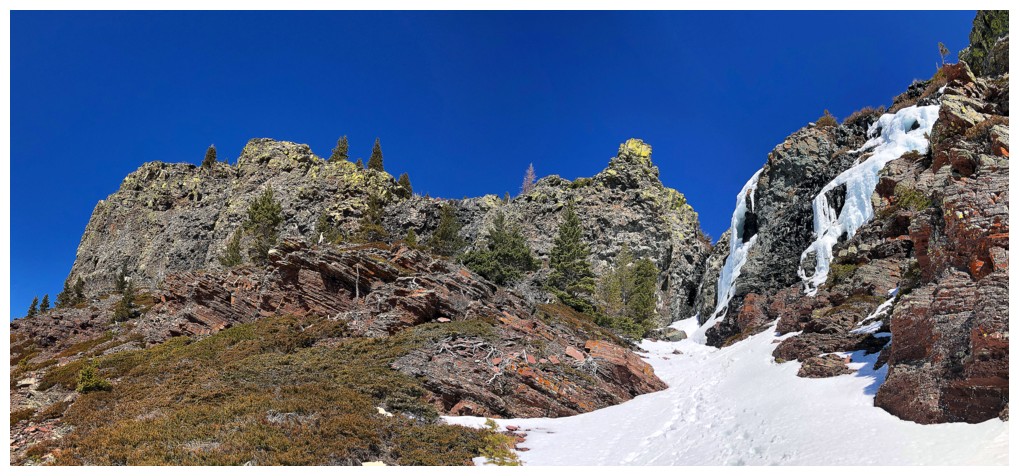
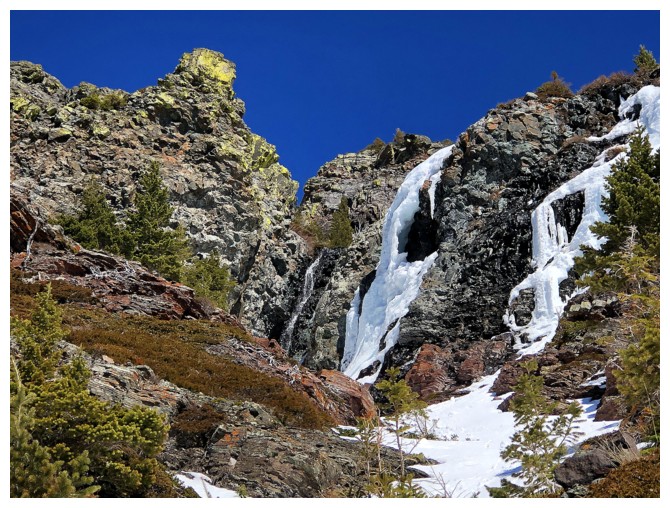
in fact exceeded both previous trips, courtesy of a stunning wall of ice in the
descent drainage.
A more than
rewarding fourth run up this gem of a mountain.
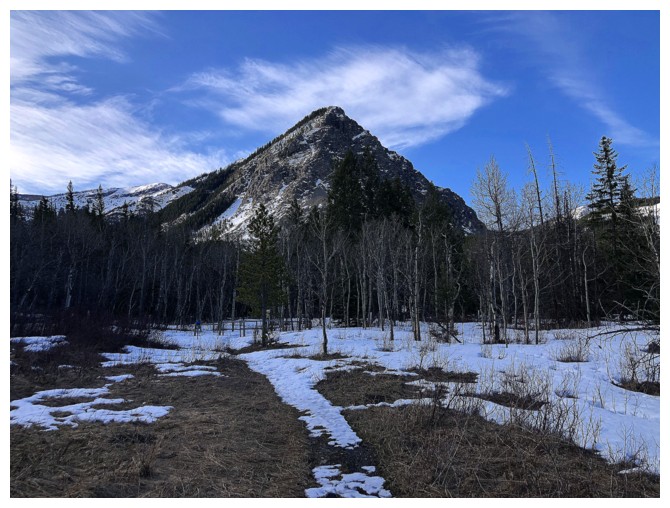
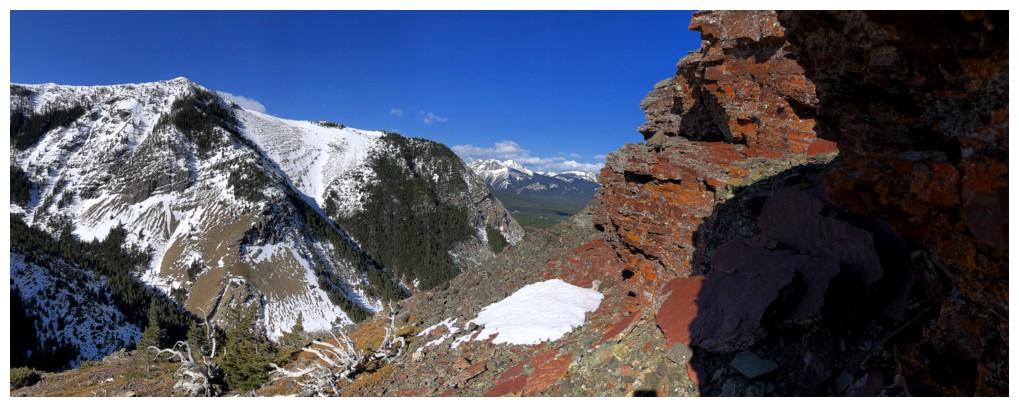
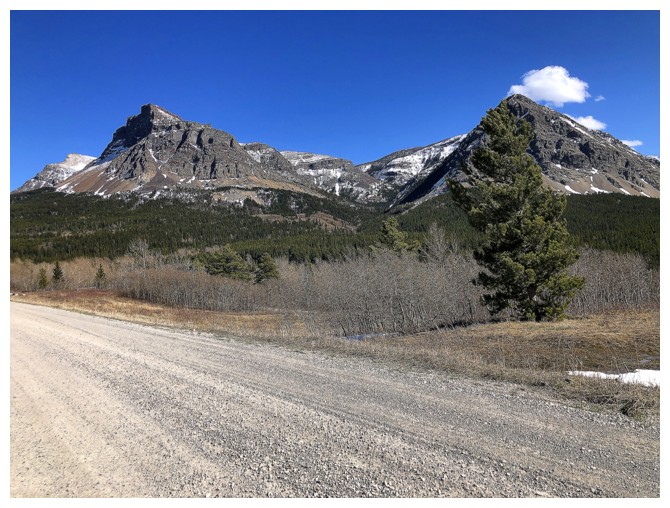
The end of a southwestern outlier of Table Mountain is the first peak you see
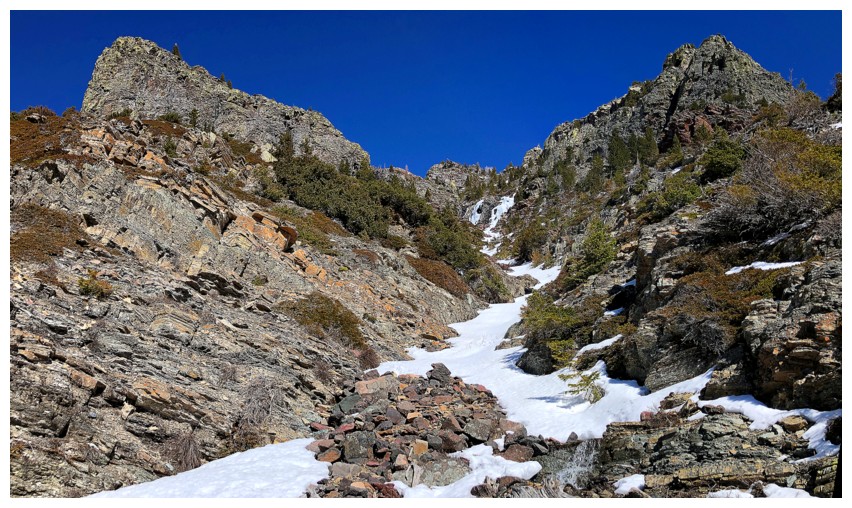
Approaching the drainage I descended

Though tempting to use this as an ascent route, I wanted the Sun to be
in the western skies - turned out to be a very good decision.
The aforementioned outlier - part of my second trip up Table Top Peak
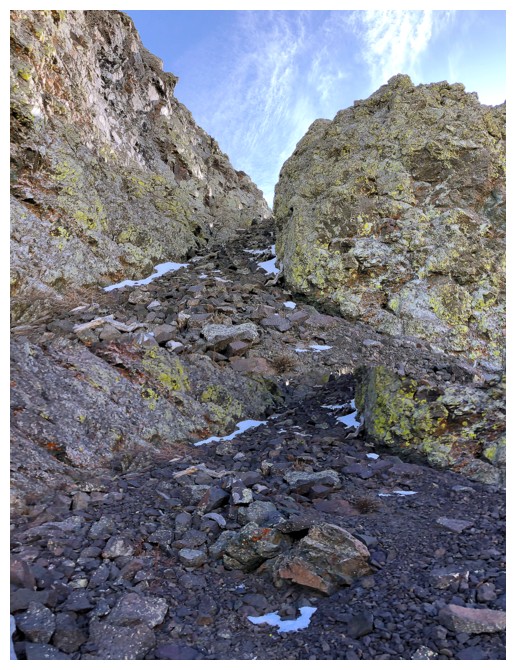
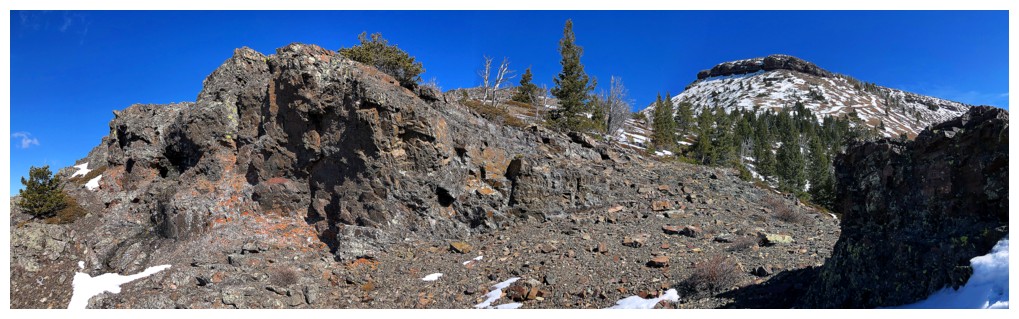
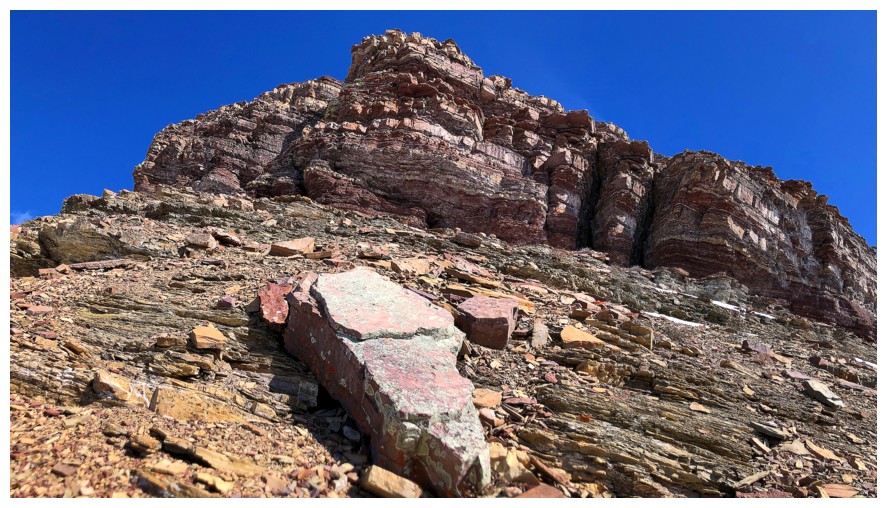
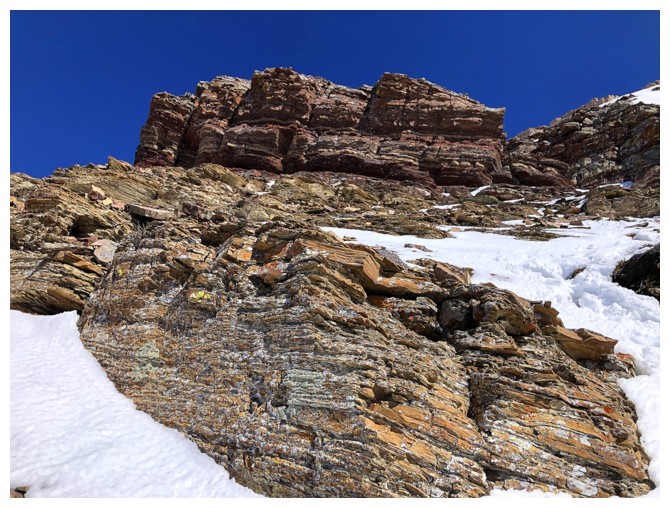
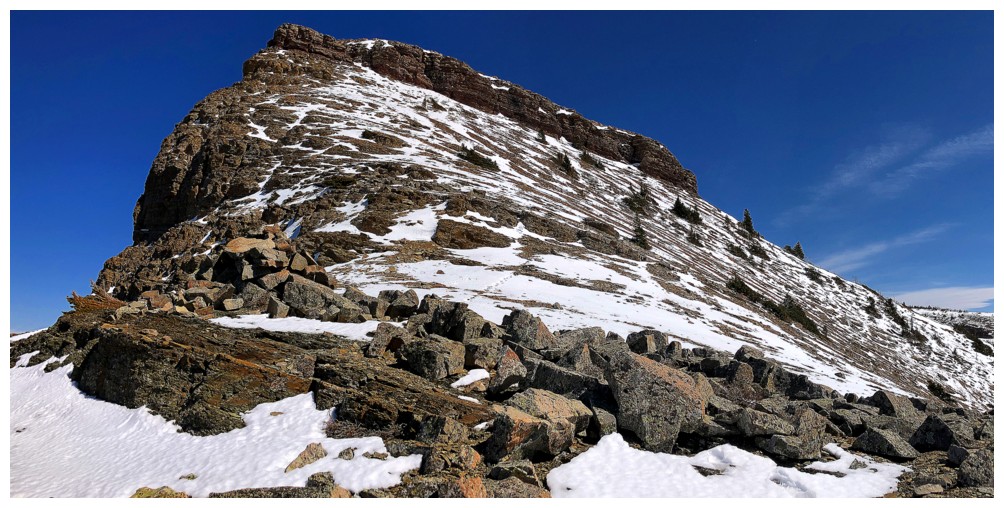
The first of many distractions and route changes. I left the trail here, heading for the rock band above.
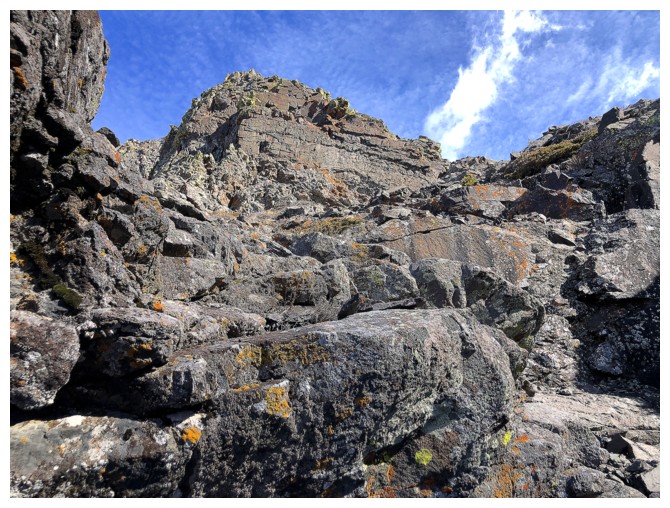
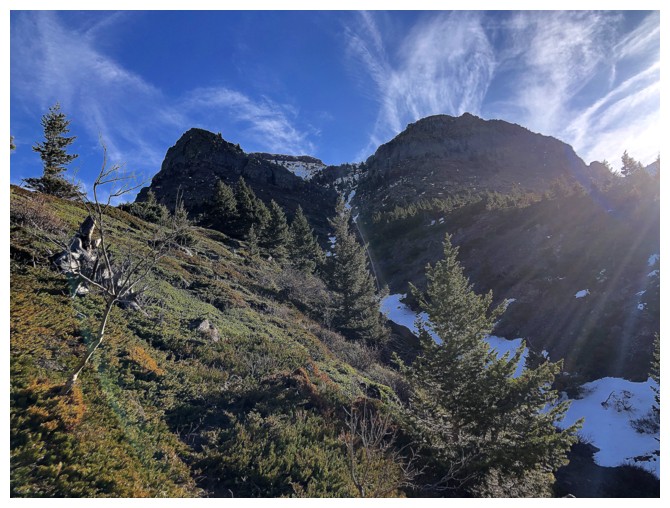
Some pleasant and easy scrambling to get to the band
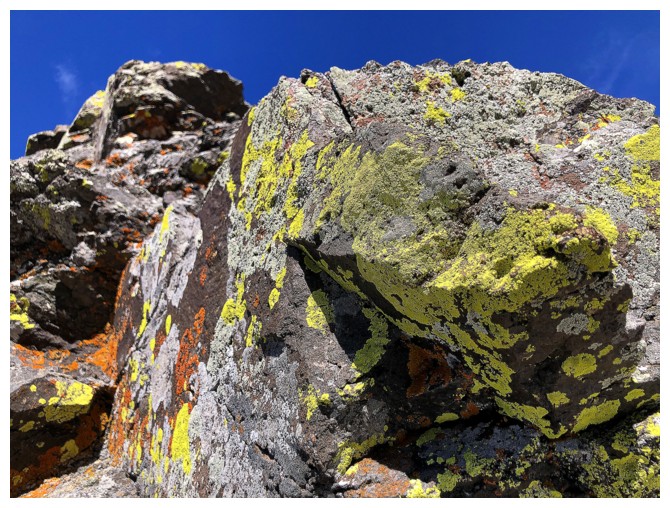
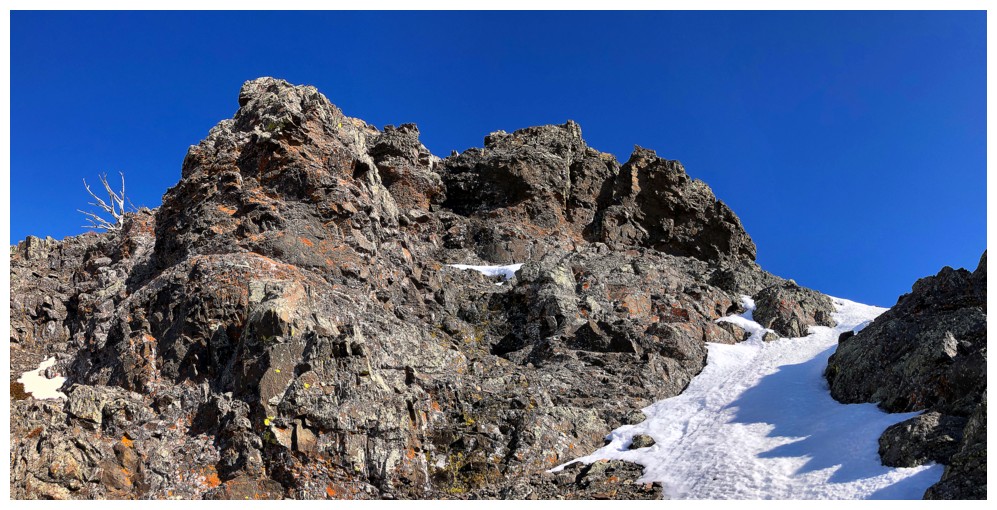
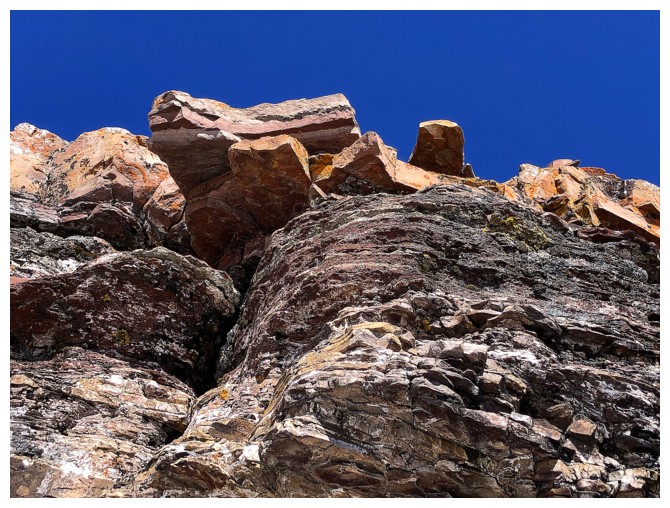
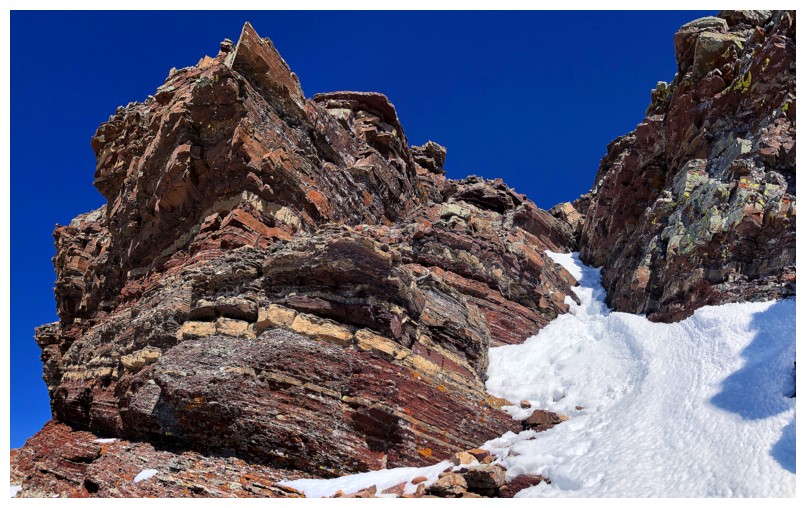
Here we go - amazing, colourful rock bands galore for the next several hours!
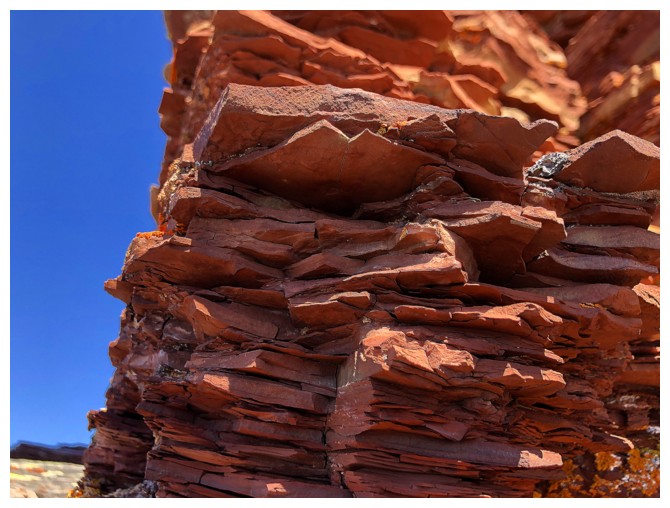
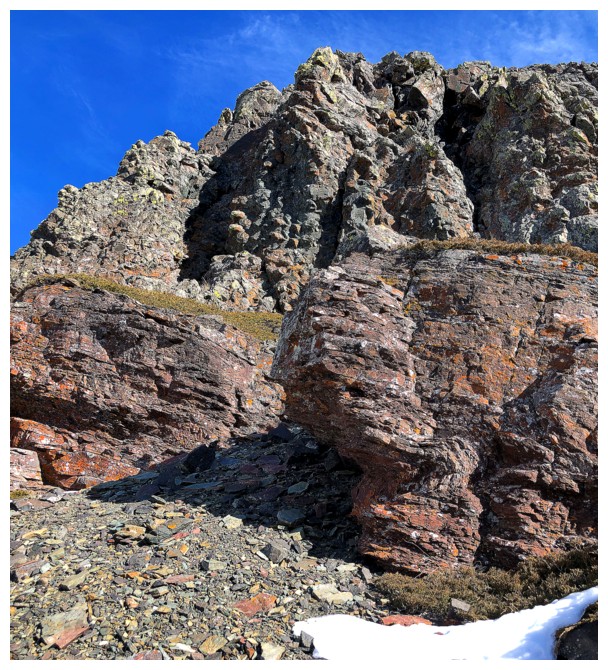
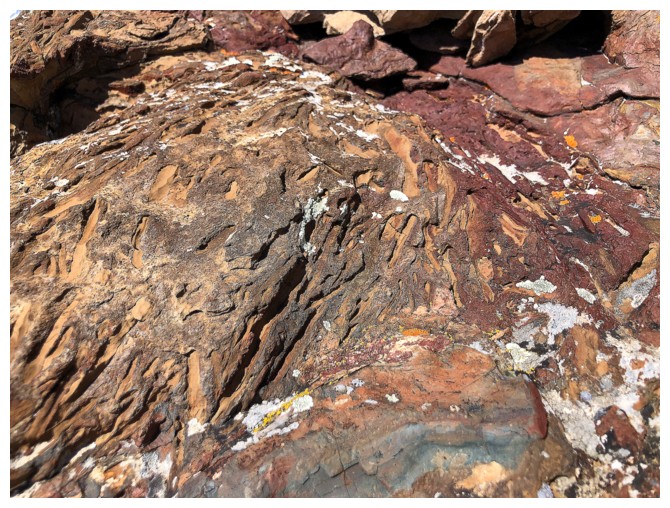
Let's start with classic orange lichen on red argillite
Throw in that outlier at the left
Tried this route

But hit a dead end. At least I got to see some yellow lichen on gray gabbro.
Not scrambling up that
Back onto easier terrain, but that didn't last long
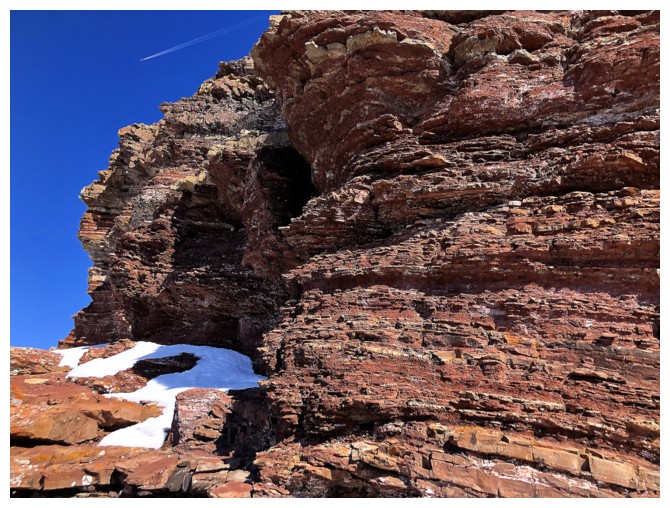
Didn't go up this, but had to detour to see it up close
Closer
Really close
That detour led to this one
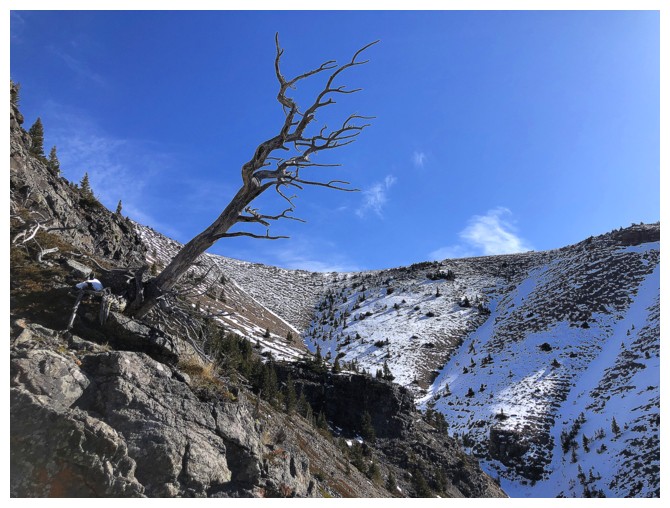
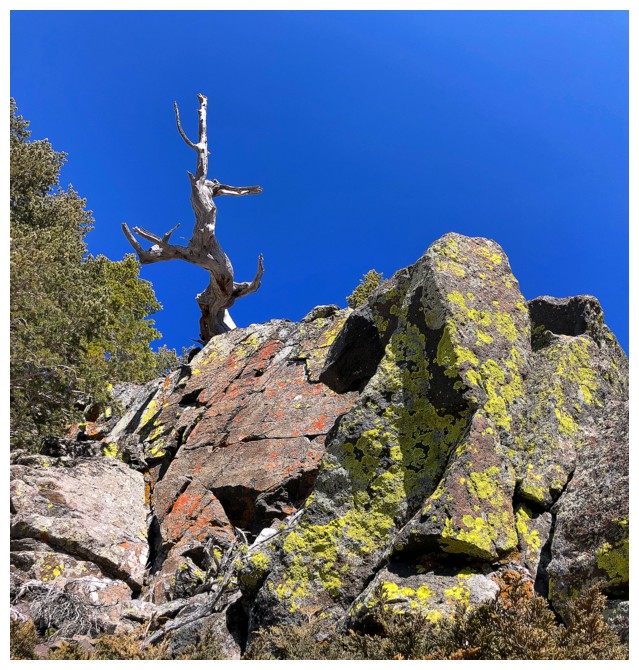
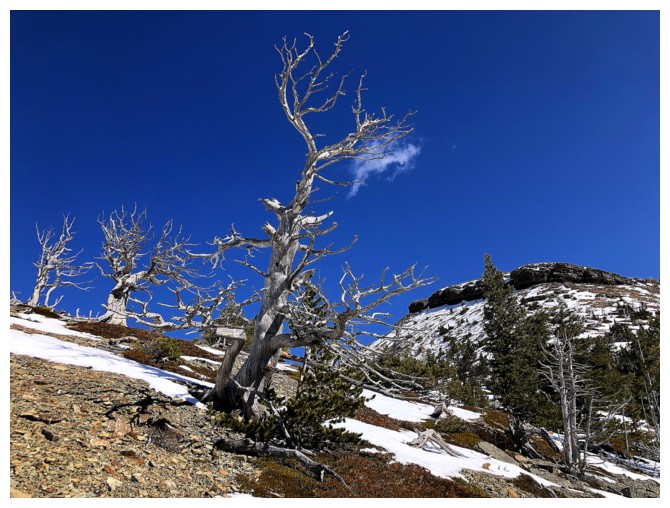
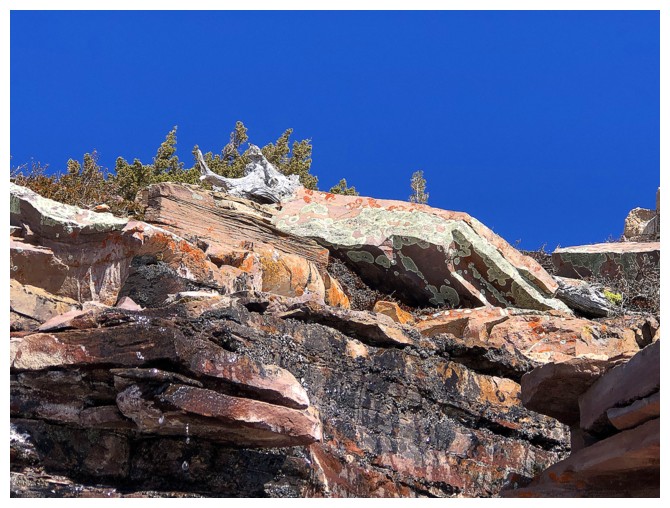
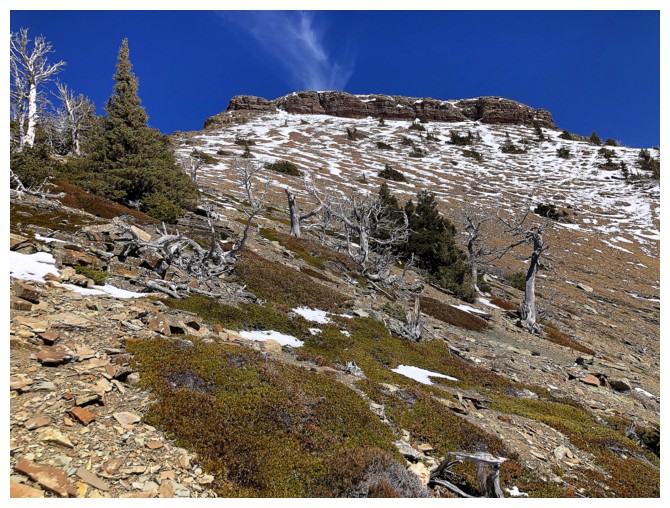
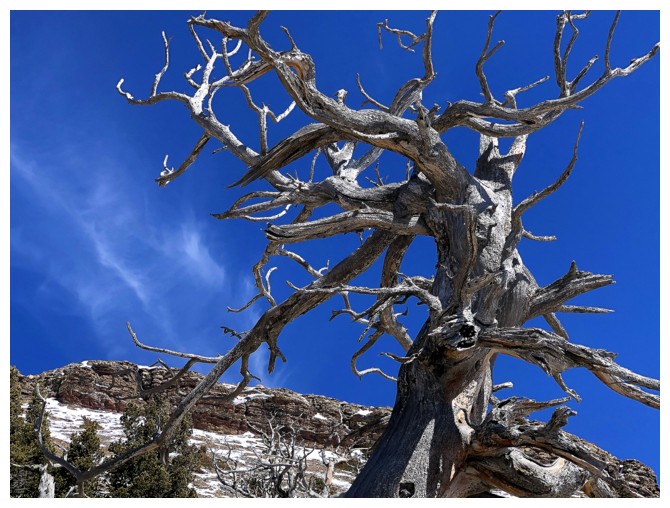
Lone dead trees are another cool feature of Table Mountain
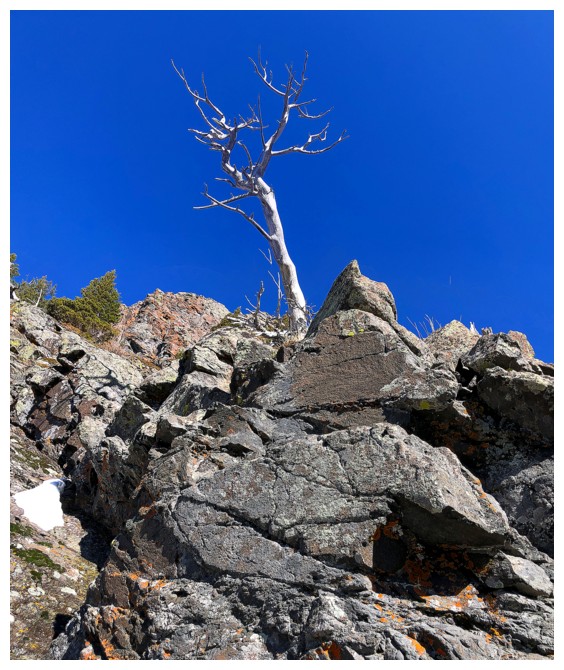
Another
One of the cooler ones
Same as above from a different angle
Couldn't scramble up this either but found a neat route around it on the left side
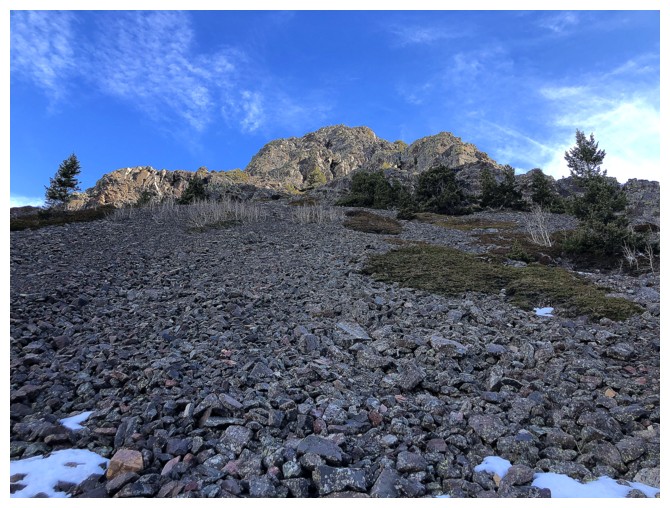
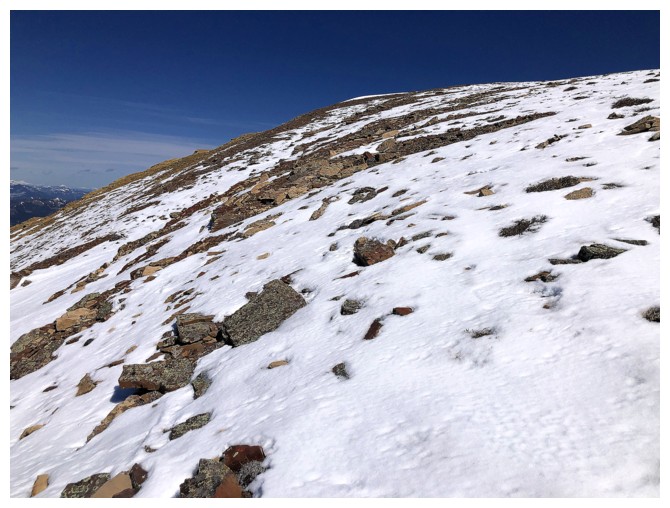
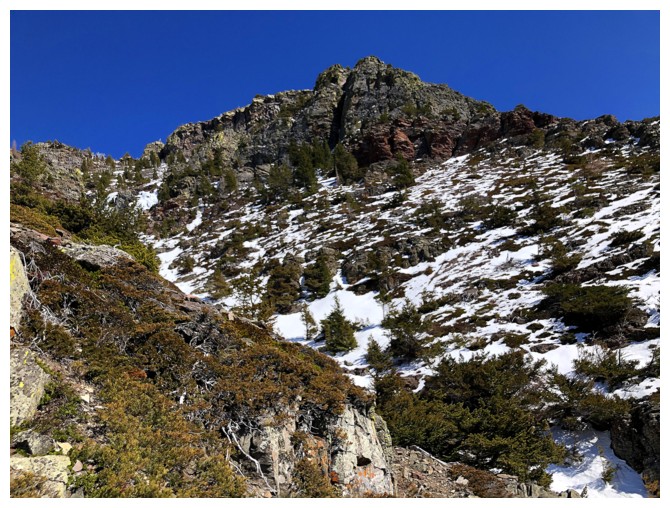
The snow provided an easy route up to the ridge
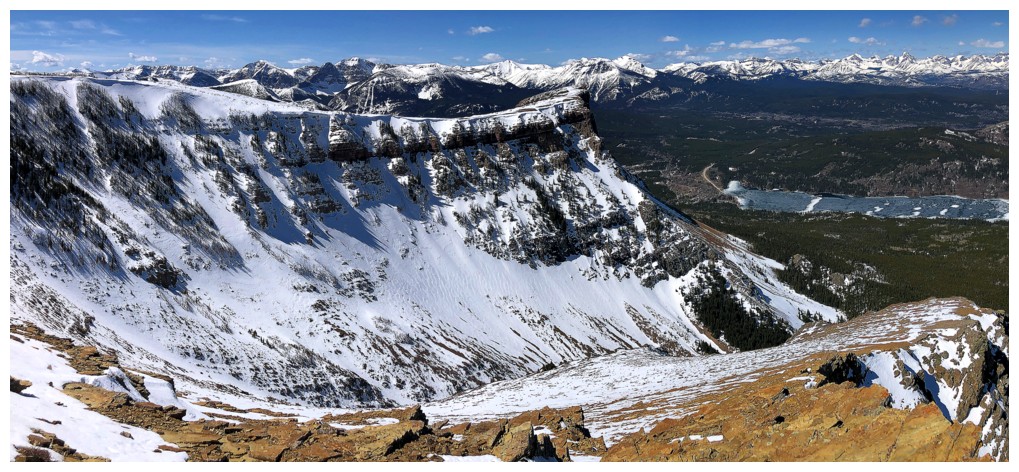
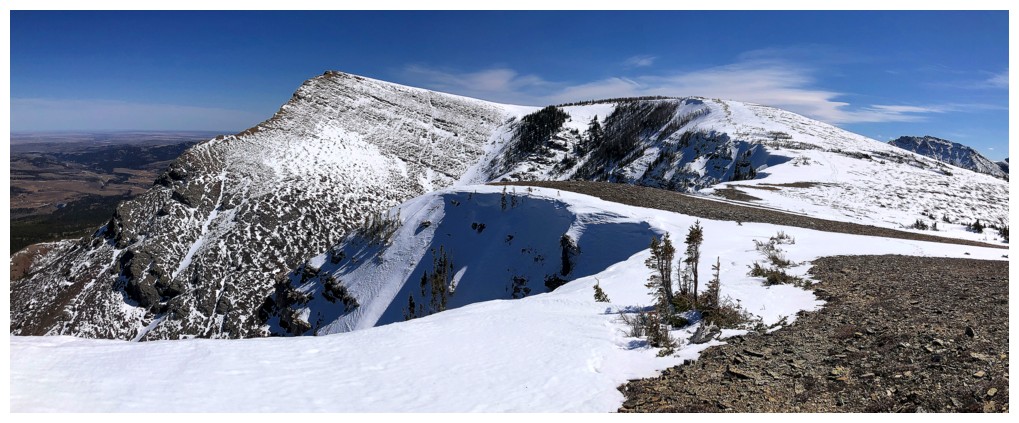
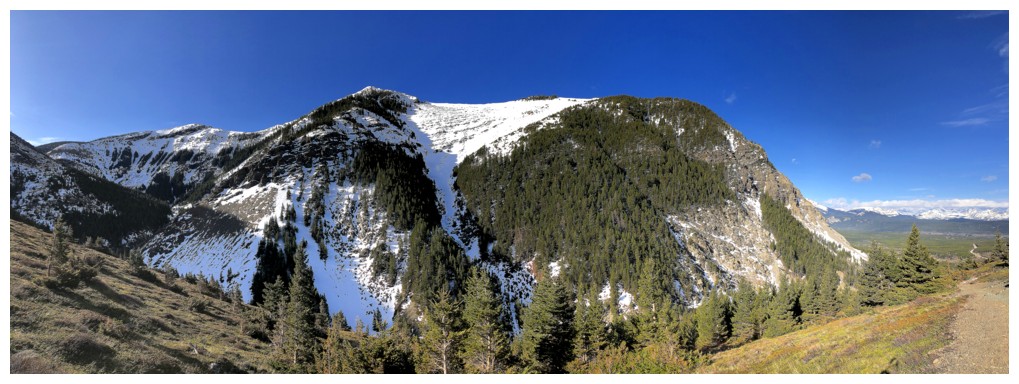
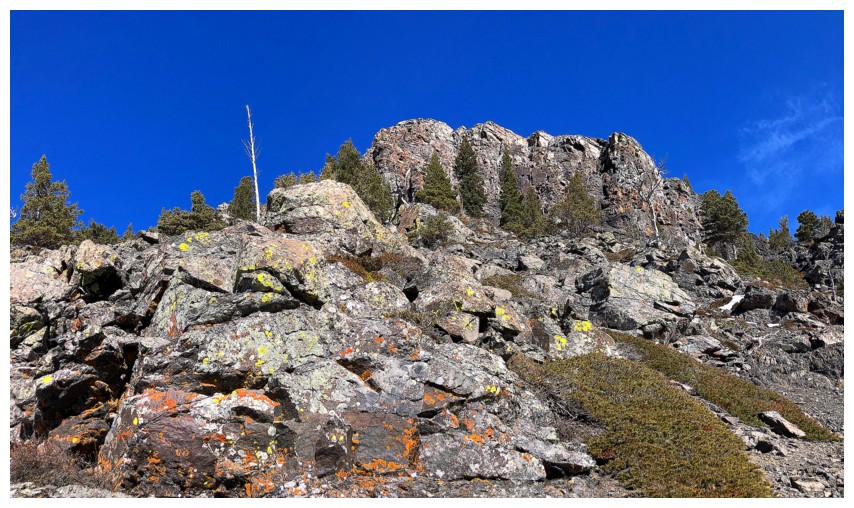
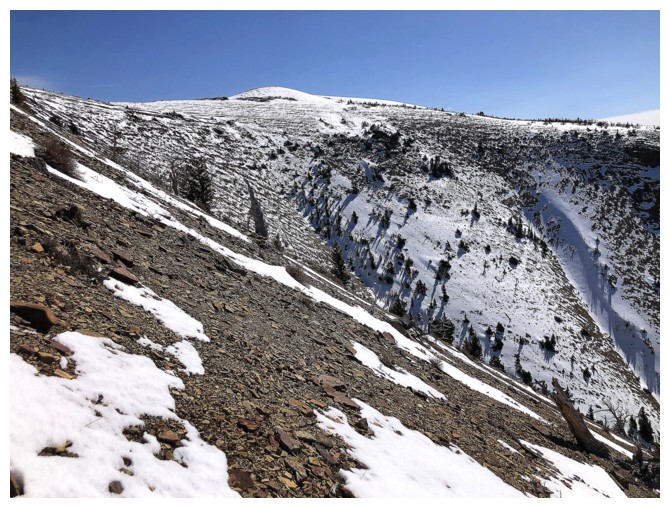
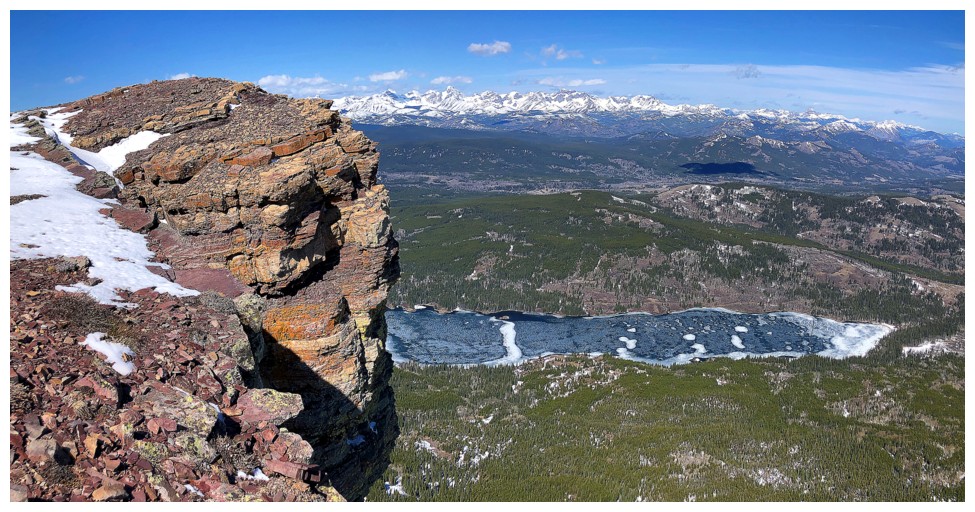
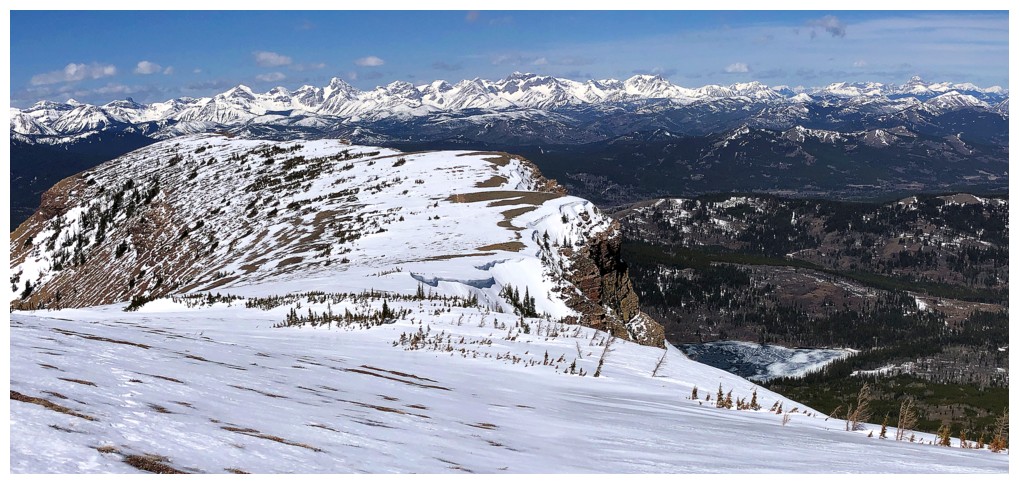
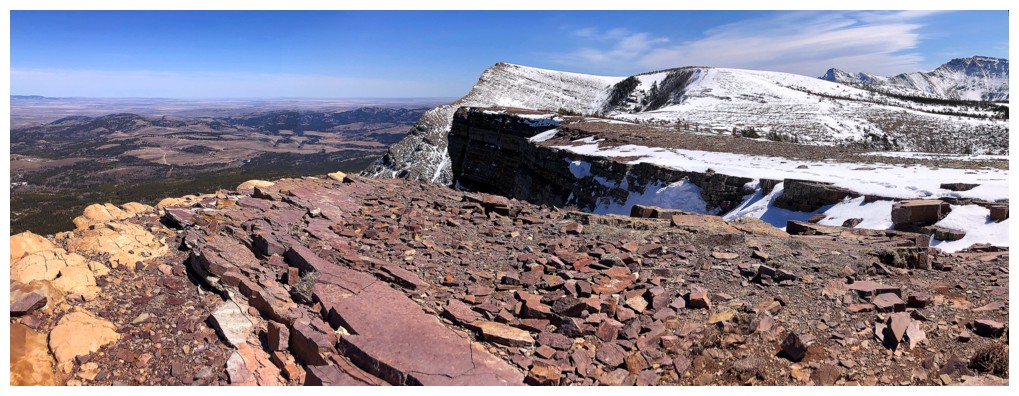
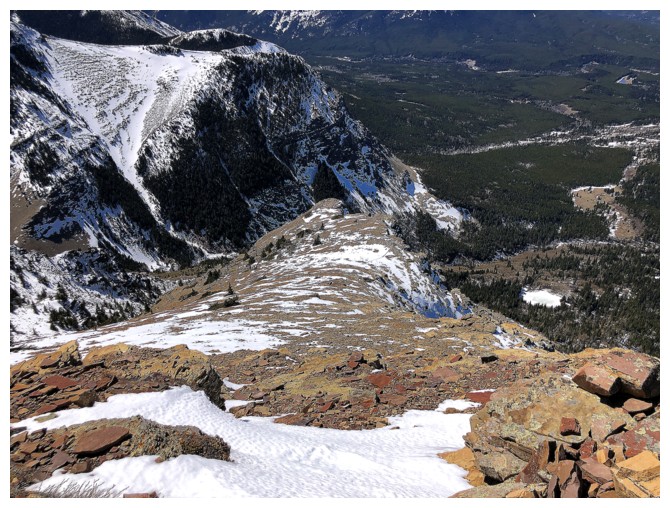
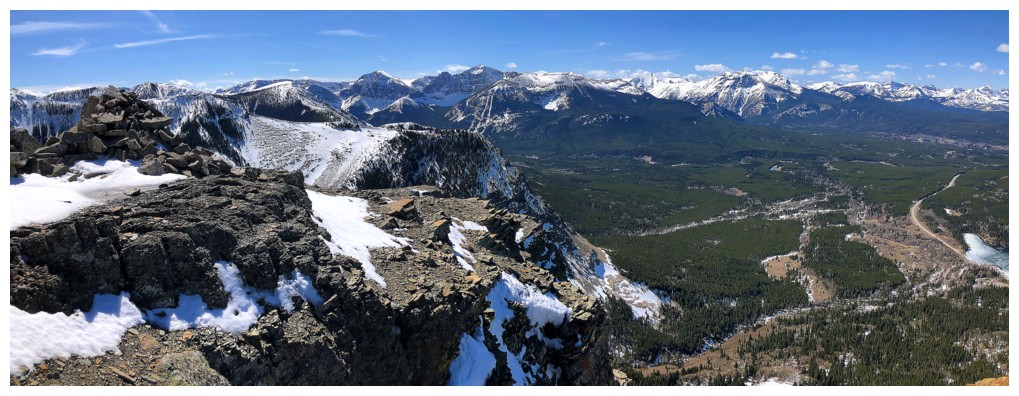
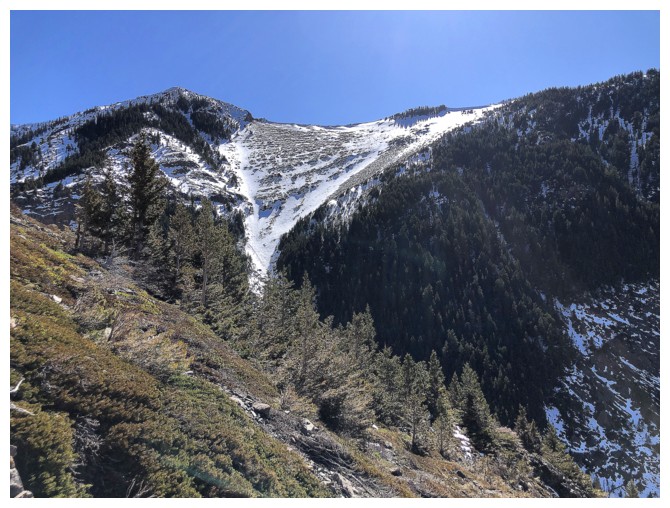
Finally above the lower rock bands and looking at what I call the Western Plateau of Table at the right
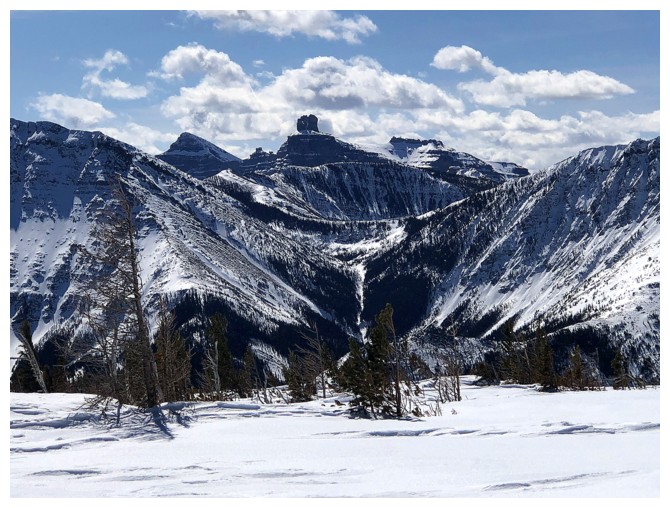
The three summits of Syncline Mountain
Barnaby Ridge

Mount Darrah (right) and some of its outliers
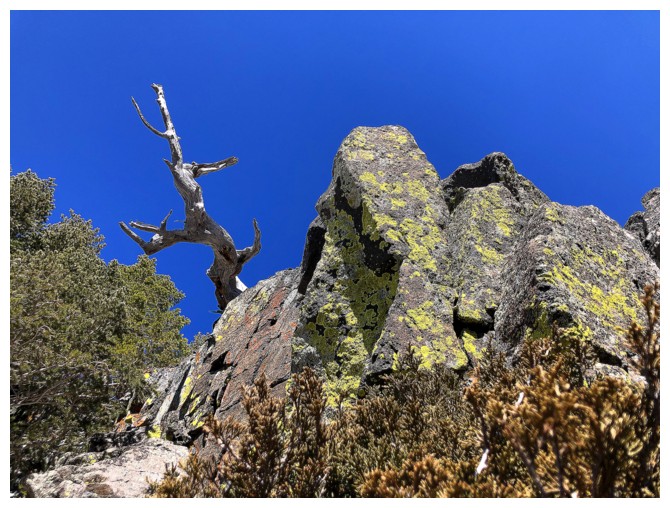
Not a lone tree, but certainly a distinctive one
Same as above

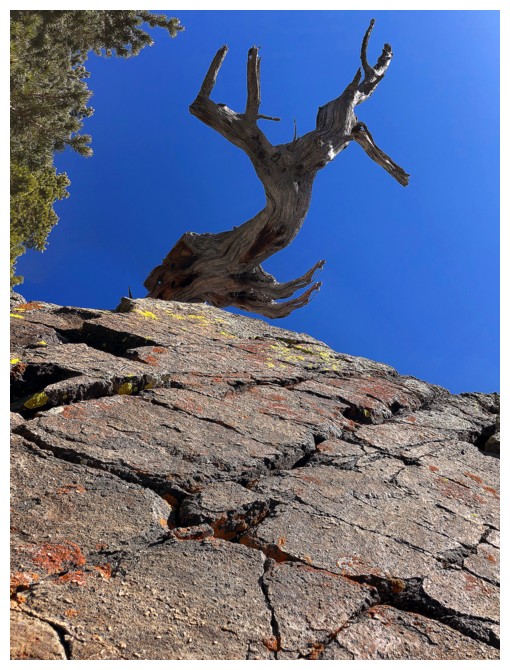
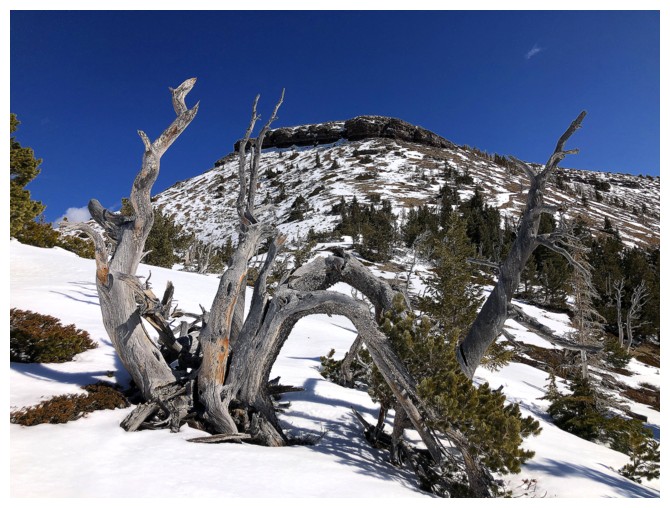
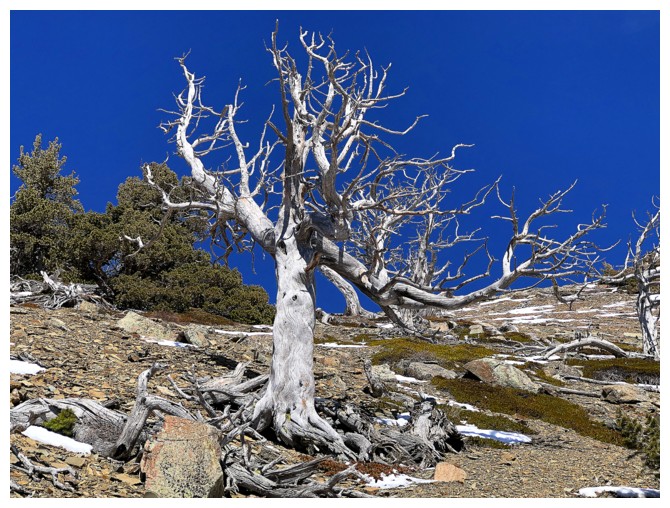
"THE TREE"! This beaut is the feature tree on the mountain and is always a treat to see.

Not the feature tree and the Western Plateau
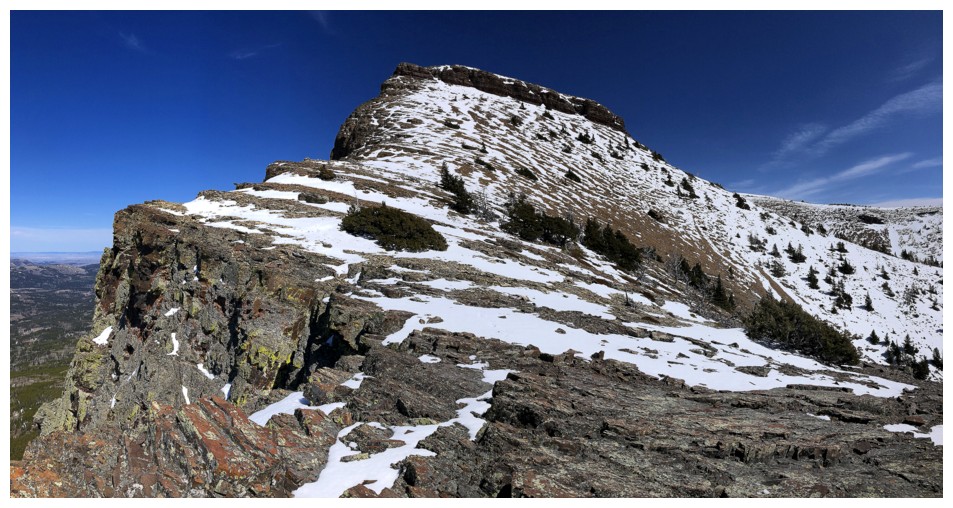
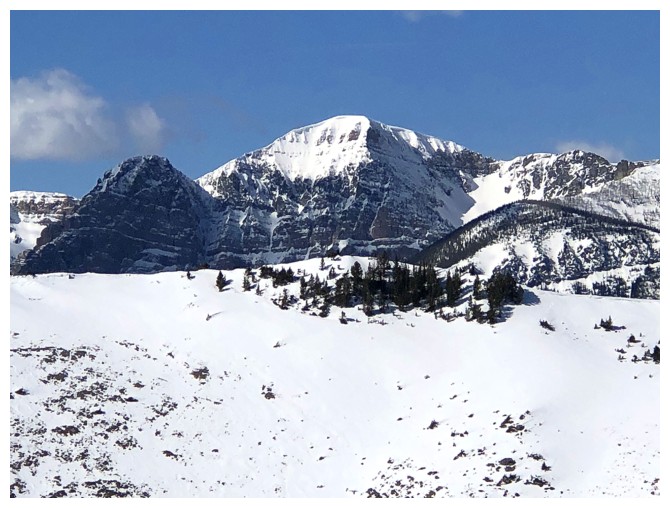
Looking over to Table's false summit
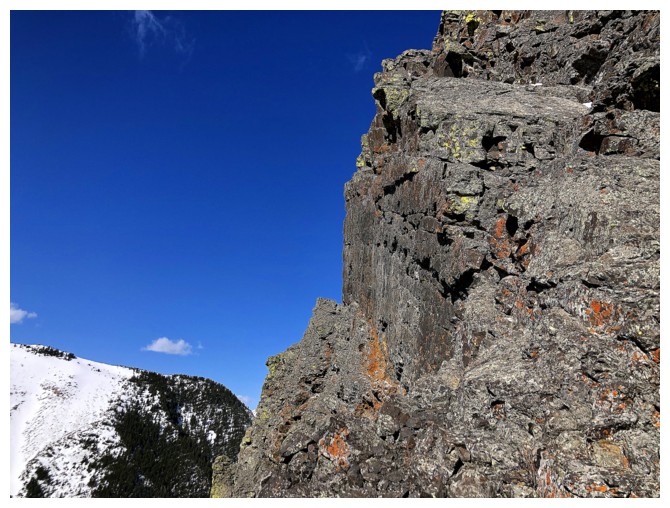
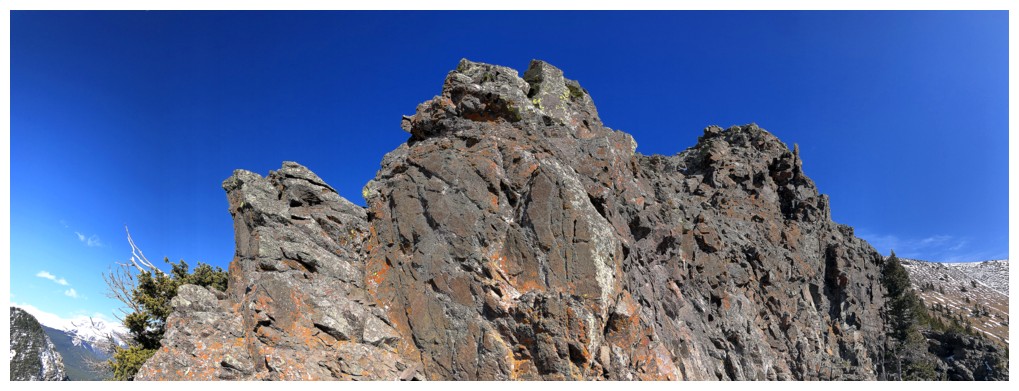
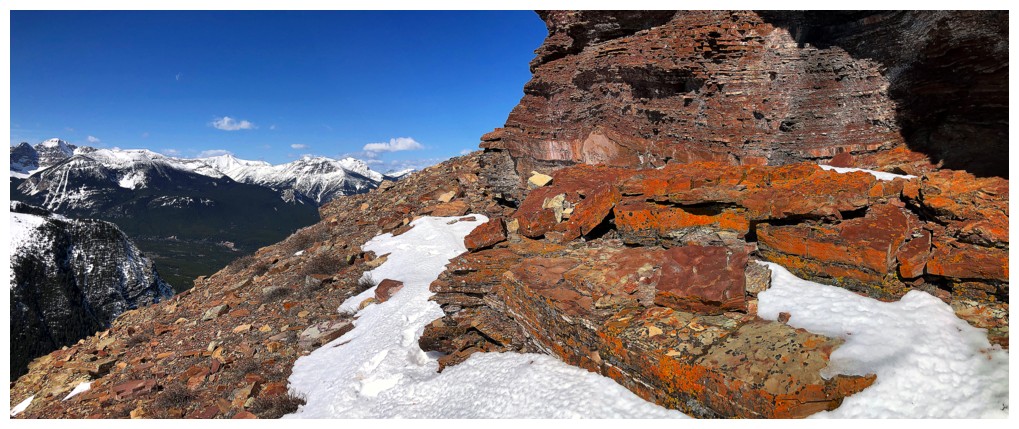
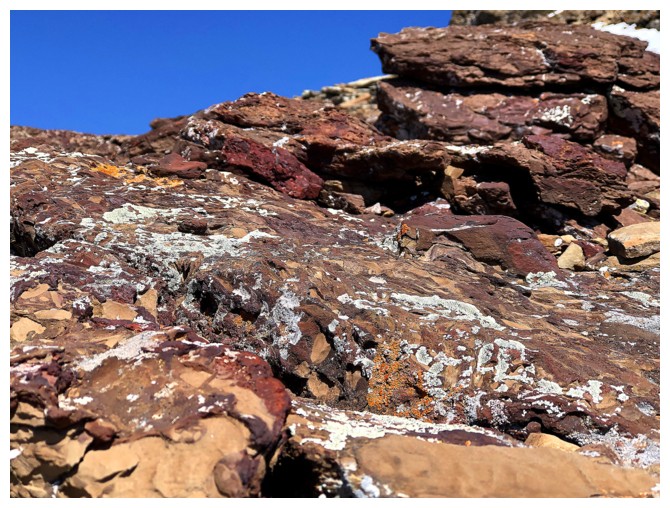
The shades of orange, yellow, and red are a highlight of the upper section of the mountain
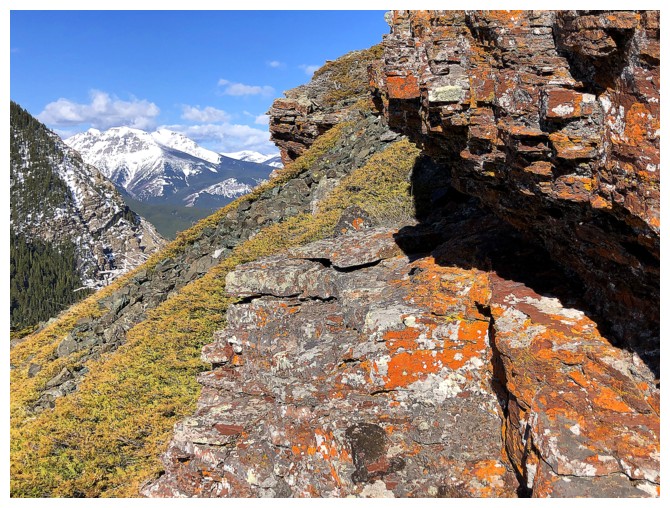
But the rock band that lines the Western Plateau reigns supreme
Checking out the right side of the band and saving the left for descent

Time to gain the ridge
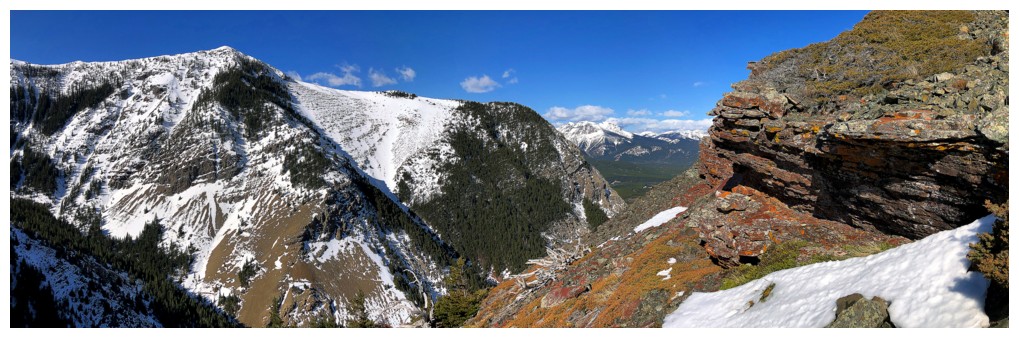
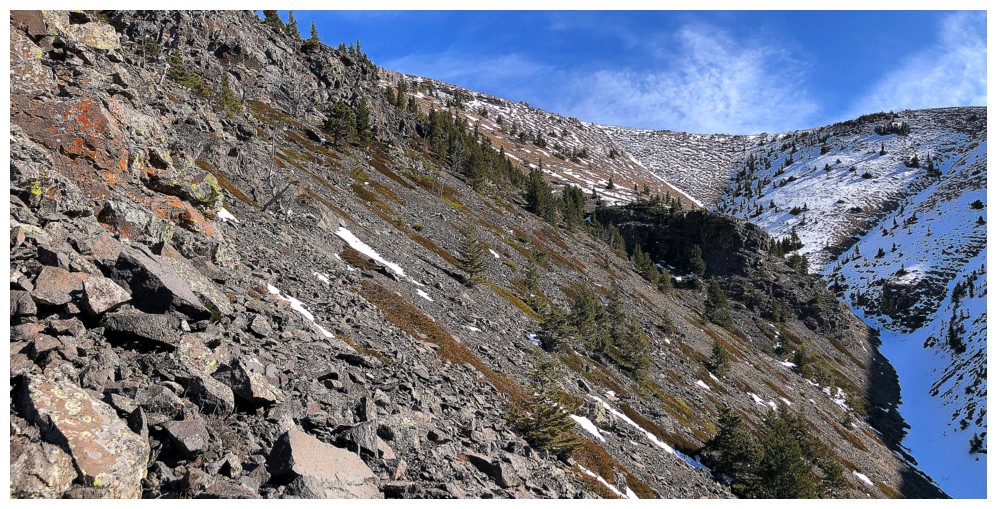
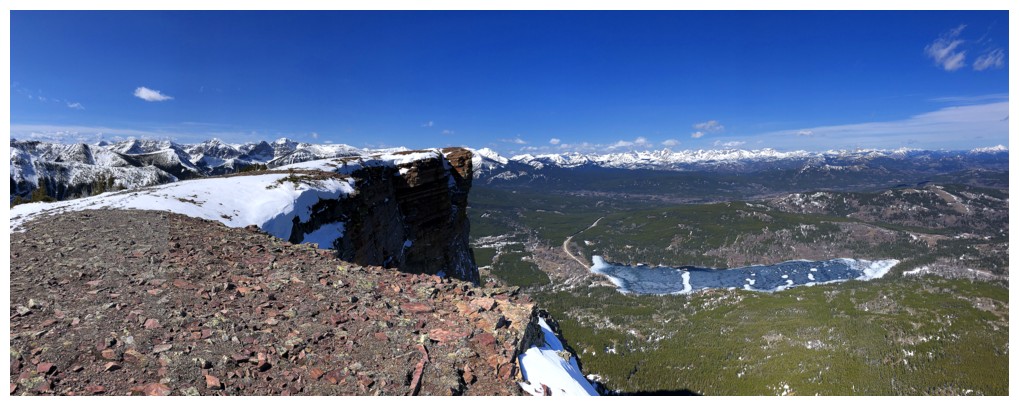
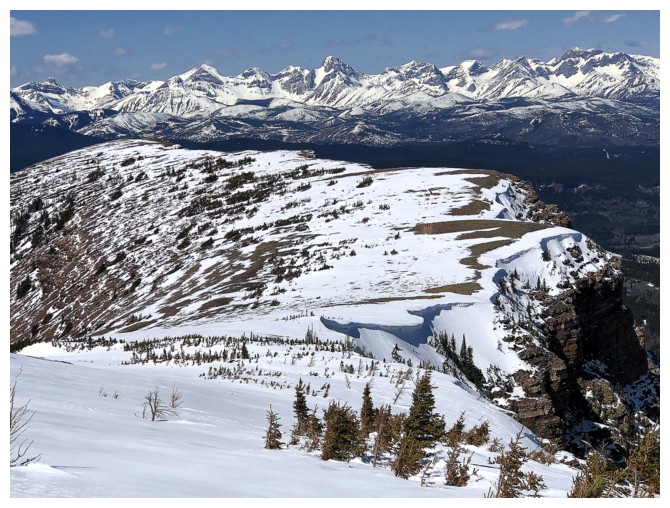
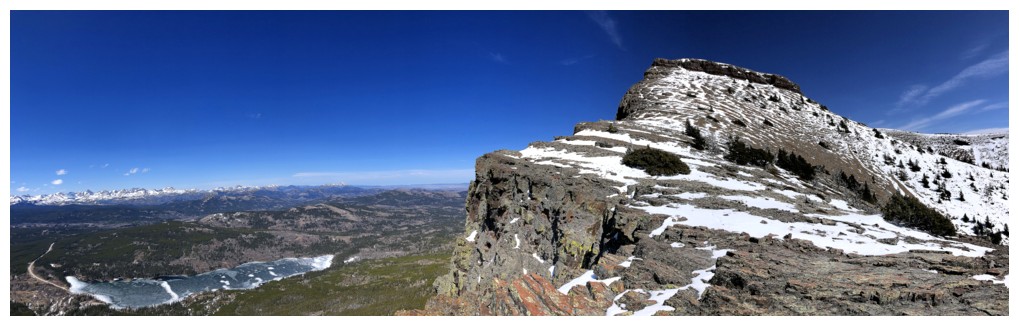
The start of the magnificent hike along the edge of Table's north side

The route ahead. Summit at the left.
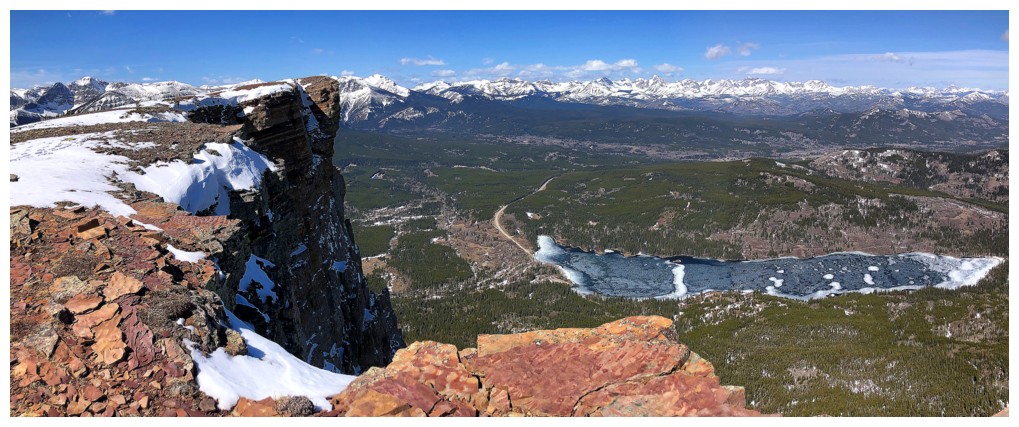
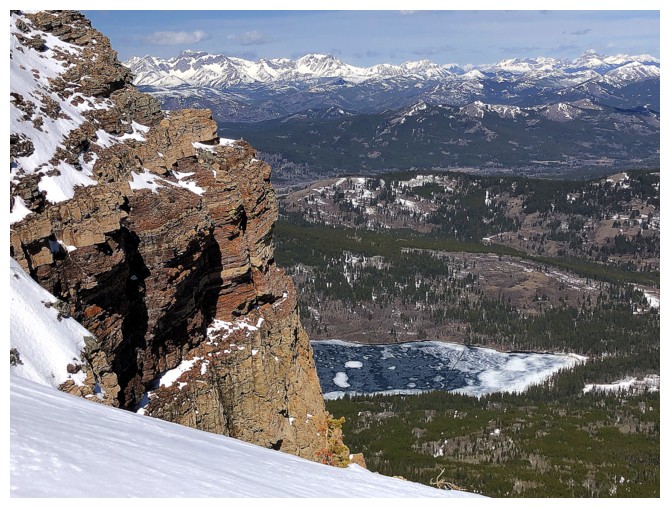
Beaver Mines Lake in its entirety makes a grand appearance

A few minor ups and downs along the way only provide more cool views
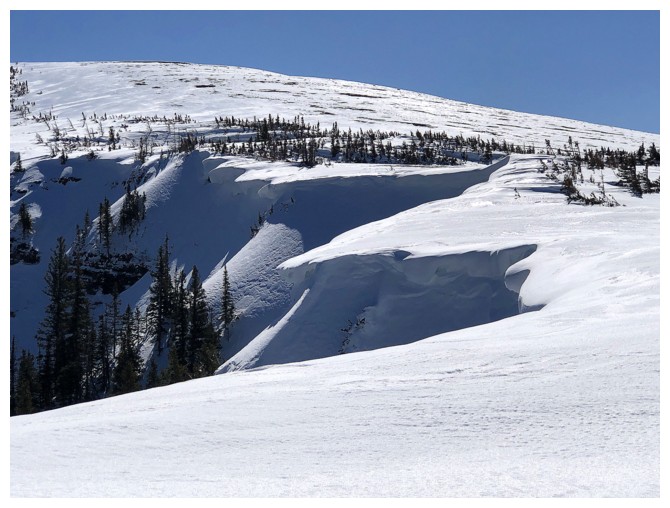
Definitely steering clear of that
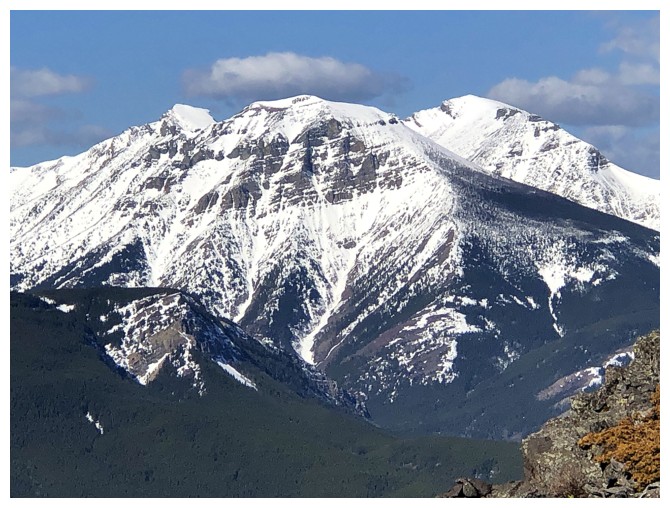
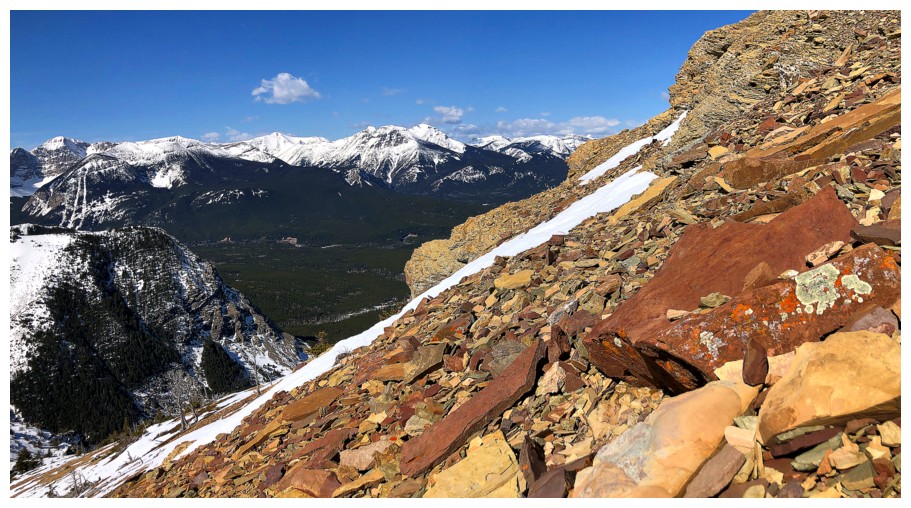
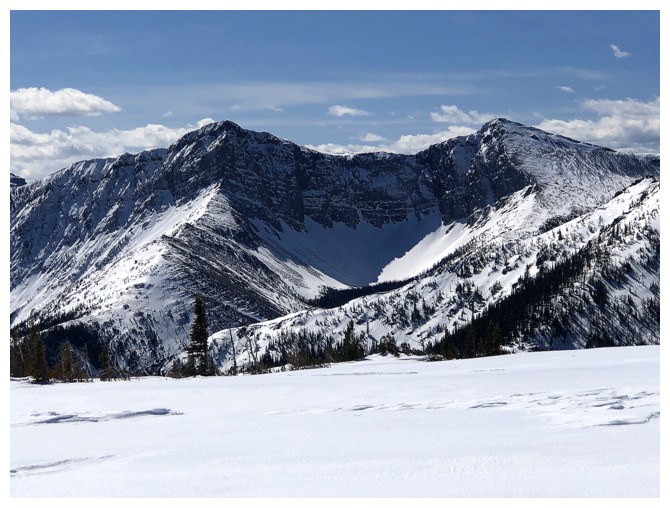
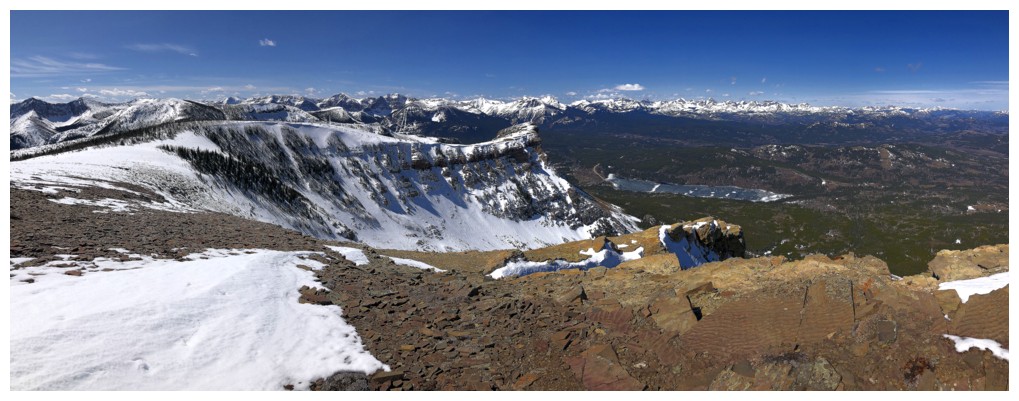
The entire Flathead Range is on full display
The snow at the false summit is deep but still supportive
Windsor Mountain and Castle Peak
Larry Mountain and Frankie Peak
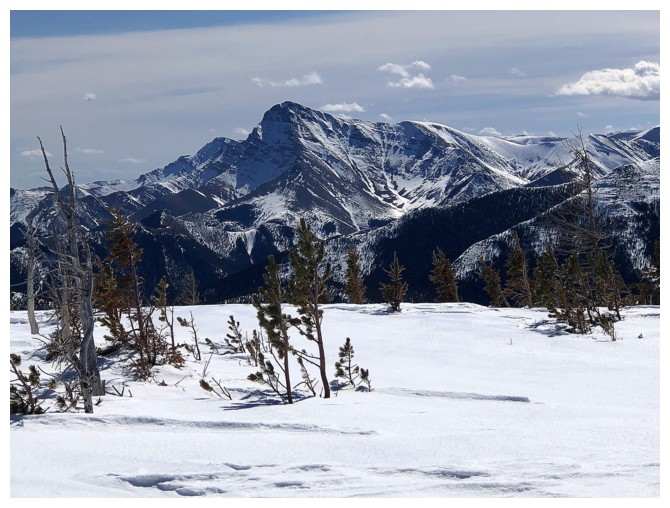
Victoria Peak
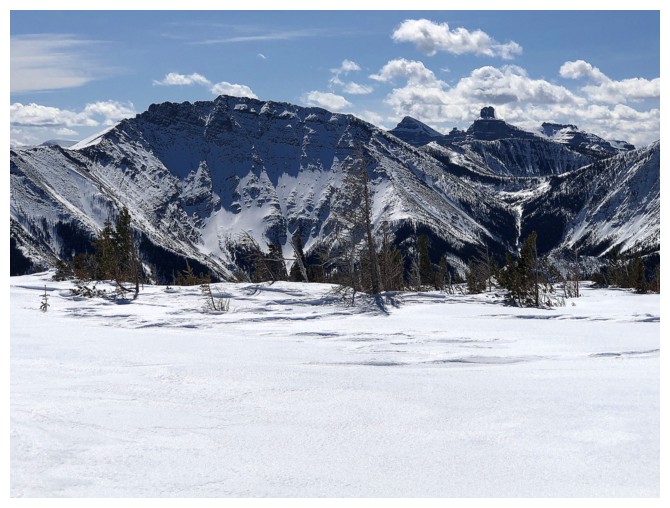
Mount Gladstone
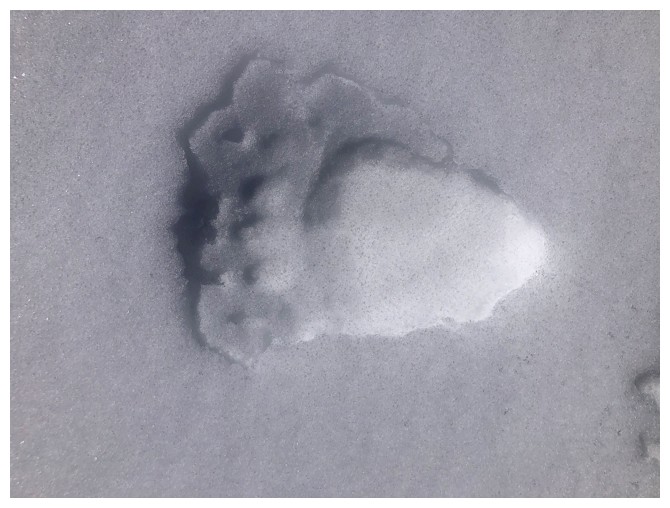
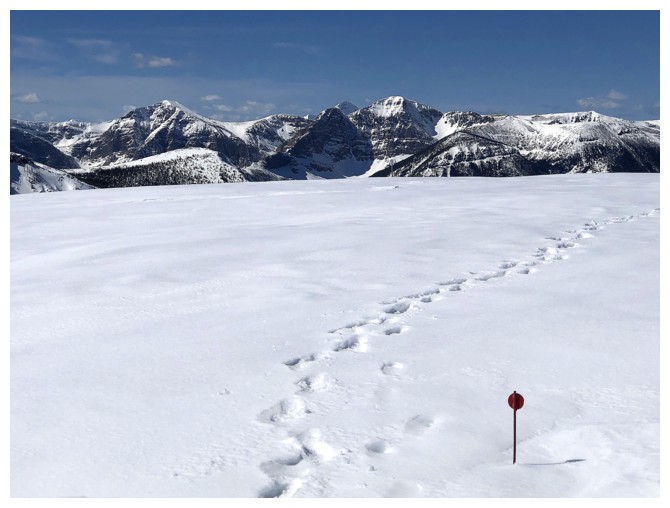
Bear paw print
The easy trek to the summit

Decided to check out a potential ascent route up the west ridge before going to the summit

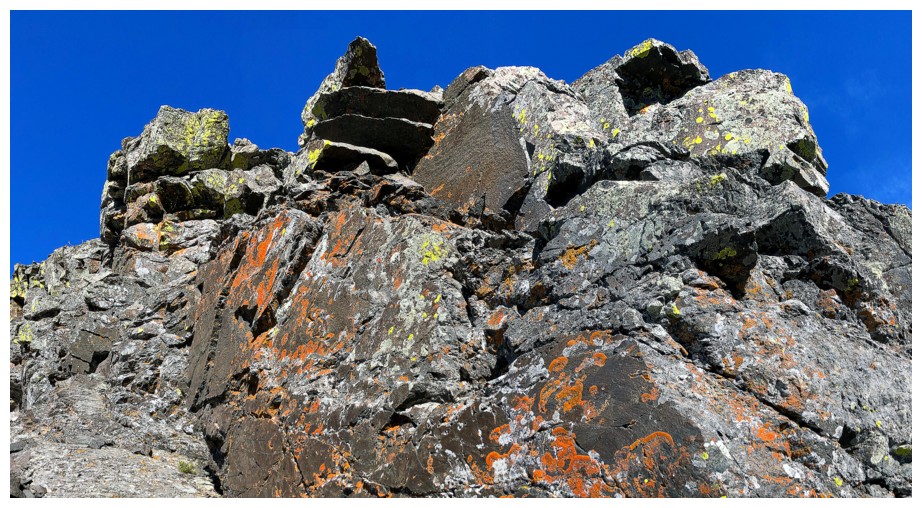
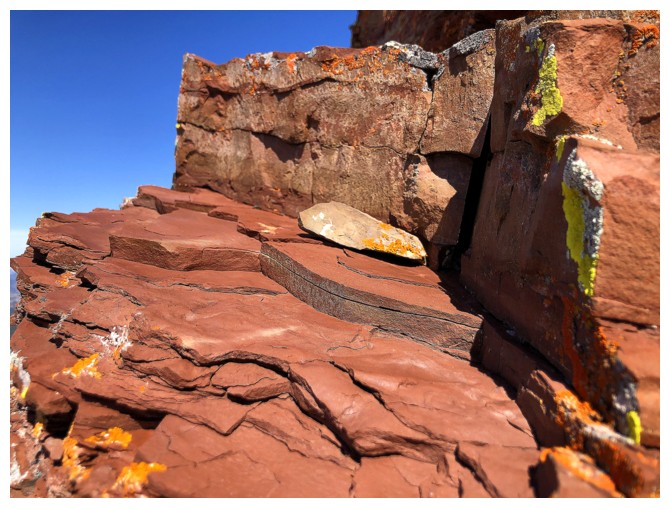
Lots of colourful rock down this way

At the summit looking south
The terrain to the north, directly below the summit - an area I'd like to explore one day
View to the north
Back to the Western Plateau
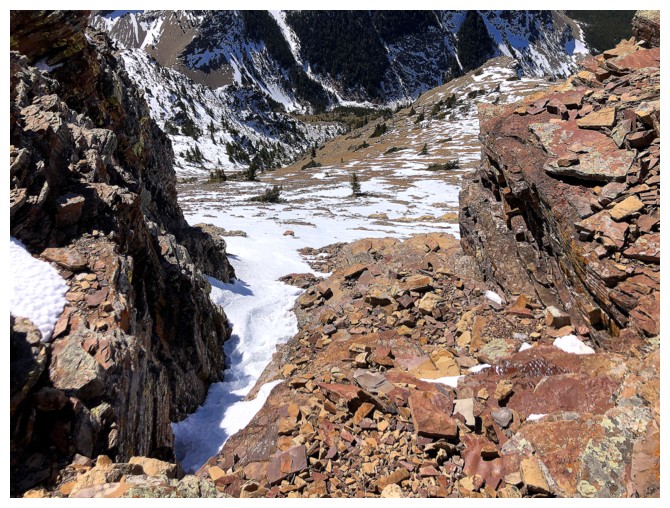
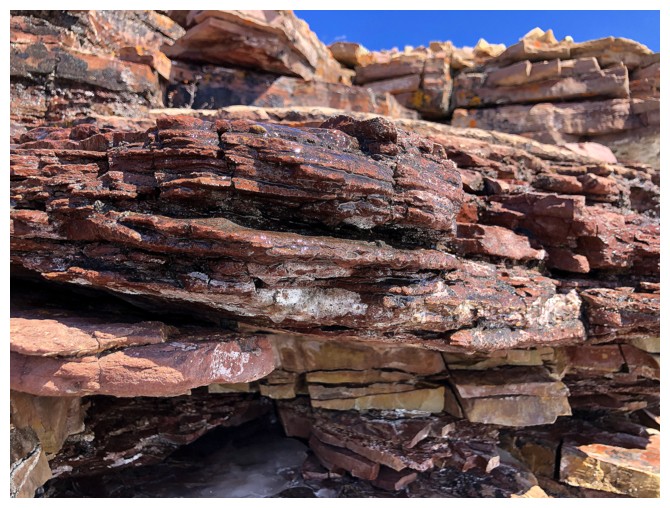
Looking down the weakness in the rock band that lines the plateau
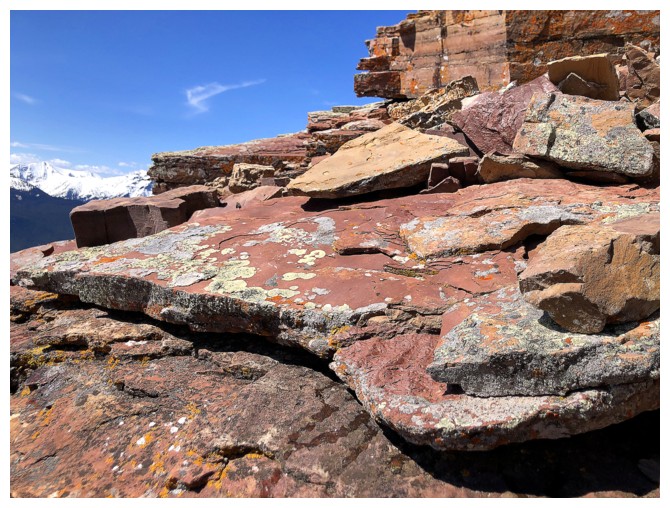
Some of the most beautiful rock on the mountain resides here
Looking back up the weakness
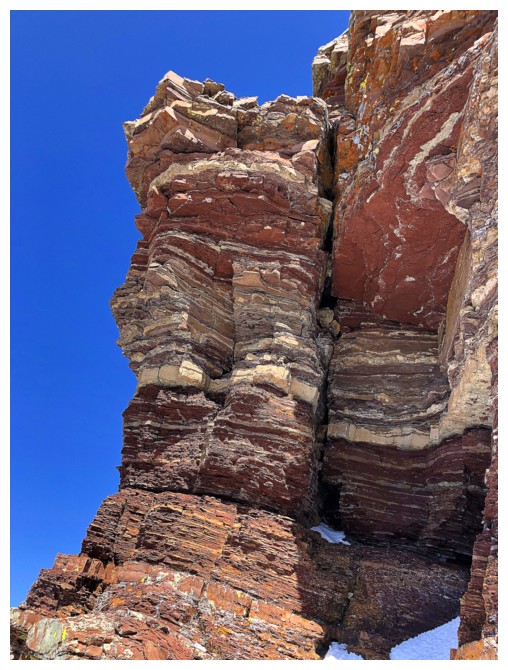
Distinctive layers
Following the northern edge down

The view to the west continues to impress
More fascinating rock
Continued travel in this direction would lead to a freefall!
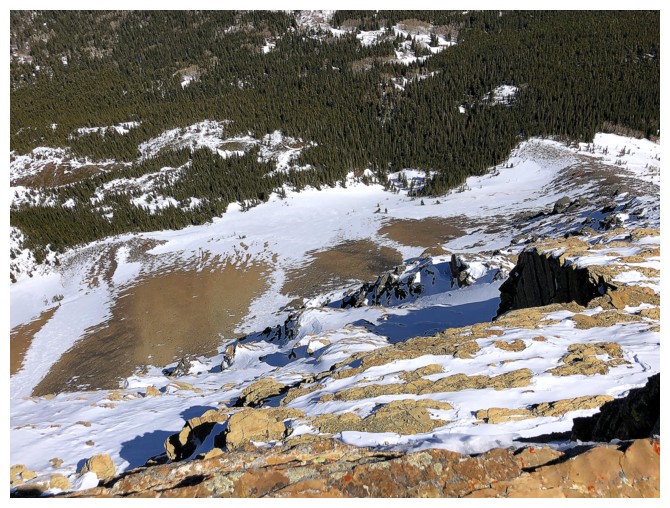
The spectacular Western Plateau
Same as above with Beaver Mines Lake
Can't look away from that rock band!
A few more tree encounters

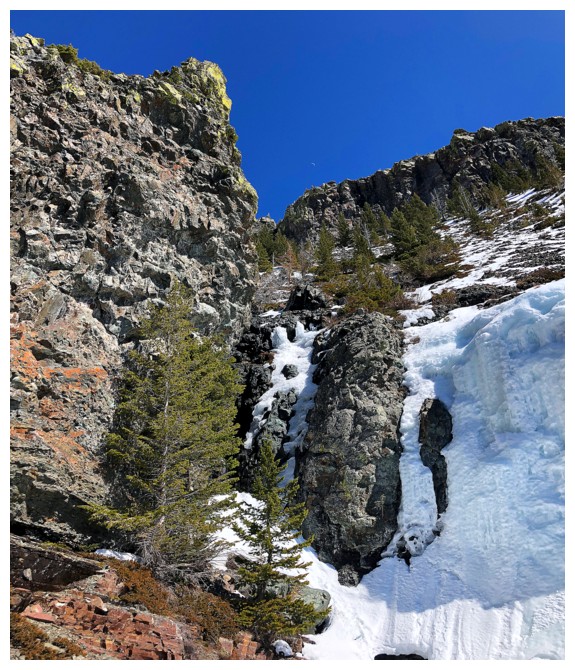
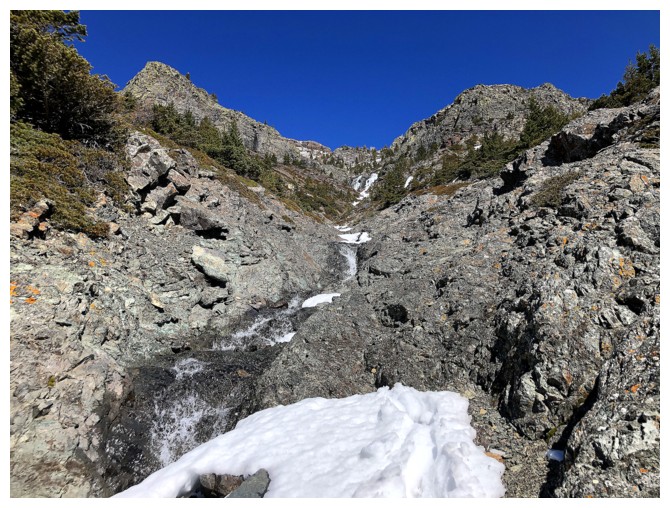
In the descent drainage, looking up at the rock on the other side

The rock on my side
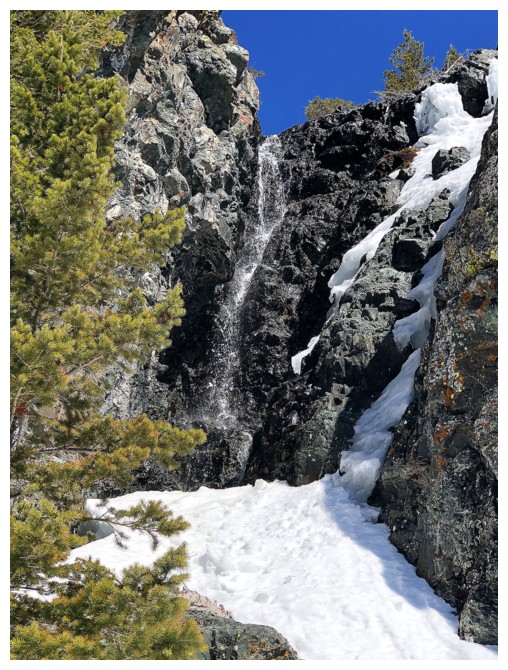
Didn't expect to see this and that's only half of it

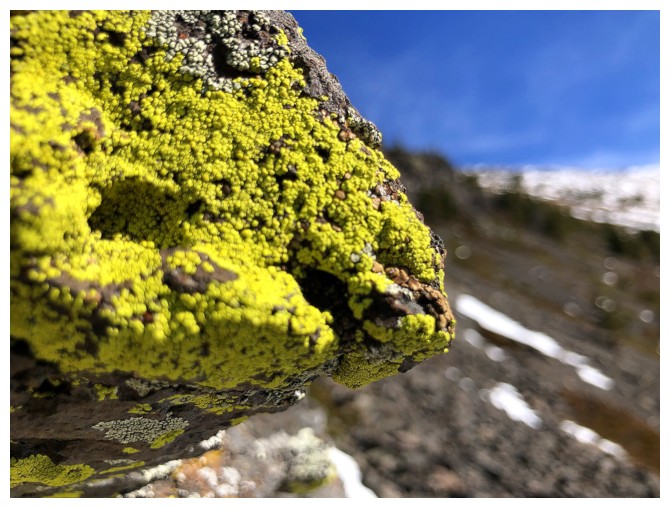
Momentarily distracted by yellow lichen
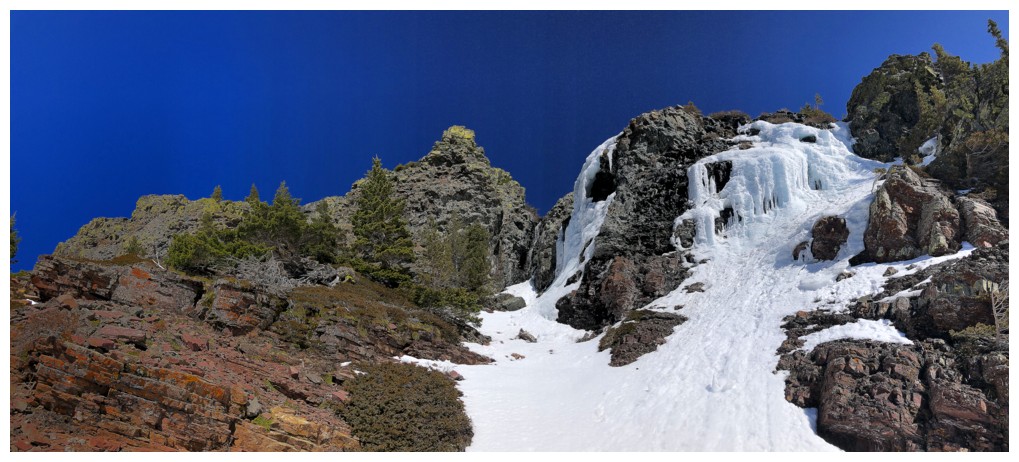
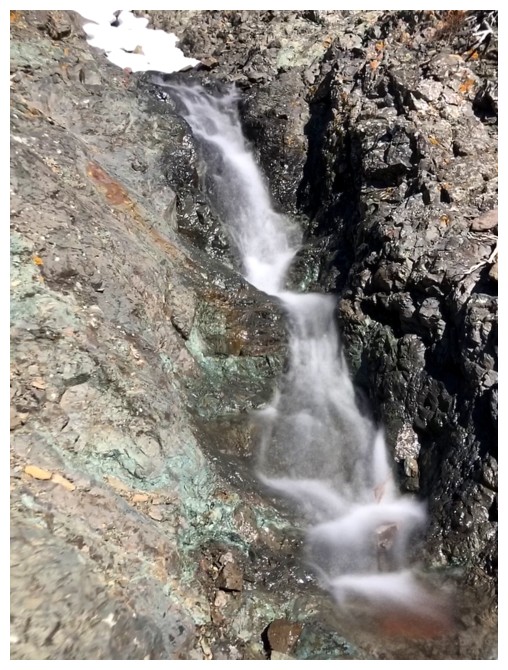
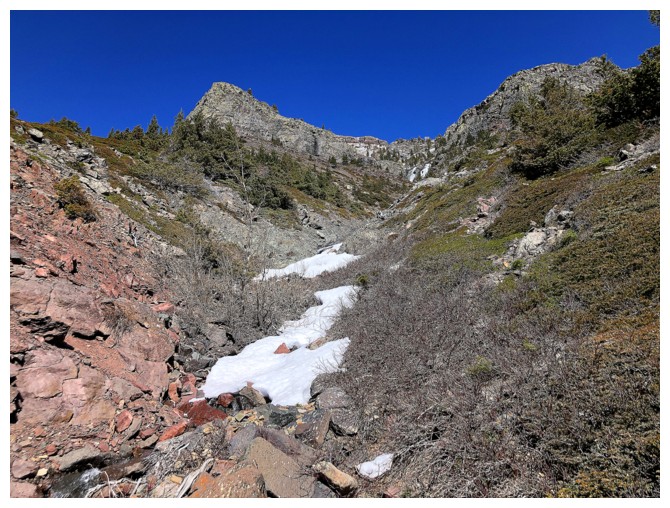
Back to the frozen waterfall
More of it
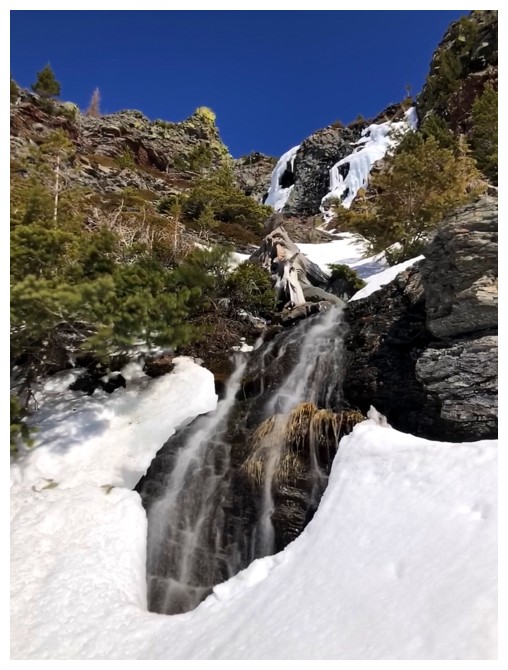
It's melting fast
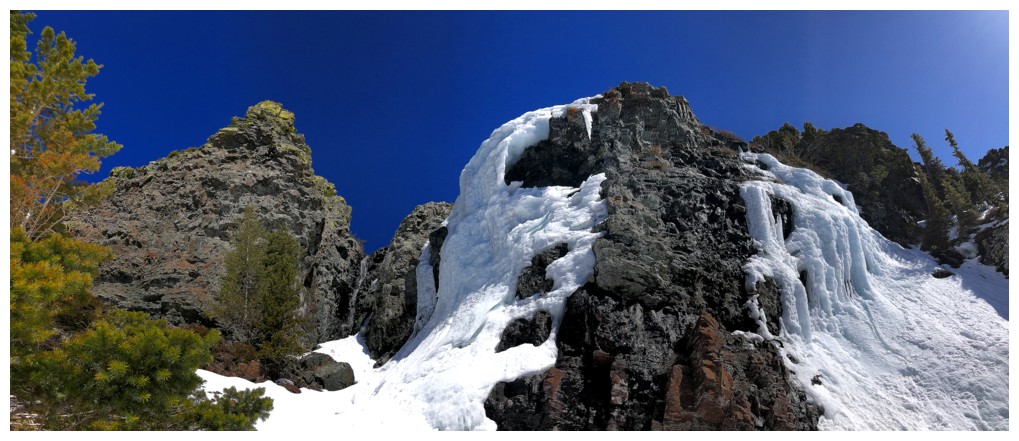
Definitely the highlight of the day
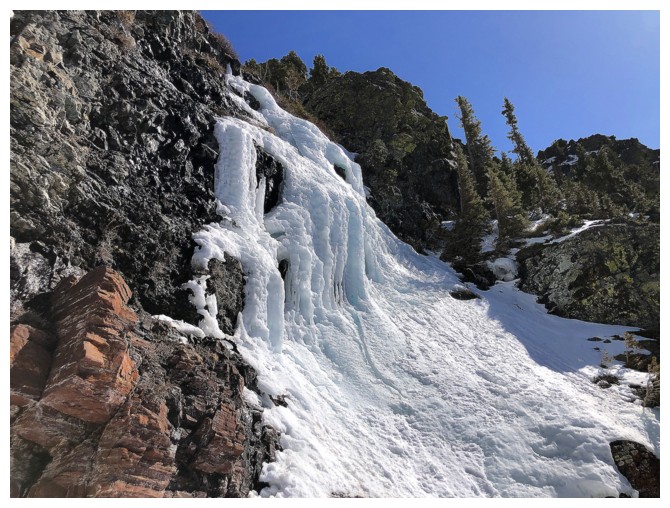
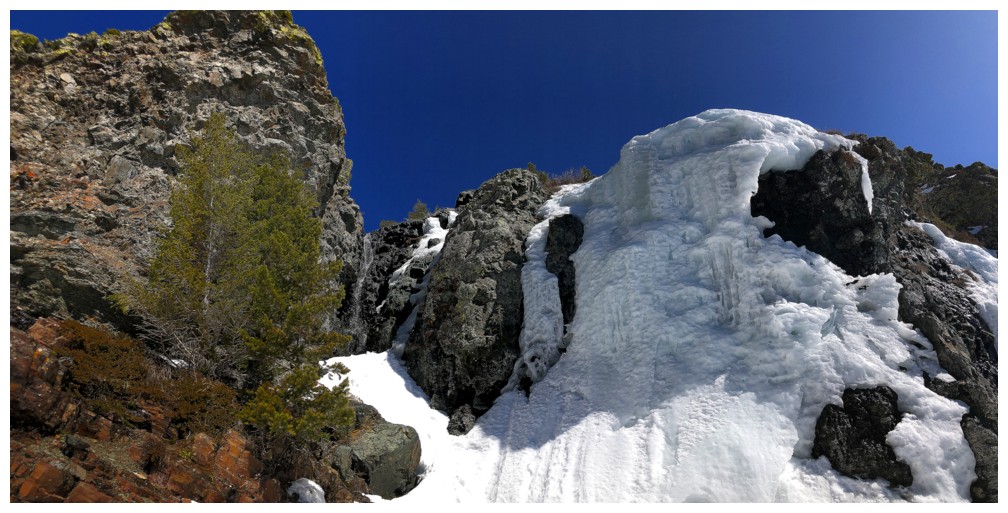
The right side
The whole thing
Regrettable leaving and walking backwards!

The frozen waterfalls disappear but there's still lots to enjoy
The other side again
Both sides
Wasn't expecting any long exposure photos on this trip either
The route I took down the outlier in 2018
Return of the Red Argillite


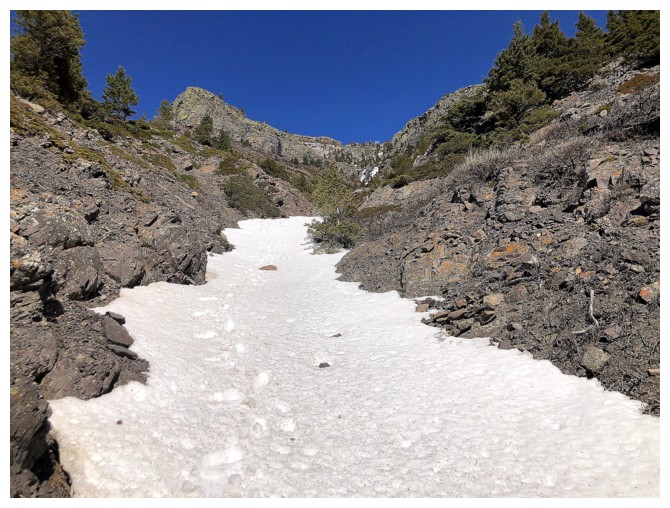
Plodding down the snow made for a fun and easy descent once the grade eased up
Parting look at Table and its outlier
The End
LOG