Pincher Ridge
West Outlier III
(The Horn)
January 2, 2024
Mountain height: 2180 m
Elevation gain: 675 m
Ascent time: 4:45
Descent time: 2:30
Scrambling with
Dave, Doug, and Scott.
Excited to
introduce Dave to Doug and Scott, the four of us agreed to meet in the East
Castle to tackle something. 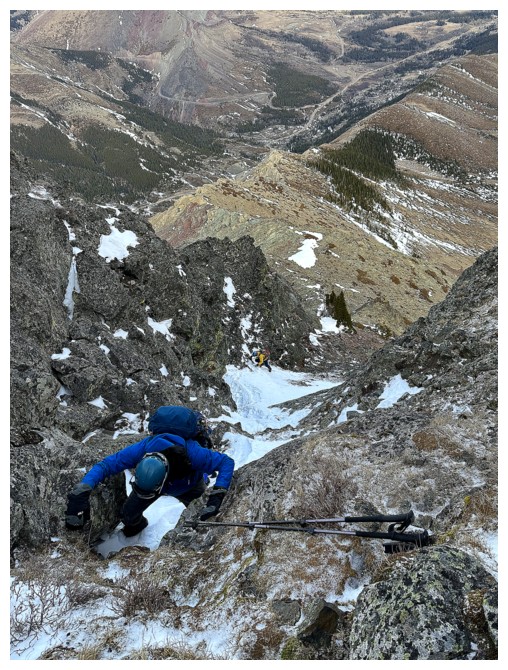 The potentially volatile weather was going to be
the deciding factor in picking an objective. Eventually we settled on an
attempt of the west outlier of Pincher Ridge, aka The Horn, hoping for shelter
from the wind for most of the ascent.
The potentially volatile weather was going to be
the deciding factor in picking an objective. Eventually we settled on an
attempt of the west outlier of Pincher Ridge, aka The Horn, hoping for shelter
from the wind for most of the ascent.
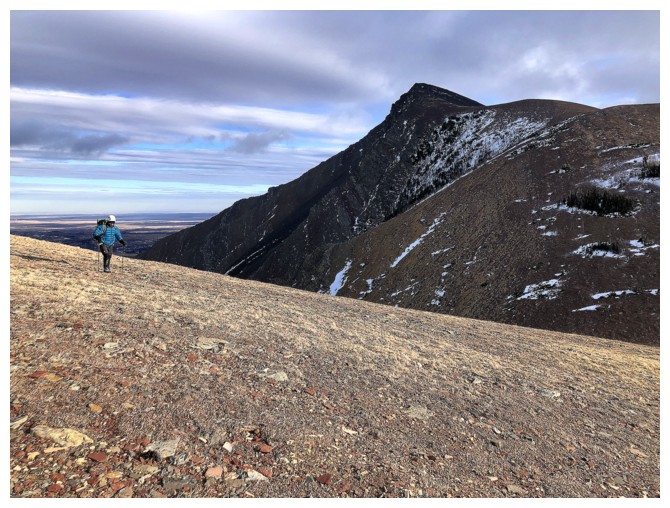
From the
trailhead, it was evident this would be a mostly snow-free affair, and our
snowshoes would get to stay in the vehicles. Travel was generally very easy,
especially when we stumbled upon a pronounced trail heading up the valley. And
the wind, for now, was not factor.
Eventually we
had to decide on a route to reach the summit.  Gaining the ridge above would
likely expose us to that vicious predicted wind and so we stayed low on the
slopes until it became necessary to gain elevation. This worked very well. By
the time we were nearing the ridge, we were also beneath the key gully that
leads to the summit ridge, a spot that is completely wind-sheltered.
Gaining the ridge above would
likely expose us to that vicious predicted wind and so we stayed low on the
slopes until it became necessary to gain elevation. This worked very well. By
the time we were nearing the ridge, we were also beneath the key gully that
leads to the summit ridge, a spot that is completely wind-sheltered.
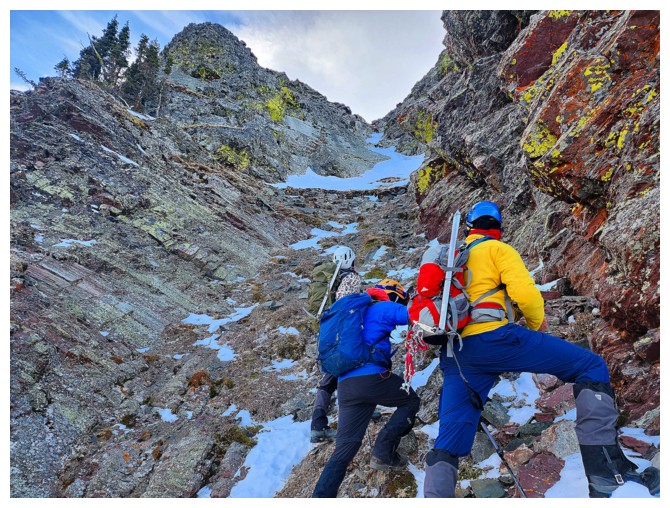
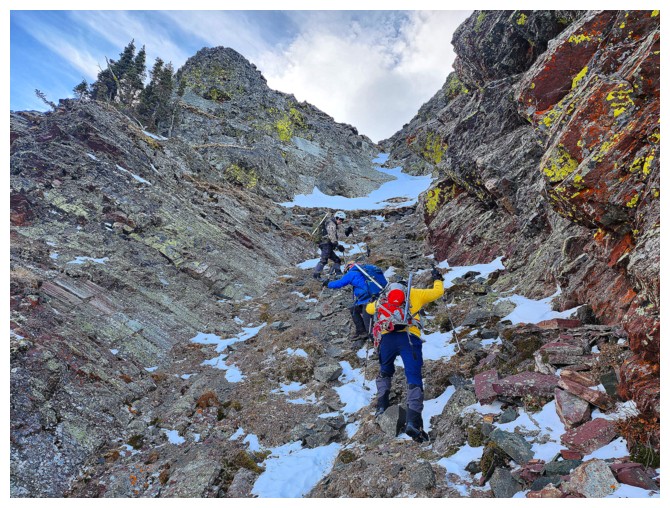
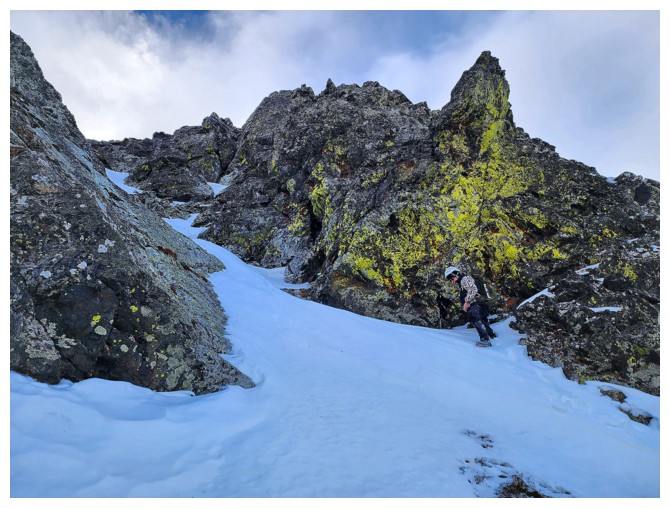
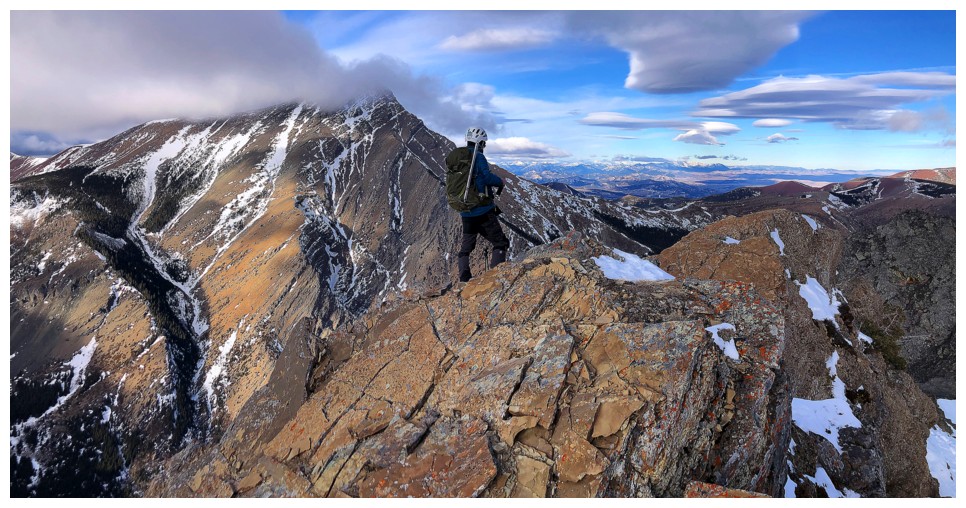
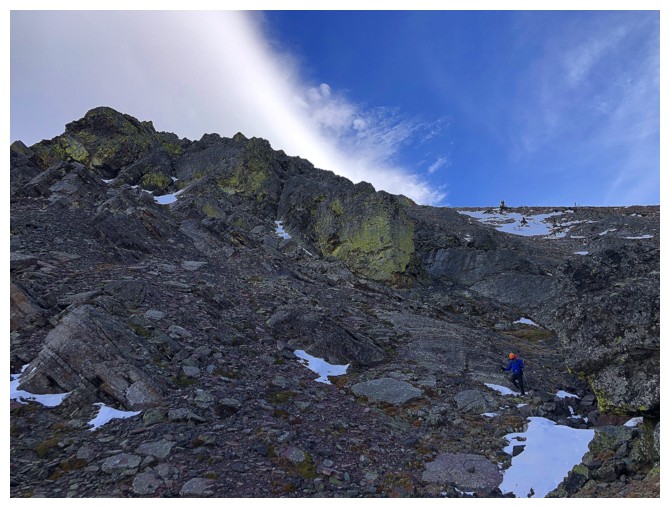
Ascending the snow-choked gully was definitely more challenging than my first ascent of The Horn in 2008. I went with crampons and ice axe while Doug,
Scott, and Dave managed to get up without. Above the gully a short
but entertaining scramble took us to the summit, where Armageddon awaited! It
was a short summit stay. The wind and accompanying chill were on the
conservative side of brutal. Thankfully, escaping down the other side of the
summit is generally an easy affair and before too long we found ourselves in a
more hospitable environment (marginally). Although we had toyed with the idea
of Pincher’s true summit or Pincher Centre, the decision to call it a day at
the col was decisive and unanimous. With the wind now at our backs and enjoying
mostly downhill travel, the descent was mercifully easy and scenic to boot.
An excellent day
out with excellent people. Hopefully the four of us will team up again for more
good (but less windy) times in the mountains.
Click HERE to see Dave's excellent report.
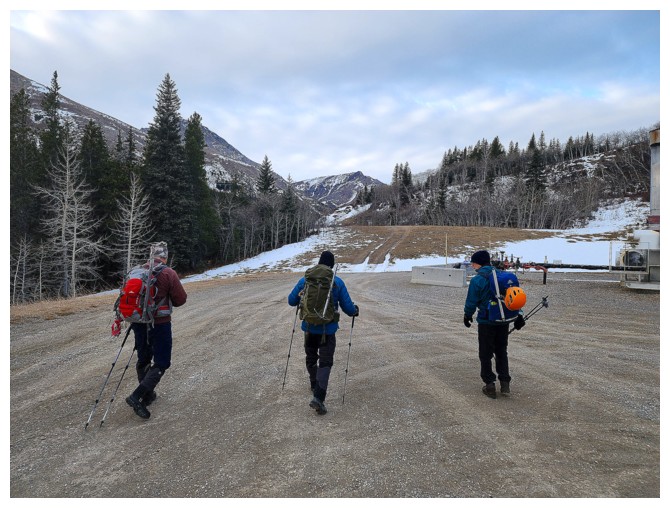
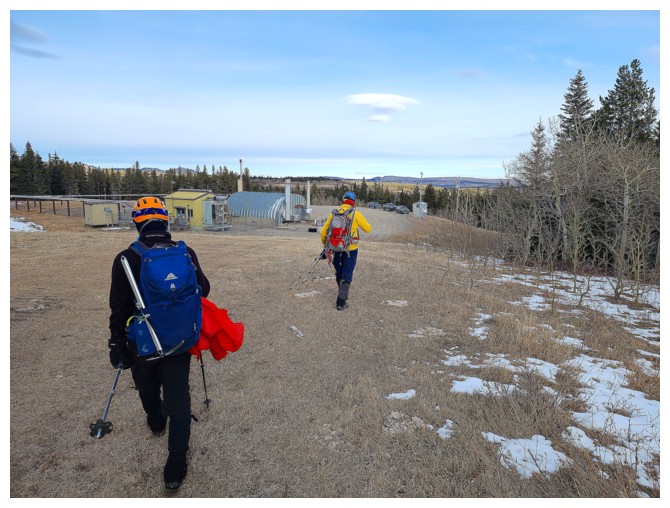
Off we go (photo by Dave)
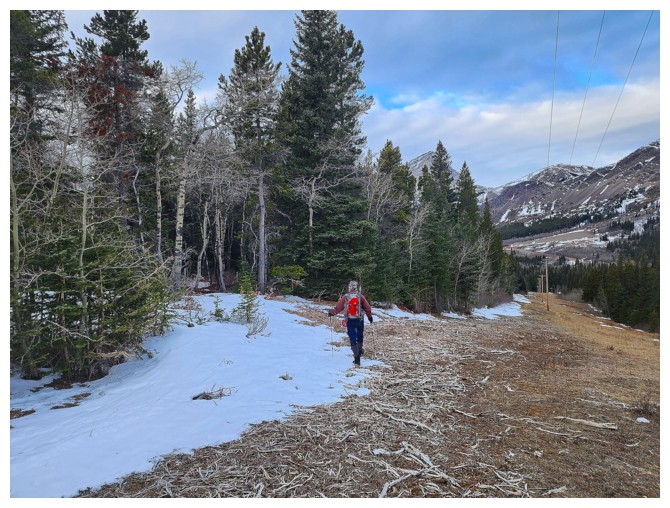
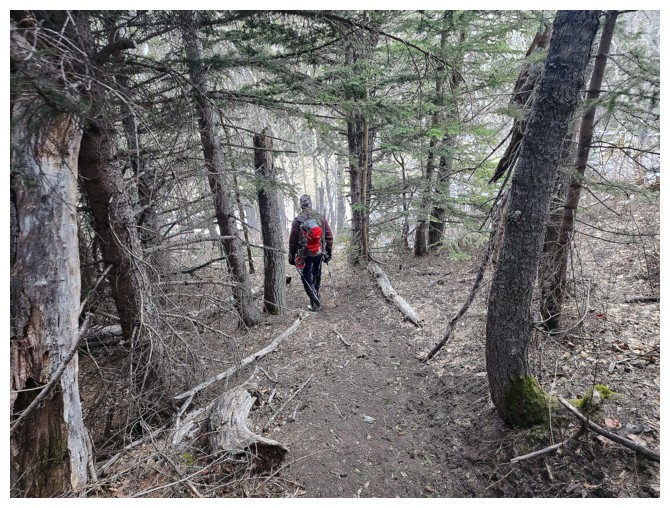
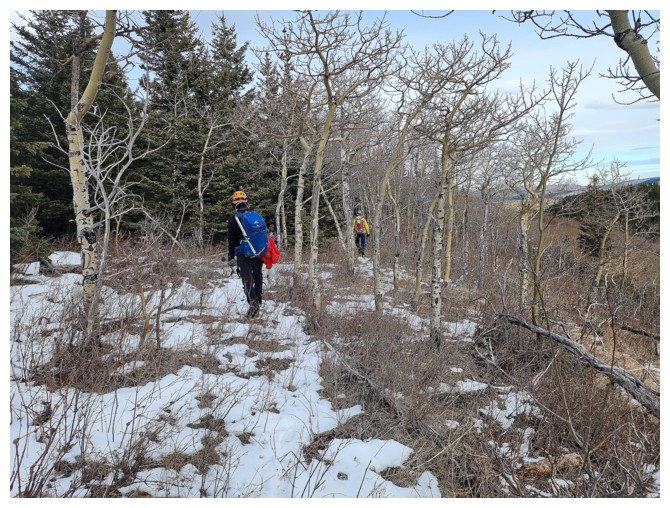
Into the forest (photo by Dave)
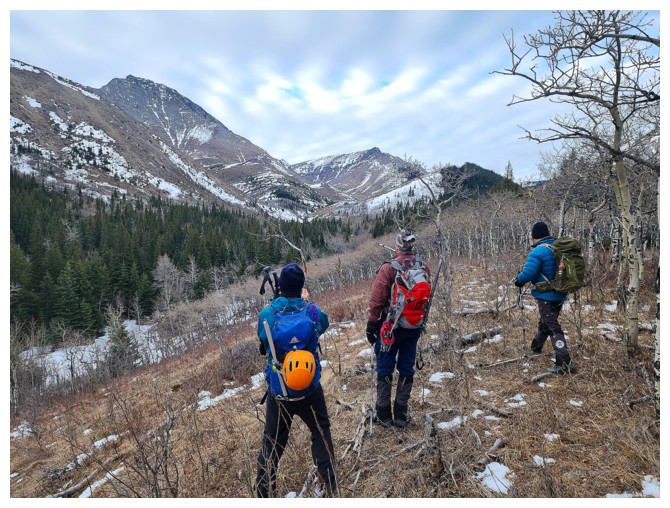
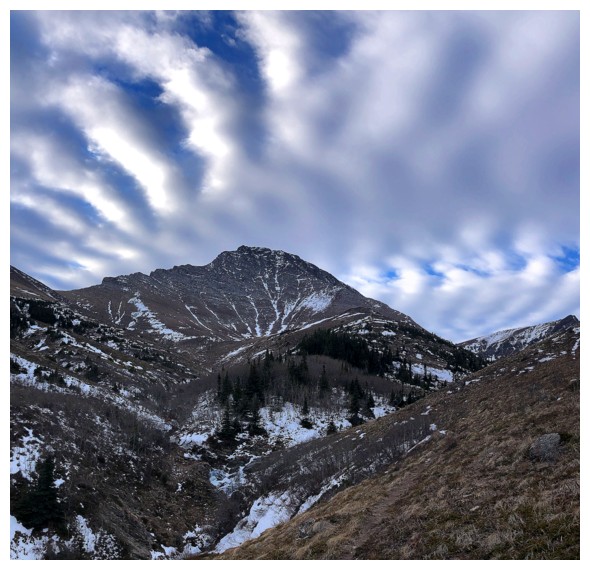
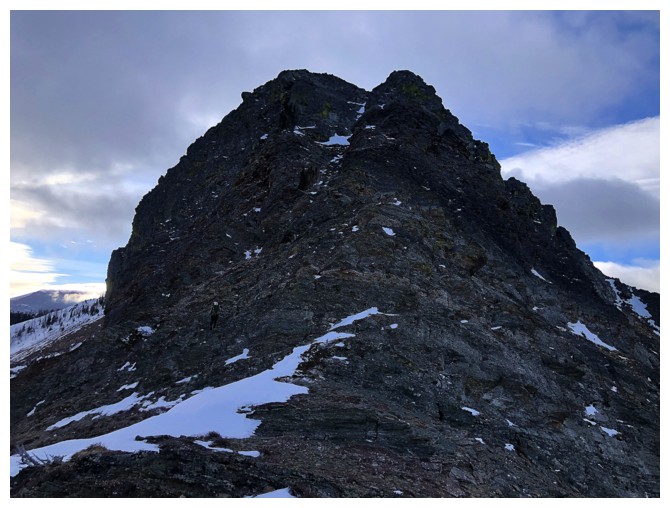
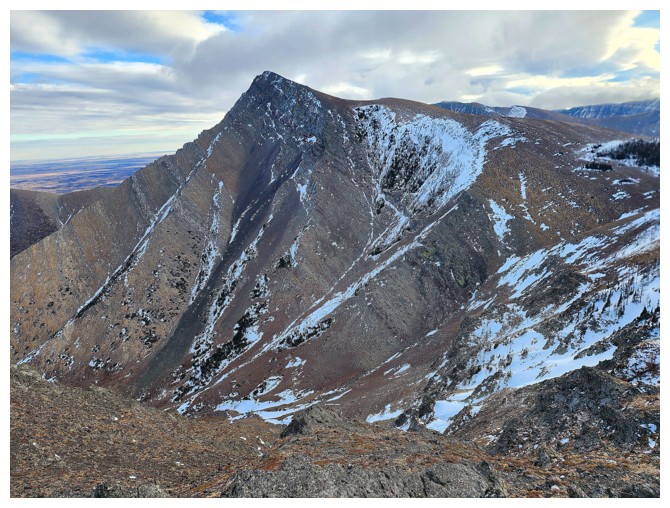
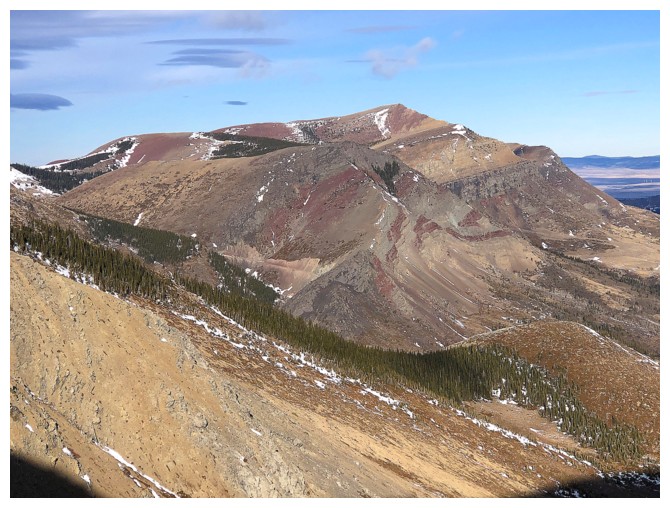
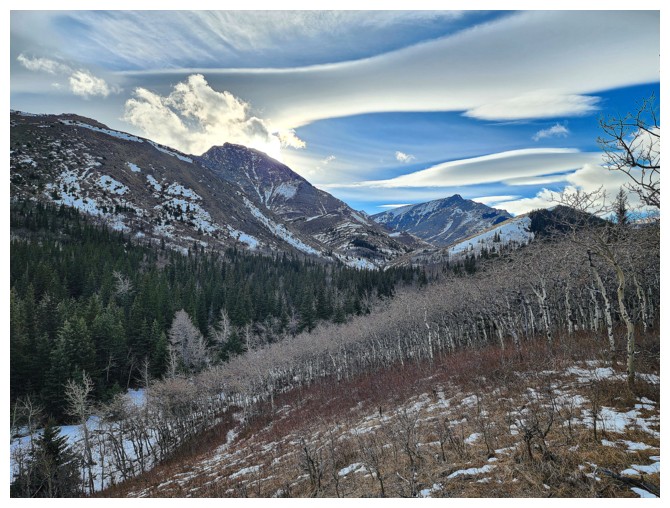
And out the other side. Our objective is just right of centre (photo by Dave).
The terrific trail we stumbled onto (photo by Dave)
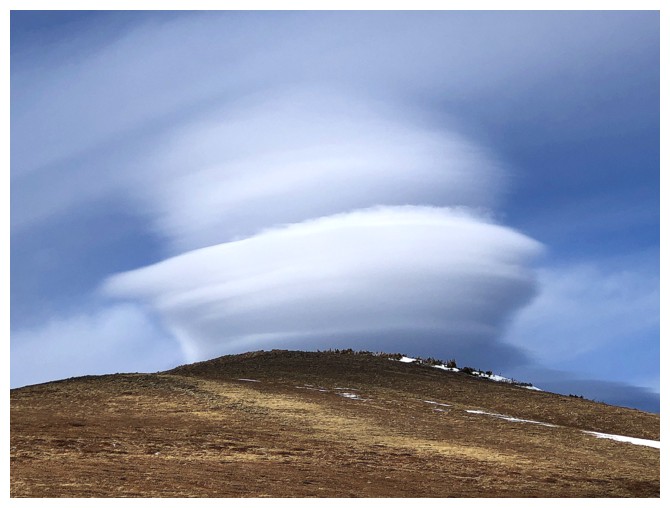
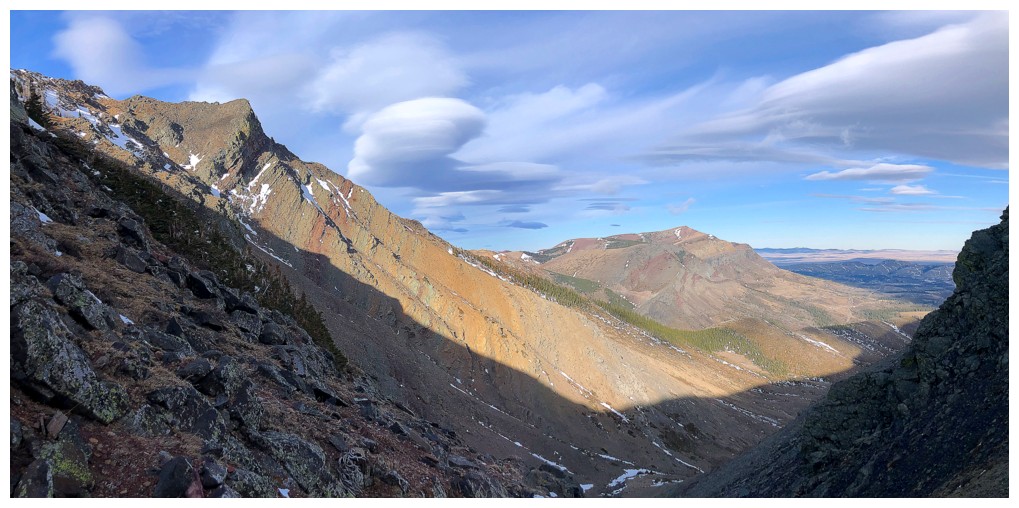
Amazing clouds (photo by Dave)
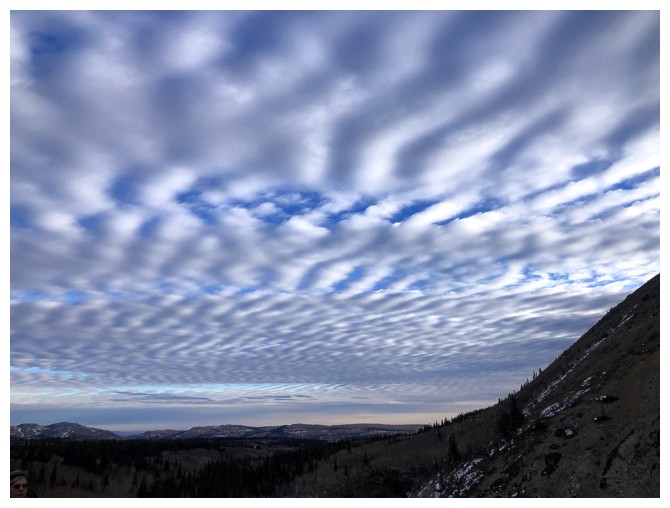
The clouds seem to be emulating the interference pattern created by all
kinds of waves (used by physicists and high school physics teachers to prove the wave nature of light
and eventually the wave nature of particles, such as electrons)
Same as above

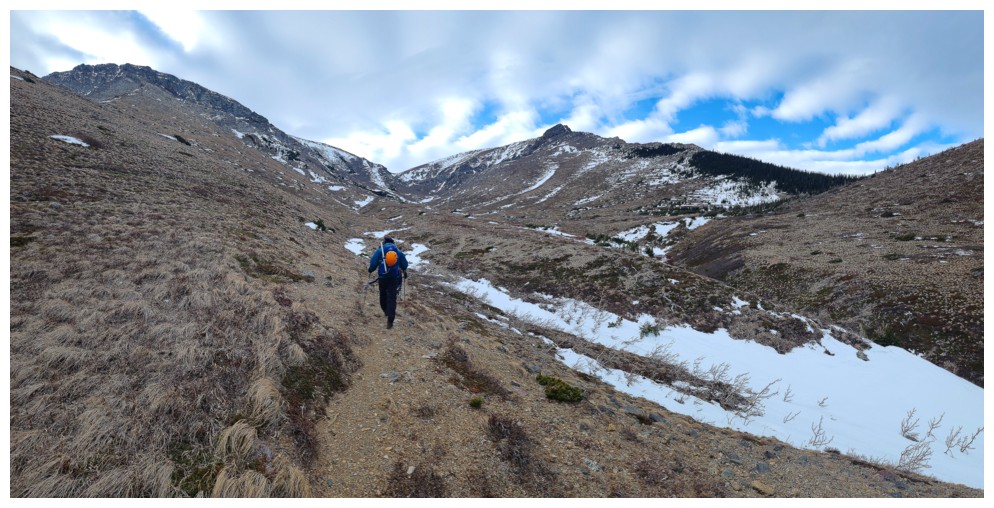
Continuing up the valley on the good trail
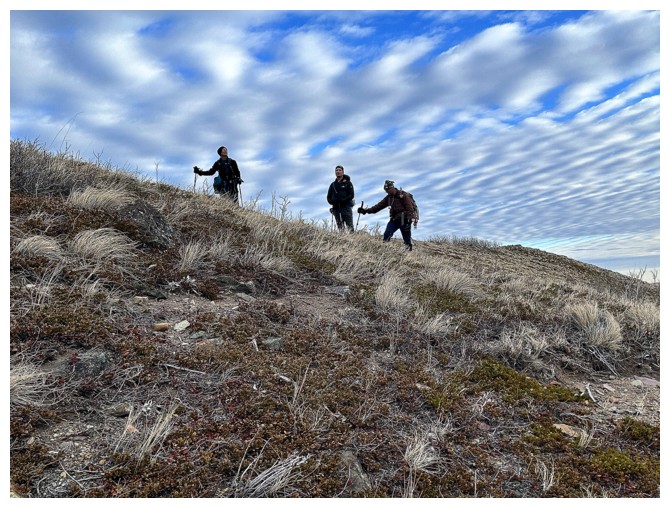
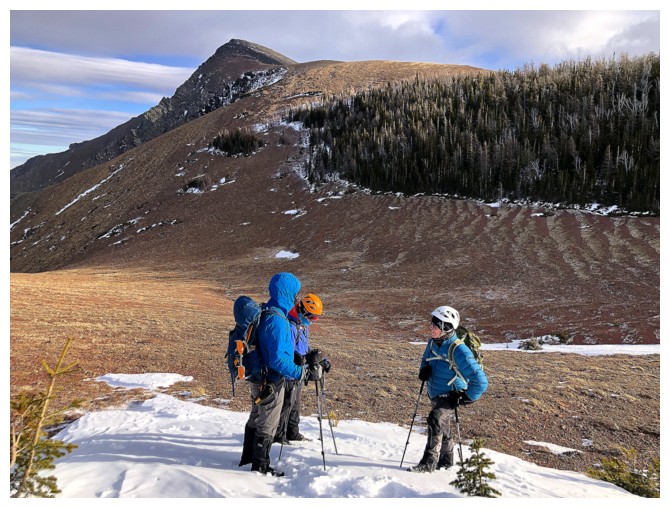
Larry, Curly, and Moe; Tom, Dick, and Harry; or Charlie's Angels - take your pick (photo by Doug)
The trail briefly goes over to the other side of the valley
On the other side (photo by Dave)
And back to the side we need to be on. Our objective at the left (photo by Dave).
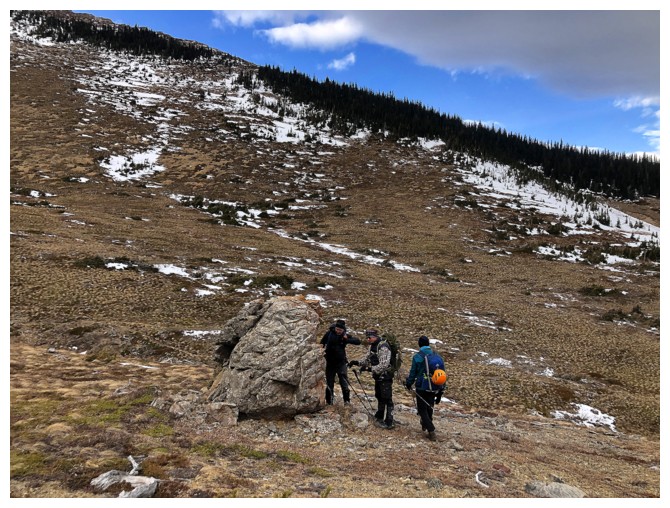
The boys encounter a random boulder

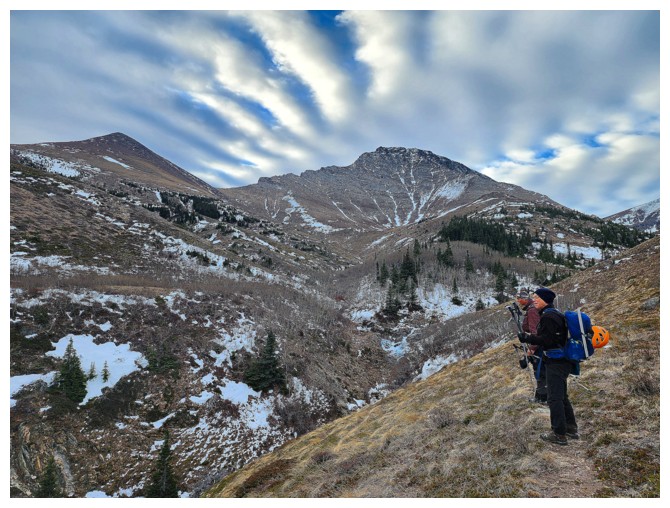
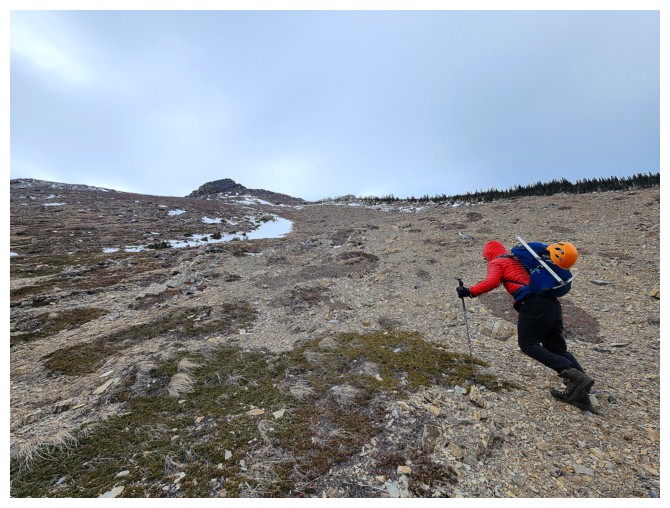
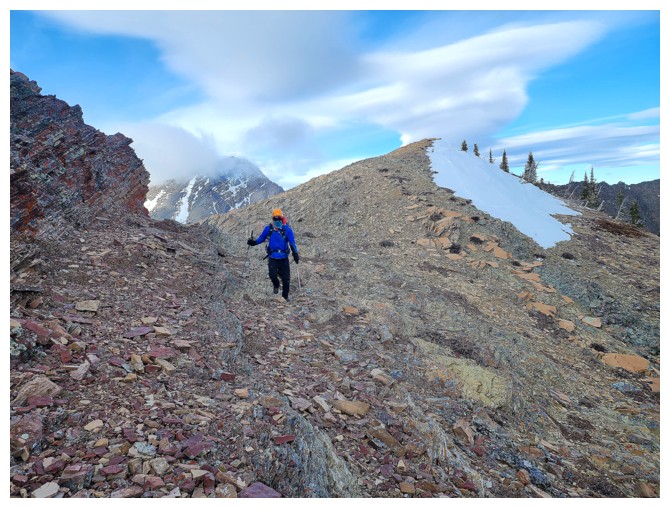
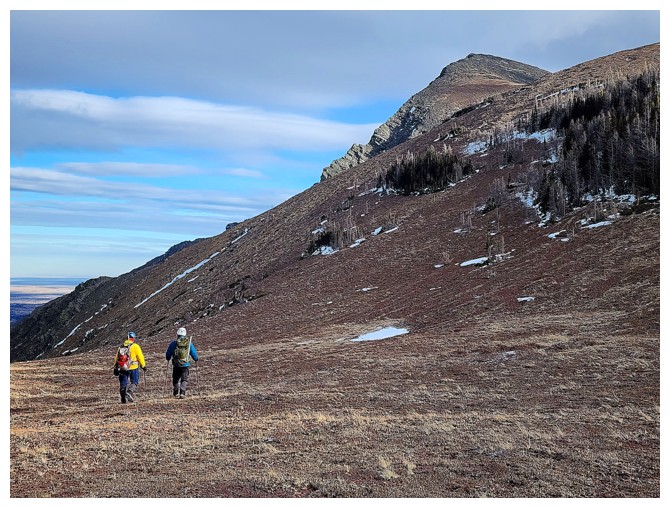
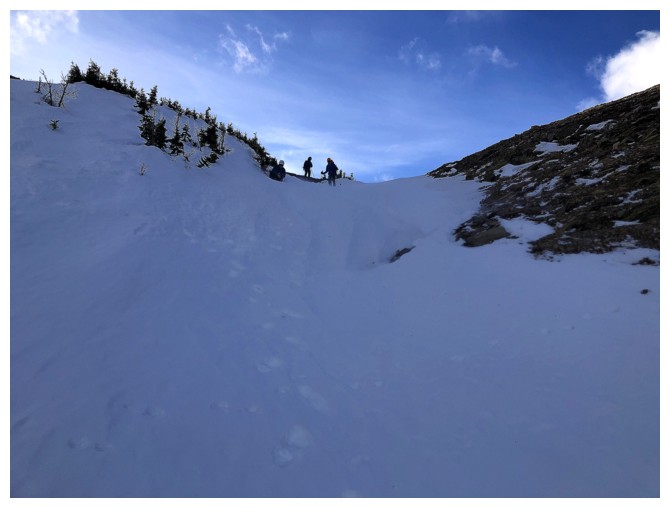
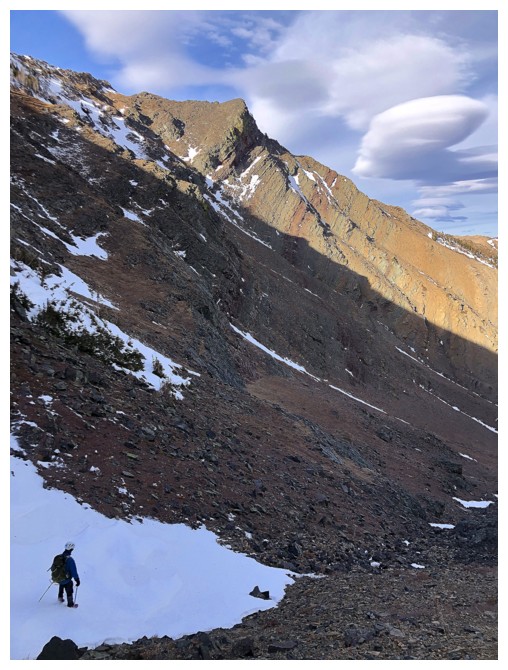
Finally heading up to the ridge (photo by Dave)
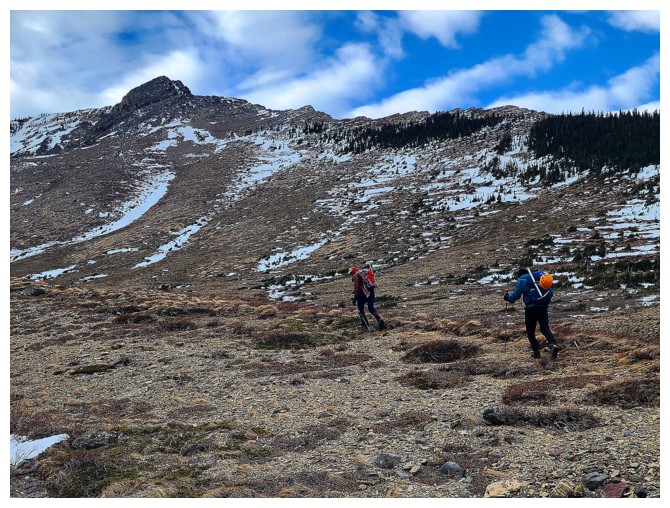
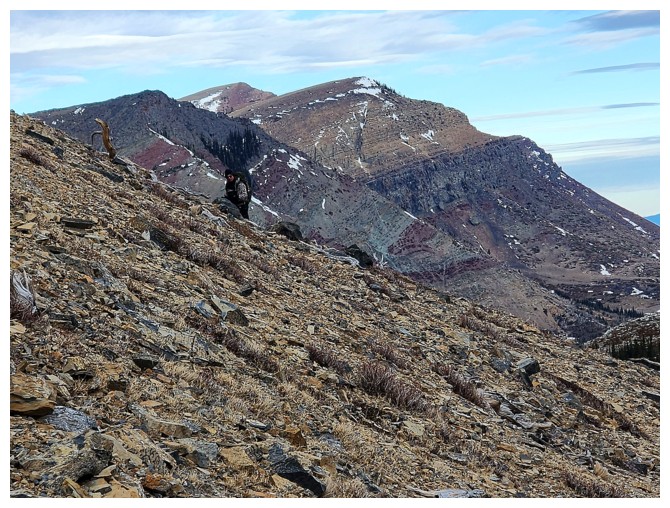
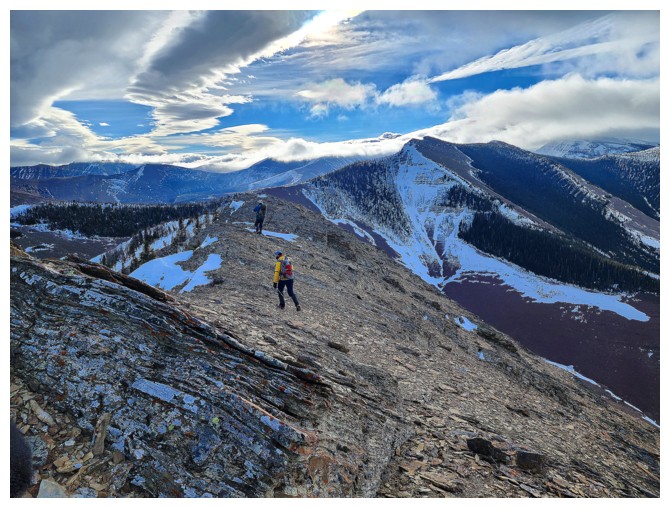
Scott tackles the deceivingly steep slopes (photo by Dave)
We all took a slightly different lines up to the ridge (photo by Dave)
Prairie Sky, Bluff, and Fire (photo by Dave)
Dave took a route furtherest to the west (photo by Dave)
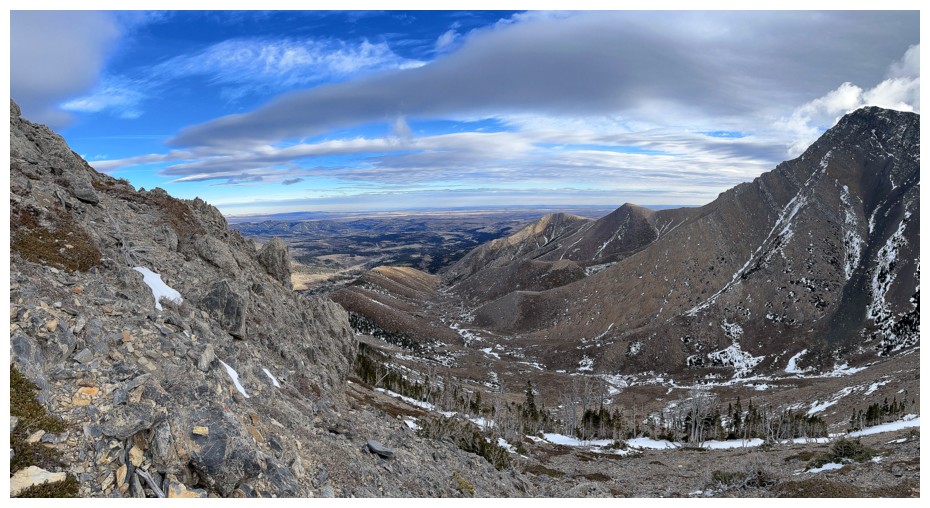
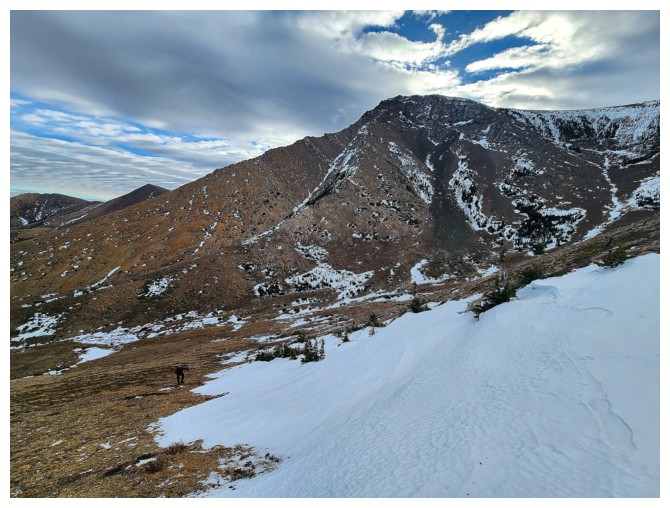
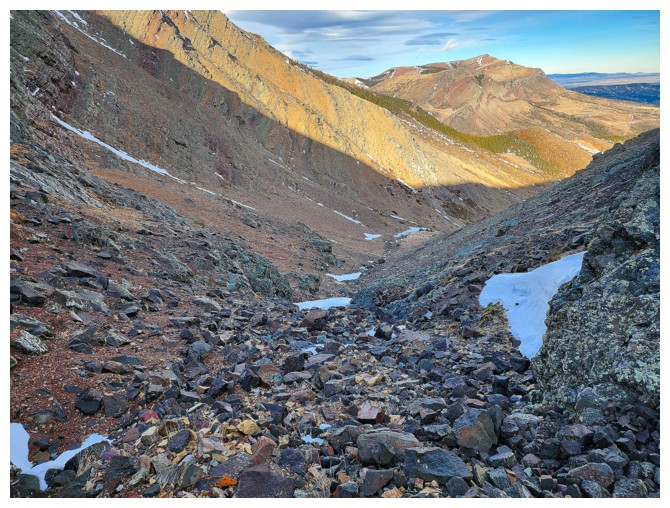
Doug's view back down the route and valley (photo by Doug)
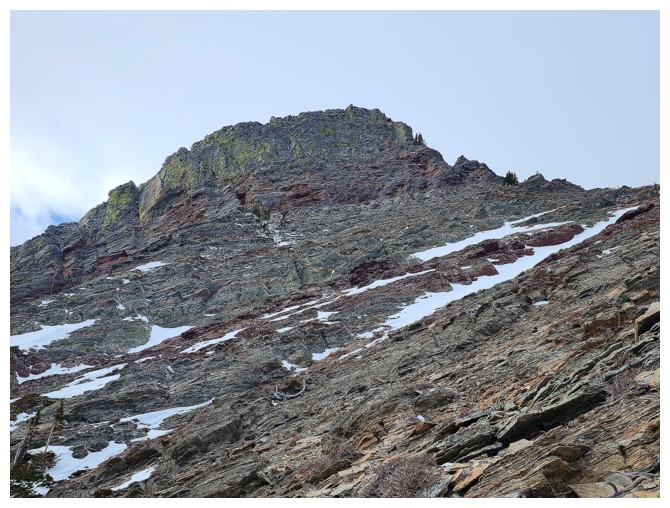
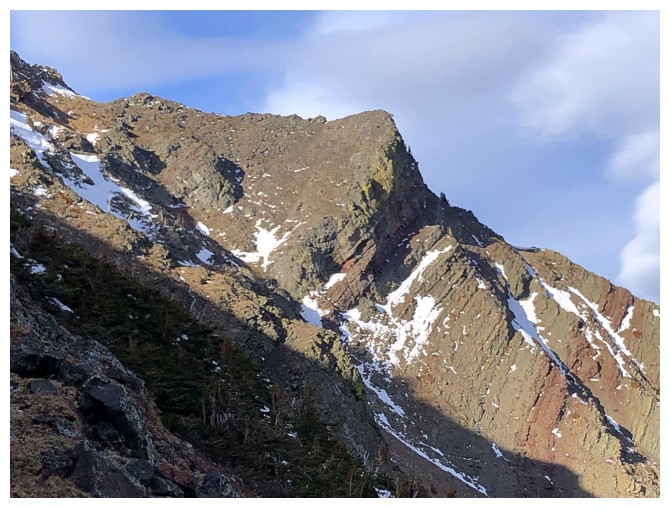
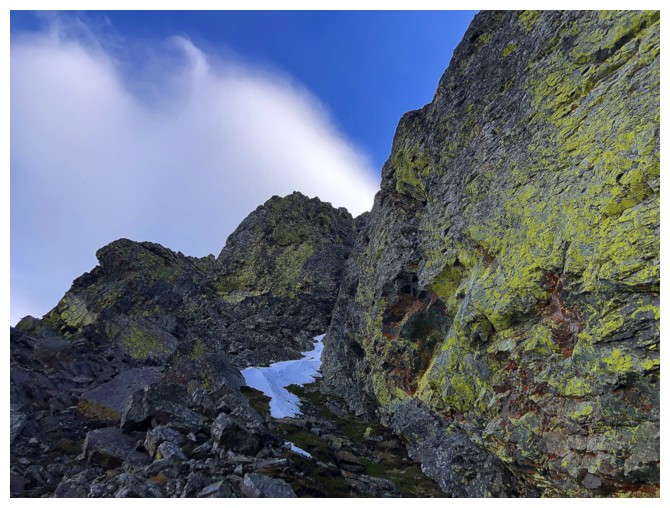
The key gully that provides relatively easy access to the summit ridge (photo by Dave)
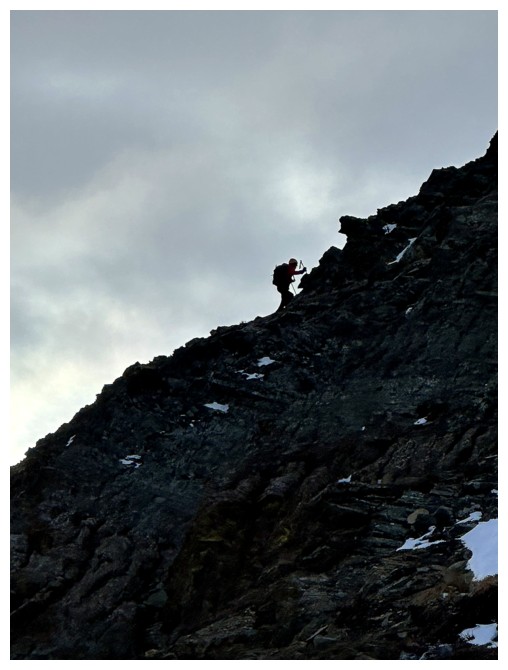
Doug gets a cool shot of Scott making his way up (photo by Doug)
Dave and Scott are almost reunited (photo by Dave)

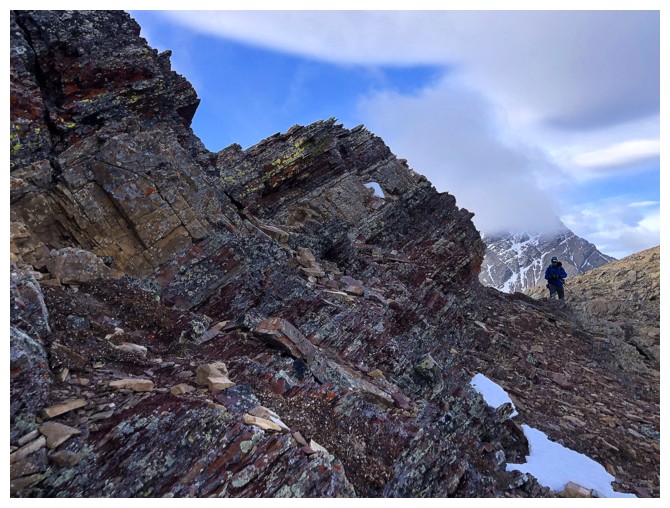
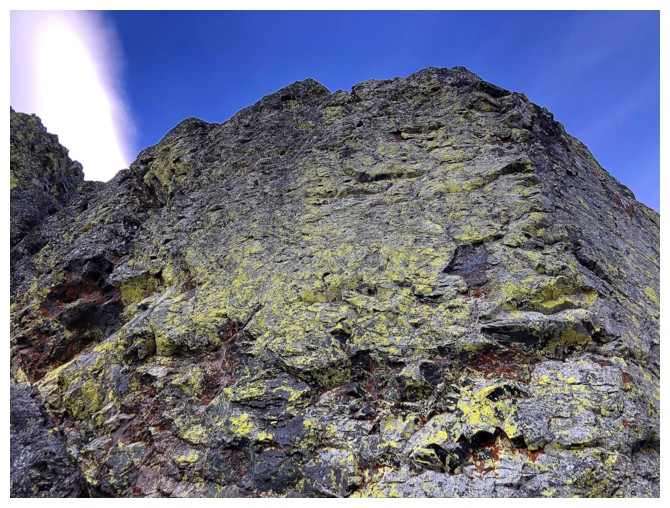
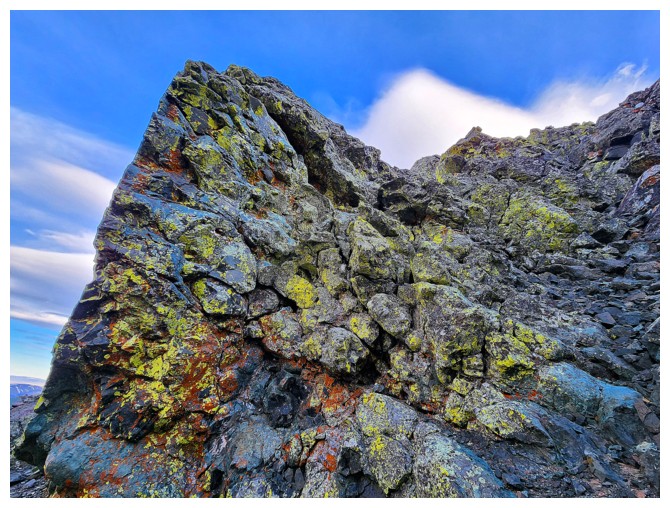
The summit block is comprised of a wide variety of colourful rock (photo by Dave)
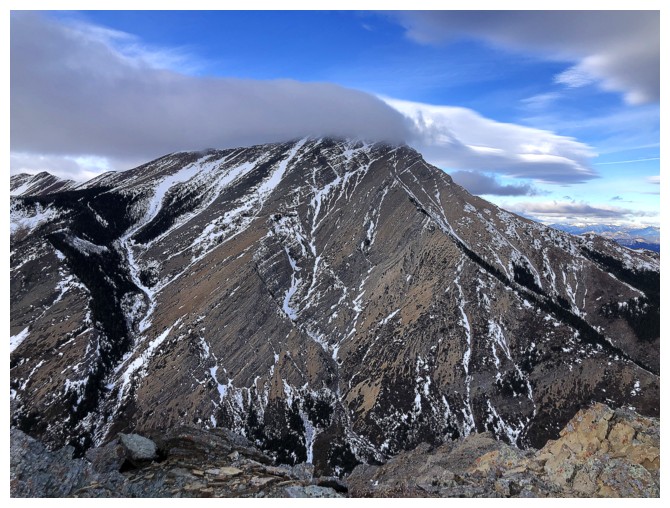
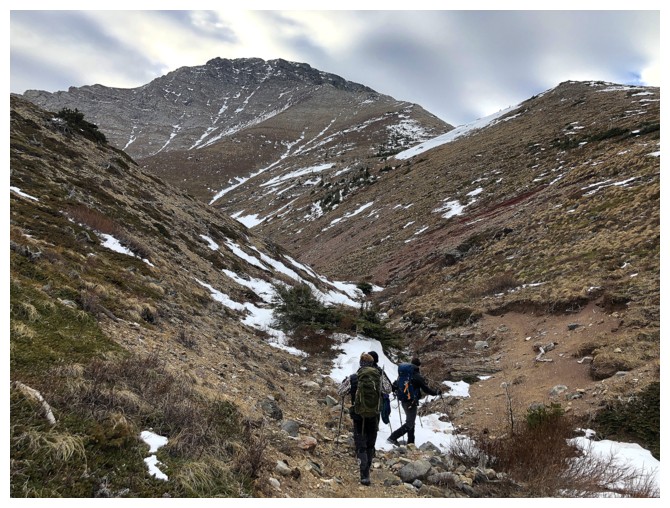
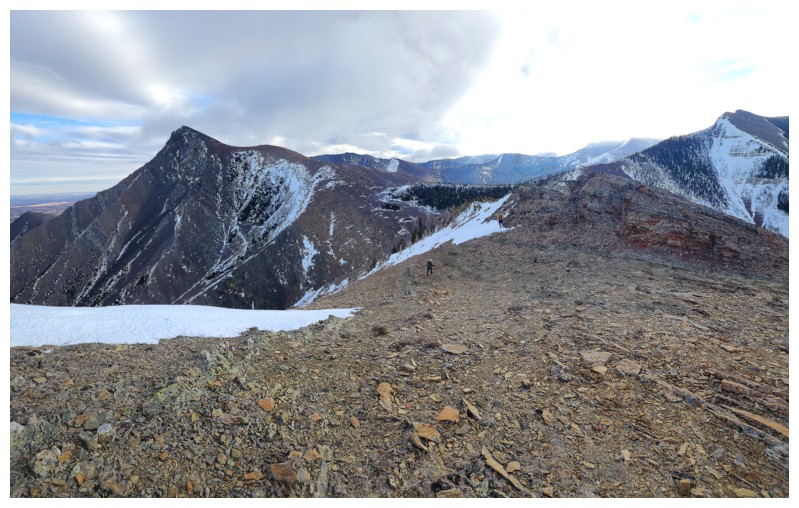
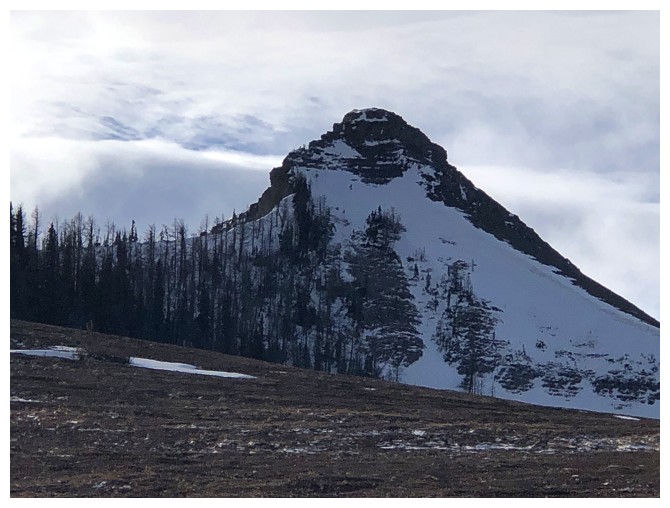
First full view of Victoria Peak
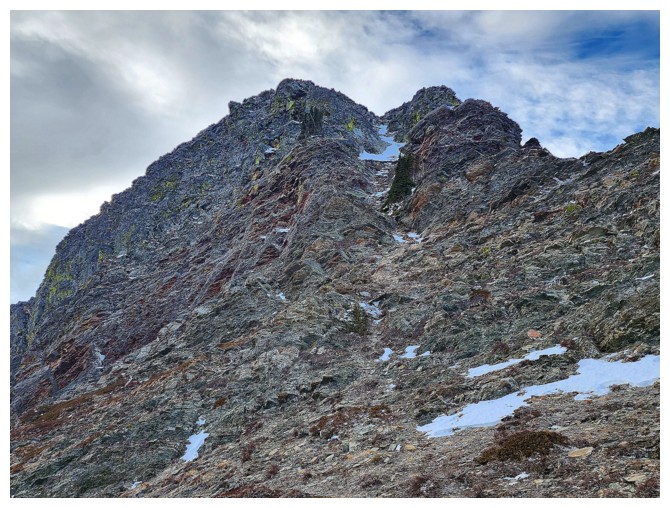
Doug scrambles up some steeper terrain
Heading for the gully in the centre
I'm bringing up the rear (photo by Doug)

Reunited at the base
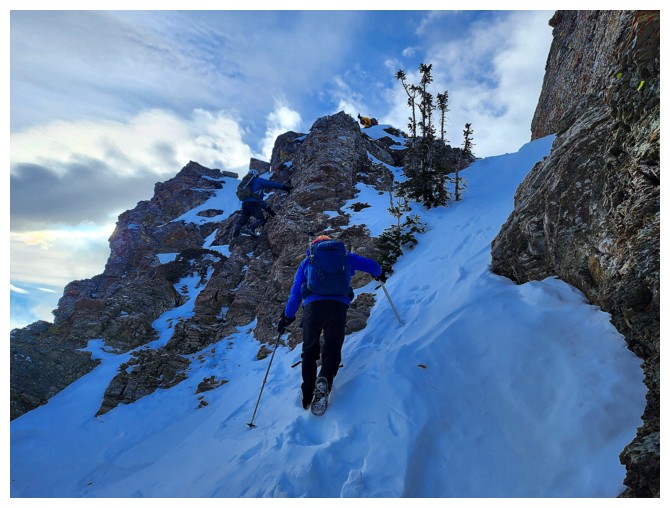
Up we go (photo by Dave)
Doug
below a striking pinnacle. The snow was quite hard here and I decided
to put crampons on, though in retrospect they were unnecessary (photo
by Dave).
Scott is clearly enjoying the gully (photo by Dave)
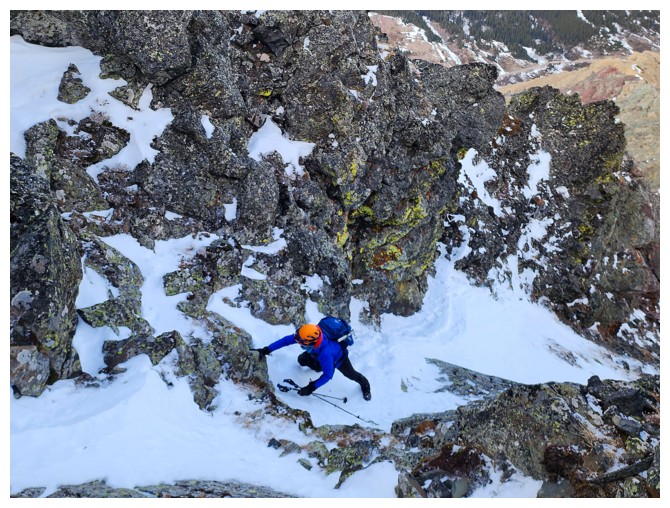
Scott negotiates a challenging section. The gully is much steeper than it appears (photo by Dave).
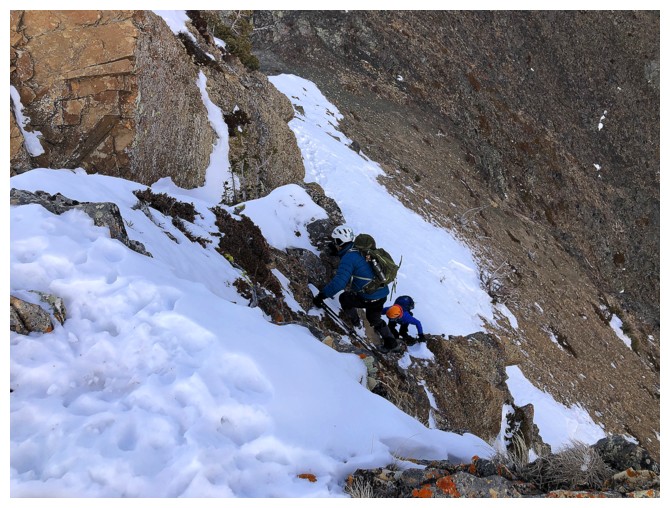
Doug led the entire gully. Dave at the crux (photo by Doug).
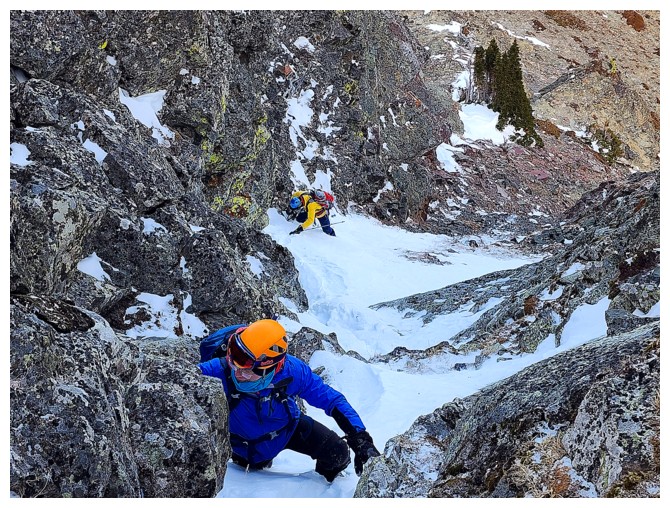
Scott's turn (photo by Dave)
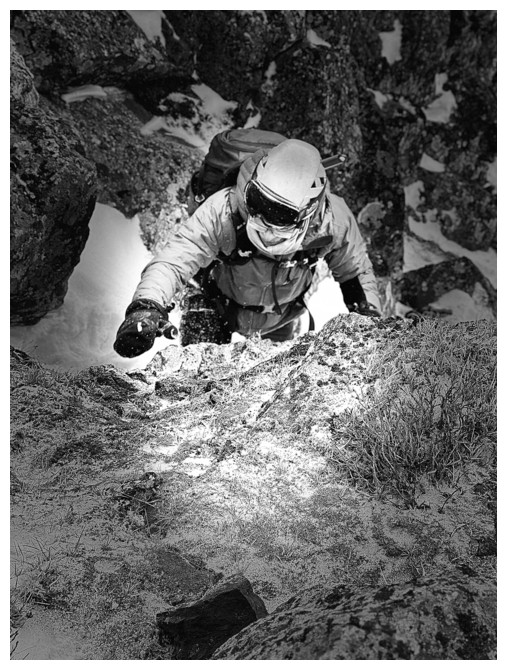
Doug gets a super cool black and white photo of Scott (photo by Doug)
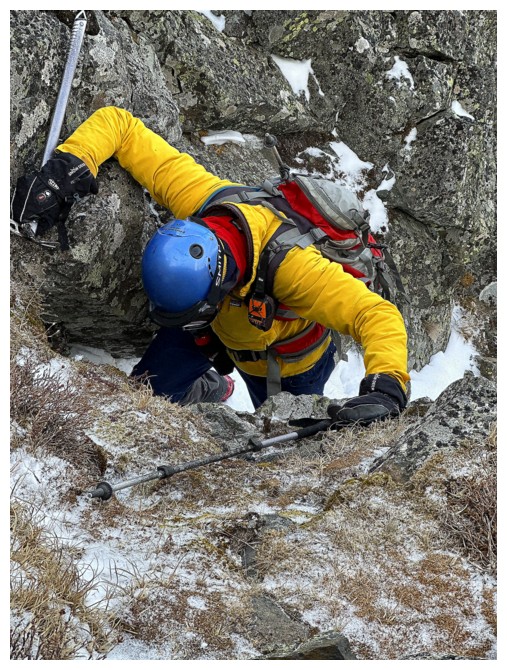
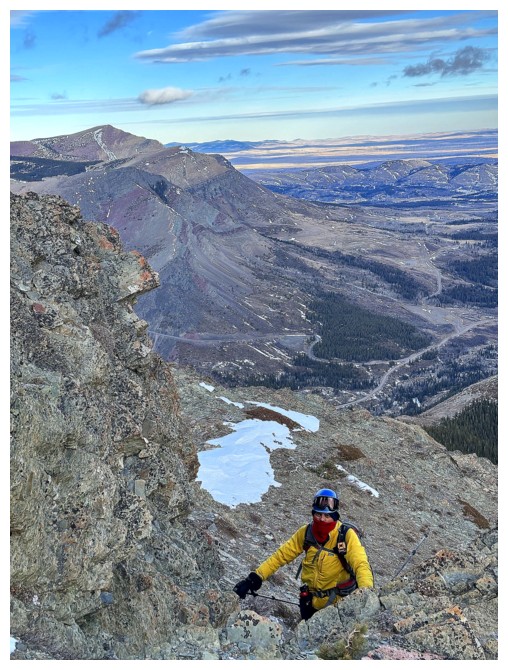
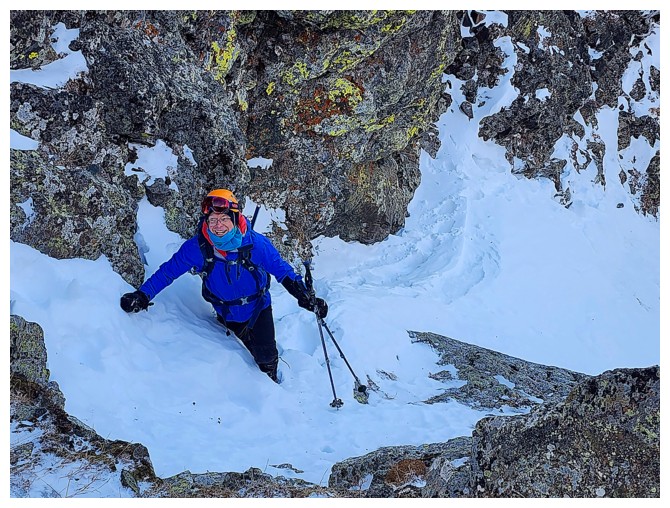
I'm
the slow guy of the day, but at least I'm representing the colours of
Armenia, Colombia, Ecuador, Chad, Romania, Venezuela, and the DR of
Congo well! (photo by Doug)
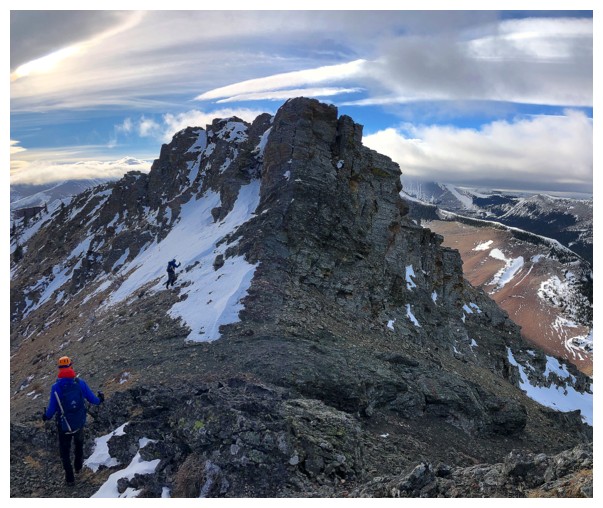
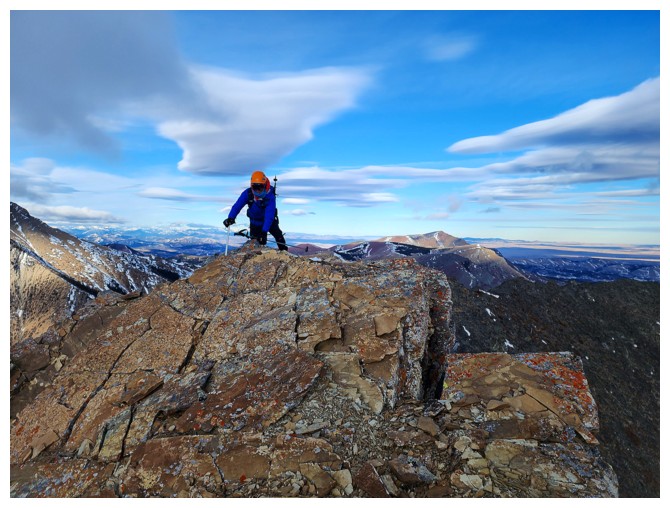
Scott at the top of the gully. The summit is just left of centre (photo by Dave).
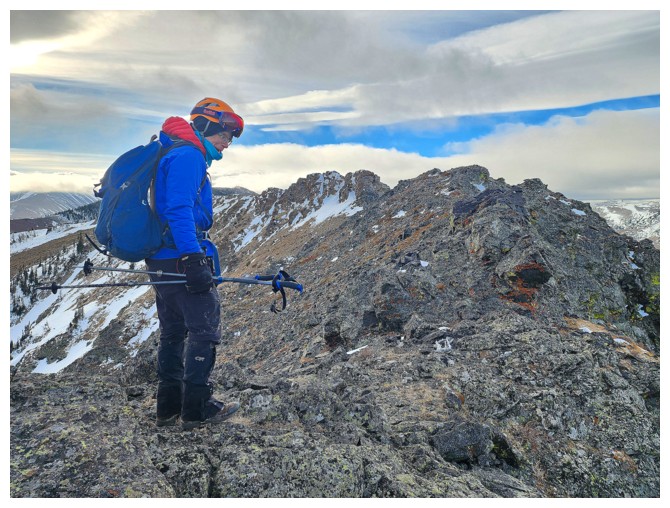
A windy traverse to the summit begins
Photos make everything look peaceful and serene, but we were all getting tossed around by the wind (photo by Dave)
The true summit of Pincher Ridge (photo by Dave)
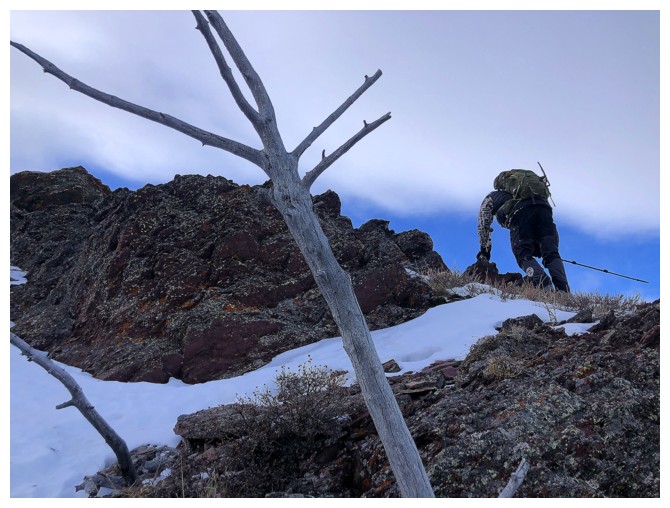
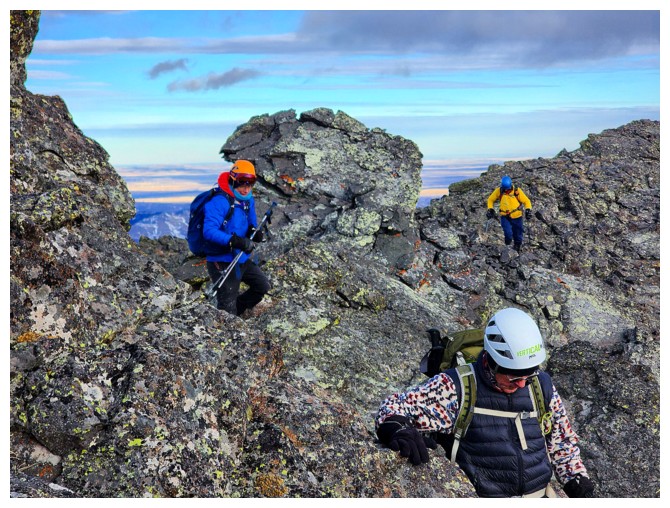
Approaching the second crux of the day just before the summit
Some more scrambly terrain just before the summit (photo by Dave)
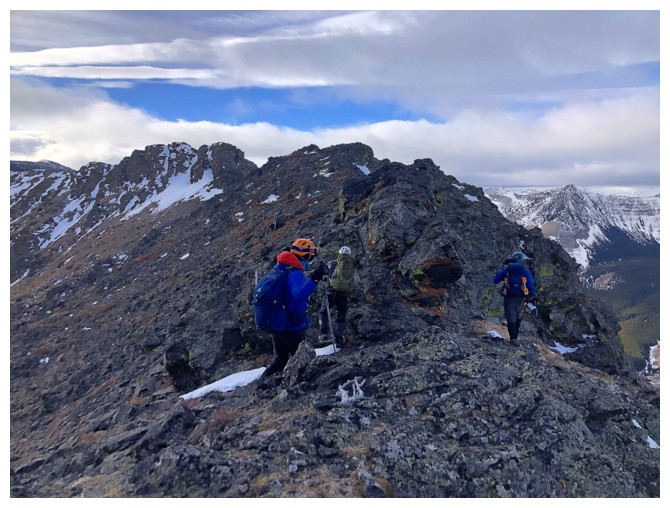
Doug and Scott scramble up to the summit
Doug arrives
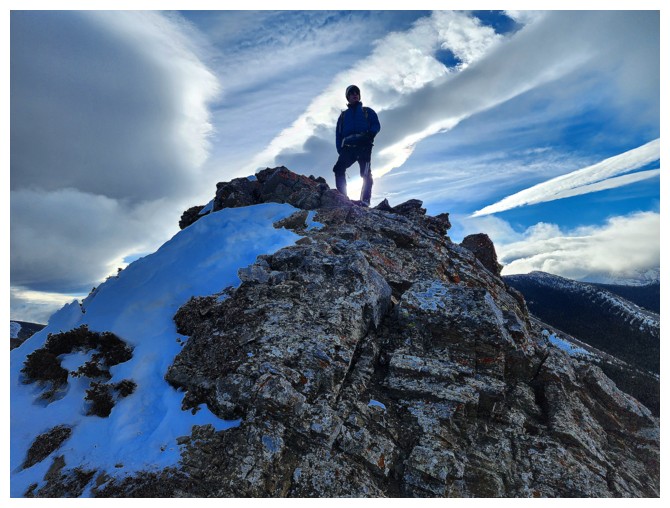
Doug at the top (photo by Dave)
Scott's last few steps (to the summit, that is - "last few steps" - a phrase you don't want to misinterpret!)
Scott tries to maintain his balance, fighting the strong wind (photo by Dave)

Summit pose by the Angels. Looks so calm, but conditions were anything but (photo by Dave).
Leaving already. I didn't take any summit photos due to the brutal wind (photo by Dave).
We are all making a mad dash to get some reprieve (photo by Dave)
Same as above
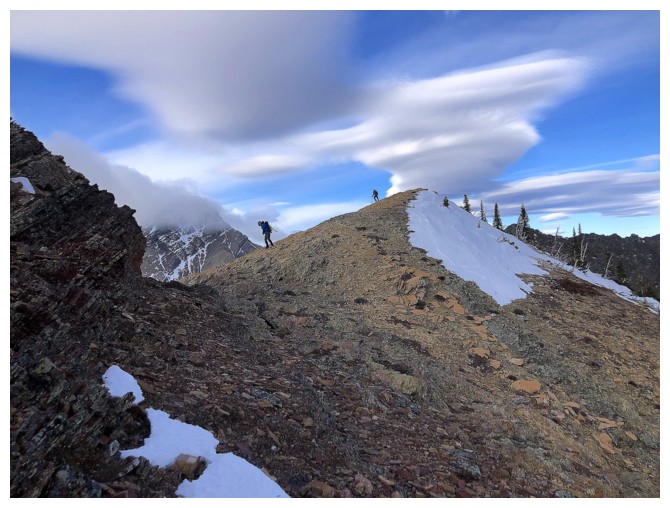
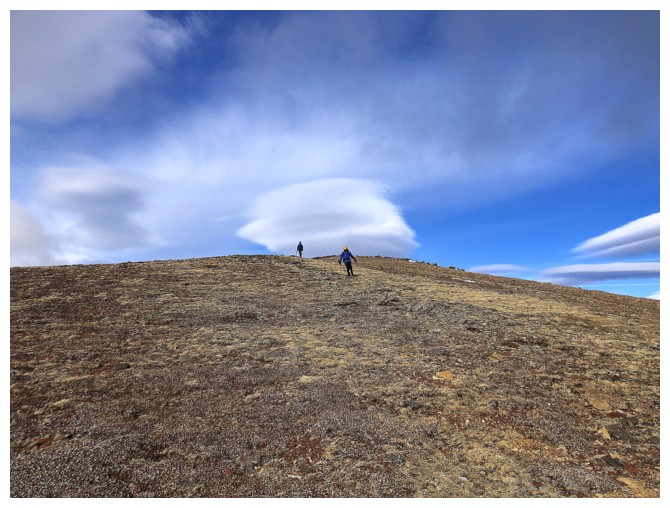
A lenticular cloud is forming to the east
A brief reprieve from the wind behind this rock
Same as above (photo by Dave)

Back out into the open and the end of the reprieve (photo by Dave)
Same as above
Dave, Scott, and that cloud
Discussing options. Retreat was a no-brainer.
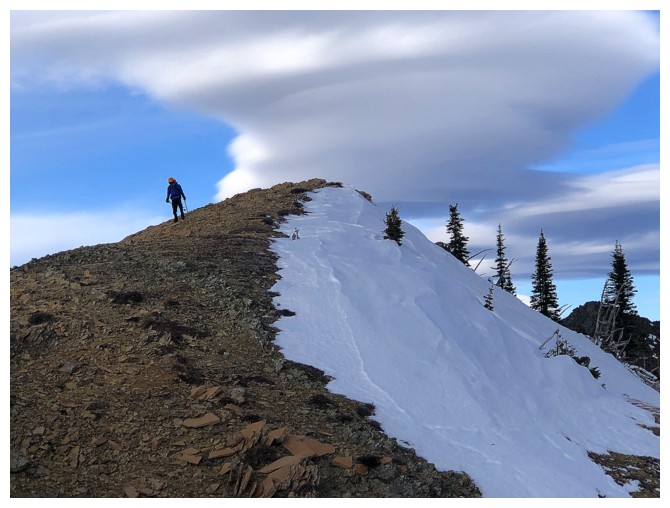
Best view of the cloud
Pincher Centre (my favourite of all the Pincher Ridge summits) will have to wait
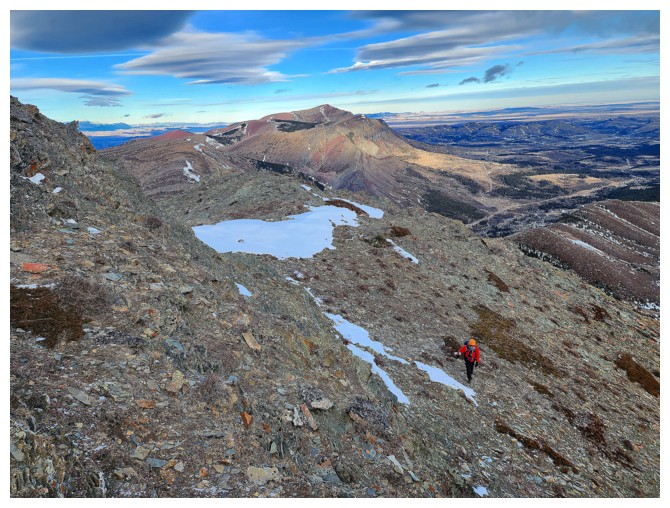
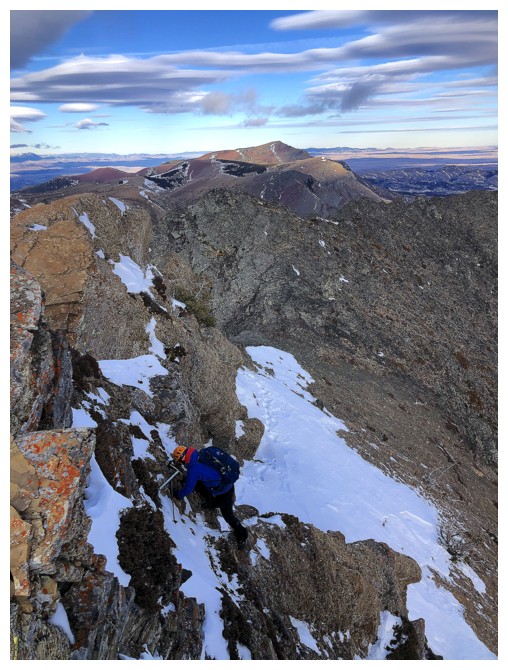
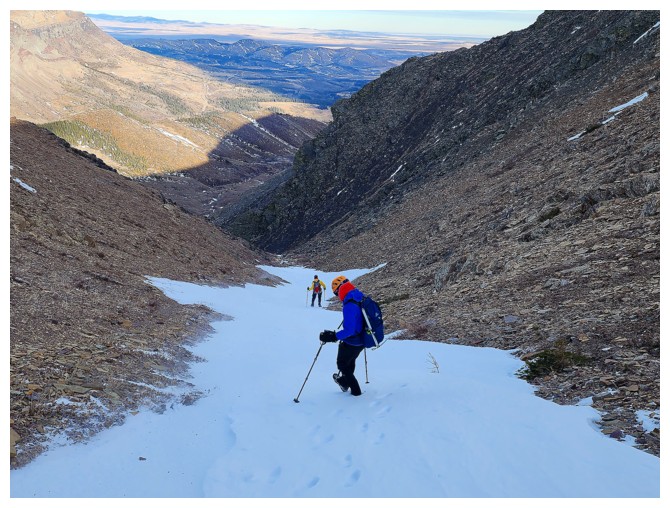
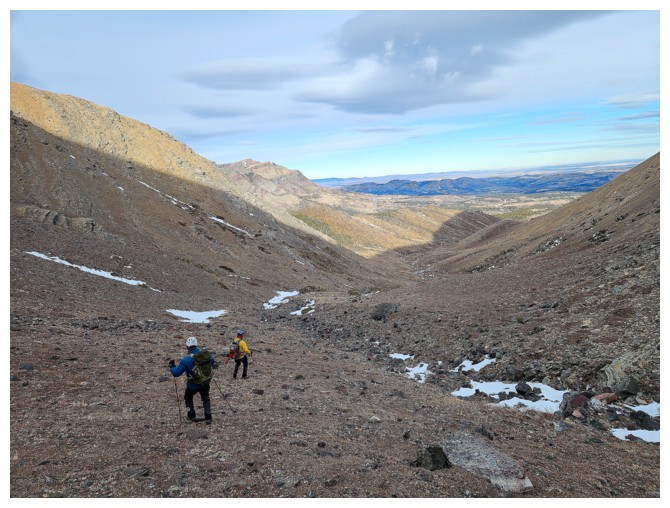
Retreat. The alternate descent route is easy and will be wind-assisted (photo by Dave).
Onto a snow-filled gully. Microspikes helped here (photo by Dave.)
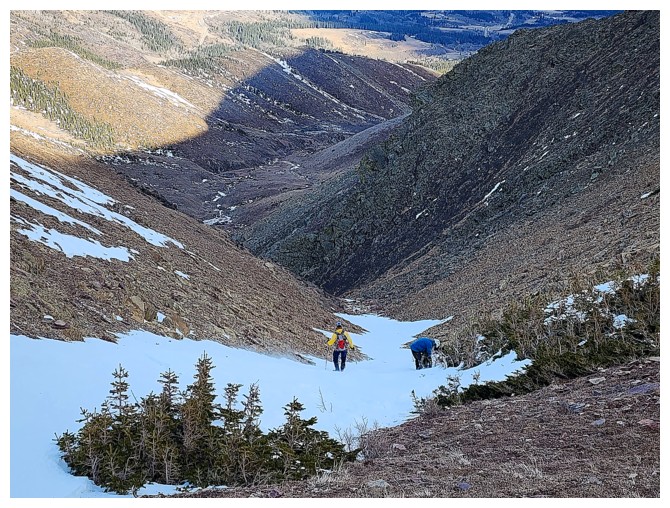
My view of the troops
If the snow wasn't so hard, glissading this gully may have been an option (photo by Dave).
The key gully we ascended is on the other side of this rock band
Prairie Bluff and its outliers reappear
All of the above
Doug approaches the end of the snow
The end of the snow and the return of colourful rock (photo by Dave)
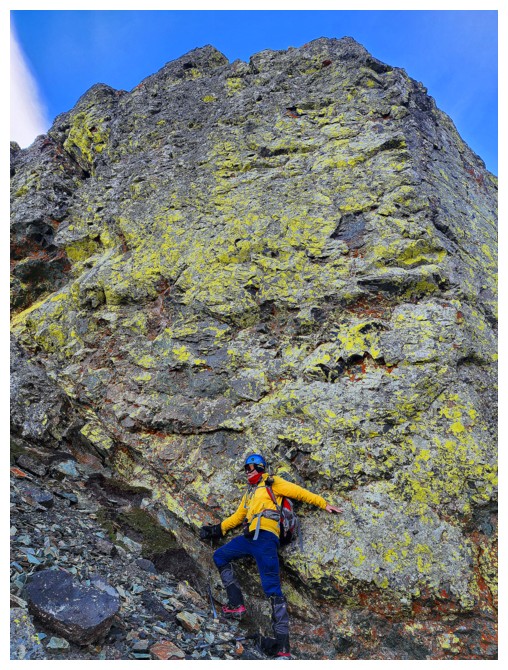
Amazing rock band covered in yellow lichen
Same as above
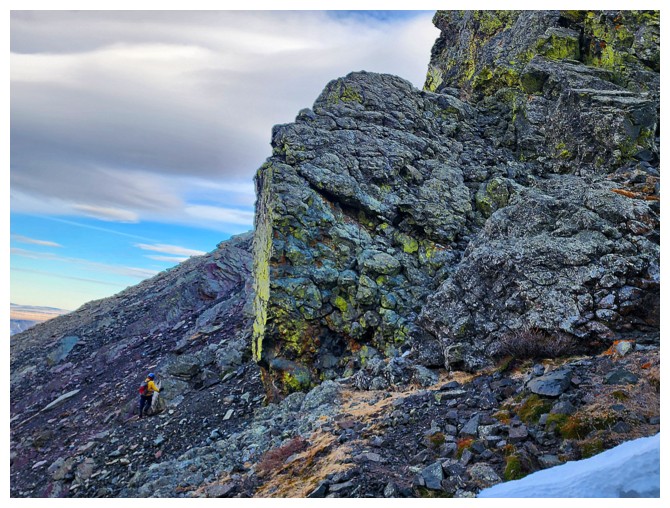
I'm drawn to the lichen-covered rock "like you-know-what on you-know-what" (photo by Dave)
Dave and Scott want a look too
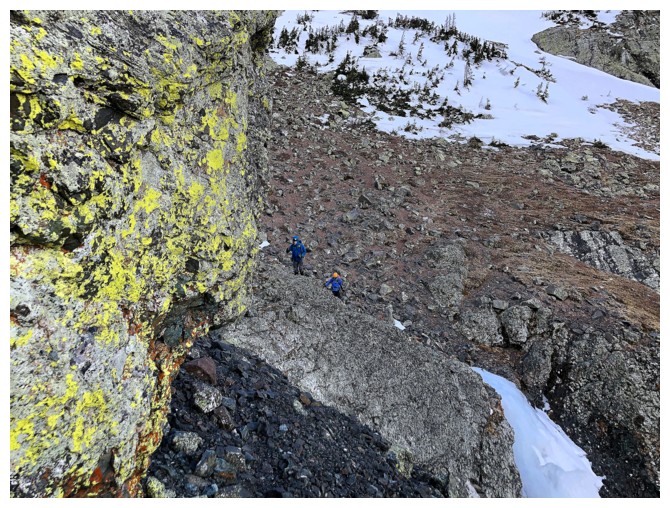
Yikes! (photo by Dave)
Replace the red and blue with yellow and I'd be invisible! (photo by Dave)
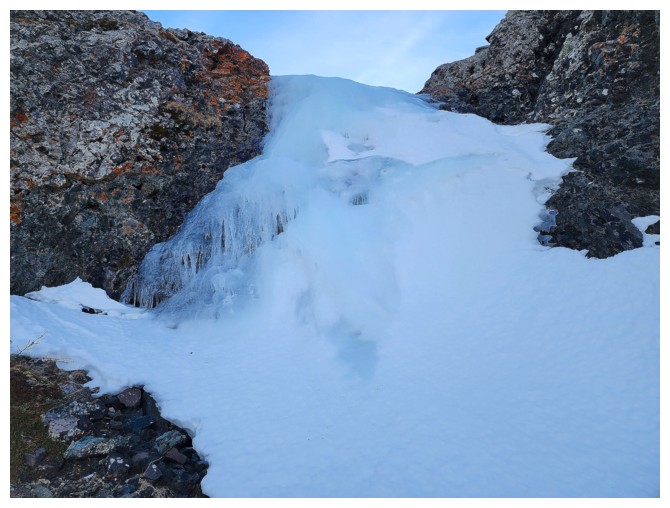
Another cool feature of the descent route (photo by Dave)
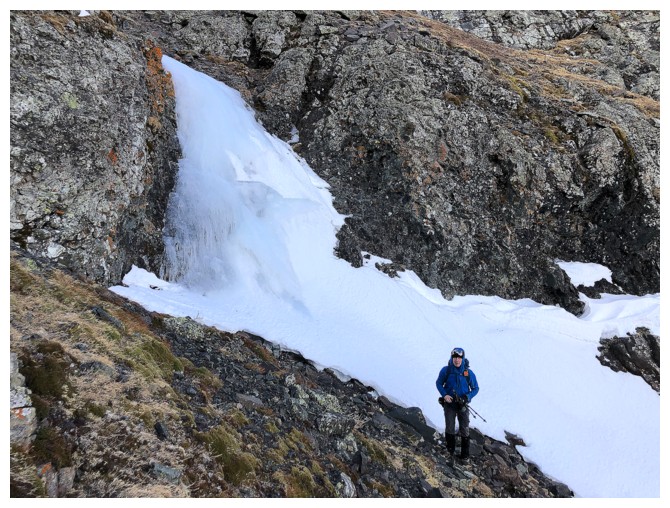
Dave at the base of the ice
Resuming travel
Gentle terrain from hereon in (photo by Dave)
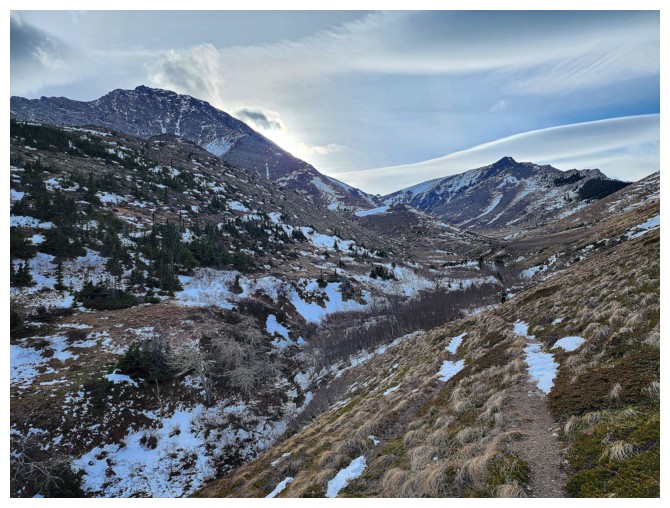
Looking back to Pincher Ridge (left) and The Horn (photo by Dave)

Cinch Hill (left) and Bridle Peak
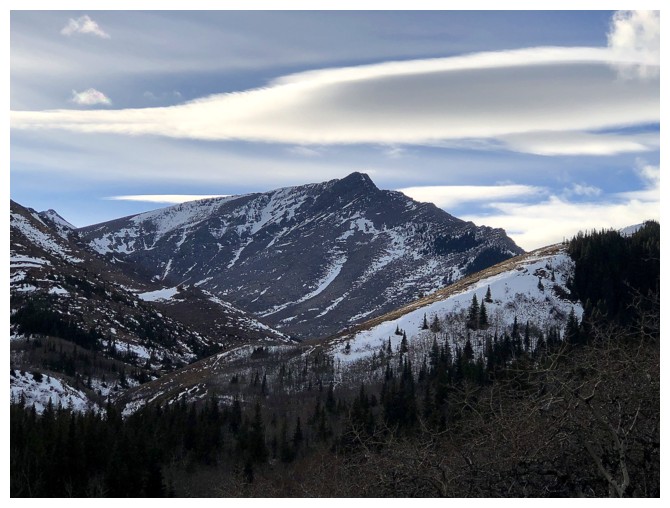
Another interesting cloud over The Horn
Last look at the valley before heading into the forest (photo by Dave)
Going in (photo by Dave)
Last few steps for all of us (photo by Dave)
The End
LOG